
This quest begins immediately after The Scholar and the Sunstone. Now that you have the Sunstone, Einar has assured you that he can get Havi into the Vault of the Ancients. The plan is to meet Fritjof and Tyra at Uldar’s Old City, the great cavern at its heart.
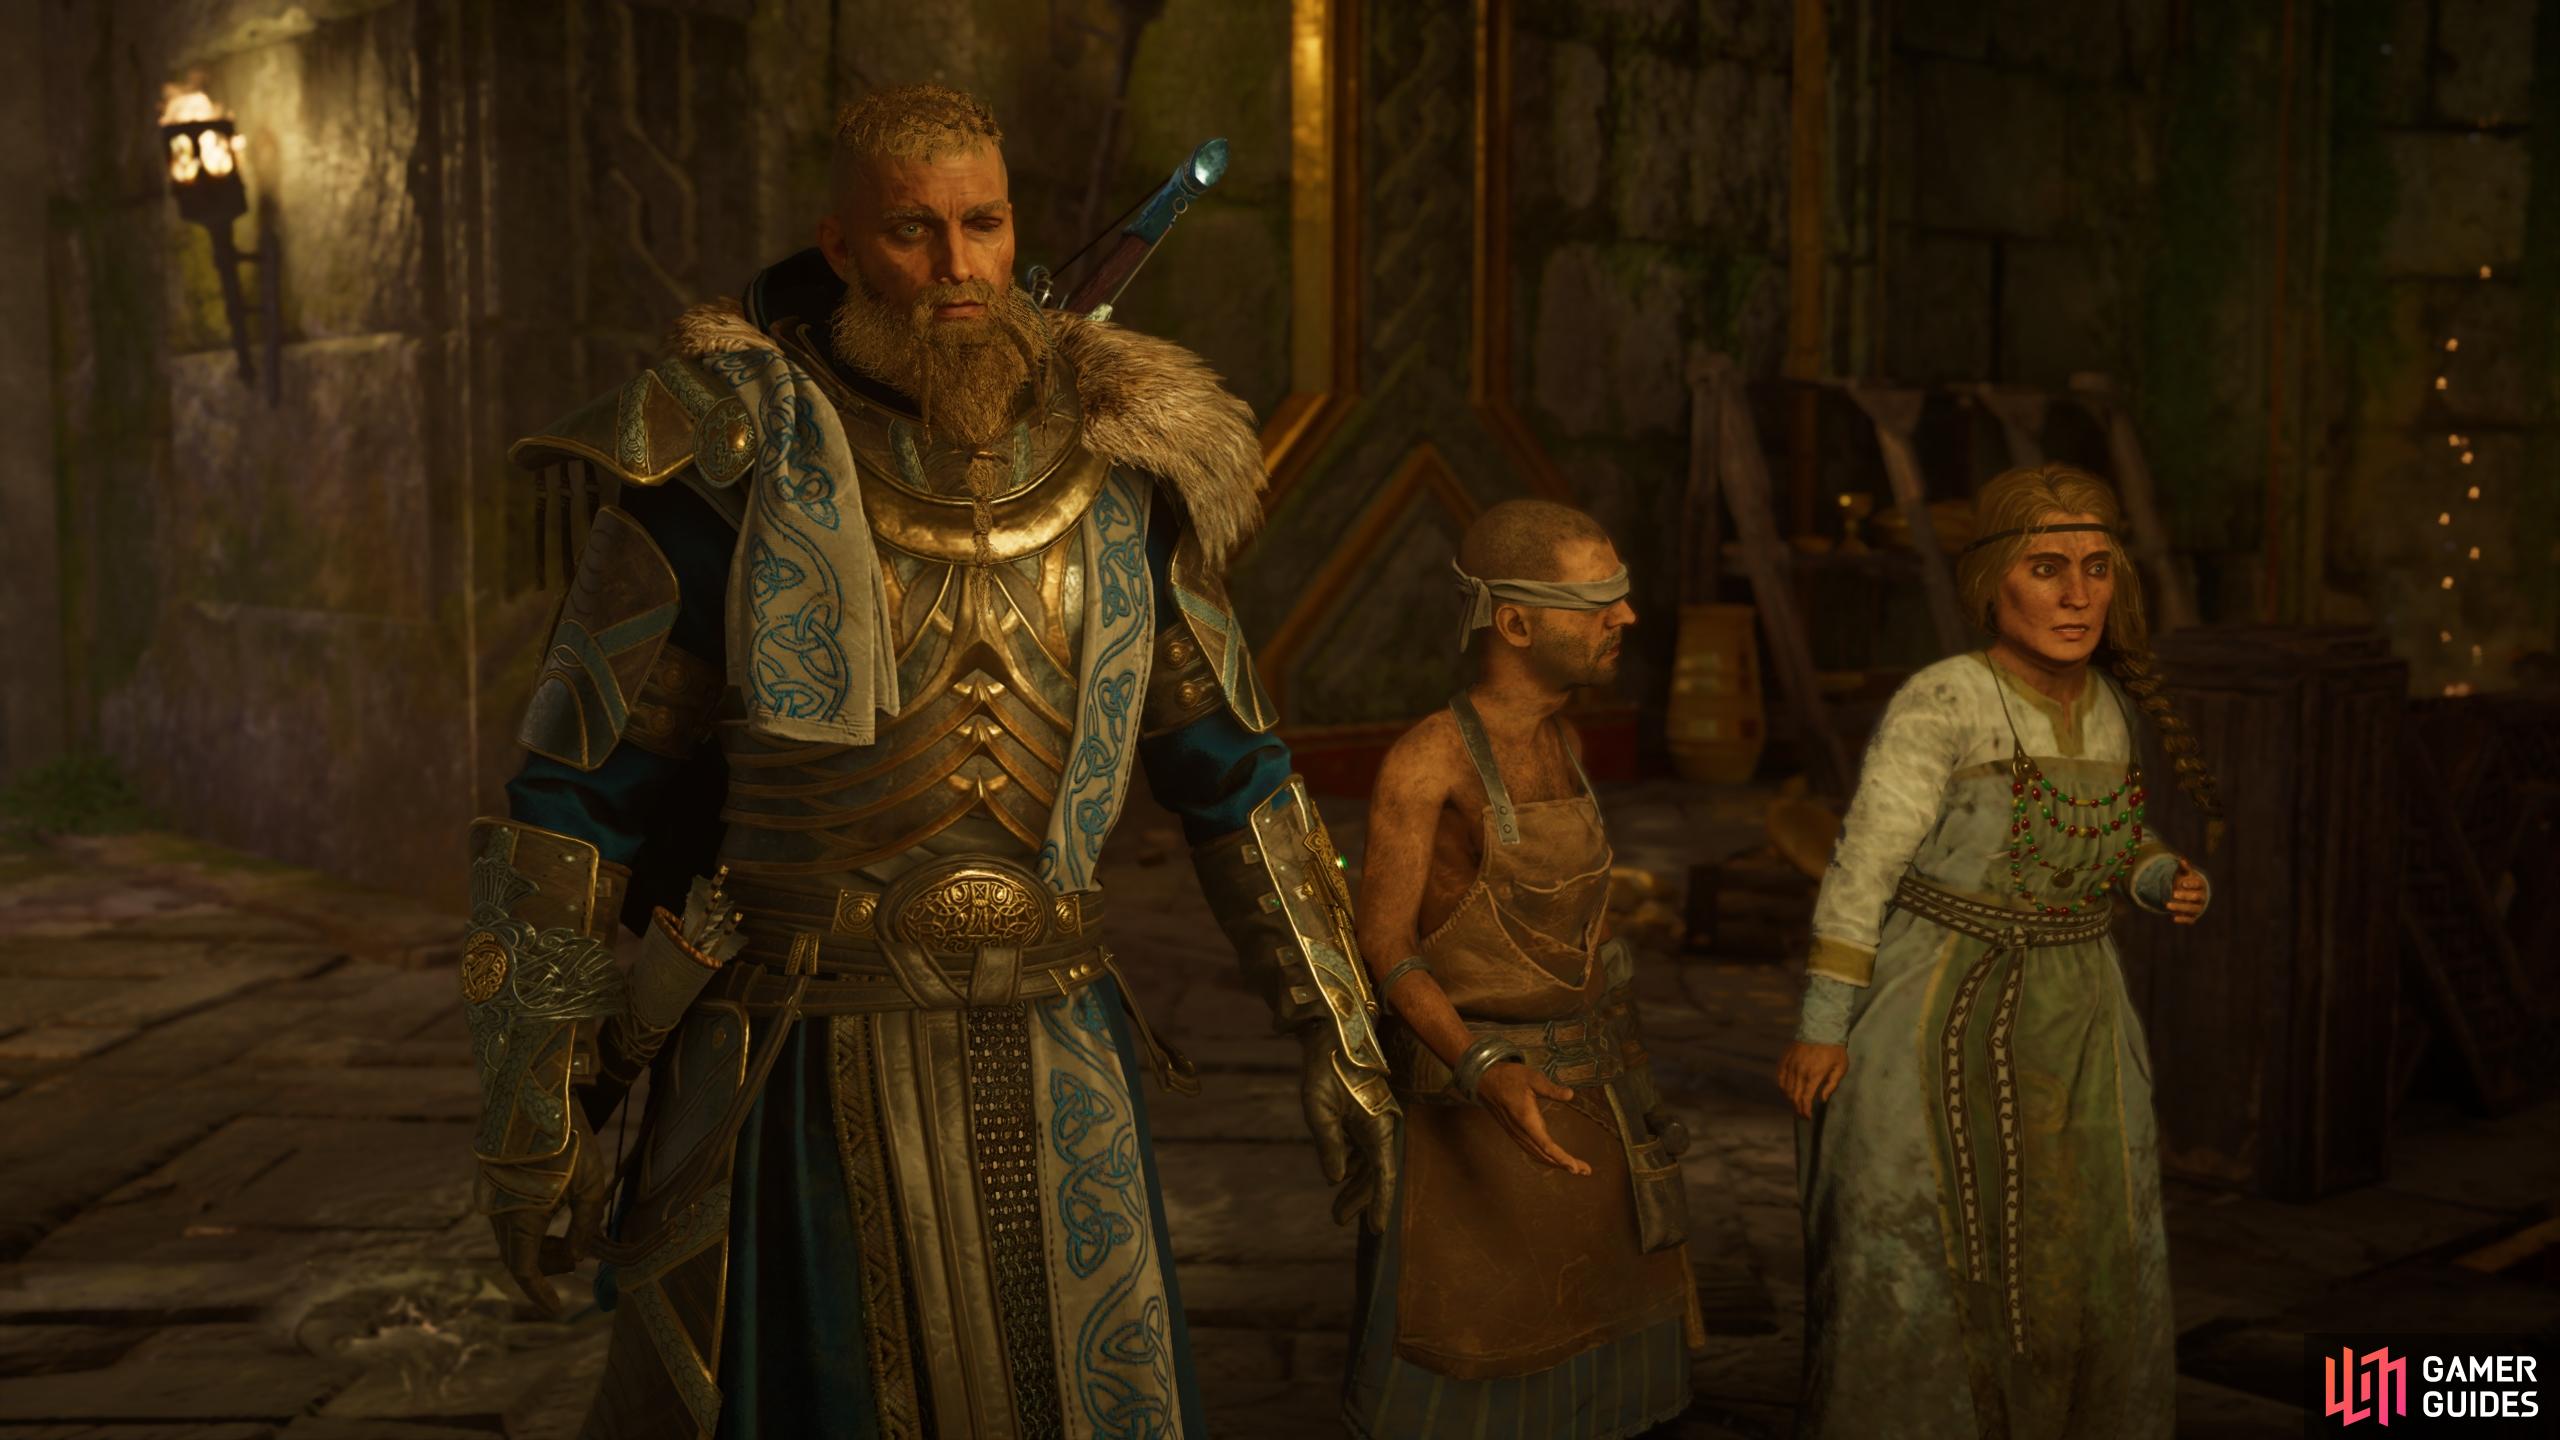
The Vault of the Ancients, Dawn of Ragnarök.
Where to Find Fritjof and Tyra at Uldar’s Old City
You’ll find Uldar southeast of Grenhellir Shelter, and if you used the synchronisation point the last time you were there, you can use this to arrive directly above the Old City. Either way, once you’re inside the cavern you can choose either to fight all the Muspel within and clear it, or keep to the southwestern wall where you’ll find plenty of cover from the group of Muspel within the centre of the cavern. Keep in mind that if you attract too much attention, the Muspel will gather and become more powerful, and they’re even capable of summoning powerful warriors such as Sinmara or Surtr. This can make for a fun fight if that’s what you want here, but you won’t be able to kill either of these since they’ll disappear once you bring them down to half health, so it’s not the most rewarding outcome.
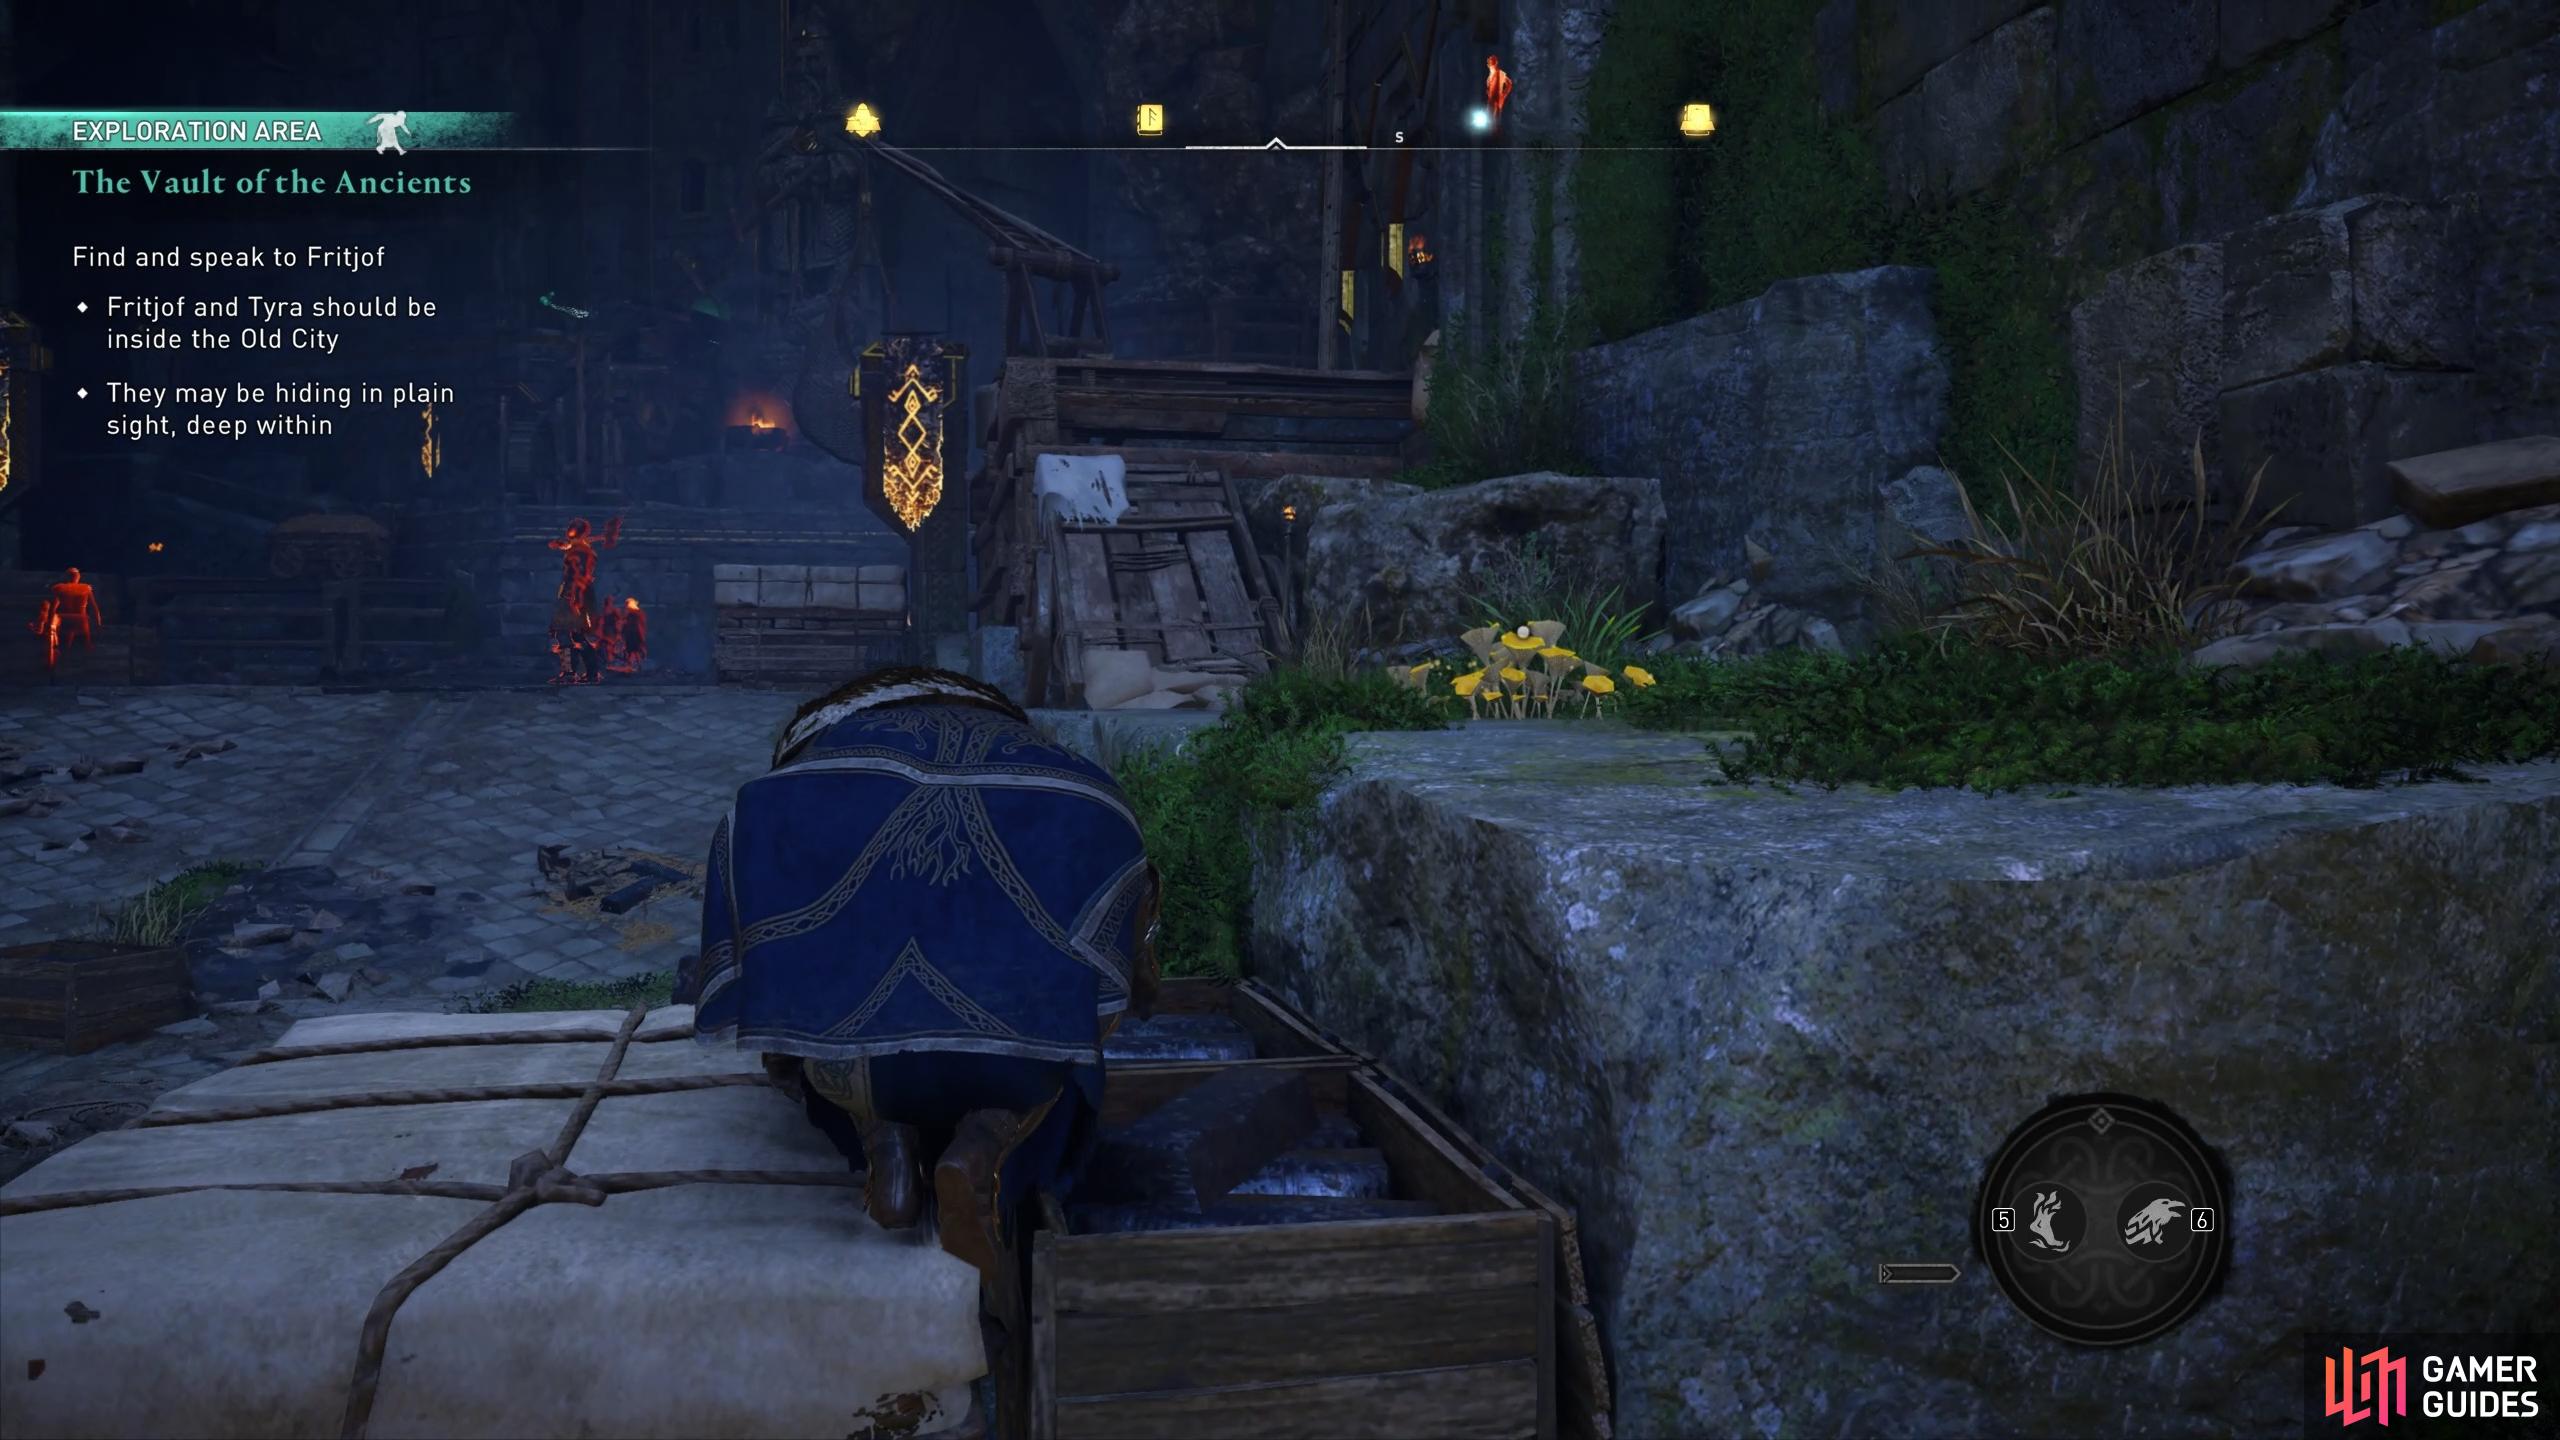
(1 of 3) You can avoid being seen by most of the Muspels if you keep to the southwestern wall.
How to Power the Augmented Sunstone
However you choose to get there, you’ll find Fritjof and Tyra waiting for you at the back of the cavern, on its southeastern side. We’d recommend waiting before you speak with them, as they have a fun conversation during which Tyra will express her feelings with crude words. After speaking with the two of them, you’ll need to follow them to a nearby pedestal where you can place the Sunstone. Once you’ve placed it, you’ll need to align some lights towards the stone to power it and open the vault, as shown in the gif below.
Mini Boss Fight: Sinmara
Once you’ve activated the Sunstone, a cutscene will play. At the end of the scene a group of Muspels will appear, including an Ash-Bringer towards the end, so you’ll need to protect the dwarves from these enemies while they figure out how to open the Vault of the Ancients. This will only happen once you’ve killed all the Muspels, so do this as quickly as possible. The scene that follows sees Havi and Ivaldi reunited, and from here you’ll need to escort the dwarves out of the cavern. However, Sinmara shows up at this point to complicate things a bit. You’ll be going through essentially the same fight that you did with her the first time you met, and she’ll retreat once you bring her to half health. See Mini Boss Fight: Sinmara for a brief overview of her attacks.
Boss Fight: Glod
After you defeat Sinmara a second time, you’ll need to speak with Ivaldi again, who can now be found at the Grenhellir Shelter. This will lead to a fairly long cutscene, which eventually ends as Glod appears to challenge Havi. This will be a tougher boss fight than what you’ve experienced of Sinmara and Surtr so far, but nothing you can’t handle so long as you’re prepared for the attacks.
The fight with Glod actually turns into something more like a relatively tough Legendary Animal battle, as Glod transforms into a cat-like creature, wreathed in lava. The first thing that makes this fight more difficult than the others is that Glod’s weak points aren’t easy to see in his cat form, especially since the color of weak points overlaps with the lava cracks in his skin. Instead, you’ll need to use a special ability which targets weak points to hit them, such as Precision Axe Throw. Use this as soon as possible to hit all three weak points, then execute a stun attack to inflict some good damage early on. Keep in mind that on the higher difficulty levels, damage sustained from stun attacks is much less significant than on lower levels.
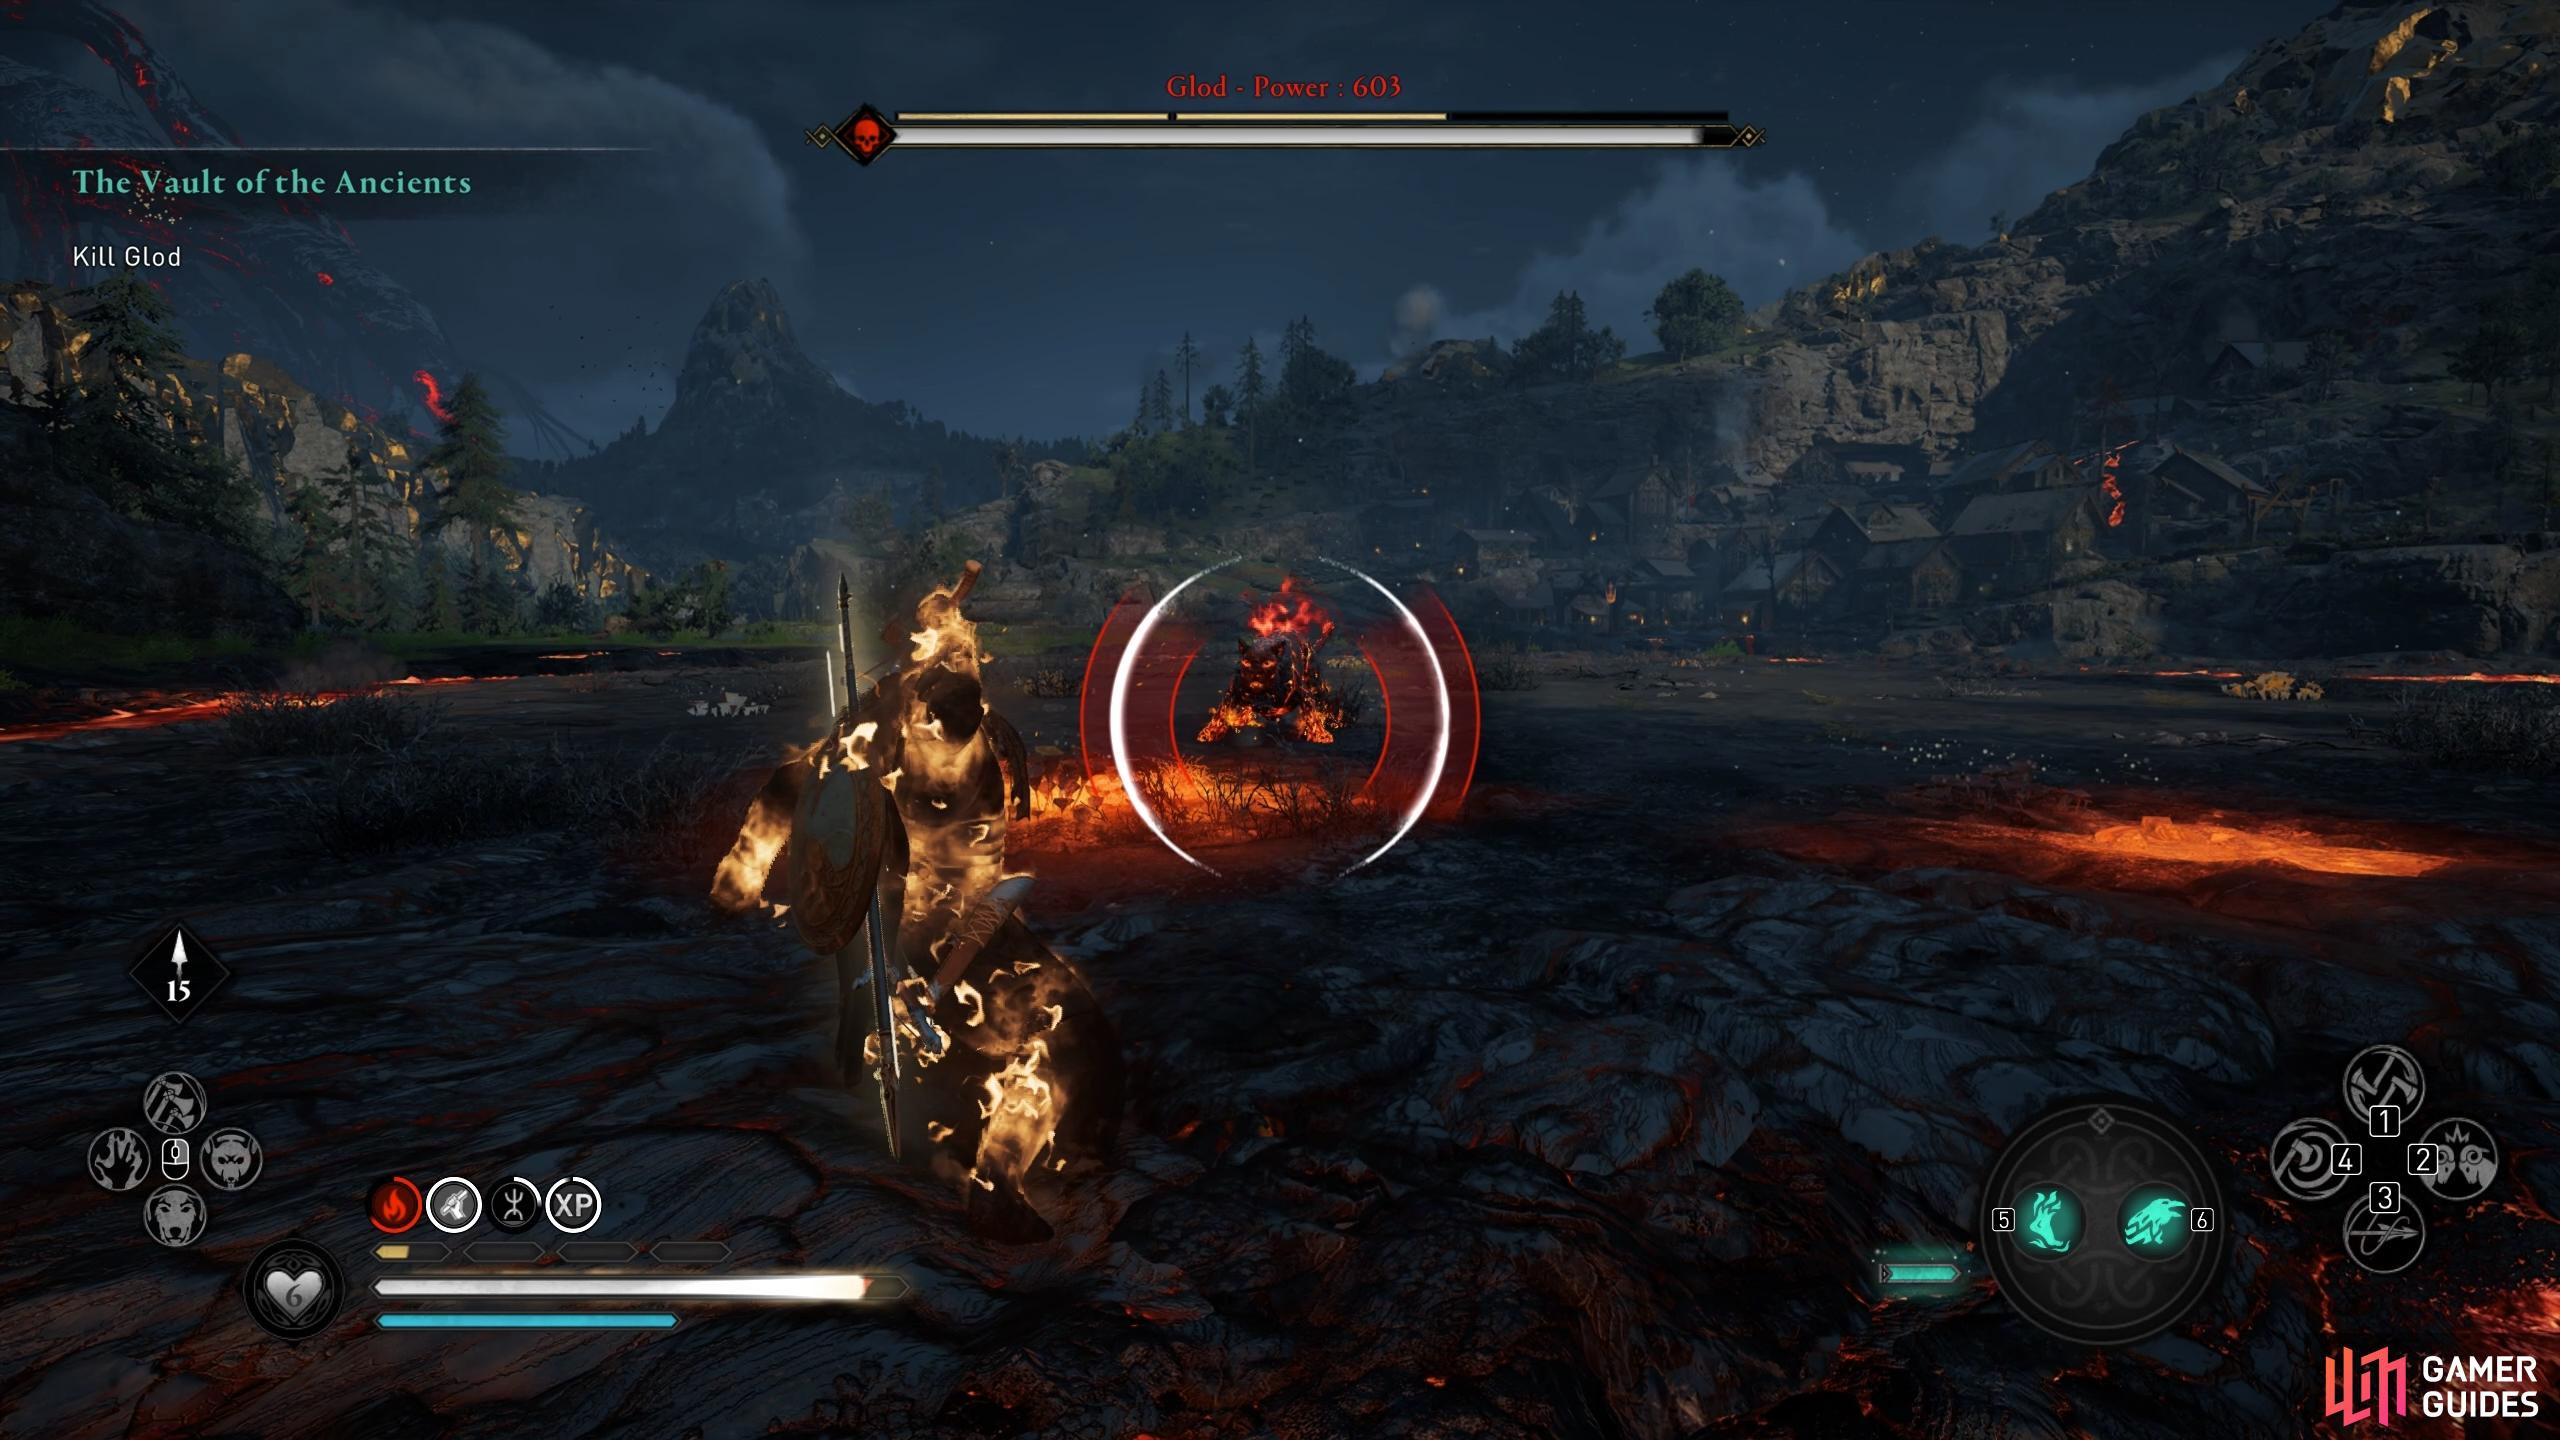
(1 of 4) You’ll need to use special abilities which target weak points, such as Precision Axe Throw, if you want to execute a stun attack early.
One of the main attacks that Glod will use frequently is a summon of multiple blobs of lava on the surface of the ground. This attack is preceded by Glod standing on his two hind legs, raising his claws as they emit fire, and slamming them on the ground. The claw attack itself will damage you if you’re in range, but the real danger comes from the blobs of lava. The impact radius of each blob will be marked by a red circle on the ground, so you can avoid the explosions if you keep an eye on these. The explosion will occur from each blob within about two seconds of them being placed, so you’ll have a brief window of time to run away from them or between them. Glod will sometimes spam this attack, using it two or three times consecutively, and he’ll often immediately pounce at you once he’s launched the blobs of lava, so you’ll need to dodge both attacks.
Another highly damaging attack that you’ll need to look out for is when Glod prepares to pounce at you with a red rune aura preceding the attack. You won’t be able to block or parry this attack, so it’s important that you’re ready to dodge out of the way. The pounce itself inflicts a reasonable amount of damage, but the real danger comes from the explosion which occurs when Glod lands. If you’re caught by this, he’ll often immediately follow it up with a series of swift strikes, which can easily catch you off guard and even kill you with just a few seconds if you’re on the higher difficulties. This is therefore a highly punishing attack, but one that you can easily avoid if you know what to look out for. See the gif below for an effective dodge away from the pounce.
The above two attacks are the main ones that you’ll need to be cautious of during the fight with Glod. However, once you bring him down to around 50% health, a new mechanic will be introduced. Glod will increase the size of the lava pool which surrounds you, making the space that you have to run around without being damaged by the lava much smaller. This is easy enough to handle so long as you’re confident with dodging Glod’s regular attacks, but the lava blob attack will become all the more difficult to avoid. You’ll need to be much more careful as you move between the red circles on the ground before they explode.
So long as you’re aware of the above attacks and fight mechanics, you should be able to defeat Glod without too much trouble. You’ll find this fight much more difficult if you don’t have fully upgraded gear, especially if you’re playing on the highest difficulty settings. It provides a decent challenge in this case, but if you just want to get it done and move on, you can always temporarily reduce the difficulty with the many customizable gameplay options. Once you’ve defeated Glod, another cutscene will play and the quest will end, completing The Relic arc in the Gullnamar region of Svartalfheim.
No Comments