
A Moment of Peace - Take 2
After that gruelling battle, you’ll be back at the nostalgic Geneolgia Manor. Once your reluctant guest comes to, he’ll demand punishment–and who are we to deny him? Exit the manor and run all the west along the upper street of Gathelatio to the Sanctum.
Inside, head for the far end, where this great journey all started–and for Denys, this is where it ends. With everything seemingly resolved, our heroes celebrate their hard-earned victory at Yew’s manor, but of course unfinished business soon rears it head.
As soon as you’re back in action, take the helm of the Rubadub. Next, set a course for the area of sea between the Harena and Yulyana regions, where the Skyhold was located during Chapter 4. To save time, you can Auto-Pilot to Miasma Woods, Al-Khampis or even Chompshire.
Once you’ve located the Skyhold, board it with haste. From there, hurry all the way back to the Throne Room, ideally via the Inner Keep’s eastern entrance. Before entering, you should save your game with the Adventurer just to be safe. Because waiting at the end is another terrifying boss.
Boss: Diamante
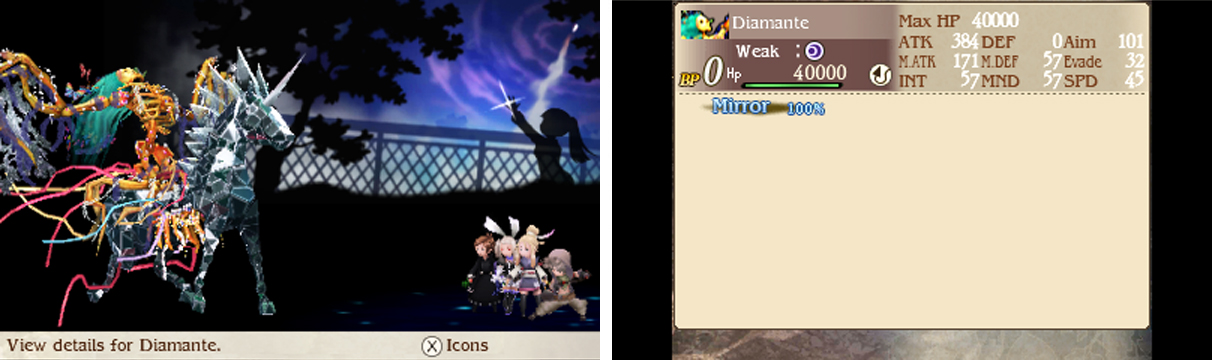
| Level | HP | Weakness |
|---|---|---|
| 57 | 40000 | Dark, Demon |
Diamante is said to be the most powerful of all Ba’als–and for good reason. Each time you attack the Ba’al, it will use Mirror Reflection to reflect the damage straight back at your party. However, all hope isn’t lost: in doing so, its Mirror percentage, which starts at 100%, will decrease by 20%.
Once Diamante’s Mirror percentange drops to 0%, your attacks will finally reach their target. That said, it’ll take a number of attacks before you get there. Plus each turn, Diamate will use Mirror Stage 1 to increase its Mirror percentage by 20%.
To break through the Mirror quickly, you should have your physical attackers attack with weapons in both hands. That way, you’ll double the number of attacks. Be sure to equip the Dual Wield ability if the character is not a Ninja to maintain their attack power.
In addition, to avoid damaging your party, your characters should equip weapons that deal elemental damage like the Excalibur or Air Knife or use the Hawkeye’s Warhead to infuse an element. Next, cast Elemental Barrier Mist to negate elemental damage for your party.
That way, when any of your attacks bounce back, they’ll do no damage to your party. If this method isn’t possible for whatever reason, an alternative solution is to equip everybody with rubbish weapons, then use the Item command to switch to stronger ones after breaking Mirror.
When Diamante isn’t throwing back your attacks, it can use Dispel to remove your party’s buffs–including your elemental resistances, although this is no problem with Mist, Scintillation to inflict multiple random hits on your party or Brilliancy to inflict light-based damage to your party.
It’s nastiest trick is Dispersion, which damages a character and prevents them from using anything but Default or Summon Friend for several turns. If this happens to your healer or whoever’s casting Elemental Barrier, it can mess up your plans. Don’t be afraid to bide your time and assign a backup healer.
In terms of offence, Diamante has zero physical defence, so physical attacks are obviously mighty effective. It’s also weak to dark, so if you’re using Warhead to avoid damaging your party, go for Darkhead to target its weakness at the same time. Likewise, swords are great too.
Succeed in reducing Diamante’s HP to zero and it’ll recover all HP for a second bout. Geez, these bosses sure don’t know the meaning of playing fair … Thankfully, like the battle with Denys, Diamante won’t do this a second time, so don’t lose heart and keep up the good fight!
No Comments