Perfect Healer
For this, you’ll need access to the Bishop’s Holy Magic (by assigning Bishop as a primary or second job), the White Mage’s Group-Cast Master, the Patissier’s Items for All and Glace. Plus a 1-cost ability of your choice; perhaps Angelic Ward or Steady MP Recover.
Group-Cast Master allows your healer to cast Benediction (Holy Magic) on your party, restoring all of their HP. It will also instantly exorcise undead mobs with 9999 HP or less. Items for All and Glace let you use items on your party with double their potency–useful as a backup solution.
Free Lunch
The Swordmaster’s Free Lunch is infamous for removing the MP cost of abilities for two turns. As such, it’s the perfect partner for powerful but high cost abilities like the Pirate’s Amped Strike or the Time Mage’s Meteor. To make the most of it, save up 3 BP by Defaulting or other means.
Once you’ve got enough BP, Brave three times and use Free Lunch followed by three lots of your expensive ability, eg. Amped Strike. Then on your next turn, Brave three times again and use four lots of the same ability. You’ll go deep in the red, but cause havoc and destruction in your wake.
Suicidal Monk
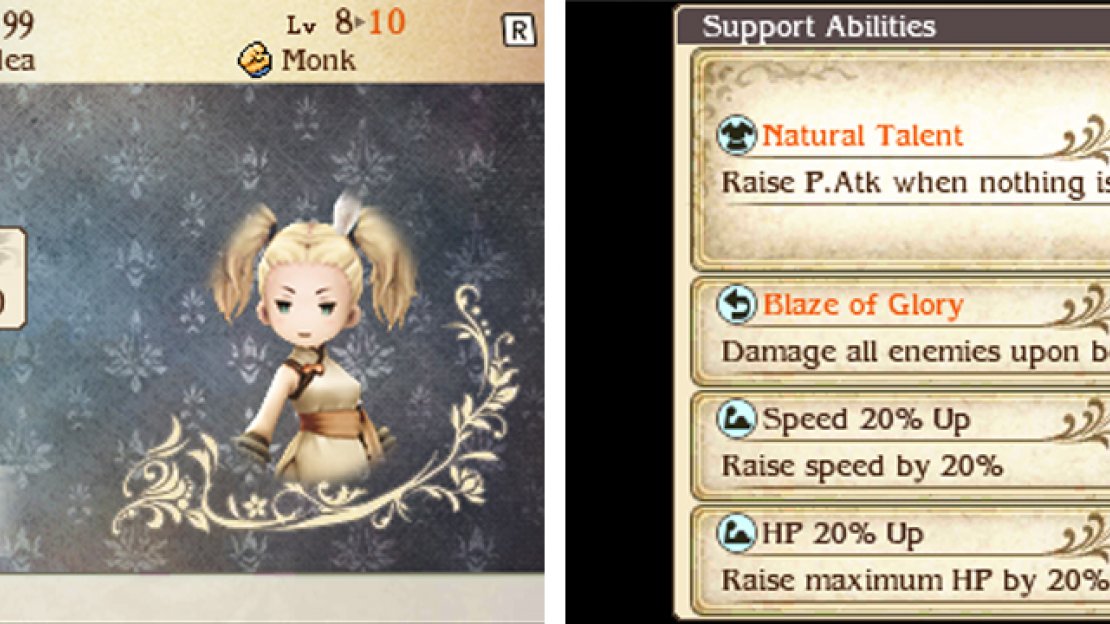
If you like living on the edge, you’ll love this. You’ll need a Monk with Natural Talent, the Catmancer’s HP 20% Up, the Dark Knight’s Blaze of Glory and the Dark Knight assigned as a secondary job. Your Monk must also have nothing equipped (sans costumes).
Start by using Phoenix Flight to drop your Monk to 1 HP and deal considerable damage to the enemy. After that, keep using Minus Strike until your Monk or the enemy bites the dust. If your Monk dies before the enemy, they’ll deal massive damage because of Blaze of Glory.
Or if dying isn’t preferred, you can protect your low HP Monk with the Exorcist’s Undo Action, the Time Mage’s Re-raise, the Guardian’s Soul Mirror or other means.
Invincible Tank
Looking for a decoy that can stop enemies right in their tracks? Put a character in the Knight or Guardian job (preferably the latter) and give them the Knight’s Dual Shield so they can equip two shields. After that, stack all the best defence-boosting gear and abilities.
From here, you can use the Catmancer’s Purrfect Stance in combination with the Astrologian’s Limit Break to raise your tank’s defences to 200%. You could also equip the Performer’s Power Up to keep your defence buffs for the whole battle, so long as the enemy is unable to dispel your buffs.
If the enemy can dispel, replace Power Up with the Astrologian’s Prescience so you can spam Purrfect Stance. Meanwhile, when facing foes that rely on powerful magic, instead of assigning Catmancer as a secondary job, you can assign Dark Knight to abuse Absorb Magic.
Other ways you can improve your tank include casting Soul Mirror (in conjunction with Prescience) to reflect all physical attacks or wielding the Hero Shield (equip the Bloody Shield throughout 255 battles) to cut elemental damage in half. Or assigning a healer job as a secondary.
Copycat Shenanigans
The Freelancer’s Mimic copies the last action used by any character, but without the corresponding costs. It essentially works like a more versatile version of Free Lunch. For example, you could have one character use an ability followed by three lots of Mimic and the remaining three characters all using Mimic.
This way, you’re freeing one extra move for three characters. To use it well, you’ll need to manage your characters’ speed well; you’ll want the character being copied to have the highest speed so they go first. Mainly useful for physical strategies since magic users have a superior method…
Ghost Mage Onslaught
To enjoy game-breaking heaven, put one character in the Wizard job and up to two in the Yokai job. While these characters have maximum MP, turn them into ghosts by using the Patissier’s Ghostly Ganache. To avoid missing your mark, have your Patissier equip Status Ailment Amp.
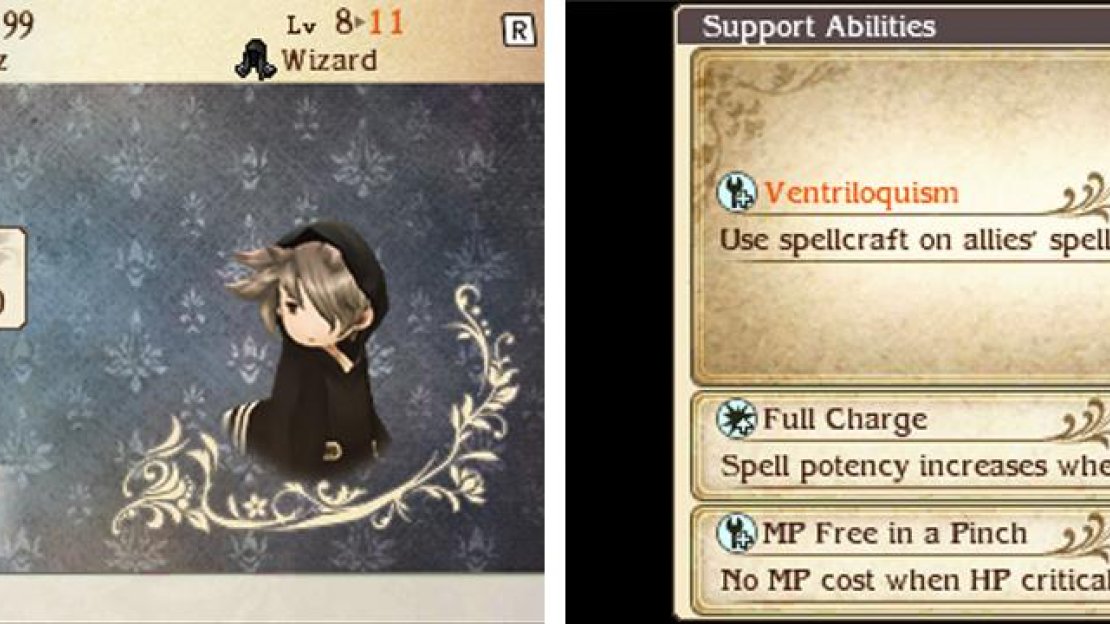
Next, your mage-users should all equip the Red Mage’s MP Free in a Pinch and the Wizard’s Full Charge and have Time Mage assigned as a secondary job. Finally your Wizard should equip Ventriloquism, while your Yokais equip the Red Mage’s Chainspell.
What you should do is have your Wizard cast three Meteors followed by the Rain Spellcraft, while your Yokai cast four lots of Meteor. Because of Ventriloquism, all of the Meteors will become Meteor Rain. In addition, Chainspell and Echo will trigger many more Meteor Rains.
MP Free in a Pinch ensures you never run out of MP, while Full Charge doubles the power of your spells since you always have full HP. For best results, you should field an invincible tank since the fourth character who’s not a ghost will be taking all of the enemy hits.


No Comments