
Ominas and Artemia
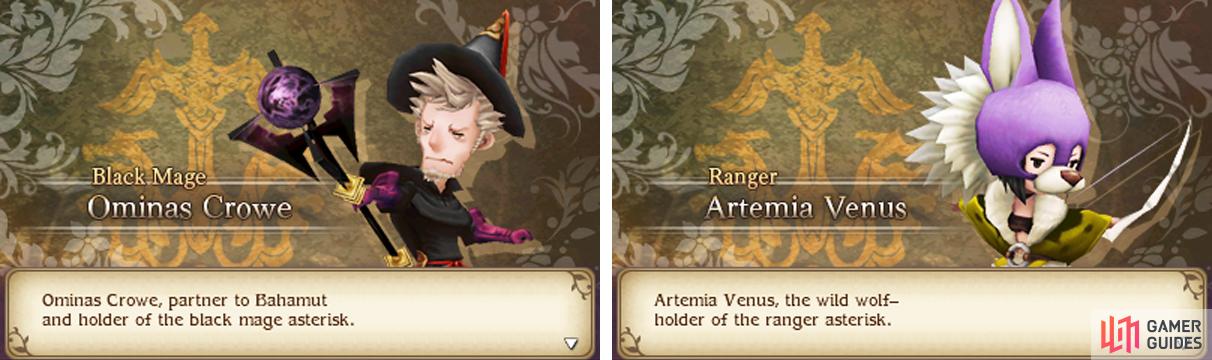
Black Mage or Ranger? Pick your poison…
This sidequest is triggered by speaking to the man facing away from the screen by Yunohana’s entrance. Somehow, the man injures himself, perhaps on one of Edea’s knuckle sandwiches, and he can’t carry the cargo he was meant to deliver to Grapp Keep. So Edea elects to deliver the goods in his place.
To reach your destination, head due west from Yunohana, until you reach the end of the mountain range below. Next, go around to the other side of the mountains and follow the path east. Soon, you’ll reach the fortress than you passed earlier on your way to Yunohana–this is Grapp Keep and your next dungeon.
Floor 1F

This dungeon is similar to the Grand Mill Works in some regards. You’ll be going in and out of two floors again, but this time you must find levers to open multiple locked gates. From the entrance, turn right at the crossroads to pick up an explosive Bomb Fragment .
The gate to the north is locked, so head left and then up from the initial crossroad. Up ahead, inspect the lever on the wall in the corner to unlock the door to its right. While you’re here, continue along the current path to reach a chest with a Phoenix Down .
Return to the crossroads by the entrance and pass through the newly-unlocked gate ahead. Ignore the stairs going up for now and head in a south-easterly direction towards the south-east corner. From the corner, go left to discover some Monoceros Flakes glimmering on the ground.
The gate along the right side is locked, so head back towards the centre and go up the stairs you ignored previously.
Floor 2F

Upstairs, go around to the south of the metal fence. From here, head south and enter the side passageway on the right. Pocket the 1500 pg from the floor, then continue south down the main path. The Adventurer and fox are both here, which means the end is nigh. Sort of.
Actually, you’re barely halfway there, as the gate leading to the exit is locked tight. Still, go ahead and use their services if you want, especially if the undead are wearing your party out. Once you’ve rested or otherwise, continue west towards an apparent dead end.
Go right up towards the left-side wall and head south to enter a secret passage. On the visible path, prise open the dusty chest for a Cross Spear , which is strong against insects and undead. Next, backtrack until you’re below the first metal fence.
From here, follow the central passageway towards the west. Along the north, you’ll pass by a locked gate; in the north-east corner are stairs leading back downstais.
Floor 1F and 2F (Again)
From the north-east corner, pull the lever on the right-side wall to open the gate below, creating a convenient shortcut back to the rest of the floor. After that, head west, past the isolated room. In the north-west corner, yank the lever on the right-side wall to open the gate to its bottom-right.
Ignore the newly-opened gate for now and go up the stairs in the top-left corner. Back on Floor 2F, head south-east and pull the lever to open the north-most gate. Return to Floor 1F via the corner stairs and go through the open gate towards the south, then ascend the stairs.
Upstairs again, head in a southerly direction; at the end, pull the lever on the wall to open the gate to its right. Now retrace your steps, until you’re back at the north-east corner of Floor 2F. From here, head west along the central corridor to reach the north-most room.
Inside, flip open the chest for a Remedy , then go down the stairs. In the isolated room, open the final chest to discover a fine pair of Power Bracers –a perfect fit for physical attackers. Finally, return to the south-most area of Floor 2F, where the Adventurer is waiting.
With the gate ahead open, you’re free to advance to the third floor. But as always, a fierce boss battle awaits, so save and rest, etc. If your party’s level isn’t high enough, you can set encounters to 100% and grind near the Adventurer until you’re happy.
No Comments