
1F West (Continued)
Stop, don’t use a Teleport Stone to leave just yet! Instead, walk towards the stairs back to 2F West (and enable Auto-Save) to force the game to save as you change areas. With no worry about losing your hard-earned game progress, return to the Adventurer near the north and strike up a conversation.
A battle you say? Well, why not?
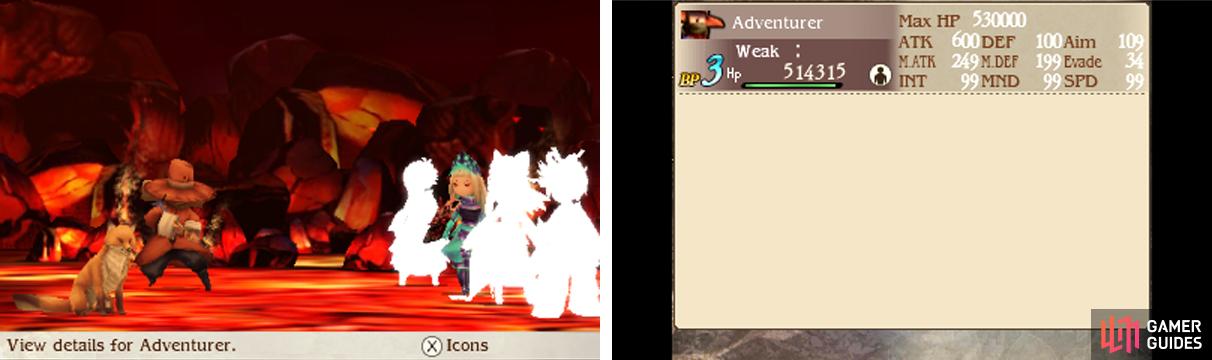
Boss: Adventurer
| Boss | Level | HP | Weakness |
|---|---|---|---|
| Adventurer | 99 | 530,000 | Nothing |
| Companion | 99 | 50,000 | Beast |
This is the super-boss you’ve been waiting for! Actually, if you conquered the Dimension’s Hasp in Bravely Default, you should be familiar with how the Adventurer fights. The red hatter can use Mass Slash to inflict big damage to your party, occasionally expending BP for more damage.
Meanwhile the furry Companion supports the Adventurer with Adventurer’s Friend, for a 3 BP boost, Curaga for healing, Dispel to remove your party’s buffs or Blind to, well, blind your party. If you’ve got physical attackers, definitely give them something to ward off Blind.
The most annoying thing is that the Companion and Adventurer can revive each other with full health, so you need to defeat both at the same time. Of course, you’ll be seeing the Companion coming back a lot, but you definitely don’t want the Adventurer returning!
Eventually, after their HP falls below half, the Adventurer will start to Brave for two lots of Mass Slash or Meteor. Depending on how much BP the Adventurer has, they may go immobile for a few turns. So if you can somehow survive their fury, the road to victory isn’t too far.
Because the Adventurer deals an unholy amount of damage, a good way to handle this fight is by having a tank absorb the hits, while the rest of your characters become ghosts. For best results, your tank should be a Guardian with Dual Shields and all the defence buffs you can muster.
You can also put up Soul Mirror (with Prescience to go first) to bounce back most of the duo’s attacks. Just watch out that Dispel removes Soul Mirror, so you can’t rely on it all the time, but it’s great when it’s up. While the tank is distracting the duo, your ghosts can focus on the offensive.
No matter how bulky your tank is, it’s unlikely they’ll last forever, so you’ll want to finish the battle quick. Try stacking MP Free in a Pinch for zero MP consumption, Full Charge to double your damage at full MP, Chainspell for double-casting and Echo for additional attacks.
You may notice you don’t have enough ability points for all of that–instead, put two of your characters in the Yokai job for innate Echo. Meanwhile your third ghost should be a Wizard sacrificing Chainspell for Ventriloquism, to spread Spellcraft to other party members.
As soon as you have 3 BP, make your Wizard cast three lots of Meteor and finish with the Rain Spellcraft. Then your Yokai should cast Meteor four times each. With Ventriloquism, everyone will be casting Meteor Rain and your Yokai will cast it too many times to count with Chainspell and Echo.
By the way, don’t go below -1 BP as after you defeat the Adventurer, you’ll be thrust straight into another battle…
Boss: Adventurer (Deneb)

| Boss | Level | HP | Weakness |
|---|---|---|---|
| Adventurer | 99 | 530,000 | Nothing |
| Companion | 99 | 50,000 | Beast |
This battle is essentially the same as before, but the Adventurer–who we discover is Deneb–can use Meteor Rain to rain non-elemental damage on your party, Bird of Prey for multiple powerful hits and Sonnenblume to reverse the turn order.
If you were able to one-turn the Adventurer before, don’t hold back and Brave the maximum amount of times once everyone has 0 BP, unleashing your own Meteor Rain to finish the battle in one fell swoop. Otherwise, bide your time with your tank to build up BP for your ghosts.
No Comments