
Sinful Pursuit
If you wish to unlock the Yokai job’s full potential, you’ll need to hunt for the seven sin beasts hiding within the stone monuments dotted around Luxendarc. So it’s like a reverse of the original Vampire Castle quest in Bravely Default.

We’ve saved you the hard work of looking for the sin beasts!
| No. | Sin Beast | Location |
|---|---|---|
| 1 | Asmodeus | East side of the Yulyana region |
| 2 | Beelzebub | East from Al-Khampis |
| 3 | Mammon | North-west from Florem city |
| 4 | Belphegor | Island east from Caldisla city |
| 5 | Satan | Towards the north-west of Eisenberg |
| 6 | Leviathan | North-east from the Ba’al Crater |
| 7 | Lucifer | North-east from Pilgrim’s Grove |
Obviously, once you’ve located a sin beast, you’ll need to tame it–and by that, we mean engage in a epic battle to the death. Each sin beast is a monstrosity in its own right and quite possibly some of the hardest bosses you’ll have faced thus far.
In fact, all seven bosses appeared as optional Nemeses battles in Bravely Default and the ones here are essentially the same, but scaled to Level 66. So if you fought them back then, you should be pretty familiar with them. If not, don’t worry because it’s never too late to learn!
Sin Beast 1: Asmodeus
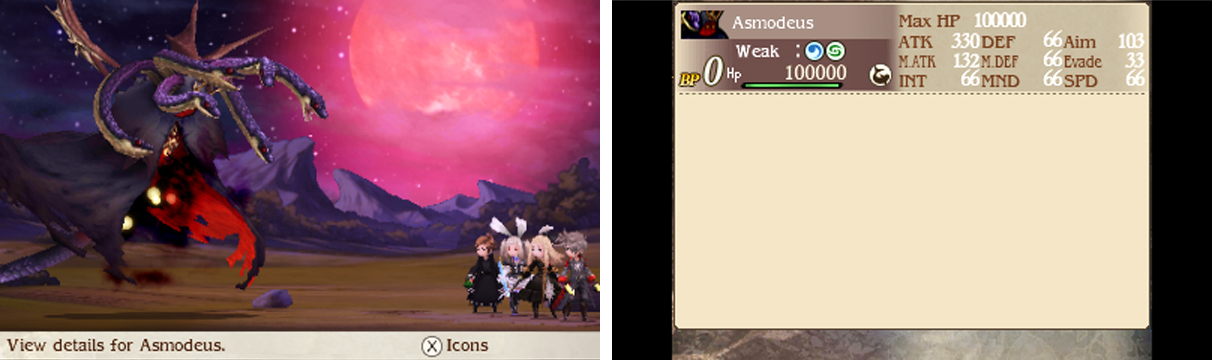
| Level | HP | Weakness |
|---|---|---|
| 66 | 100,000 | Water, Wind, Aquatic |
Asmodeus, the manifestation of lust, is one nasty piece of work. For attacks, it can cast Thundaja–the ultimate lightning spell–to shock your party or Venomous Sting to damage one and inflict not just poison, but several status ailments at the same time.
Thundaja isn’t too bad; you can negate its damage with the Raikiri katana or Elemental Barrier. Venomous Sting is the bigger pain, severely hindering a character. Although you can cure it with Innocence or Esuna(ga), it’s much safer to group-cast Status Barrier to prevent it.
In fact, Status Barrier will also help to ward off Asmodeus’s Lust, which is capable of charming your whole party. While Lockets and Charm Immunity can do the same job, using Status Barrier will free up a valuable ability or accessory slot and you need to avoid Venomous Sting anyway.
To further complicate things, Asmodeus can use Call of the Infernal to send a character Out of Battle. If you’re “lucky”, it will use Release later to bring the character back, inflicting charm if they’re unprotected. Just be wary that Asmodeus can send multiple characters OOB.
Worst of all, all of your characters can be OOB, resulting in a Game Over. As such, this battle essentially has a soft timer and you’d be wise to wrap it up sooner rather than later. Thankfully, Asmodeus isn’t too hard to take down, despite its fairly high HP.
By now, you should have plenty of tricks at your dispoal–plus you’ve got the Awakening ability to unlock every job’s Level 11 ability. Our favourite method is using the Fencer’s Bloody Wolf in conjunction with the Astrologian’s Limit Break to consistently hit for amazing damage.
Sin Beast 2: Beelzebub

| Level | HP | Weakness |
|---|---|---|
| 66 | 100,000 | Lightning, Earth, Bug |
The manifestation of greed is tough, but more straightforward compared to the previous sin beast. For offence, it will use Octowhip to inflict random physical damage to your party, Tentacles to strike one or Firaja–the ultimate fire spell–to scorch your party.
Firaja can be nullified by the Iceflame Shield or by group-casting Elemental Barrier. Meanwhile you can buff your party’s physical defence (for example, with a Performer) to reduce the damage from Octowhip and Tentacles.
On occasions, the oversized octo may use Demon Eye to inflict Dread, Confuse and Stop on your party. Each ailment is annoying in its own right, nevermind three at once. To avoid the evil eye, group-cast Status Barrier as soon as you can.
Things get a bit tricky when Beelzebub uses Gluttony on itself. In the Gluttony state, your attacks will heal Beelzeub instead. After five turns of attacks, it will unleash a powerful Acid Breath on your party, for heavy damage and reduced physical defences.
There are two ways to combat Gluttony. One, you can bide your time and ensure your party has high physical defence to survive Acid Breath. Or you can evade it with the Exorcist’s Undo Action, Ninja’s Utsusemi or Templar’s Rampart (for the latter, use it with Prescience).
Two, you can focus all of your strongest (preferably lightning or earth-based) attacks on Beelzebub. If you manage to deal enough damage before it uses Acid Breath, it will use Overflow, severely damaging itself–and possibly resulting in a KO when its HP is low enough.
Sin Beast 3: Mammon
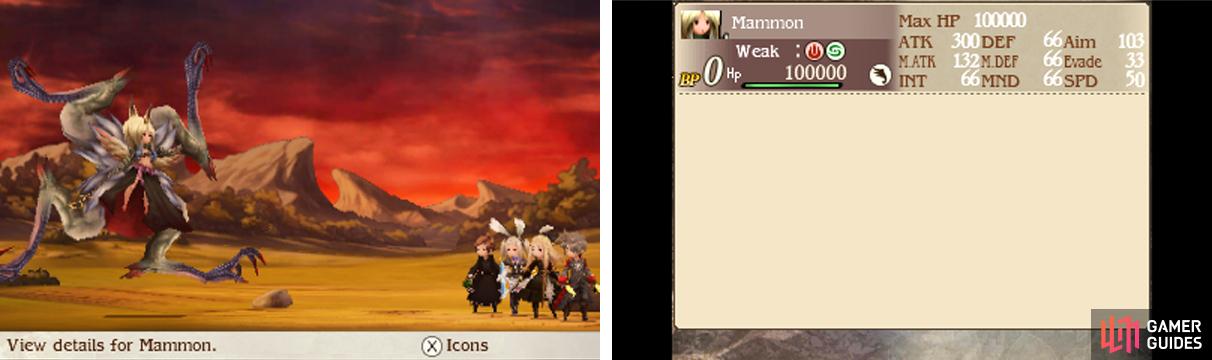
| Level | HP | Weakness |
|---|---|---|
| 66 | 100,000 | Fire, Wind, Aerial |
The manifestation of avarice has many tricks up its tiny sleeves. For starters, it can use use its namesake, Avarice to steal 1 BP from each party member. To avoid becoming immobile at the worst moment, avoid going below 0 BP at all times.
In terms of offence, it can expend 1 BP hit your party with Death Claws or it may cast Blizzaja–the ultimate water spell–to rain havoc. The former in particular hurts a lot , so ensure your party has naturally high physical defences. Occasionally, it may Brave for two attacks.
To further complicate matters, Mammon can use Stat Leech to reduce your party’s stats and increase its own. This is highly dangerous–as it boosts the damage of Death Claws to insane levels–and thus should be instantly reversed with the Exorcist’s Purgation (combined with Prescience).
The devilish beast is also fond of using its own Dispel to remove your buffs, so don’t expect to maintain your buffs for long. That said, Dispel can sometimes work in your advantage by removing the debuffs from Stat Leech, but definitely don’t rely on it.
More than anything, this battle is a test of wits and your ability to deal with Stat Leech. Don’t forget that Special Move buffs and the buffs from Fencer stances are unaffected by Stat Leech and Dispel. If you can constantly shift the power away from Mammon, this battle isn’t so bad.
No Comments