
Regrouping at Sagitta
Upon arrival at Sagitta Village, make a beeline for the Residential Area towards the centre of the village. Inside, head up to the top level and speak to Sirius who’s warming up his comfy couch as always. Before you do so, make sure your party is ready for battle.
Just as our heroes predicted, the Skyhold has come to Sagitta. Once the airborne fortress is in your sights, press the A button to fire the SP Cannon and stop it in its tracks. However before our heroes are able to board the damaged Skyhold, the kaiser’s loyal pet makes a final stand.
Boss: Minette and Bismarck

| Boss | Level | HP | Weakness |
|---|---|---|---|
| Bismarck | 53 | 60000 | Fire, Beast |
| Minette | 53 | 50000 | Water |
These cats are stronger for sure, but honestly this battle isn’t much different from the last. Except now you’ve got a lot more toys to play with.
Minette can use Stardust to rain random light magic on the party or Catnap to send your party to sleep. Give everybody a Clothespin from Ancheim to ward off sleep and equip the Lustrous Shield or cast Light Mirror (Elemental Mirror) Blast to negate/reflect Stardust.
Meanwhile, Bismarck uses Dual Attack to deal two powerful hits, Chomp to attempt to drop a character to 1 HP or Call of the Wild to try and inflict Dread on your party. Bismarck is the deadlier of the pair by a wide margin so work on eliminating him (or her) first.
Bismarck hits like a truck, so try to buff your party’s physical defence or use the Pirate’s Defang to drop his (or her) physical attack. Ninjas can try to evade one attack with Utsusemi, while Swordmasters can use Nothing Ventured to tank the hits and draw attention.
As before, you can greatly speed up the battle by focusing on the pair’s elemental or family weaknesses. You’ve got plenty of options such as the Hawkeye’s Warhead (fire/water) or the Doujiri-Yasutsuna (humanoid), Flametongue (fire), Bastet Claw (beast) and Dagger (beast) weapons.
Skyhold Assault - Take 2
After finally taming Minette, take the helm of the Rubadub and fly due east towards Gathelatio. Just before reaching the port town, you’ll find the Skyhold ensnared in Professor Norzen’s trap. Unless you want the kasier to get away again, quickly board the fortress.
Conveniently, the path going anti-clockwise from the entrance, which was previously closed off, is now accessible. Leave the questions for later and follow this new path towards the Inner Keep at the far end. Inside, you’ll be at the south-east corner of Floor 1F.
Before going up the steps ahead, go right and follow the path north under the overpass. At the end, open the hidden chest for a rare Yggdrasil Staff . After feeling clever about yourself, go up the steps by the entrance and turn left for another chest, which contains a spooky Death Axe .
Afterwards, go up the steps to the north-east. Somehow you’ll jump straight to Floor 3F. Go up the steps ahead and pull the lever to move the platform lift to the north down, bridging the gap on the left. From here, you can head west back to the entrance to the Throne Room.
You can bet your pg that there’s a boss battle ahead, so remember to check in with the Adventurer before proceeding further in. To our heroes’ surprise, there’s no kaiser waiting inside the Throne Room, but instead an all-too-familiar duo.
Boss: Janne and Nikolai
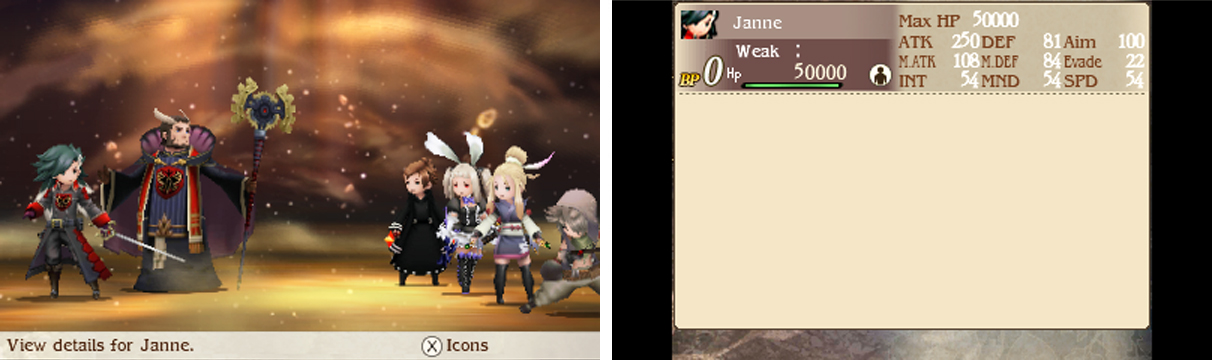
| Boss | Level | HP | Weakness |
|---|---|---|---|
| Nikolai | 54 | 45000 | Nothing |
| Janne | 54 | 50000 | Nothing |
These guys are just incredible… Nothing will stop them, not even death. At this stage, there’s nothing more to say about these two, but that doesn’t mean you should underestimate them.
Janne starts by using Blazing Wolf, then he’ll alternate between Wolf Fang and Goring Aurochs. He can also Brave for two attacks. As with previous battles, avoid using physical attacks when he’s in Aurochs Stance (after using Wolf Fang) or he’ll counter with Stampede.
Nikolai likes to Default and then cast Lightning Lightning on the party. You can laugh in his face with the Raikiri katana or better yet, Elemental Barrier Blast to protect your entire party from harm. He can also use Heal to restore 30% of his or Janne’s HP–in other words, a lot .
Thankfully, you can stop him casting Heal by casting Magic Mirror Blast on his party or negate it by using the Exorcist’s Undo HP. Since Nikolai can prolong the battle with his healing, focus on him first. Concentrate your attacks on the turn he casts Lightning Lightning.
Once Nikolai’s HP goes critical, he will use Sacrifice to KO himself and inflict powerful light magic on your party. However your Lustrous Shield and Elemental Barrier Blast will reduce this damage to nothing. Kudos for trying though!
As for Janne, he’s a menace as always. Consider boosting your party’s defence to stave off his powerful hits and attack him after he goes immobile (but not with physical hits if he’s in Aurochs Stance). After his HP drops to around a third, he’ll use Soaring Falcon.
In the Falcon Stance, his speed will reach insane levels, meaning he’ll nearly always attack first. Also, he will now use Falcon Claw to deal powerful random hits on the party, before going immobile for a turn. But if you’re smart and brace for impact, you can shrug it off.
No Comments