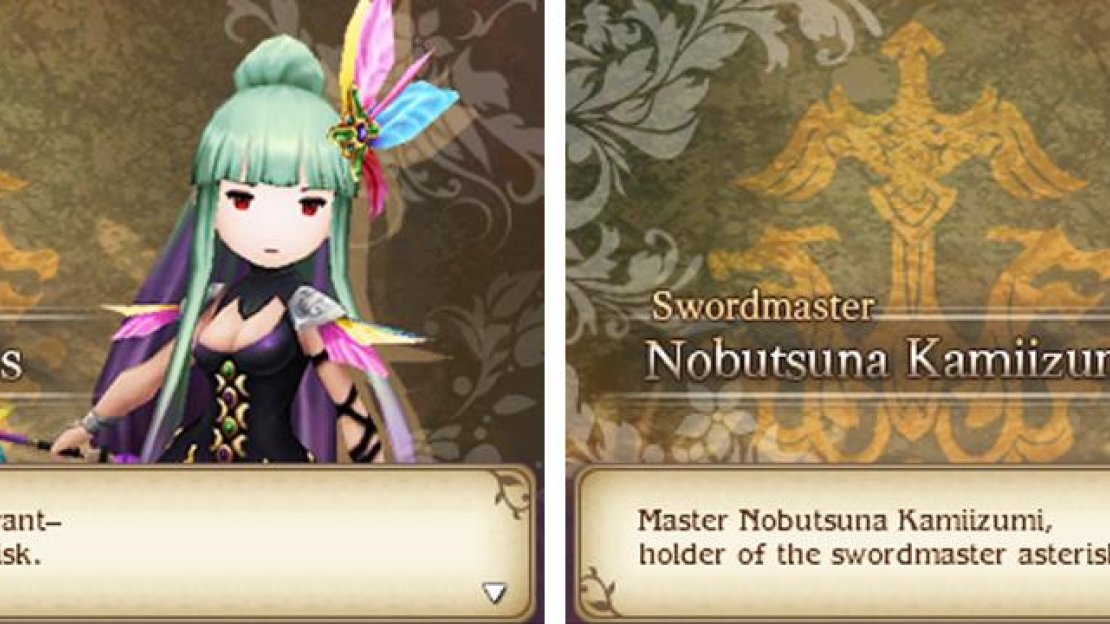
Mephilia and Kamiizumi
You’ll have to pick between the Summoner and Swordmaster jobs this time.
Now that the sandstorm around Ancheim has subsided, a new sidequest awaits. First, head for the dormitory at the west side of Al-Khampis and speak with Martha behind the counter. Apparently Kamiizumi has recovered and he’s left an errand for his trusty disciple.
Leave Al-Khampis from its north exit and travel to Ancheim to the north-west. Inside the city, raid the stores with their new equipment and scrolls. If you don’t have enough money, don’t fret because you can always come back later, but definitely buy three Clothespin accessories.
For free items head for Ancheim Palace towards the north-east and inspect the throne at the end for a Stopwatch . Outside the palace, go down the stairs to the right and hug the corner for a Tengu Yawn . There are more hidden items, but they’re out of reach right now.
Anyway, once you’ve seen the sights, make your way to the Power Betterment Office toward the far east of the city. Inside, check out the bookcase to the right of the desk for a Gold Hourglass . Before anyone accuses you of theft, speak to the man behind the desk.
Right now Gho is at work; leave the office and head back towards the Magics store, then enter the door on the left to find his workplace. Yup, it’s the Grand Mill Works from Bravely Default. Inside, proceed ahead and you’ll find Gho sulking in the corner on the right.
After Gho explains his predicament, a surprise guest–Mephilia the Summoner–barges in and teleports Gho away. With Gho’s whereabouts a mystery, return to the Power Betterment Office and speak to his boss again. So it seems Gho has gone to the Miasma Woods. Oh boy…
Exit Ancheim and chart a course east past the cliffs surrounding Ancheim, then north-east into the depths of the woods. At the end of the road is the entrance to the dreaded Miasma Woods dungeons.
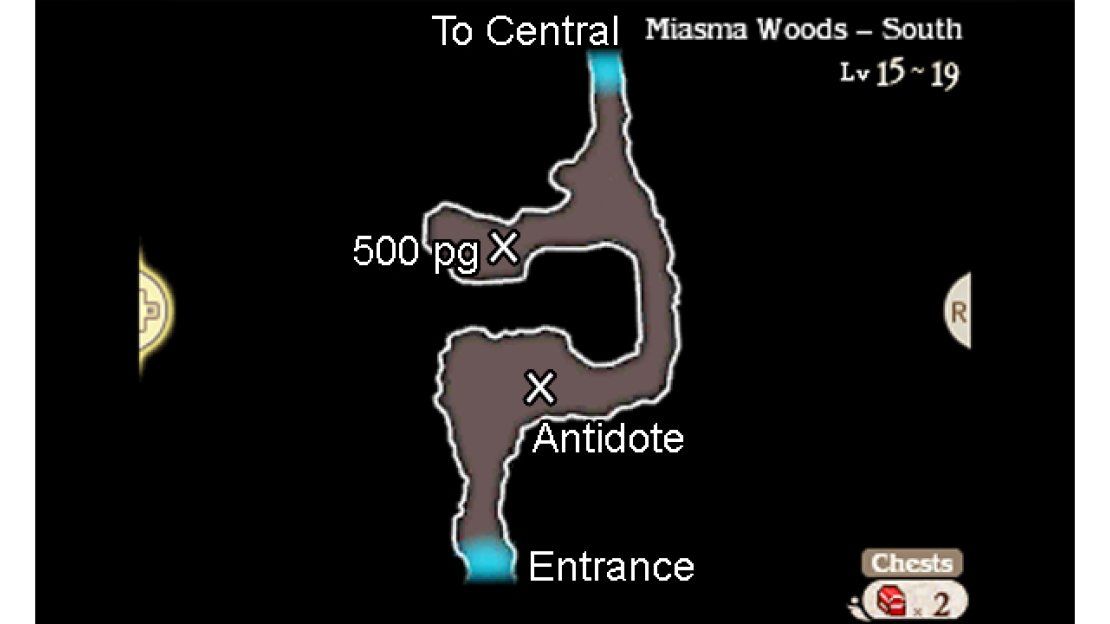
Miasma Woods - South
Watch out because this dungeon is full of dark, poisonous swamp that inflicts poison on your party when you walk on it. With the Dungeon Master support ability, you’ve got nothing to worry about, but without it you’ll want to tread carefully if you value your health.
From the entrance, go north and east around the swamp ahead. Before continuing, approach the swamp from its east to pick up an Antidote on the floor. Next, head east and then north when you reach the corner. Look out for the little patches on swamp on the left and then the right.
Once the area opens up again, head west to find a stretch of swamp. Run across to find 500 pg on the floor, then cross back over and sip on an Antidote or four if you went in unprotected. Back on the other side, carry on north to exit the area.
Central
In the second area, head forward and the road will fork briefly. On your left, there’s a chest at the far end, but a pool of deadly swamp stands between your path. If you have Dungeon Master or don’t mind the taste of poison, run across to find a Wakeup Bell hidden inside.
Back near the entrance, head all the way east to discover another blue locked chest . Once you’ve mentally or physically made a note, backtrack a bit and follow the path going north, being careful (or not careful) to avoid the swamp on its left side. After turning the corner, head east.
Soon, a long stretch of swamp will appear on your right. If you want, cross south-east over the swamp to find 420 pg lying on the forest floor. For more goodies, cross north-east for a chest containing a chilly Antarctic Wind . Then go north-west, along the narrow swamp-ridden path.
Afterwards, head north and around for another chest–this one holding a prized Ether . Finally, travel south and follow the woodland path as it twists and turns, eventually cutting through swamp. To the far north-west is the exit to the final section of the woods.


No Comments