
Fort-Lune is essentially Norende Village: With a Vengeance.
After Magnolia joins your posse, she’ll ask you to help rebuild her homeland, Fort-Lune, after it was ravaged by a destructive Ba’al. If you played Bravely Default, this works almost exactly the same as rebuilding Norende Village.
To get started, open the Map menu by pressing Right on the D-pad or tapping the left-most icon on the bottom screen map. From there, select the moon icon near the middle. A map of Fort-Lune will appear on the bottom screen and this is where all the reconstruction work takes place.
Rebuilding Basics
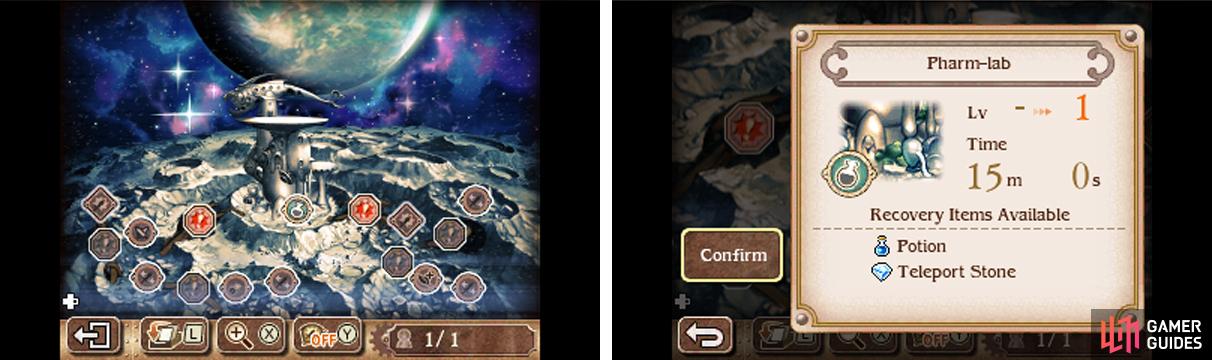
To get rebuilding, tap one of the task icons on the surface of the moon that isn’t greyed out. A window will display, with information about the selected facility or obstacle, the proposed task, the time required for the task and what you get from completing this task.
If you want to go ahead with the task, tap “Confirm”. Afterwards, you can select how many workers you want to assign to the task by using the arrow buttons. Tap “Max” to set all available workers, “Clear” to remove all assigned workers and “Confirm” to go ahead with your plan.
Once you’ve assigned workers, they will automatically work on the task even after closing the Fort-Lune window–and if you put your 3DS or 2DS in sleep mode with Bravely Second running. Placing Bravely Second in sleep mode also allows you to gather SP at the same time!
Later, if you change your mind, you can tap the same task and go to “Change” to adjust the number of assigned workers. Should you do so, the game will adjust the remaining time left accordingly. So there’s no need to worry about being forcd to commit.
Road to Reconstruction
Keep at it and you’ll get there eventually!
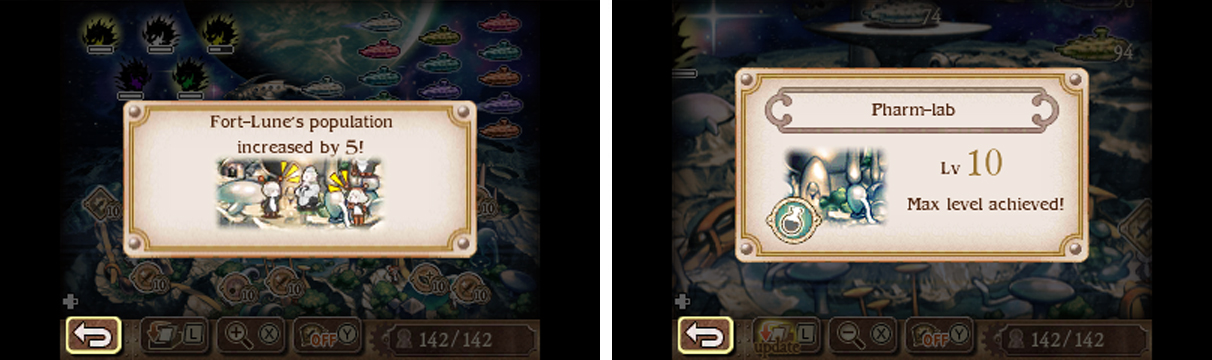
After rebuilding a moon facility, you can upgrade it further up to a maximum level of 10. Naturally, the higher the upgrade, the more time required to complete the upgrade. In addition, to access greyed out facilities, you need to clear away nearby obstacles.
Trouble is, removing obstacles and upgrading higher level facilities often requires a lot of time. To reduce the time needed, you obviously need more workers. But where are you going to magically pluck workers from?
Once you have enough workers, you need to figure out what’s the best way to distribute the workforce. Actually, there’s no right or wrong way–it just depends on what you want and how frequently you can check Fort-Lune.
Like they say, if you have two houses that take one person 1 hour to complete each, whether you put two people on one house or one person on one house each, you’ll still finish both houses in 1 hour. The difference is that you could have one house ready in 30 mins.
So if there’s a facility or upgrade you really need access to, you can consider piling multiple workers on it to get it done as soon as possible. Or if you’re taking a break and don’t expect to pick up Bravely Second for a while, you should spread out your workers somewhat evenly.
Benefits
Rebuilding Fort-Lune isn’t just a way of killing time or feeling good. By upgrading the Pharma-Lab, Munitions Factory and Bioplant, you’ll increase the available stock at the Adventurer’s Shop. In addition, you’ll receive free samples from time to time.
Meanwhile upgrading the Special R&D Labs (alpha and beta) will unlock new and more powerful Special Moves. Similarly, upgrading the Parts Labs (alpha, beta, gamma and delta) and Trigger Lab will increase the amount of Special Move customisation options.
Danger From Above
Two Ba’als debuted in Bravely Default, but most are new.
After you StreetPass another player or updating data, you’ll occasionally receive Ba’als and other players’ Buster Ships. Ba’als are nefarious entities that threaten the existence of all life, but won’t actually do anything unless you purposely engage them.
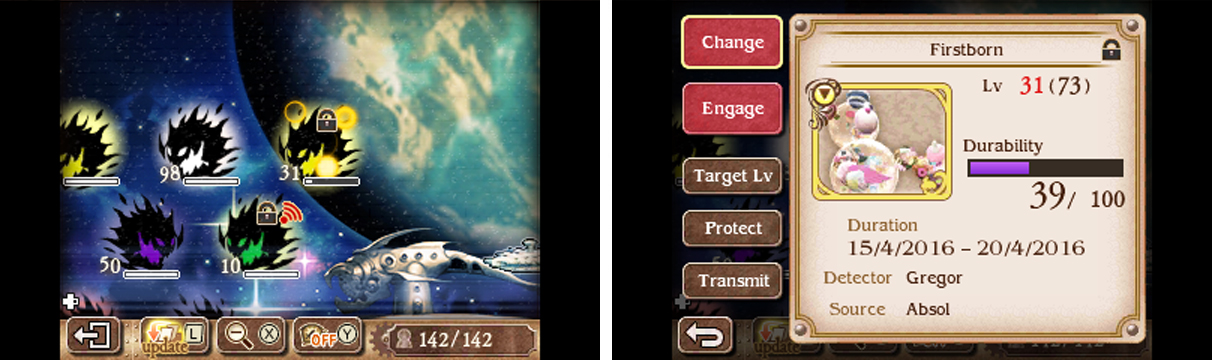
Tap a Ba’al floating above Fort-Lune and a detailed window will display showing the name of the Ba’al, its picture (and colour/symbol in the top-left corner), Level, durability, initial distribution period, sender and originator. On the left, you’ll have the following choices:
- Fire: Order your and other players’ Buster Ships to fire at the Ba’al, reducing its Level.
- Engage: Battle the Ba’al. Win to earn experience and items; lose and it’s Game Over.
- Target Level: Select the desired Level of the Ba’al for Buster Ships to stop firing.
- Protect: Prevents the Ba’al from being overwritten by a new Ba’al.
- Transmit: Send the Ba’al to other players. Doesn’t remove the Ba’al from Fort-Lune.
he Level of the Ba’al depends on who you received the Ba’al from. If you received it straight from Square Enix, it will have a certain fixed Level. Whereas if you received it from another player, its Level will scale to your party’s Level at the moment you encountered it.
Buster Ships
To make Ba’als easier, you can use Buster Ships to reduce their Level. After selecting a Ba’al, tap the Fire command to assign Buster Ships to weaken it. You can also set a Target Level for the Buster Ships to stop firing when they’ve weakened the Ba’al to this Level.
Similar to rebuilding Fort-Lune, it takes time to reduce the Level of a Ba’al. You can speed up the process by assigning more Buster Ships or higher level Buster Ships. In addition, if the colour/symbol of a Buster Ship matches the Ba’al, it will reduce the time further.
Sadly, you can’t choose the colour/symbol of your Buster Ship. However you can upgrade it just like other Fort-Lune tasks, by tapping the Buster Ship icon at the very centre of the map. Upgrading the Buster Ship is quicker than other tasks, but its maximum level is much higher (99).
No Comments