North
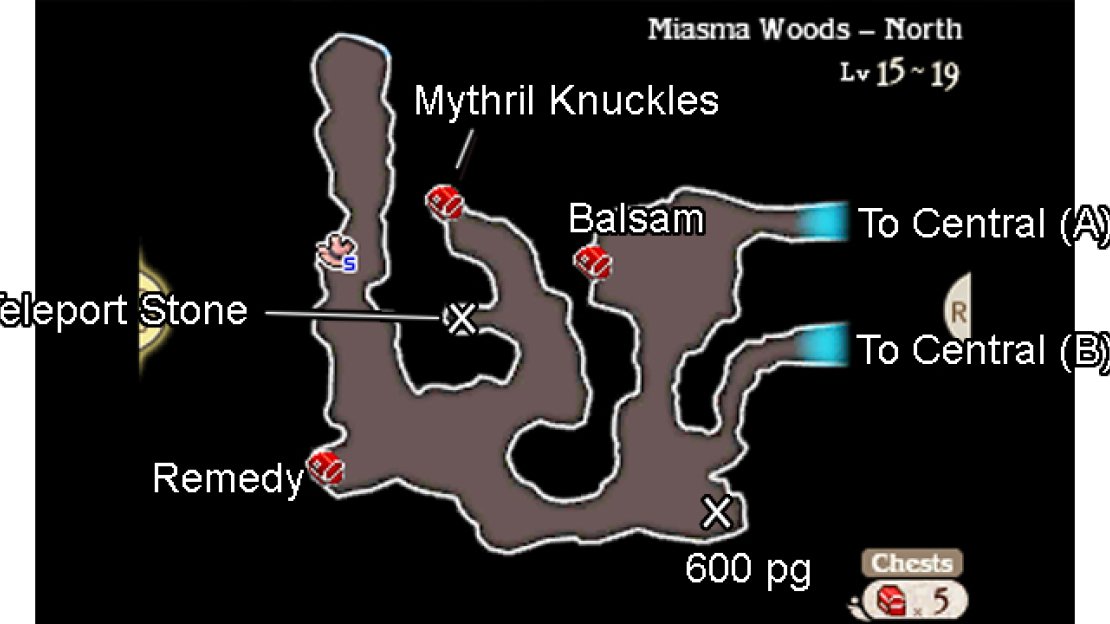
The end of the road is nigh. From the entrance, follow the path encircling the swamp to the north-west to reach a chest containing a Balsam . After going back round, carefully follow the southward path running between the poisonous pools of swamp.
Further south, when the swamp below forces you to turn to the south-east, stop for a moment. From here, go north-east to exit back to the Central area. On the other side, open the chest for a Clothespin that you can gift to your fourth character.
Return to the North area and travel anti-clockwise around the first pool of swamp to your south. As you pass along the south side of the swamp, slow down as the swamp-free path narrows. Grab the 600 pg lying on the floor at the end, then make your way westward.
Soon, the path will narrow again as it twists through the swamp. Carefully follow the path around and head north-east where there’s open space. Continue forward and turn left when the swamp reappears to the north to find a Teleport Stone shimmering on the ground.
Next, pluck up your courage and run straight through the swamp to the north; crack open the chest on the other side for a pair of Mythril Knuckles –ideal for a Charioteer. After crossing back over the swamp, don’t forget to cure your party of poison if you need to.
Backtrack to the path through the swamp and head west a few paces. To the south-west is a very narrow strip of path–slow down and cautiously walk across to discover a chest with a Remedy inside. Hardly a worthy reward for the danger, but it’s better than nothing.
Finally, once you’re back on the main path, follow it in a north-westerly direction to reach the exit of the swamp. Helpful as always, the Adventurer is here for all your boss preparation needs. Once you’re ready, carry on north and speak to Mephilia to trigger the choice.
Boss: Mephilia Venus
| Boss | Level | HP | Weakness |
|---|---|---|---|
| Mephilia | 22 | 5000 | Nothing |
| Legion Impaler | 22 | 800 | Lightning |
| Legion Archer | 22 | 700 | Nothing |
| Legion Mage | 22 | 800 | Nothing |
Mephilia is pretty tough, casting Hresvelgr every three turns to batter the party with wind magic. Always Default on the third turn to mitigate the damage. By the way, you can skip the summon animation by setting battle speed to at least medium (press Right on the D-pad mid-battle).
The Legion girls are tricky too, especially the Legion Archer who uses Chaos Arrow to damage one and potentially inflict confusion. You can equip one character with the Peace Ring to negate confusion, but it’s still far from reliable so focus on her first.
Meanwhile the Legion Impaler uses Execution to hurt one and occasionally Defaults once to Brave on the next turn. Finally, the Legion Mage casts Gravity to cut a character’s HP by half with 50% chance or Silence to prevent a character from casting magic.
These other two gals aren’t quite as annoying, but you should still aim to remove them fast before their damage builds up. On the first two turns, fry the Impaler with a Lightning Dart and have your Fencer, Charioteer or Thief take on the Archer and Mage.
When your party takes damage, don’t be stingy and group-cast Vivify, twice if necessary. But when only one character is injured, use Hi-Potions to save MP. Try to heal during the turns before Mephilia casts Hresvelgr in case you rack up damage and are forced to heal during the summon.
Once Mephilia’s minions are gone, the battle will become very straightforward. Just make sure to always keep a note of which turn number you’re on so you know when to brace for Hresvelgr. For offence, physical attacks are best as Mephilia boasts high magic defence.
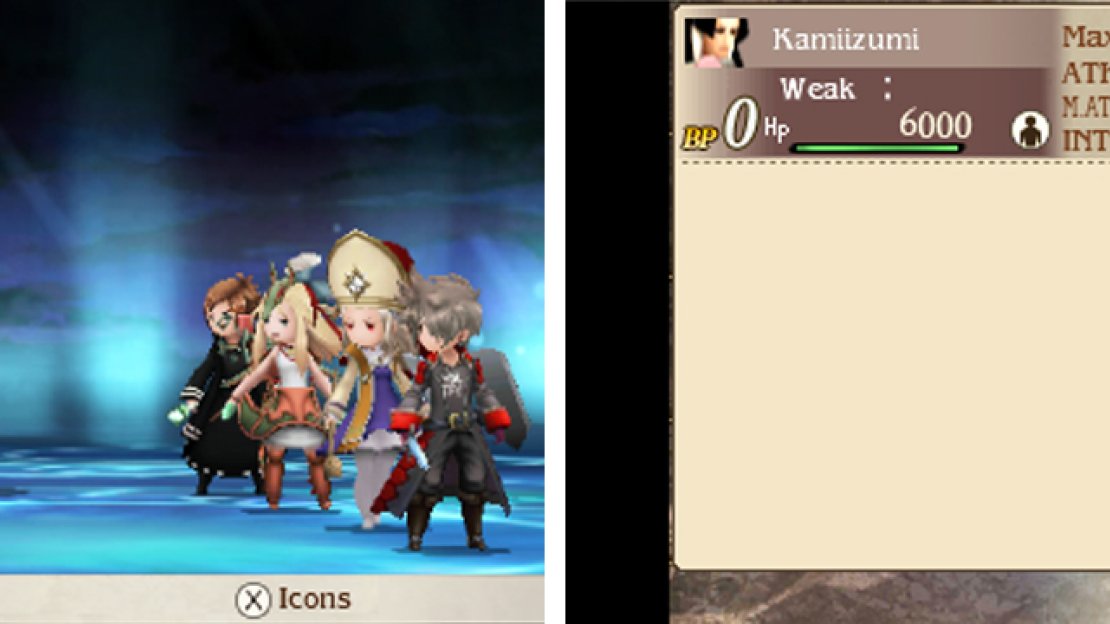
Boss: Nobutsuna Kamiizumi
| Boss | Level | HP | Weakness |
|---|---|---|---|
| Kamiizumi | 22 | 6000 | Nothing |
| Black Blade | 22 | 800 | Lightning |
| Black Pikeman | 22 | 800 | Lightning |
| Black Axefighter | 22 | 800 | Lightning |
Master Kamiizumi uses Nothing Ventured to counter physical attacks and Before Swine to counter magical attacks. He may also attack normally, with a chance to trigger a second attack via Multitask. At the start, don’t bother attacking him.
As for his minions, the Blade uses Edge of Madness to damage one and potentially inflict confusion. Meanwhile the Pikeman counters physical attacks. Finally, the Axefighter uses Shell Split to hurt one and drop their physical defence.
Since all three grunts are weak to Lightning, you can get rid of them very quickly with a Wizard. For reliable results, have you Wizard (ideally dual-wielding rods) fire two Lightning Darts–one each at the Blade and Pikeman–and then have your other characters mop up.
Once you manage to single out Kamiizumi, don’t lower your guard just yet. Any one of Kamiizumi’s counter attacks can drop your characters HP to critical levels, if not outright KO them. Although that’s not necessarily a bad thing…
Whenever one of your character is KO’d, Kamiizumi will Brave 2 times for 3 attacks (and possibly more from Multitask) and then he’ll be unable to act for 2 turns. Right after somebody drops, Default to survive the Swordmaster’s onslaught and you’ll get two free turns to mount a comeback.
Otherwise, Kamiizumi mainly uses Nothing Ventured, so you can initially bypass his counters with a Wizard or Red Mage’s spells. Or if you have a Fencer, you can afford to attack once or twice after going into Aurochs stance.
After Kamiizumi falls below half HP, he will swap to Before Swine. At this point, you don’t have to hold back your physical attacks any longer–let him have it! Meanwhile your Wizard can sneakily use Mist to avoid counterattacks.


No Comments