Into the Pit of Fire
Your strongest foes lurk within the bowels of the cauldron.
The final postgame dungeon requires trekking to the endpoint of the Mythril Mines, near where you rescued the old man’s granddaughter during Chapter 2’s White Mage versus Merchant sidequest. Towards the far north, where there was a blocked off passage is now a fiery entrance.
1F East
This dungeon used to be the Overflow from Bravely Default; like in the past, the floor is full of flaring magma that damages your party when you step over it. Of course, it’s no problem when you have Dungeon Master equipped and you’ve zero excuse not to have this ability now!
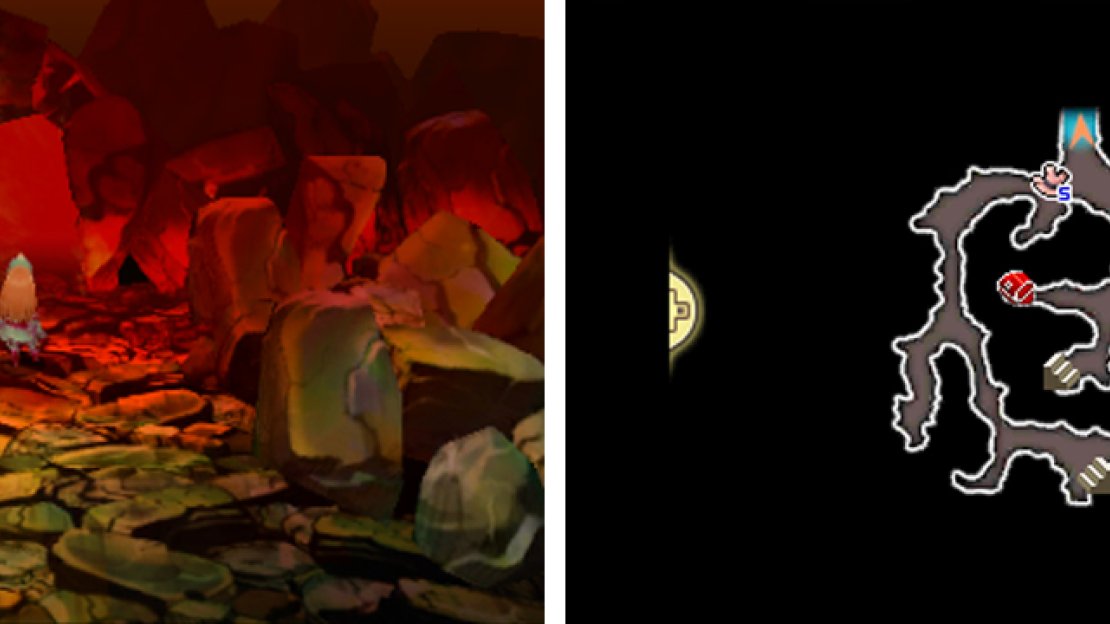
Start by heading north from the entrance. After crossing the bridge across the lava, follow the passage to the west to discover a glimmering Turbo Ether at the end of the road. Making sure not to burn your hands, return to the area past the bridge and carry on in a northerly direction.
Further north, the path will branch off to the north and to the west. For now, head west, where a chest awaits at the end. Opening this ordinary-looking chest will reveal a pair of fiery Cannon Knuckles and a surprise guest…
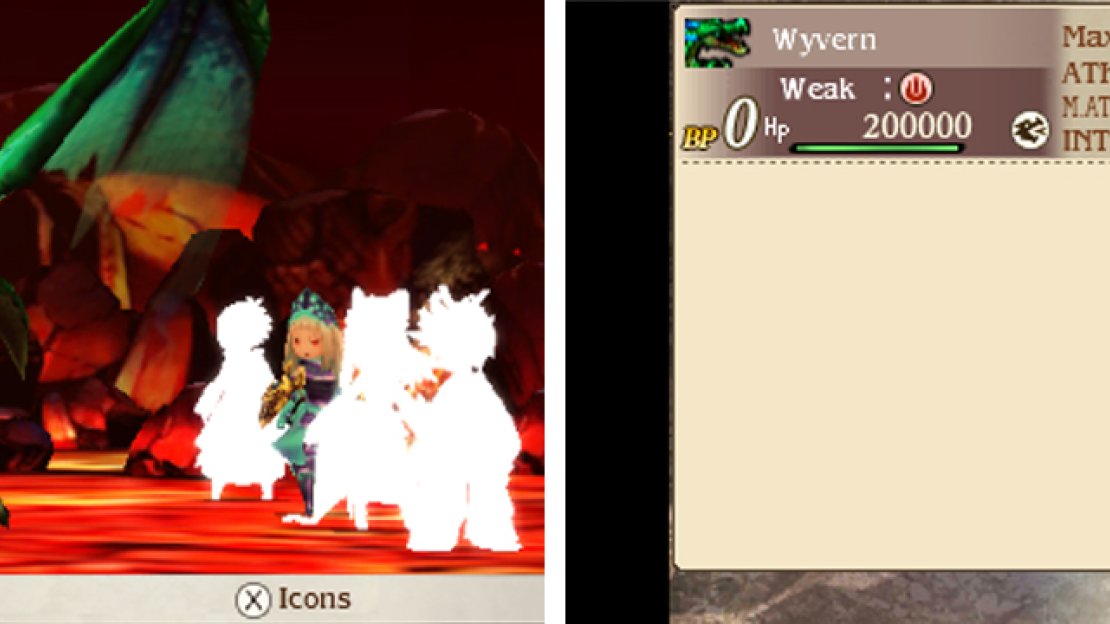
Boss: Wyvern
| Level | HP | Weakness |
|---|---|---|
| 80 | 200,000 | Fire, Dragon |
If you fought Jabberwock or Mizuchi from the previous dimensional dungeons, you ought to know what to expect from this wind-based dragon. For attacks, it uses Bite to damage one or Stormy Breath to cause heavy wind damage to the party.
Every now and then, it will use Tempest Eye to make the party weak to wind, which will greatly boost Stormy Breath’s damage. However you can essentially cheese this battle by group-casting Elemental Barrier after Tempest Eye to negate Stormy Breath.
Alternatively, since you’ll be using this setup later, you can field somebody in a tanky job such as the Guardian and three magic-users purposely put in the Ghost state with the Patissier’s Ghostly Ganache. Your ghosts can cast Elemental Barrier to protect the tank or the tank can just tank the hits.
The dragon boasts exceptional magic defence, so you’ll need the Black Mage’s Pierce Magic Defence to get around this problem. Or you can just brute force your way through with a mixture of similarly powerful abilities like Ventriloquism, Echo and Chainspell.
1F East (Continued)
Back at the branch in the path, head north towards a second branch. Here, make your way east first, over the bridge across the lava. To the far east is a chest containing a pair of Magic Armlets ; not bad for your curiousity. Next, head west from the second branch.
Near the north-west corner, carry on west to discover a chest with some Hermes Shoes inside. Great if you didn’t steal like a dozen or so from Via Celestio. Finally, keep traveling in a southerly direction from the north-west corner to reach the stairs to the next area.
2F East
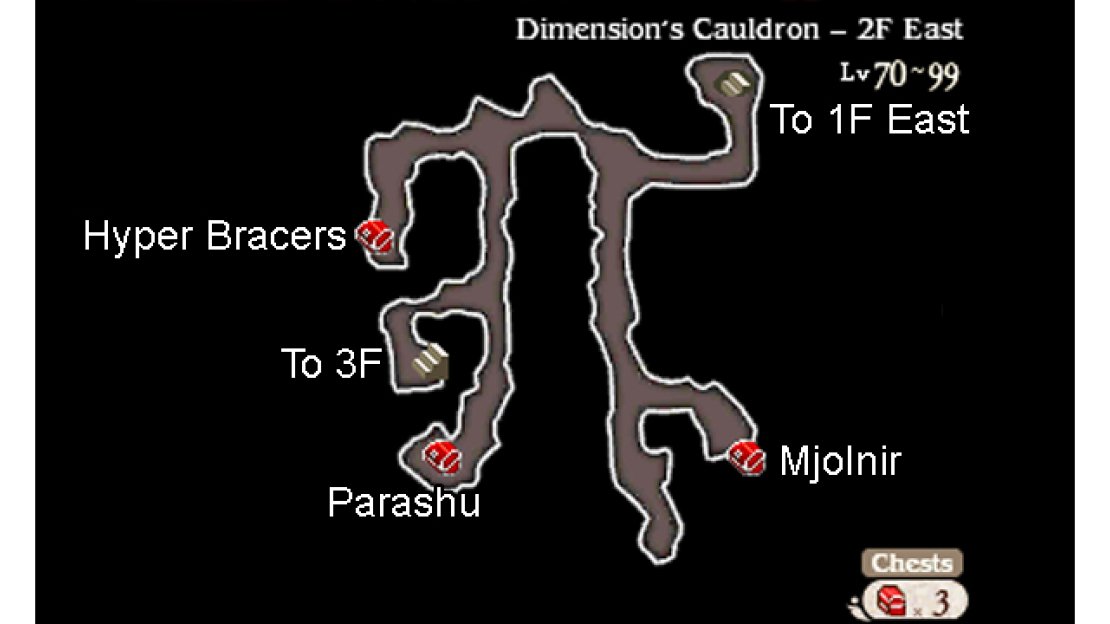
You’ll start near the north-east corner. Briefly follow the passageway below until the path branches to the north-west and the south. First, travel south while looking towards the east. When you reach the pool of red-hot lava, head east to retrieve a Mjolnir from the chest.
Backtrack to the branch in the path near the north and follow the road leading west. Very soon, you’ll encounter a similar branch. Carry on west for now to come across a chest with Hyper Bracers inside. Nice, but nothing you couldn’t steal from the Via Celestio monsters.
Afterwards, take the southward path to the right. Halfway down, there’s a path to the left that leads to the stairs. Before going that way, continue heading south, across the lava bridge. At the end is a chest containing one Parashu and one very angry boss.
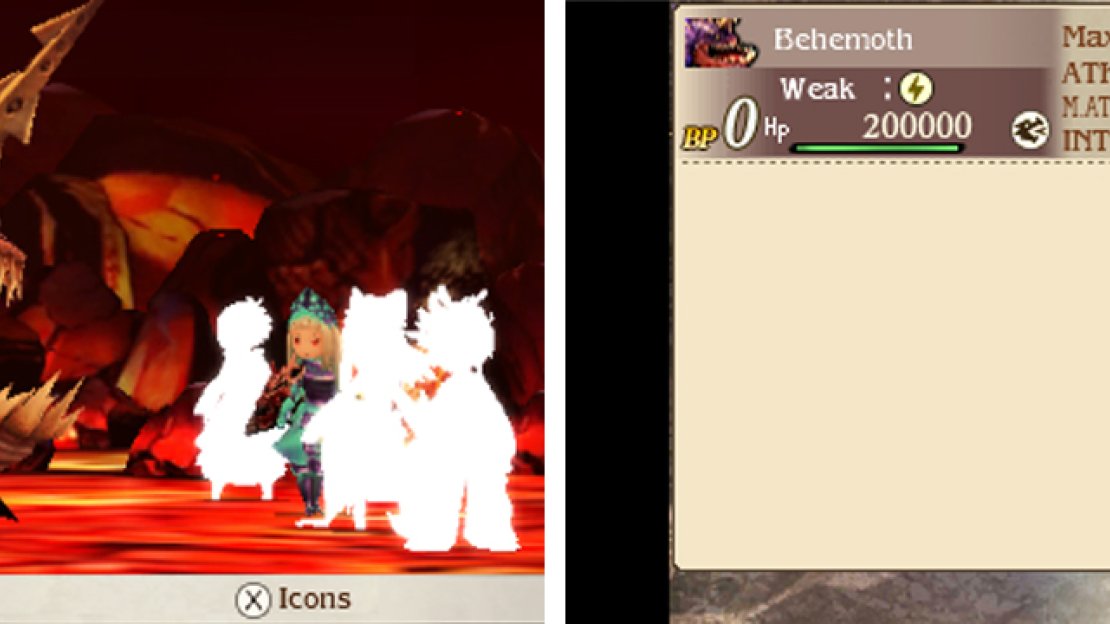
Boss: Behemoth
| Level | HP | Weakness |
|---|---|---|
| 80 | 200,000 | Lightning, Aquatic |
This ugly mug first appeared at the depths of Grandship’s Engine Room. It was vaguely tough then, but shouldn’t pose much of a threat for your party of superheroes. For attacks, it uses Roar to paralyse your party, Toothy Rend to damage one or Venomous Bite to poison one.
Paralyse and Poison are your main concerns here and you should either equip your characters with equipment and abilities to negate each ailment or group-cast Status Barrier to prevent both. With that settled, you can use similar strategies for the Dragon or Zombie Dragon boss.
Alternatively, if you’ve gone with a tank and three ghosts, you can simply give your tank the Ribbon from Dimension’s Keep to negate ailments, then Default or put up Soul Mirror to deal with the Behemoth’s damage, while your ghosts safely rain their ultimate magic.


No Comments