
West

Welcome to Bravely Second’s first dungeon! After some goofing around, the Three Cavaliers decide to take the quickest route, across the bridge to the east. Still, even the quickest route is pretty long, so take your time and pace yourself.
Here, more than anywhere else, you’ll want to study the map on the bottom screen. Unlike inside towns and on the world map, the map will be mostly empty to begin with and slowly fill in as you explore the dungeon. Where possible, try to explore the entire map so you don’t miss any treasures.
By the way, treasure chests will be displayed on the bottom screen map once you get close to them and disappear after you’ve pilfered their contents. However, glowing items on the floor will not appear on the bottom screen, so be sure to look at the top screen from time to time!
Although for your convenience, we’ve provided complete maps with locations of all the items!
Anyway, follow the woodland trail east and exit via the north-east corner, grabbing the Potion and Antidote along the way.
Southwest

On the other side, you’ll be in the Southwest part of the grove. Look down on the bottom screen and you ought to notice the orange exclamation mark near the centre of the area, indicating where you must go. Not only that, but since it’s a dungeon, expect something big once you arrive…
From your current position, head all the way east, then north up to the higher ground. At this junction, follow the high path west and then south for a chest with some Eye Drops and 100 pg on the floor. Then return to the junction and head east towards another junction.
First, continue east to stumble upon some Echo Herbs on the floor, then backtrack and head south until you’re back on lower ground again. On your right is the Adventurer; as we recommended earlier, speak to the Adventurer to save your game as soon as possible.
Once you’ve saved and rested up, follow the path west from the Adventurer back to the West part of the grove. You’ll emerge in an isolated area containing a Ether chest. With your prize firmly stashed away, return to the Adventurer and cautiously make your way east across the rickety bridge.
Before reaching the orange exclamation point, make sure your characters are in perfect fighting condition; feel free to save/rest again if necessary.
Mini-Boss: Troll
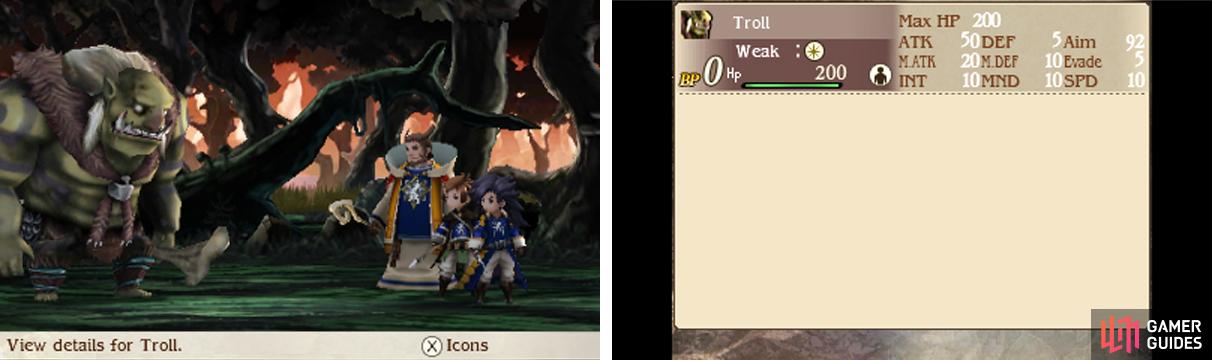
| Level | HP | Weak |
|---|---|---|
| 10 | 200 | Light |
The Troll couldn’t be easier. What you need to do is do exactly as Nikolai says and choose the Default command for all three characters. On the first turn, the Troll will Brave three times to unleash four attacks. However since your characters have Defaulted, they will receive reduced damage.
During this time, the game will also (finally) display the tutorial windows for Brave and Default. At this point, if you’re still unsure of how Brave and Default work, don’t hesitate to go back to the previous page of this guide to revise the details.
In any case, the Troll will become immobile for three whole turns as a result of expending 3 BP while at 0 BP. In these three turns, unleash all the attacks you want; you can even Brave 3 times with Yew and Janne for your own physical onslaught. Meanwhile Nikolai can join in or Heal.
If the Troll survives to reach 0 BP again, it will repeat the process, so simply Default again when this happens.
Southeast

See, we told you the way was long, but you’re almost there! Continue along your way until the path splits in six directions (including the one you came from).
If it’s items you want, follow the north, north-east and two south-ward paths. Doing so will reward you with 150 pg , a Round Shield , Wakeup Bell and Phoenix Down . Not bad for freebies!
Once you’re ready to proceed, take the single east-ward path and approach the orange exclamation mark ahead. No boss will assault you, so relax. Instead you’ll find the remnants of the Crystalguard; speak to the one in the middle of the group.
No Comments