
3F

You’re nearly halfway there. From the south-east corner, hurry north. About two-thirds up the passageway, there will be a path to the west. Ignore it for now and continue north and then west. In the far corner is a chest containing a Gandiva and another deadly trap…
Boss: Salamander
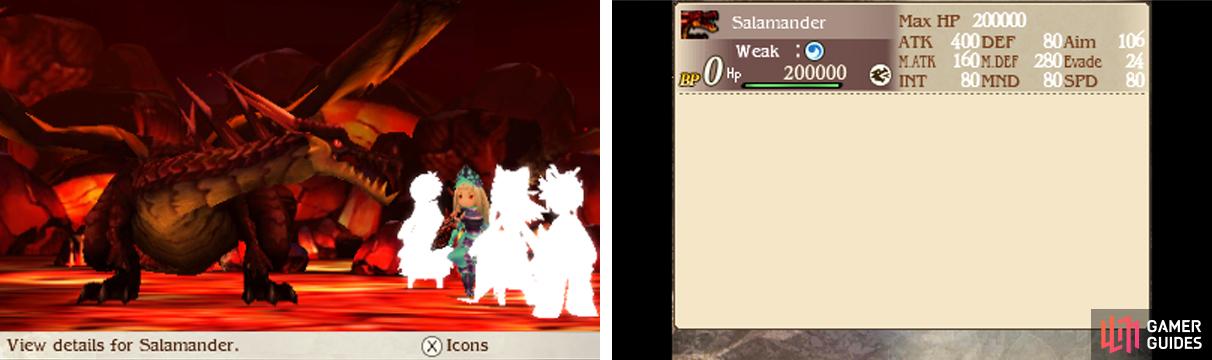
| Level | HP | Weakness |
|---|---|---|
| 80 | 200,000 | Water, Dragon |
The fire dragon is no different to Wyvern. It will use Scorching Eye to make your party weak to fire and then attempt to roast your party with Fiery Breath. As before, you can steamroll the dragon with Elemental Barrier and/or a trio of ghosts. Next!
3F (Continued)
After that draconic diversion, go back and head through the westward path that you went past moments earlier. From there, travel in a generally southerly direction towards the south-most end of the this floor. Here, there’s a chest with a Soul of Thamasa inside and nothing else.
Having breathed a sigh of relief, head in a westerly direction. As you reach the next junction, the path leading further west is but a dead end, so go north instead. Soon, you’ll find another junction towards the north. Continuing north here will lead to the stairs to the next area.
Before proceeding, head east along the side path, while keeping to the south. Lurking at the very end of this path is another treasure chest laden with a trap. Open it to find a Dragvandil –then get ready to battle another fearsome dragon thirsting for blood.
Boss: Ladon
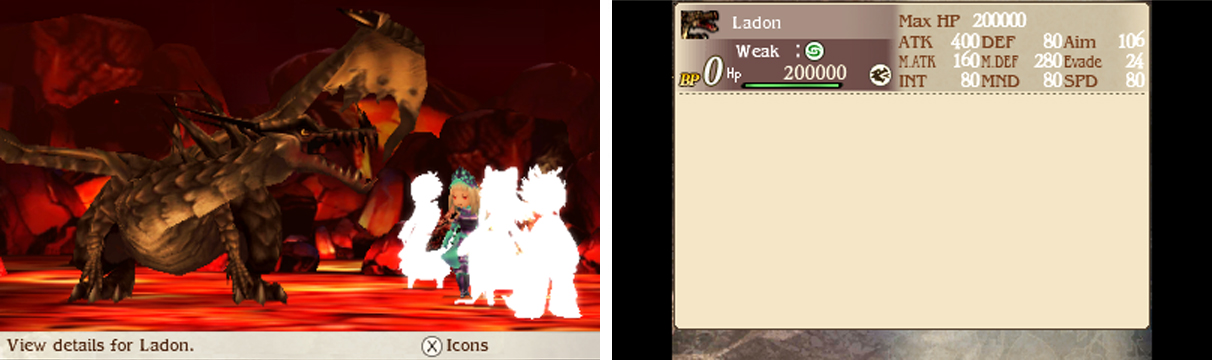
| Level | HP | Weakness |
|---|---|---|
| 80 | 200,000 | Wind, Dragon |
Surely, you’ve fought enough dragons by now to know what to expect. The earth dragon uses Earth Eye to make your party weak to earth, before finishing with a Megaton Press, which can cause Paralyse. The first way to simplify this battle is by group-casting Elemental Barrier.
Otherwise you can have a tank absorb the attacks, while three ghosts shower the dragon with their strongest magic. Don’t forget to give characters who aren’t ghosts something to negate Paralyse. Also if you’re fighting with magic, you’ll need a way to get around Ladon’s sky-high Magic Defence.
2F West
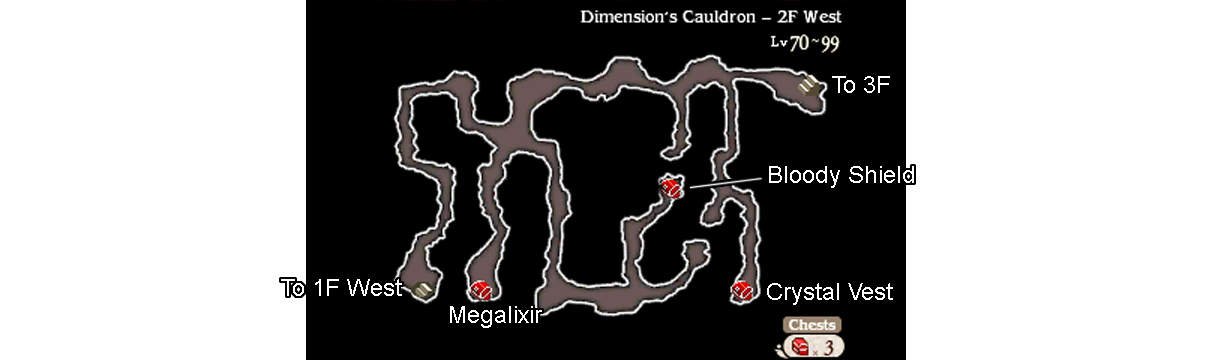
This is pretty much the final stretch. From the north-east corner where you came from, briefly head west. As soon as you spot the passage below, follow it all the way south, while keeping to the east, to retrieve a Crystal Vest from the chest at the far end.
Return to the north, then travel west from there, ignoring the nearby southward path. After a while, you’ll arrive at a crossroad. First, go directly south to come across a chest containing a miraculous Megalixir . Next, head east to reach the south part of this floor.
Towards the east, there’s a junction of sorts. Continuing east will lead to a dead end, while heading north will take you to a chest with a Bloody Shield inside. Fantastic for your tank if you didn’t steal two from Geist earlier. Finally, head west from the crossroad.
Eventually, you’ll arrive at the south-west corner, where the stairs to the final area are situated.
1F West

The end is within sight! Simply follow the path in a generally westerly direction. Along the north, you may notice the Adventurer just chilling. Unfortunately you can’t check in as usual; how bizarre. For now, continue to the far west where the final chest lies.
Open it to discover an Ama-no-Sakahoko and an extremely grumpy dragon.
Boss: Shinryu
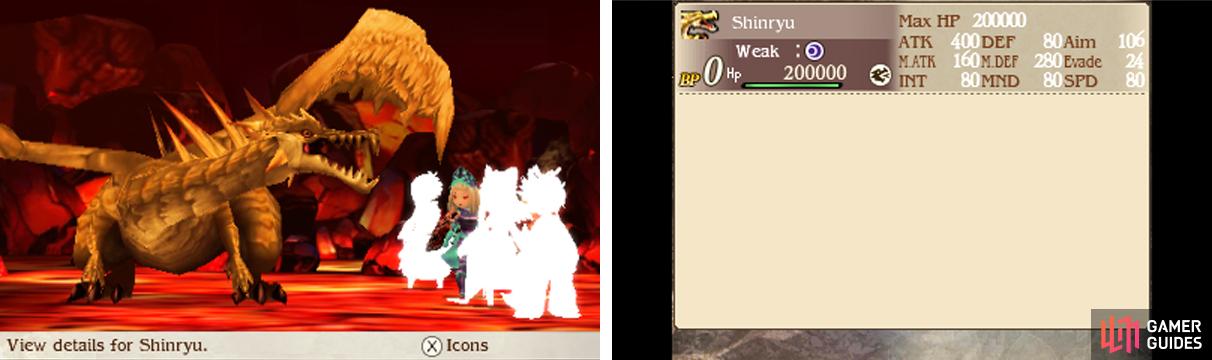
| Level | HP | Weakness |
|---|---|---|
| 80 | 200,000 | Dark, Dragon |
Alright, let’s get this over with. The light dragon uses Celestial Eye to make your party weak to light and Holy Breath to inflict powerful light damage to your party and cause Blind. That–along with Elemental Barrier–is all the information you really need to win this battle.
No Comments