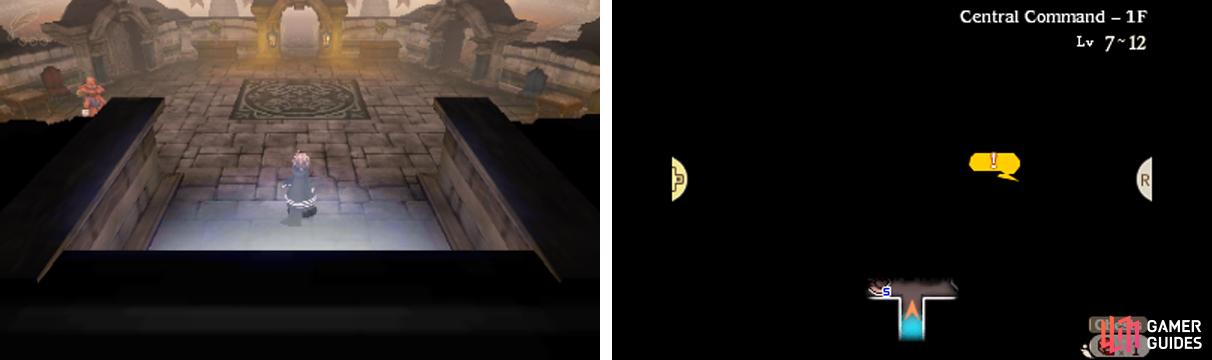
We’re finally here! Proceed along the foreboding staircase leading up to the actual Central Command. Inside, you’ll be on floor 1F , naturally. If you need to save, buy items or rest, the Adventurer is standing just left of the entrance.
Anyway, all of the doors on this floor are conveniently locked except the one to the east, where Tiz is. So without further ado, make your way to the orange exclamation mark, by following the corridor east from the Adventurer.
At the White Magic Circulation Hub, head right and inspect the console in front of the life-support system. Yew will do his thing and then it’s just a matter of waiting… Or it would be, if it weren’t for the imperial soldiers coming to check the area.
Before there’s trouble, exit the hub, then make your way back to the chamber where the Adventurer can be found. Just as you pass under the gate, stop and turn towards the bottom-right corner. In the very corner, there’s a vent, which you can inspect.
You’ll emerge in Edea’s fancy room, which hasn’t changed much from the first game. After some chit-chat, the gang hear of an oddity at the White Magic Circulation Hub. Before anyone else even has time to think, Magnolia shoots off back into the vent.
After much struggle, our four heroes have finally united; the kaiser had better watch out! Oh, but Tiz is mostly naked, so remember to give him some equipment before you set off again. Once you’ve outfitted the former hero of Luxendarc, return to the vent in the bottom-right corner.
Back in Edea’s room, head for the exit in the south-west corner. If you need to rest now or later, you can inspect Edea’s luxurious bed just above to take a nap , restoring all HP and MP.

No Comments