
Air of Uncertainty
On the world map, fly the Rubadub directly north from Caldisla, towards the northern edge of the Caldisla region. If you prefer to walk on foot, that’s fine too. Along the way, you may notice a fortress blocking your way–it’s not obvious but you can simply walk around it.
Either way, your destination is the extravagant-looking building nestled in the northern mountains. Upon arrival, your sights will probably be firmly focused on the fearsome “thing” hovering atop the eastern side of the villa. Naturally, you’ll need to get yourselves over there and shoo it away.
Floor 1F

As the second dungeon from Bravely Default, the villa itself is easy to navigate. Start by heading west from the entrance, then go through the doorway ahead to enter the inner ring. From here, follow the ring anti-clockwise. Towards the south-east, go through the doorway back to the outer ring.
Bust open the chest at the end of the passageway for an X-Potion , before returning to the inner ring. As you reach the north-west, there will be one last doorway. Through here are the stairs to the next floor. Before going up, head below the stairs to retrieve some Catnip .
Floor 2F

Upstairs, follow the left-hand side wall south to reach a chest containing a Life Ring . Next, head south-east from the stairs, ignoring the doorway to the north-east for a moment. At the end of the southern passageway is a destructive Bomb Arm .
After safely pocketing the bomb, go through the doorway you passed by earlier to enter the innermost ring. Here, follow the ring anti-clockwise to the end. On the floor is an Amande that you can add to your lunchbox. After that, go through the doorway to the north-east.
When you reach the outermost ring, follow it clockwise first to find a chest with a Heart Ring inside. From there, go anti-clockwise around the ring, until you find yourself at the north-west corner. Just ahead, towards the left, is an exit.
For now, head in the opposite direction from the exit, along the middle ring. At the end of the passageway are stairs leading back down. Downstairs, open the chest beyond for a 99 Carbine . Finally, return upstairs and exit via the north-west.
Outside, you’ll be halfway up the villa, towards its west side. Hurry east along the balcony and enter the entrance to the east. Back inside the villa, climb up the stairs at the far end to reach the third and final floor.
Floor 3F

This floor has been revamped for some reason, but it’s still very straightforward by all standards. From the stairs, go around to the south. Continue all the way to the bottom corner to discover a glimmering bottle of Turbo Ether . Afterwards, head west through the doorway and follow the corridor around.
Standing ever so calmly in the north-west corner is the Adventurer, ready as always to fulfil your adventuring needs. After checking in or otherwise, carry on south along the west wing. To the south-east is a doorway that leads to a chest containing a glorious Aegis Shield .
Finally, when you’re ready for a serious battle, exit via the doorway to the far west. Outside, you’ll be on the highest level of the villa, not far from the evil-looking giant shadow to the east. As soon as you approach the shadow, another tough-as-nails boss battle will begin.
Boss: Ba al i; Turtle Dove
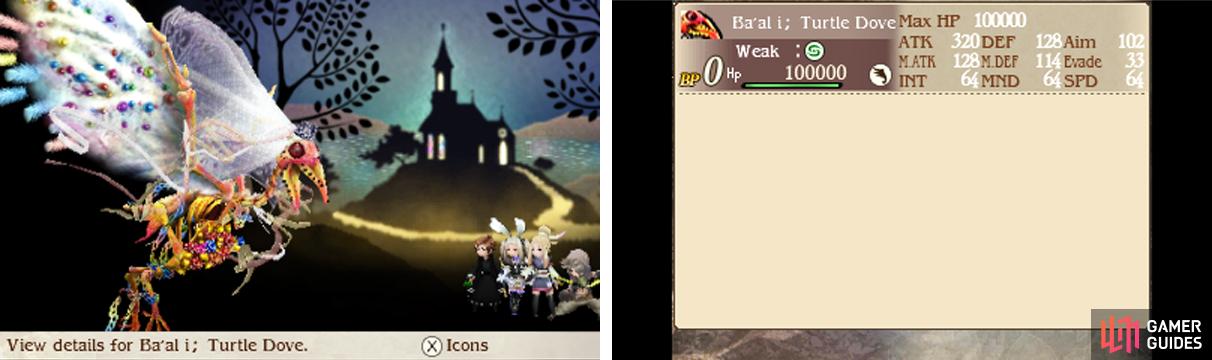
| Level | HP | Weakness |
|---|---|---|
| 64 | 100,000 | Wind, Aerial |
This boss actually debuted in Bravely Default as a powerful Level 99 Nemesis. Even though it’s weaker here, the battle is essentially the same–and by that, we mean it’s a doozy of a fight.
Turtle Dove’s standard attacks are Rake and Seraph Blast, which deal impressive physical and magical damage to one respectively. It can also use Sweet Dreams to inflict heavy physical damage to one and send them to sleep–those Clothespins will be handy for staying awake.
Things get tricky when Turtle Dove uses Fall in Love to inflict Love on a character. If you fought Florem Garden’s Paradise Applings or Turtle Dove before, you should be familiar with how Love works. Basically, characters in Love copy the actions and HP recovery/loss of their target of affection.
Later, Turtle Dove may use Triangular to make two characters fall in love at the same time. Whenever their target of affection does something, instead of copying the target, the two characters will use Love Rivals to attack one another instead.
Annoyingly, Love cannot be cured, except when Turtle Dove uses Heartbreak, which inflicts severe magical damage to everybody in Love. Worse, multiple characters–and even your entire party–can fall in Love, greatly hampering your ability to battle properly.
Finally, after Turtle Dove’s HP drops below half, it will occasionally pull off a really mean trick. First, it will Brave the maximum amount of times, then immediately use Little Gift to restore its BP by 3, followed by three attacks for absolutely no cost.
Were it not for Love, this battle would be pretty easy. But between Love and Turtle Dove’s multitude of hard-hitting attacks, you’ve got a potential nightmare on your hands. Fortunately, there’s at least one method to survive the battle with barely a scratch on your heroes.
Firstly, one character needs to equip the Astrologian’s Limit Breaker ability to double the maximum value of your buffs. In addition, everyone needs to have the Performer’s Power Up ability to gradually buff their offensive and defensive stats.
If you don’t have these abilities, it won’t take more than several minutes grinding in Grapp Keep to acquire them, so you’ve no excuse! Next, everybody should be geared for balanced physical and magical defences–or as much as possible. For best results, hand everyone a shield.
The plan is to focus on buffing your party’s physical and magical defences to +100% ASAP. You could use a Performer or Astrologian or maybe a mix of both. Meanwhile, Fencers should enter Aurochs stance for a further 25% boost.
Because Power Up continuously extends your buffs and since Turtle Dove doesn’t dispel buffs, your characters can maintain their buffs throughout the battle. Once your defences are high enough, all of Turtle Dove’s attacks–even Heartbreak–will deal zero (or next to no) damage.
From there, it should be simple to mount an offensive. The Ba’al has high physical and magical defences, but these can be offset by offensive buffs coupled with Limit Breaker. Otherwise, you could also use the Hawkeye’s Harpoon or similar means to slice through its defence.
No Comments