
Cat Mastery abilities are obtained in the same manner as Catmancy abilities, by having a character get hit by an applicable ability while a character with the Learning ability is on the field. The only difference is that at least one character must have the Cat Mastery ability learned.
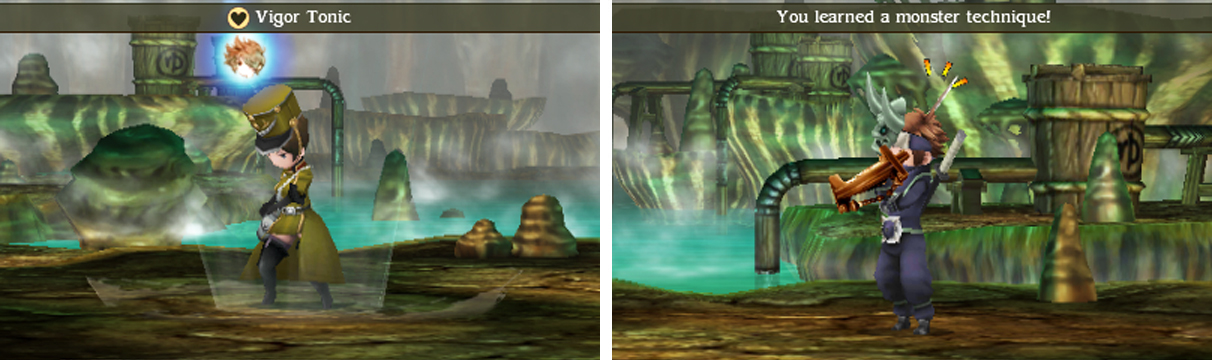
001: Vigor Tonic
| Chapter 4 and earlier | Chapter 5 and later |
|---|---|
| N/A | Imperial Medic Van (Geyser Grotto) |
Increases a character’s BP by 1. Requires Beast Flesh and Catnip.
Is there anything a Catmancer can’t do? Essentially the same effect as the Performer’s One More for You. To learn it, simply charm an Imperial Medic Van or take control of their body using the Guardian’s Possession.
002: R.I.P.
| Chapter 4 and earlier | Chapter 5 and later |
|---|---|
| N/A | Hamadryad (Florem region) |
KOs all combatants who are asleep. Doesn’t work on bosses and similar foes. Requires Roc Filet and Catnip.
Works fantastically well with Catnap for slaying enemy mobs. The only way to learn it is to let an ally fall asleep to lure the Hamadryad into using R.I.P. Everyone else should be wearing a Clothespin to stay awake–and, more importantly, stay alive.
003: Slugger
| Chapter 4 and earlier | Chapter 5 and later |
|---|---|
| N/A | Gargantua (Via Celestio) |
Has a 50% chance of sending an enemy Out of Battle. Does not affect bosses etc. and can’t be used if there’s only one foe left. You won’t earn pg, experience or job points from enemies sent OOB. Requires Leviathan Sashimi and Catnip.
A practical way of removing annoying enemies off the field… and there are definitely a lot of those in this game! To learn it without getting swept off your feet, try using the Ninja’s Utsusemi or have a Patissier chuck a Blindling Biscuit.
004: Death Spiral
| Chapter 4 and earlier | Chapter 5 and later |
|---|---|
| N/A | White Queen (Geneolgia Crypts) |
Four hits on random targets that each inflict 0.4 times damage and have a 50% chance to cause instant death. Ineffective against bosses and the like. Requires Cat Feather and Catnip.
A fiendish ability that can topple enemies like dominoes. It also does fairly decent damage (1.6 times damage altogether) if the enemies are immune to instant death or manage to survive. To learn it safely, give everyone a Safety Ring.
005: Battle Royale
| Chapter 4 and earlier | Chapter 5 and later |
|---|---|
| N/A | Bahamut Monk (Via Celestio) |
Has a 75% chance each of inflicting Berserk to all combatants. Requires Dragon Steak and Catnip.
A fun way to relive your time in the Geyser Gotto’s Baths of War. Otherwise, there’s not much reason to use it. Perhaps useful for crippling spell-casters or foes with annoying abilities while your characters hide behind Status Barrier.
006: Dragonlord Strike
| Chapter 4 and earlier | Chapter 5 and later |
|---|---|
| N/A | Bahamut Monk (Via Celestio) |
Deals 4 times damage to an enemy. Requires Rare Cheese and Catnip.
An amazing ability that inflicts the same damage as the Pirate’s Amped Strike, but with a far more maintainable cost. Too bad you acquire it so late, but it’s a great way to finish the game and beyond.
Confusingly, you need to get hit by the Bahamut’s “Majestic Strike” to learn it. Also, bear in mind that a single hit from it can easily KO frail characters even at full health.
007: Bone Crush
| Chapter 4 and earlier | Chapter 5 and later |
|---|---|
| N/A | Skull Lancer (Eisen region) |
Deals damage to all enemies equal to their lost HP. Doesn’t work on bosses or similar foes. Requires Dried Remora and Catnip.
A clean way to mop up weakened mobs, resulting in an instant KO for all foes with less than half HP remaining.
008: Electrolysis
| Chapter 4 and earlier | Chapter 5 and later |
|---|---|
| Ba’al iii; Apparati (Fort-Lune) | Ba’al iii; Apparati (Fort-Lune) |
A lightning-based physical attack on all enemies that deals 1 times damage and makes the enemy weak to fire for 4 turns. Requires Monoceros Flakes and Catnip.
A decent group-based attack that’s particularly effectie against foes weak to lightning. Afterwards, you can let loose your powerful fire-based attacks as well.
Unlike other abilities, this one is learned from one of the Fort-Lune Ba’als that you can receive. If you’re afraid of getting KO’d, feel free to weaken the Ba’al with your Buster Ship(s). Additionally, you don’t have to KO the Ba’al; you can simply run away after learning the ability.
No Comments