Updated Title Publisher
Updated Title
Published Title Score Editor's Choice Publisher
Published Title Publisher

Bravely Second: End Layer

The Great Treasure Hunt II

By
Vincent Lau
Post a Comment

A Good Excuse to Backtrack

Humanoid foes are common, so weapons effective against them are ace.

Hopefully you picked up the chest key on the floor by the entrance of Gathelatio’s Sanctum. Having waited for so long to acquire the key to open the blue locked chests, we bet you’ve probably forgotten where they all are. Unless you kept a note of their locations like we did, of course!

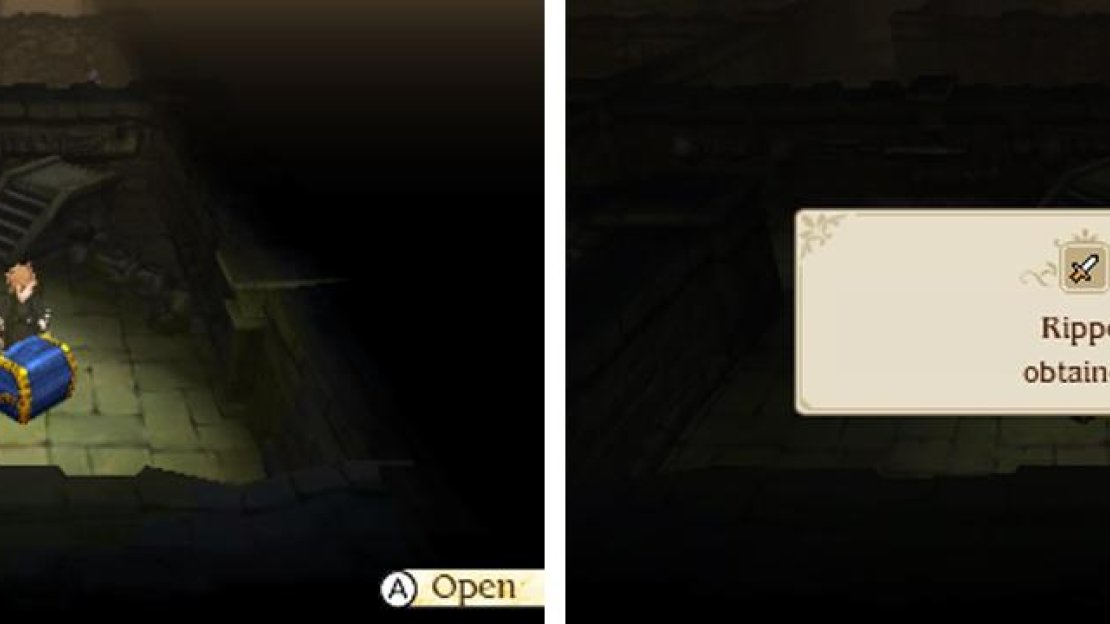
Actually, despite the long wait, most of the chest contents are actually merely “nice”, rather than “wow, amazing!” and very quickly surpassed by other equipment you’ll soon acquire. That said, you should definitely grab the humanoid-slaying weapons if you have time.

In addition, you’ll probably end up trekking all across Luxendarc anyway, if you’re looking to obtain the job asterisks that you missed during your first run. So you can kill two birds in one stone by looting the blue chests while you’re there! Not all chests align perfectly with this route though.

Location Equipment Note
Central Command - 48F Longinus (spear) -
Harena Ruins - B2 Yoichi’s Bow -
Ba’al Crater - Descent Hadean Claws (knuckles) Deals dark damage
Miasma Woods - Centre Heiji’s Jitte (rod) Use to trigger Takeover
Harena Sea Caves - Centre Air Knife (dagger) Deals wind damage
Grand Mill Works - 2F Fortuna (firearm) Chance of instant death
Mythril Mines - B2 Blessed Shield Use to trigger Cura
Geyser Grotto - Centre Doujigiri-Yasutsuna (katana) Effective versus humanoid
Starkfort - 3F Kokusenpu (axe) -
Witherwood - Interior Musashi’s Oar (staff) -
Engine Room - B28 Kokusenpu (axe) -
Everlast Tower - 3F Ripper (dagger) Effective versus humanoid
No Comments
No Upvotes
User profile pic

Comment submission error:

The comment must be at least 1 character in length.

Guide Information
  • Publisher
    Nintendo, Square Enix
  • Platforms,
    3DS
  • Genre
    RPG
  • Guide Release
    14 April 2016
  • Last Updated
    29 January 2021
    Version History
  • Guide Author
    Vincent Lau

Share this free guide:

Two years after the Heroes of Light calmed the Four Crystals, Luxendarc is at peace. Agnes Oblige is now Pope of the Crystal Orthodoxy, working with the Duchy of Eternia to maintain peace and prosperity in the land.

But there are those who do not wish for peace. The Glanz Empire and its leader Kaiser Oblivion kidnap Pope Agnes despite the efforts of her protector Yew Geneolgia and set out to conquer Eternia. Yew survived the attack and wakes up a week later, determined to rescue his beloved Pope Agnes and stop the advancing Empire once and for all. And so your journey begins…

Our guide is filled with a plethora of information to help you on your journey through Luxendarc including:

  • Complete start-to-finish walkthrough of the main quest.
  • Full coverage of the Barter Sub-Scenario System and how to obtain new asterisks.
  • Every other side quest explained in full.
  • A full examination of the job system and use of the new additions to the Bravely battle system..
  • Post-game dungeons, Ba’al strategies, bosses and other content.
  • Details on the village-building mini-game centred around the reconstruction of Magnolia’s home and much more!

Get a Gamer Guides Premium account:

GG logo

Register to continue…

Already have an account?

Log in to continue…

Forgot?
Gamer Guides Premium


Get access to this feature and a lot more by upgrading to a premium account.

Find out more

Already subscribed?