
Praline and Barbarossa
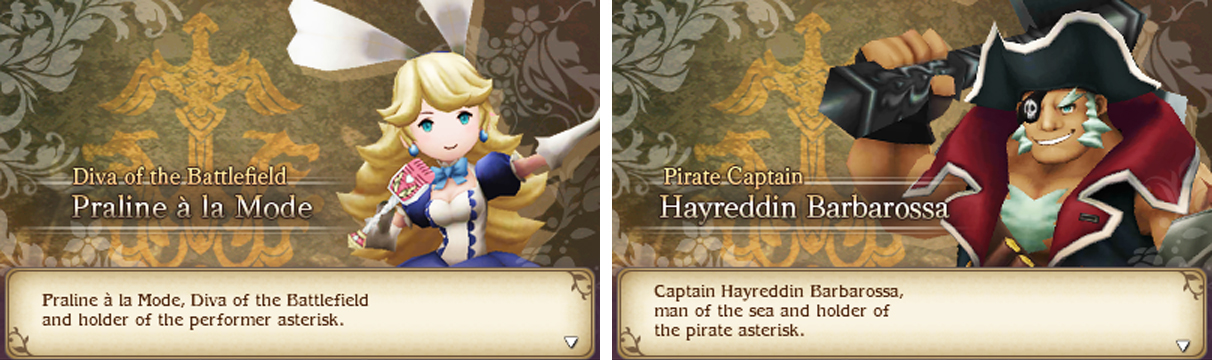
J-pop superstar and pirate captain–only Bravely could fit both in one game.
Whenever you’re back at Florem, head for the Plaza area where the Matriarch’s abode is. Here, approach the main stage at the back and a cutscene will trigger where our heroes bump into the famous Arca Pellar’s grandson, Rocca Pellar.
As you might expect, Pellar is in a predicament of sorts and requires our heroes’ assistance. To learn the details, return to the shopping area and make for the south-east corner. Go near the big structure in the corner and you can enter a secret passage leading below the city.
Bravely Default fans may recognise the area below as DeRosa’s secret laboratory and it seems Pellar has borrowed it for his own purposes. In any case, head towards the centre where Pellar is. Before listening to his woes, inspect the furnace behind him for a Bombe .
Next, run up the stairs to the left and check the corner to the right of the desk for a Lilith’s Kiss . After that, go and see what Pellar wants. According to the musical man, two high-ranking Eternians have been hounding him for reasons unknown and it’s Edea job to figure out why.
Fortunately, one of the Eternians is currently stationed at Florem. Go back to the Plaza area and you’ll find Praline the Performer rehearsing at the main stage. After listening to her side of the story, exit Florem and head for the western shore, near the Twilight Ruins.
From here, board the Rubadub and set a course due south towards the west side of the Harena continent. Keep your eyes peeled for an ominous bank of fog around halfway down the continent, not far from the western coastline.
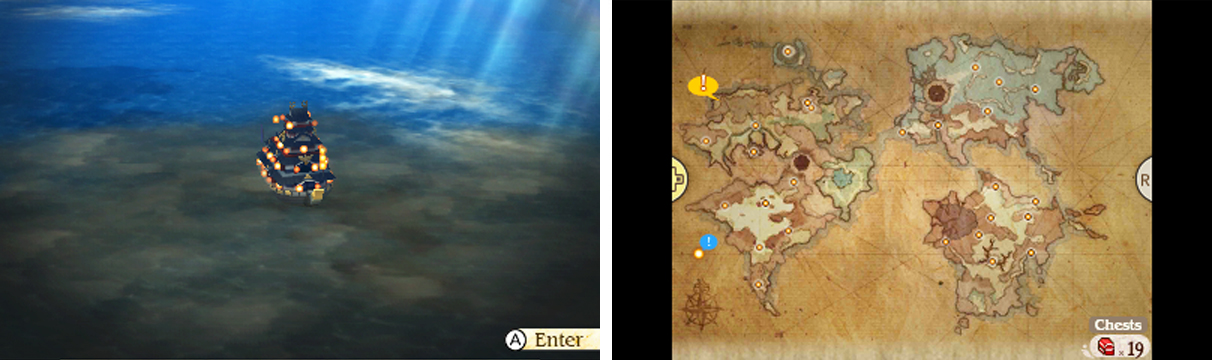
Praline’s “advice” is slightly incorrect: you can find the ship during the day too.
When you enter the fog, you’ll appear on board the SS Funky Francisca, home to Barbarossa the Pirate and his undead crew. From the entrance, head right towards the steps. Before going up, inspect the corner just above the steps for a bottle of the finest Bacchus’s Wine .
Next, head up the steps towards the far end of the ship where Barbarossa and his crew are. Before informing him of your presence, inspect the corner to Barbarossa’s left for a tasty Leviathan Sashimi . With the ghost ship thoroughly raided, speak to the captain to hear his story.
Having gathered all the information you need, return to Florem on your way to the Witherwood where Pellar is hiding. To reach his hiding place, head east from Florem, crossing the two westward bridges. After passing the second bridge, head north-west between the river and mountains.
Once you reach the forest, follow it east until you’re almost below the bay to the north. From here, head north so that the bay is on your right and you’ll soon find a cave sitting in the north-most edge of the continent–this is of course the entrance to the Witherwood.
Witherwood - South

This dungeon is fairly by the numbers, with nothing to trip you up except for the dangerous wildlife. Begin by following the woodland path clockwise, picking up the Cannelle slice north-east from the entrance. Next, take the path leading north that you ran past.
When the path beyond splits towards the west and the east, head west first for a chest containing an Ether . That’s all you can do here for now; proceed east and exit the area via the exit towards the north.
Central

Follow the path ahead. When you start travelling west, keep going in that direction to retrieve 500 pg from the floor at the end. Next, go north along the path you passed by and turn right at the first opportunity for a chest containing a powerful Pantheon’s Wrath .
From here, make your way west along the central path and head south when the path beckons you. Grab the Cat Feather on the ground on the way before exiting to the south. Back in the South section of the woods, pilfer the chest beyond for Lu Bu’s Spear .
Return to the Central section and follow the remaining path north. Turn left at the end for a chest with a Magnifying Glass inside. Finally, hurry to the far east to reach the exit. Rather generously, the Adventurer’s fox companion is waiting here if you want to set up camp and rest.
No Comments