
B1 West

Now this looks vaguely tricky. Approach the door to the right and use the nearby yellow switch to flip the star doors along the south. Go forward and pass through the right door to reach a chest containing a Light Curtain . Next, inspect the red switch before the door to toggle the sun doors.
This will open the passageway on the left, so head through it to collect an Earthing Rod from the chest at the end. Once you’re done, return two doors down and inspect the green switch to toggle the moon doors. From here, return to the entrance area and use the yellow switch to revert the star doors.
At this stage, the route to the exit should be clear. Head left along the south and pass through the left-most door. On the other side, prod the blue switch to switch the teardrop doors. Grab the 980 pg at the far end of the left corridor, then poke the blue switch again to revert the doors.
Finally, head north through the two open doors north of the blue switch. After turning the corner, you’ll reach the Adventurer and fox standing by the stairs to the exit. Check in with the pair if necessary; it has been a long trek after all.
Before going up the stairs, run towards the bottom-left corner to discover a hidden passage leading south. Beyond is a secret chest containing a powerful Angel’s Bow –an excellent weapon for a Thief or a Ranger.
Western Hidden Village
Nothing more needs to be said. Once you’ve decided which faction you’re rooting for, approach DeWitt who’s waiting at the far end. As our heroes know, the faction you oppose is definitely going to send some brute force in your direction.
Boss: Einheria Venus

| Boss | Level | HP | Weakness |
|---|---|---|---|
| Einheria | 40 | 30000 | Nothing |
| Ms. Veeling | 40 | 10000 | Nothing |
Unsurprisingly, Einheria is the heavy hitter here. She may use Crescent Moon to inflict heavy damage to the party, rendering herself immobile for one turn. Or she may Jump at the end of her turn, inflicting big damage to one characters on the next turn.
Miss Veeling casts Shadow to damage your party, but her damage output is barely noticeable. Still, she’s a nuisance as time goes on, so aim to get rid of her first. Just be cautious that after Veeling drops, Einheria’s attack will increase because of Soulmates.
As Einheria’s attacks deal a lot of damage, Default often until you can cast Physical Ward Blast or Mist and definitely Default after she uses Jump. Focus your attacks the turn after Crescent Moon or anytime your party has full health and a physical defence buff.
When Einheria has low HP, she’ll become desperate and put up Spirit Barrier. For 10 turns, any damage done reduces her MP instead of her HP. If your damage output is high, continue attacking and Einheria will eventually run out of MP to protect herself with.
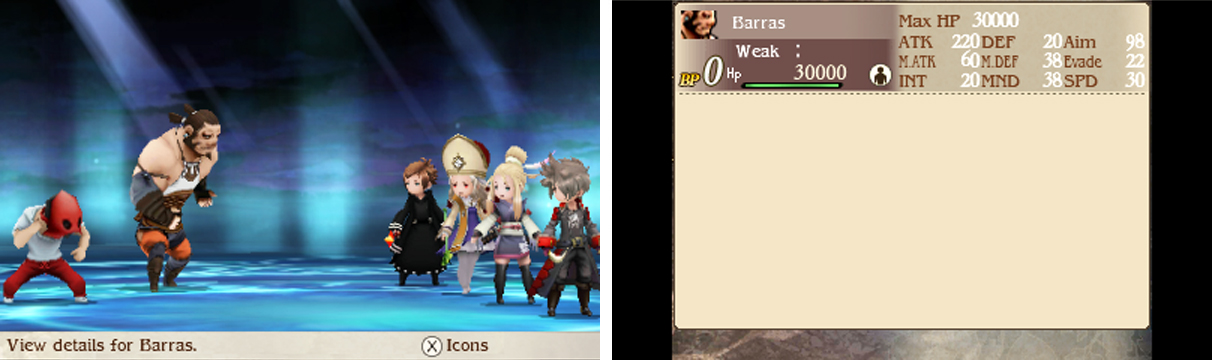
Boss: Barras Lehr
| Boss | Level | HP | Weakness |
|---|---|---|---|
| Barras | 40 | 30000 | Nothing |
| Mr. Tracsute | 40 | 12000 | Nothing |
Barras is your main opponent here if you couldn’t tell. The burly Monk may Brave to use Invigorate, increasing his physical attack, followed by a standard (and pretty strong) attack. After that, he’ll inevitably go immobile for one turn.
Meanwhile his buddy, Tracsute likes to use Psych Up to greatly boost his physical attack and Strong Strike to try and inflict severe damage to one. Both are big hitters in their own right, but Tracsute has much less HP so take him down first.
Oddly, both fighters have more magical defence than physical, so your own physical attacks will work well here. To survive their onslaught, Default for a bit and have your Wizard/Astrologian cast Physical Ward Mist or Blast to up your party’s physical defence.
After Barras reaches low HP (below a third, give or take), he will use Invigorate but it will backfire, inflicting heavy damage to himself and your party. Under normal conditions, you won’t survive many failed Invigorates so aim to wrap up the battle ASAP.
It helps if you let your physical attackers build up 3 BP before Barras’s HP gets too low, then Brave the maximum amount of times over two turns to finish Barras in one fell swoop. Either way, make sure to keep healing and boosting your party’s physical defence.
No Comments