
Profiteur and Holly
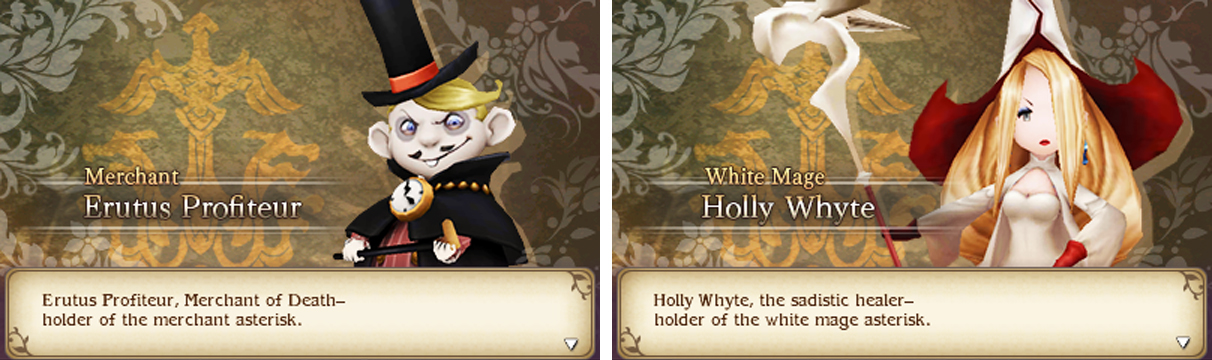
The Merchant and White Mage jobs are at stake.
To begin this long sidequest, head back to the House by the Sea along the eastern edge of the Eisenberg continent, where you first set foot on land. While our heroes are on the way, a grandfather and granddaughter pair arrive at the house–their old family home.
However, before they’ve even had time to unpack, Erutus Profiteur comes barging in, offering to purchase the house from them. By the time our heroes come in, Profiteur is arguing with Holly White and the two Eternians are frightening the two home owners.
Once the bickering pair are gone, our heroes learn about the situation. Still, there’s not a lot of information to go on, so you’ll need to go out and do some investigating work. Leave the house and return all the way back to Hartschild to the west.
If it’s daytime, nobody will be around. Go towards the Goodman Residence to the north and speak to the dog nearby to play until night-time. When it’s night-time, the city will suddenly burst back into life. We’re honestly not sure if this is an oversight or on purpose…
Anyway, head for the south of the fountain to have a long chat with Profiteur and Holly. After discovering the pair’s intentions, exit Hartschild and make your way to Eisen Bridge to the east. Profiteur is here to study the surroundings–let him know you’re here as well.
Profiteur isn’t one to linger and he’s gone before our heroes can get another word from him. Patiently return to Hartschild; when it’s night, speak to Profiteur who’s once again standing under the central fountain. Uh-oh, the old man’s granddaughter has run off to the dangerous Mythril Mines.
With no time to waste, hastily leave Hartschild. On the world map, travel east until you reach the open gate to the west of Eisen Bridge, then head north through the gate. Before long, you should spot a mountain cave further north–this is the entrance to the mines.
Floor B1

This dungeon is relatively short. In the previous game, you had to explore every nook and cranny to liberate the canary kids from the oppressive Swordbearers, but now you’re just looking for one girl. Anyway, head all the way west from the entrance, ignoring the passage going south for now.
At the end of the tunnel is a chest containing a Remedy . Retrace your steps and follow the southward passage towards a fork in the path. Go south-east instead and pick up the Dried Remora on the floor, then return to the fork. Now take the stairs going down to the south-west.
Floor B2

Downstairs, begin by heading north and turning left to discover a blue locked chest . After that disappointment, make your way eastward. At the next junction, head north for another chest, but one that’s not locked tight, containing a nifty Orichal Dagger .
Next, follow the claustrophic tunnel south, where you’ll find stairs going back up. Well, shall we?
Floor B1 (Again)
Back upstairs, head west to find stairs going down, but don’t go down just yet. First, head south-west to discover a chest containing an Earth Drum . Then, explore the north-west passage to find 1000 pg on the floor.
Floor B2 (Again)
You’re approaching the end. From the stairs, dash towards the west, then travel in a north-westerly direction. Along the way, you’ll bump into a suffering labour worker. After that, carry on in the direction you were going, stopping to check the passageway to the south-west.
At the end of the southward passage is a chest containing a Locket –if you purchased four of these, you can sell one later. Finally, head north, turning right at the corner. Give your regards to the Adventurer and then head south to pick up a Bomb Fragment .
Once you’re all prepared to battle, speak to the little girl huddling to the far east to trigger the choice.
No Comments