Mix and match equipment to suit your needs!
So you know your characters inside out and have a fair idea of what jobs to give them. Now it’s time for the final piece of the equation: equipment. As with all good RPGs, your heroes won’t get very far in their adventure without the proper gear to back up them.
Basics of Equipment
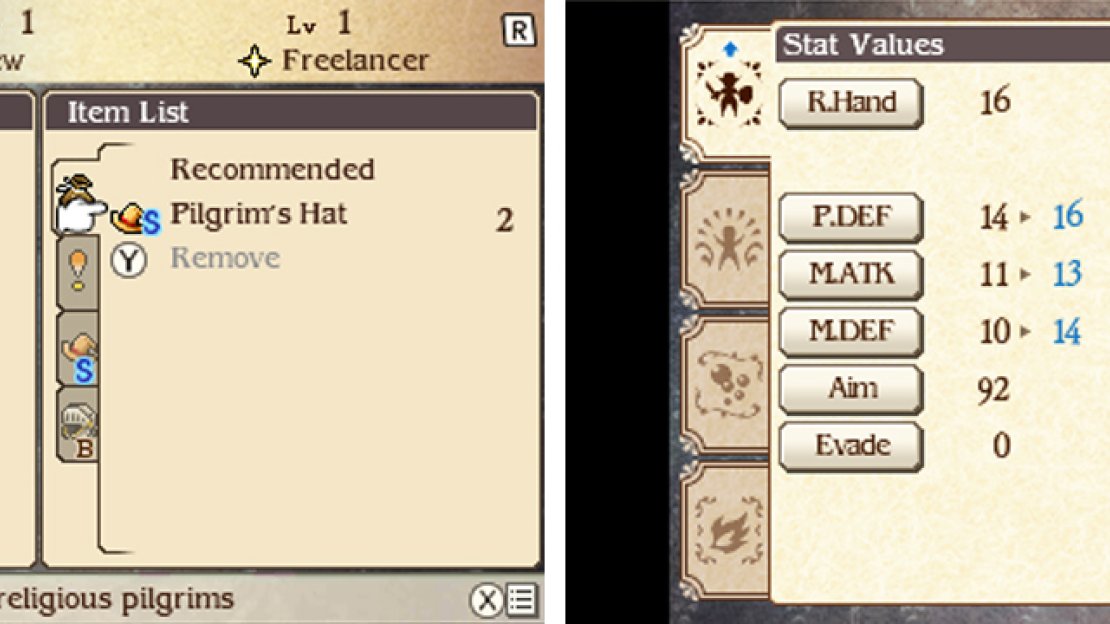
Equipment can be purchased from shops or found from dungeons. To change your characters’ equipment, open the Party menu (press X, START or SELECT on the field) and choose the Equip menu. The following are the pieces that you can change:
Right Hand : A weapon for the character’s right hand. Determines how much damage your character does with the Attack command, their physical command abilities or Special Moves.
Left Hand : A weapon or shield for the character’s left hand. If a weapon is equipped, your character will attack with both weapons, but the attack power of each weapons is halved. If a shield is equipped instead, Physical Defence and Evade will increase, reducing damage taken.
Head and Torso : Armour for the character’s head and body. Equipping armour increase your character’s Physical Defence and Magic Defence, lowering the damage sustained by enemy attacks.
Accessory : A wearable item that offers various benefits, such as immunity against status ailments and resistances against elements.
Outfit : Changes the character’s costume, overwriting their job’s costume. For aesthetic purposes only.
Selecting Your Gear
When it comes to picking the best equipment, it’s pretty straightforward, generally speaking. For weapons, you want to equip ones with the highest Physical Attack value (or Magic Attack if you’re a spellcaster), while for armours you want those with the highest defence values.
Although be aware that some weapons and armours fare better in the hands of certain jobs than others. More precisely, be sure to study the weapon proficiencies of each job. The higher the proficiency, the higher the attack and defence boost.
Although it’s generally sufficient to aim for the best attack and defence, try not to overlook equipment with slightly inferior stats that provide a significant boost in other areas or a special effect. This is where letting the game decide isn’t always ideal and having a keen eye helps.
For example, some weapons may inflict elemental damage, which will be more useful against enemies weak to that element than a weapon with more raw attack. Other times, you may want armour with higher magic defence than physical defence and vice versa.
Give Me a Hand!
Choosing armour is easy enough, but what about weapons? For instance, should you equip one weapon or two? Is it better to wield one-handed weapons or two-handed weapons?
To begin with, it’s usually best to avoid equipping weapons in both hands because the attack power of both weapons will be halved. The two weapons combined can still inflict higher damage, but against enemies with high defence, your halved attack might not cut it.
The only time you should be dual-wielding is with magic rods because the attack penalty only applies to Physical Attack. Or later, when you acquire the Ninja’s Dual Wield support ability, which negates the attack penalty, allowing you to equip two weapons with their full power.
Next, whether you should equip one-handed or two-handed weapons largely depends on the situation. To be more precise, when you have a one-handed weapon, you can equip a shield to further increase your character’s defences. But this is impossible with a two-handed weapons.
Against enemy mobs, offence is usually more important so you can end battles more quickly–here, two-handed weapons are preferred. Whereas when facing bosses, since battles can last a long time and the boss’s attacks can hurt a lot, you may appreciate the additional defence from a shield.
(Of course, if you’re dual-wielding, you have the same “dilemma” as two-handed weapons. )

No Comments