
Floor 3F

A point of no return is coming up!
At long last, there are some signs of life just ahead. Once you’re ready, go forward towards the large room where the Ominas Party is to trigger a cutscene.
We won’t spoil too much about what happens next, but basically you’ll stuck inside the room. Sadly, Teleport Stones won’t work, so you’ll just have to grin and bear it. First, speak to Ominas in the centre of the room to assess the situation.
The next day, speak to Ominas in the north-east corner to see if things have improved. Thought not… On the third day, speak to Jambalay by the centre of the room. Oops, it looks like the jig is up. With everything out in the open, it’s time to make your choice…
Boss: Ominas Crowe
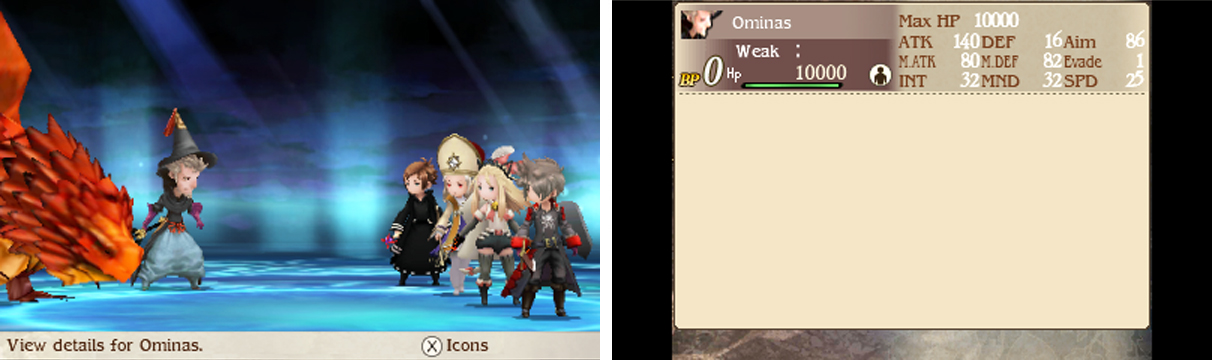
| Boss | Level | HP | Weakness |
|---|---|---|---|
| Ominas | 32 | 10000 | Nothing |
| Bahamut | 32 | 15000 | Water, Dragon |
Ominas is the leader, but funnily enough he’s easier to take down compared to Bahamut. The Black Mage uses Fira to attack a character or heal Bahamut. After dropping below half HP, he will Brave to hurl Fira on one and then Fira on your party.
His pet Bahamut uses Pico Fire? to inflict heavy physical fire damage on one; otherwise it headbutts for similarly big damage. Once Bahamut’s HP goes below half, it will use Femto…Flare…? to inflict physical fire damage on your party.
Compared to the battle with Ominas in Bravely Default, this battle is really very straightforward. With the exception of their standard attacks, the pair’s attacks are all fire-based, which means you can resist them all by giving everybody a Flame Robe from Hartschild.
Still, even with fire resistance, Pico Flare? hurts a lot so have your Astrologian cast Physical Ward (preferably combined with Mist or Blast) to boost your party’s physical defence. With your defences sorted, start off by focusing your physical attacks on Ominas.
After Ominas drops, blast Bahamut with everything you’ve got. Water magic is good–you can unleash Frost Mist to really add on the pain. Meanwhile your Fencer can put the Ice Brand from the aqueduct to good use. You can even poison the dragon with the Toxic Claws from Hartschild!
Boss: Artemia Venus
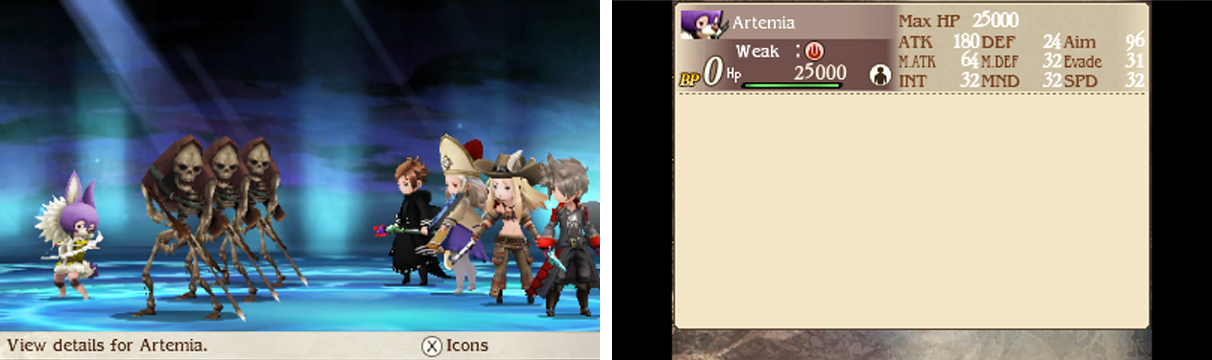
| Boss | Level | HP | Weakness |
|---|---|---|---|
| Artemia | 32 | 25000 | Fire |
| Bone Hunter x3 | 28 | 1680 | Fire, Light, Undead |
Artemia’s attack pattern is quite varied. She often Defaults to build up BP, up to a maximum of 2 BP. For offence, she can expend 1 BP to use Targeting to inflict heavy damage on one or 2 BP to use Multiburst to rain 4 powerful hits on random party members.
The Bone Hunters you should be familiar with; they use Poisoned Shot to damage one and inflict Poison. Equip everyone with the Star Pendants like the Amphisbaena battle to negate Poison. Then finish them quick with powerful fire spells like Heat Needle.
The most important thing in this battle is to keep your physical defence high–we recommend combining the Astrologian’s Physical Ward with Mist or Blast. This will prevent Artemia’s powerful shots from dropping your characters to the floor.
Next, you need to formulate an effective attack strategy. Since it’s hard to predict when Artemia will Default, avoid making everyone unleash their attacks on the same turn. However once she has 2 BP, she won’t Default–go ahead and attack if your HP is high.
Alternatively, if you have a high level Hawkeye, use Condor to add a Pierce Default effect. Meanwhile, if your Wizard has spare BP, they can cast Heat Mist to get around Default.
Finally, after Artemia’s HP goes below a third (give or take), she may Brave to unleash two lots of Multiburst. As if one Multiburst wasn’t painful enough–this is why keeping your physical defence high is important. Afterwards, heal up and pound her while she’s immobile.
No Comments