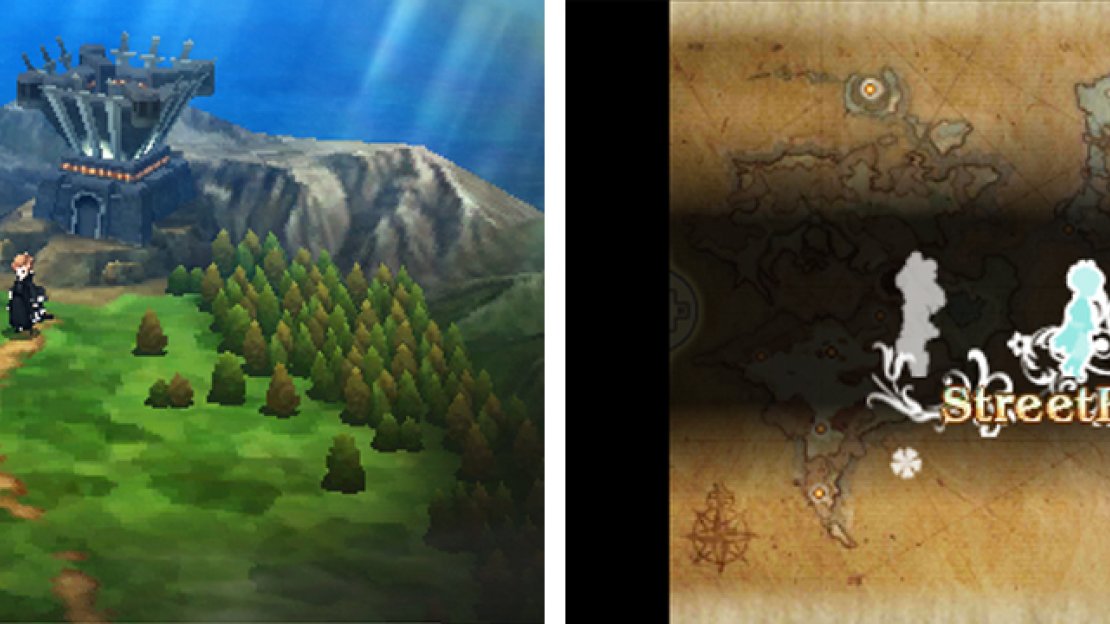
The beautiful jingle of StreetPass brings new hopes and dreams.
Your quest to save Luxendarc doesn’t have to stop when you’re journeying in the Celestial Realm, a.k.a. the real world. As long as you carry your 3DS or 2DS system with you in sleep mode, you can take advantage of StreetPass communications to meet others like you.
Setting Up
To enable StreetPass for Bravely Second, you must select the inbox icon from the map menu (when you’re on the field, press Left on the D-pad or tap the icon to the far left of the bottom screen). The very first time you access the inbox, you’ll be asked to register StreetPass data.
After you’re done, you’re ready to go out and seek other Bravely Second players! If you no longer want to StreetPass for whatever reason, you can deactivate it by going to System Settings in the 3DS or 2DS Home menu and choosing “Data Management” and then “StreetPass Management”.
StreetPass Encounters
To receive StreetPass tags, you must have your 3DS or 2DS switched on or in sleep mode (but it mustn’t be in the middle of Local or Internet communications). You don’t need to have the game running, but it will help with rebuilding Fort-Lune and acquiring SP.
From there, it’s a simple matter of walking around and hoping you bump into other 3DS or 2DS owners who have registered Bravely Second for StreetPass. It helps a lot if you’re traveling through a busy place or a big gaming event. Failing that, you can research the nearest StreetPass relay point.
Upon receiving a Bravely Second tag, you’ll receive a notification on your 3DS or 2DS Home menu. Additionally, in your game, an “Update” symbol will appear next to the inbox icon on the map menu; tap it to update your StreetPass data and see who you encountered!
Benefits of StreetPass
Each time you pick up a Bravely Second tag, you will receive that player’s guest profile, incuding their friend summon . Furthermore, for each person you tag, you will receive an extra resident for Fort-Lune and a Ba’al if they were sending one.
To be extra helpful, you should remember to update your friend summon every now and again. There’s nothing more depressing than tagging a player and receiving a basic Level 10 Yew summon… To do this, select the Summon Friend command in battle and choose to “Send”.

No Comments