
Barras and Einheria
It’s a clash between two hard-hitting jobs!
At this point, they’re not even trying to hide how silly the sidequests are, but at least they’re a fun kind of silly. Back in Florem city, three prestigious-looking women are standing next to the entrance–speak to the one closest to the entrance.
Without warning, Edea is made Florem’s interim superintendent of education; her task is to speak with the representatives of the two factions fighting for and against co-eduction and decide which path is best for the future of Florem’s eduction. No pressure then!
To begin with, head for the city plaza to the north and chat to the red-haired Rhea Veeling standing by the junction. Before long, her rival Swetti Tracsute (we’re not making this up) turns up and a heated debate between the two ensues.
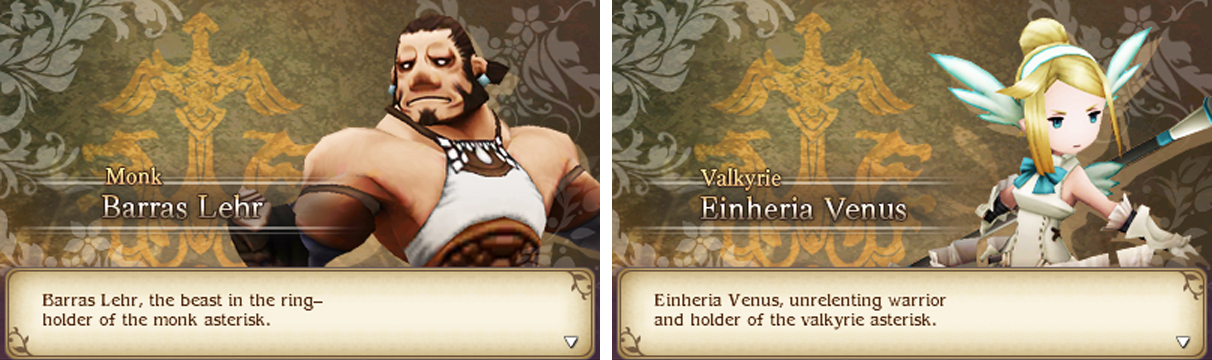
Afterwards, head up towards the stage and speak to Tracsute by himself to hear his point of view. Towards the end, Barras the Monk pops in to provide his unwavering–and totally blind–support to Tracsute’s cause. Next, return to the shopping area and speak to Veeling next to the Trader.
From out of nowhere, Einheria the Valkyrie drops in (quite literally) and pledges her absolute support for Veeling’s vision. Having heard from both sides, it’s time to report your findings. Exit the city and head in a westerly direction towards the cave near the western shore.
Twilight Ruins - 1F

It’s another dungeon lifted straight from Bravely Default. To proceed, you’ll need to activate crystal switches that open and close a pair of corresponding doors. Because each pair of doors has a specific symbol above it when activated, we’ll use those symbols when referring to the doors.
From the entrance, follow the path ahead to encounter your first pair of doors. Inspect the yellow crystal to toggle the star doors in front of it, then enter the left passage for a chest with 2000 pg inside. Inspect the yellow crystal again to revert the doors, then pass through the right passage.
After going around the tunnels, you’ll reach a second pair of doors. Like before, poke the green crystal to flip the moon doors so you can reach the chest on the other side of the left door for a powerful Pantheon’s Wrath . Then touch the green crystal again to revert the doors to proceed.
Past the right moon door, there’s a junction further in. From here, head east first to discover a Balsam glowing on the floor. Finally, run all the way west to reach the stairs to the next area.
B1 East

Downstairs, run to the left and use the nearby yellow switch to toggle the star doors on this floor. Go through the door to the north that opened and check the chest beyond for an Ether . Press the yellow switch again to revert the doors and follow the path to the south.
At the next set of doors, poke the green switch to the left to close the left moon door and open the right moon door. Head through the right door and the open door further in to nab 2500 pg from the chest at the end. Afterwards, go back and inspect the red switch.
This will close the sun door ahead and open the sun door in the left corridor. Return to the green switch and give it another bump to open the moon door ahead. With both doors in the left corridor open, head north through it. After turning the corner, head west for a chest containing a Genoise slice.
Finally, return to the previous junction and follow the remaining path south to reach the stairs leading deeper below.
B2

This is the halfway point and things are starting to get a bit more complicated–if you want to obtain all the items that is. Begin by heading through the open door next to the yellow switch; inspect the green switch beyond to toggle the moon doors.
Pick up the frigid Arctic Wind from the chest up ahead, then inspect the green switch again to revert the doors so the exit is no longer blocked. Next, use the yellow switch near the entrance to toggle the star doors along the south.
Go through the open star door to the far left and continue to the end to find some Dried Remora on the floor. How long has this been there?! Head back a few paces and poke the blue switch to toggle the teardrop doors. Now return to the entrance stairs and follow the right-most passage.
At the junction along the north, head south through the open teardrop door to claim your prize–a pair of nifty Artisan Gloves . Continue west from the junction and turn left when the path splits again. Go down for a chest containing a Remedy and finally exit via the stars to the north.
No Comments