
Ancient Heritage
Old Sagitta is located beyond the northern mountains of Florem.
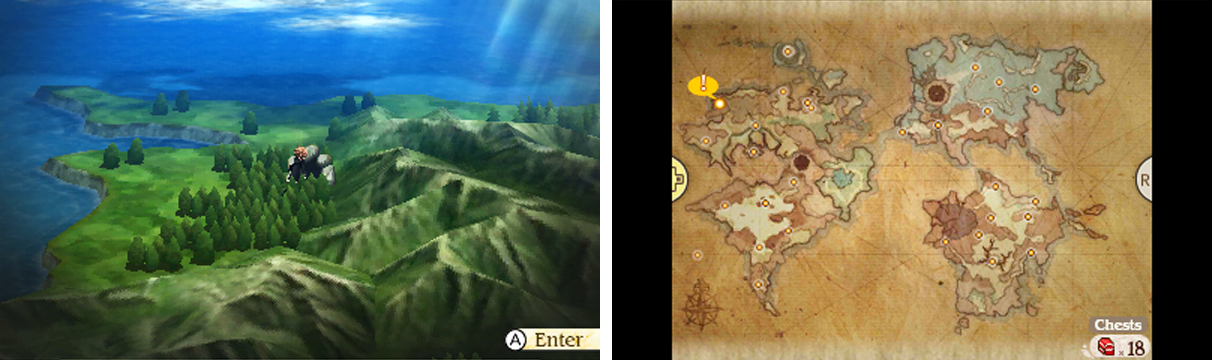
It’s not immediately clear how to reach Old Sagitta. From Florem city, head west towards the western shore past the Twilight Ruins (the site of the Valkyrie vs Monk sidequest). Here, board the Rubadub and sail clockwise around the continent of Florem.
Towards the far north, there will be a shore that you can land on. Back on land, make your way west, following the mountain range below. After a brief trek, you should arrive at the north-west corner of the continent, where a cave will appear to the south–this is the way into Old Sagitta.
Old Sagitta - B1

Despite being so old, this dungeon is full of futuristic tricks–namely fake walls and invisible paths. In fact, from the entrance, you’ll find there’s way to proceed normally. That is, until you approach the north-most wall and it starts to glitch, indicating it’s a fake wall.
Beyond the fake wall, go down the nearby steps on the right to reach lower ground. From here, head south, then left to go under higher ground. Next, travel north while underneath higher ground to reach a Spider’s Web in the north-west corner.
Return to just after going down the rightward steps and head straight east, nevermind there’s a gaping hole ahead of you. It’s difficult to see, but there’s an invisible path here, barely visible from the spider webs on the visible floor hanging onto it.
In the circular area, go north around the circle towards the green switch. Toggle the switch to lower the green platform ahead and carry on clock-wise to the end. Scoop up the Rare Cheese from the floor and then head west along the middle of the circle.
Poke the red switch just before the centre to raise the red platform. After that, return the way you came and toggle the green switch again so both the green and red platforms are both raised. You’ve probably figured it out by now; head anti-clockwise to go up the steps.
With both platforms raised, the gaps along the northward path have been bridged allowing you to cross to the end. On the other side, approach the tablet to trigger a cutscene. Afterwards, head west down the steps to find the fox companion.
Once you’ve rested or otherwise, continue west through the fake wall to recover an Enopu Mushroom . Next, head east, down the eastward steps and beyond the fake wall on that side. From here, head south and stop when you reach the corner.
It’s easy to miss, but go east from that first corner to go underneath higher ground, then travel south to reach a chest containing 2500 pg . After that, continue south from the corner, then turn towards the east as you near the south-east corner, opposite the previous chest.
Past the fake wal, you’ll find stairs leading down. Beyond, grab the Alarm Earrings from the chest ahead before returning upstairs. Back on Floor B1, return to the main path and travel in a south-westerly direction towards the area south of the central circle.
Here, continue west across the invisible path and through the fake wall to discover a chest with a Stopwatch inside. Finally, head east up the steps to higher ground. Follow the invisible trail north to reach the second step of stairs to the next floor.
Floor B2

You’ve still got a ways to go. From the north-east entrance, head south until the path stops, then go left and follow the invisible path south. Past the fake wall, go down the steps on the left. At the bottom of the steps, head north, while keeping to the right to reach a chest containing 3500 pg .
Back at the steps, head all the way west, across the invisible path and past the fake wall for a chest with an Ether inside. Return to just before the fake wall and head north for another invisible path leading to the room above, where there’s a chest containing a Lambert Hat .
Next, return to the visible path and head north onto the central circle. Like in the previous floor, you’ll need to use your noggin a little. Start by going anti-clockwise around the circle, toggling the red switch towards the east to raise the red platform.
After that, continue in the same direction until you reach the north-most point of the circle. Below is a green switch, but ignore it and carry on anti-clockwise across the invisible path to the left. When you reach the west side, go up the steps and use the platforms to cross to the east side.
To the left of the entrance stairs is another fancy tablet that warrants a cutscene when you approach it. Once that’s over, go west across the invisible path and descend the stairs going south. Afterwards, carry on west and follow the lower invisible path south-west.
Inside the maze of rooms, pass through the fake wall to the north to pick up 1000 pg from the floor. Next, head west from the previous room, then south and finally east to reach the room below it where you’ll find a useful Phoenix Down on the floor.
That’s all you can do right now. To proceed to the next (and final) area, head for the most north-west room, accessible via its south wall.
No Comments