Battles will never be the same again!
Now this is where things get juicy. First debuting in Bravely Default, the similarly named Brave and Default system shakes up the standard turn-based combat by allowing your characters (and the enemies) to use turns from the future or save up turns.
Conceptually, it’s similar to the credit card system, where you can spend money from the future or save up money. Although the system can be complex at first, you should do your best to get to grips with it, because you’ll be using it a lot to survive the coming battles ahead.
Brave Points
Before we discuss what Brave and Default are, we should tell you about a component of the battle system that we skipped earlier because it wasn’t important until now.
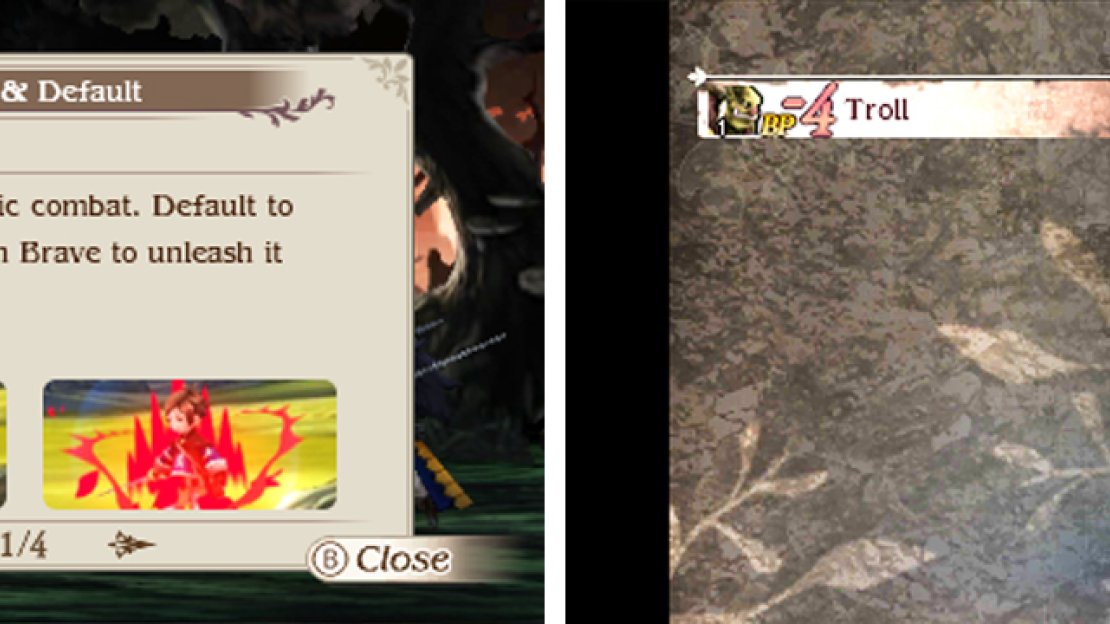
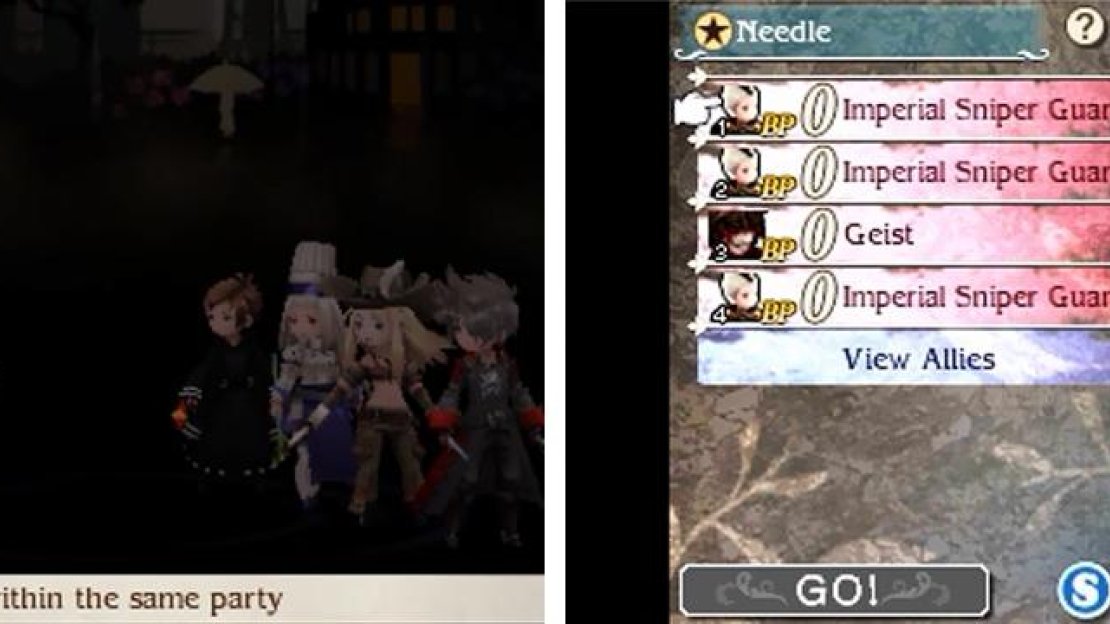
In battle, each standard action (attack, item, run, etc.) costs 1 Brave Point (BP) to use. At the start of battle, everyone–friend or foe–has 0 BP and everyone gains 1 BP with each new turn (unless they are knocked out). BP is displayed as the big number below a character’s portrait.
During a bog-standard turn, a character will go from 0 BP to -1 BP after using an action, before returning to 0 BP for the next turn–and from there, the cycle repeats. Okay, so a value is going from 0 to 0; what’s so special about that? Well, nothing… until you Brave or Default!
Brave
Characters will momentarily flare up when you Brave.
By selecting the Brave command, a character can expend 1 BP to perform an additional action during that turn. This command can be used up to three times, allowing for a maximum of four actions per turn at the cost of an extra 3 BP. You can also Brave by pressing the L button .
To learn more easily, why not give it a try yourself? First, select the Brave command once for Yew to increase his number of actions. Now you can choose any two actions for Yew to perform, such as Attack twice. Finally press “Go” and watch as Yew unleashes his fury.
While this is happening, take a note of Yew’s BP. Assuming he started at 0, he’ll have expended 2 BP to use two actions, putting him at -2 BP partway through the turn. On the next turn, he’ll automatically gain 1 BP, leaving him with -1 BP. Oops, we forgot to mention something…
Since Yew spent 1 BP that he couldn’t afford–in other words, one turn from the future , he now has to pay back that debt. As a result, Yew will be rendered immobile (and vulnerable to attack) for one turn until he earns that 1 BP back. …What do you mean we should have told you earlier?
Default
You can’t miss the “Default” text flying above your characters’ heads.
The Default command makes a character forfeit his or her turn , to save up 1 BP for future turns. In addition, it reduces any damage the character sustains during this turn. By the way, Default cannot be used if you choose to Brave. You can also Default by pressing the R button .
Alright, time for some more field practice; try selecting Default for Yew next. As predicted, Yew will give up his turn, while bracing for enemy attacks. Perhaps that wasn’t quite as exciting, but don’t overlook this command before you fully understand its benefits!
Assuming Yew started at 0 BP, he will now be at 1 BP on the second turn. This is because he spent 0 BP for his actions in the previous turn and has earned the automatic 1 BP from the new turn. From here, you can continue to Default to accumulate additional BP.
But why would you want to save up BP? To Brave safely of course! Think back to the first example, where Yew Braved once and became immobile a turn afterwards. However, now that he has 1 BP to start with, what would happen if he does the same thing and Braves once for two attacks?
Well, he will expend 2 BP like before, but this time he would go from 1 BP to -1 BP partway through the turn. On the next turn, he’ll be sitting comfortably at 0 BP instead of -1 BP. Since Yew’s BP is 0 or above, he’s fully able to act and won’t be a sitting duck like last time. Much better!
When to Brave or Default?
Hopefully by now you have a fair idea of how the Brave and Default commands work. The difficult part at first is figuring out when to use them. Like many things in life, Brave and Default have their own pros and cons–and it’s up to your style and the situation when to use them.
Let’s recap the “safe” way first. You can save up BP by Defaulting, then use the BP you saved up to Brave for multiple attacks (or other actions). While on paper, this is no different from performing one action per turn, you receive reduced damage on the turns you Default.
So instead of taking full damage across multiple turns, you can take reduced damage for most of those turns if you Default. Therefore, Defaulting is recommended when you know a battle is going to take a long time, so you can limit the damage you take in the long term.
What about the “reckless” way? Is it always ideal to simply Default all the time until you’ve saved up enough turns? Well, what if you know an enemy can be defeated in, say, four attacks? If you Default three times, you’ll take reduced damage, sure.
However, if you had Braved three times instead, you could KO the enemy and potentially take no damage! No damage is definitely better than some damage, right? In that case, Braving is recommended when you know–or think–you can quickly mop up the enemy.
Just be careful that you don’t misjudge the situation, thus failing to KO the enemy. When this happens, your character could become immobile for multiple turns, placing them in a very dangerous position. So there’s a lot of calculated risk involved, but that’s what makes it exciting!
Braving isn’t just for offence, you can use it to better support your team mates too. For example, say, a character is unconscious on the floor. Rather than use a Phoenix Down and watch them get KO’d again because of their low HP, you can use a Phoenix Down and Potion!
Abilities That Cost BP
They cost more because it’s worth it (most of the time).
So you might know understand Brave and Default work with standard actions. There’s another slight complication though, as some Command Abilities have a BP cost, on top of the standard 1 BP cost for each action. However, if you can do the maths, it’s not hard to figure out how these fit in.
For example, if you want to modify a spell with the Wizard’s Spellcraft, it’ll cost an additional 1 BP. Assuming you start at 0 BP, this will cost you 2 BP altogether (1 BP for the original spell and 1 BP for the Spellcraft), placing you at -1 BP at the start of the next turn.
Effectively, using Spellcraft works out the same as performing two actions in one turn. Logically, you could Default once, then use your Spellcraft at 1 BP, which would bring you to 0 BP at the start of the next turn–a much safer place to be.
Of course, what you choose depends on the situation. Maybe the enemy is on its last legs, in which case going negative isn’t going to hurt you. Or perhaps you really need to remove the enemy off the field–so much that going negative is better than what the enemy would do.


No Comments