

While some of these might not be strictly necessary, before you head to the Dwarven Ruins we strongly suggest you consider completing the following:
- Troll Trouble - Renowned Explorer
- Troll Trouble - The Nature of the Beast
- Troll Trouble - A Score to Settle
- Swamp Witch’s Hut Expedition
- Kamelands Expedition
- Troll Trouble - Guiding Beacon
After completing all the linked quests/events/exploration above, we still had 175 days left on An Ancient Curse, Part 2, (the event which triggers Troll Trouble - Guiding Beacon won’t occur until you have 176~ days left on An Ancient Curse, Part 2) which still gave us months before Troll Trouble would become a serious issue.
Companion Quests and the Dwarven Ruins
In addition to the quests/expeditions listed above, there are three companions who have some interest in the Dwarven Ruins - Ekundayo, Harrim and Jubilost, as reflected by their three quests, A Score to Settle, Unwanted Legacy and Renowned Explorer, respectively.
Depending on your party composition and how much you’ve used these three characters up to this point, bringing them along to an unexplored dungeon potentially crawling with foes might not be a good idea. On the other hand, if you leave them behind, you’ll have to make a trip back later (ideally after clearing the Dwarven Ruins) to update/complete their quests, which might just be the lesser of two evils, honestly. Only Ekundayo needs to be with you while enemies yet remain in the Dwarven Ruins, and even then, only for one encounter.
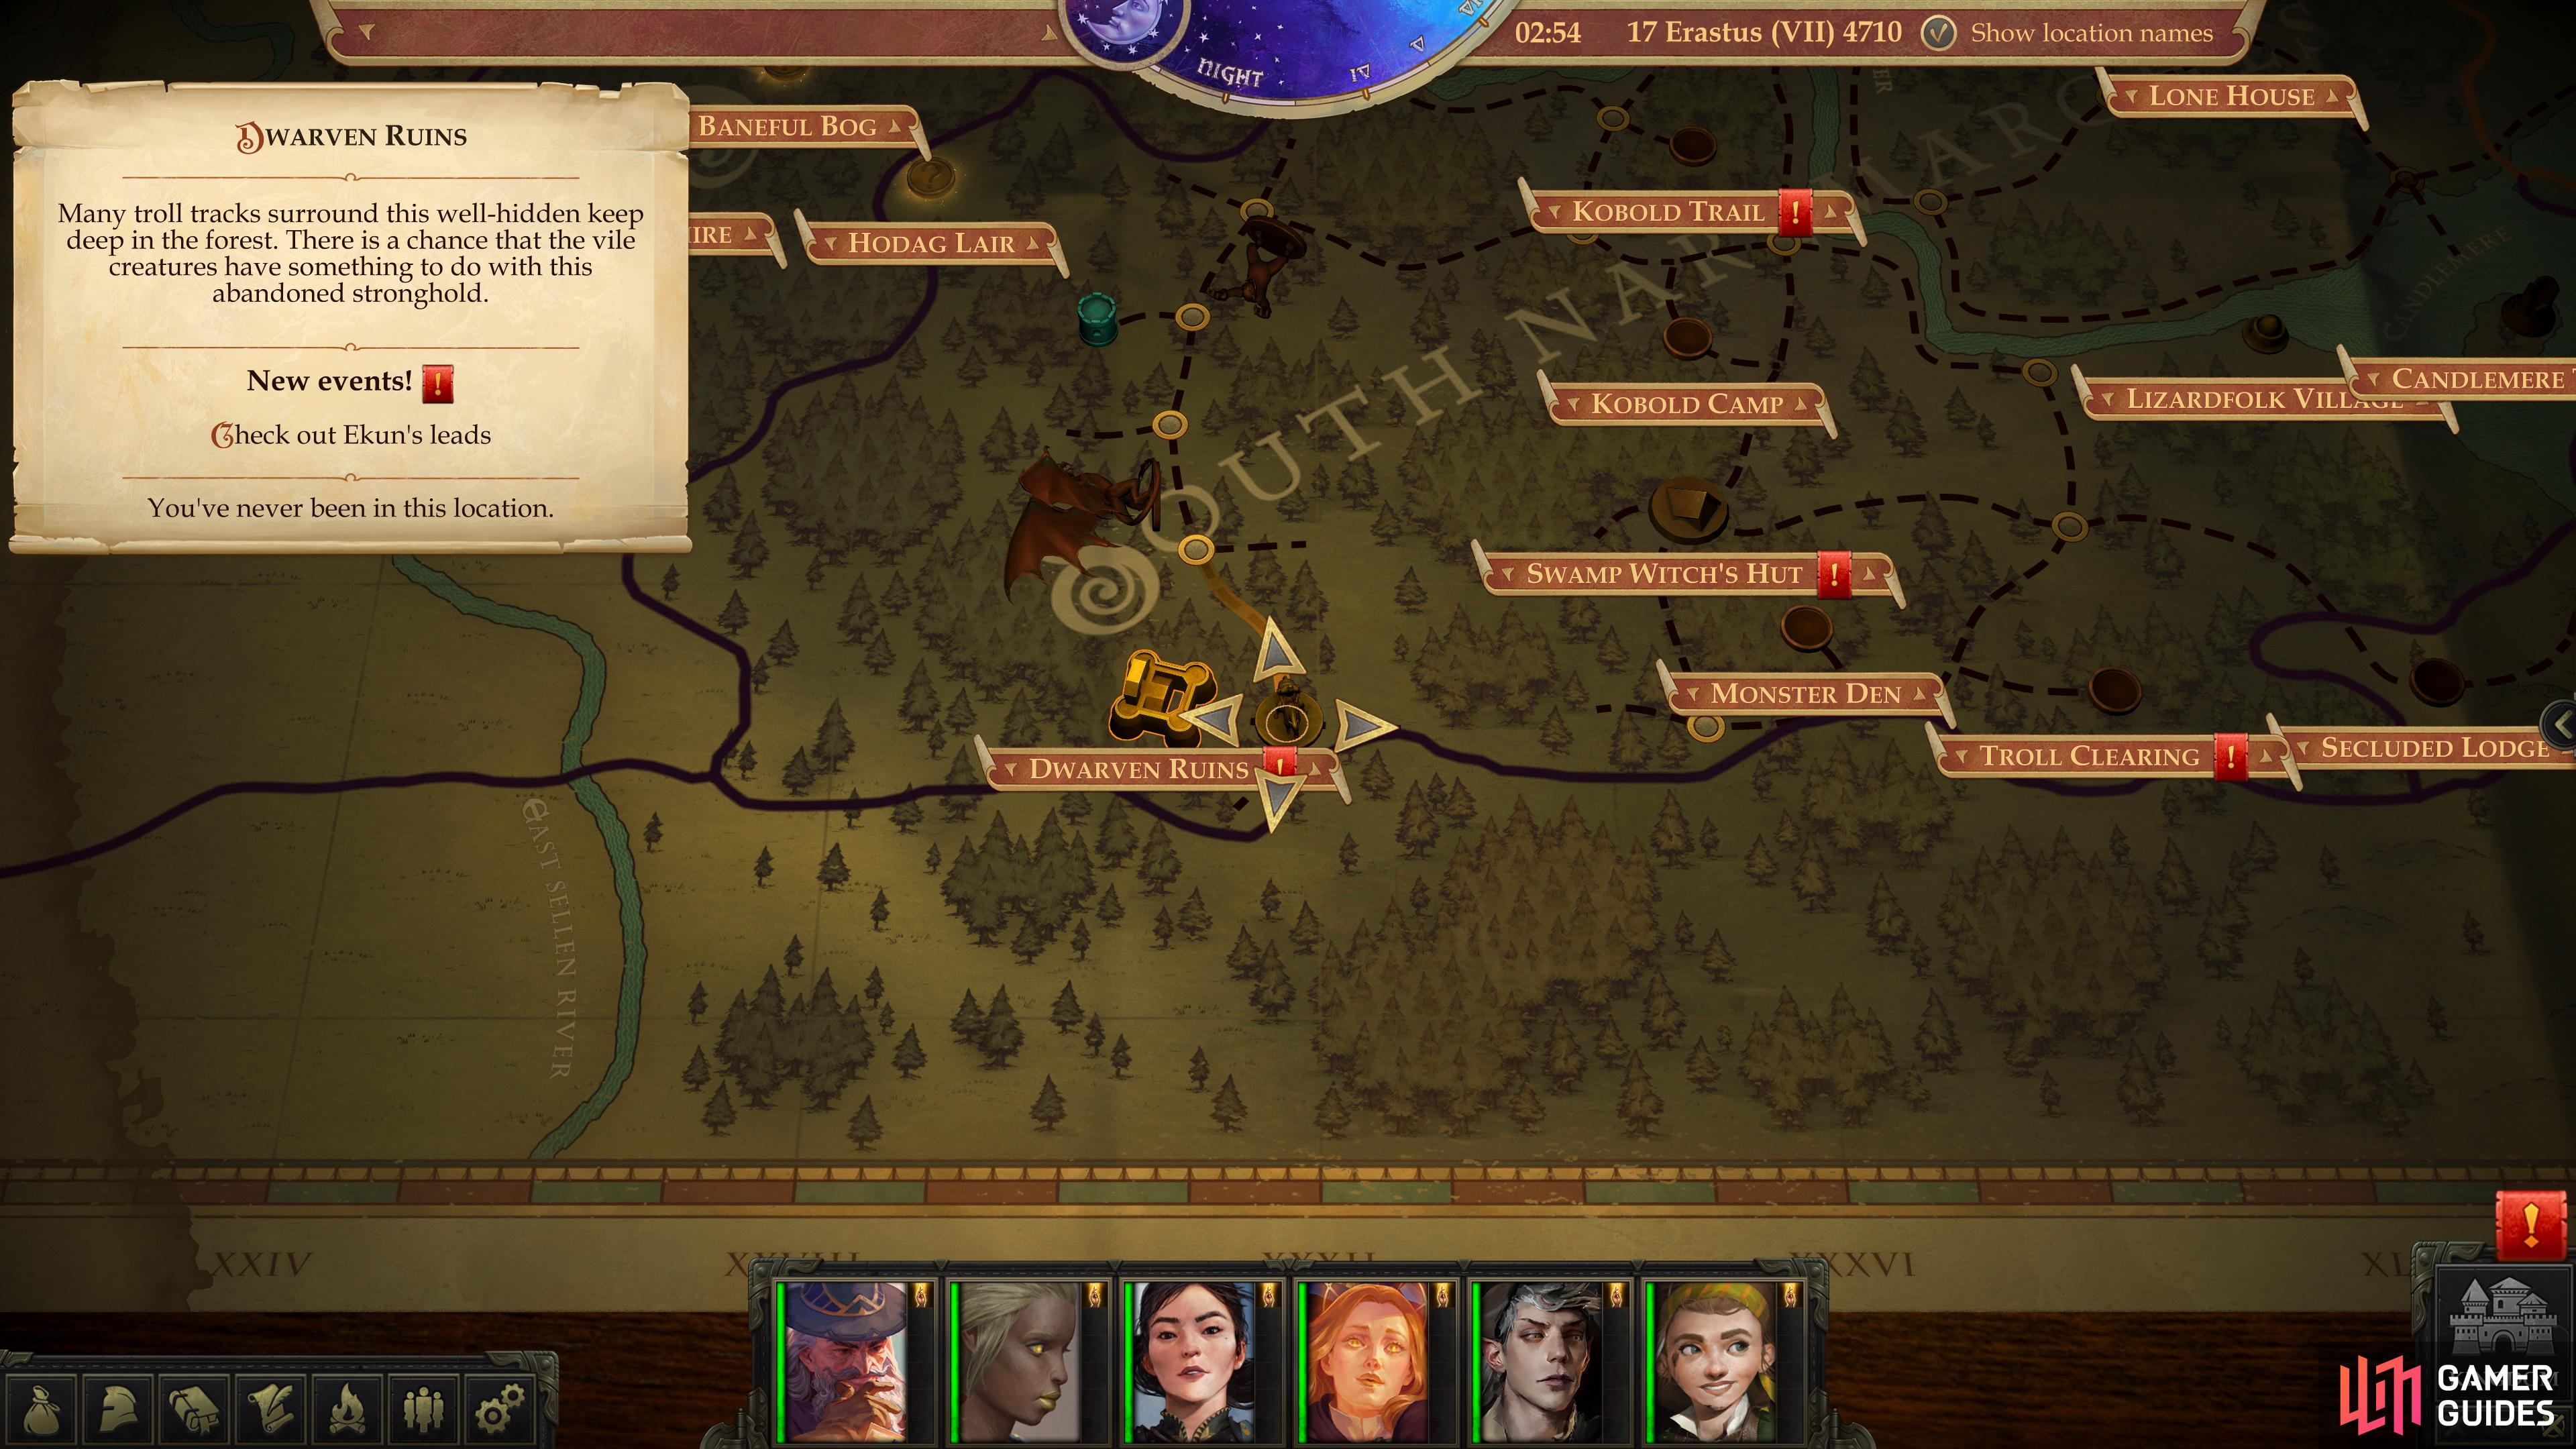
Travel: Dwarven Ruins
For the purposes of exploration, we’re going to assume you started Troll Trouble - A Score to Settle and completed the Swamp Witch’s Hut Expedition earlier, in which case you’ll know where the Dwarven Ruins are, and you’ll have visited an area relatively nearby: the Swamp Witch’s Hut. After the Kamelands Expedition, rest up, head south to the Lone House area to complete the new encounters there, after which continue south to the Swamp Witch’s Hut area. To reach the Dwarven Ruins from the aforementioned area, follow these directions:
- Southwest
- West
- West
Along the way you may just happen to witness a few random Troll Trouble-related encounters, which will be discussed below:
Random Encounter: Stefano Moskoni vs Trolls
If you encountered Stefano Moskoni earlier, you may stumble upon this event, where you’ll find him beset by two Trolls and two Branded Trolls. Between him and his bodyguards, he really doesn’t need your help - there’s clearly more to this guy than a bad attitude and makeup. Still, help him put down the trolls (this is worth some XP, in addition to whatever the trolls give you), then talk to him, where you can make various alignment choices.
| Reward |
|---|
| 300 XP |
Stefano’s disposition has improved significantly since your last encounter, although this is a low bar, and his jingoism is still somewhat insulting. Your first response is fairly consequence-free, save for the alignment modifiers, but the second response includes the option to pick a fight [Neutral Evil]… which is also worth some XP.
| Reward |
|---|
| 300 XP |
You’ve seen how Stefano and his guards performed against the trolls, so if you pick a fight, you’d best be prepared. While their Attack Bonuses aren’t terribly high (mostly in the +10-11 range), their damage output is impressive, and Stefano is far more dangerous any time he’s attacking a vulnerable character, be they flat-footed or flanked. That being the case, you should try to take Stefano out as quickly as possible by making him your first target. Haste and Slow work well, as always, as do any mind-affecting effects (your enemies have laughably bad Will Saves).
Remaining morally upright here is difficult, as this is a very winnable fight (provided Initiative rolls are kind), and Stefano will drop some incredibly good loot, including Deadly Grace, a +1 Rapier with the Agile, Keen, Unfair Advantage and Finesse Wielding properties - a backstabber’s dream, and by far the best weapon you’ve had a chance to obtain up to this point. He’ll also yield Lightning Duelist, a +1 Dagger with the Shock and Finesse Wielding properties (it’ll also give its wielder a +4 bonus to Initiative rolls and a +1 dodge bonus to Armor Class), a Chain Shirt +2 and a Ring of Protection +1. Quite a haul.
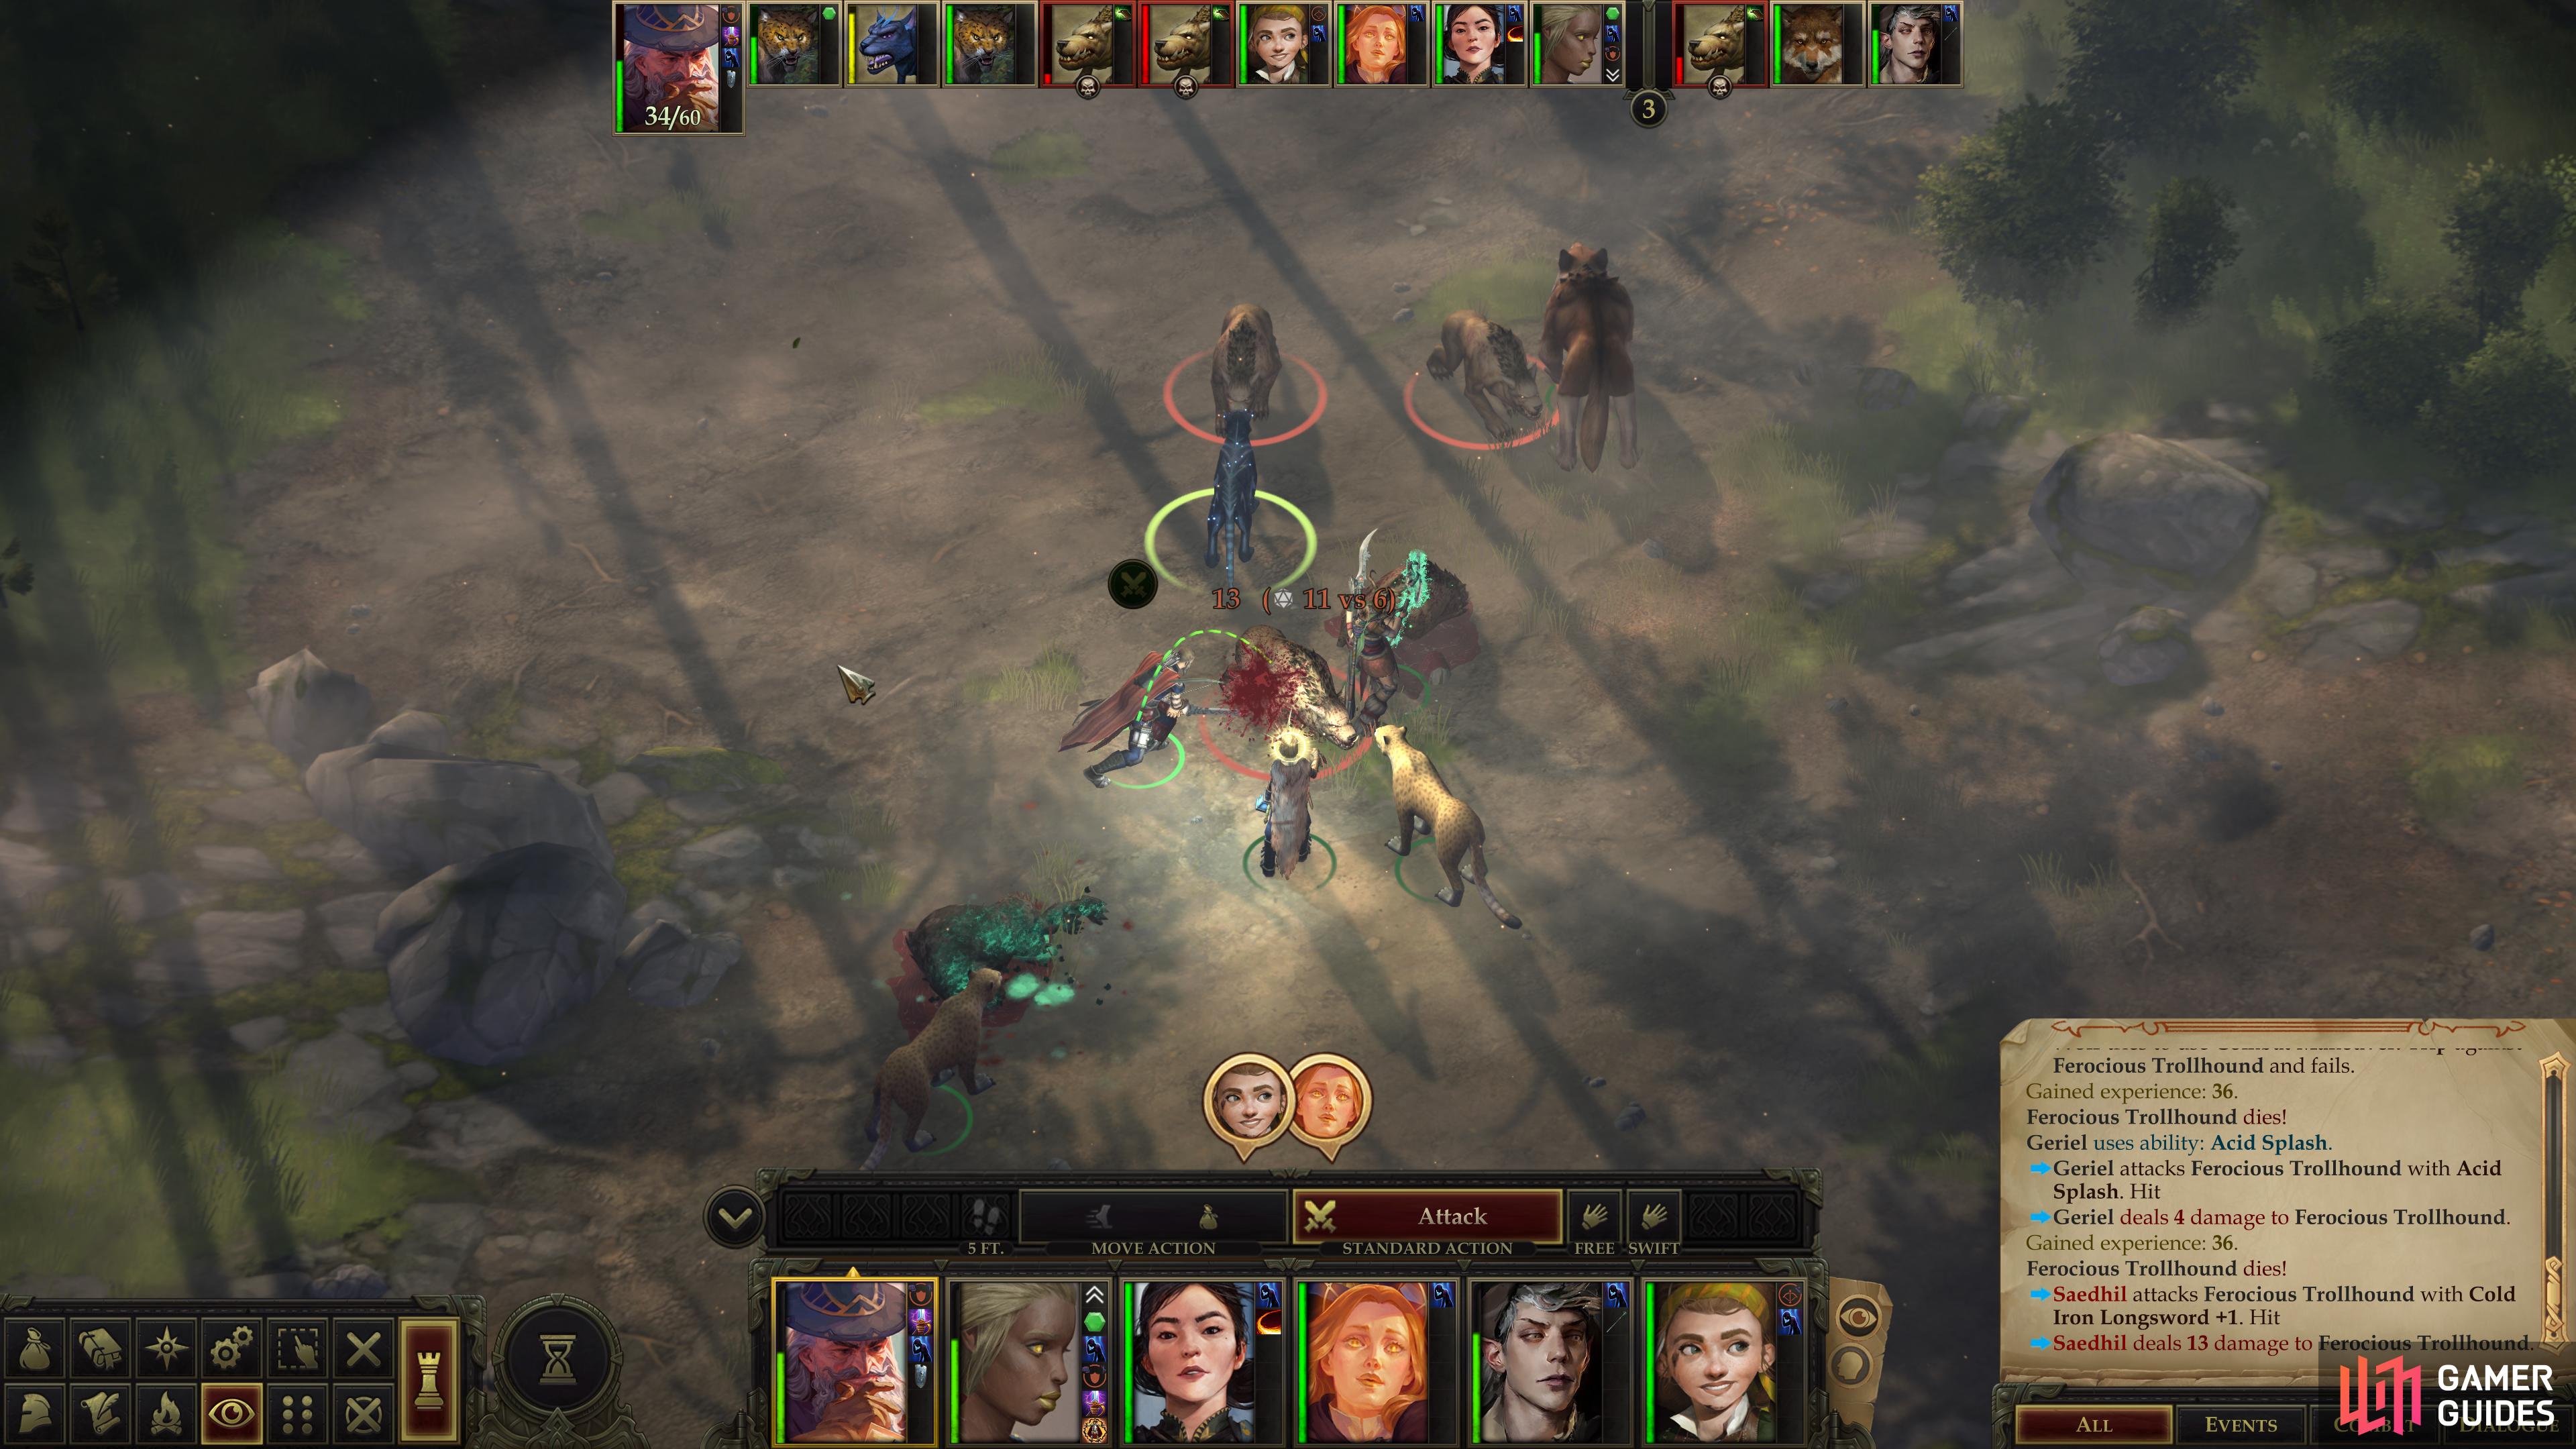
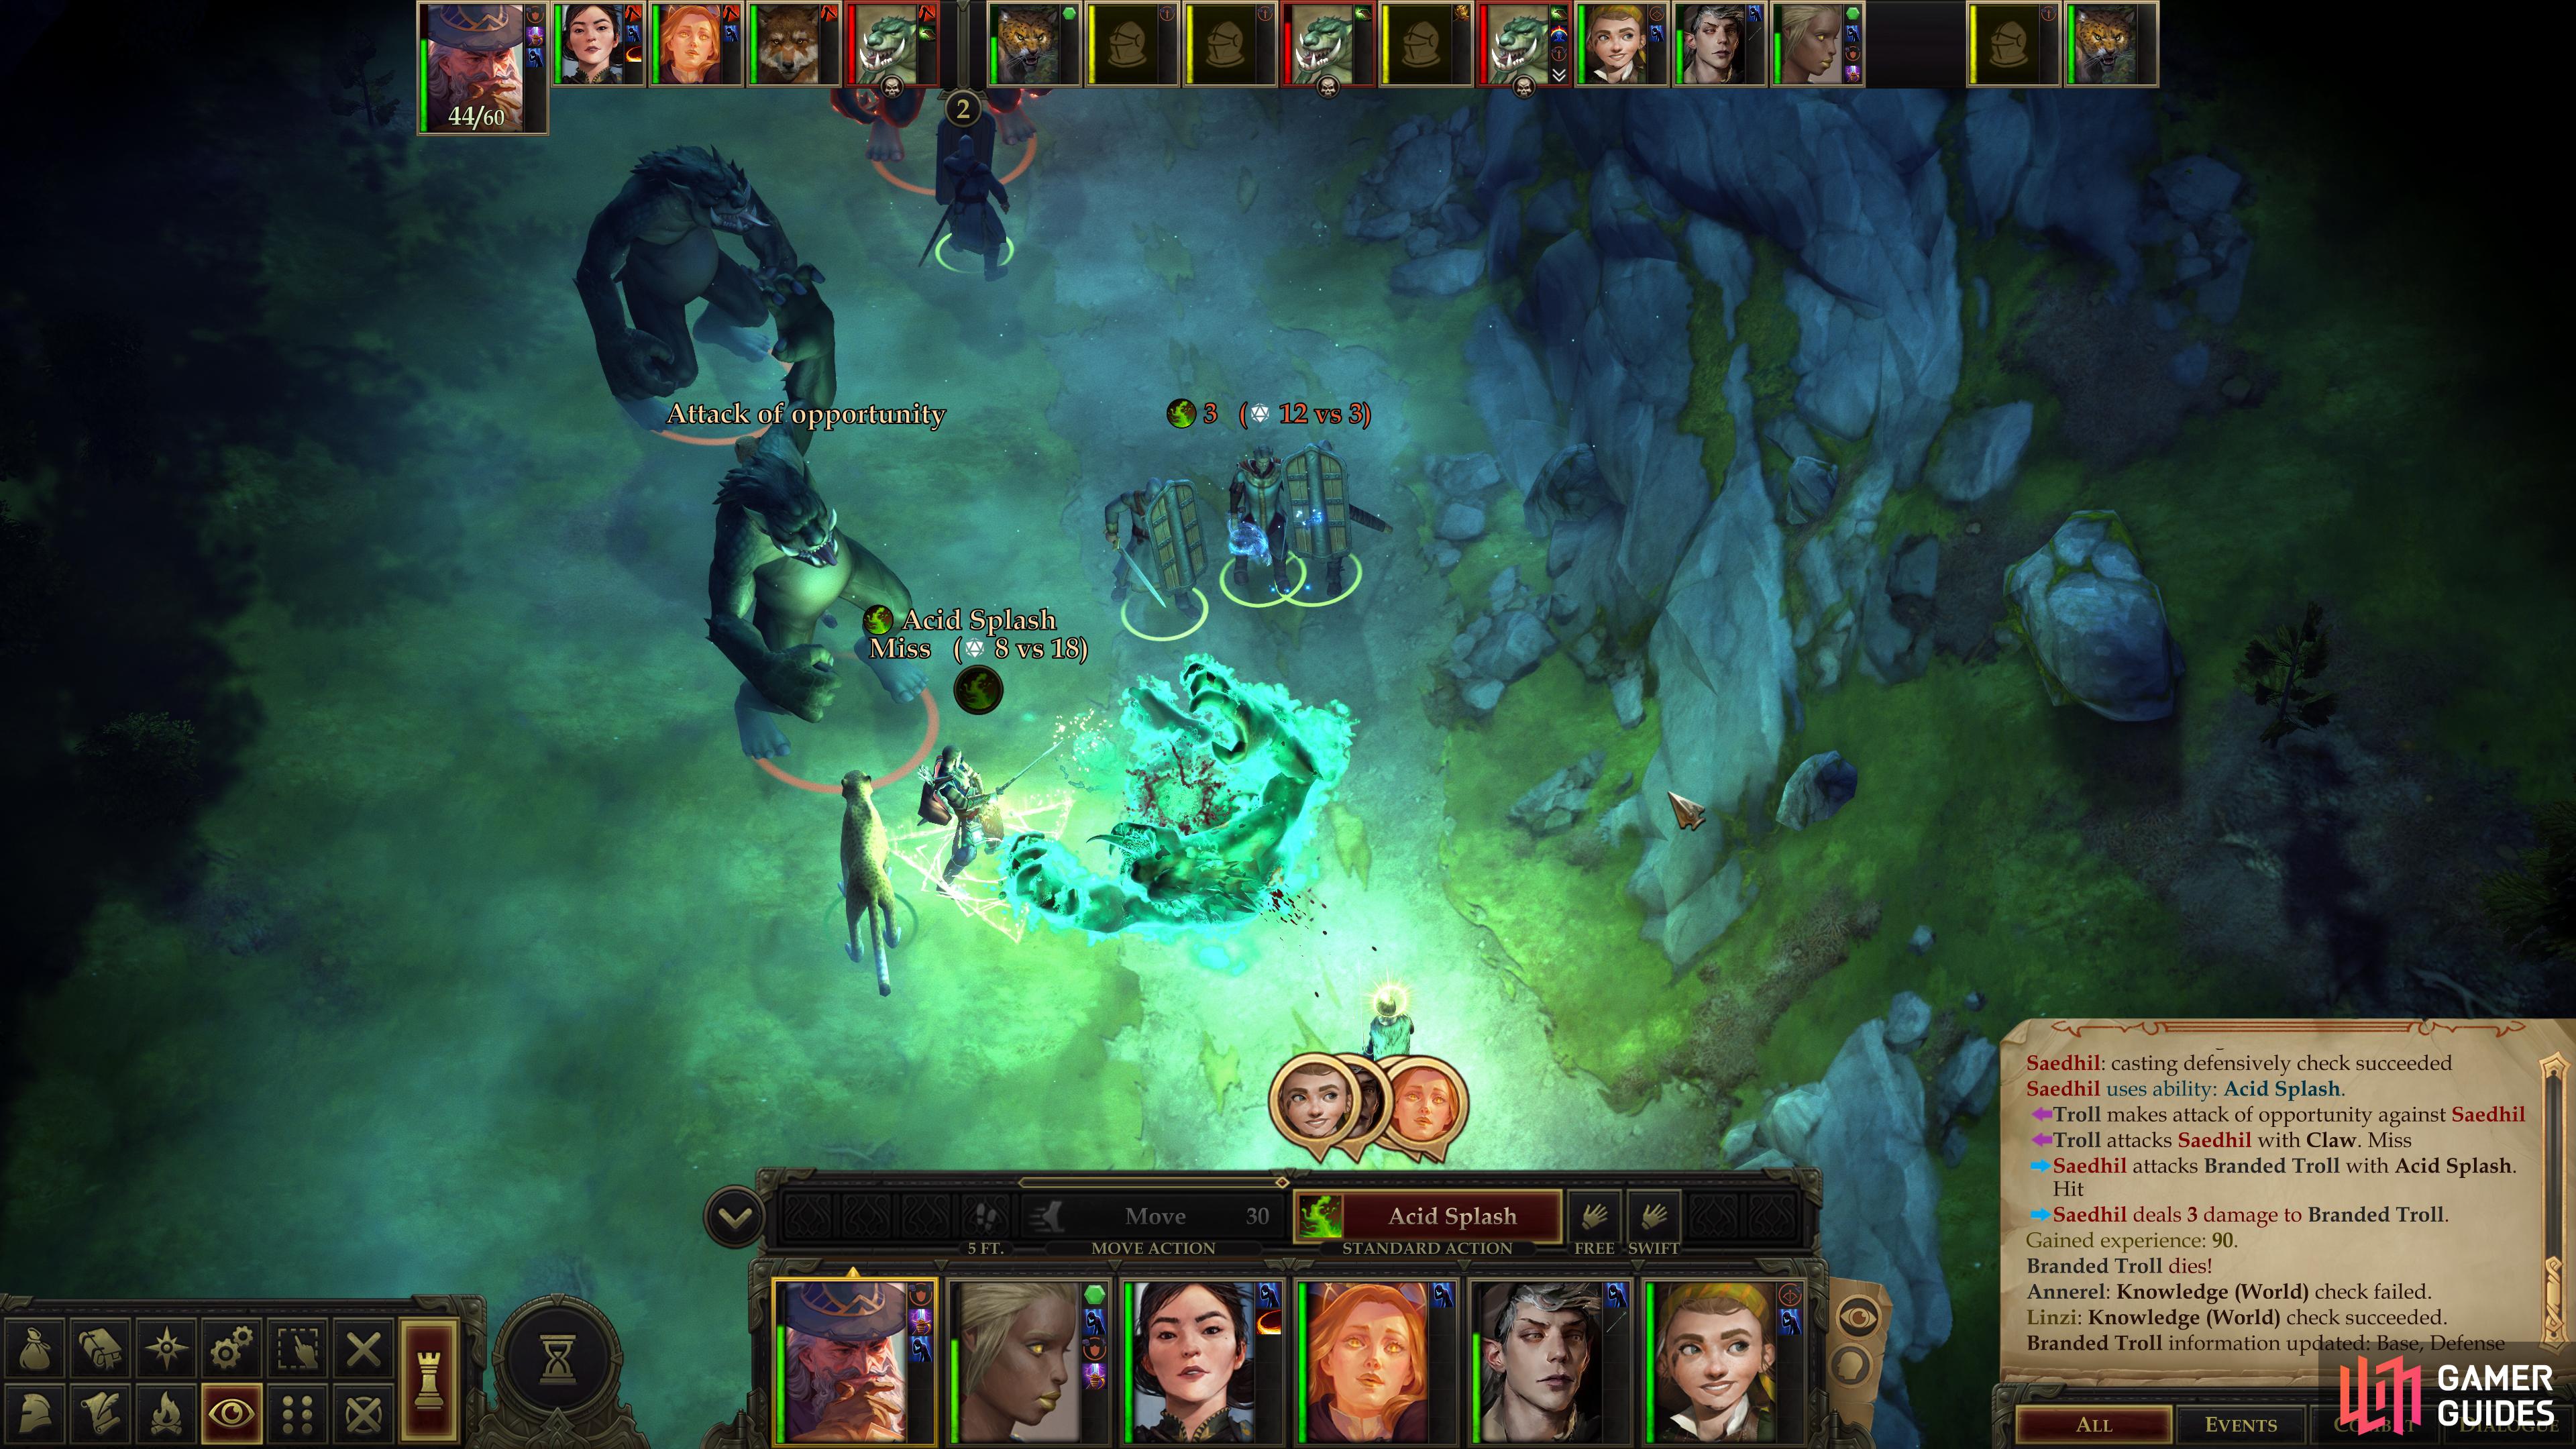
Help the Dweomercat fight off some Trollhounds,
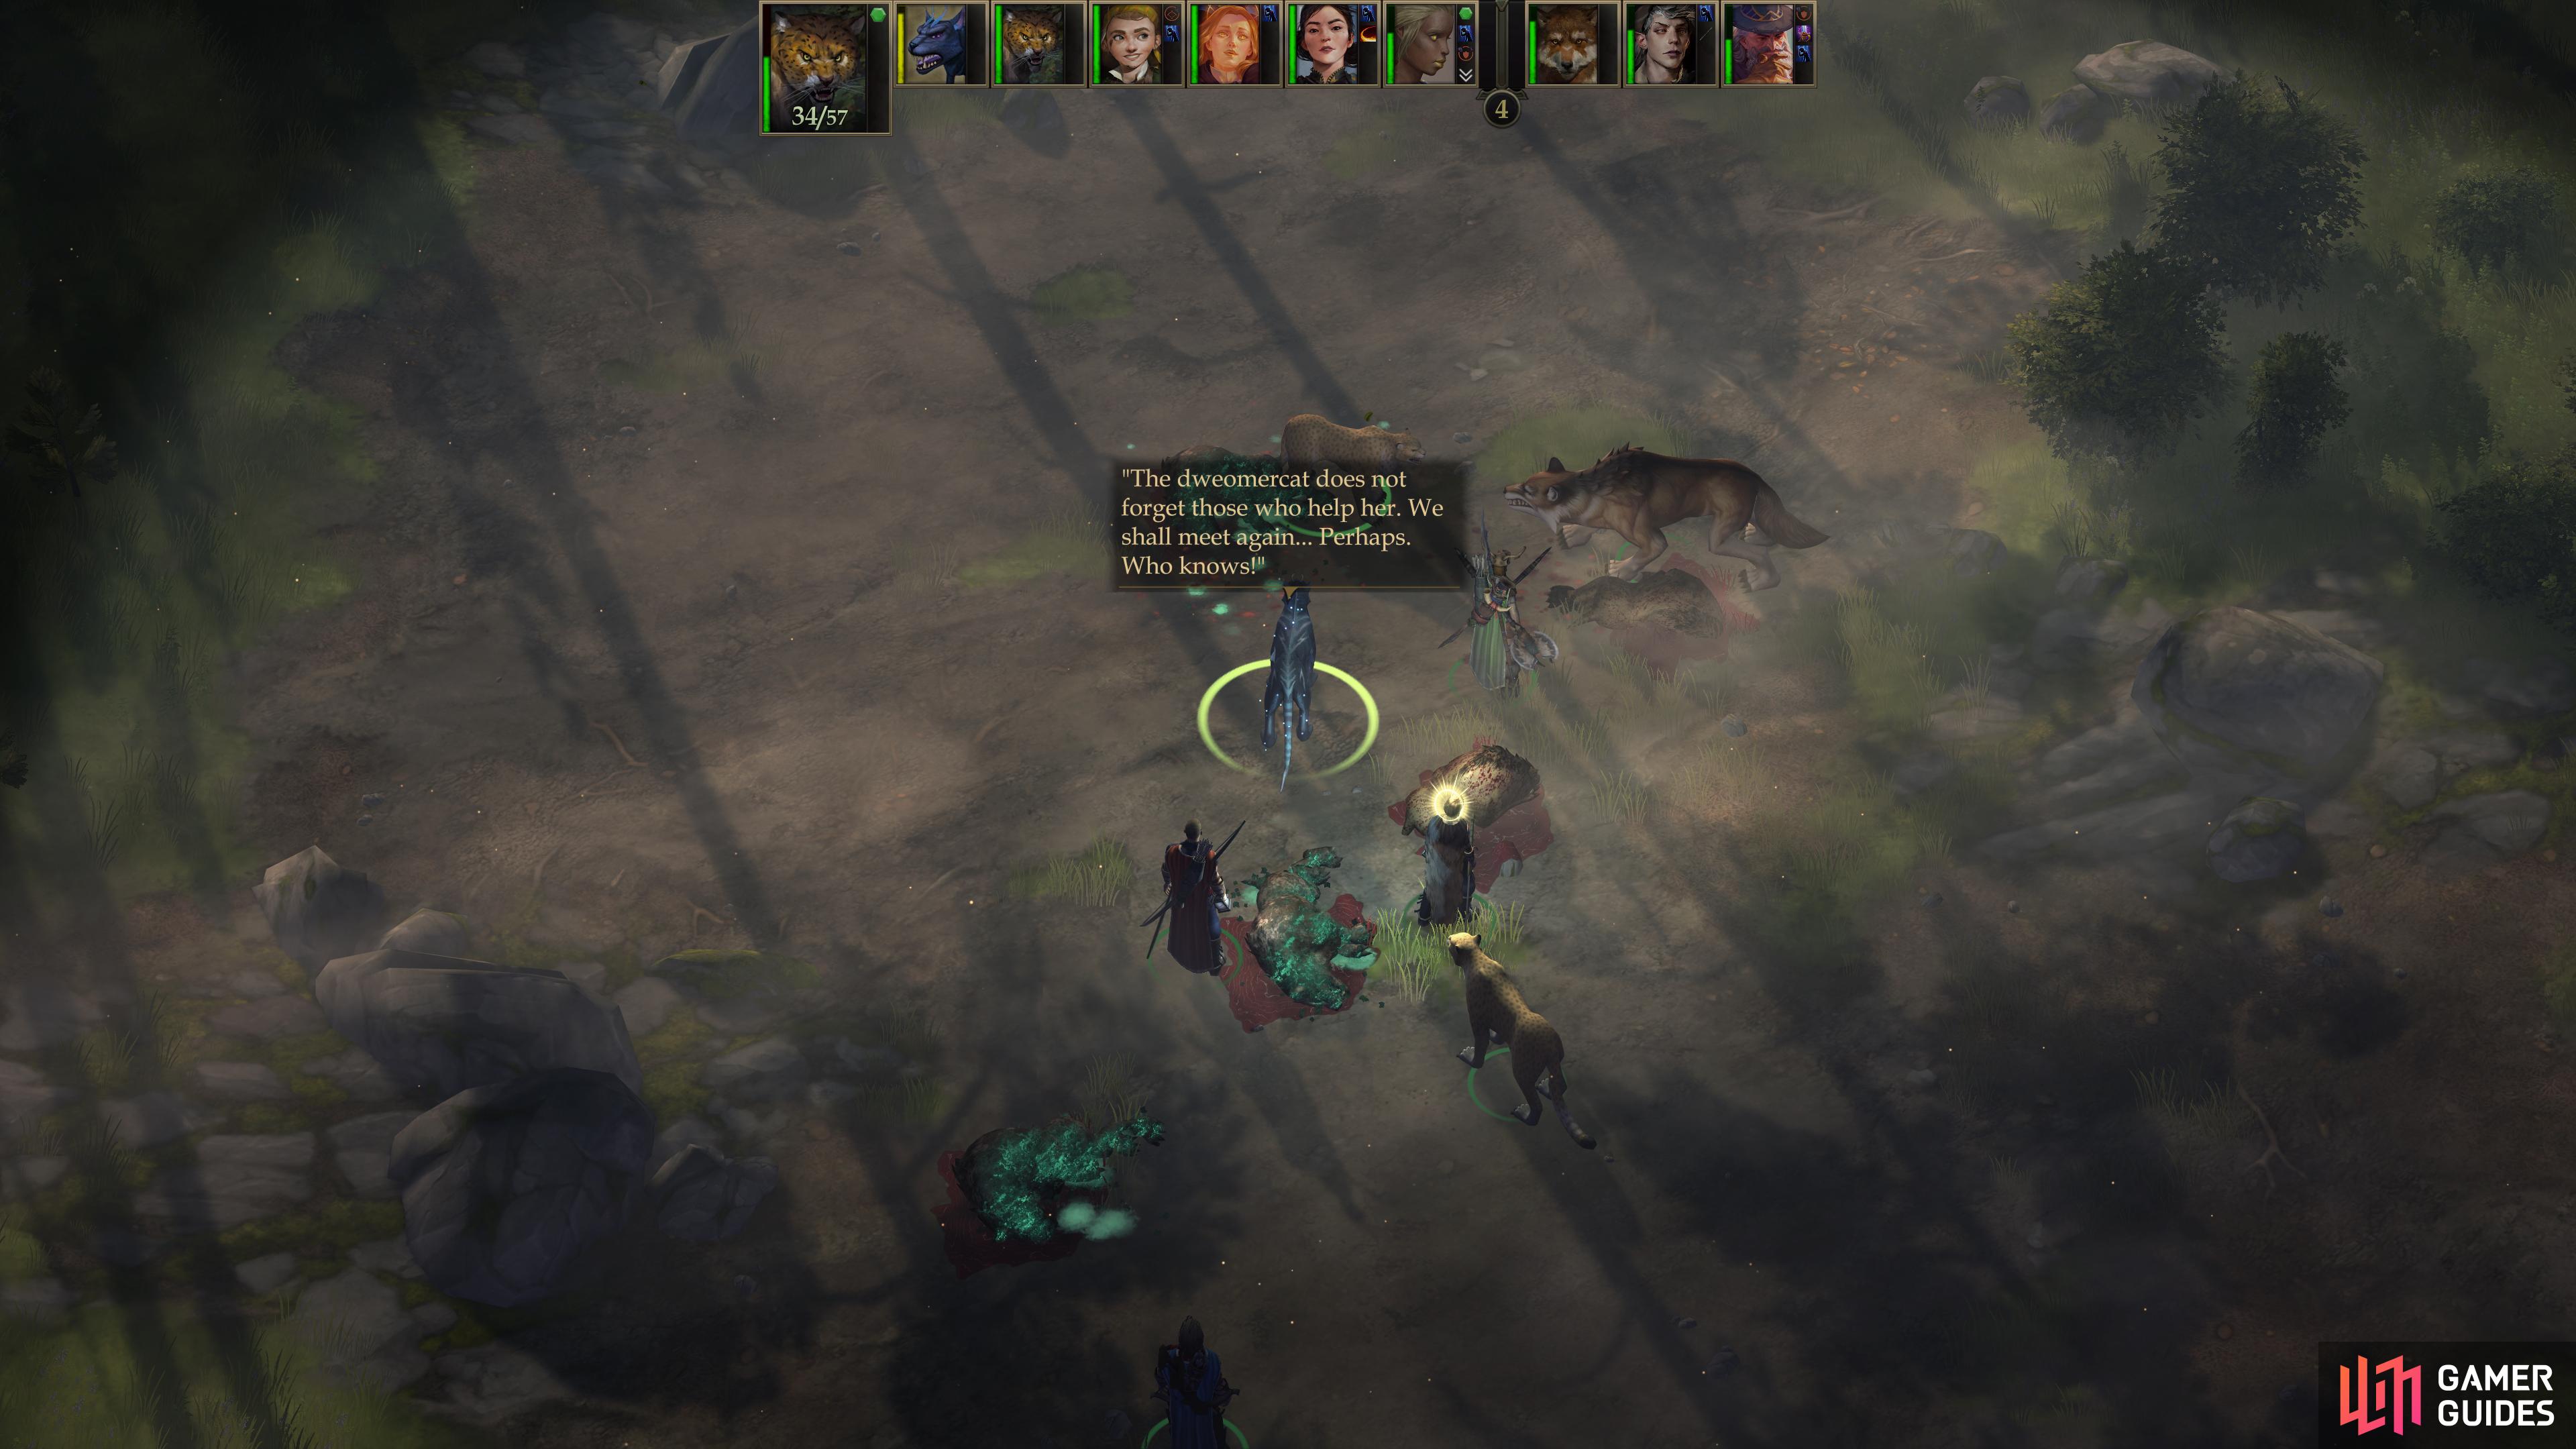
after which the magical cat will thank you and vanish.
Random Encounter: Dweomercat vs Trollhounds
You’ll encounter a Dweomercat surrounded by a pack of Trollhounds. The Dweomercat is far more powerful than the mismatched Trollhounds, but you can still siphon off some XP by helping the odd magical cat out. Kill the Trollhounds and the Dweomercat will thank you before vanishing.
Weird.
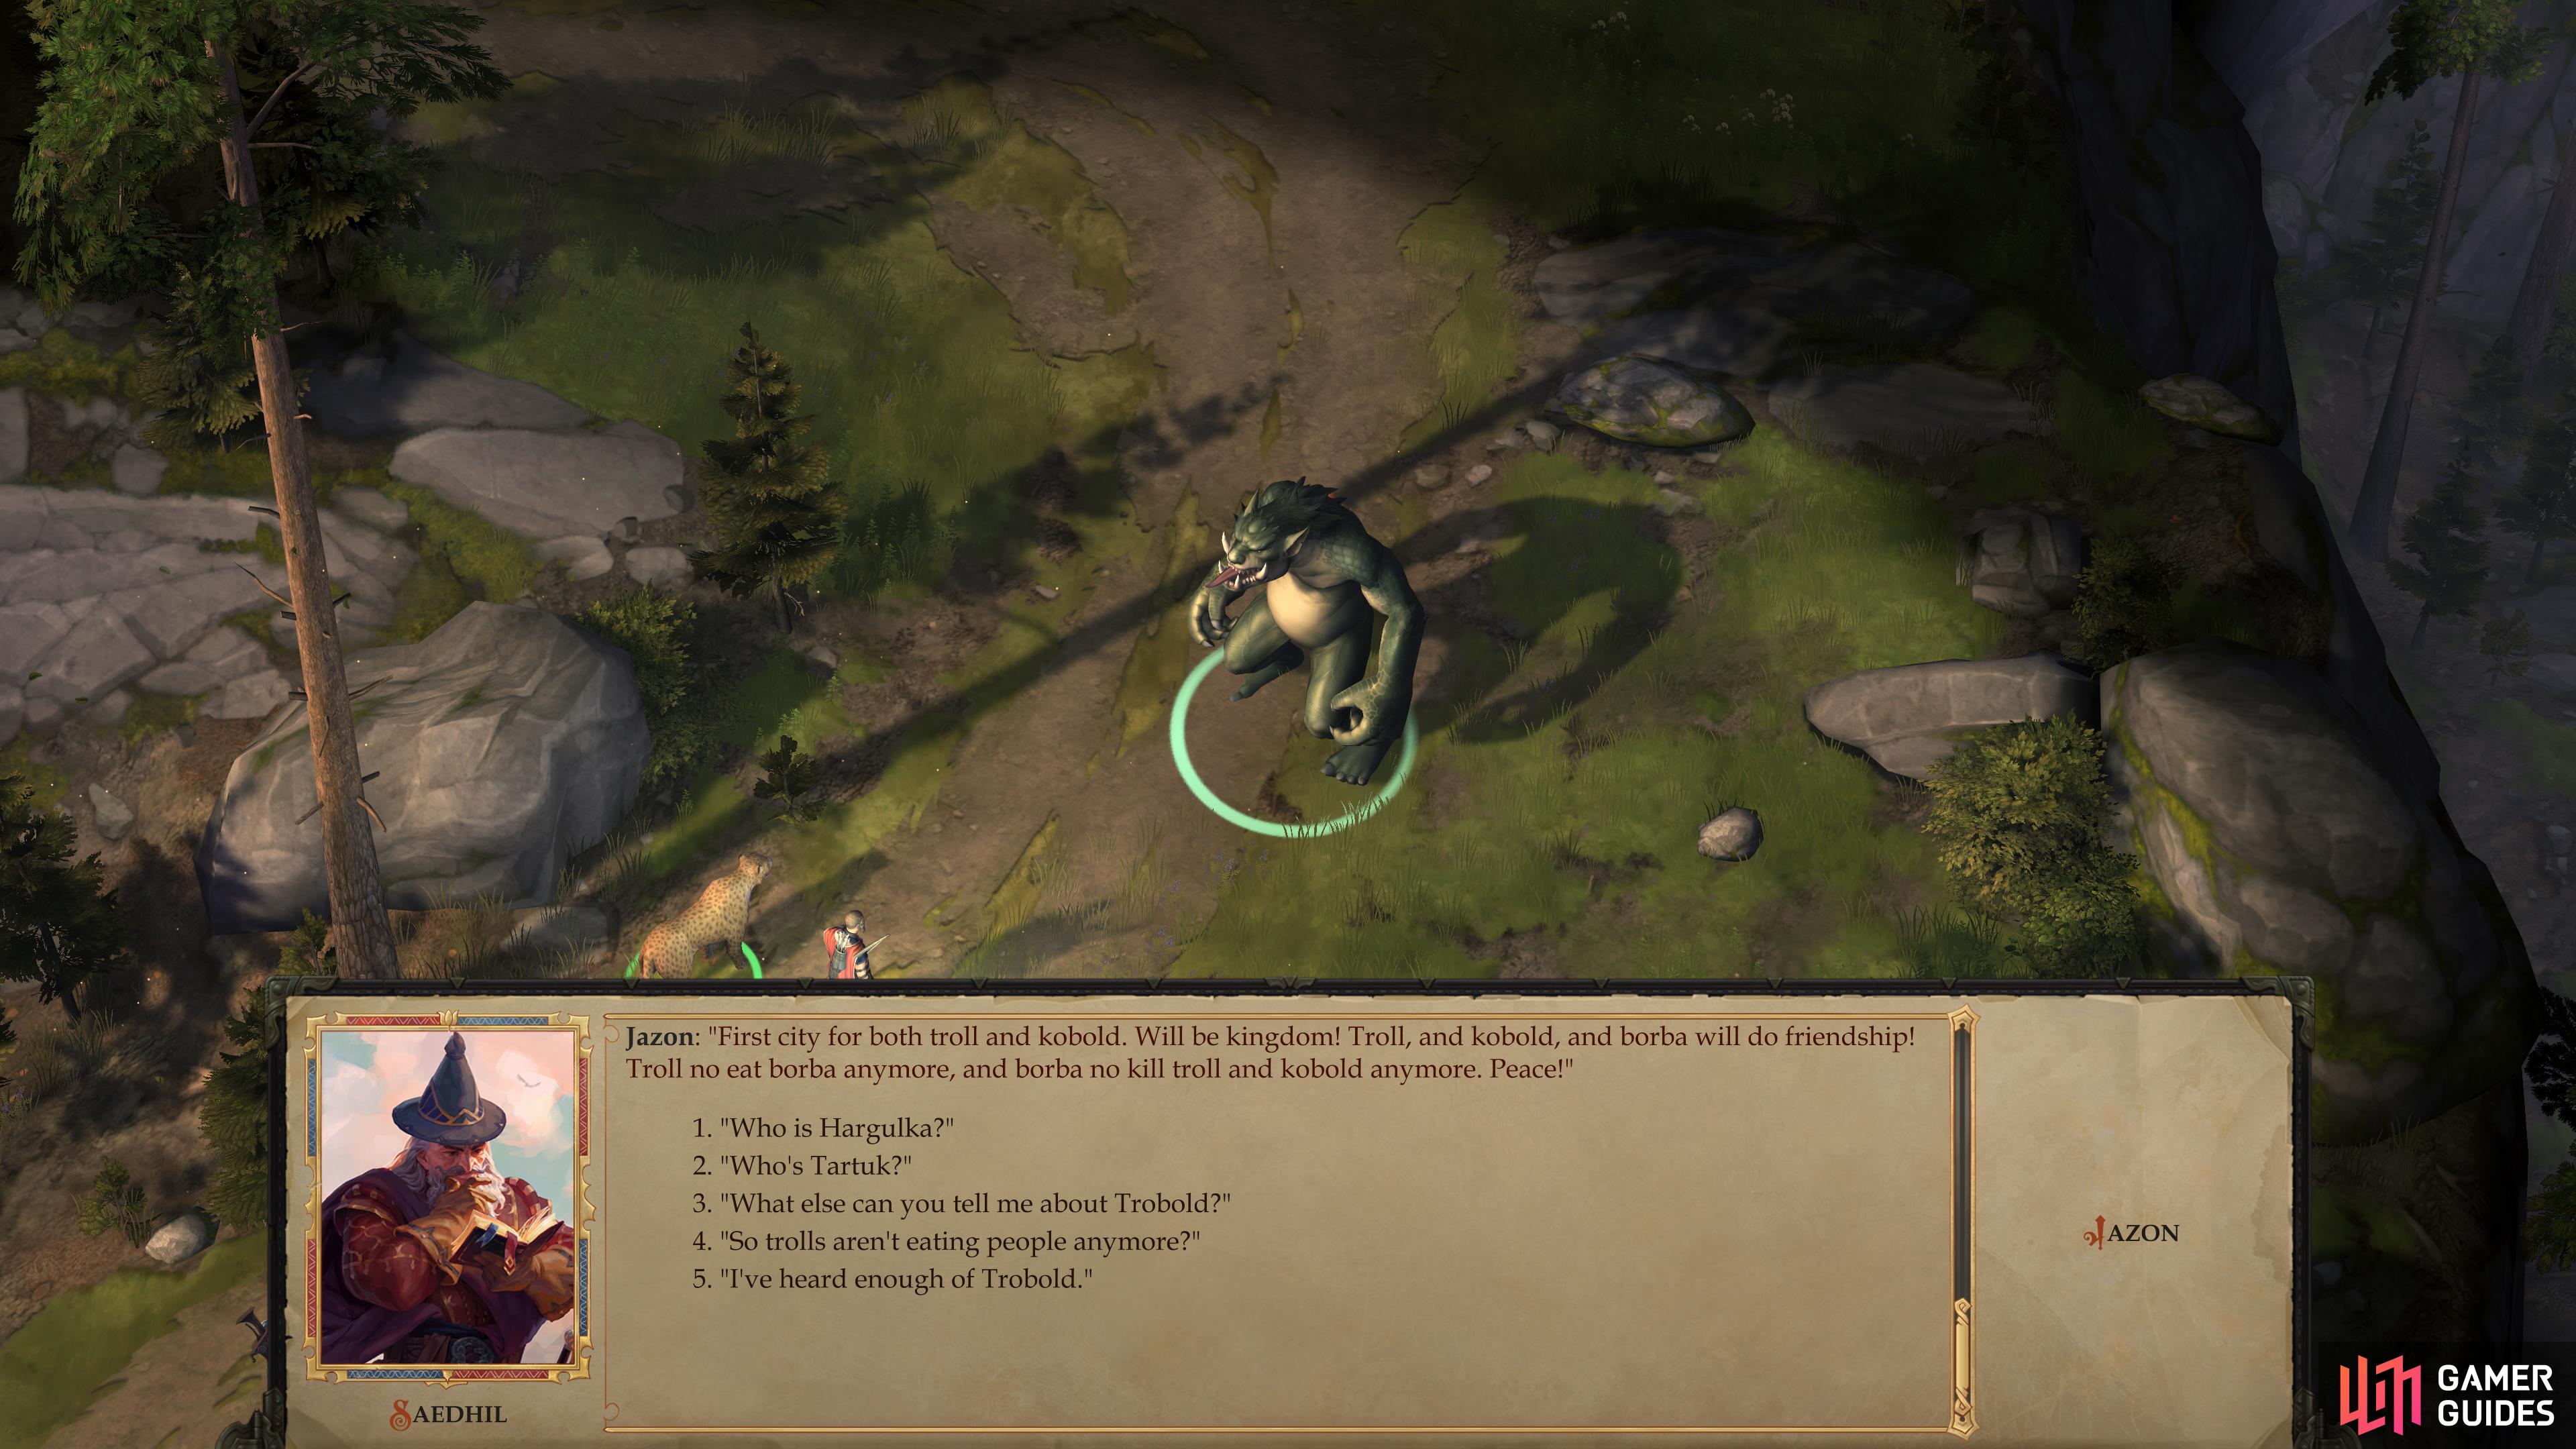
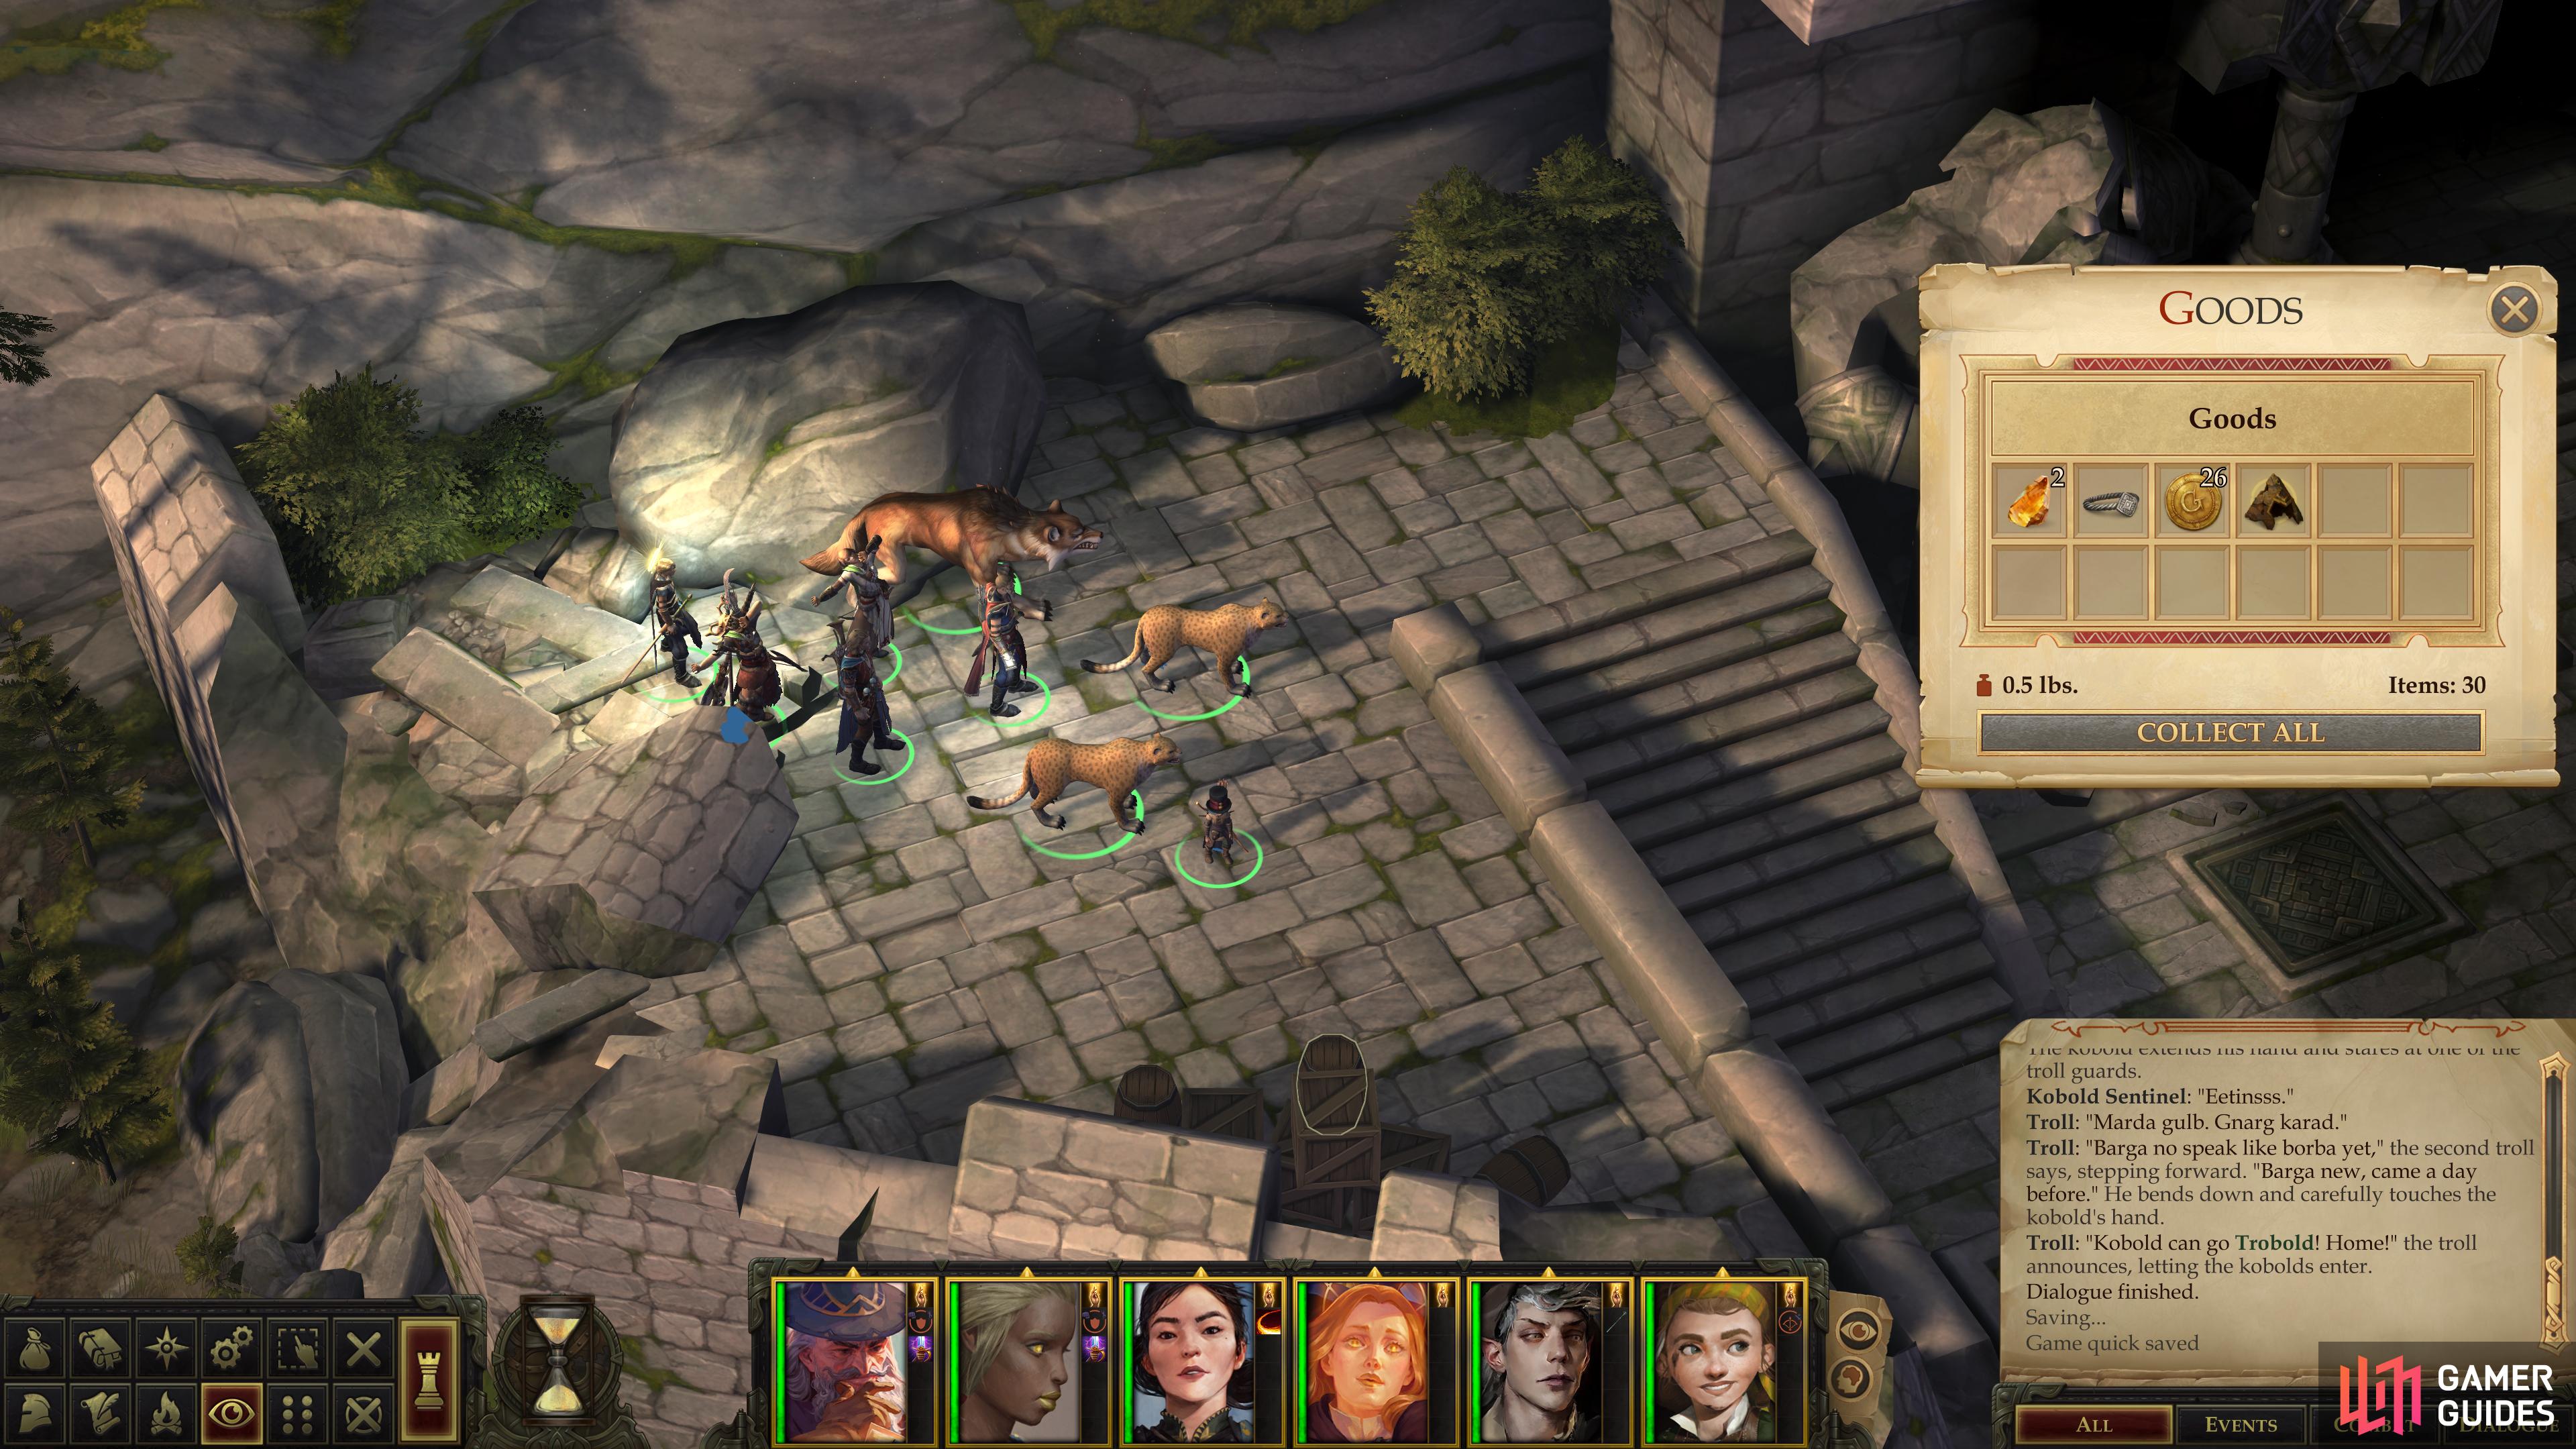
(1 of 3) When you arrive at the Dwarven Ruins you’ll be greeted by a rather friendly troll named Jazon.
Dwarven Ruins: Troll Pacifist
When you arrive, head uphill to the northwest, then turn northeast, following the path until you encounter a well-groomed troll (well-groomed for a troll, in any case) named Jazon. To summarize this strange encounter, Jazon claims to be a representative of the cleverly-named kingdom of Trobold. Trobold is led by two kings, the troll king, Hargulka, and the kobold king, Tartuk. This alliance was forged by Tartuk’s bestowal of fire immunity (which Jazon incorrectly conflates with immortality) to the trolls. While he claims that Trobold’s goal is peaceful relations with the borba (civilized humanoids - yourself included), Tartuk’s earlier antics at the Ford Across the Skunk River and the rampaging trolls in the area tell a different story. To emphasize this point, Jazon will warn you about exploring any further, as apparently the process of civilizing the rest of the trolls isn’t quite complete yet. You don’t say?
Surprisingly there aren’t many pitfalls in this conversation. One notable exception is if you pick if you pick “Tell me more about Trobold” and follow it up with “So trolls aren’t eating people anymore?” then continue pestering Jason about the trolls’ diet, you’ll eventually get a [Chaotic Neutral] dialogue option. This, finally, will frustrate Jason to the edge of rage, and only a [Diplomacy 20] check will avert violence. Other than this [Chaotic Neutral] option and a blatantly offensive [Lawful Evil] option, there’s a good chance Jazon will leave you alone even if you persist in your desire to explore Trobold despite Jazon’s misgivings.
Alternatively, if you pick the dialogue option “All right, what do you want from me?” you’ll unlock the dialogue options “Tell me more about Trobold” and [Lawful] “All right, take me to your kings and we’ll see if trolls can hold a civil conversation. I’m the king/queen of the lands your Trobold stands on, and as such, your kings and I have much to discuss.”, which will bypass the rest of this area entirely. There’s quite a bit of enemies worth killing and some loot worth picking up, however, so you might not want to make use of this [Lawful] dialogue choice, even if you can. Not to mention it’ll force you to fight your way out if you need to leave the area for whatever reason.
If you want to avoid a fight with Jazon later, you’ll need to pick the dialogue option [Lawful] “All right, take me to your kings and we’ll see if trolls can hold a civil conversation. I’m the king/queen of the lands your Trobold stands on, and as such, your kings and I have much to discuss.” when talking to him here. This will take you into the Troll Lair and somewhat complicate matters for little tangible benefit, but if you want a clearer conscience…
Make what decisions you will with Jason; if you kill him you’ll be able to score a suit of Hide +3 from him, which well, it’s debatable whether it really competes with the Breastplate +2 you found earlier, but it’s certainly better than any Chainmail +1 you have still in use.
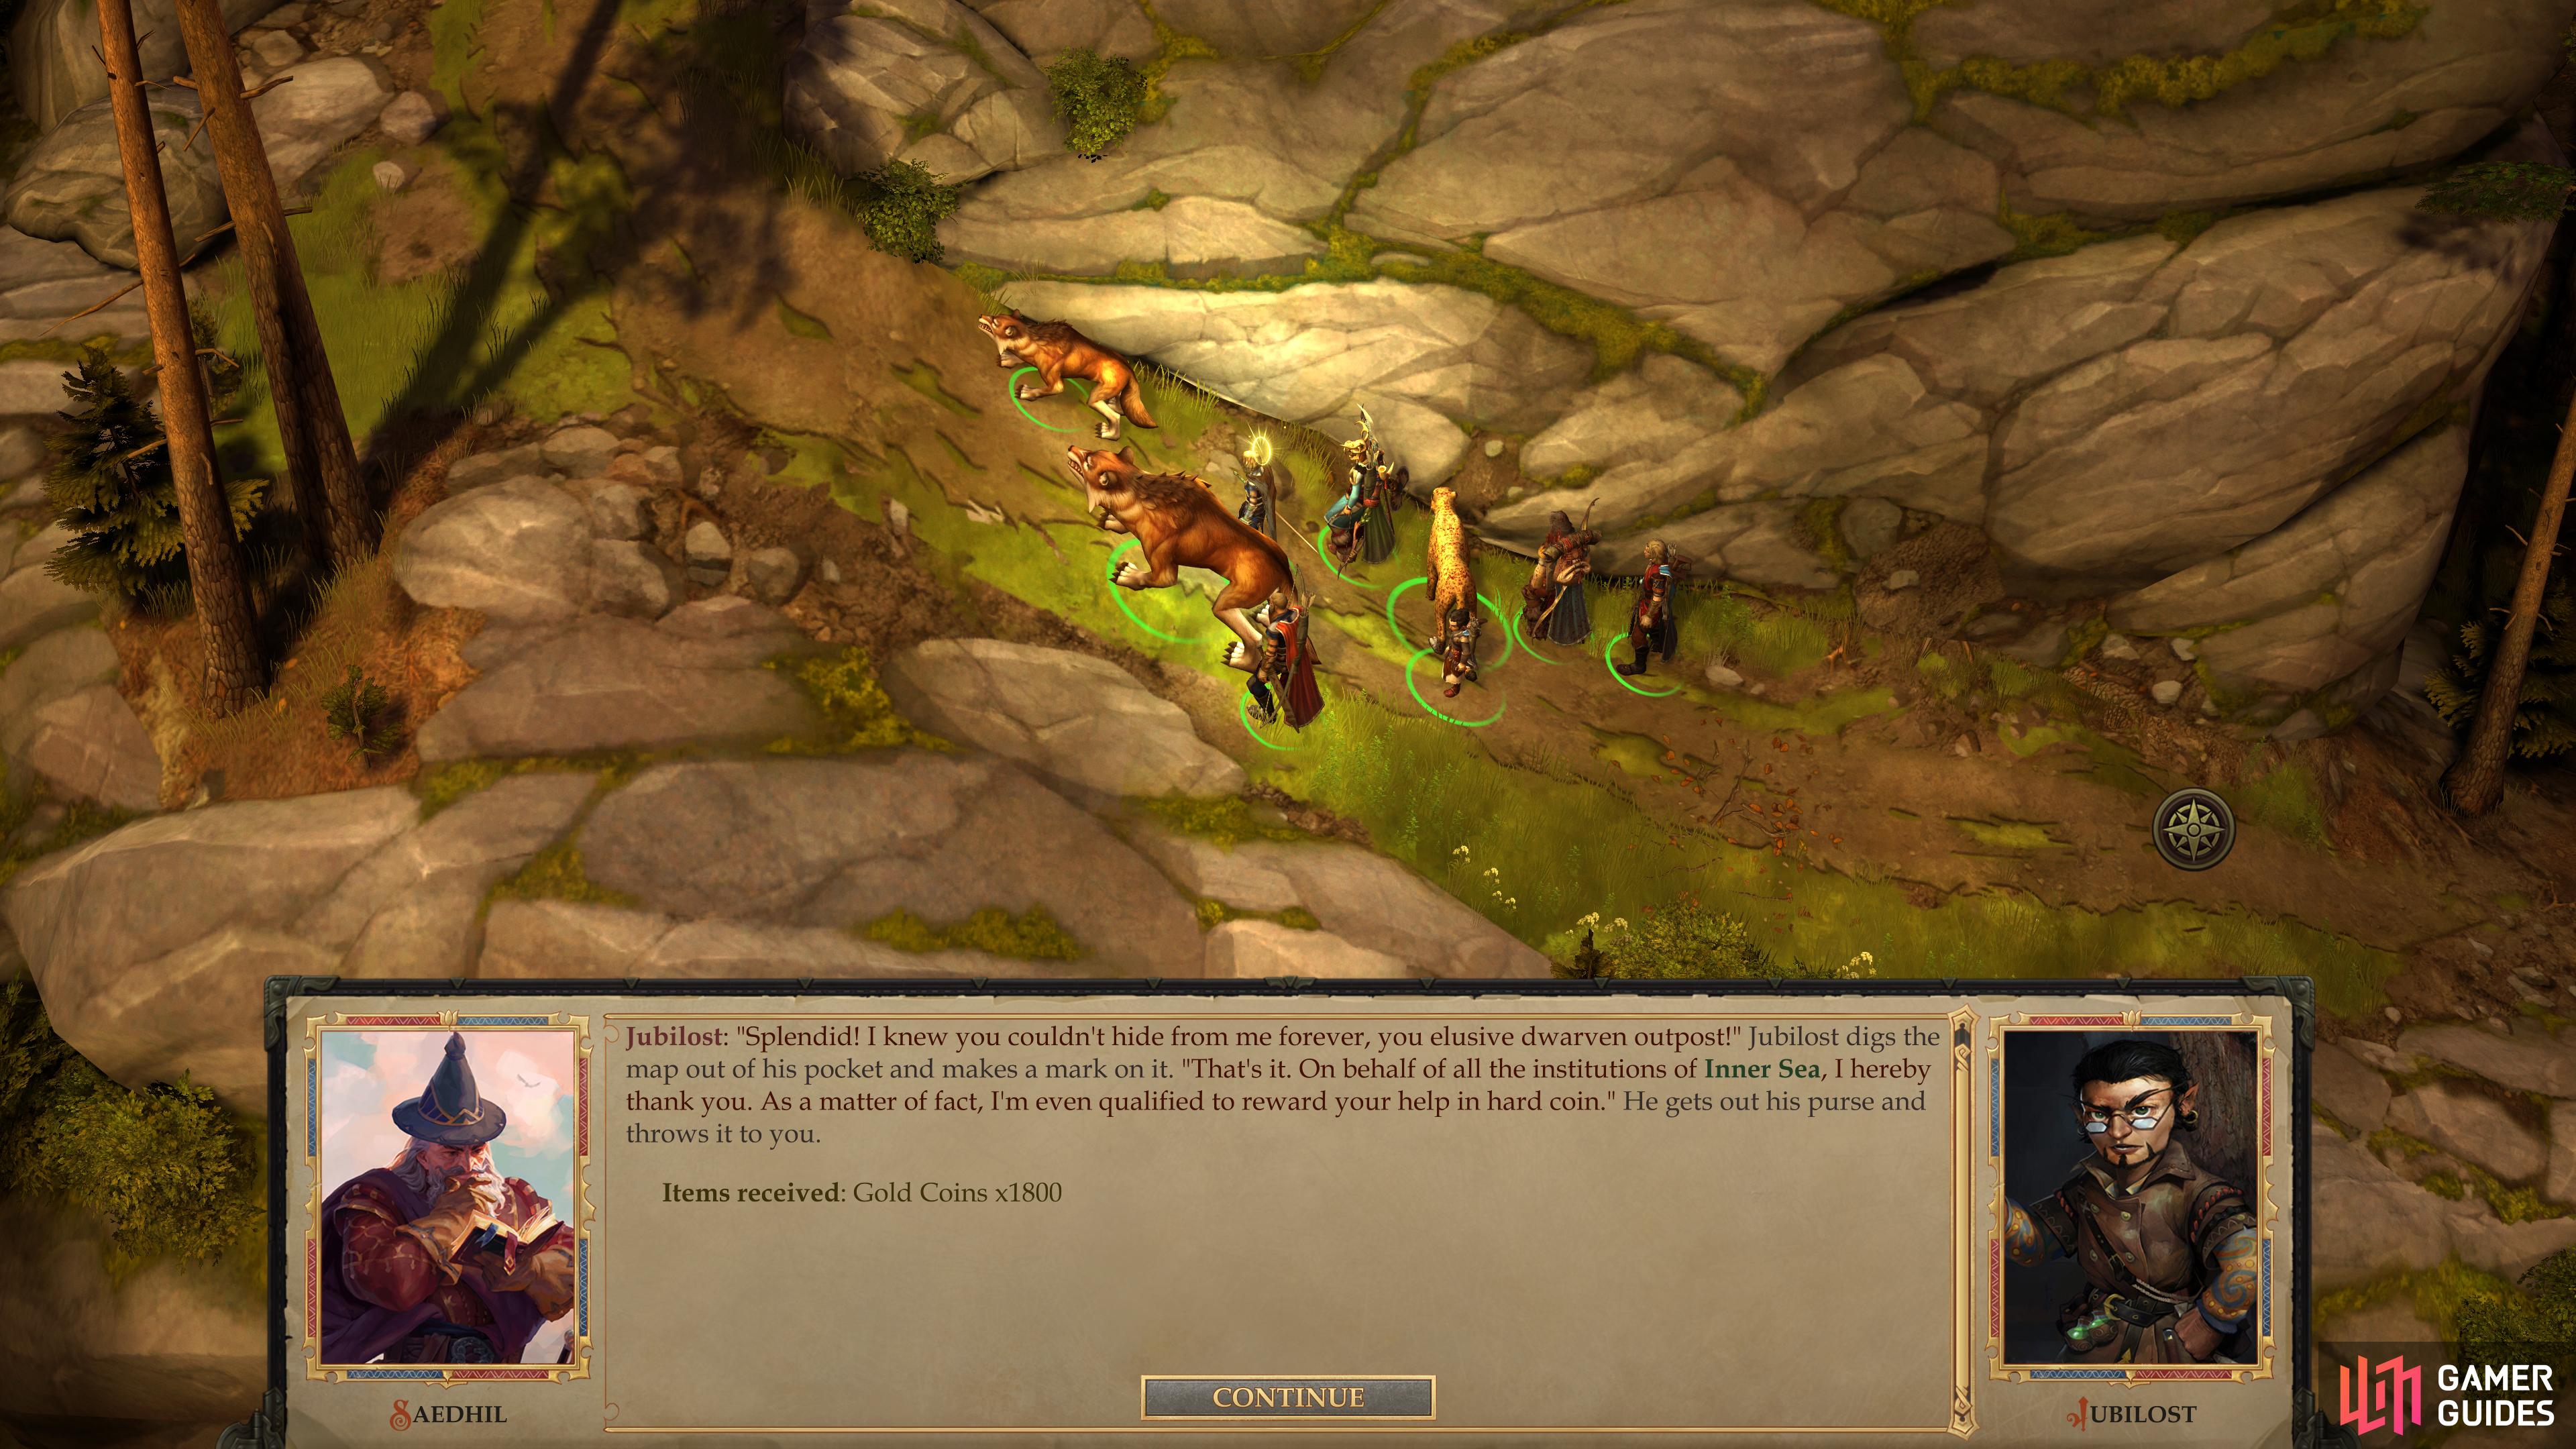
To appease Jubilost, just bring him to the Dwarven Ruins.
Jubilost Discovers the Dwarven Ruins
If you brought Jubilost along with you, he’ll pester you shortly after entering the area, recording the location of the ruins on his map before sternly informing you that he can’t give your barony a good review. You can influence his writing by picking the [Chaotic Good] (moderate review), [Neutral] (positive review) or [Lawful Evil] (negative review) responses, but it’s mostly just flavor, so feel free to act as your protagonist would. Either way, Jubilost will choose to stick around until he’s done writing up his article (possibly a dangerous decision, given the article’s contents!) and in the meantime he’ll continue traveling with you. Win.
| Reward |
|---|
| 1,800 gold |
Battle: Kobolds
Continue north after parting ways with Jason (or his corpse), then turn west, following the trail that runs along the outside of the fort. You’ll shortly run across a group of hostile kobolds blocking your way (2x Kobold Snipers, 2x Kobold Skirmishers, 1x Kobold Boomsayer, 1x Kobold Alchemist Master), which shouldn’t provide any challenge to your party, but it’s not a good sign for Trobold/Borba relations. Kill them and continue west, stopping only long enough to dispatch a second group of kobolds before the path turns north.
Battle: Trolls
Continue north around the western edge of the castle until you find representatives of the other species that occupies Trobold: a Troll and a pair of Trollhounds. Cut them down, then note a gate to the east. Before you enter the keep, let’s clear out all the enemies outside. Continue northwest until the path splits. The northern fork will lead uphill, where you can locate a crumbling section of wall which you can then scale with a successful [Athletics 18] check. This possibility will be considered further when it comes time to actually enter the castle.
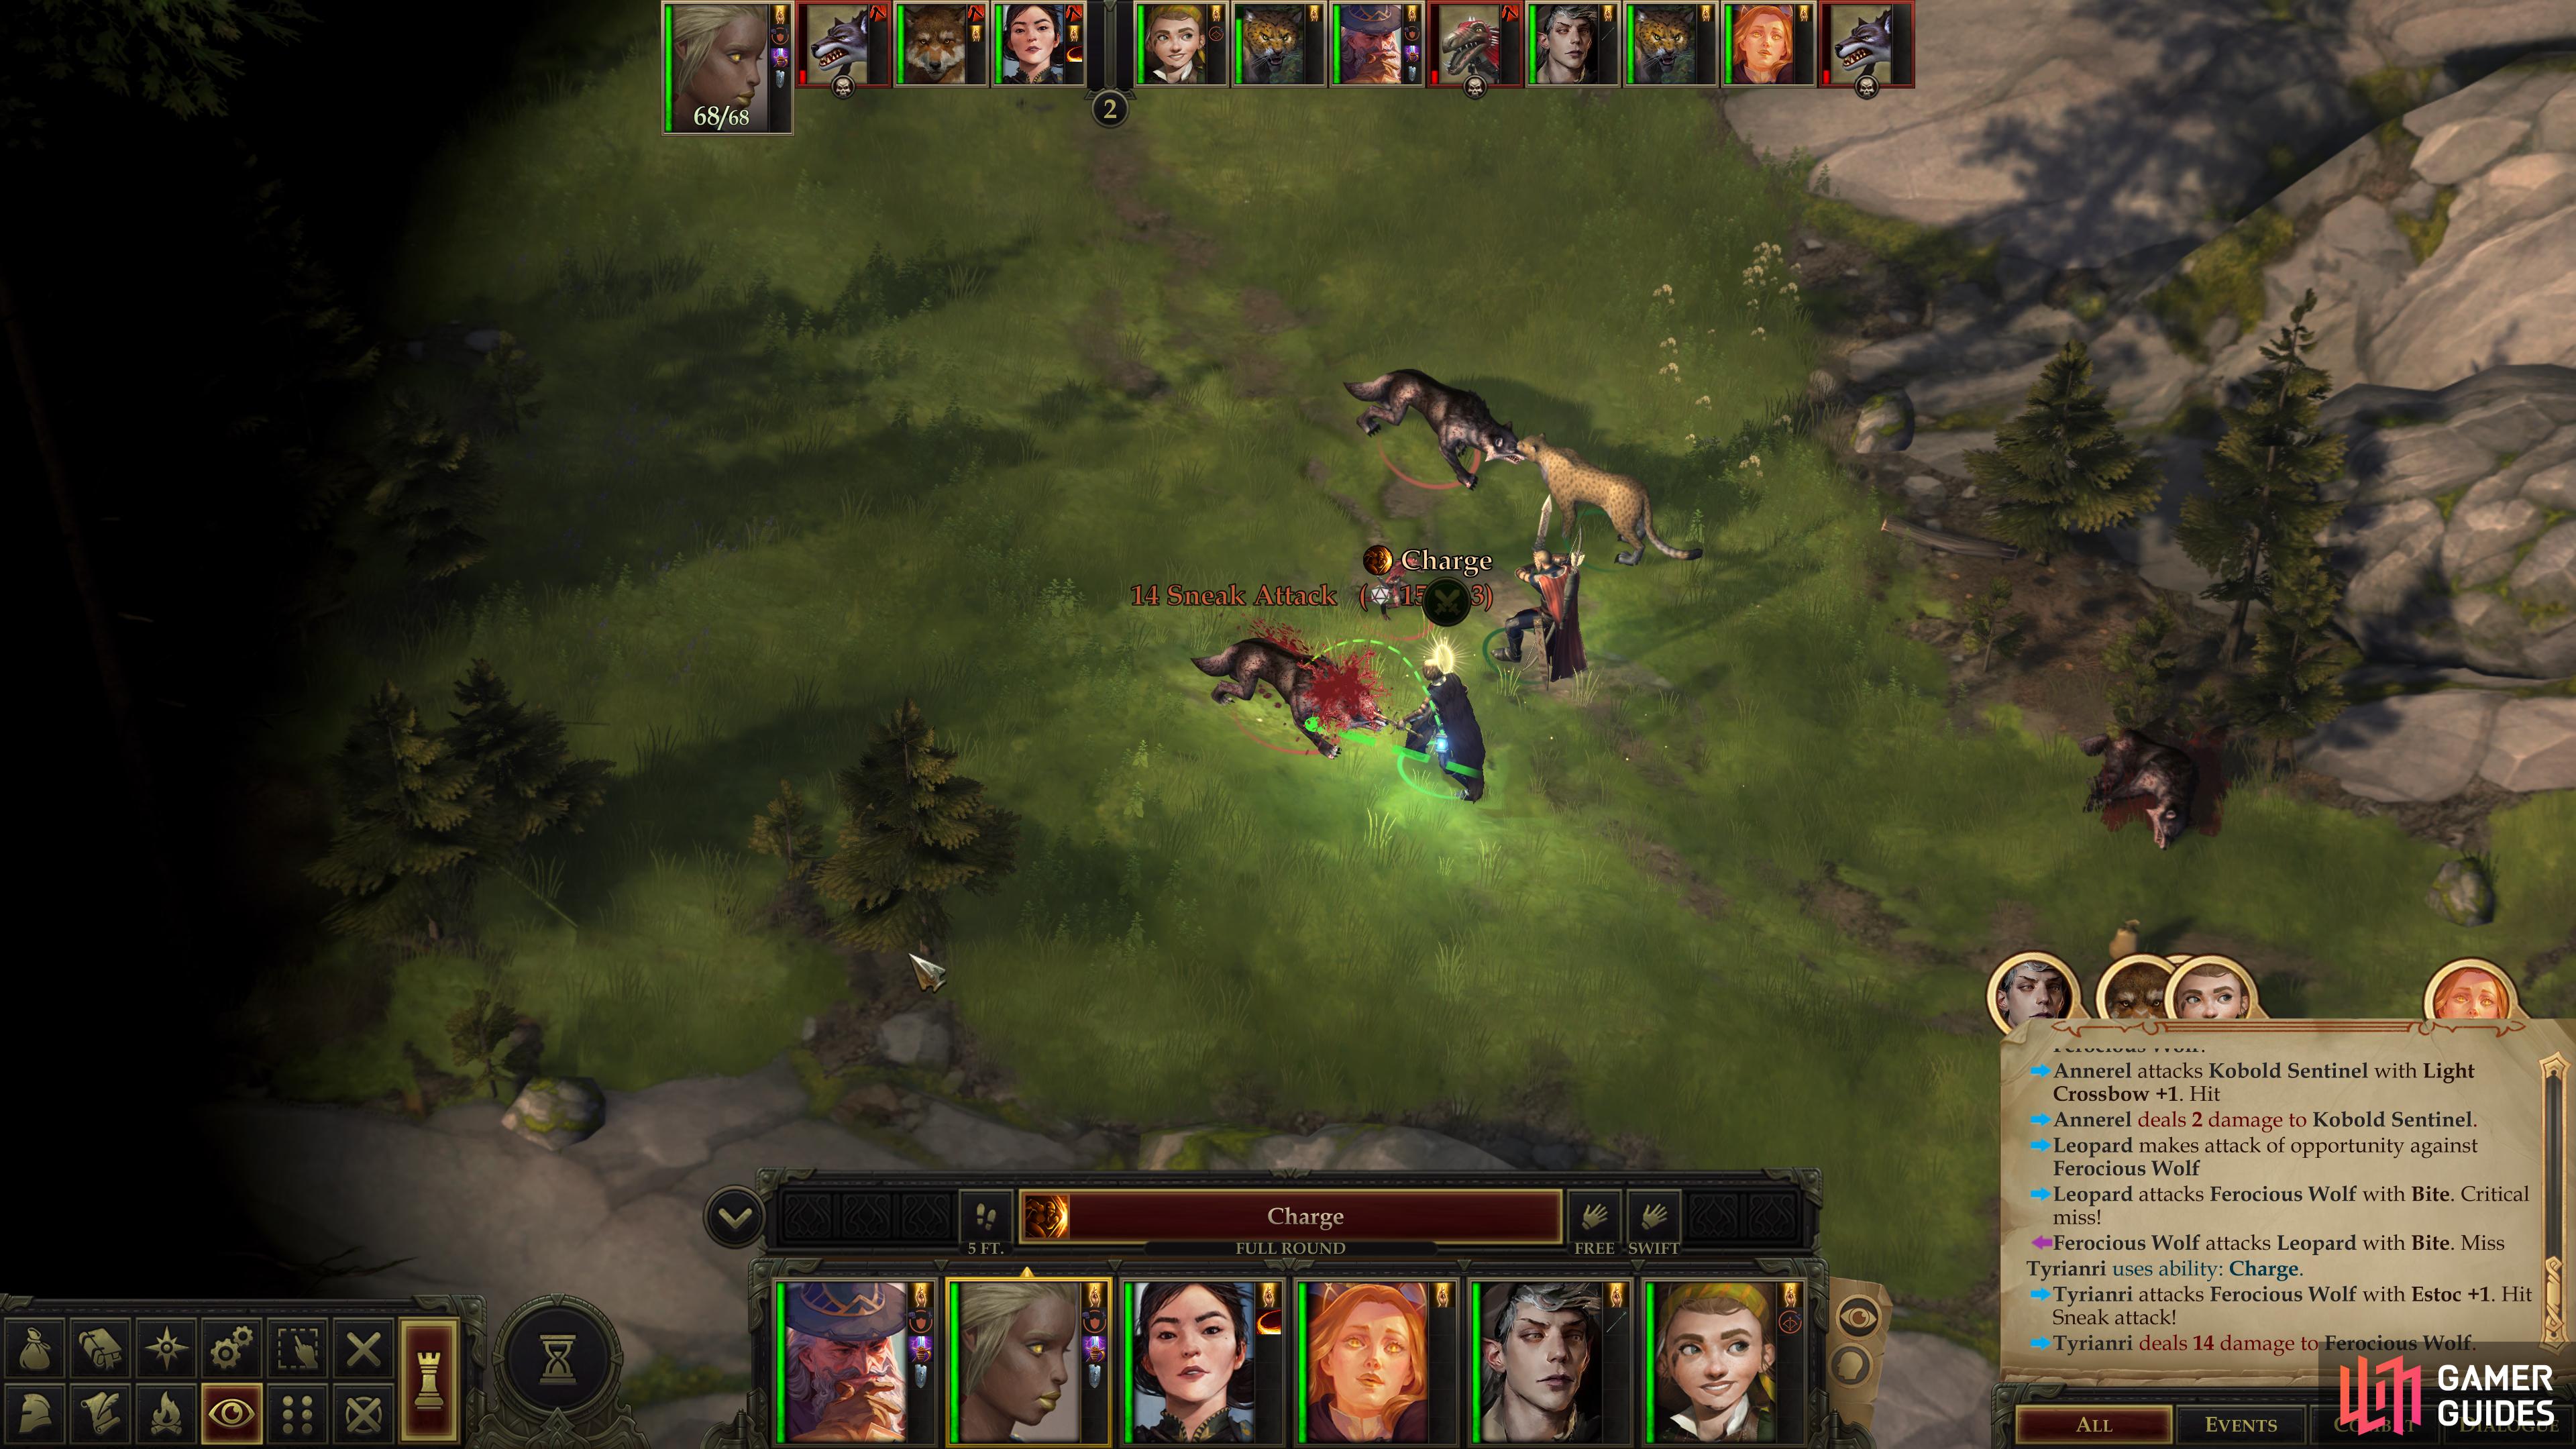
Battle: Wolves and Kobold
Instead make your way down the western fork to encounter three Ferocious Wolves and a Kobold Sentinel, enemies that are woefully underpowered by now. While not much of a challenge, the kobold will drop an Old Dwarven Chest Key, so be sure to grab that, then search a nearby log [Perception 7] to score a Token of the Dryad and a Shard of Knight’s Bracers.
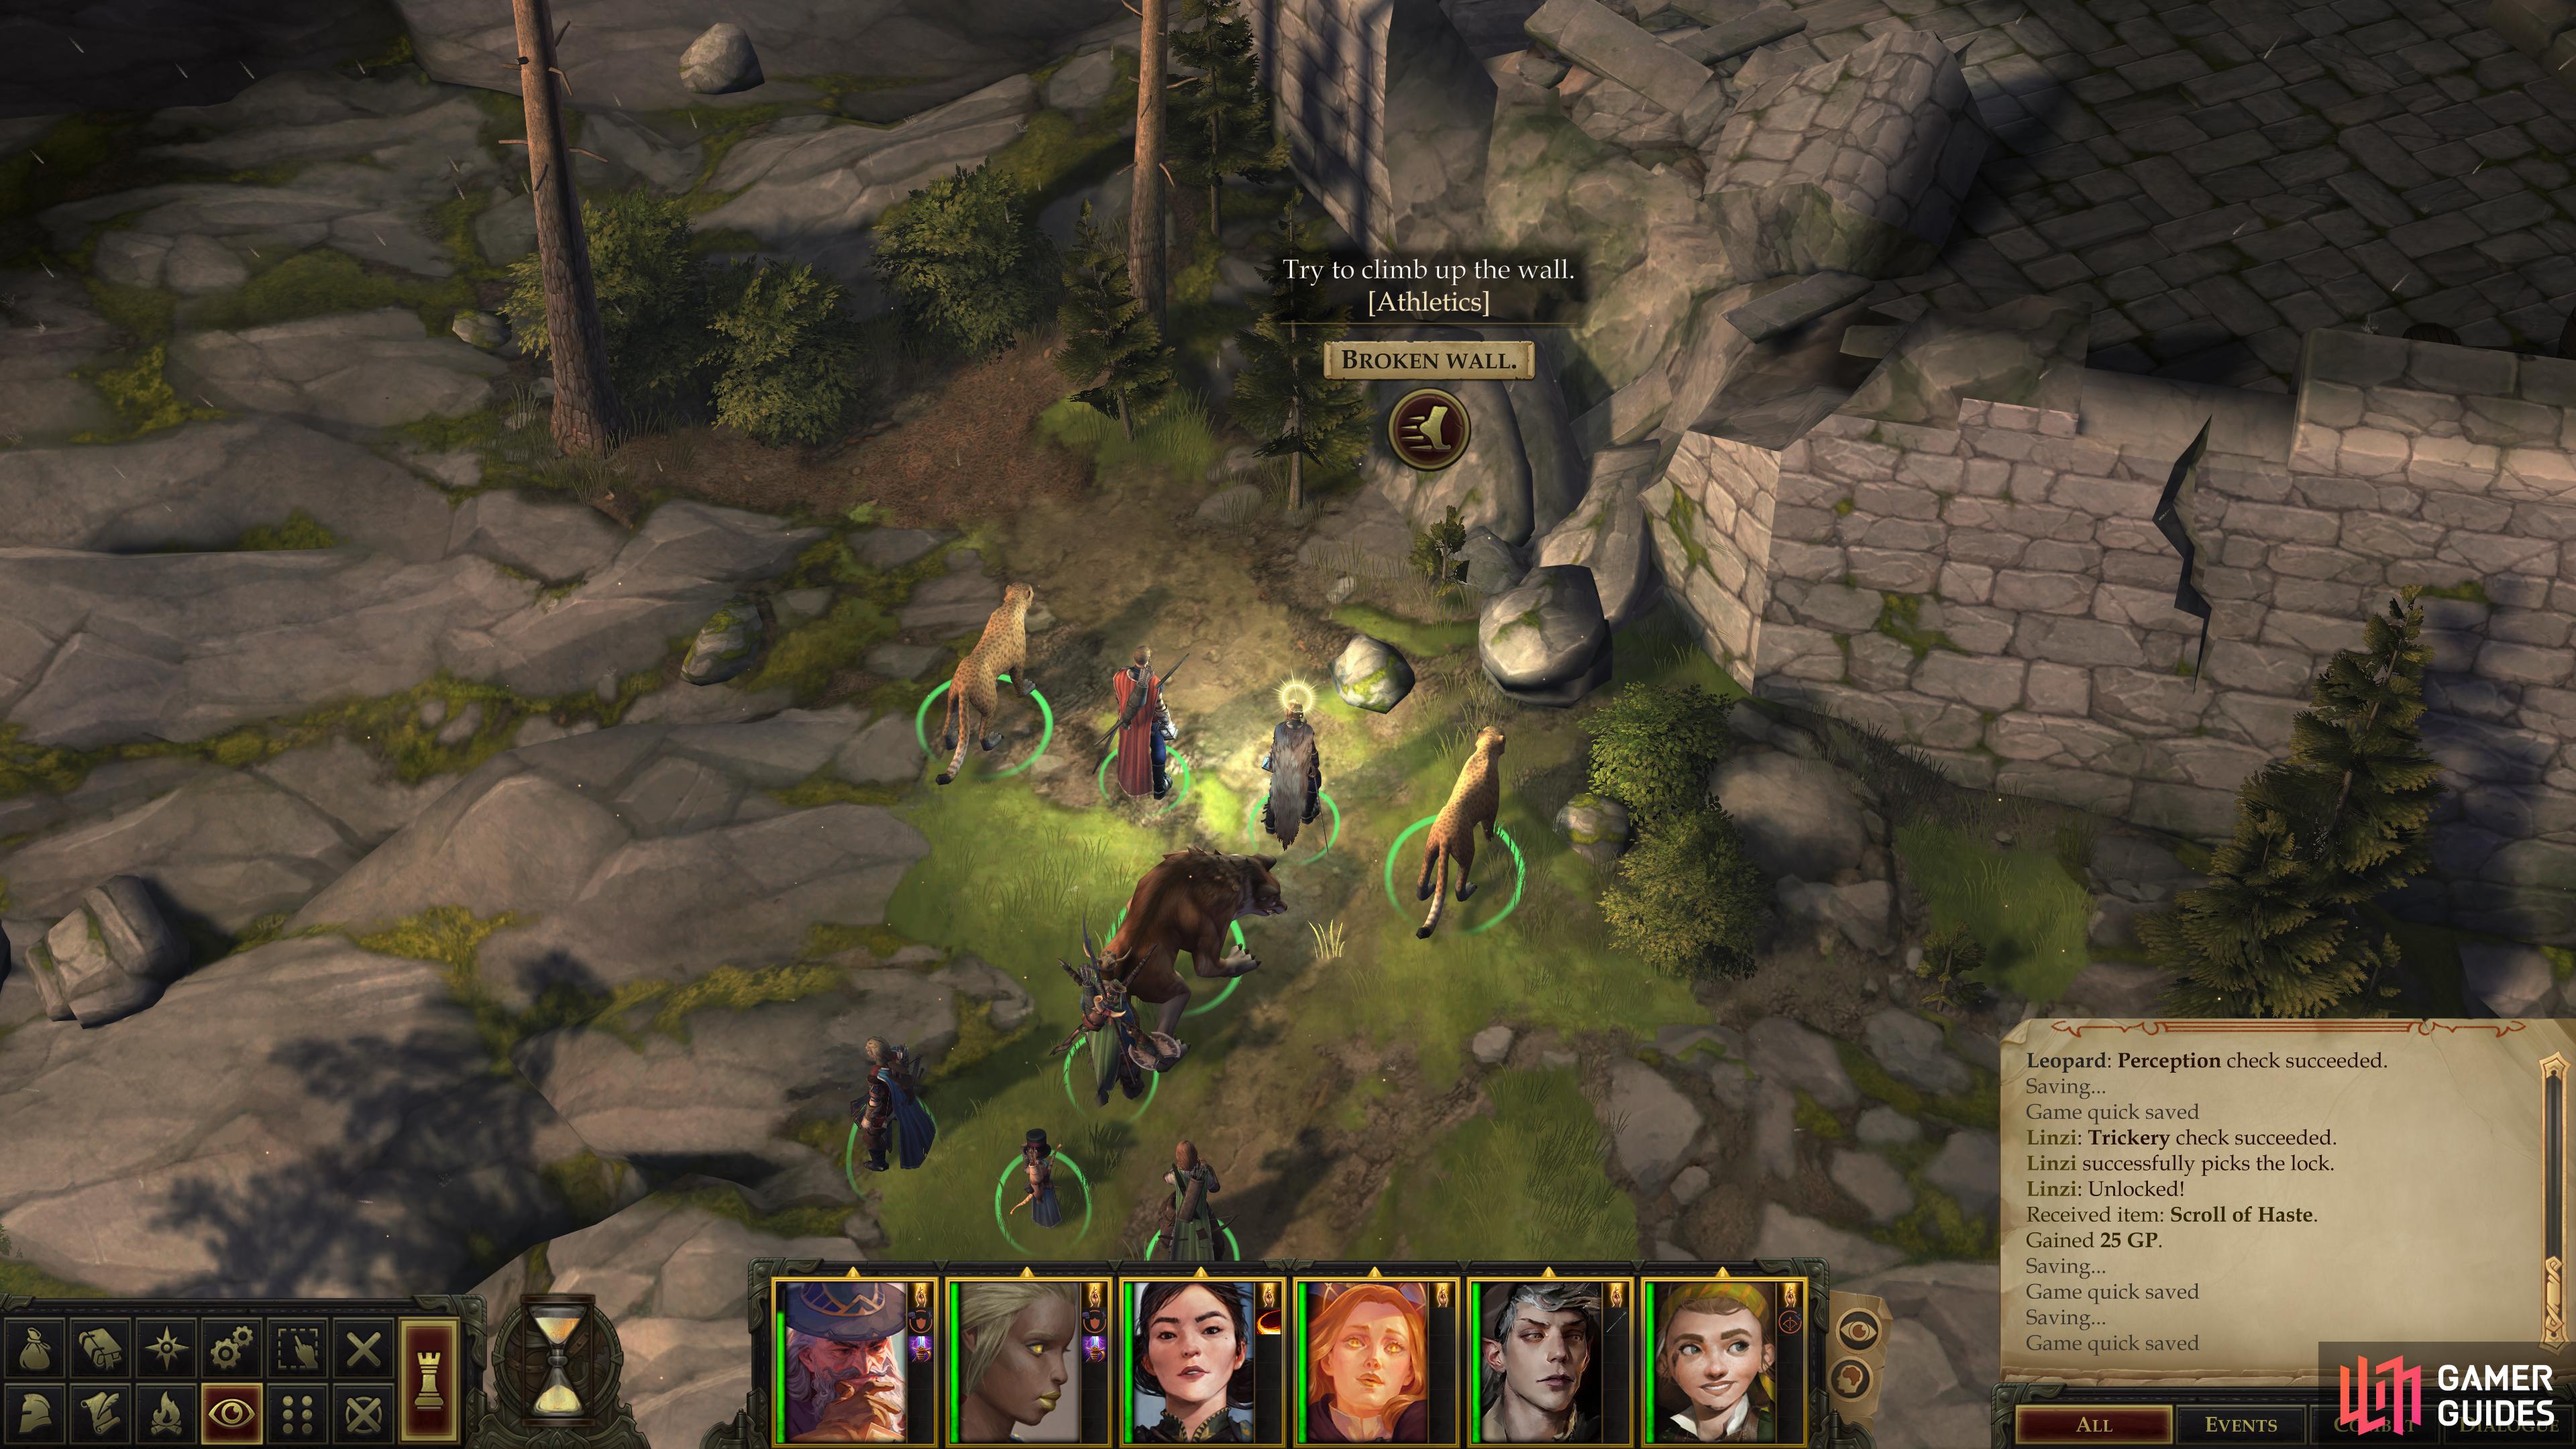
If you pass an Athletics check you can get on top of the wall,
where you can loot a barrel for a “Dwarven Helm Shard”.
Scale the Wall
Now turn your attention to the castle. Either way you enter you should witness a scene where the kobolds you encountered at the Kobold Camp area arrive at - and are accepted into - Trobold. How nice for them. The rest of the trolls and kobolds here won’t be as accepting of you, and Jason’s warning of their hostility towards “borba” seems understated, if anything. Not really looking like peaceful relations with Trobold are going to be possible if “peaceful coexistence” on their part takes the form of “attack on sight”.
If you climbed the walls, start out by heading towards some nearby stairs, where you’ll find a trap [Perception 25] that you’ll need to disarm [Trickery 25]. If you go down these stairs you’ll find yourself fighting the strongest enemies in the courtyard, starting out with two Trolls and two Trollhounds. After these are defeated, two Branded Trolls and a Greater Trollhound will show up. All of these foes can be bottlenecked quite well on or near the stairs, which will give you a great advantage, and really it’s the only tactic you should need but some spell buffs won’t hurt.

You do need to be wary of the Greater Trollhound, however, as its howl (which it’ll invariably use when it approaches in melee) can paralyze all characters within a radius if they fail at a [Will 16] check. Other than that, it’s got a respectable pool of HP, a high Attack bonus, and the ability to trip characters more or less at will. Because the Greater Trollhound has the ability to chew through any two warriors, the Will Saves you make at the beginning of the fight will likely determine how things play out. Should two or more of your warriors be paralyzed for any length of time, things could turn out poorly. Feats like “Shake It Off” can make a huge difference here, as can the spell “Remove Paralysis”, if you have it ready. Failing that, bottlenecking the enemies and hopefully keeping the Greater Trollhound behind a lesser Trollhound might give your warriors time to recover.
The rewards are well worth the effort, however, as the Greater Trollhound can be looted for an Amulet of Natural Armor +2. The barrels and crates nearby will yield a Dwarven Helm Shard and some baubles, a Rope and Camping Supplies and Rations.
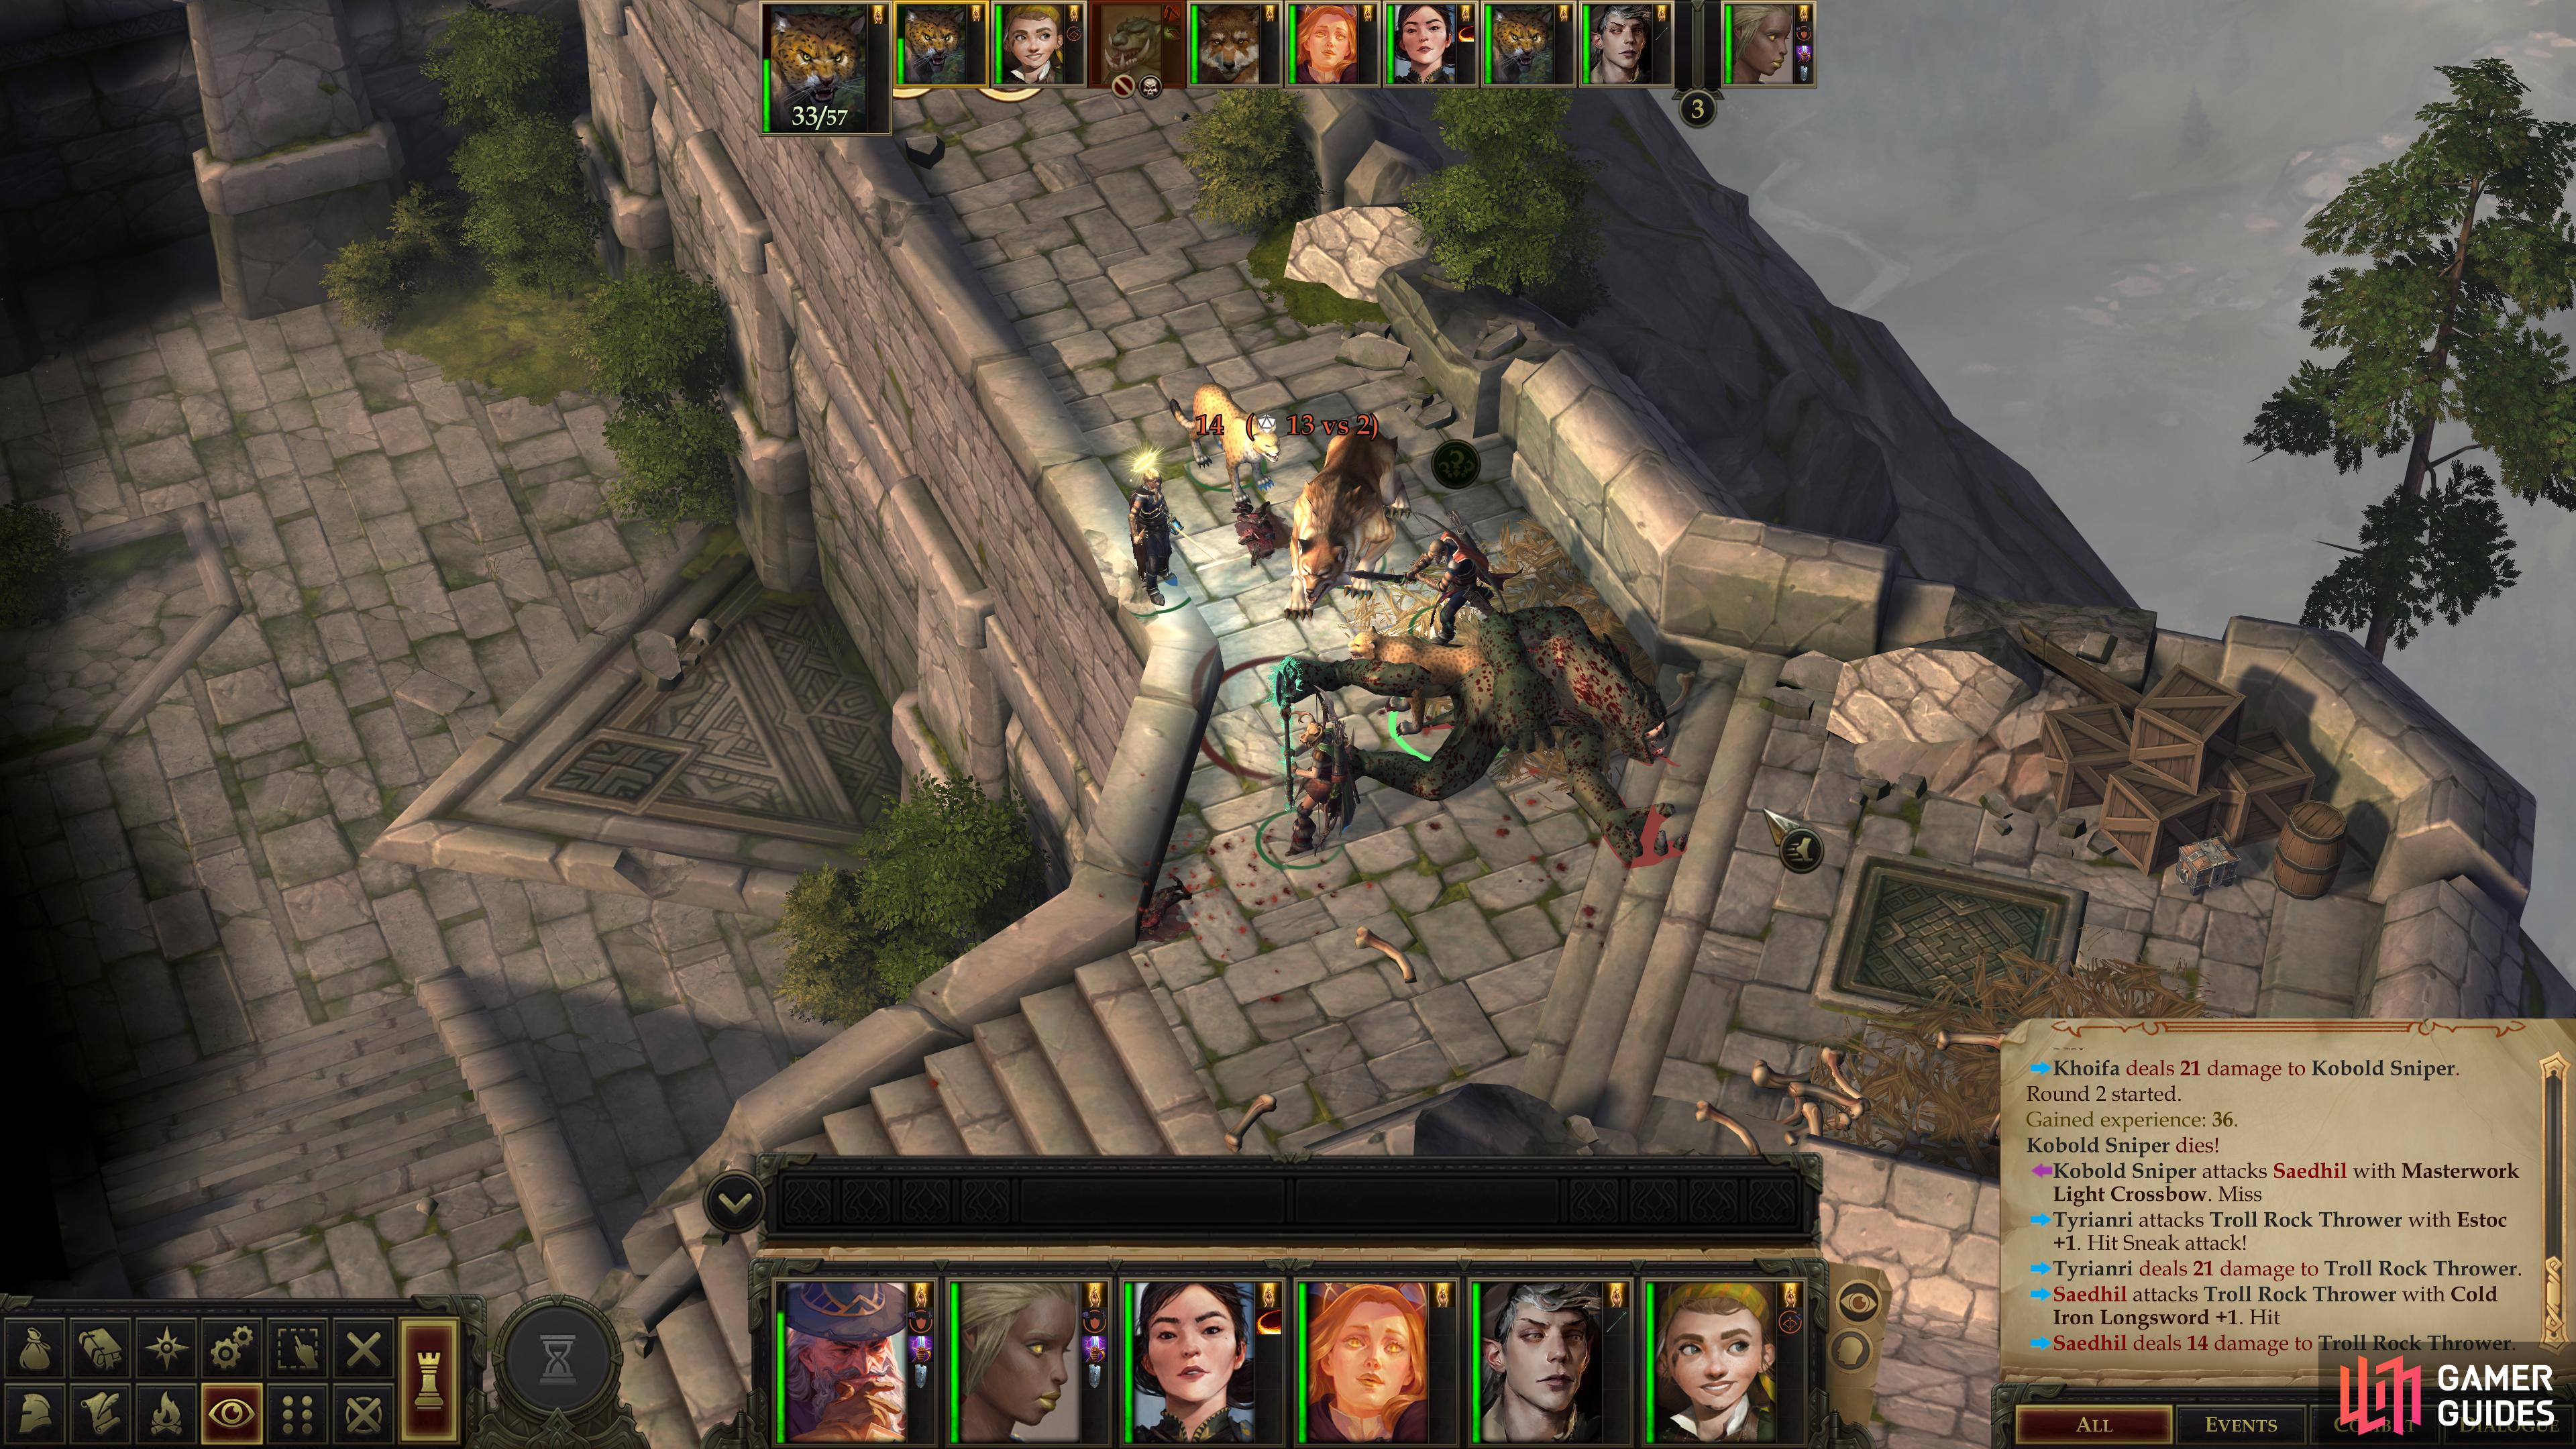
After killing and looting the first group of monsters, continue downstairs and make your way northeast across the ruins near a gate to the interior, ultimately making your way up some more stairs to the keep’s opposite battlements. Turn southeast and slaughter two Kobold Snipers and a Troll Rock Thrower (no points for guessing what this critter is fond of doing), after which you just need to head down to the courtyard and dispatch a final Branded Troll… assuming it doesn’t come upstairs to attack you.
The demise of your foes allows you to loot the battlements in peace. Atop the tower near the boulder-throwing troll (the eastern-most part of the castle) you’ll find a crate and a chest, the latter of which is locked [Trickery 18]. Get inside to grab a Dart +1, Scroll of Fireball and some coins. On the southernmost tower you’ll find a trap [Perception 26] [Trickery 26], behind which lies a chest, which you can open with the Old Dwarven Key you found earlier. Inside you’ll find the Heart of Valor, a Dwarven Helmet Shard and 623 GP. The Heart of Valor is a Mithral Breastplate +2 that gives its wearer a +4 morale bonus on saves versus fear effects, making it a wonderful suit of armor for a Cleric or Jaethal. Granted, Clerics tend to have high Will Saves, but they can also cast spells like Remove Fear from your other party members, making it imperative to keep them from being hindered by mind-altering effects.
The last bit of loot in the courtyard is near the gate, where you’ll find a chest [Perception 20] lying near the rubble just north of the gate. Unlock it [Trickery 20] then loot it to score a Scroll of Haste and some coins.
Breach the Gate
Things play out a little differently if you just go through the gate. Make your way through the gate and venture northeast through the courtyard. When you near the wall opposite the gate, the rock-happy Troll atop the battlement will shout at you, alerting reinforcements, before throwing a boulder that falls just short. Because of the troll’s alarm, a host of Kobolds will come from the keep and attack, joined by the odd Troll. Like the enemies atop the wall, they can be bottlenecked fairly easily, just retreat back through the gate and slay them there. Be wary, however, as many of the kobolds (and at least one of the trolls) will use ranged attacks. After this, things will play out more or less the same, with two Trollhounds and two Trolls guarding the entrance to the interior, who are reinforced by two more Trollhounds and a Greater Trollhound. The loot is the same, either way, although you do get a bit more experience by going through the front gate due to the extra kobolds.
However you go about doing it, the way to the interior of the dwarven ruins should now be clear. Before you head inside, however, consider calling for Ekundayo and/or Jubilost, as both have quests that can be resolved in this area.
Jubilost’s quest, Renowned Explorer is as simple as bringing him to the Dwarven Ruins area, whereas the object of Ekundayo’s vengeance, the rock troll Kargadd, can be found inside the dwarven ruins. You can secure vengeance for Ekundayo without him (don’t worry, he’ll get over it), but if you want to see things play out in a more personally satisfying manner… well, it’s your call.
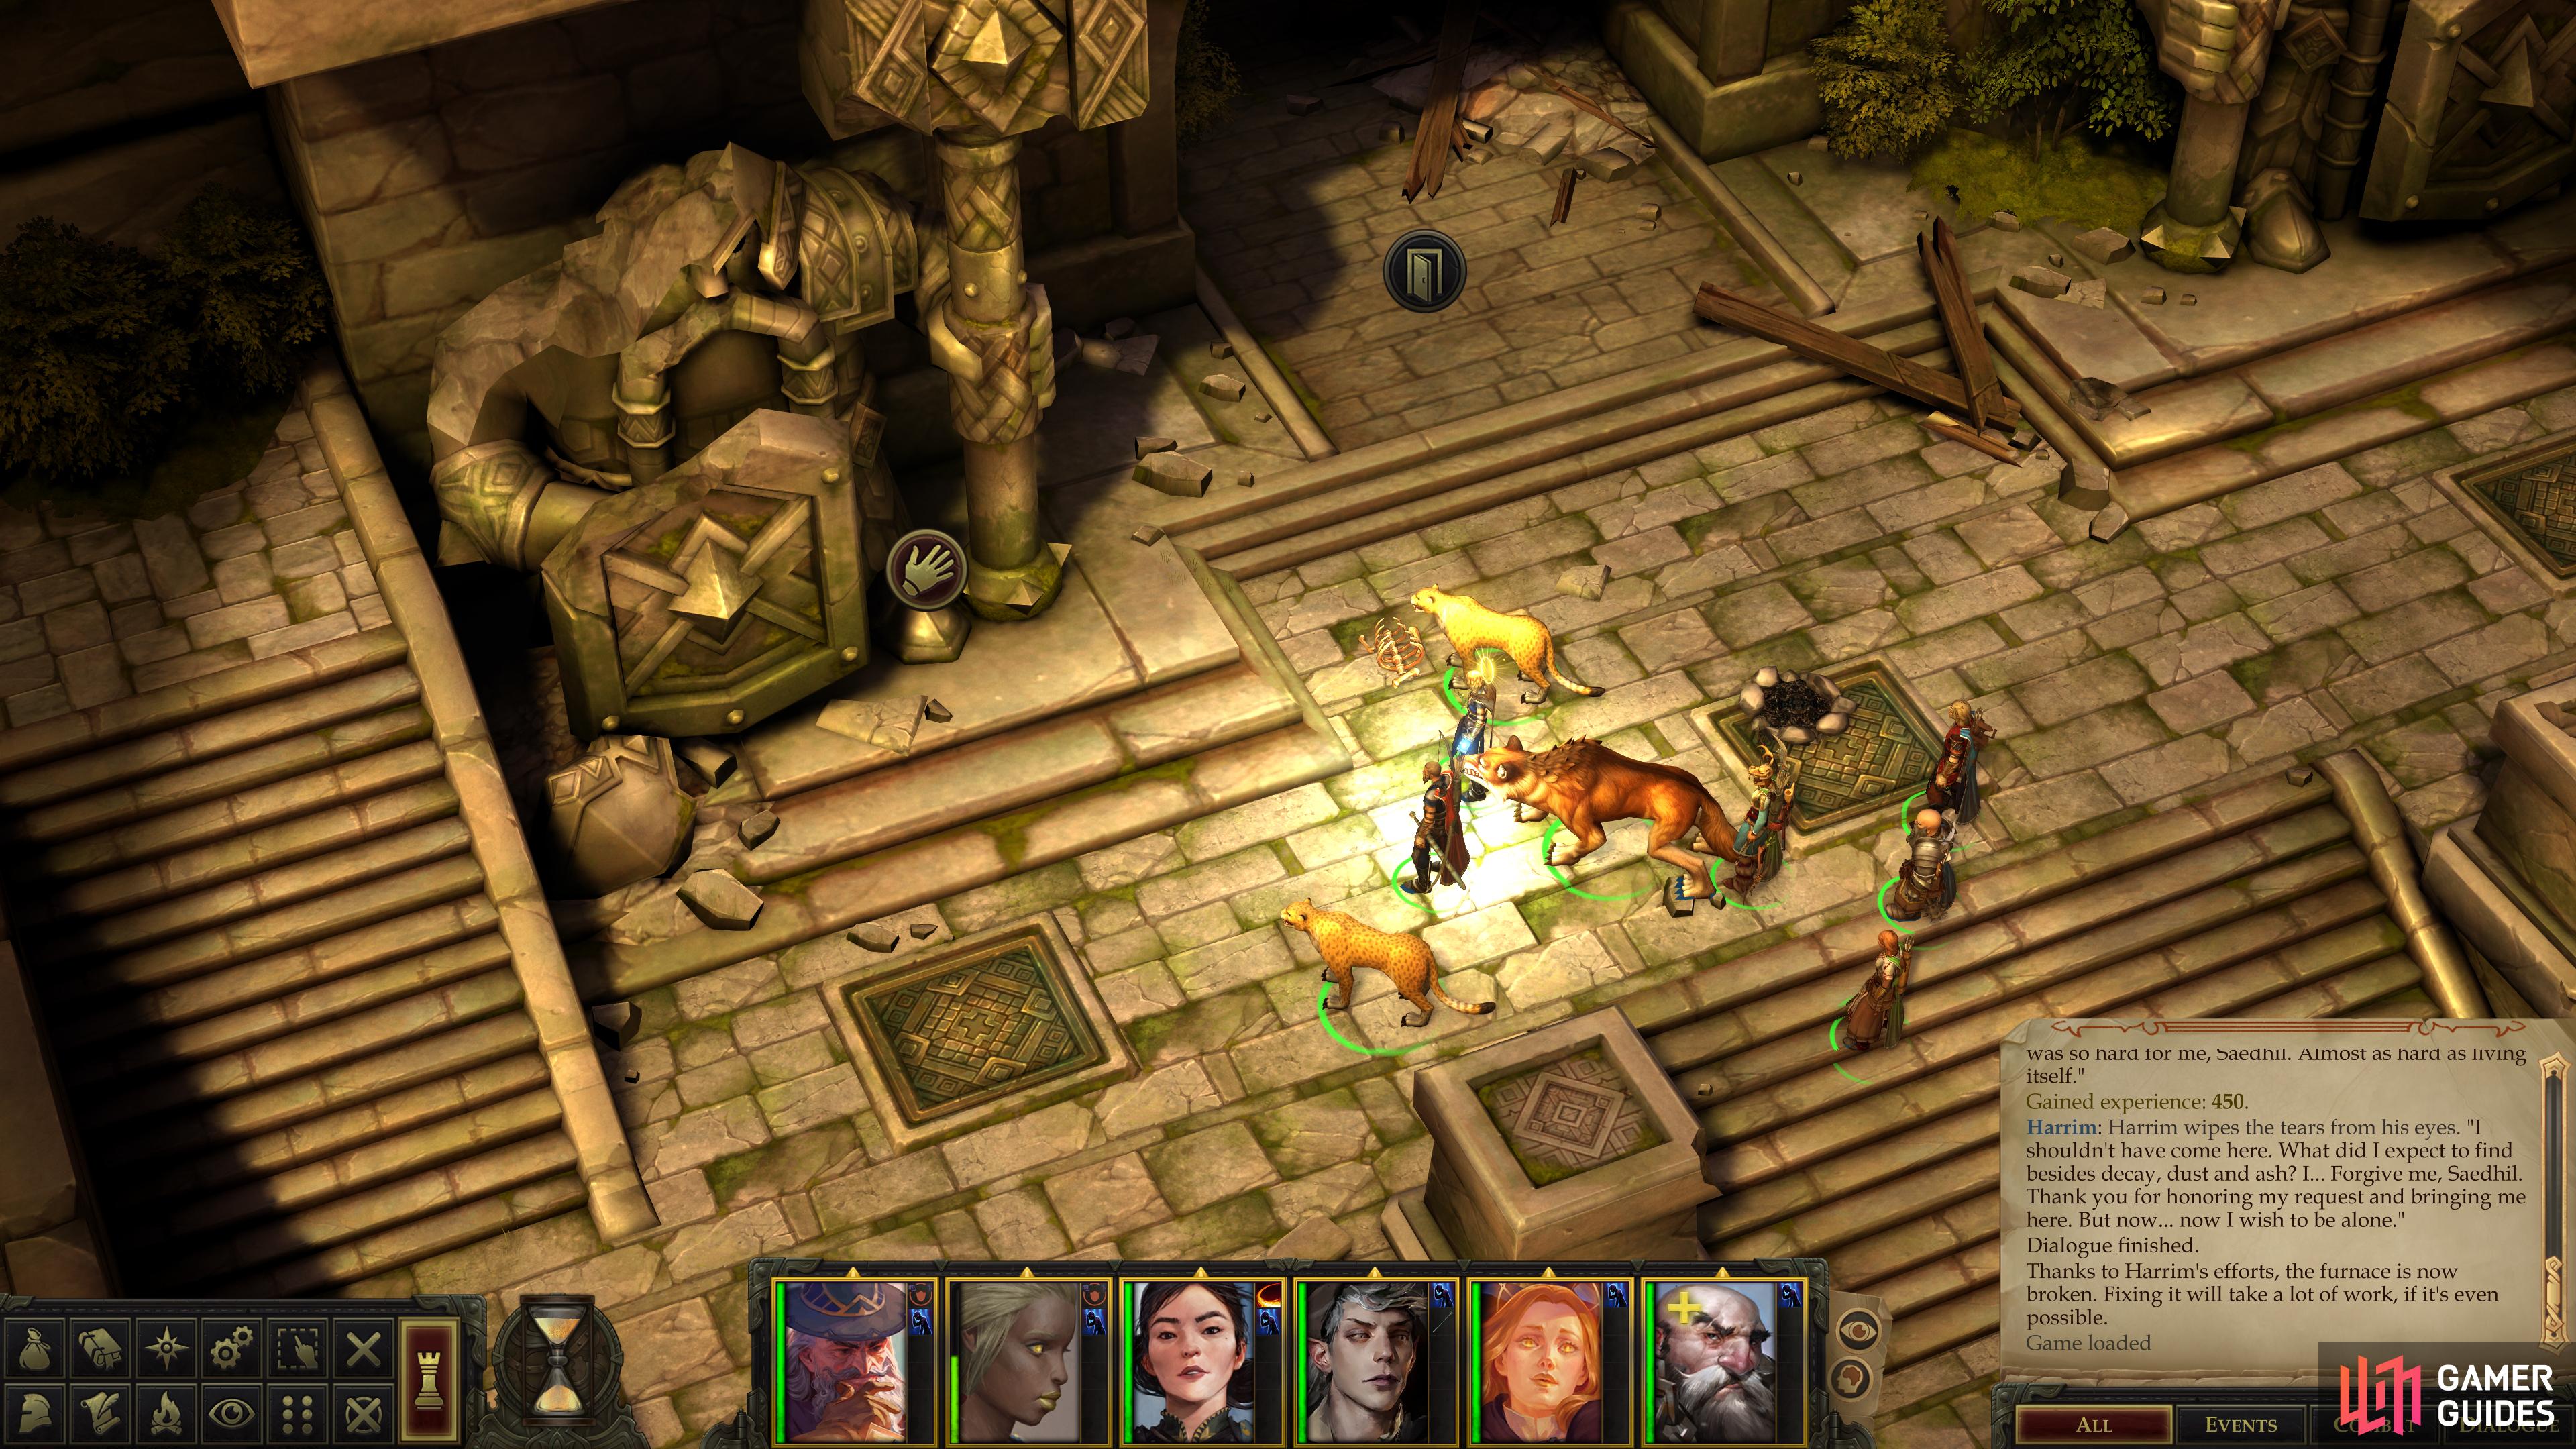
If you bring Harrim along (now or later), examine a dwarven statue outside the entrance to the Troll Lair.
If you have Harrim with you, be sure to examine the statue to the east of the entrance to the Troll Lair, as it’ll prompt some dialogue related to his companion quest, Unwanted Legacy. If you don’t have Harrim with you, don’t worry about it - you can clear the upcoming areas without him, return to the capital and put Harrim in your party, then come back and walk through the area without having to actually worry about relying on Harrim in a fight, if you wish.
In any event, rest up if you need to, and when you’re ready, continue on to the next area - the Troll Lair.
No Comments