Walkthrough for the errand The Lonely Hunter in Pathfinder: Kingmaker.
This errand will begin when there are 205 days left on [An Ancient Curse, Part 3], which should be around the start of Chapter 3 - ideally after The Season of Bloom has been completed. Your Councilor will inform you that a man named Ivar in the town of Silverstep is drawing a poor comparison between you and some “Silver Dragon”, which Ivar apparently claims is the rightful ruler of the realm. If such a being existed, this Ivar would have a point, but until you see it, Ivar is just engaging in politically dangerous slander, and you must intervene.
Completing this quest will allow you to annex the Silverstep region, but it also provides you a convenient base of operations adjacent to Varnhold, which will become quite useful as Chapter 3 progresses. That being the case, you’re encouraged to attend to this errand as quickly as possible - you’d do well to have it complete before The Varnhold Vanishing begins.
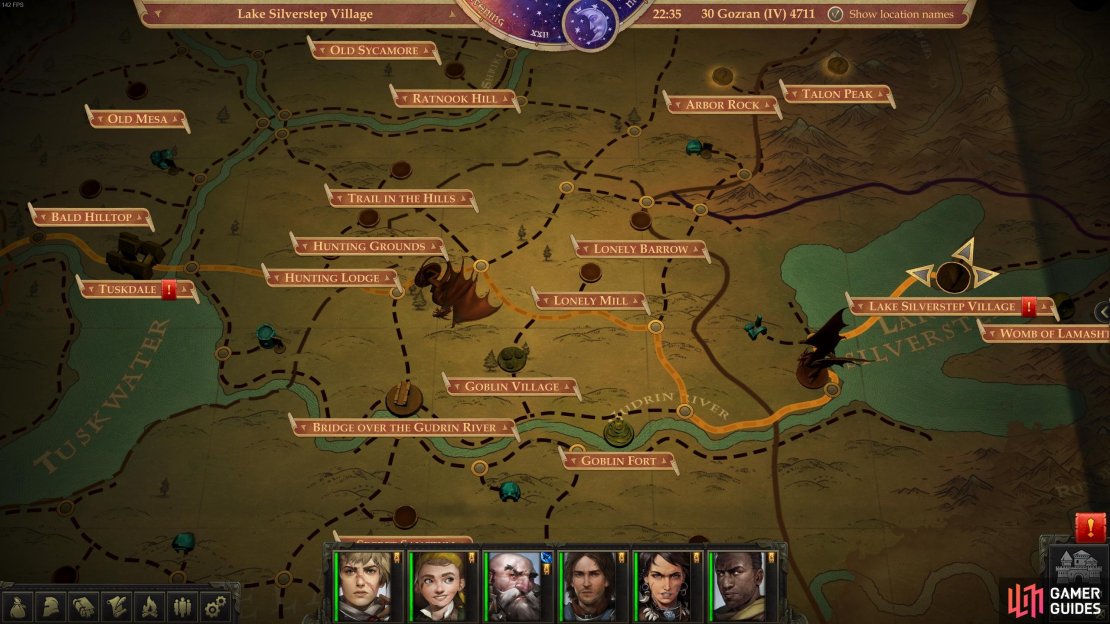
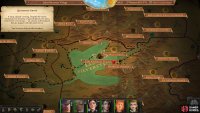
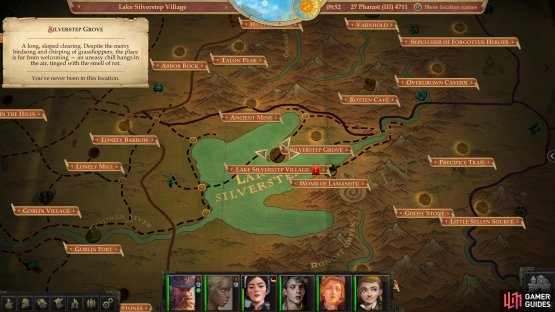
The location of Lake Silverstep Village (far east) in relation to your capital (far west).
To reach your destination - Lake Silverstep Village - follow these directions from your capital:
- East
- East
- East
- Northeast
- Northeast
- East
- East
- Southeast
- Southwest (path veers south along Lake Silverstep)
- East (across Lake SIlverstep)
You’ll appear along the southeastern edge of Lake Silverstep Village - the full walkthrough of the area will be covered [here], but for now, we’ll narrowly focus on the errand at hand.
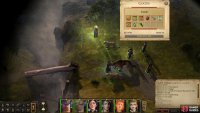
(1 of 2) Search Ivar’s Hut to find a note hinting at his location.
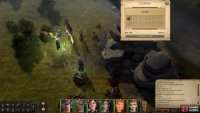
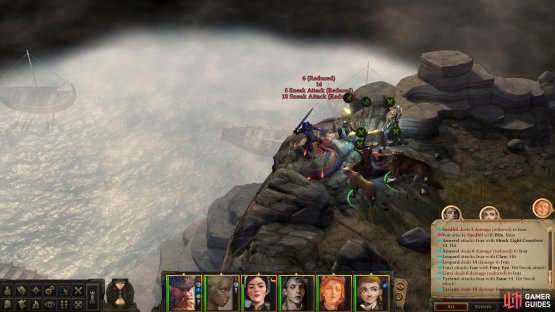
Search Ivar’s Hut to find a note hinting at his location. (left), Reaching Ivar means dealing with the local wildlife - including two Nereids and their pets and summons. (right)
Make your way west to find a trail running northwest, leading to a cabin. Loot a chest, then search a table beside the house to find a Hunter’s Letter, which details some tragic events of Ivar’s life. Looks like he still hasn’t learned to stop wagging his tongue.
Continue following the trail north from the house and you’ll run afoul of a Nereid, a Nixie Prankster and several Giant Poisonous Frogs. The Nereid is the real nuisance here, as she can debilitate characters due to her Beguiling Aura (AoE, Will Save, always active) she can summon a Huge Water Elemental and she can cause blindness and Constitution damage with her Nereid Spray attack. She’s also got a decent Armor Class and Damage Reduction 10/Cold Iron to keep herself alive. The Nixie Prankster serves mostly to buff the Nereid with Greater Invisibility, while the amphibians are mere speedbumps.
Hit the Nereid with Glitterdust to strip off most of her defenses (especially if the Nixie buffs her with Greater Invisibility) then cut her down as quickly as possible, attacking targets of opportunity until she’s within safe, easy reach. They drop little of interest.
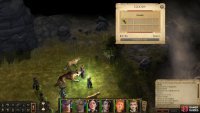
(1 of 3) En route to Ivar you can find a Token of the Dryad,
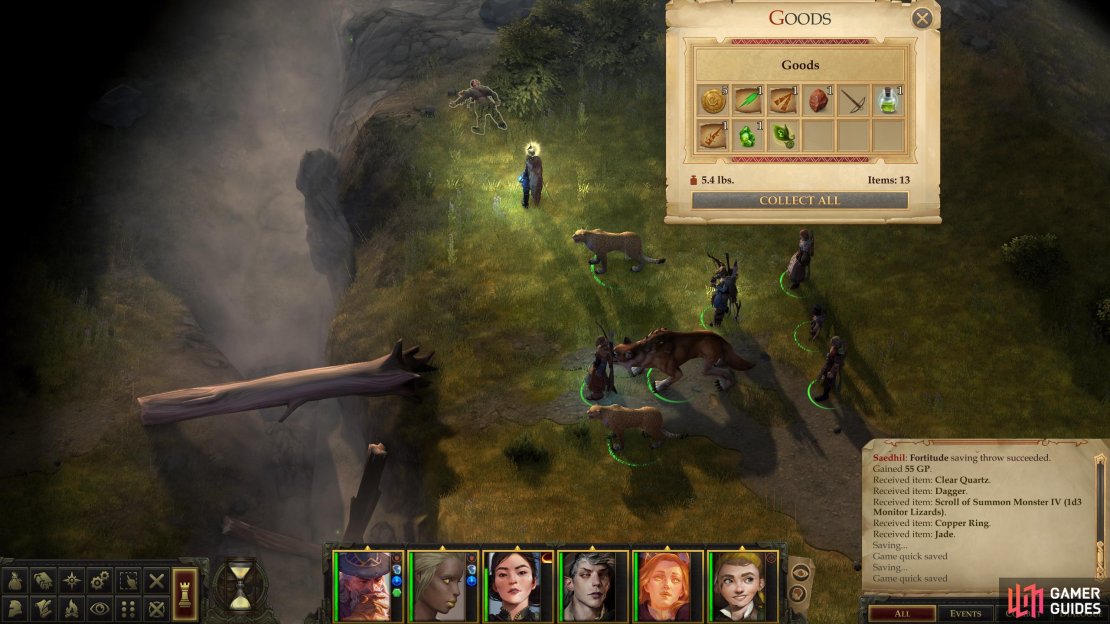
Keep following the road north and northwest until it crosses a ravine, forcing you to pass a [Mobility 19] check to use a log as a bridge (you can also loot a corpse to the north of this log for some scrolls, baubles and a Token of the Dryad). If you can’t cross this log for whatever reason, you’ll have to circumvent the ravine to the south, killing half a dozen or so Dire Boars in the process. These shouldn’t provide much of a challenge to you. On the plus side, once you’ve crossed the ravine you can search some rocks to the south [Perception 7] to find a Taldan Warrior’s Dog Tag. Search some bushes north of the ravine on the western side and you’ll find [Perception 0] a pile of branches concealing a Token of the Dryad.
Follow the road west and you’ll encounter another group of enemies - a Nereid, two Pixie Tricksters and two Ferocious Hydra. The latter beasts are somewhat outdated, getting numerous attacks but having a relatively low Attack value, while the Nereid and Nixies will largely get up to the same tricks as last time.
Dispose of those enemies, then veer off the road to the west until you find Ivar standing at the edge of a cliff. If you keep following the road, you’ll eventually reach Lake Silverstep Village itself, and will probably have to deal with a pack of wolves - including three Dire Wolves, an Alpha Wolf and a Ferocious Worg - along the way. You can kill the mutts if you want, but for this quest, there’s no real need.
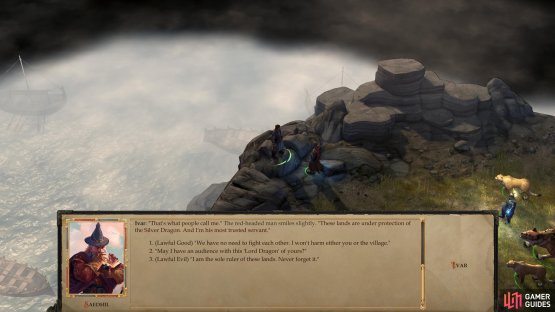
(1 of 2) When you find Ivar, you can talk to him to learn more about this “Silver Dragon”,
When you find Ivar, you can talk to him to learn more about this “Silver Dragon”, (left), and if you’re inclined to end things violently, you can kill Ivar here. (right)
Talk to Ivar and pick what alignment choices you want. If you pick the [Chaotic Evil] [Attack] option you can pick a fight and put Ivar down now - he’s not terribly strong, but picking a fight does reveal his true nature, something which is probably supposed to be a surprise. If you kill him, the quest will end and you’ll be able to loot a Longsword +1, Chainmail +2 and a Belt of Physical Form +1, but it’s more rewarding to finish the quest.
(1 of 2) If you didn’t attack Ivar near the cliff, return to his hut and follow some tracks north,
If you didn’t attack Ivar near the cliff, return to his hut and follow some tracks north, (left), and you’ll discover the “Silverstep Grove” area. (right)
Tracking Ivar
Once you’re done talking, return to Ivar’s hut and search near the front door to find [Perception 0] some tracks leading north. If he won’t tell us what he’s up to, we’ll just have to find out for ourselves. Head north past the hut and search some bushes to the west [Perception 0] to find more clues leading north.
Keep following the road north until you find a body of water to the east, then head east along the southern edge of this pond to find some Worgs and Greater Worgs. Kill them, then search [Perception 0] to find some odd footprints. Continue north, loot a chest to the northwest, then search [Perception 0] near an area transition to the northeast to find the fourth and final set of tracks you need. Each item you investigate should score you 45 XP, and finding the last one will allow you to travel to Silverstep Grove on the map. To reach Silverstep Grove from Lake Silverstep Village, use the following directions:
- East
- North
(1 of 2) Split your party up to ward off two groups of wolves,
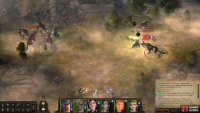
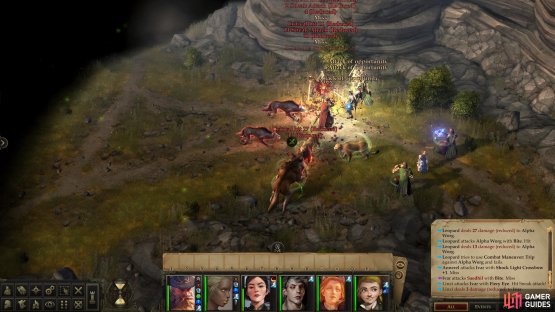
Split your party up to ward off two groups of wolves, (left), then locate Ivar, who promptly turns into a werewolf and attacks. (right)
Silverstep Grove
As soon as you enter the Silverstep Grove, you’ll be ambushed by a combination of Dire Wolves and Worgs. Despite their number, they’re no match for your party. Just be sure to keep your squishy companions away from the brunt of the attack. Once you’ve dealt with the ambush, head west and then north to find Ivar surrounded by three Alpha Worgs. When you speak with Ivar, he’ll transform into a werewolf. Sadly there’s no way of preventing this, and you’ll be forced to fight him regardless of your alignment. The fight isn’t a difficult one, especially since you’ll be able to buff your party before speaking with Ivar if you want to be extra cautious.
When you defeat Ivar as a werewolf, he’ll transform back to his human self. You can now question him further and decide whether to spare him or kill him. If you show restraint, he’ll tell you about a band of ruffians hiding out in a cave near the lake. You can also ask him to join your service, but he will refuse. Spare or slay Ivar and either way you’ll earn 300 XP and complete the quest. Be sure to return to the south of this area and search a branch near some bushes to find a variety of baubles - none of it particularly valuable.
When you return to your throne room after completing this errand you’ll be able to annex the Silverstep region. Do so and you’ll attract the services of [Mim Wobblegander], an artisan who specializes in jewelry.






No Comments