
After making your way through the spider-filled caverns of the Womb of Lamashtu area you’ll reach an area transition that leads to several interconnected chambers marked on your map as “Twisted Passages”. These chambers are somewhat more verdant, but even more spider-filled than the previous, more barren caves. They make up the second half of the Womb of Lamashtu area, taking up the eastern half of the map.
Loot a chest for a “Frost Longbow +1”.
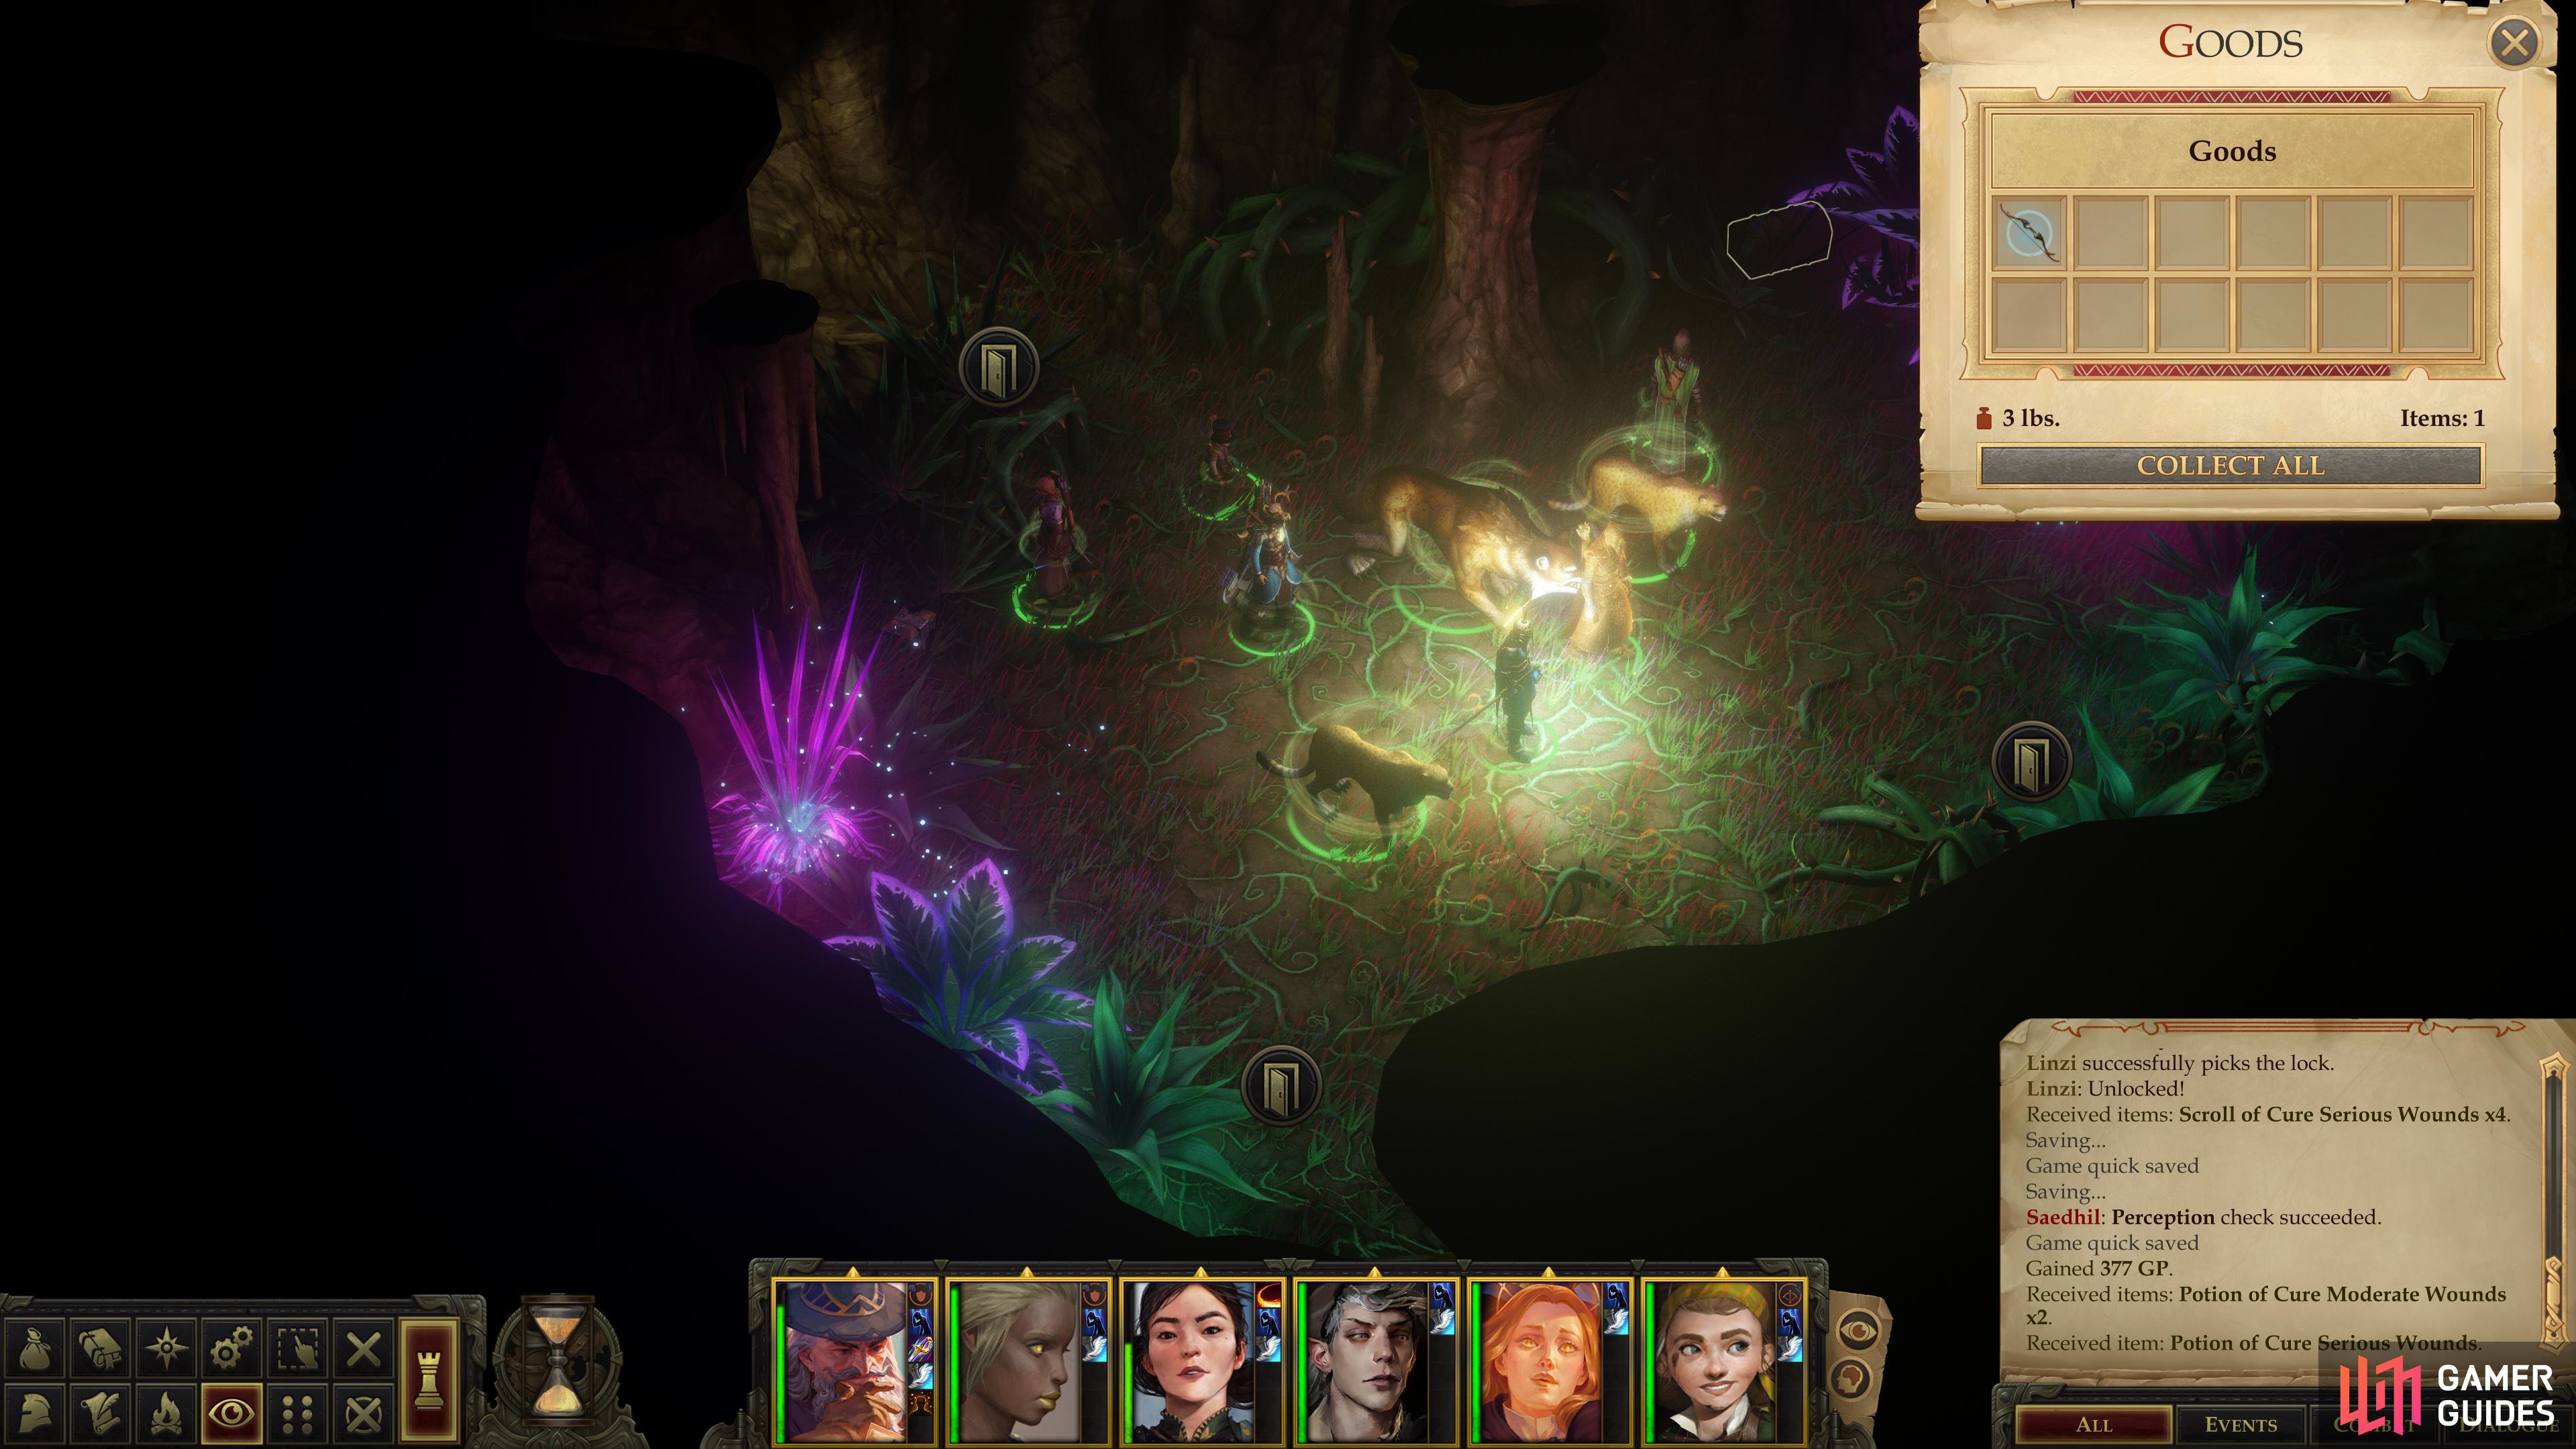
Womb of Lamashtu: Twisted Passage I
Enter into this chamber via the area transition after defeating the Redcap Trickster and the various spiders that tried to ambush you. Since it’s the first such chamber we can enter, we’ll give it the creative title of “Twisted Passage I”. It’s mercifully free of enemies, but there is a rather difficult [Perception 29] check when you enter, which will allow you to spot a chest to the south containing 377 gold and several potions. You can also find a chest to the north containing a Frost Composite Longbow +1.
There are two exit to this chamber, one to the east and one to the south. Go east first to reach “Twisted Passage II”, but before you do, make sure you’re prepared - you’ll want some AoE spells, ideally things like Burning Hands, Scorching Ray, Fireball, Lightning Bolt, Acidic Spray, etc. Also, if you have any weapons that inflict elemental damage, try to put them in your warrior’s quickslots. Even if it’s not their preferred weapon, having elemental damage of some sort or another at your disposal will prove indispensable.
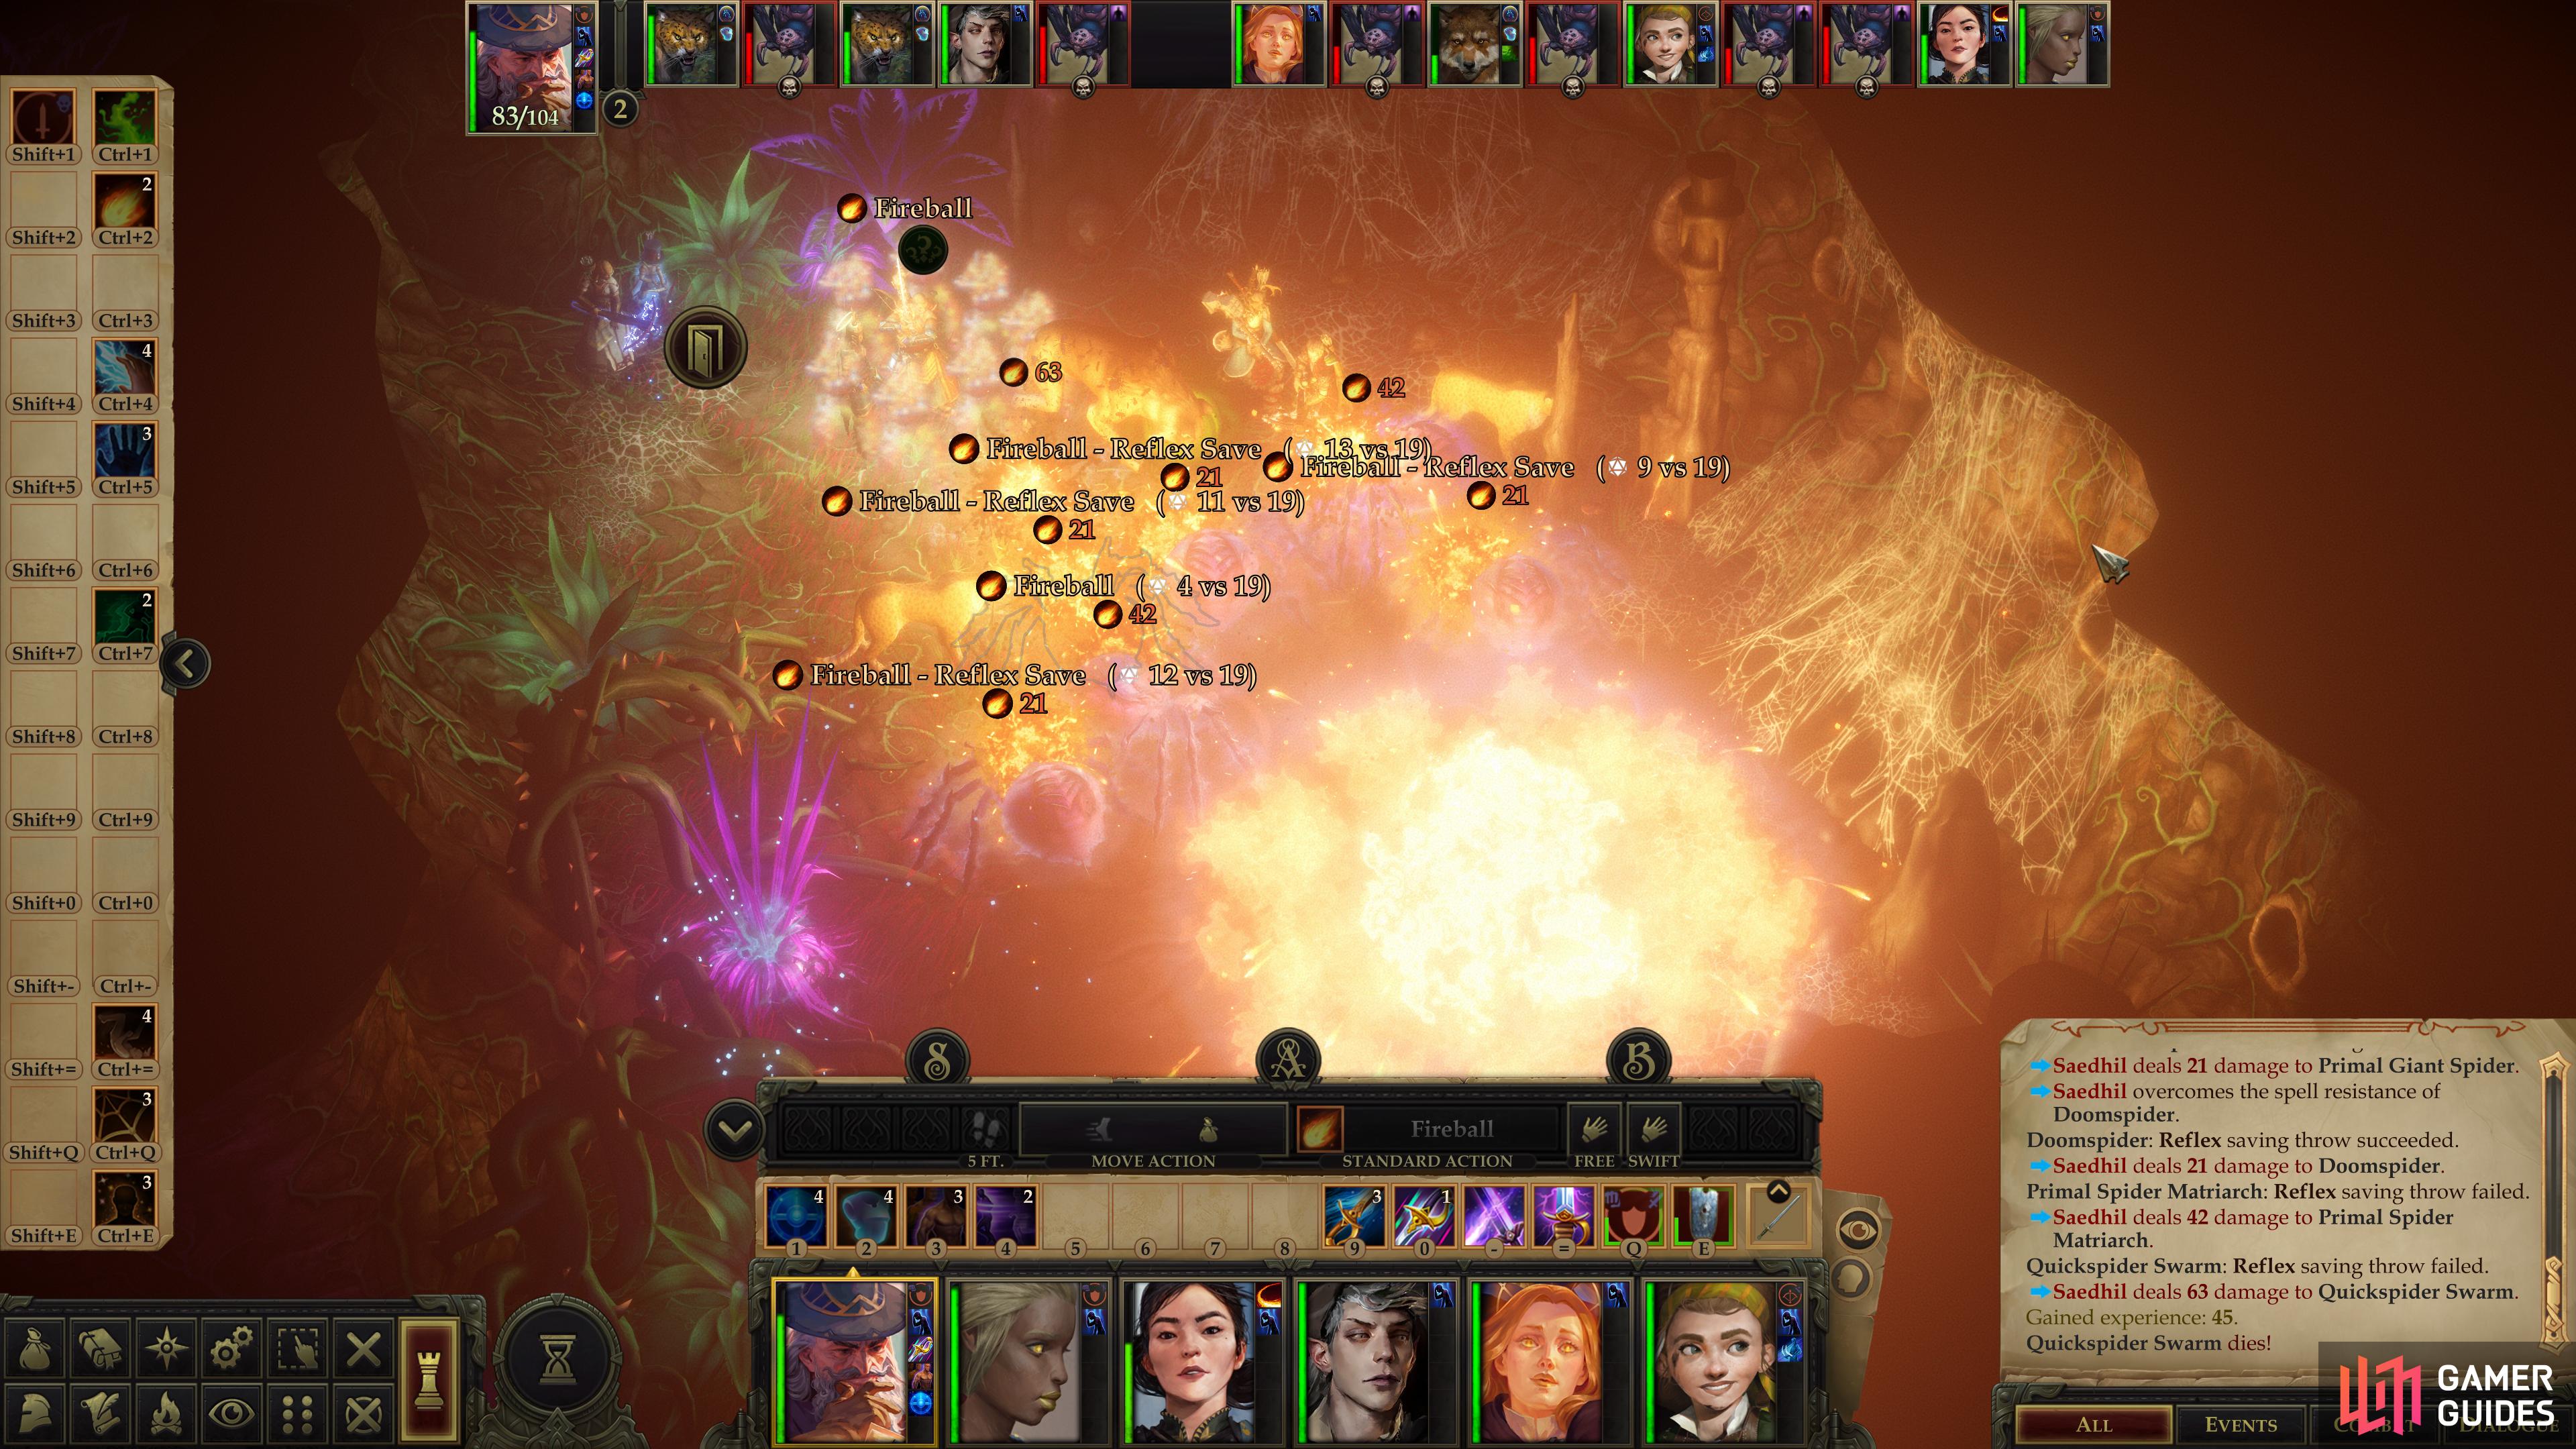
Swarms are obnoxious foes, but can be easily defeated with AoE attacks.
Loot a chest for a “Wand of Lightning Bolt”.
Womb of Lamashtu: Twisted Passage II
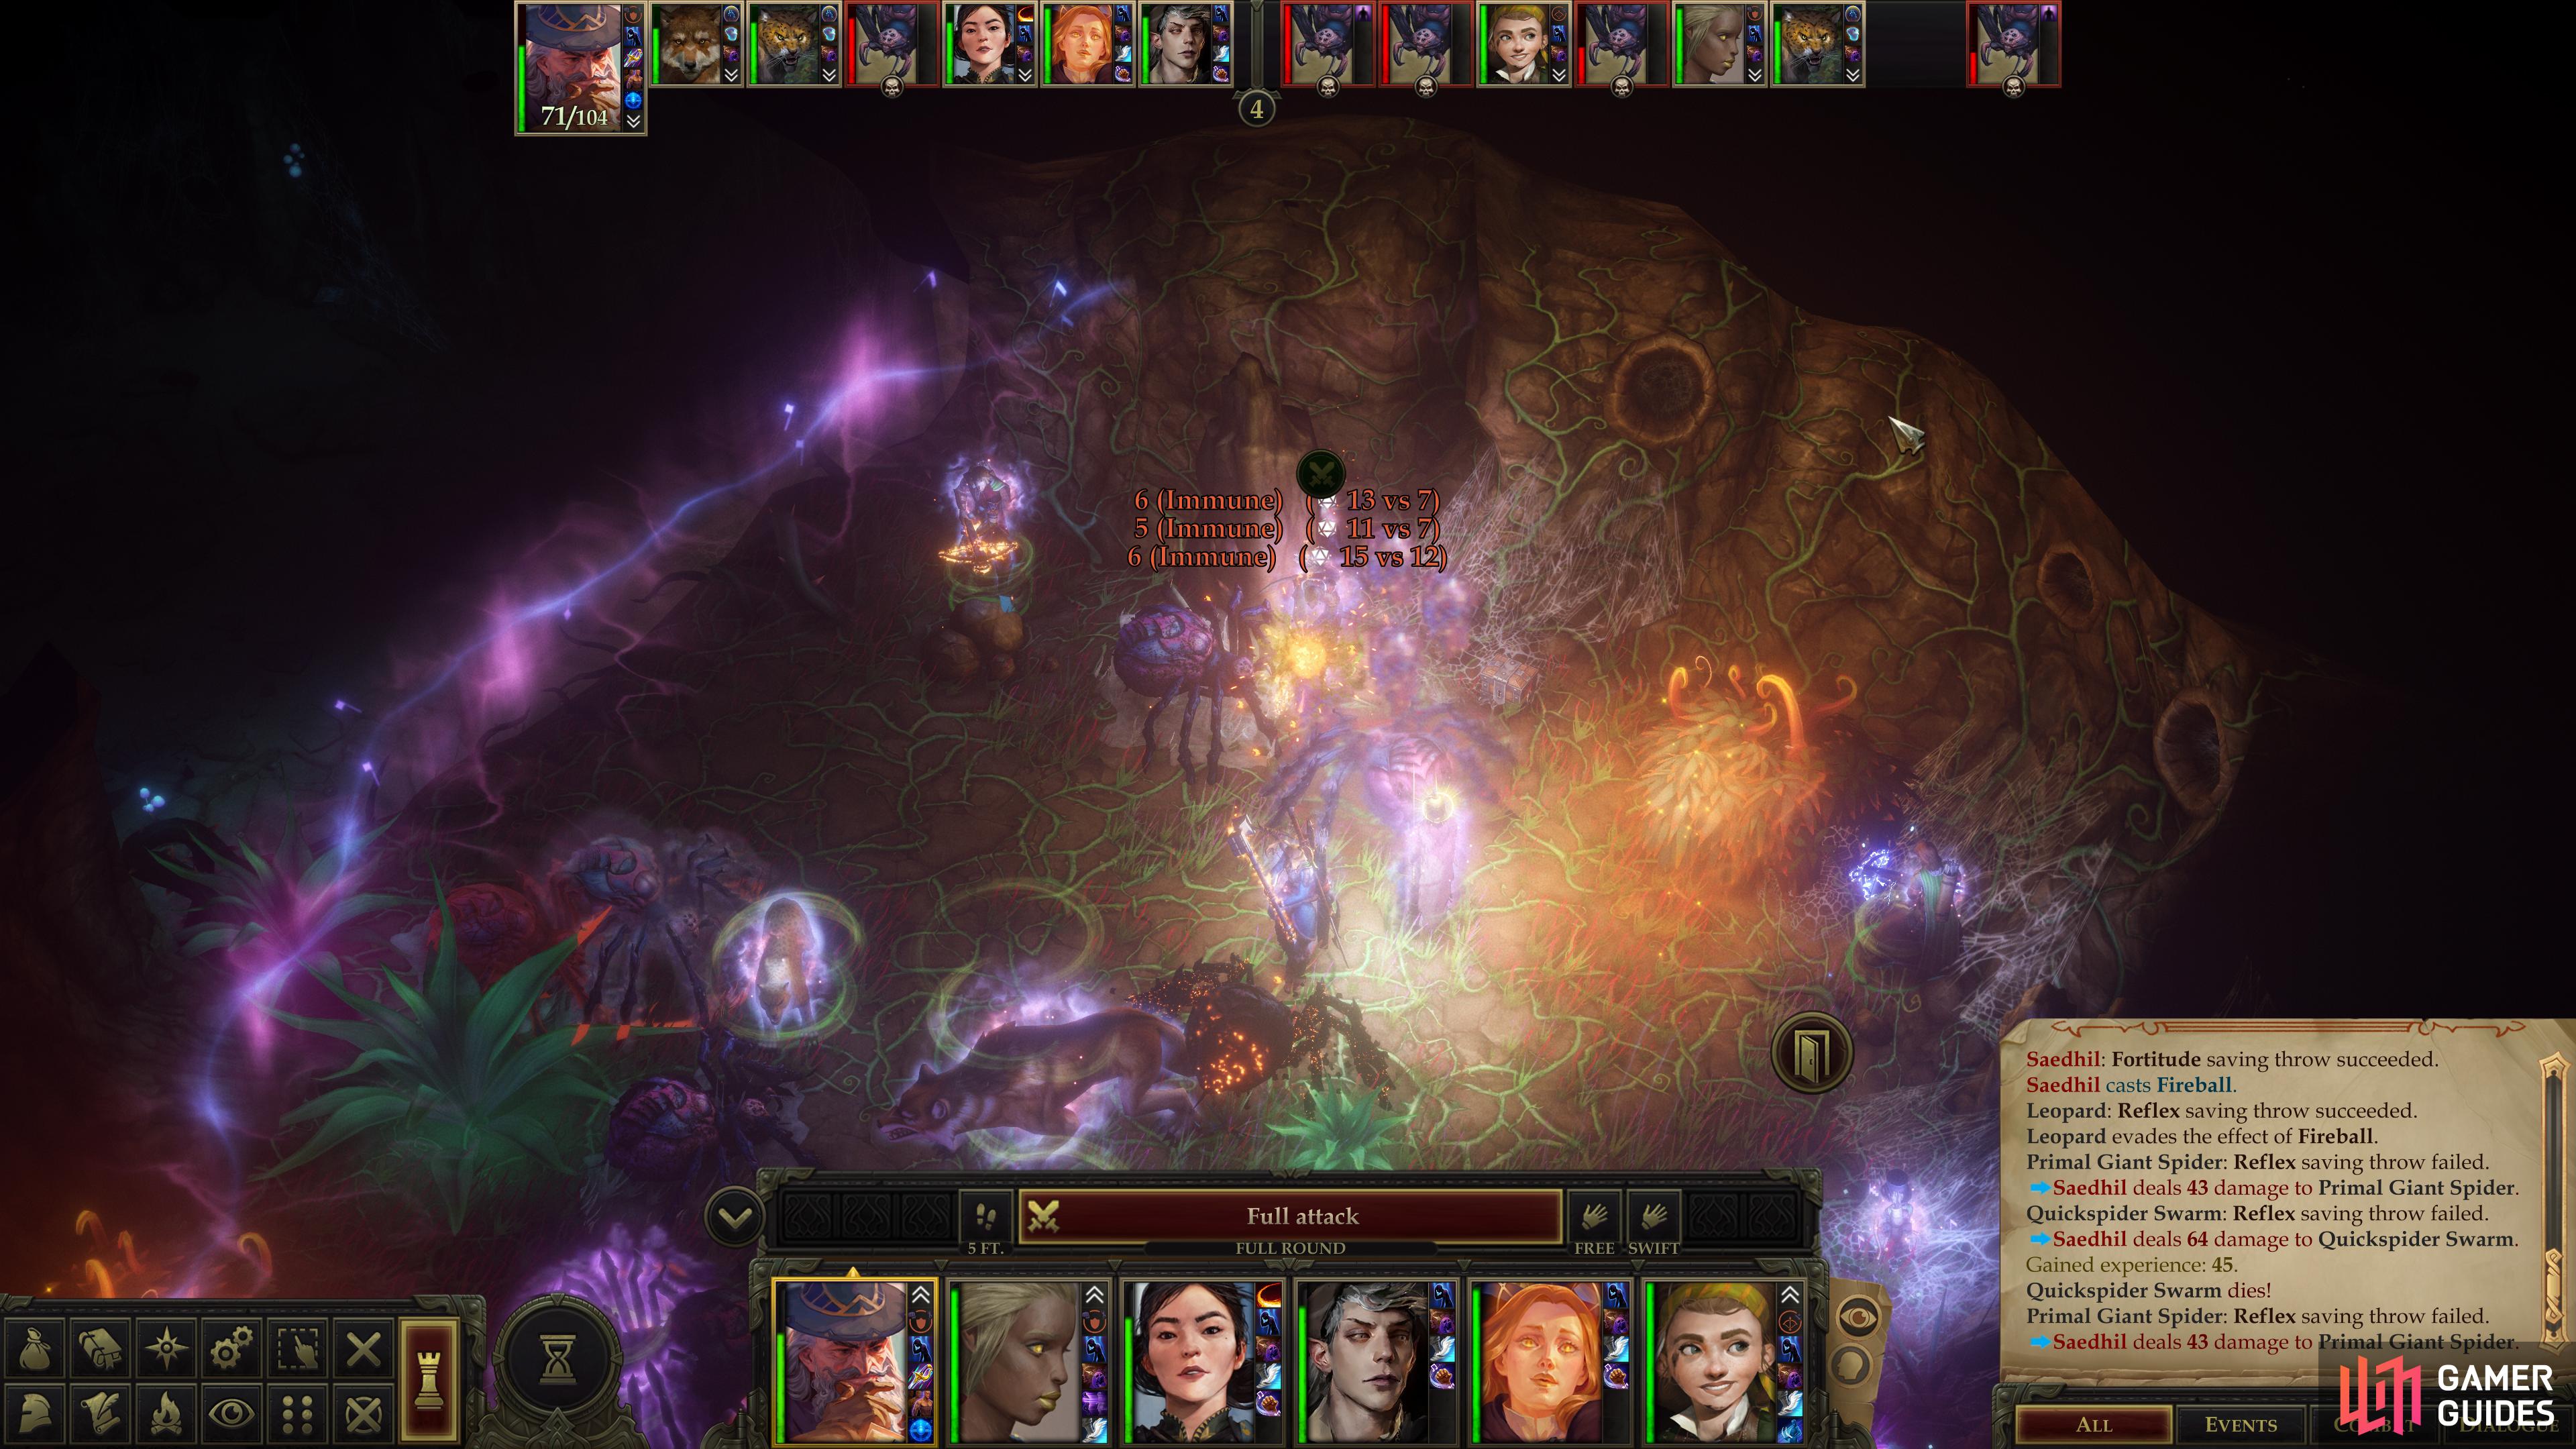
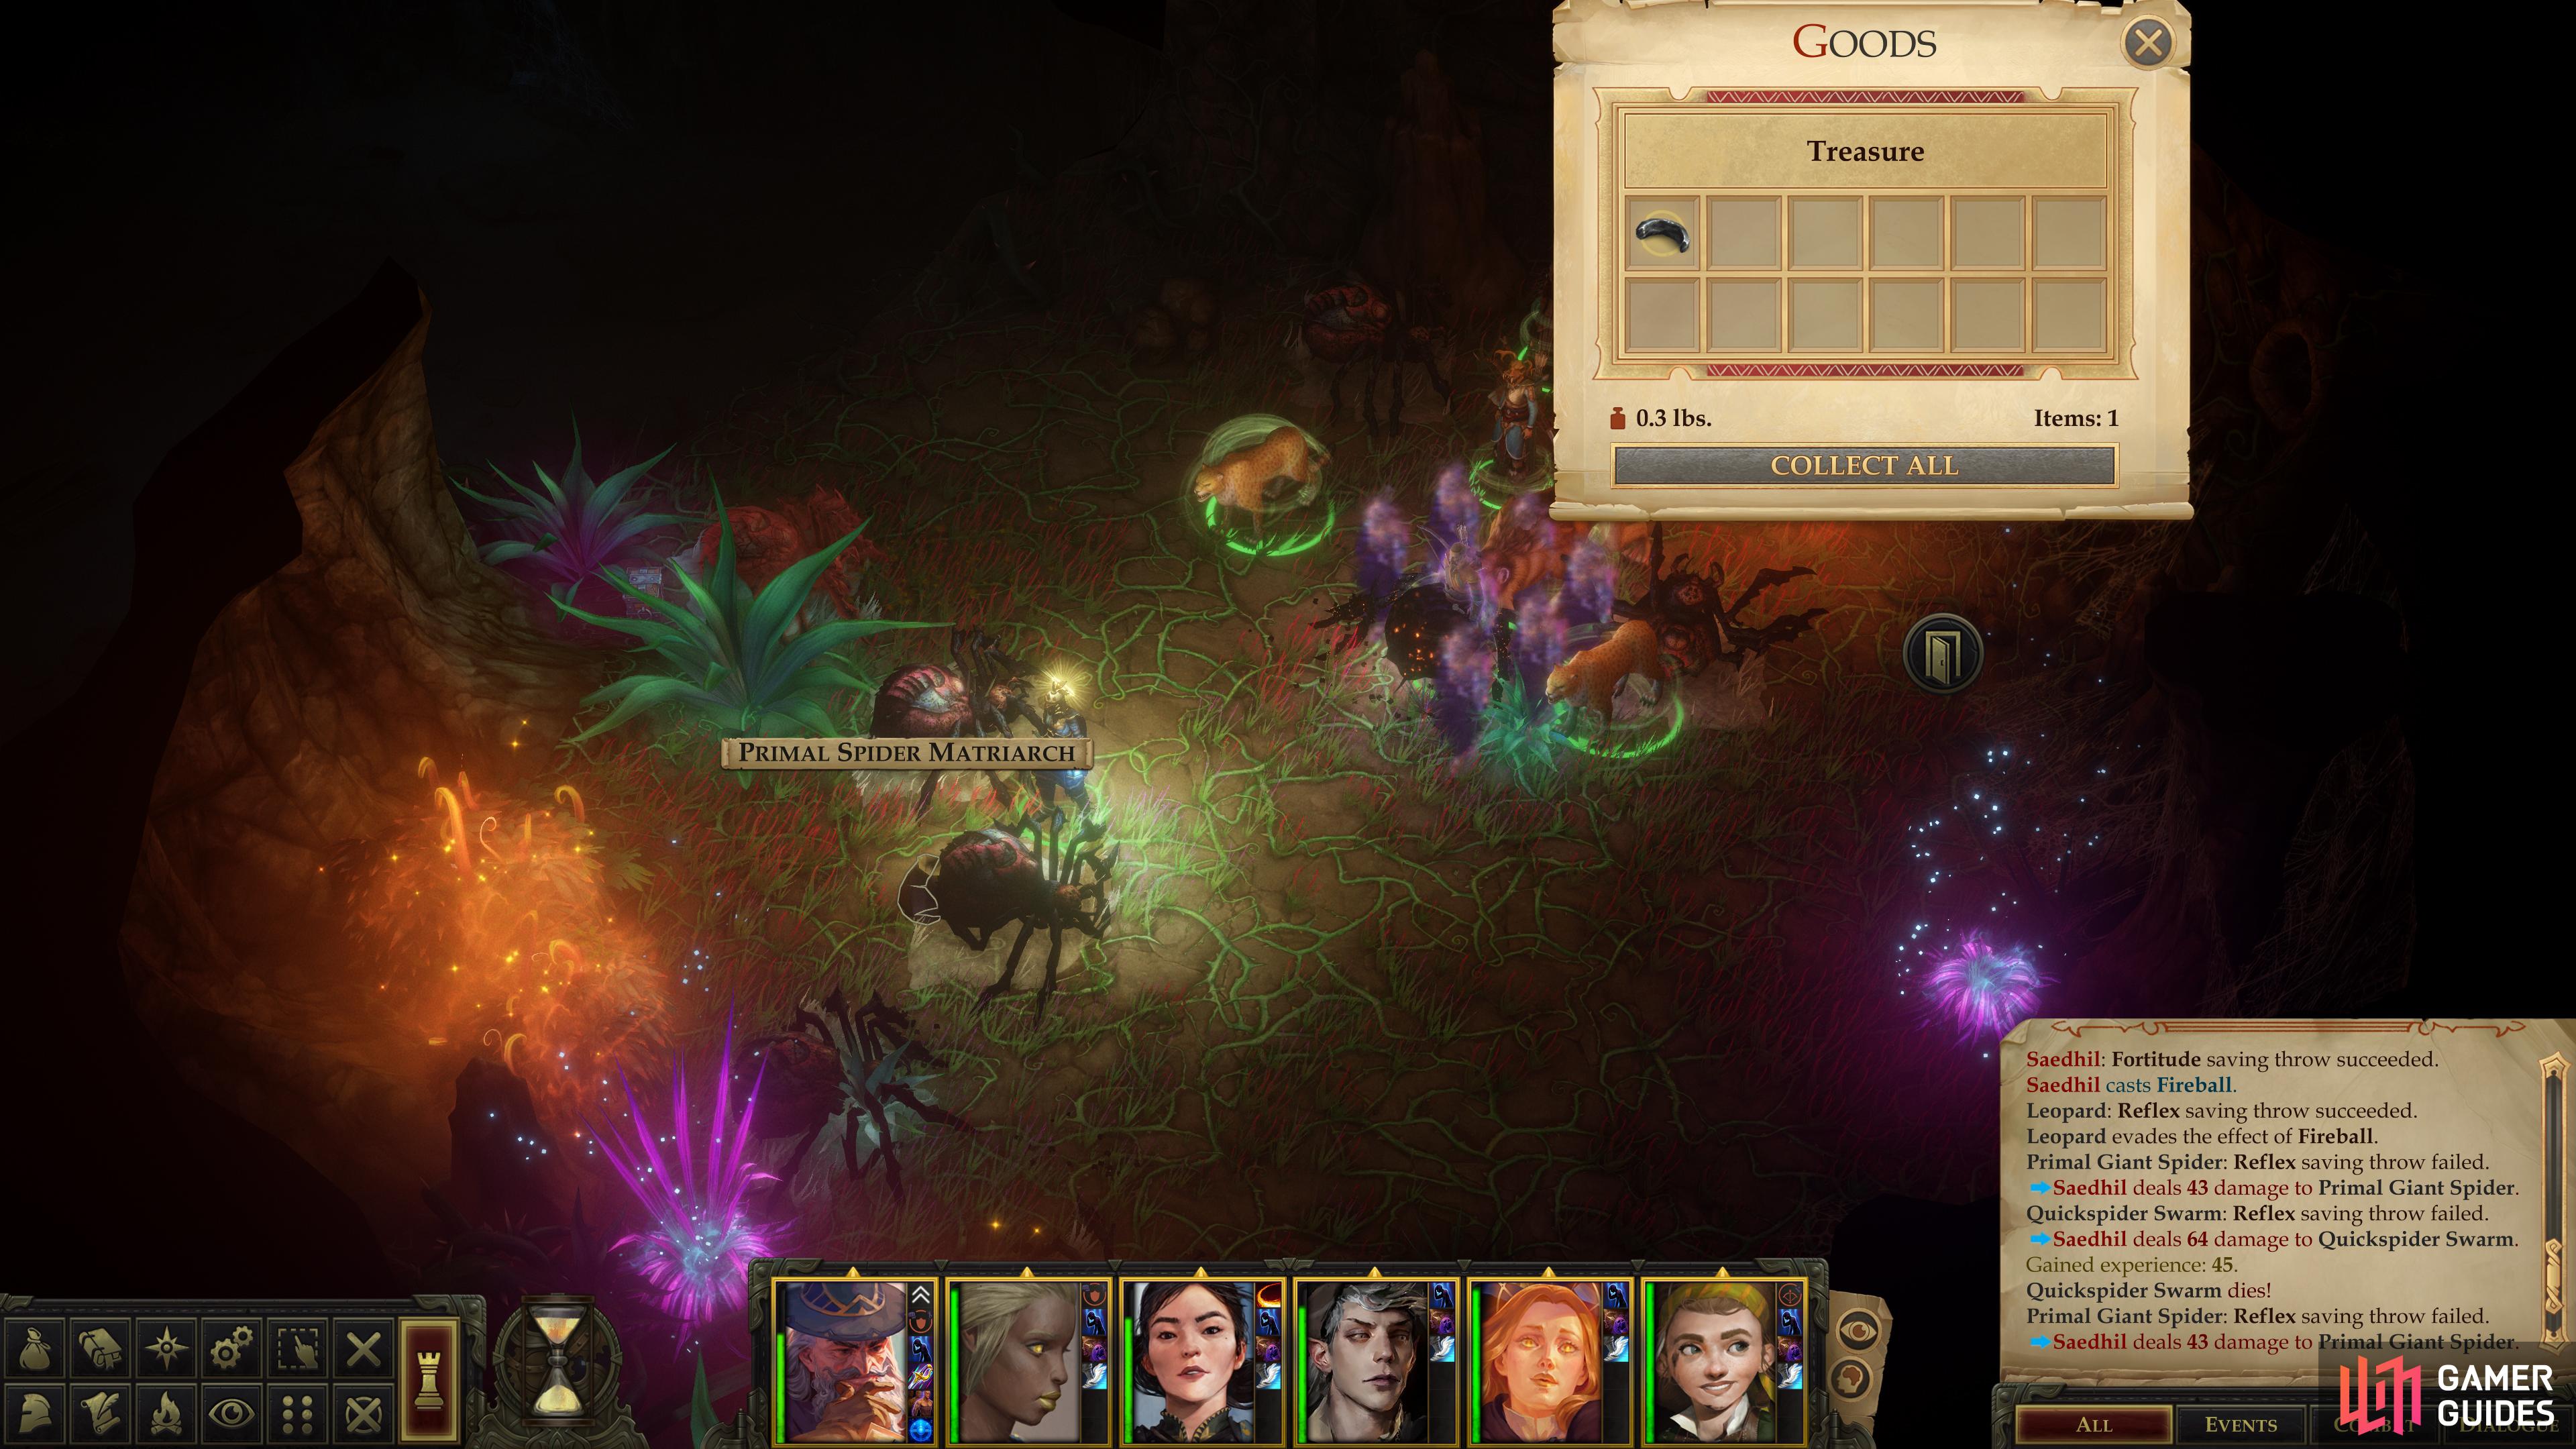
When you’re ready, head through the eastern area transition and you’ll find yourself in another, larger chamber that’s as blessed with foliage as the previous one. Unfortunately, it also has some other residents… of the eight-legged variety. A diverse, obnoxious bunch of spiders including Primal Giant Spiders, a Doom Spider, a Primal Giant Spider Matriarch, and worst of all, Spider Swarms and Spider Quickswarms.
The Primal Giant Spider Matriarch is a moderately stronger version of the Primal Giant Spiders you’ve been fighting. She’s got concealment, Damage Reduction 10/cold iron and magic, a slightly higher Attack Bonus and more Hit Points, but otherwise she shouldn’t prove much more challenging than her brood. The swarms, on the other hand… swarms… Everybody hates them.
They “attack” by occupying the same area as your characters, dealing damage to all enemies in the area they cover. They’re basically living AoE effects, dealing damage, inflicting poison and causing nausea to those they swarm over. Pun intended. Worst of all, they’re all but immune to direct-damage dealing attacks, so your warriors are all but useless against them. On the plus side, you’re not novice adventurers anymore; you have more resources at your disposal, and swarms are quite weak to AoE effects, ironically enough.
Their Hit Points are incredibly low, so using virtually any AoE attack at this point in the game should kill them outright. Weapons that inflict elemental damage are also incredibly valuable against them, as the measly elemental damage they deal is actually sufficient to disperse a swarm over a few attacks (Magi can add such damage to any weapon via “Arcane Weapon Enhancement”. The Spider Quickswarm is nastier than their mundane counterparts, but we’re still talking around a dozen Hit Points - a decent Burning Hands will bring them down.
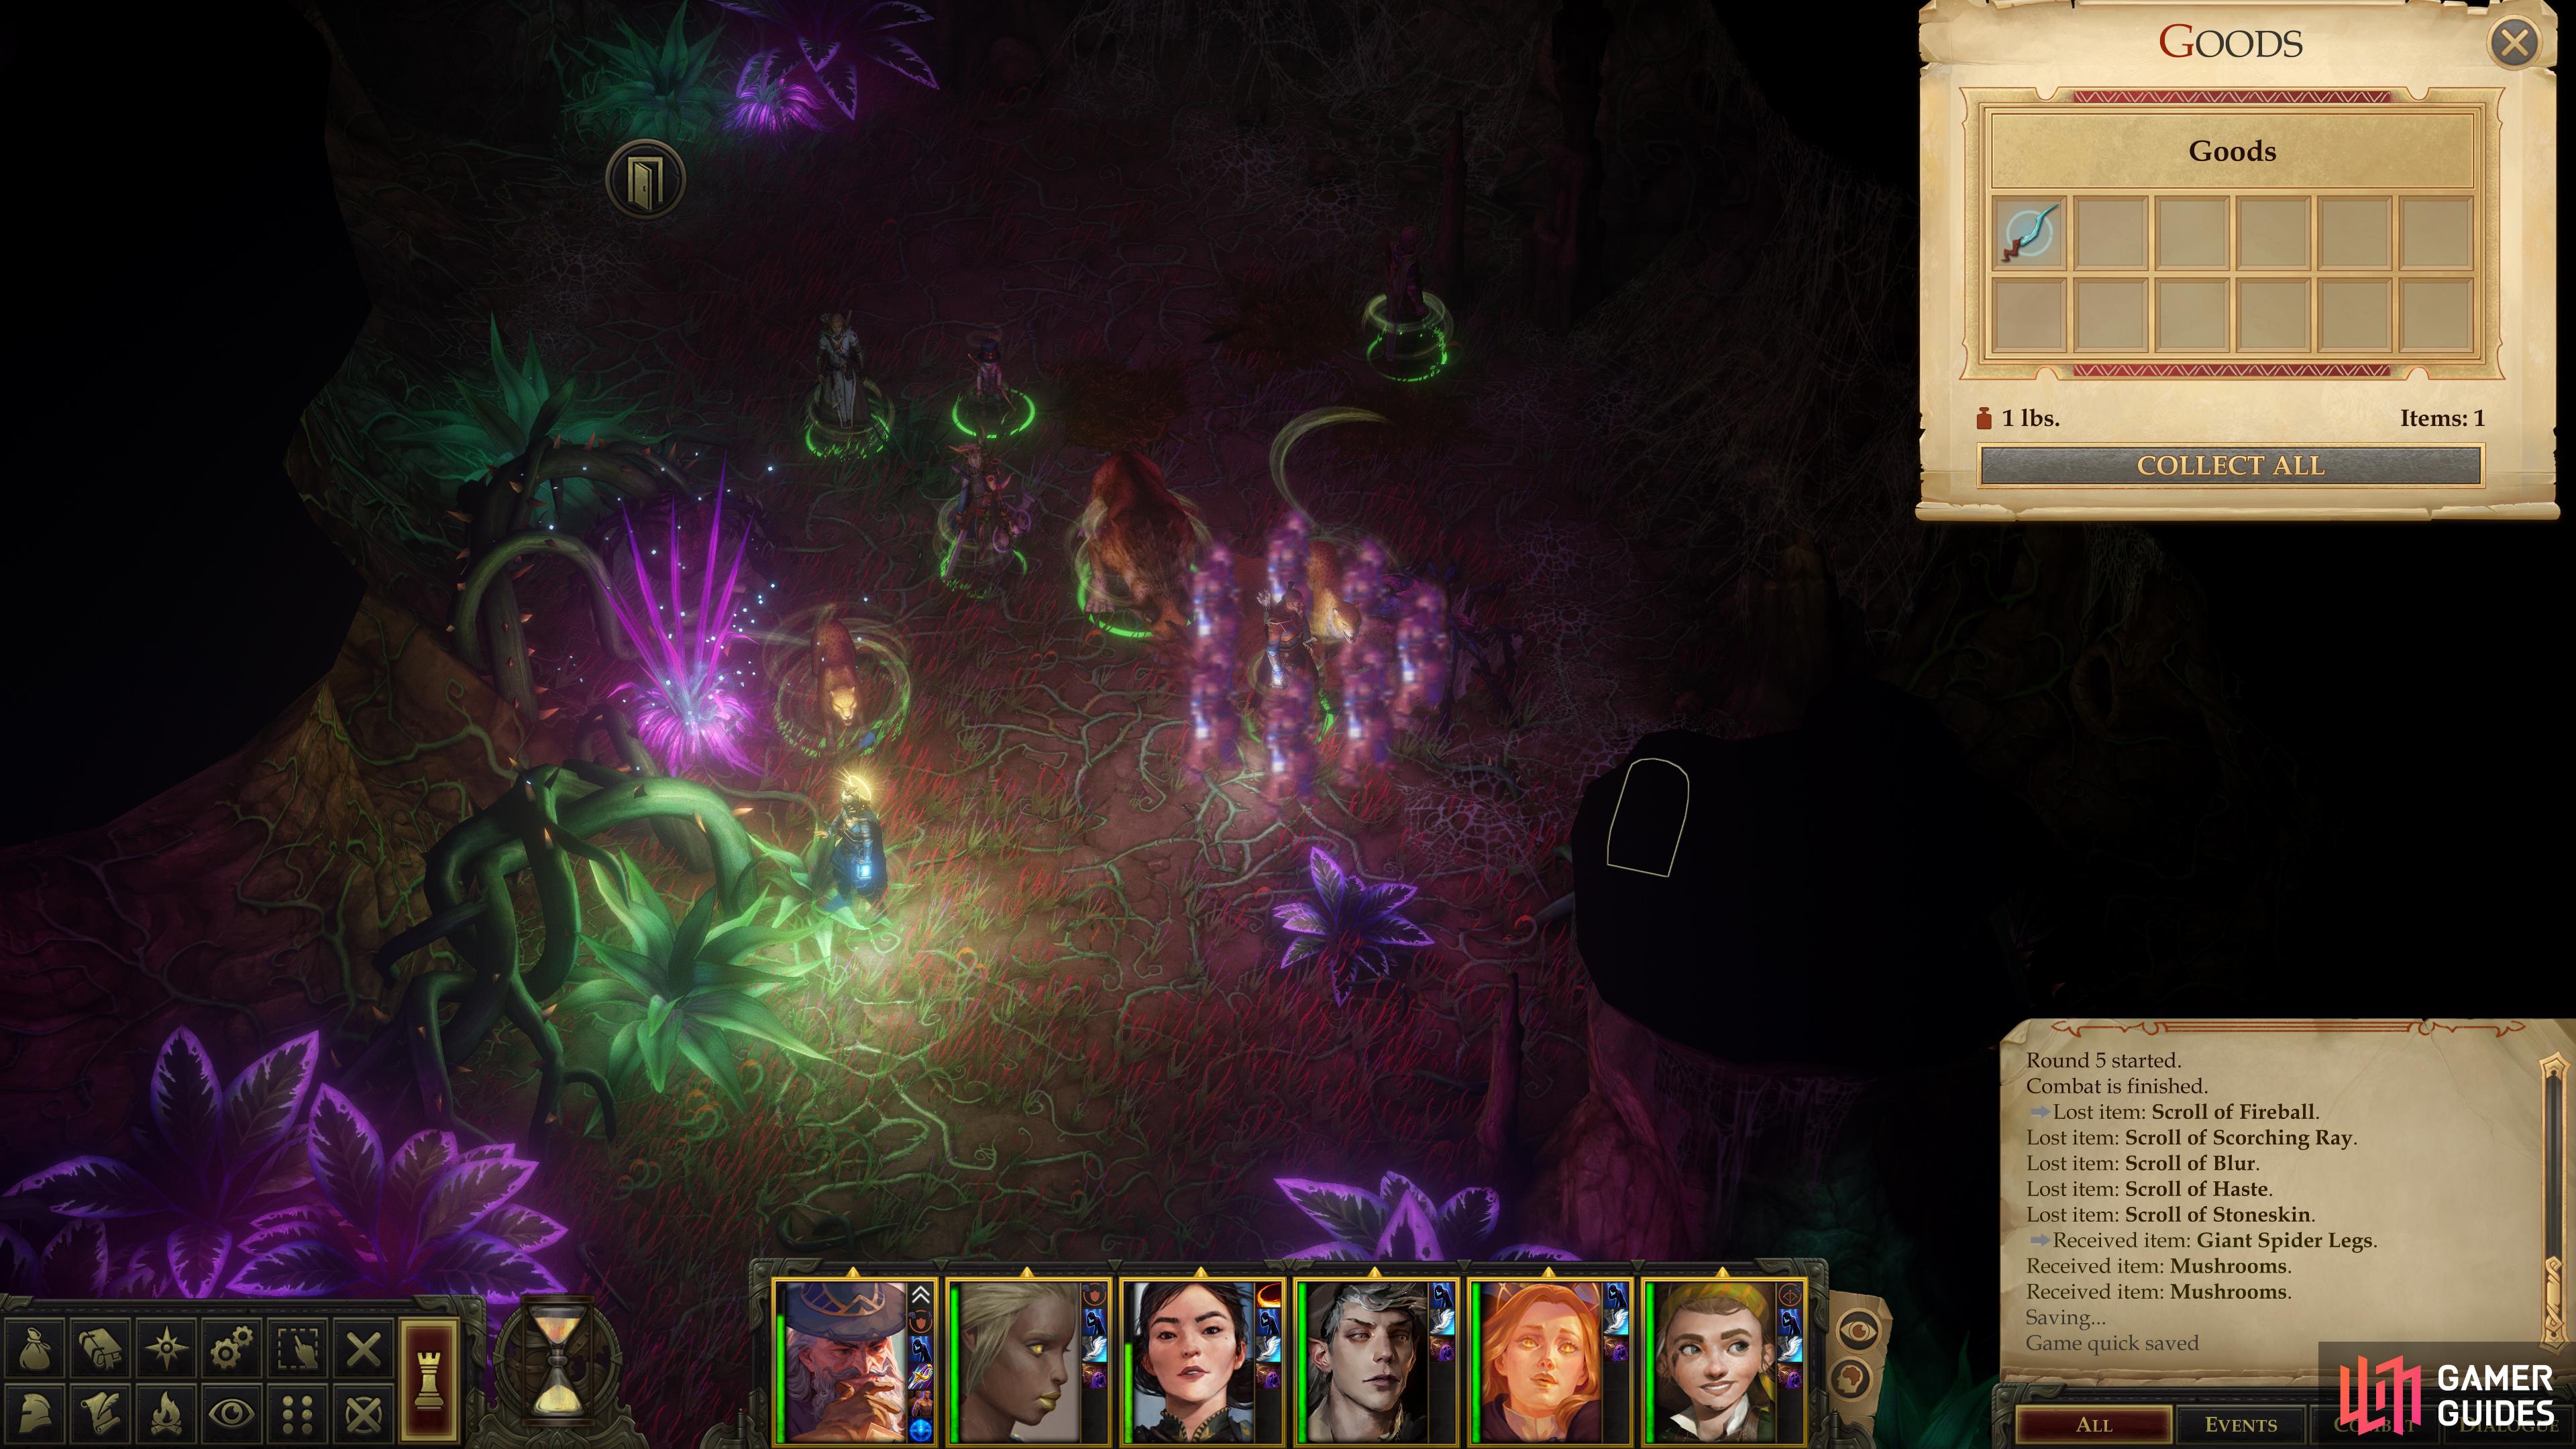
Take out the Spider Swarms as quickly as possible (a lucky initiative roll and a well-placed Fireball should suffice) after which the rest of the fight is fairly mundane - lure the enemies to your tanks, concentrate your attacks as much as possible and you should emerge victorious. When the spiders are smote, continue south and loot a chest to the east to find a Wand of Lightning Bolt. Other than that, continue west to find another chest (which contains some gems and a potion) near an area transition overlooking a cliff. This area transition will take you to another chamber to the west of “Twisted Passage II”, south of “Twisted Passage I”, to “Twisted Passage III”.
Womb of Lamashtu: Twisted Passage III
Use this western area transition to enter another small, vine-covered chamber, which is nothing more than a hub area. If you use the northern area transition here you’ll return to “Twisted Passage I”, rendering moot the need to explore the southern area transition in that chamber. You can no longer reach the area transition you used to come here, which leaves you with an area transition to the west and one to the south.
In the chamber to the west (“Twisted Passage IV”) you’ll find a rather obnoxious encounter that consists of two wretched gameplay elements: Spider Swarms, and enemies appearing wherever they please mid-fight. Make sure you’re fully buffed and you have some AoE spells before you proceed. Delay Poison, Communal will be worth its weight in gold, too.
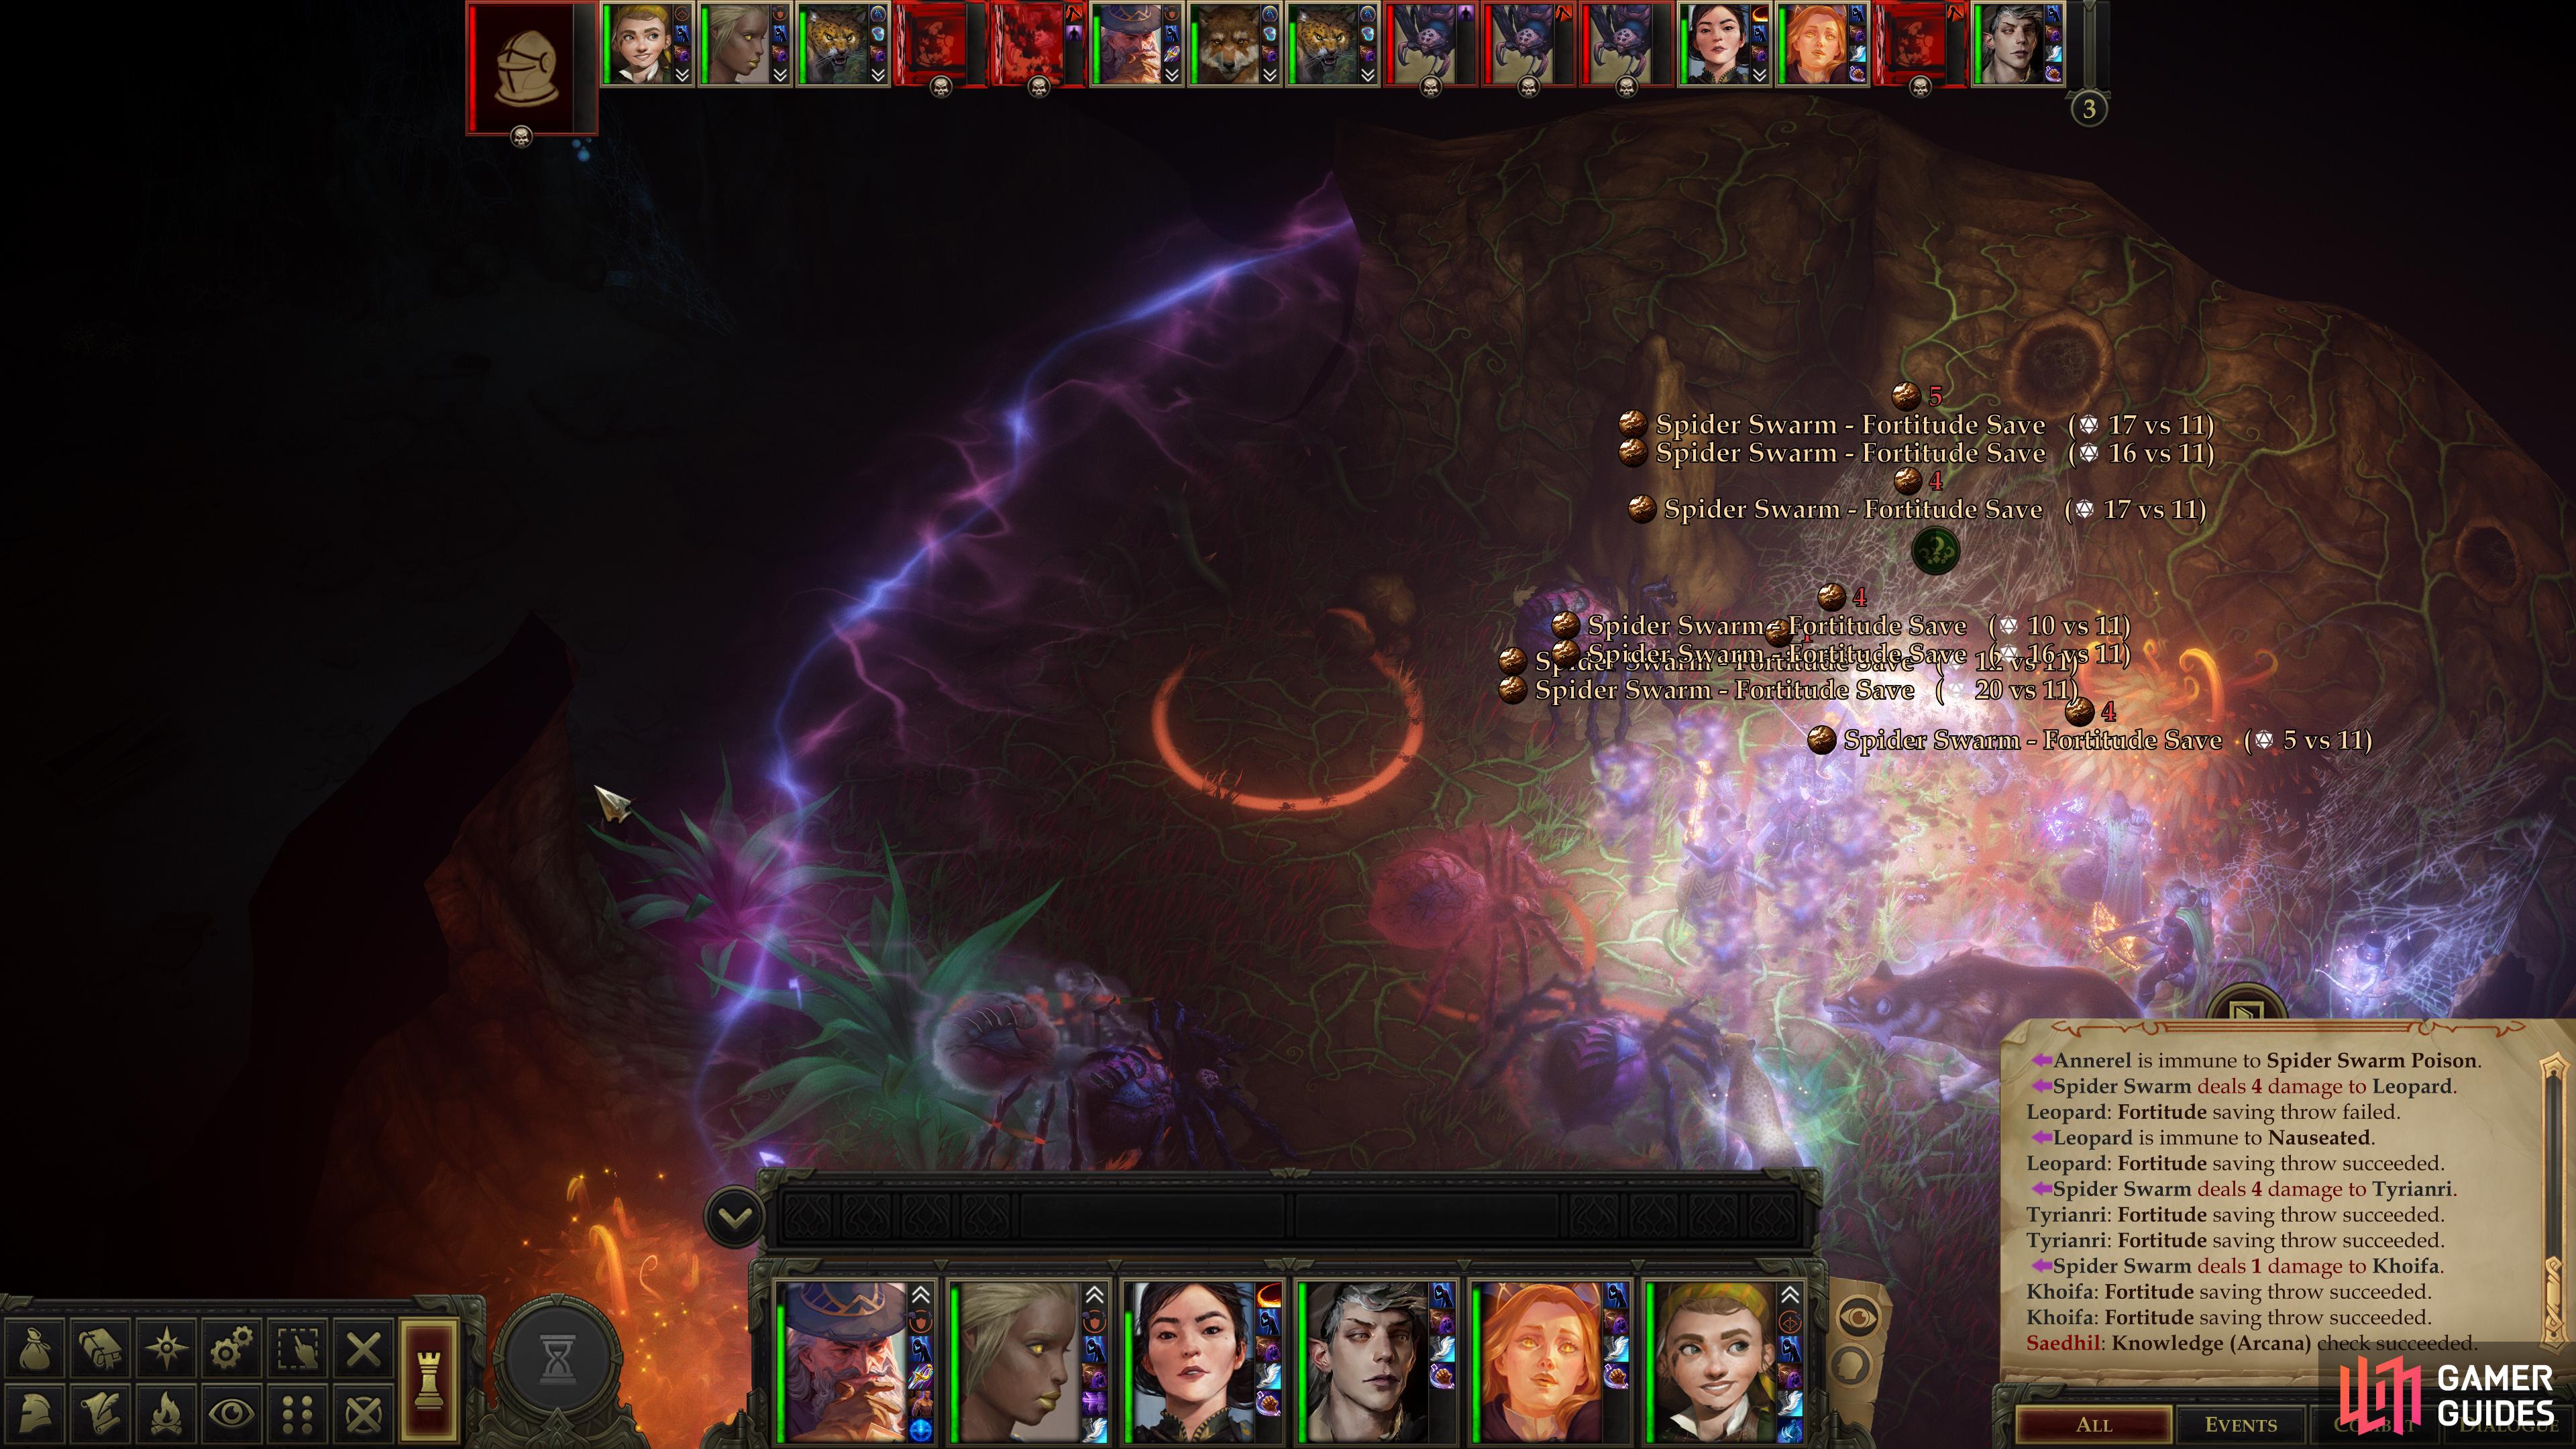
Spiders - including swarms - will spawn throughout the chamber.
Given the hectic nature of this fight, AoE attacks can be risky, but elemental weapons can take down swarms without endangering your comrades.
Womb of Lamashtu: Twisted Passage IV
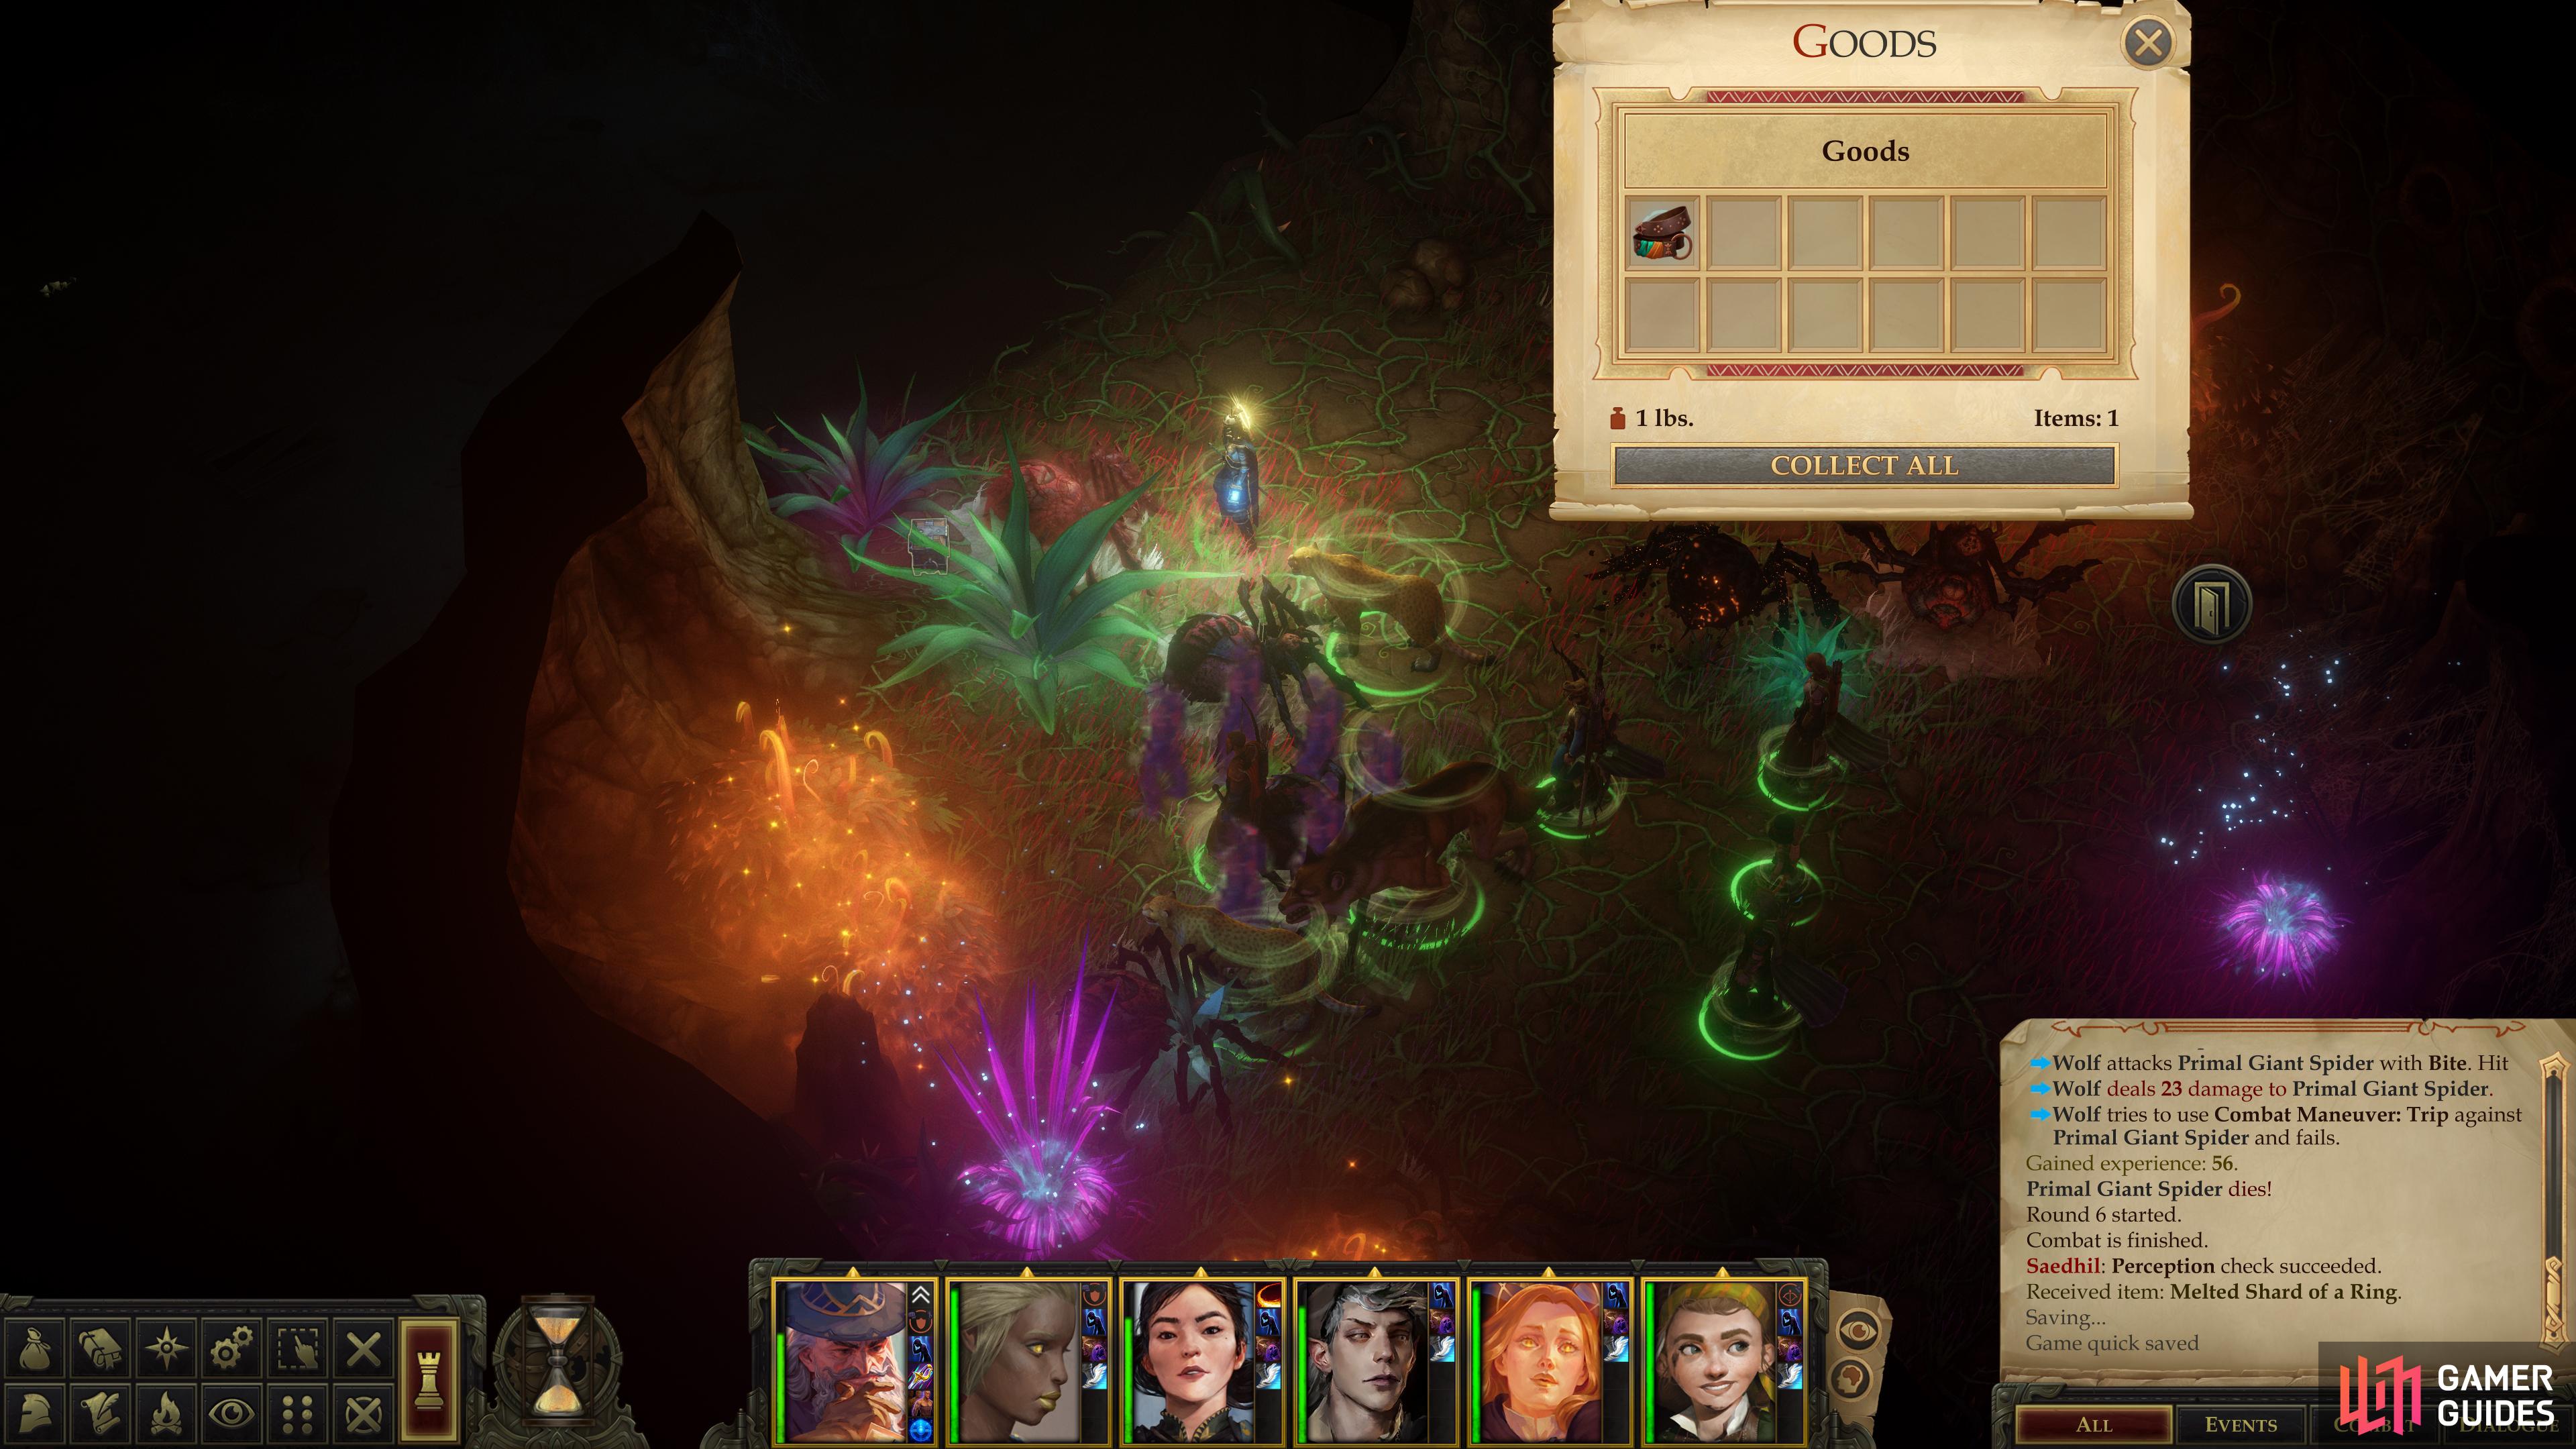
When you’re ready, save your game and use the area transition to reach a rather unassuming-looking chamber, wherein several Primal Giant Spiders await. This fight doesn’t start out too bad - just a handful of foes you’ve fought before - but as time goes on and the dead arachnids pile up they’ll be joined by reinforcements. These reinforcements (there are several waves) include a Doomspider, a Quickspide, a pair of Primal Giant Spider Matriarchs, numerous Primal Giant Spiders, Spider Swarms and Spider Quickswarms. Worst of all, they’ll pop up wherever they please - expect to see a swarm pop up along the eastern edge of the chamber, where you entered.
Suffice to say, you’ll want to remain flexible with your squishier characters. Summons can help draw aggro, but they can also block you into bad positions, and the cramped conditions make it really hard to target the swarms with AoEs without hitting yourself. Stay flexible and use potent AoEs to clear out the swarms when you can, but settle for elemental-enhanced weapons if you must.
Search one of the Matriarchs to obtain a “Melted Shard of a Ring”,
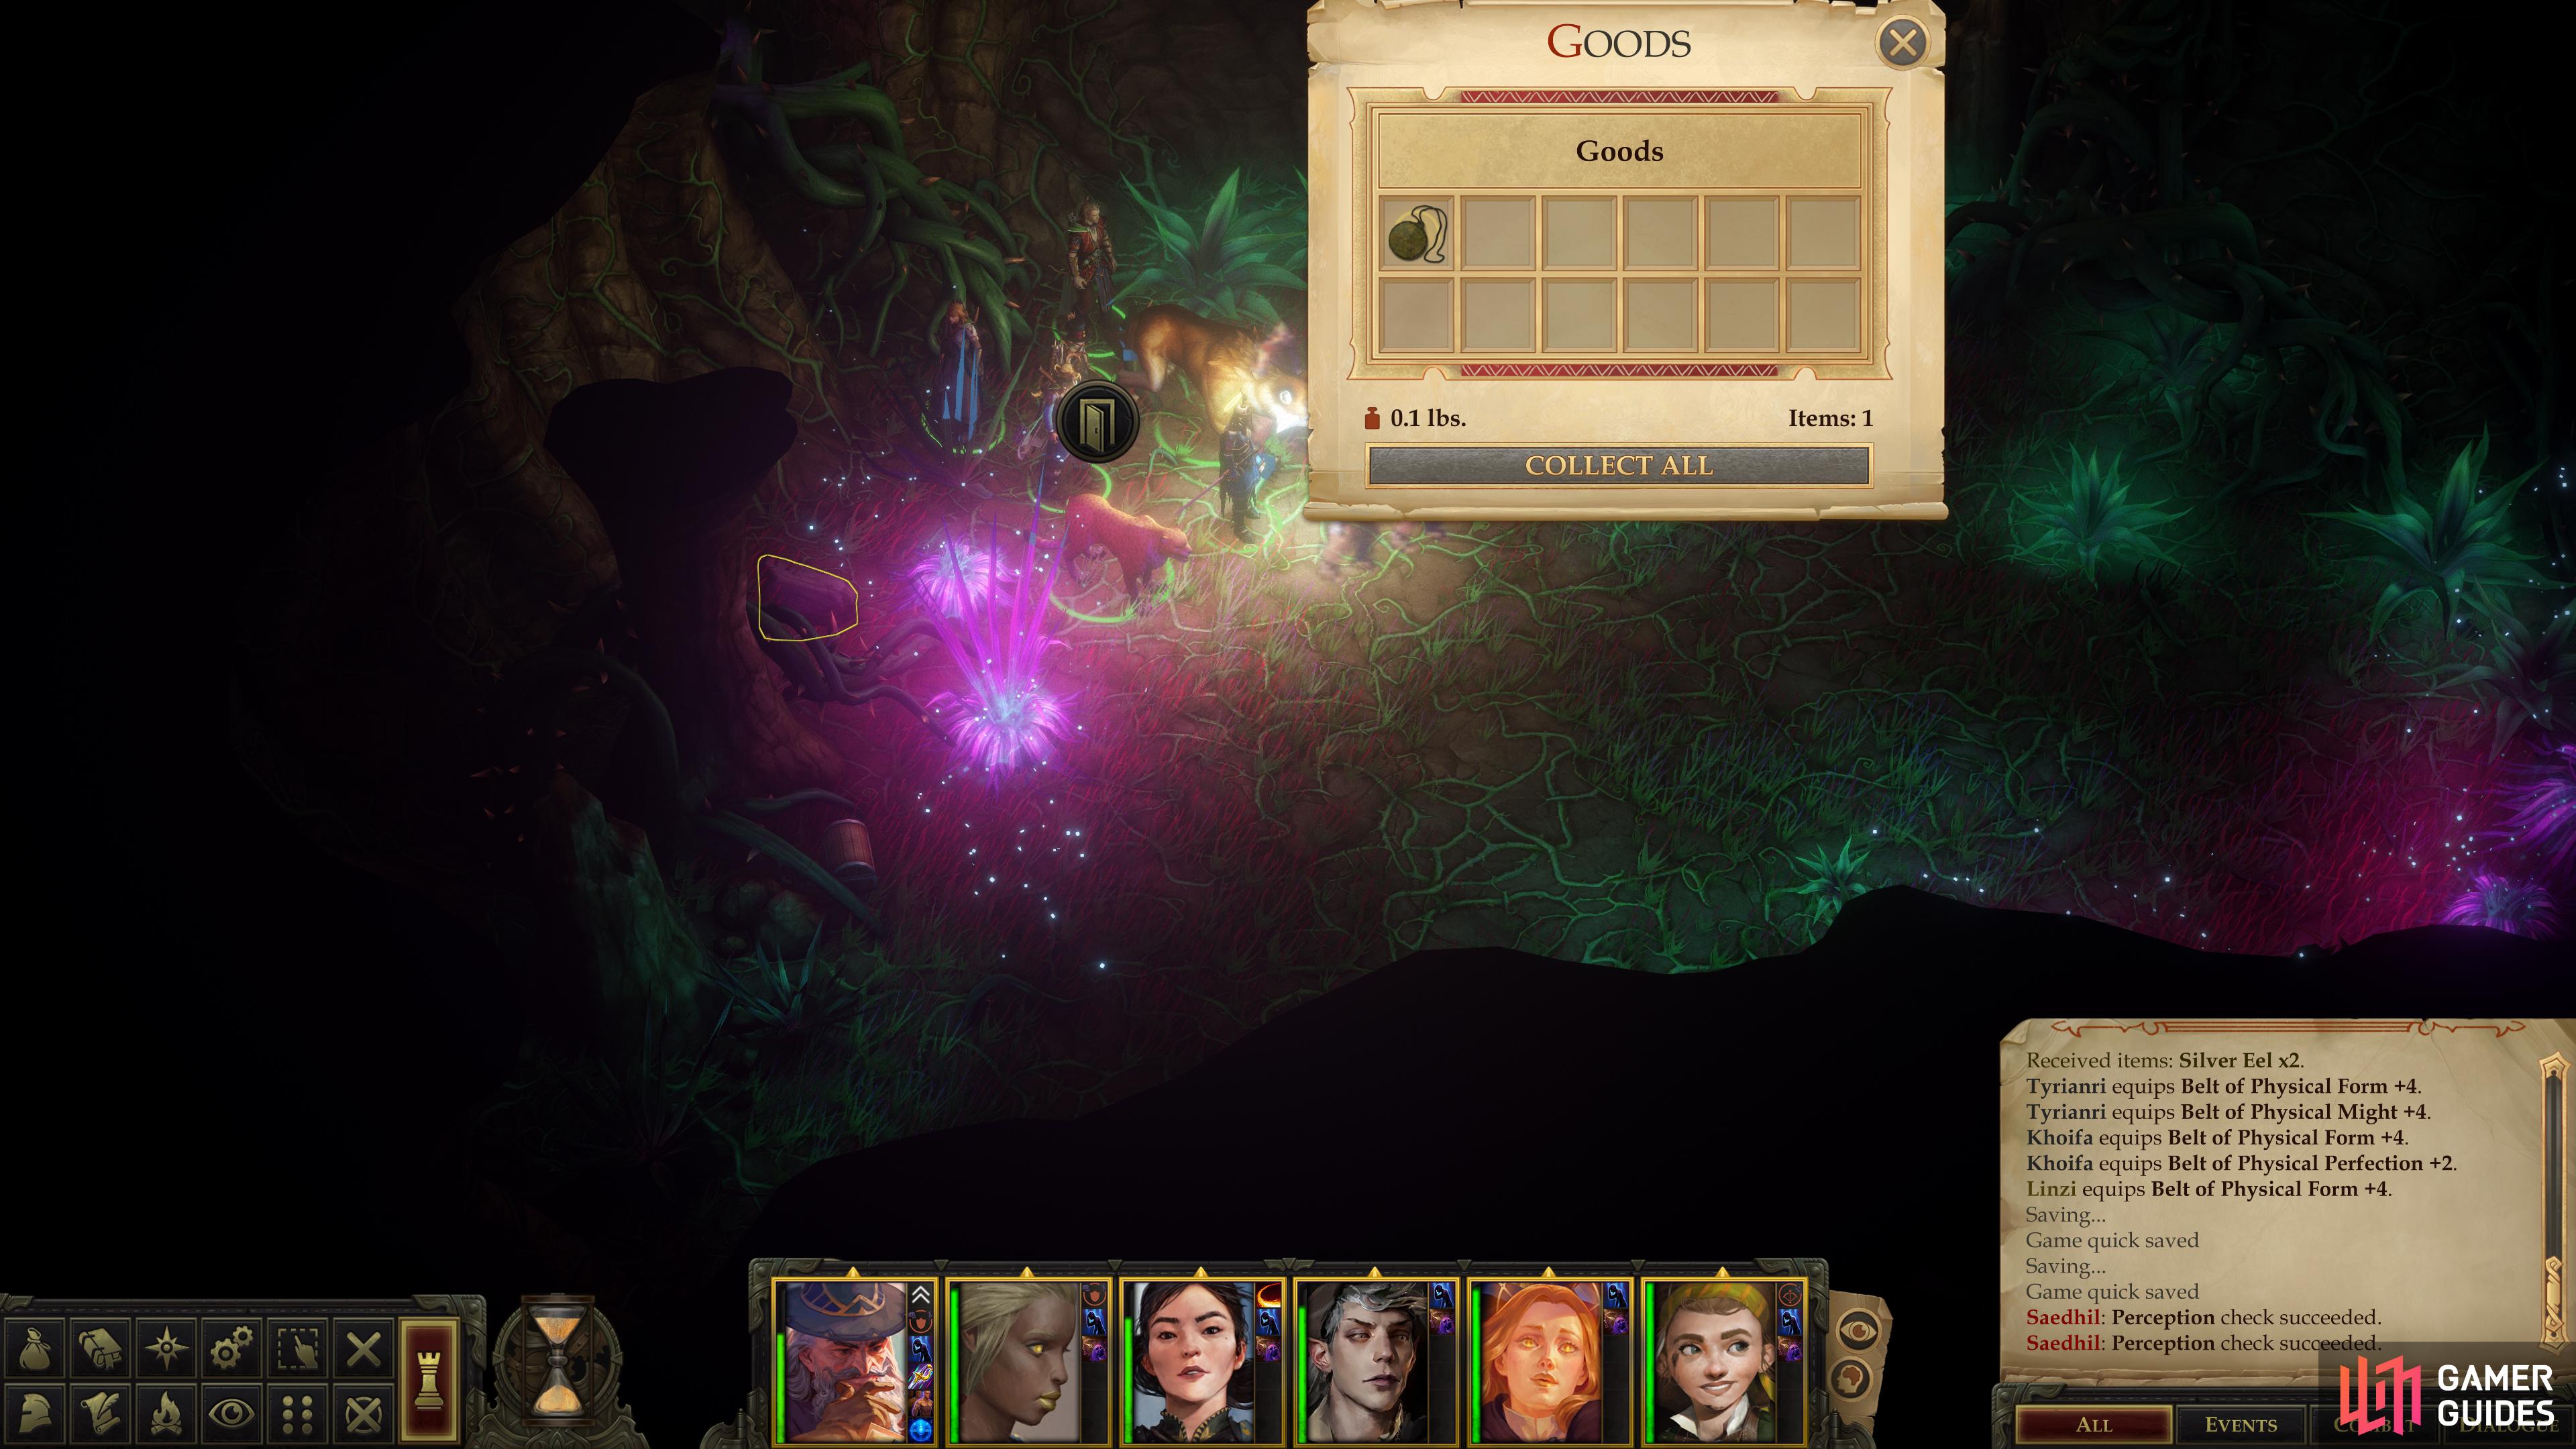
then loot a chest for a “Belt of Physical Form +4”.
For surviving this arduous battle you can loot a Primal Giant Spider Matriarch for a Melted Shard of a Ring, while a small chest to the west will yield a Belt of Physical Form +4 (Dexterity and Constitution +4) while another small chest to the east contains a 322 gold and a variety of scrolls, gems and jewelry.
Whew. Nobody will blame you for resting after that one. When you’re ready to go, use the area transition to the south, which takes you to a chamber to the southeast (“Twisted Passage V”), the same chamber that the southern exit in “Twisted Passage III” would have taken you to. Another needless travel option crossed off the list!
Search the final room for a well-hidden “Taldan Warrior’s Dog Tag”,
while a less well-hidden chest will yield “Bracers of Armor +4” and a “Peridot Wyvern”.
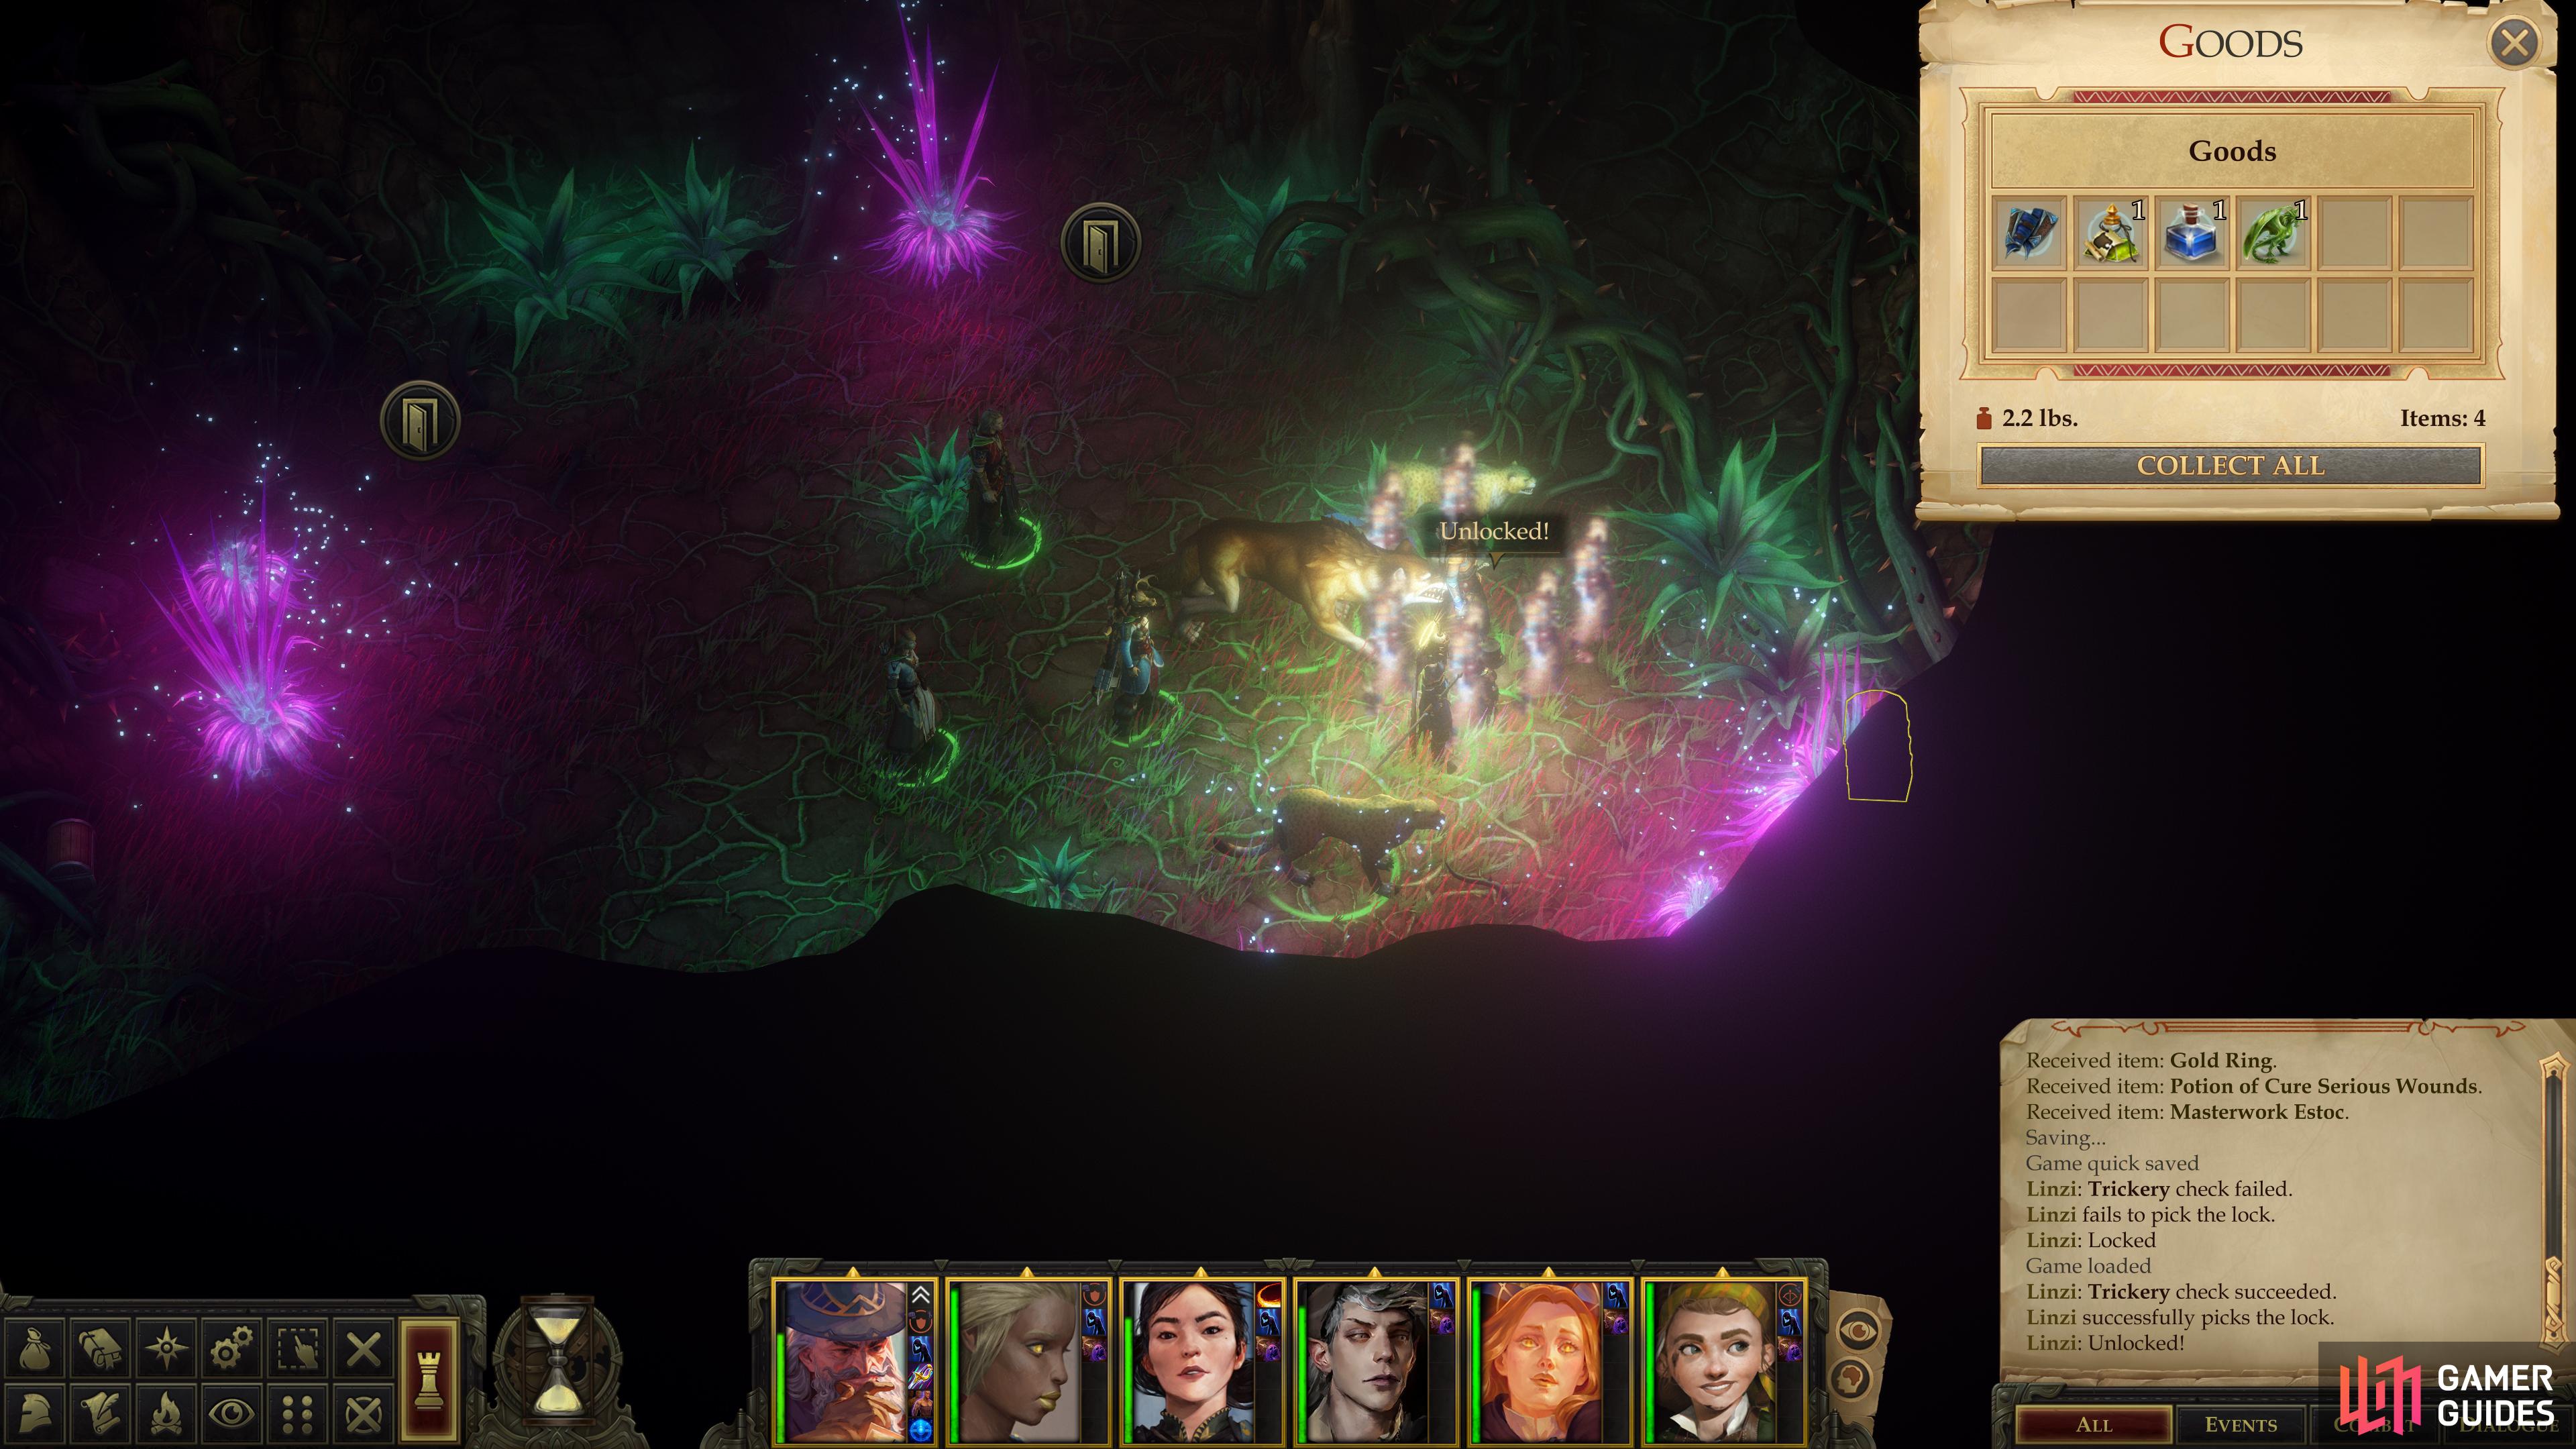
Womb of Lamashtu: Twisted Passage V
When you arrive you’ll hopefully pass two Perception checks to note a rock [Perception 19] and a chest [Perception 30] to the west. Before you get too loot-happy, though, scout out a trap [Perception 24] [Trickery 24] in front of the chest and remove it. The chest in question holds 366 gold, some rings, a potion and a Masterwork Estoc, while the rock offers up a Taldan Warrior’s Dog Tag. Another, less secretive chest can be found to the east; unlock it [Trickery 29] and you’ll obtain Bracers of Armor +4, some potions, and the Peridot Wyvern statue, which you can use to summon a wyvern companion with Hit Dice equal to the summoners (up to 12 HD). It’s a decent little magical item, but is in no way comparable to having a proper pet companion, being very roughly close to a Ferocious Wyvern, stat-wise. It might soak up a few hits for you, but you shouldn’t’ expect more than that.
You’re all but done with this area for now, you just need to use the area transition to the southwest. There’s only one problem - once you move on, you won’t be able to return until you’ve all but resolved this questline. There’s still a good bit of fighting ahead, so if you’re not at 100%, you should exit the Womb of Lamashtu, rest, then return. When you’re fully healed and have all your spells at your disposal, use the aforementioned area transition.
It’ll lead to an Illustrated Book Episode, but you don’t need to fret over this one too much, as it’s just a transitional device. There are no wrong answers and no checks to master, but getting out won’t be as easy as getting in was, so, again, rest up and save your game.
No Comments