

After traversing the Twisted Passages portion of the Womb of Lamashtu you’ll take a rather innocuous area transition that leads to an Illustrated Book Episode, which in turn will see you teleported to… another world?
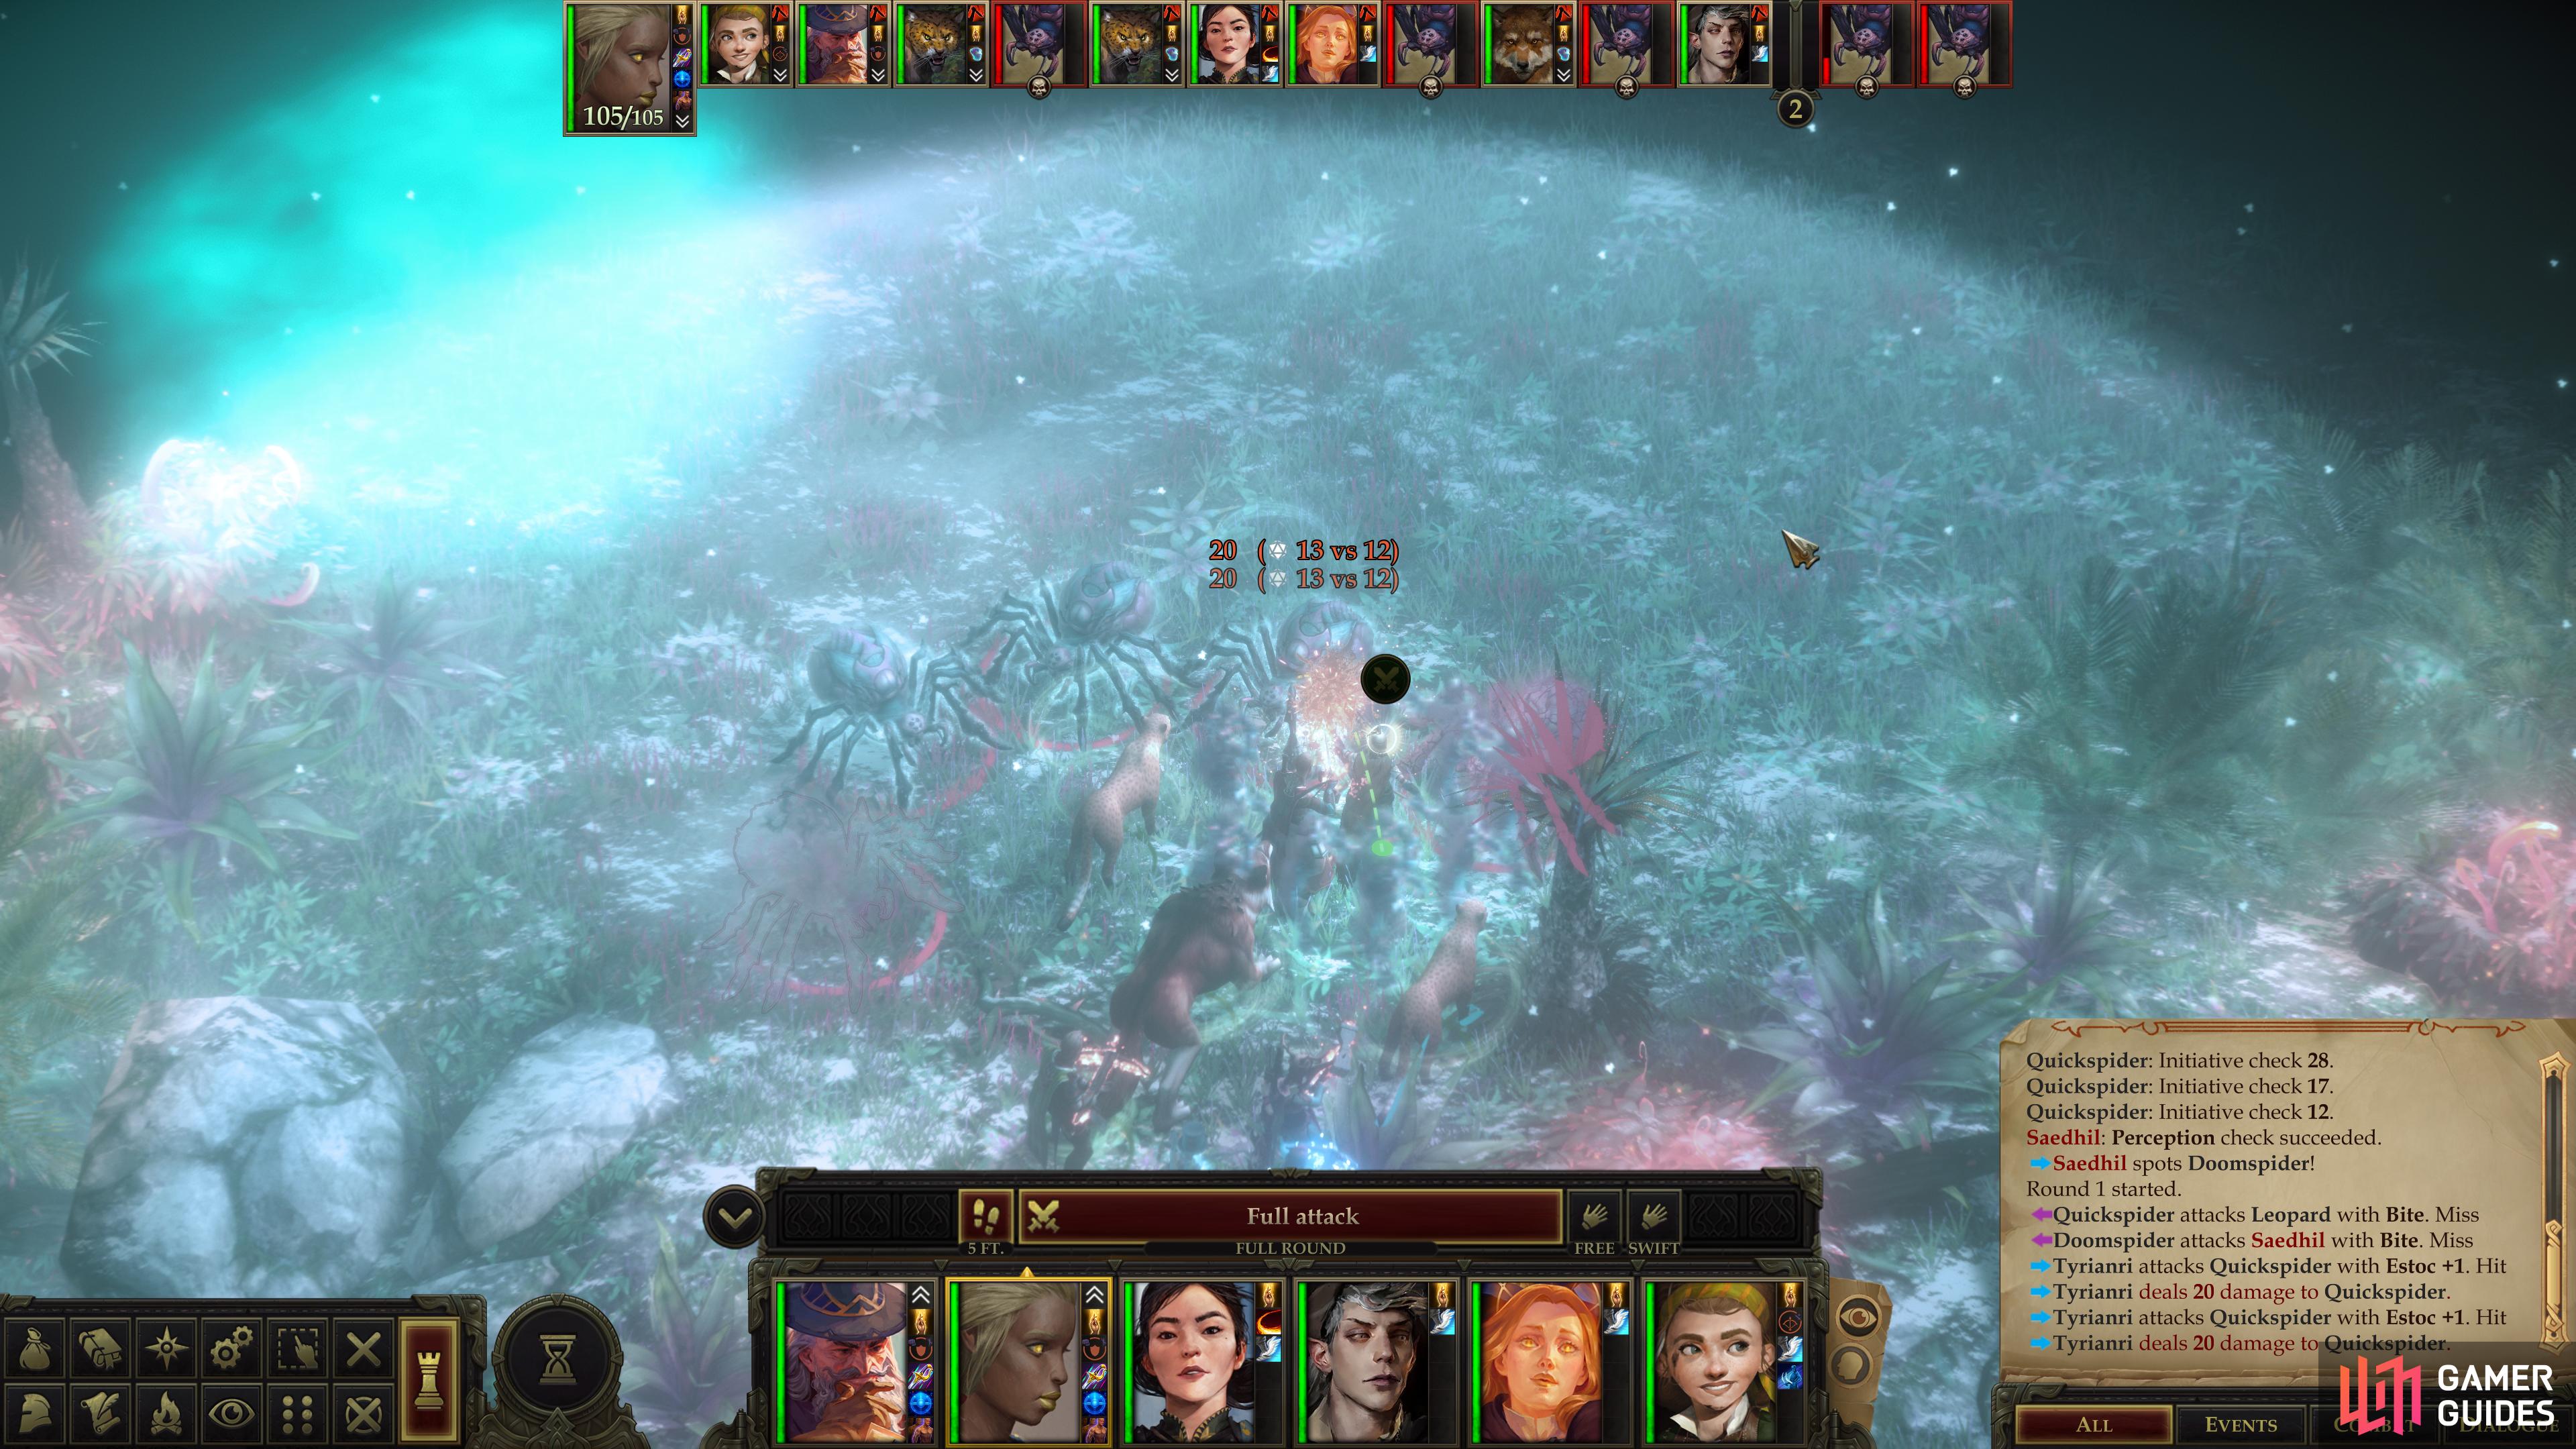
Fend off some spiders, who ambush you when you enter the Other World,
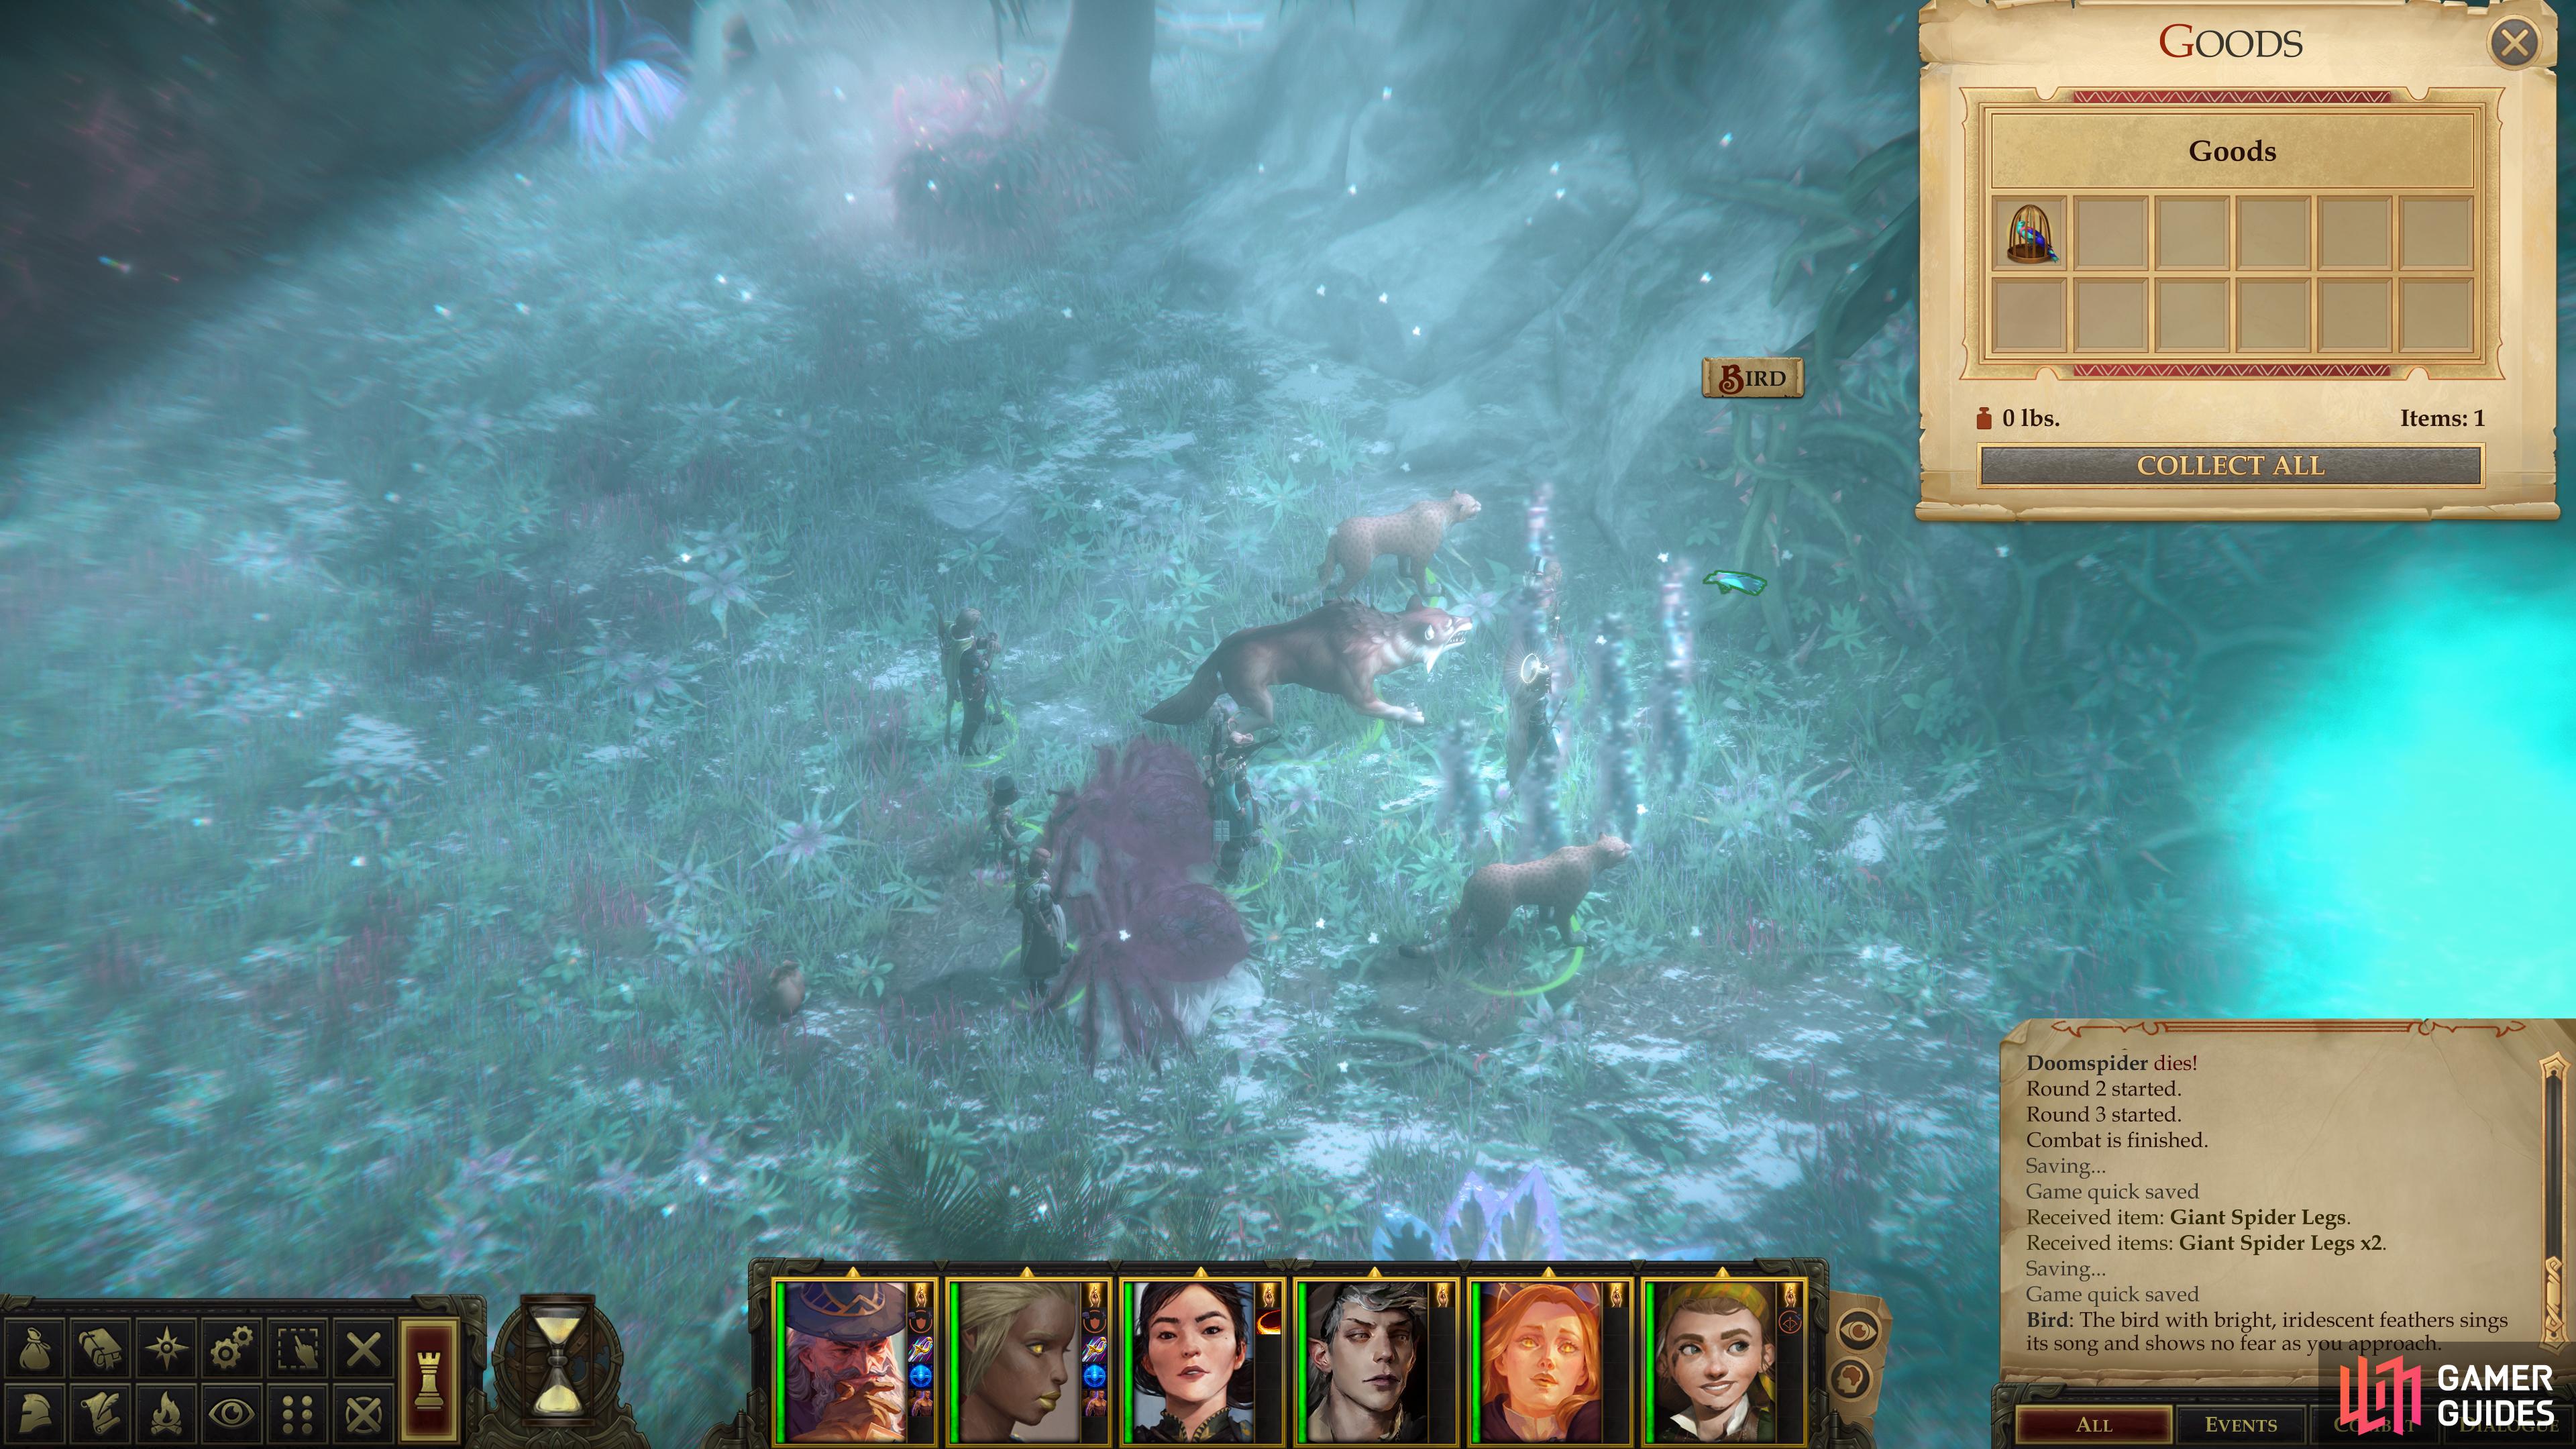
then grab a “Mysterious Bird” off a rock to the north.
Other World: Mysterious Bird
You don’t have much time to ponder your environs, as you’ll be beset by three Quickspiders and two Doomspiders as soon as you arrive. In a flagrant display of poor sportsmanship, your enemies will likely get a surprise round, and since Quickspiders can inflict Sneak Attack damage, this first round might be a painful one if you’re not buffed. Did we mention that there’s no going back? Hopefully you stocked up on Camping Supplies and Rations, as you won’t be able rest without them.
Weather the initial onslaught, then focus on picking off the Quickspiders one at a time (they can still score Sneak Attacks if they’re flanking, after all) then have a look at the eerie, verdant, alien world around you. This area, simply known as “Other World” on your map, is actually several areas connected by clouds of mist. You’ll find one such cloud to the northwest, and for now, just note it and continue northeast to encounter a pair of Doomspiders. Kill them and continue northeast to find a Bird perched on some vines. This creature clearly has no natural fear of humanoids. If it wasn’t painfully obvious before, this is not a natural environment. Take advantage of the bird’s naivete and pocket the Mysterious Bird.
Next turn your attention to two bluish-green, swirling clouds of mist on the ground, one northwest of where you entered this area, and one to the east of where you found the bird. While this may look uncomfortably similar to the poison mist in the Swamp Witch’s Hut area, it actually has an entirely - mostly benign - function. These serve as area transitions of a sort, although whether the mist is transporting you somewhere magically, or whether you lose yourself in it and emerge somewhere on the other side after an indeterminate period of travel is anyone’s guess. Not that the mechanic matters much - just know that if you walk into the mist, you’ll end up traveling elsewhere.
Your first trip into the mist should be relatively harmless; enter either of the two patches of mist to advance through the area.
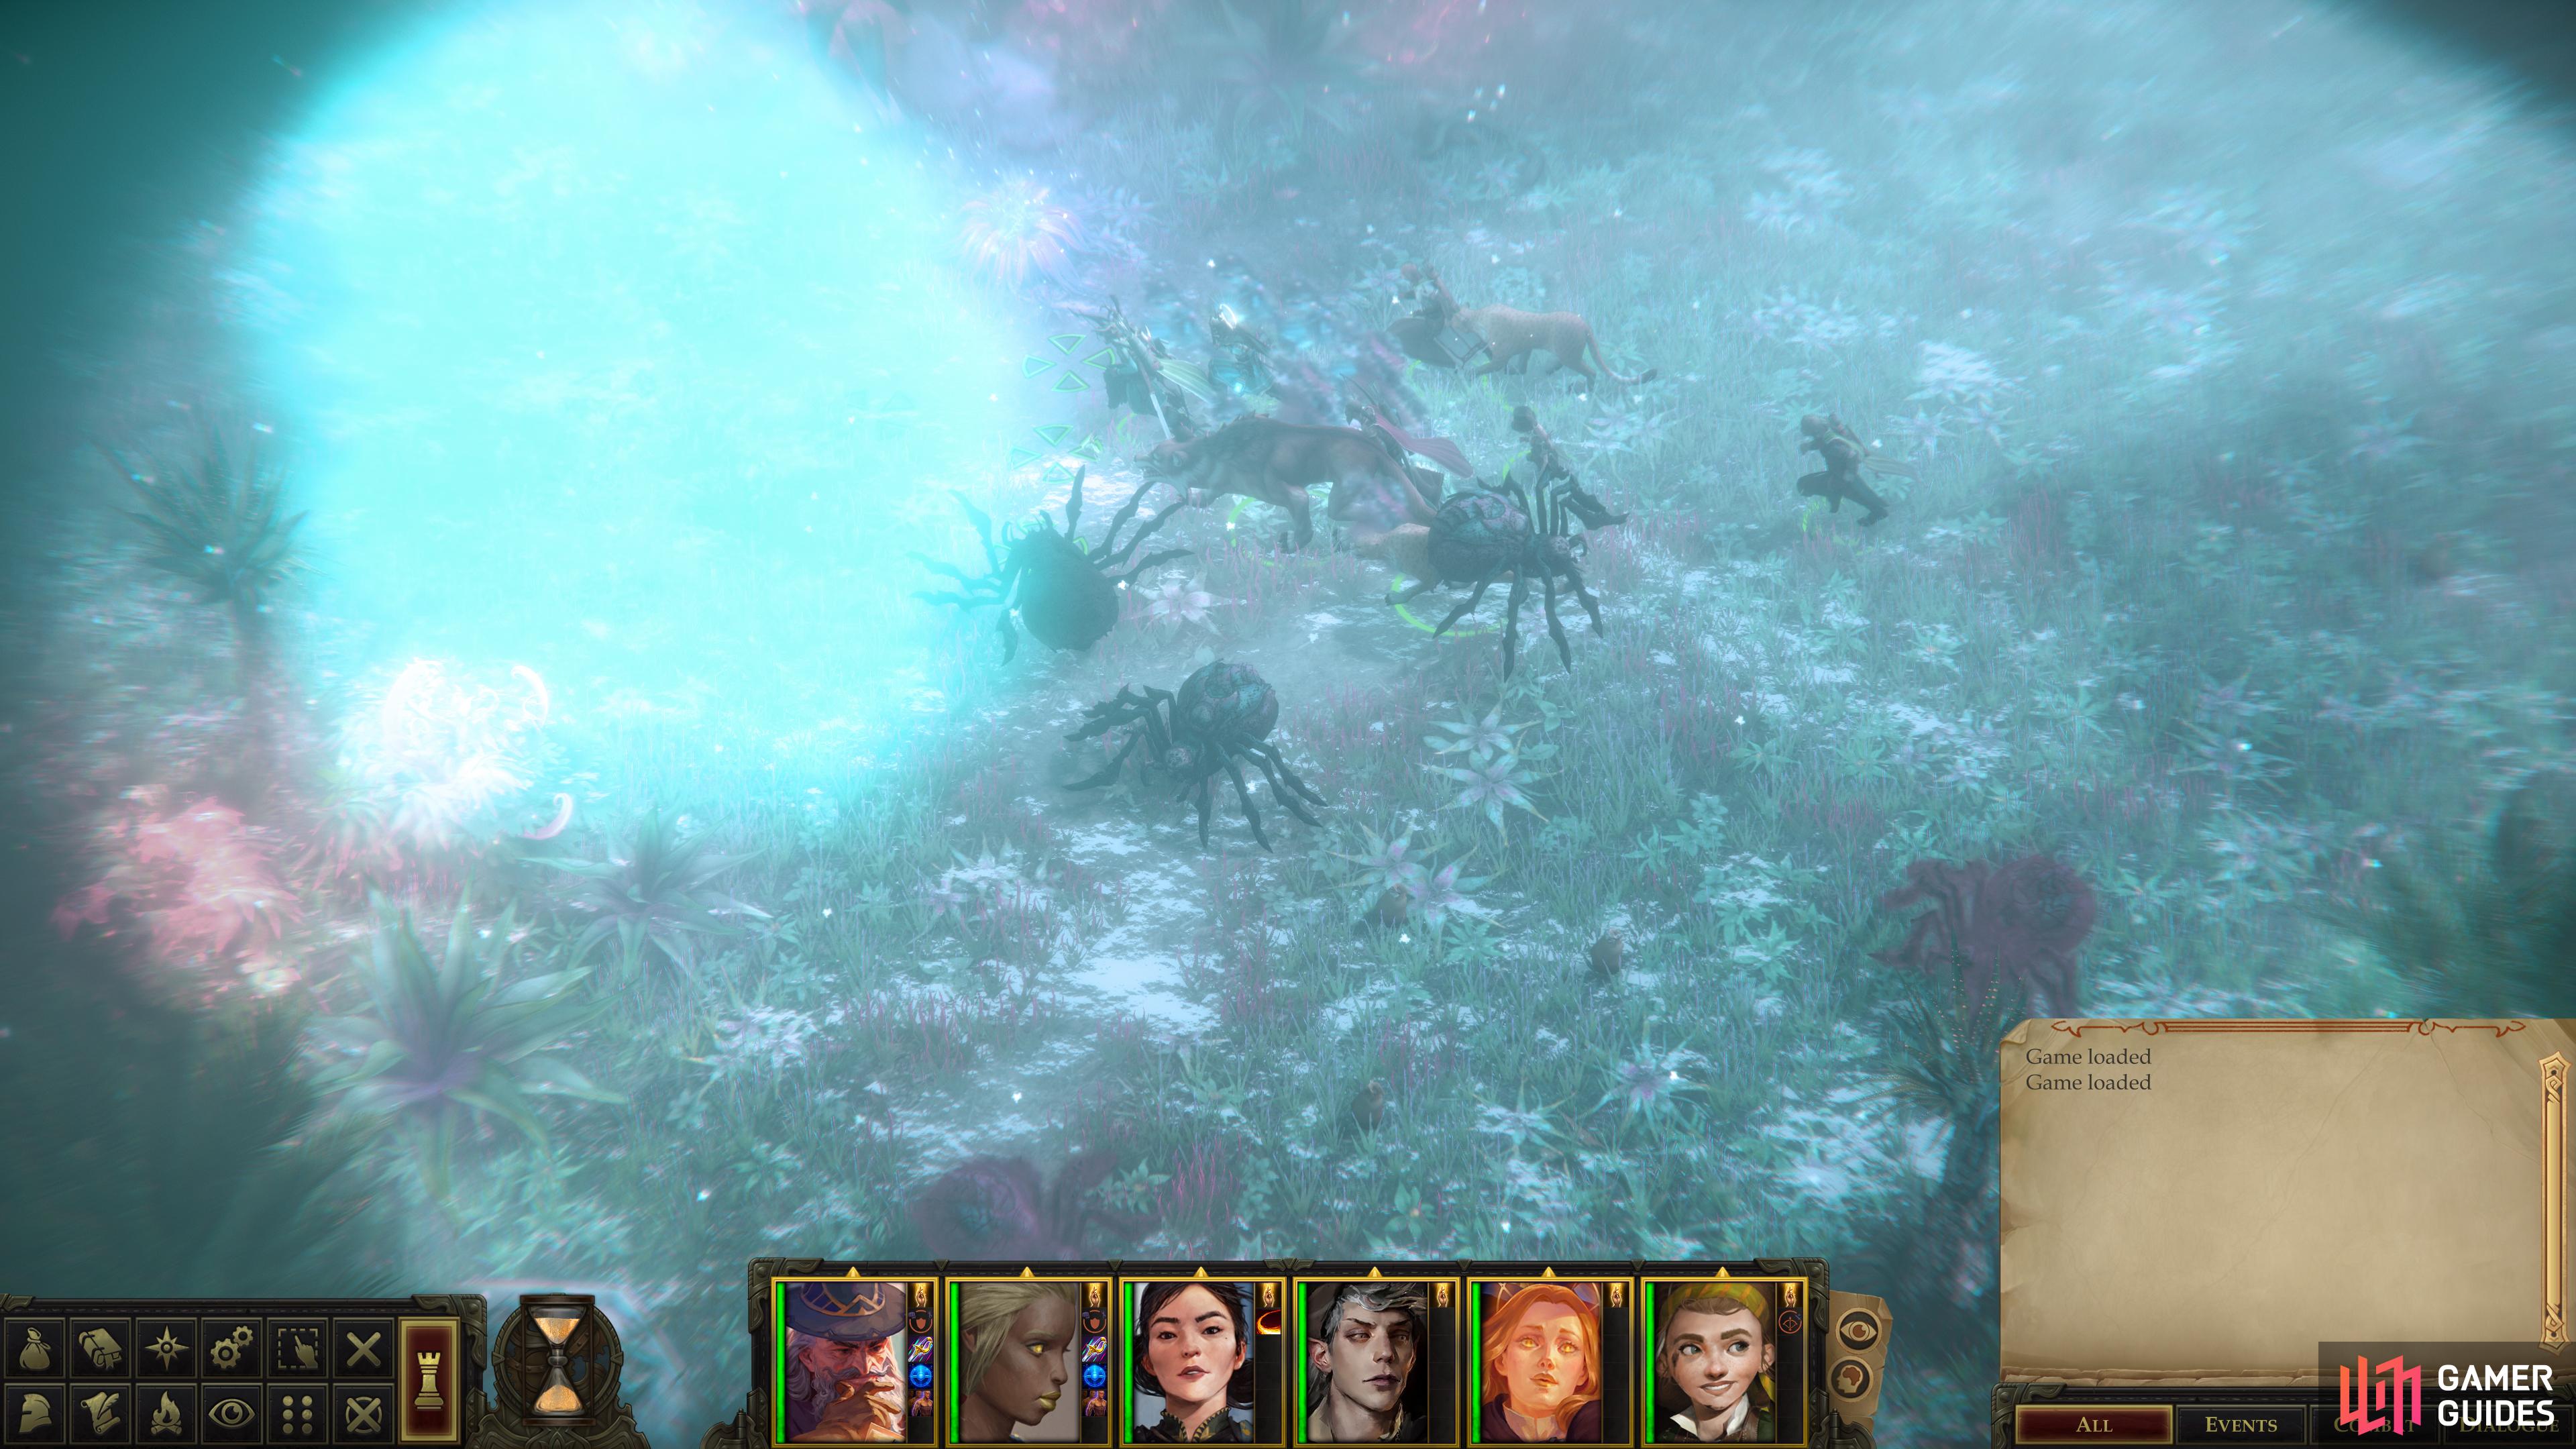
Enter some mist to teleport to another part of the Other World,
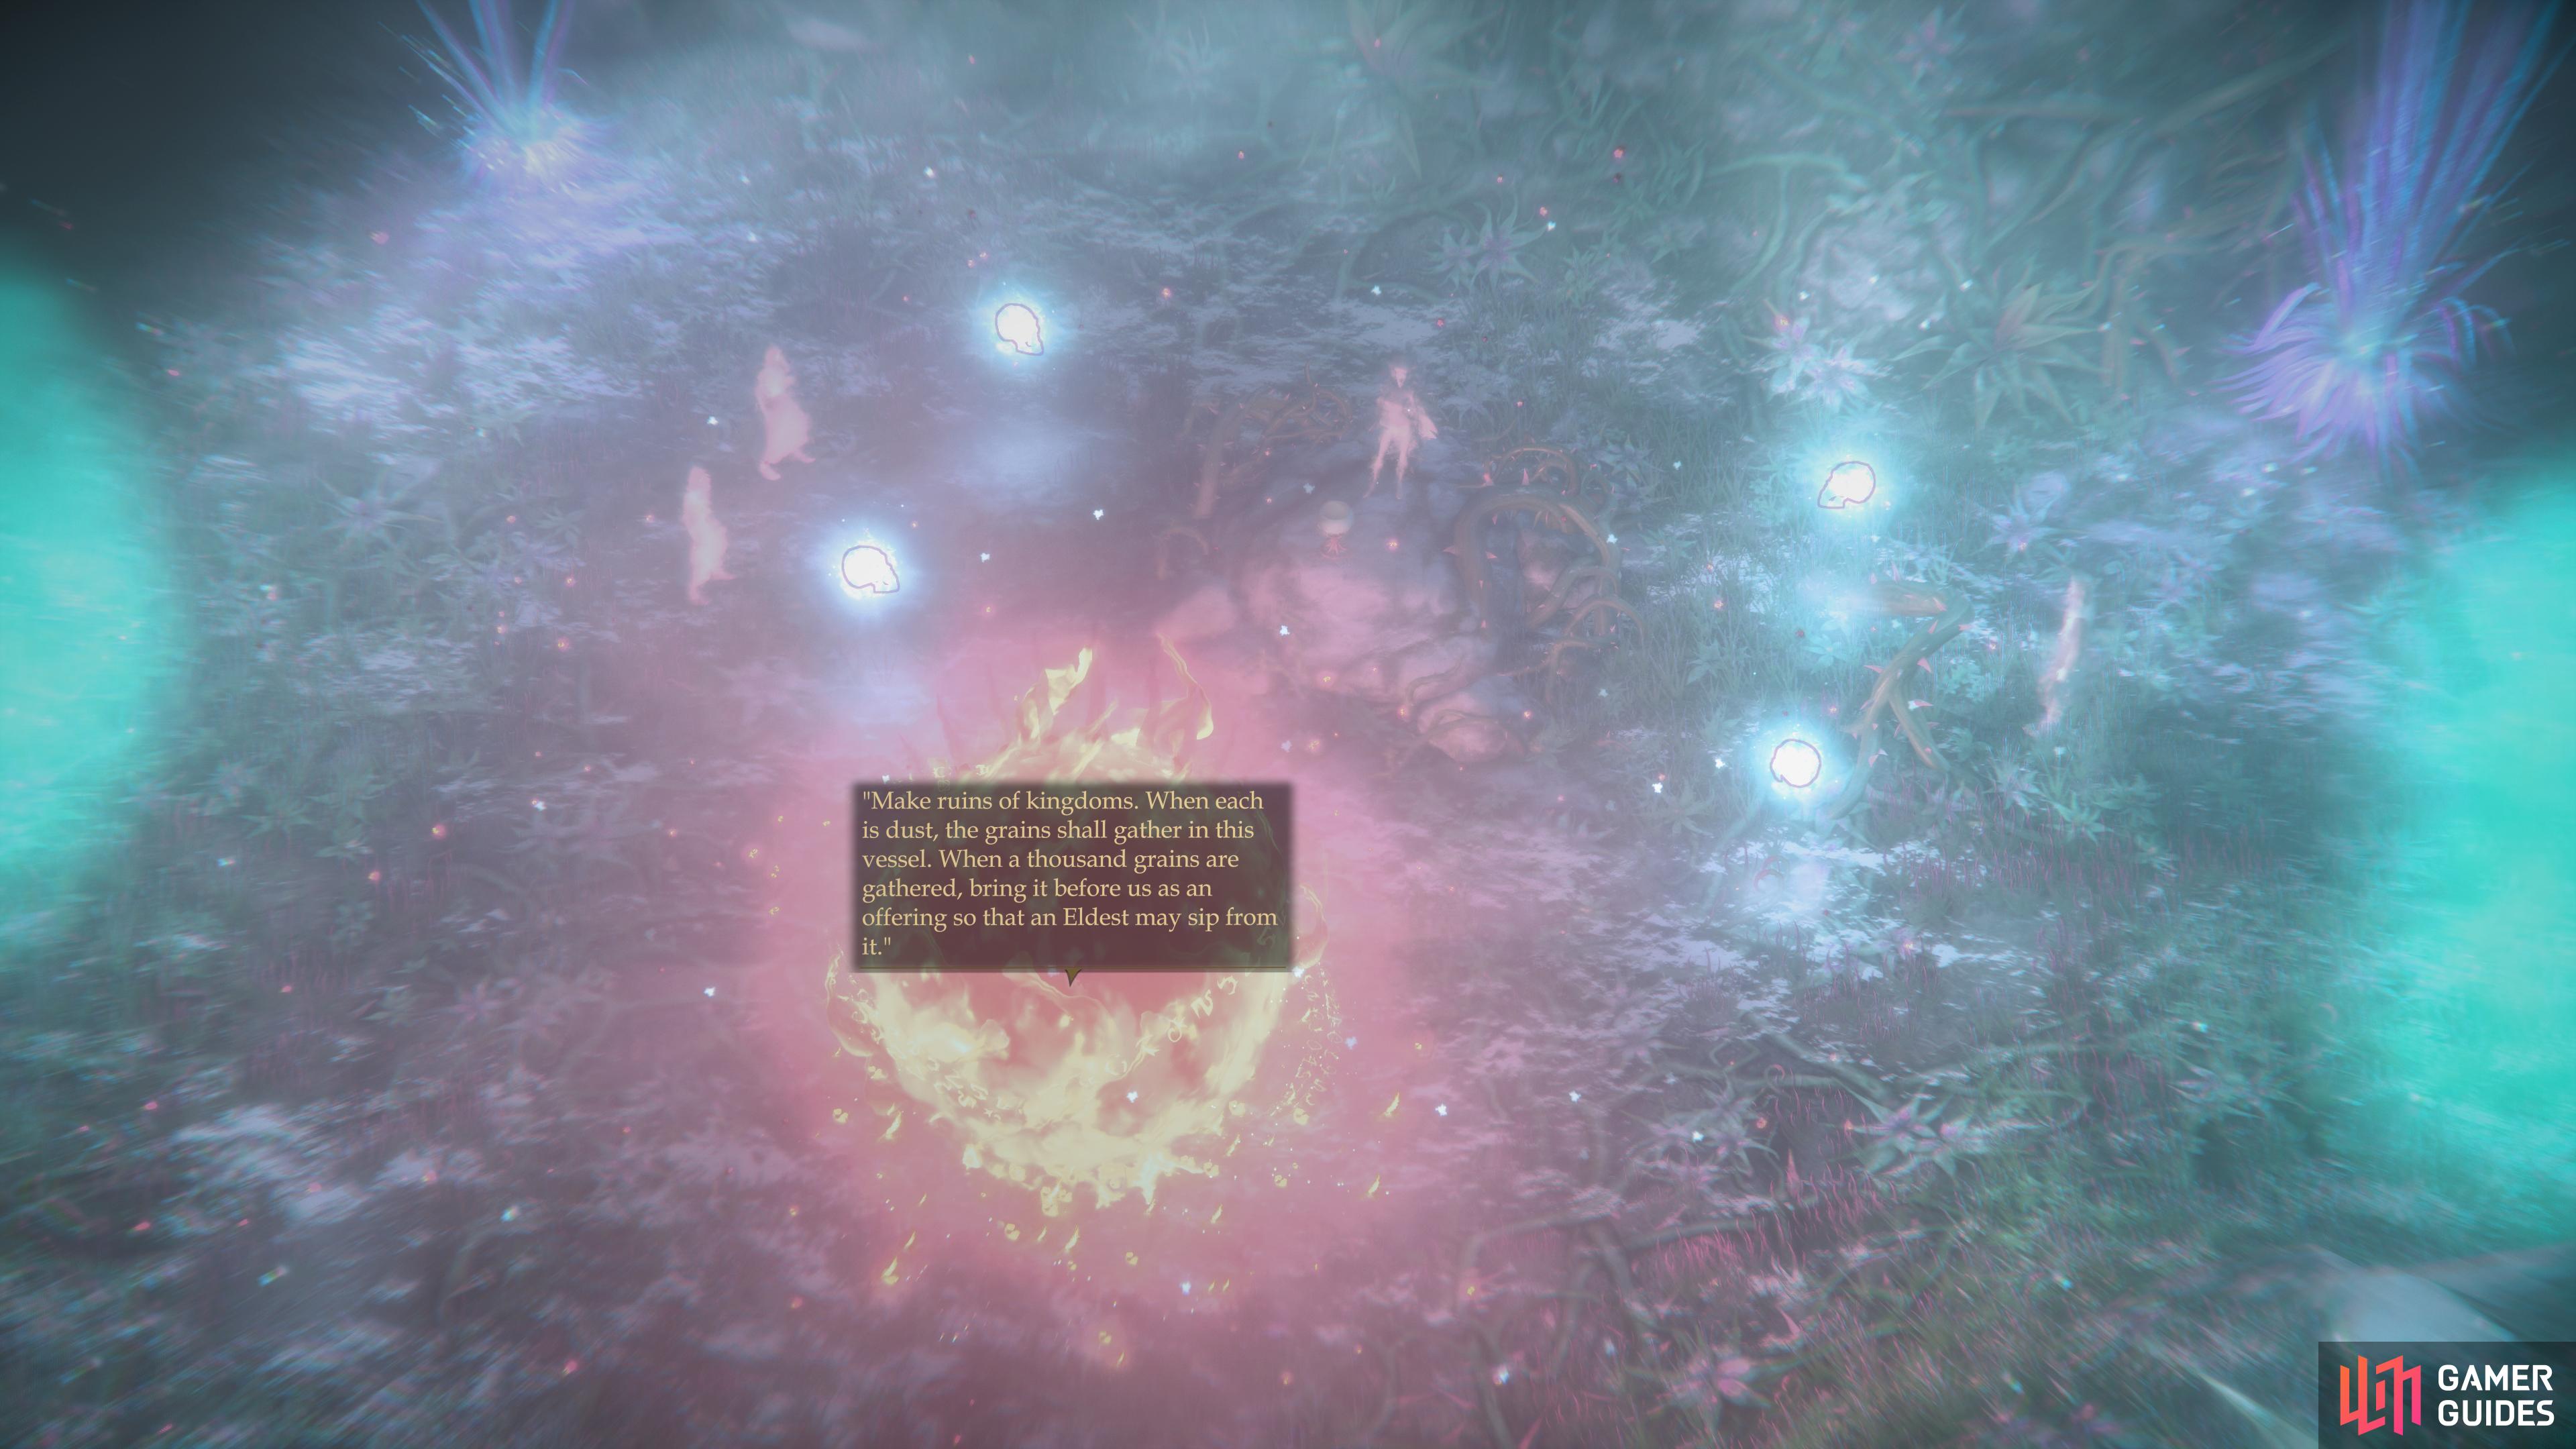
where you’ll witness the Guardian of the Bloom condemned to offer up an “apology”.
A Goddess’s Fall
You’ll appear in another section of the Other World area, where you’ll witness a ghostly image of the Guardian of the Bloom walking through a gauntlet of hostile - and equally ghostly - humanoids. You saw the origin story of the Stag Lord back in the day, now it looks like this nymph is getting her own. Follow her phantom to the north and you’ll be treated to another scene, this time with the Guardian of the Bloom being accosted by a giant flaming orb as some Will-o-Wisps chime in periodically.
She aided you when you sought to topple the Stag Lord, then turned on you and attempted to destroy your barony immediately after you claimed it. While you’ve known for a long time that the Guardian of the Bloom wanted to keep the Stolen Lands lawless and uncivilized, what you didn’t know was how she’d set up - and then toppled - countless rulers and strongmen throughout history. Apparently she’s not working from the understandable motive of defending the natural order of the Stolen Lands, but she’s serving an even more powerful, predatory entity in search of atonement. What this “eldest” entity is and why she needs to atone are a mystery as of yet, but it does suggest that even should you end the threat the Guardian of the Bloom poses to your barony, it may be just the beginning of your troubles.
When the ghostly images vanish, search the oddly-oppressive rock the nymph was standing on, if you wish, and note that something can be placed here. Read the note below for more information, but for now, we don’t need to bother with it.
Instead, turn your attention to the mist portals that adorn this section of the Other World, including one to the east and west of the dais you saw the ghostly nymph on, and two (also to the east and west) along the southern end of the area. It’s all an illusion of choice, however, as the southeastern and southwestern mists will take you back to the previous area and the northern mists both lead to the same area, albeit two different parts of said area.
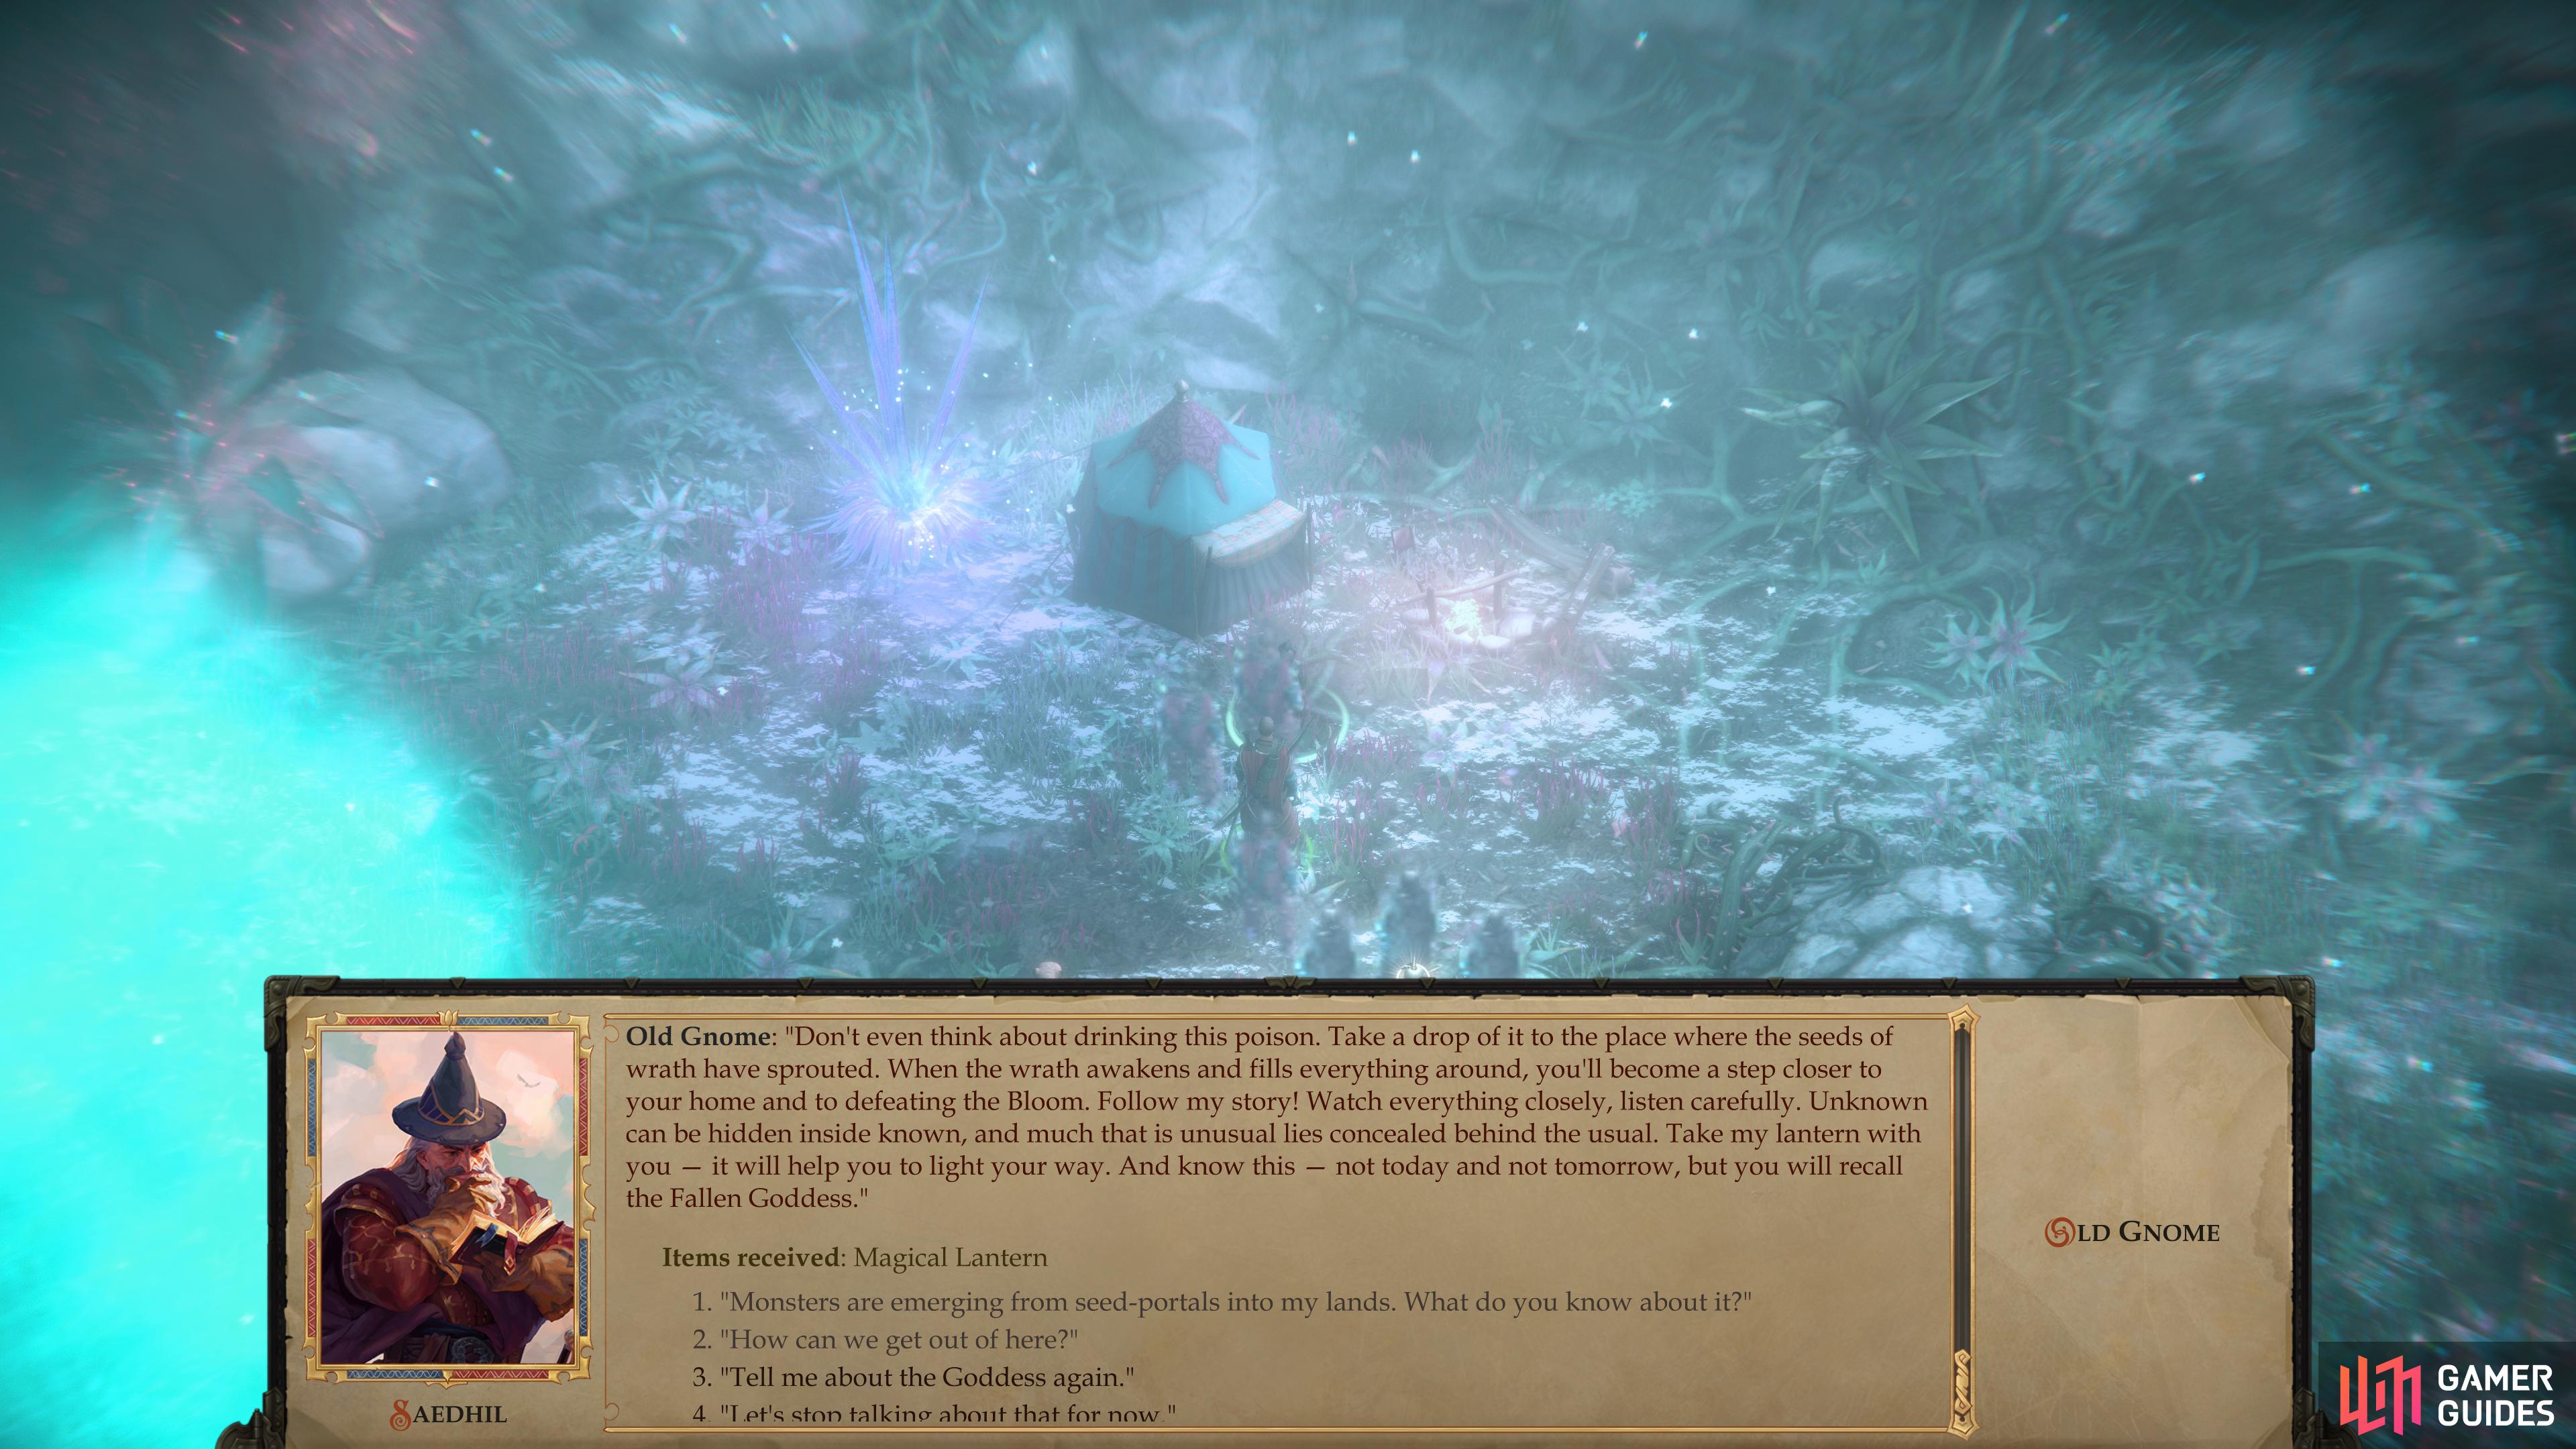
Talk to the Old Gnome and he’ll give you a “Magical Lantern”.
With the Magical Lantern equipped you can pass through the mist without teleporting.
The Old Gnome and the Magical Lantern
Go through either northern mist clouds to arrive at a third section of the Other World, this one being unremarkable save for an Old Gnome, his camp, and another oddly-oppressive rock.
Talk to the Old Gnome and exhaust his dialogue options. He’ll ramble on cryptically about the “Goddess” - presumably the Guardian of the Bloom you’re seeking, and give you vague advice for how to escape this place. More importantly, he’ll give you a Magical Lantern, which can be equipped like any weapon (or in this case, torch). While equipped you’ll be able to safely pass through the mist without being transported along the usual routes, allowing you to explore the Other World more freely. You can also rest at the nearby Hearth, without consuming Camping Supplies and Rations - a very handy boon, indeed!

You can toggle the Magical Lantern on and off via your belt quickslot.
Manticores and Owlbears
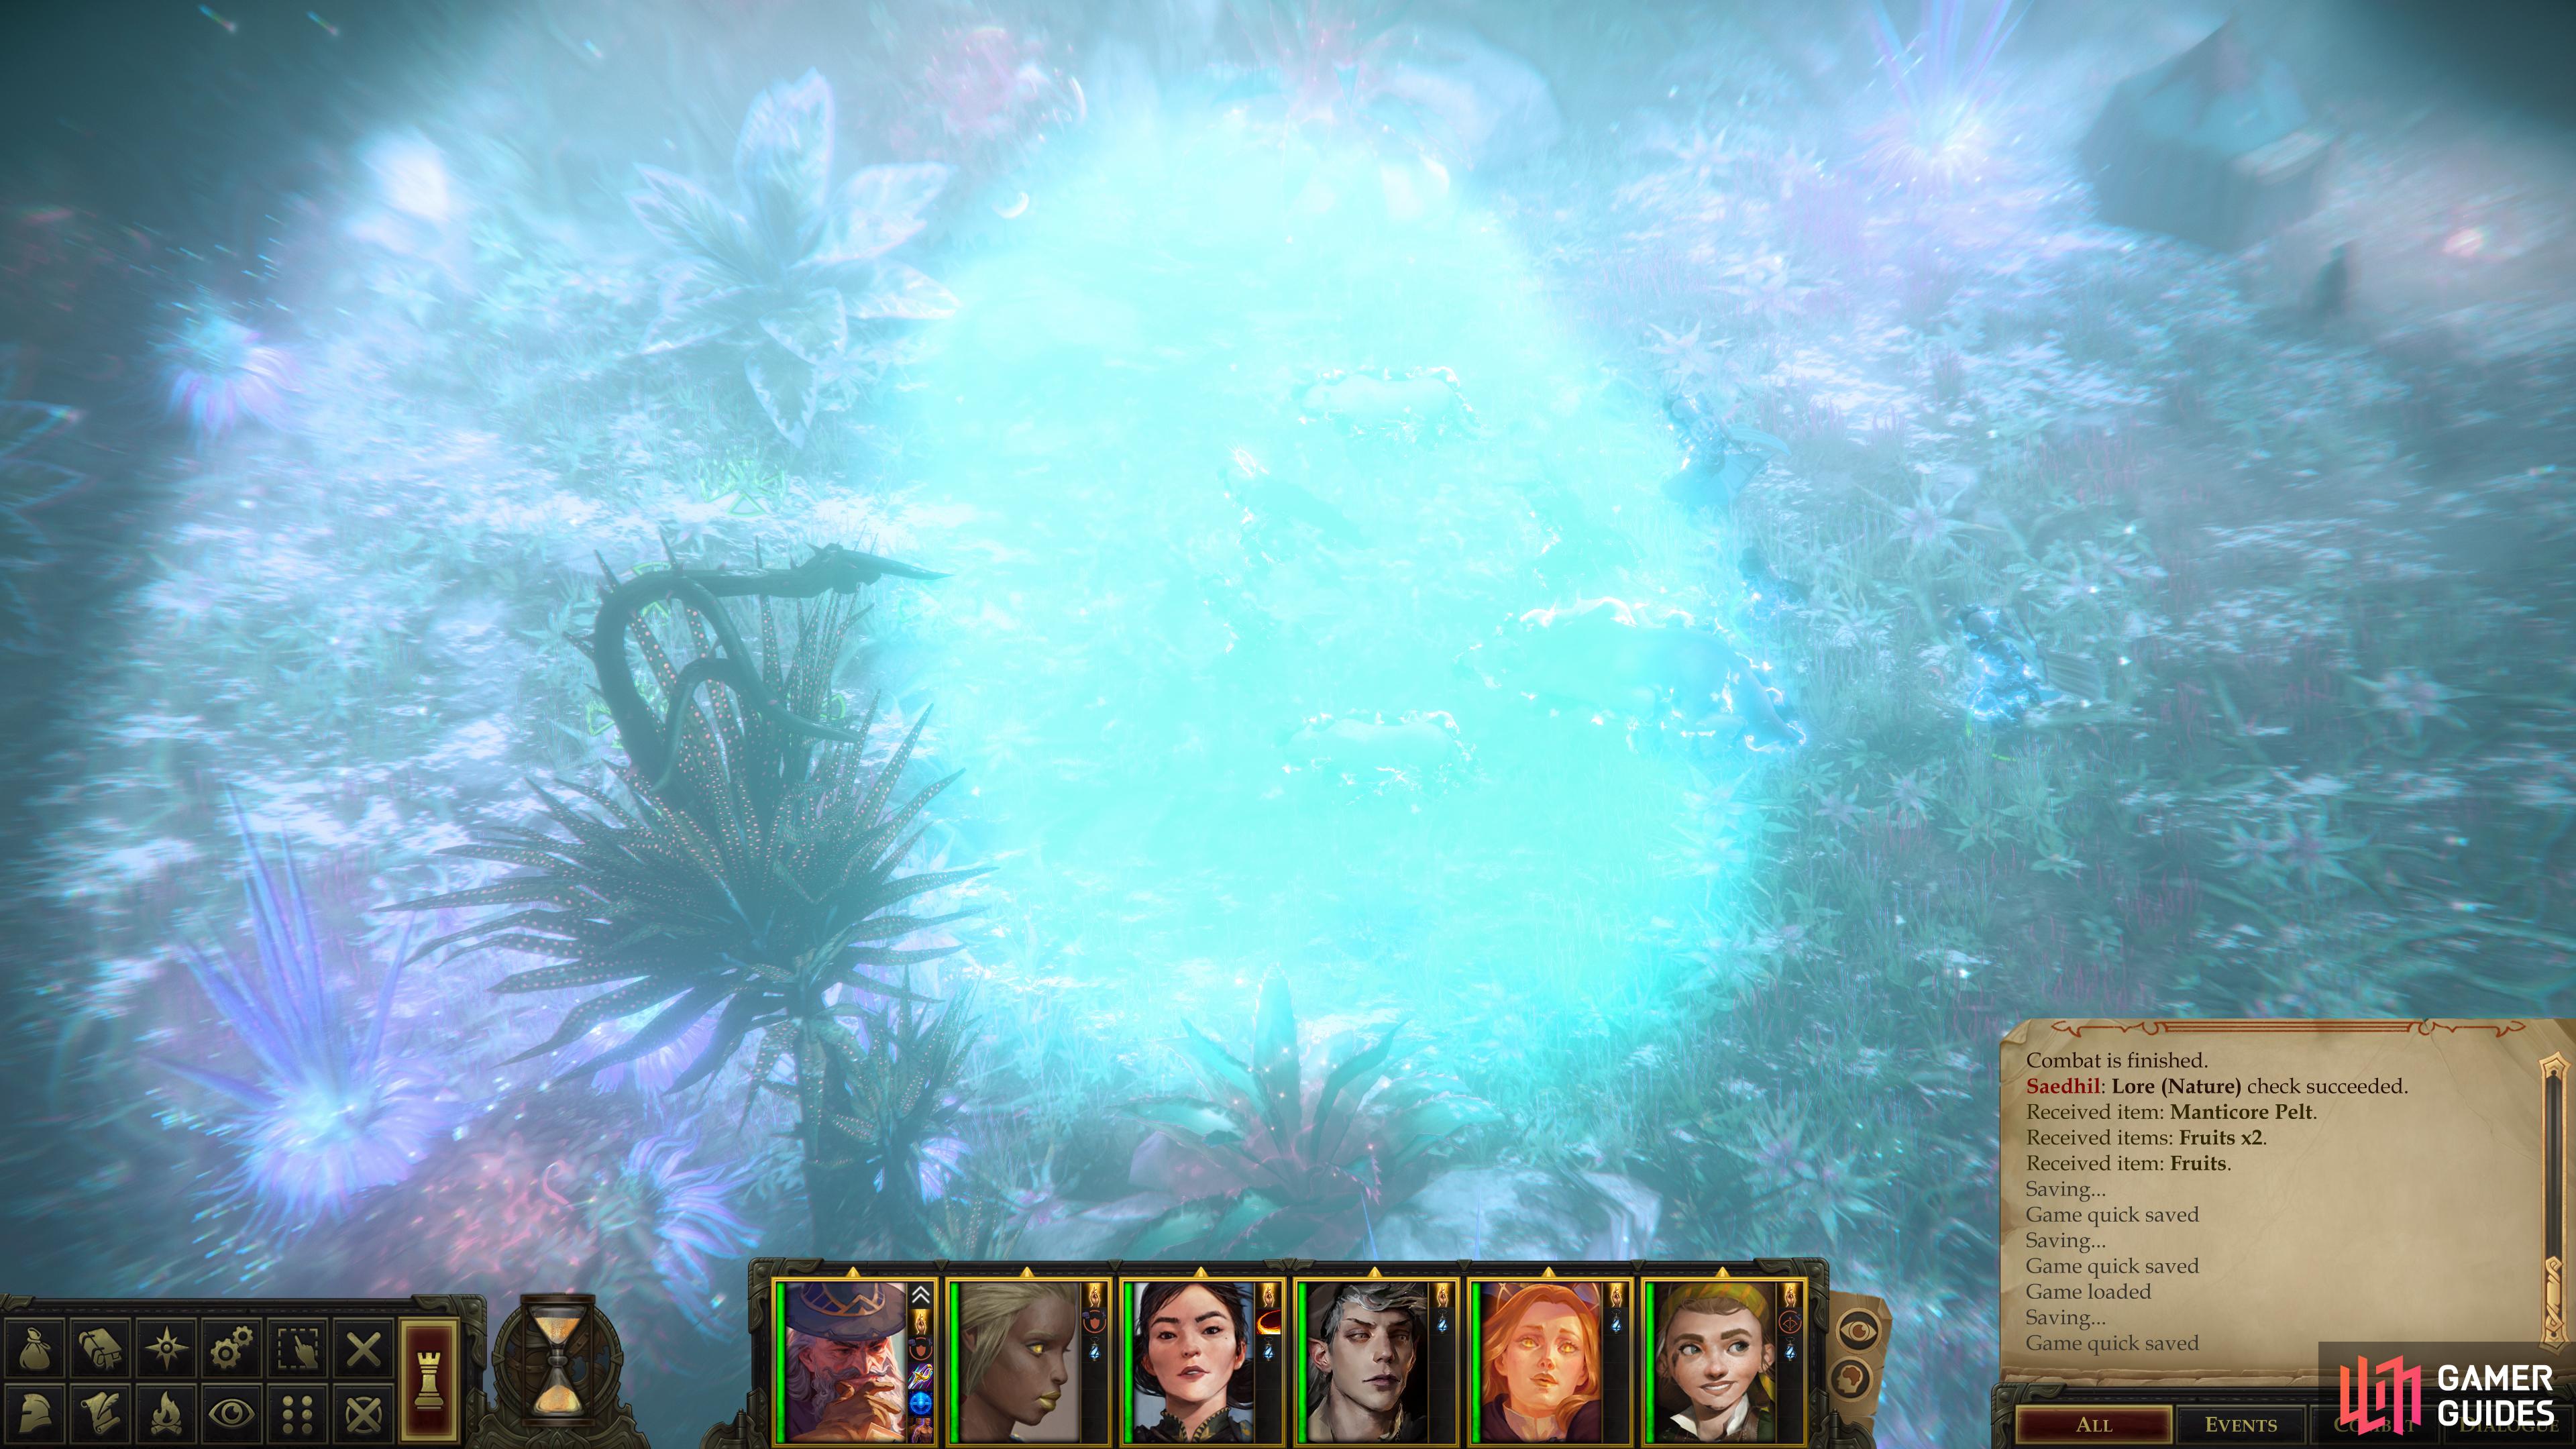
Equip the Magical Lantern and venture through the mist to the east to engage two Poisonous Primal Manticores. These critters are superior to other Manticores you may have faced, but their offense still pales in comparison to the long-running threat standard - an Owlbear. Their Hit Points, Damage Reduction 10/cold iron and magic and concealment will keep them in the fight for a while, but they’re really not all that different from the spiders you’ve been fighting, stat-wise.
Kill the Manticores, then note that if you head south from here you’ll find some mist. If you run into the mist with the Magical Lamp equipped, you’ll find that this is the mist east of the Mysterious Bird. Consequently, if you run into the mist without your Magical Lamp, it’ll teleport you to where you saw the “Goddess” on the dais. Neither option will get you closer to your objective, so don’t bother.
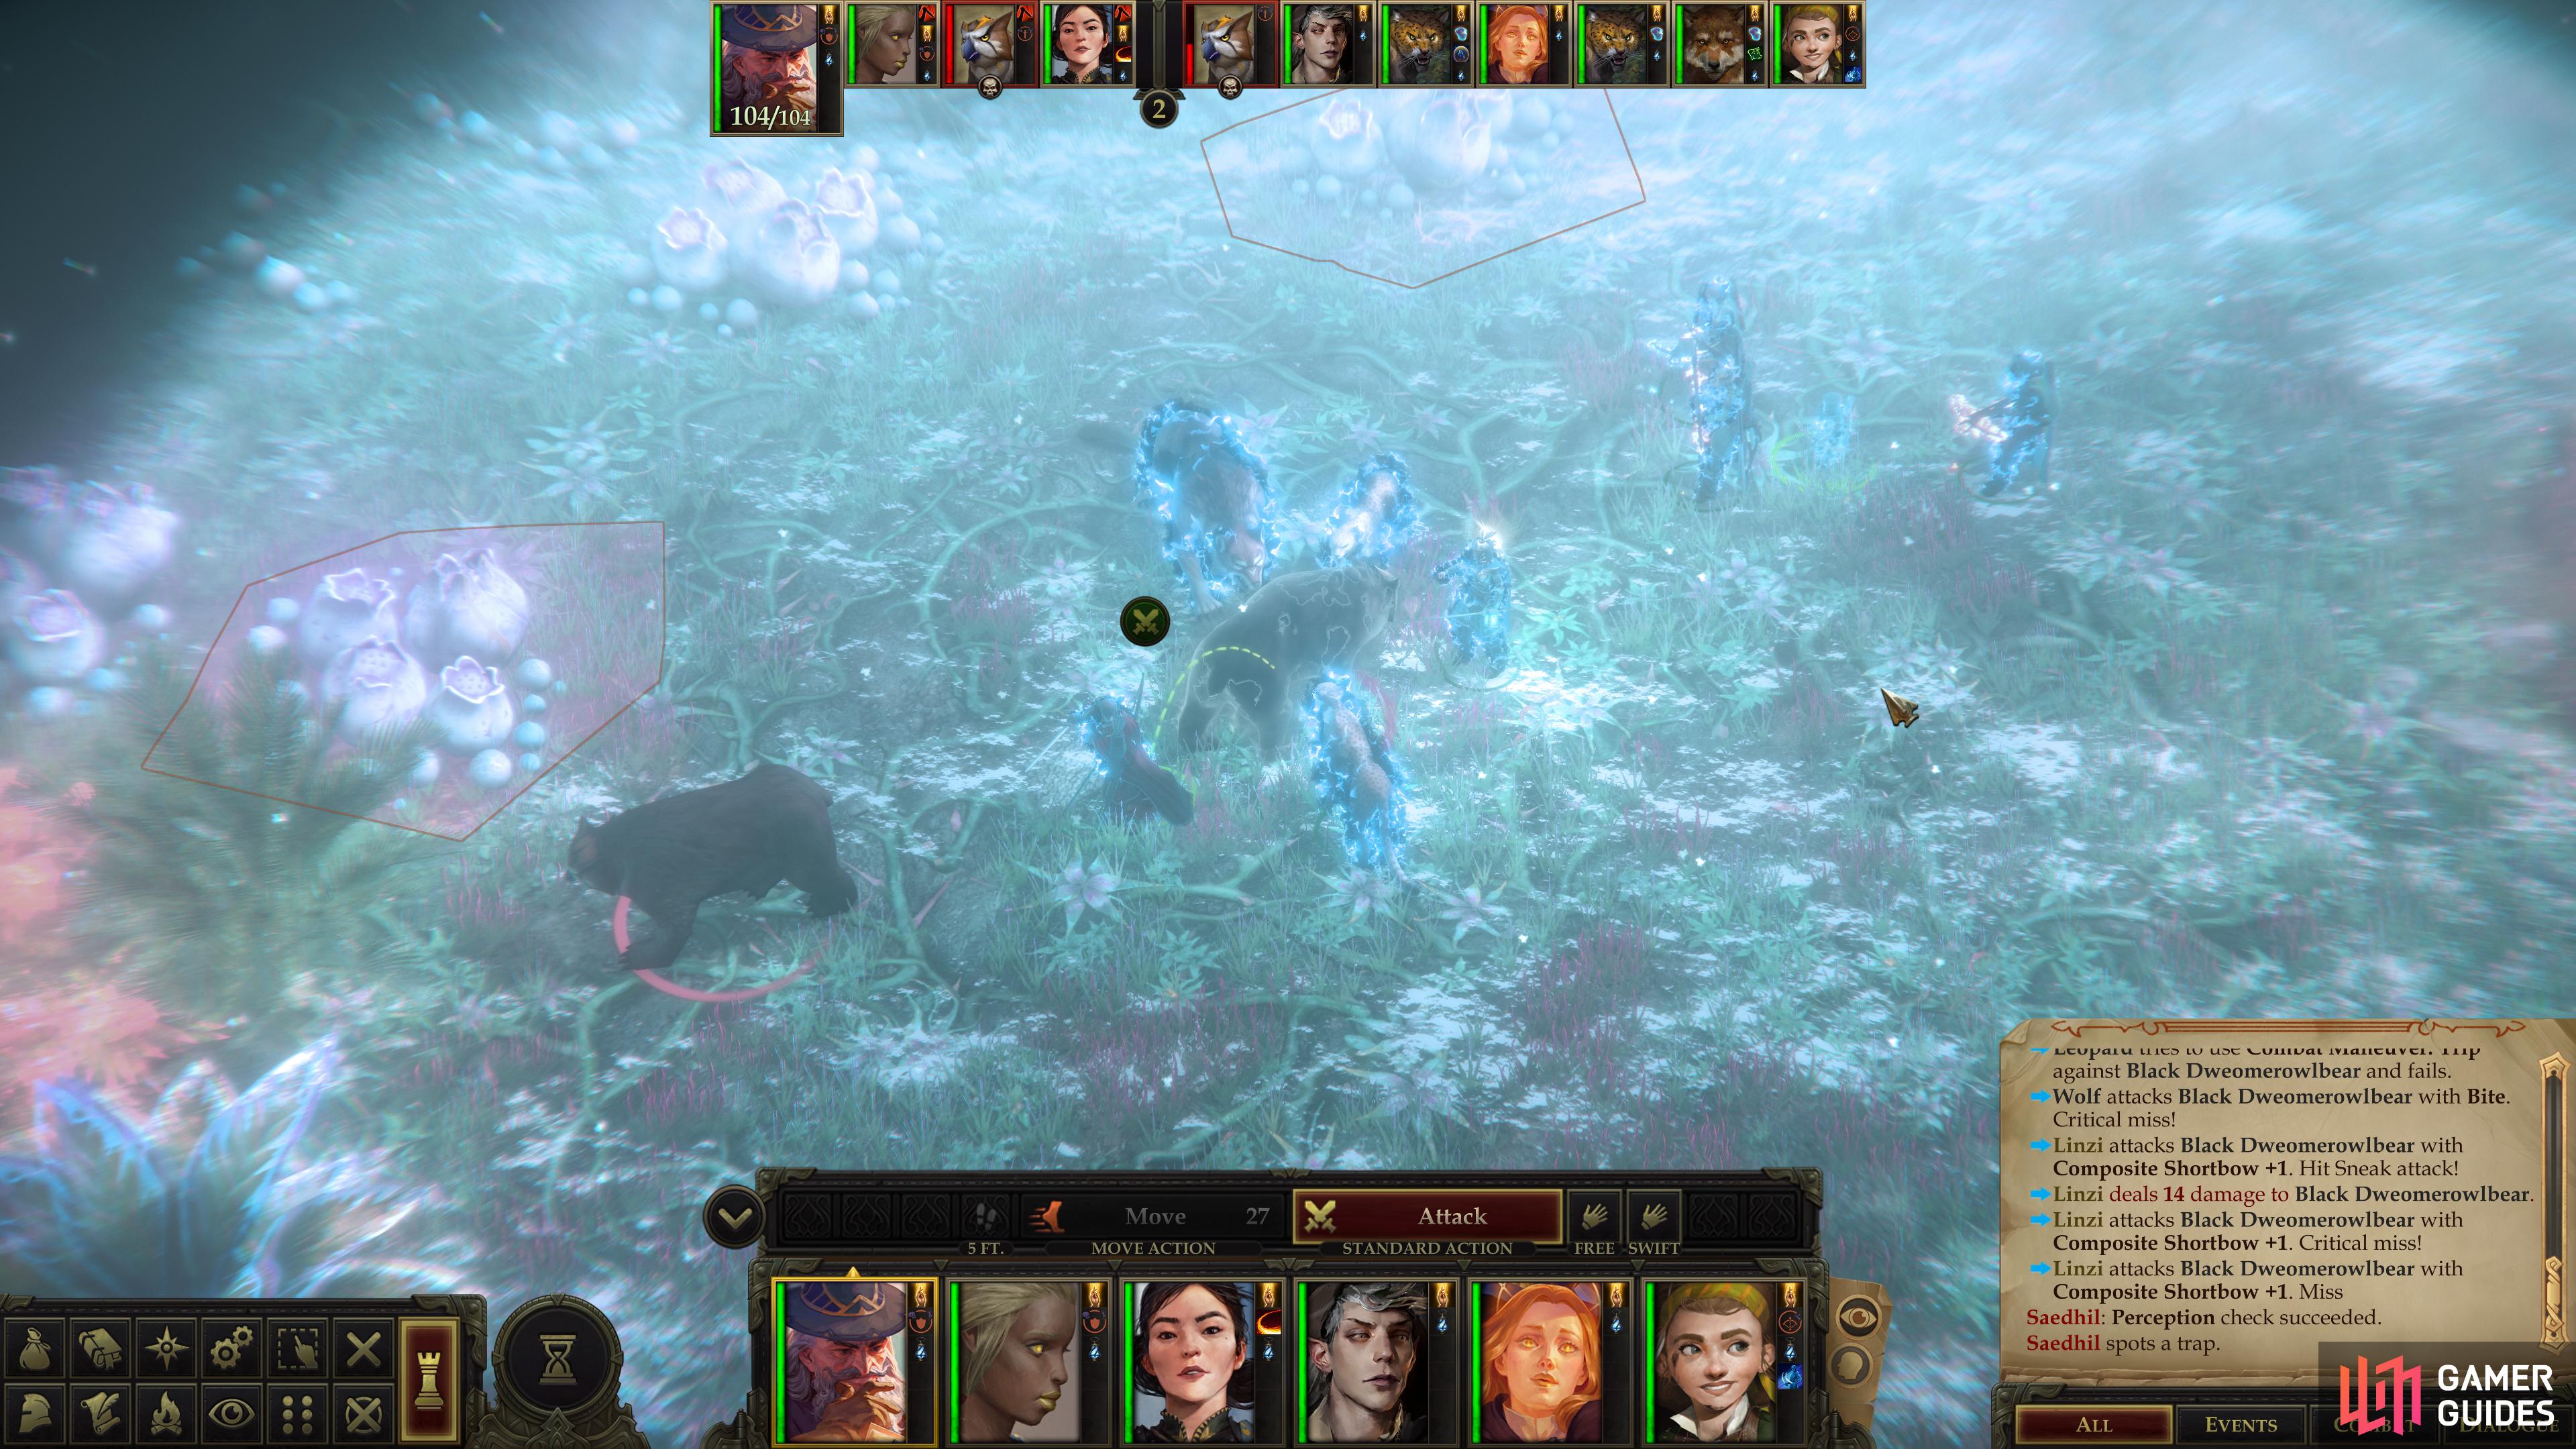
Since there’s nowhere else to go this direction, backtrack to the Old Gnome and go through the mist to the west, then turn southwest to find a Black Dweomerowlbear, which has resistance to cold and electricity 10 and Spell Resistance, but it otherwise isn’t significantly more dangerous than most other owlbears you’ve fought recently. Which is to say it’s a heavy-hitting, durable brute, but your tank should be able to handle it.
Put the beast down, then continue south to witness a phantasm of the “Goddess” lamenting her fate near a pond. After it fades you can interact with the water, if you wish - none of your choices here make a discernible difference.
South of the still pool of bitter water you’ll find two more Owlbears - a Greater Enraged Owlbear and another Black Dweomerowlbear, to be precise. You know what to expect from these things by now, but don’t let familiarity breed contempt - they’re mighty combatants, with the Greater Enraged Owlbear being capable of surpassing just about any Armor Class you can put in front of it with devastating regularity. You’ll need to pair concealment and a high Armor Class (40+) to withstand its attacks for long.
Dispatch a potent pair of owlbears,

then ascend trapshroom hill, painstakingly disabling the trapshrooms and dispersing the swarms that guard them.
Trapshrooms and Quickswarms
Down these two owlbears, then note some mushrooms to the west. These mushrooms function like traps [Perception 25] [Trickery 25] and will deal 10d6 cold damage if you trigger them. If that’s not tedious enough, around half of the mushroom traps will also spawn Quickspider Swarms, turning the upcoming area into an utter slog. Loot some Owlbear Eggs south of where you killed the last two owlbears, then hit your party with Delay Poison, Communal and pass around weapons that deal elemental damage before making your way west, disarming mushroom traps and dispersing swarms as you work your way clockwise uphill.
When you reach the top of the hill, heal up, rebuff, then continue north to get another scene with the Guardian of the Bloom and a person she calls “Skylark”, the latter of which tries to reason with the nymph. Alas, to no avail, to your barony’s misfortune; his concerns are not shared by the Guardian of the Bloom, however, who has no use for inconvenient morality.
Continue north after the ghostly figures vanish and lead with your tanks. You may see some spiders in the distance, but as usual, there’s more bugs lurking about than are readily apparent. Sure enough, as you approach you’ll be ambushed, as a handful of Doomspiders will appear and join the two Primal Giant Spiders that served as bait.
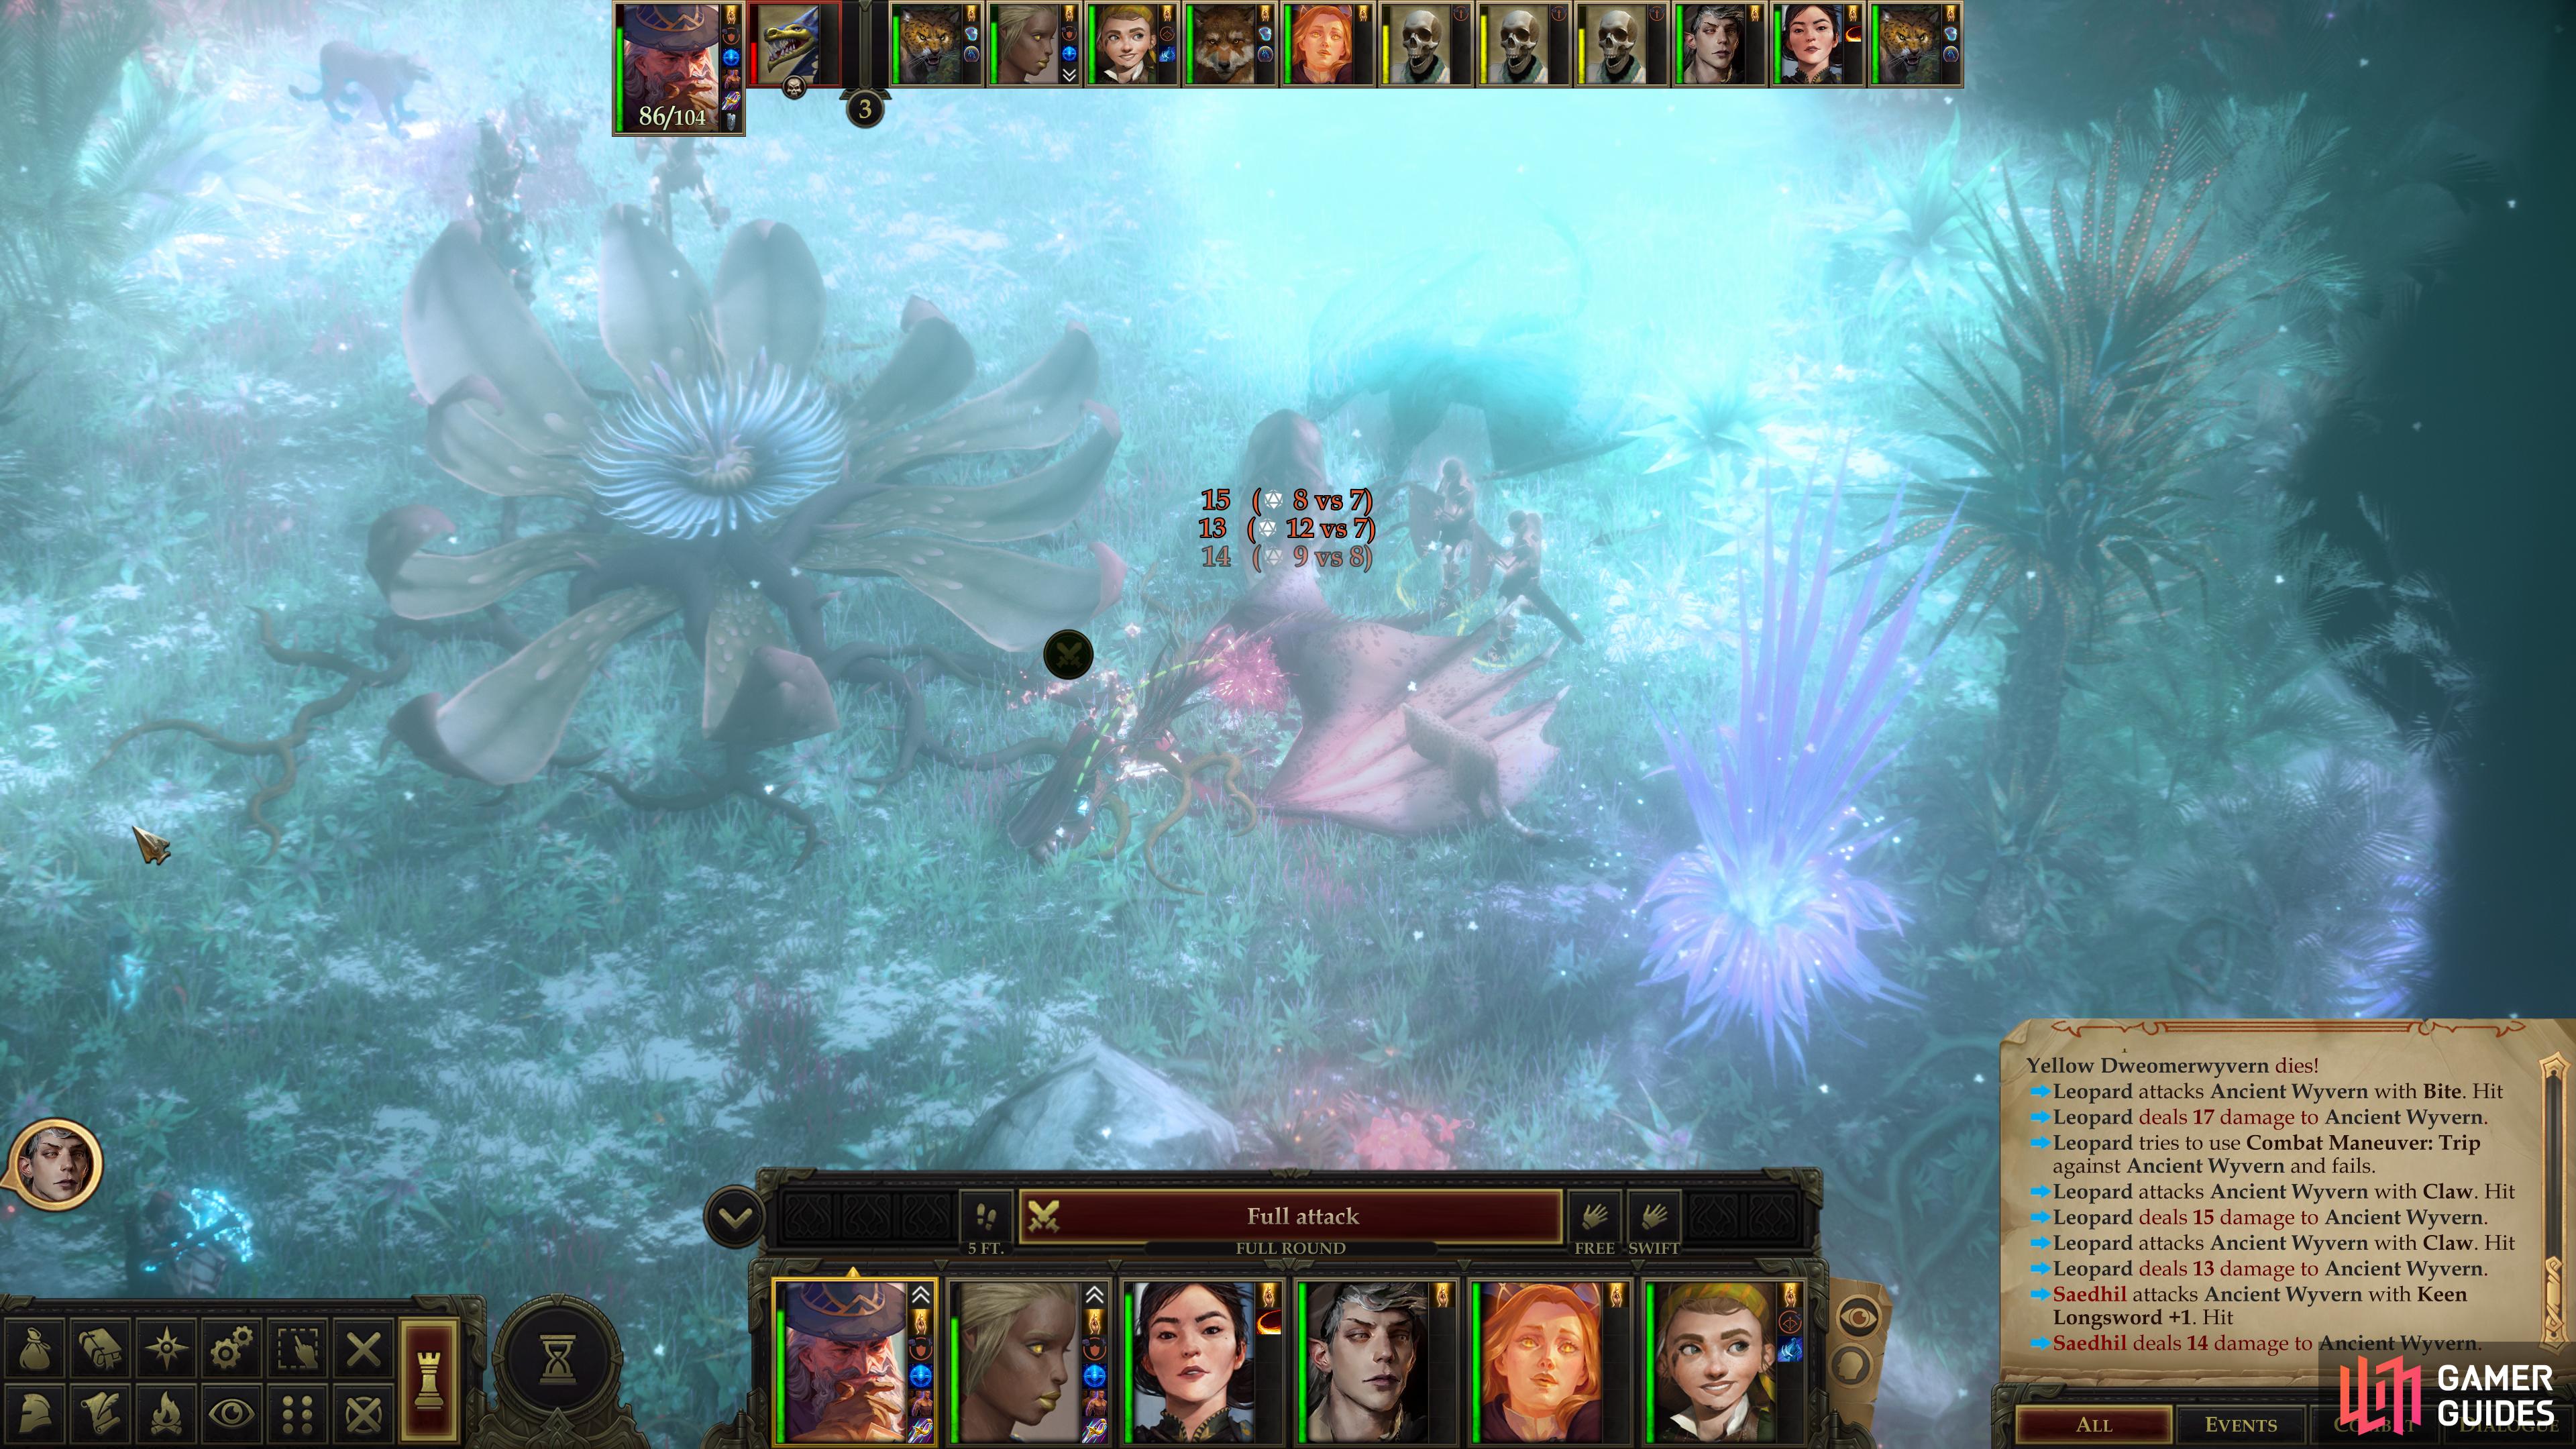
Defeat a trio of wyverns,
then attempt to destroy the Everblooming Flower.
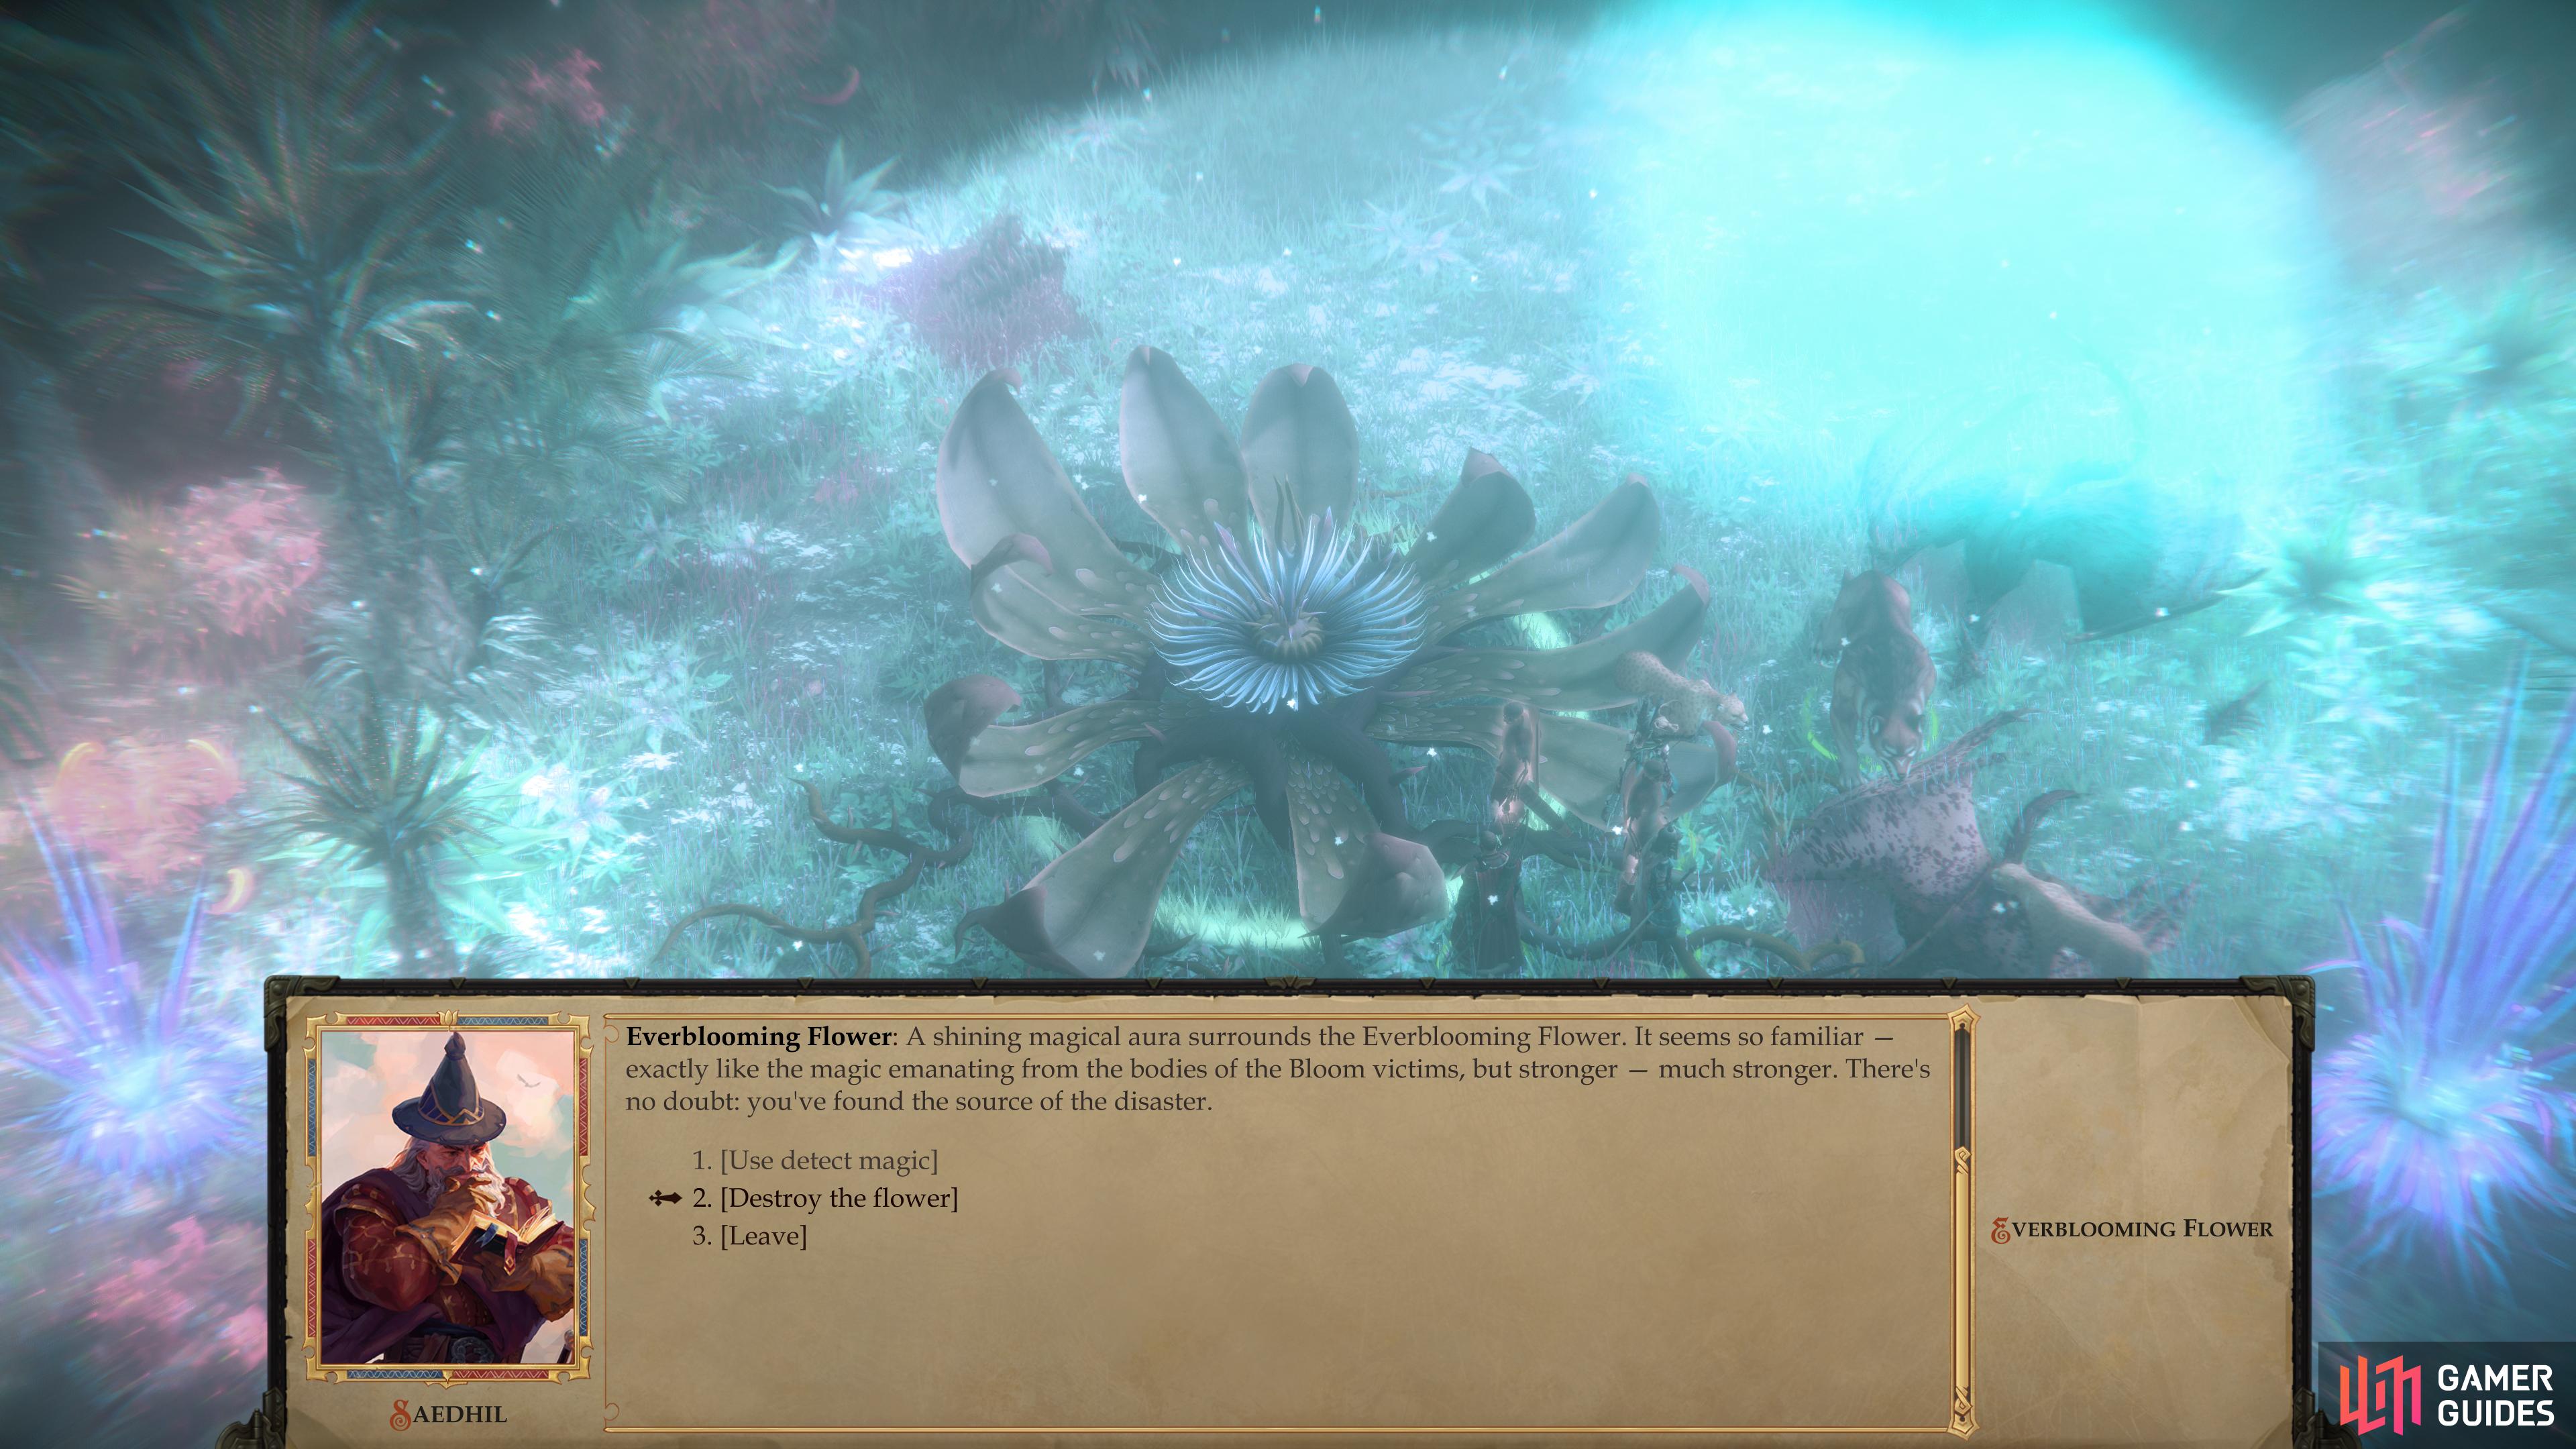
The Everblooming Flower
Vanquish the spiders and beyond them you’ll find another cloud of mist. This time, do not equip the Magical Lantern and pass through the mist to emerge at a clearing where the Everbloom Flower grows. It’s not alone, however, being protected by three wyverns - an Ancient Wyvern, a Yellow Dweomerwyvern, and a Red Dweomerwyvern. The Red Dweomerwyvern can irregularly use Burning Arc while the Ancient Wyvern has unusually high stats (for a wyvern). The Ancient Wyvern is probably the greatest threat here, but all wyverns get enough attacks in a round that something is likely to slip past your defenses. Still, their damage output is nowhere near that of the owlbears you dispatched earlier, so you shouldn’t have much trouble putting them down.
After the wyverns are slain, interact with the “Everblooming Flower” and choose to [Destroy the flower]. Alas, such primitive methods aren’t sufficient to eradicate this menace, as the flower will simply grow back! Looks like you’ve got more work to do.
No Comments