
Talk to Gatekeeper Quoggy
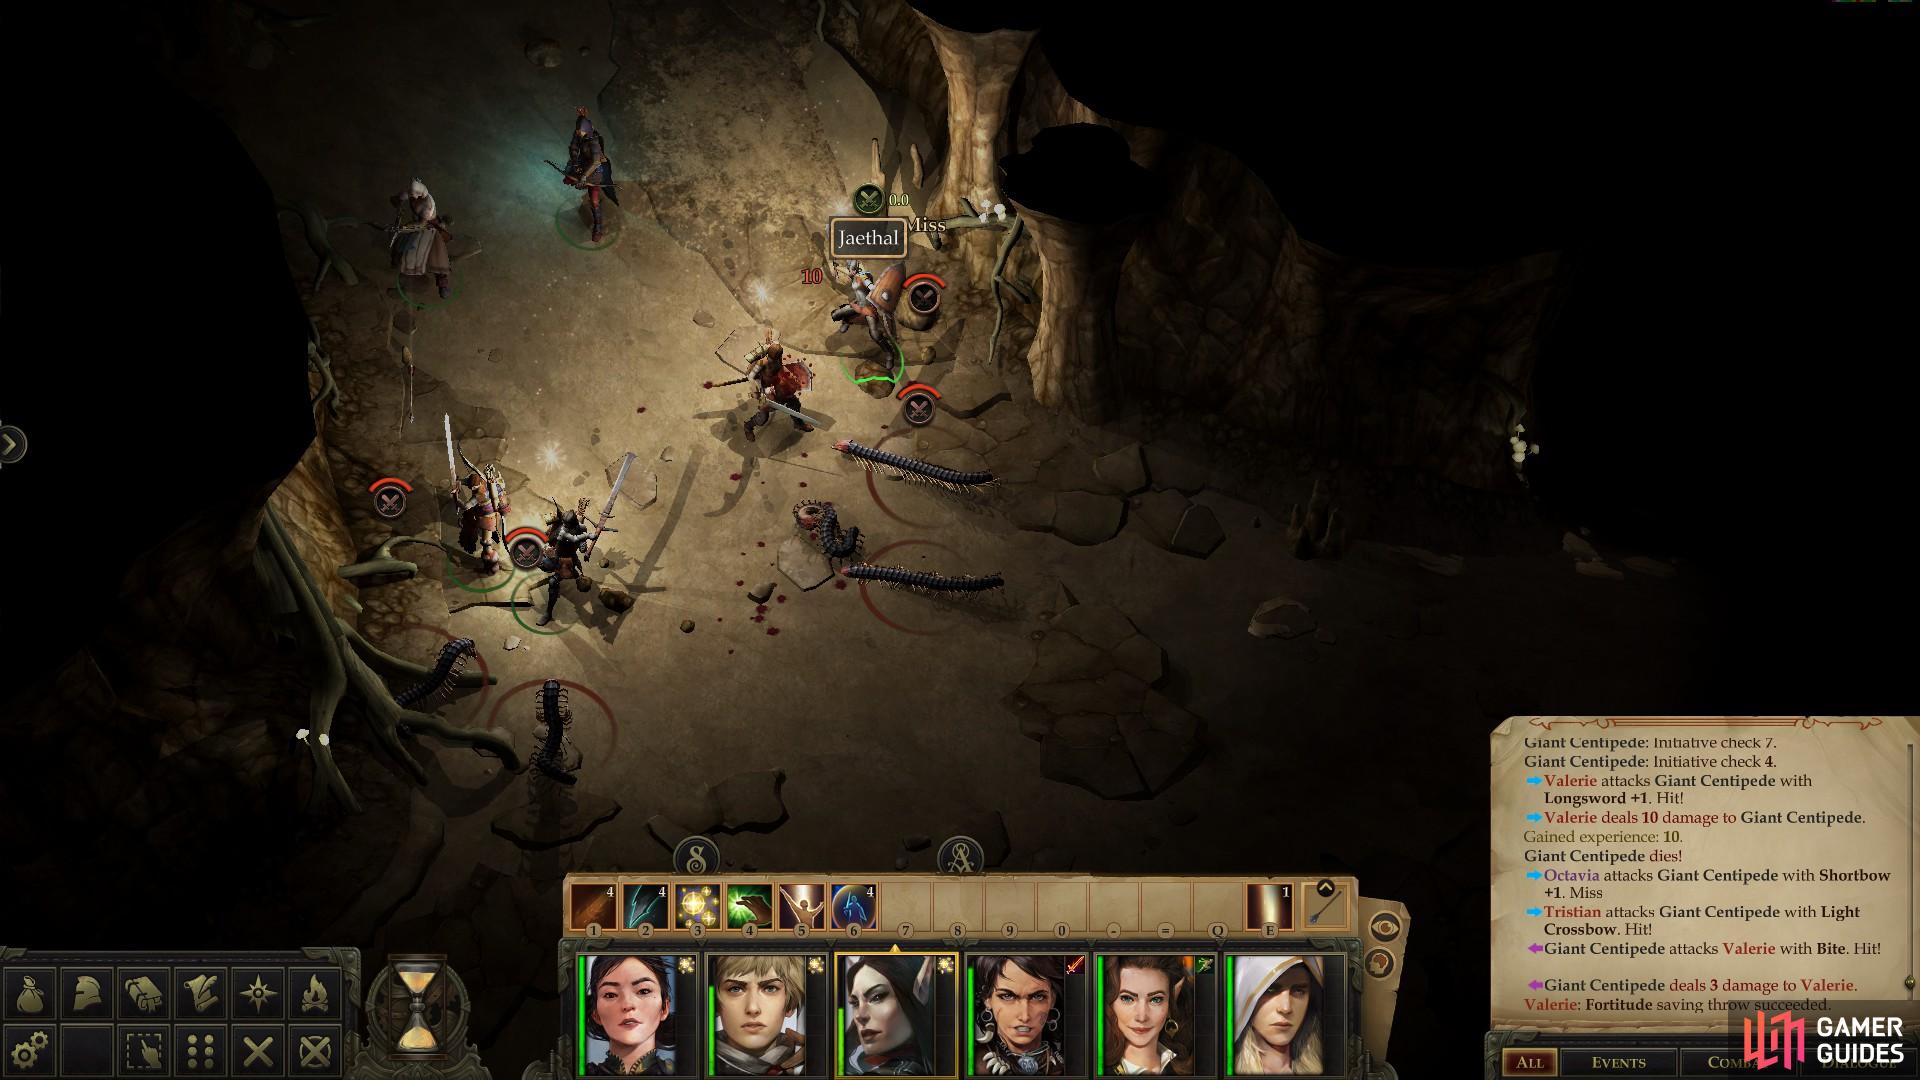
If necessary, fight your way through the Mites surrounding the cave under the old sycamore, setting the tone for the rest of your exploration of the future area. Once underground you’ll immediately be presented with a fork. Ignore the route east and head south first to encounter a group of Giant Centipedes, which, along with Mites are your only potential enemies in this section of the caves.
Clear out the first wave of Giant Centipedes and continue on until you reach another fork. The path to the northeast links with the path you ignored earlier as, in fact, the first fork was created by a column of roots. Head northeast and you’ll find some docile Giant Centipedes, which are apparently the pets of the Mites, although not all of them are quite as well-trained as others.
Speak to a Mite here named Gatekeeper Quoggy and pick the dialogue options “What lies ahead?” followed by “How do I get to this broken passage?” to start the quest Mandible Jewelry. Apparently the Kobolds and Mites both sealed off a communal passage when hostilities started, leaving some treasure behind in the process. If you acquire a particular giant bug’s mandible and bring it back to Gatekeeper Quoggy she’ll give you a lever to allow you to lower the bridge leading to this treasure-filled no-man’s-land. Something to keep in mind as you explore.
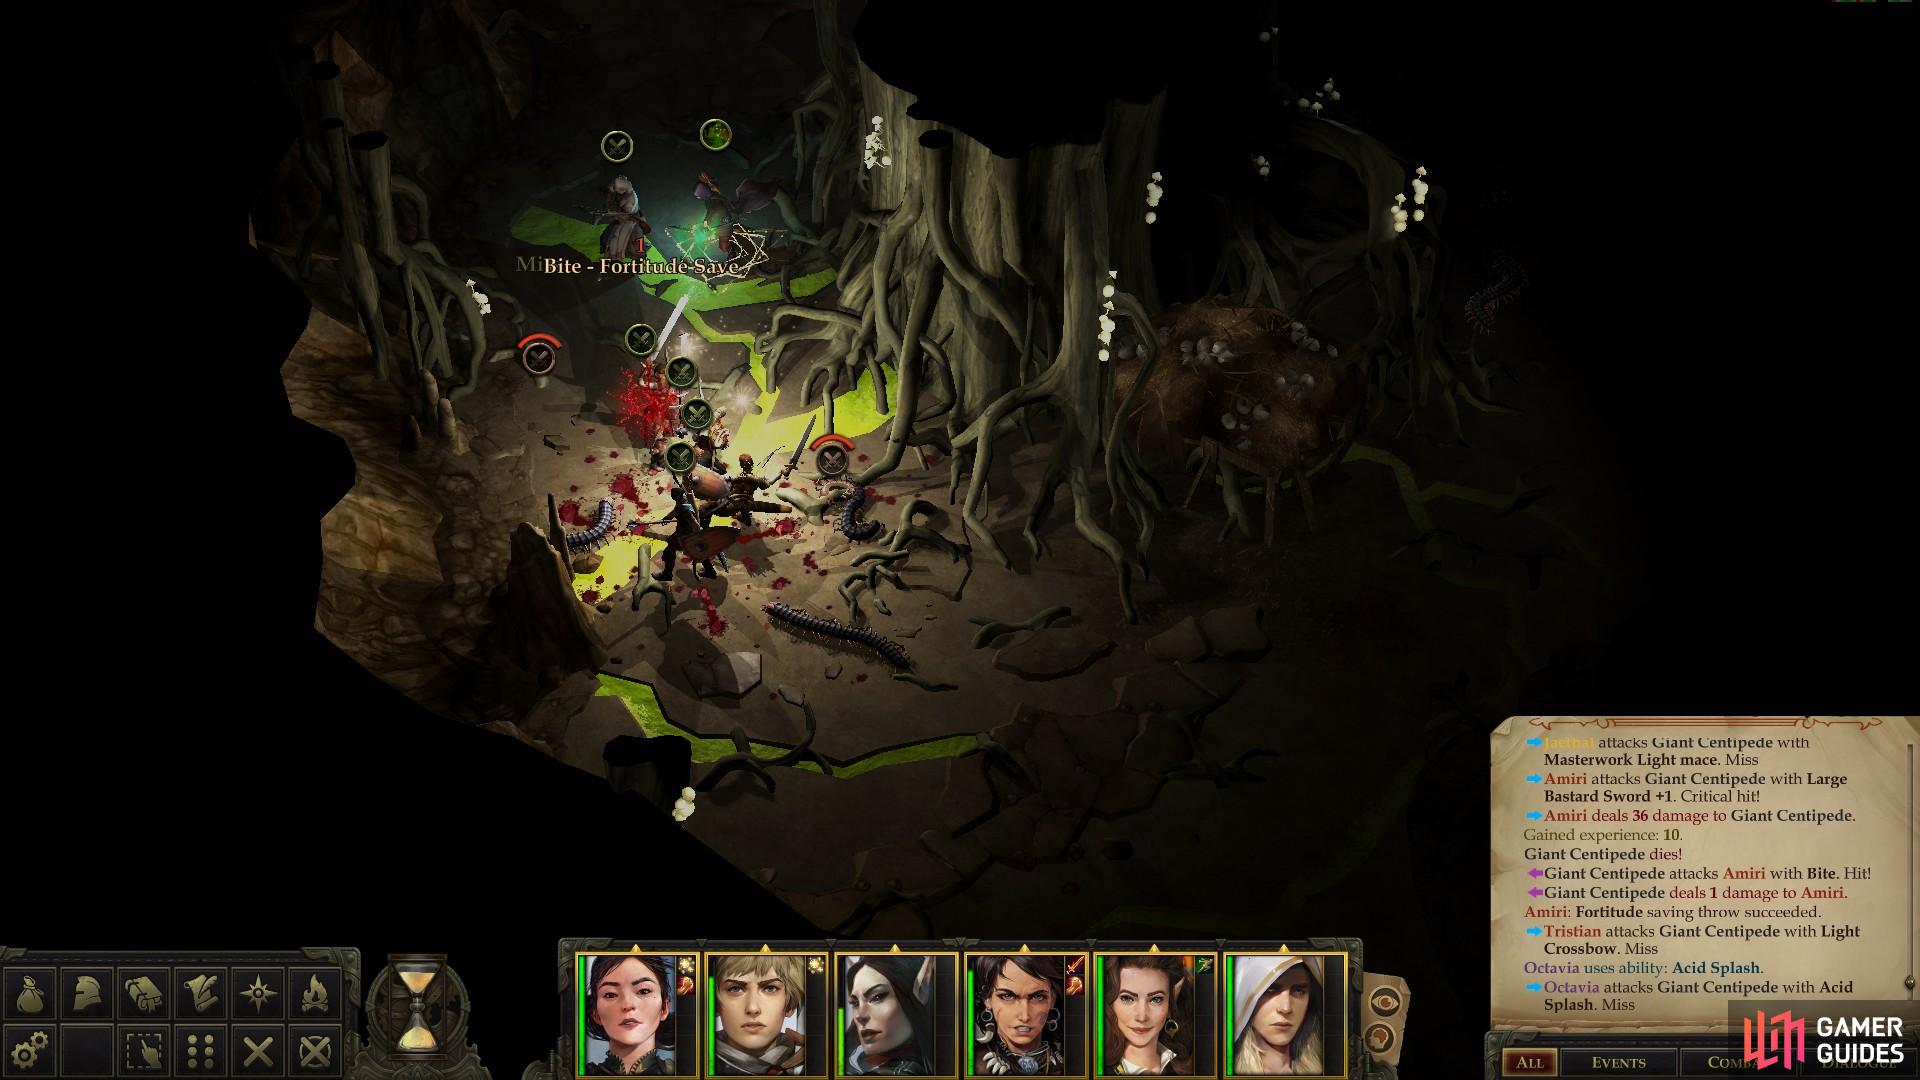
Along with Mites, the northern section of the caves is filled with Giant Centipedes
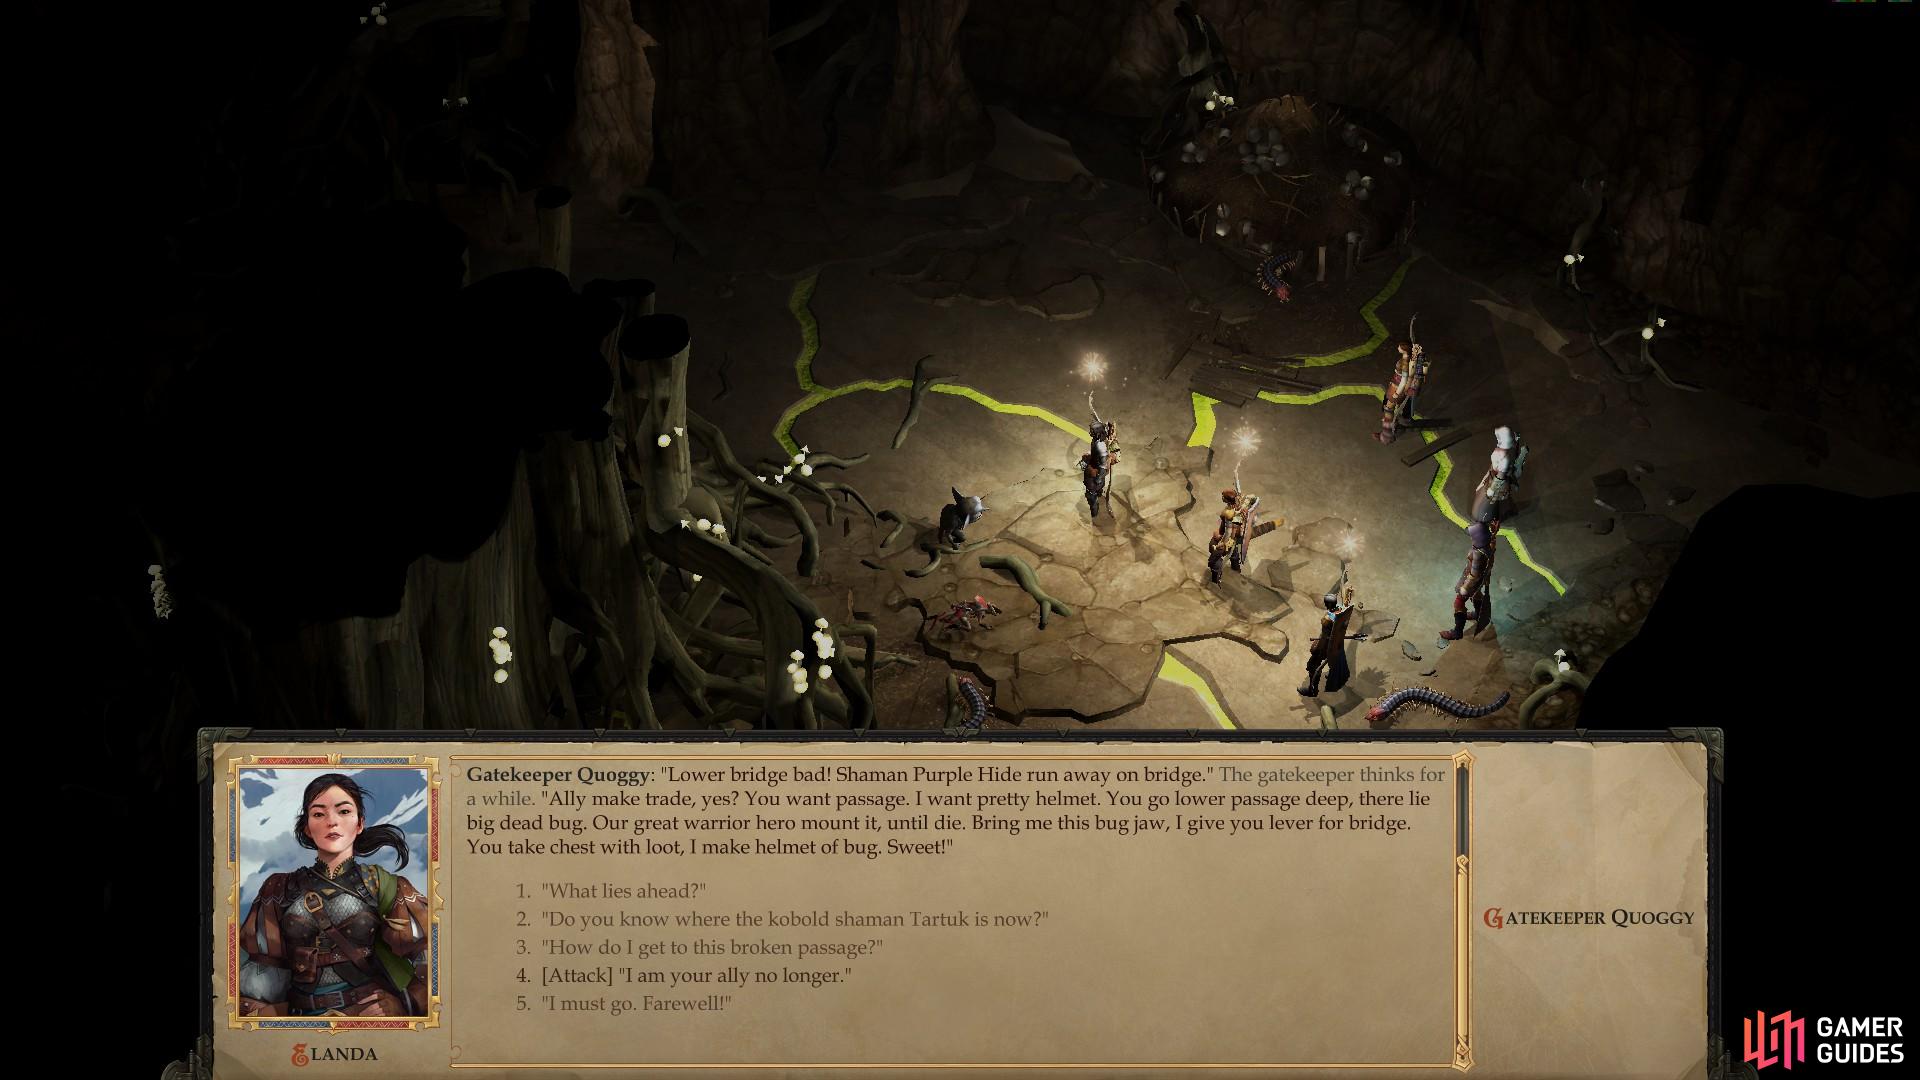
Talk to Gatekeeper Quoggy and she’ll give you a quest.
Naturally if the Mites are hostile to you this quest won’t be available, as Gatekeeper Quoggy and her Giant Centipedes will both be hostile to you. You can also tank your relations with the Mites by picking the dialogue option [Attack] “I am your ally no longer.”. Either way, if you happen to kill Gatekeeper Quoggy you can loot her body for a Masterwork Sickle and a Bridge Hoist Part, which will allow you to operate the aforementioned bridge.
Mite Sorting Room
Backtrack to the southwest, then follow a passage southeast to reach a large chamber occupied by Mites, who seem to be busy sorting junk. They seem to like man-made goods well enough, even if they don’t seem to understand the purpose of such treasures, nor their value.
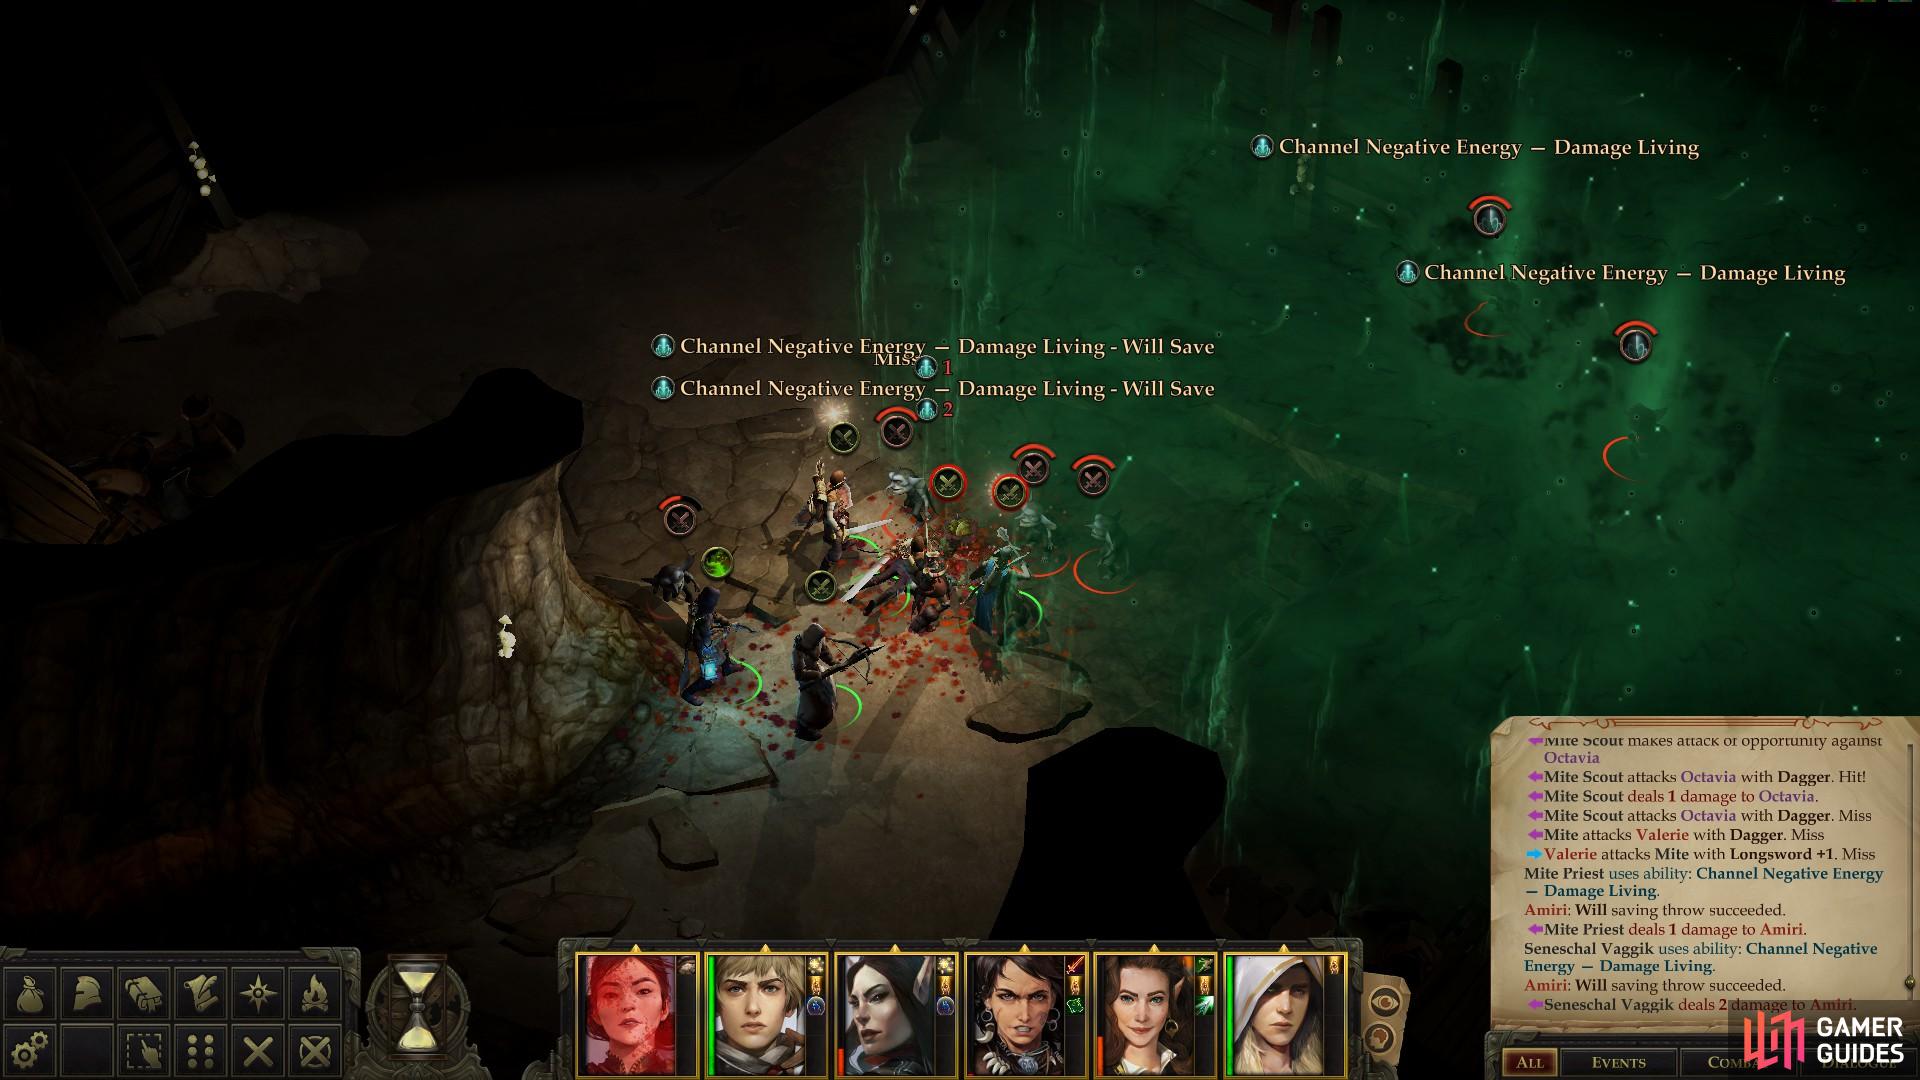
If they’re hostile, be wary of the Mite Priest, who is not above using Hold Person against you. You may have seen this spell on your own divine spell casters (Harrim and Tristian should both have access to it by now), and if so, you should know why it’s dangerous. Hold Person can paralyze a character for a number of rounds equal to the caster’s level, being effectively helpless for the spell’s duration. The fact that it’s opposed by a Will Save - an area where warriors are notoriously weak - makes it even more dangerous to your front-line. A paralyzed character in melee range of enemies can be quickly chopped down, so always target enemy priests first, if at all possible, and don’t be afraid to use this spell yourself. If that’s not bad enough, Mite Priests will also spam their ability to “Channel Negative Energy”, dealing damage to all living foes within range. Guaranteed damage to your entire party every turn is not a good thing.
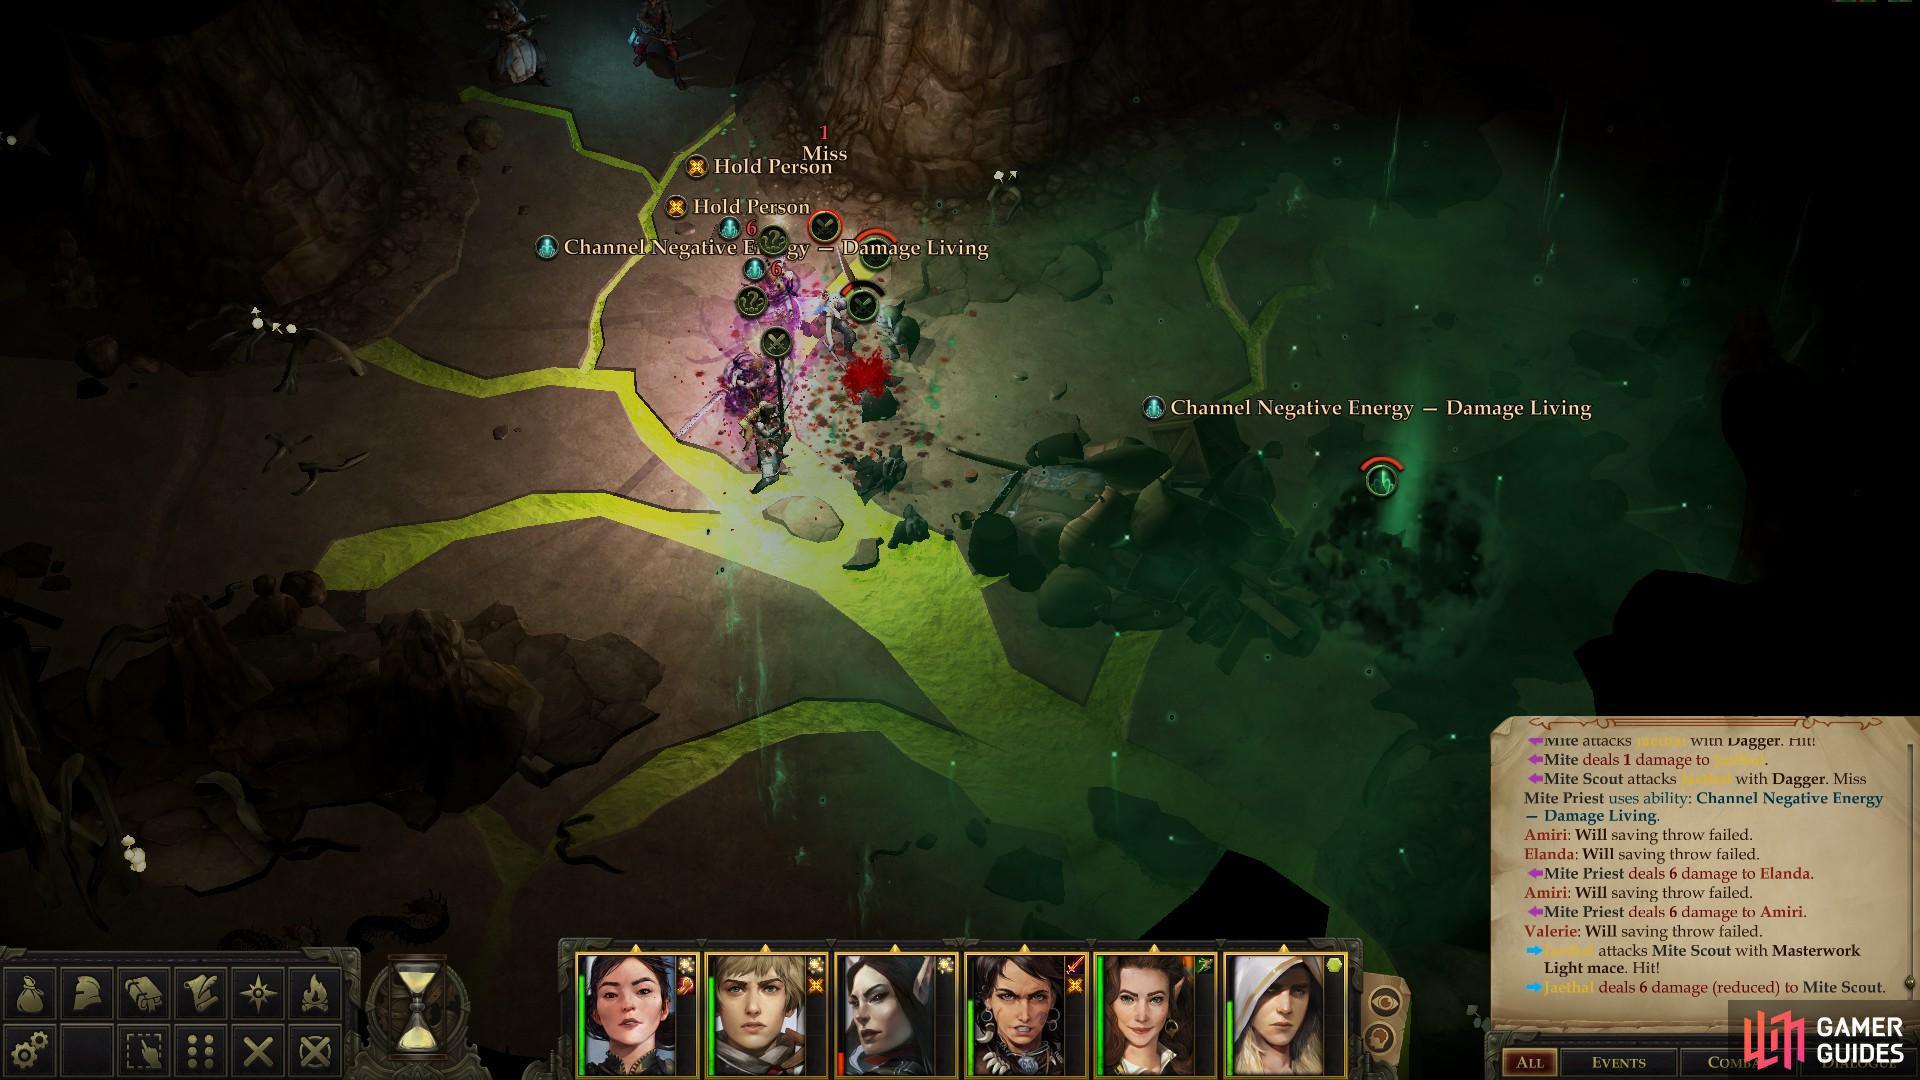
Mite Priests will use a variety of nasty abilities, like Hold Person and Channel Negative Energy
In a side-chamber off the junk room you’ll find An Ancient Rostlandic Coin
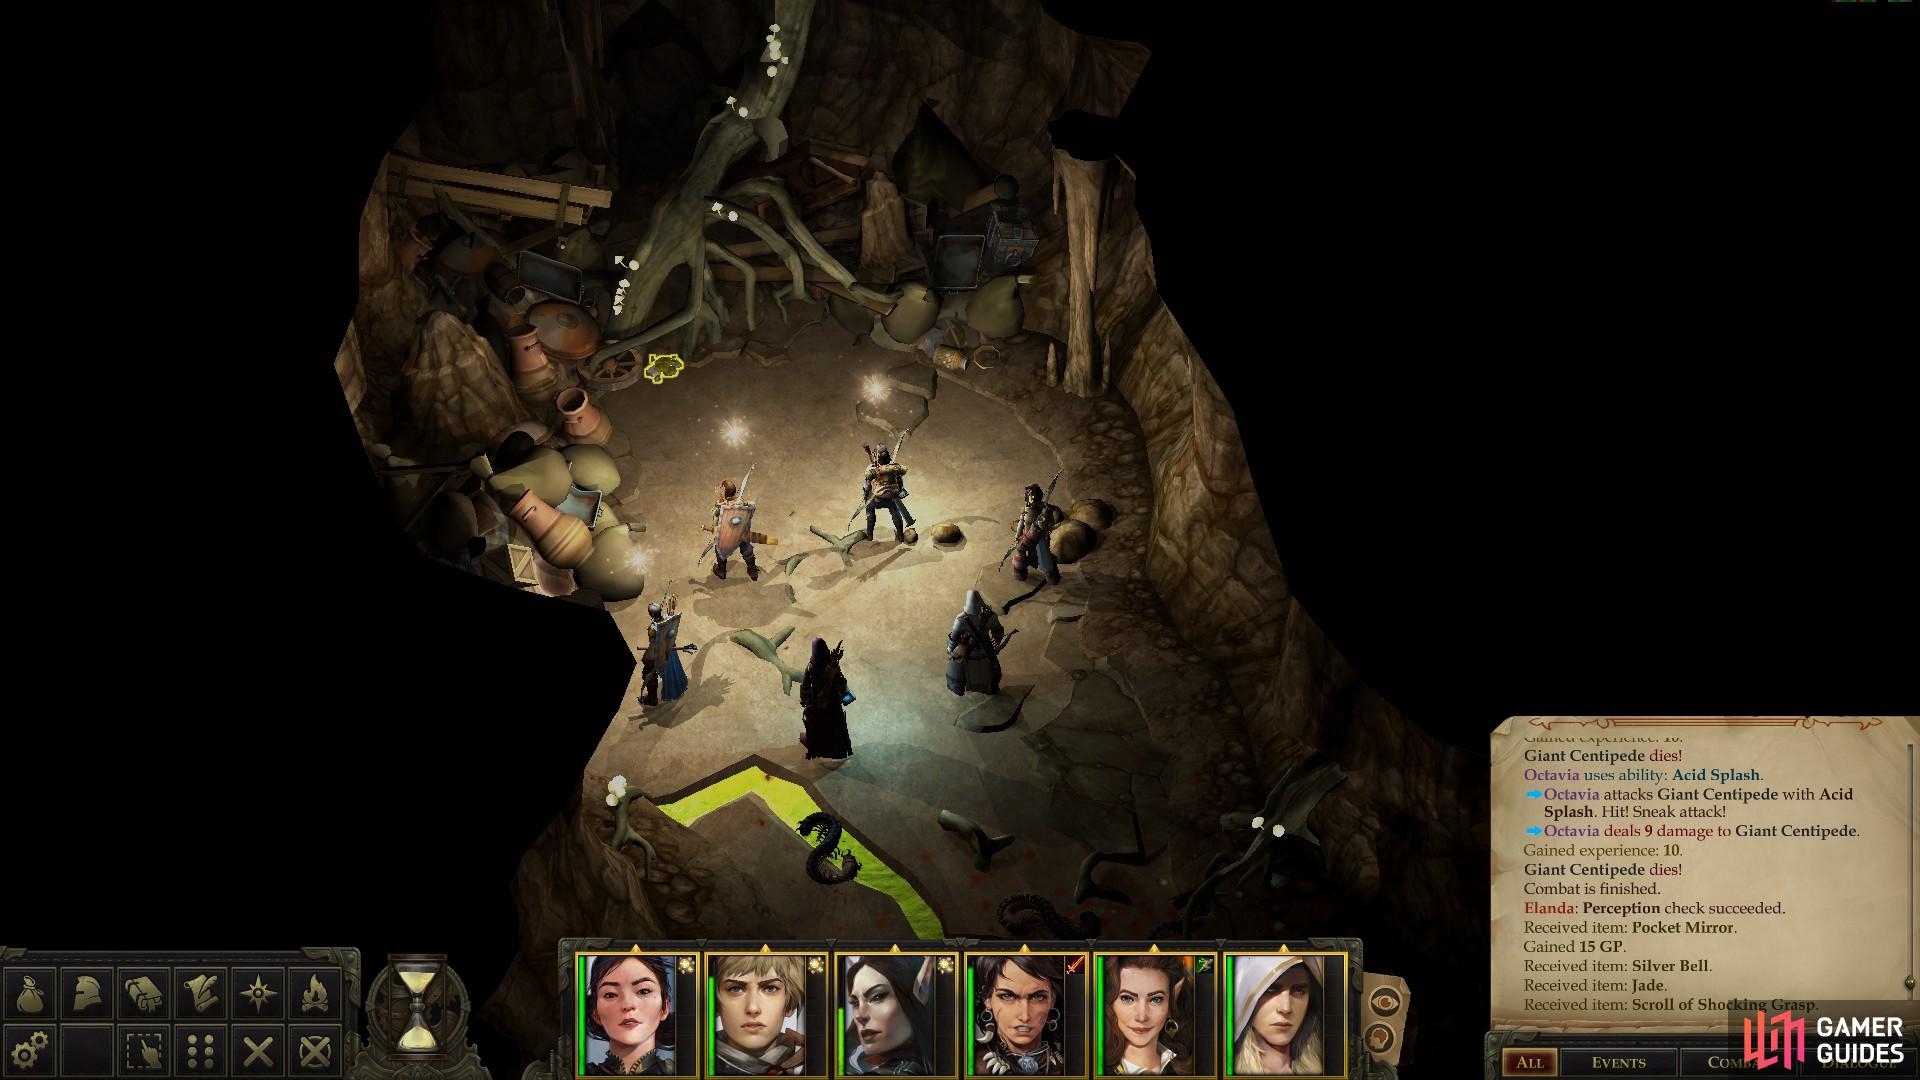
Exterminate the Mites if they’re hostile, then pass a [Perception 12] check to spot a crate you can loot, which includes a variety of trinkets and a Scroll of Shield of Faith. After looting that, make your way to the western end of the cavern and cull a trio of Giant Centipedes, then turn north to find a smaller side-cavern where another three Giant Centipedes lurk. Kill them, loot a crate [Perception 12] to find some baubles, including a Scroll of Shocking Grasp, then loot some rocks you can search for An Ancient Rostlandic Coin.
Slaughter Giant Centipedes
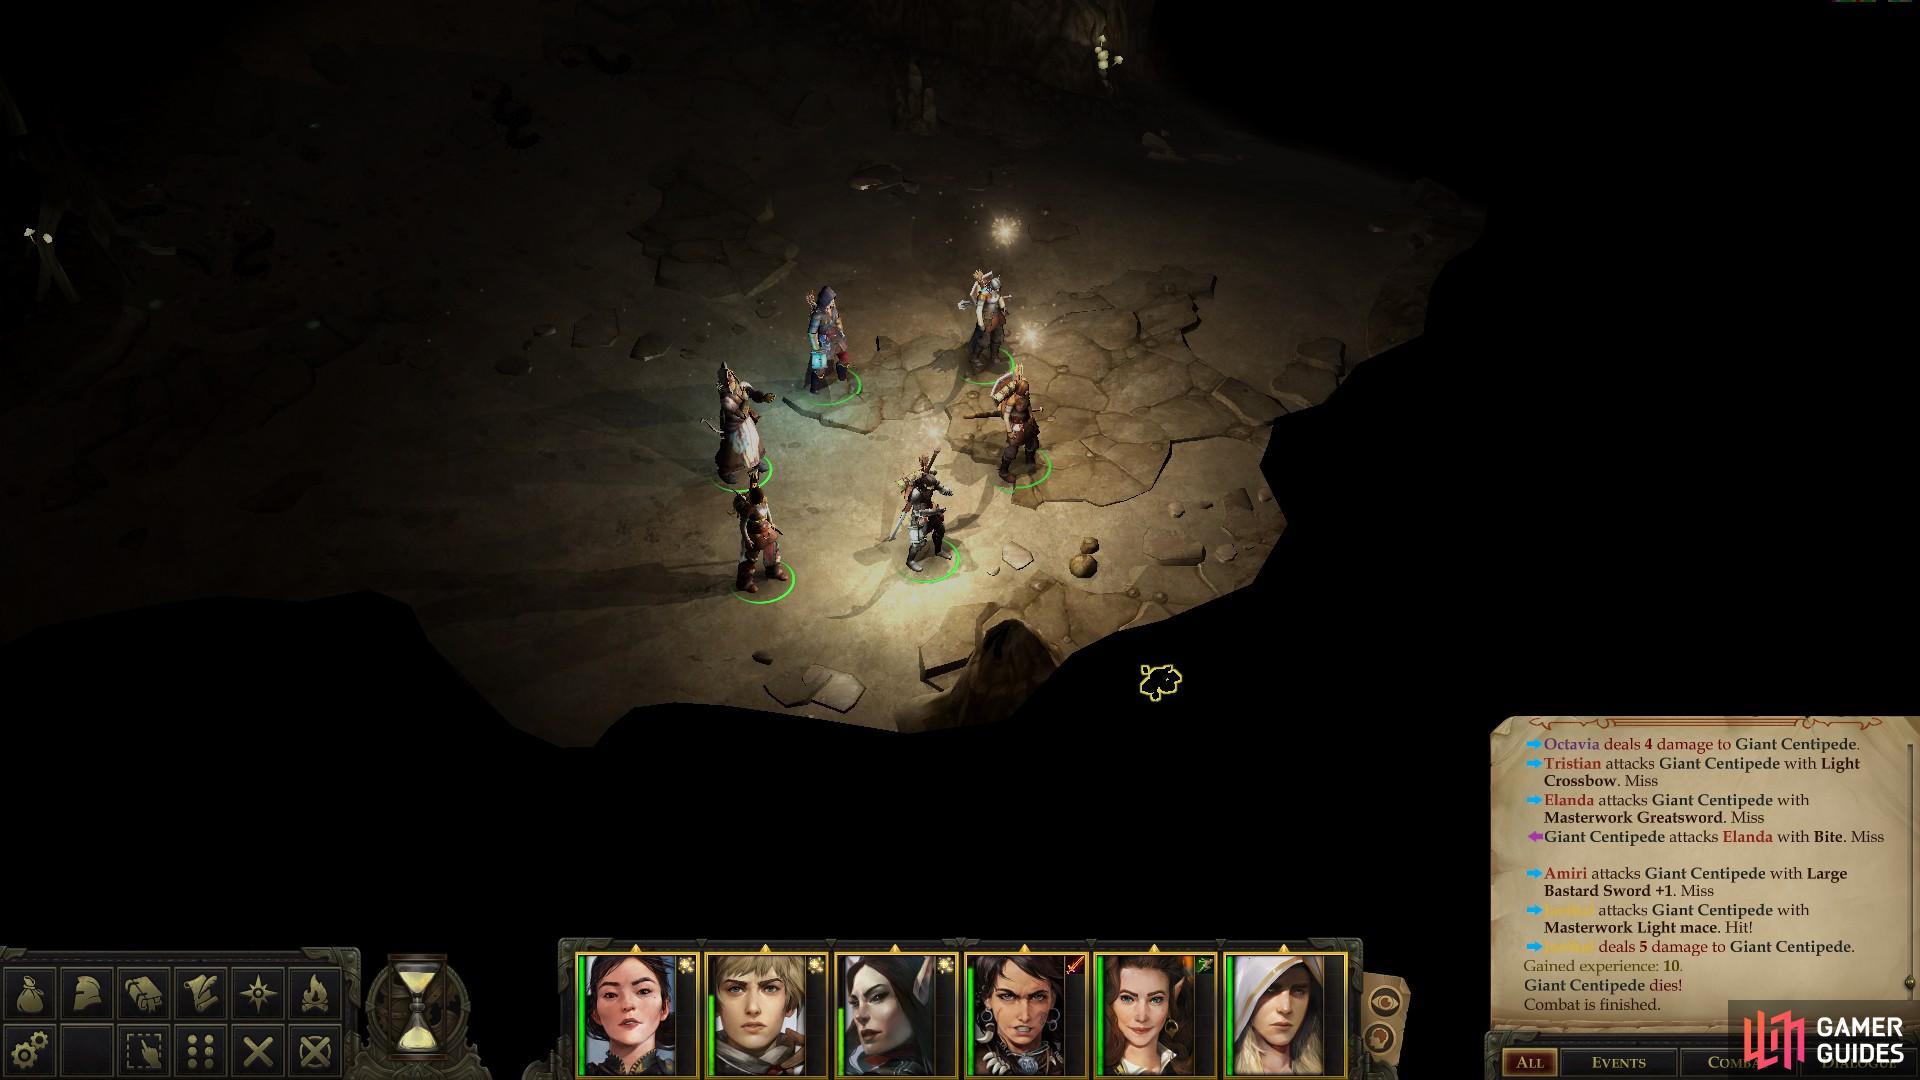
There are other tunnels branching off the larger, junk-filled cavern where Mites are sorting garbage, including one to the south and one to the northeast. Ignore the southern passage for now and take the northeastern passage to reach a cavern where more Giant Centipedes dwell. Slay four of the beasts, then continue northeast and destroy another four Giant Centipedes. If that’s not enough slaying for you, head down a slope to the east to find yet another group of four Giant Centipedes. Once all twelve bugs are squashed, you should find yourself in a small chamber with an area transition leading down to the Old Sycamore Depths. Pass a [Perception 12] check to spot a crate you can loot for a Potion of Vanish and a Scroll of Shocking Grasp.
No sense in descending to the lower level now when there’s still much to do here, so backtrack to the chamber to the east and turn north to reach another, larger chamber, which of course is full of forks. If you go up the passage to the northwest you’ll reach the chamber where Gatekeeper Quoggy tends to some Giant Centipedes, including one hostile straggler you can go out of your way to smite, if you wish.
If you go northeast, however, you’ll reach a chamber occupied by a group of Mites, who are also poring over some junk. This group includes a Mite Priest behind a solid line of sturdy, melee Mites, making this a potentially tricky encounter. Kill the Mites and their Giant Centipede pet if necessary, loot a sack for some goodies, then continue down a large tunnel to the southeast.
A small cavern to the east has a surprising number of Giant Centipedes dwelling inside it
You can also find another Ancient Rostlandic Coin buried under some rocks.
This tunnel eventually opens up into another large cavern, in which dwell numerous Giant Centipedes. Smite them, then continue south to find a pile of rocks hidden behind some foreground, inside of which is An Ancient Rostlandic Coin.
Mites at Leisure
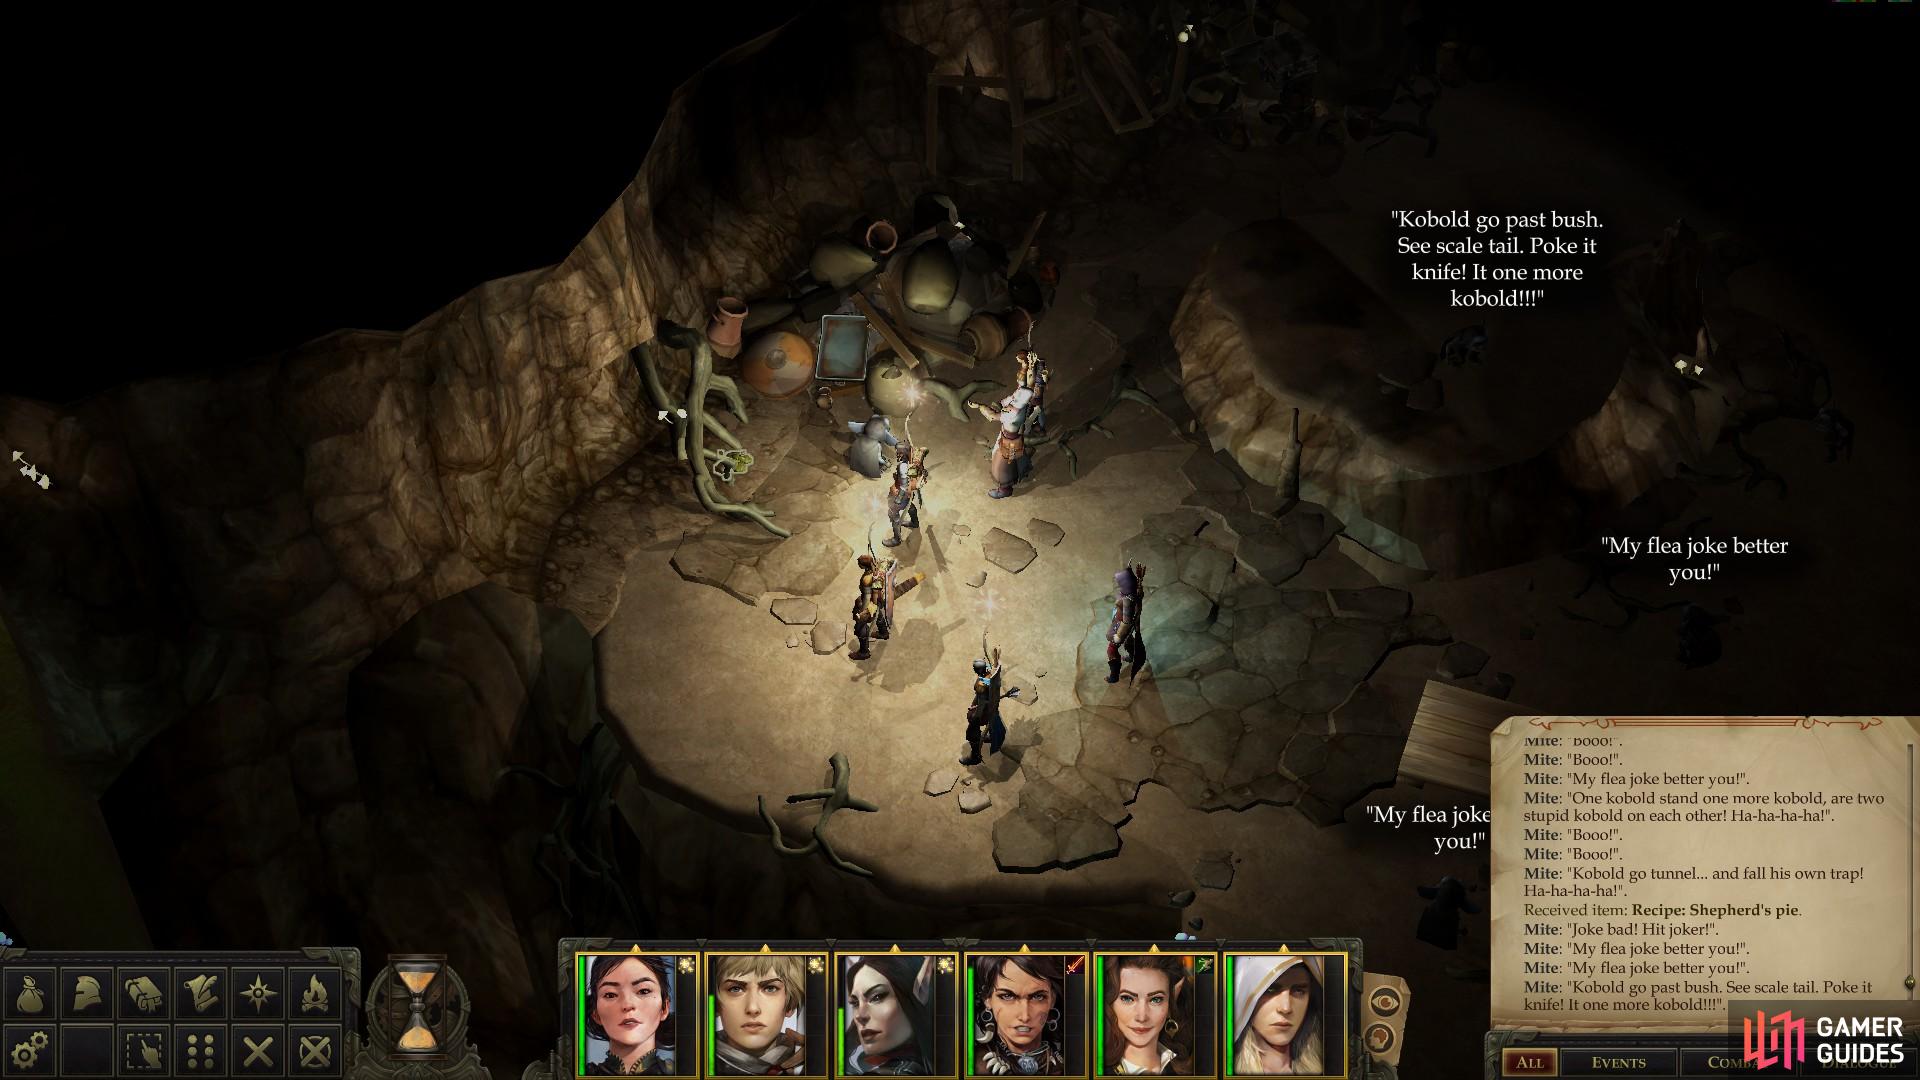
As is the norm in these winding tunnels under the old sycamore, the path forks again. Take the passage down to the southwest to reach a chamber where the Mites are socializing, including a rather poor stand-up comedian who is in the process of bombing. Tough crowd. If the Mites are hostile to you, this will be a rather mundane battle instead of a bit of levity, as several Mites will attack, south of which a Mite Priest lurks, waiting to complicate matters with its spells. After, or in lieu of a battle, loot a pile of rocks to the west to score a Token of the Dryad, search the tables for a Recipe: Shepherd’s Pie and pass a [Perception 12] check to loot some… butter?
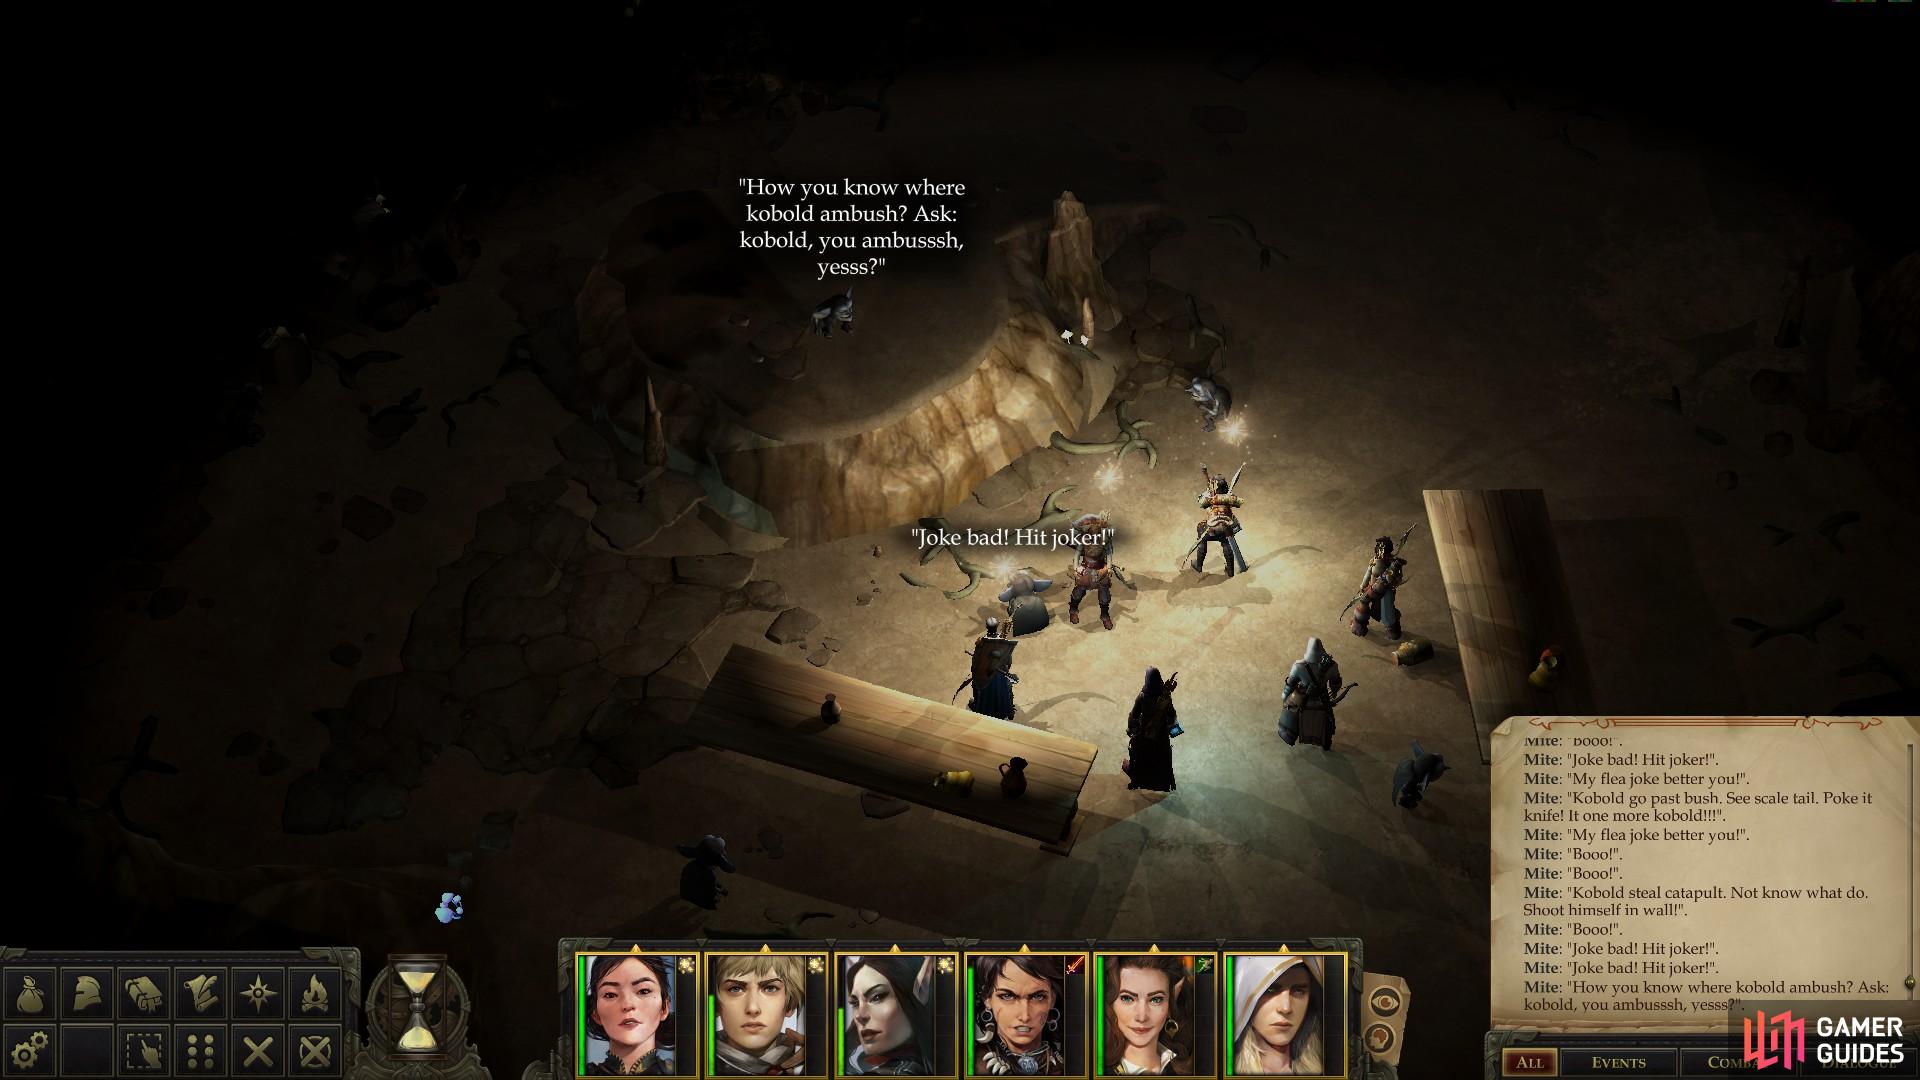
A Mite tries his hand at stand up comedy, but his fellows aren’t very receptive.
Grab a Token of the Dryad hidden under some rocks nearby.
Next head southeast into a side cavern, where you’ll find Mites, Mite Sentinels, and Giant Centipedes. No Priest to support them, and no comedian to lighten the mood, so whether you’re fighting or not, the inhabitants of this room aren’t as interesting as in the previous room. Loot a sack to the south to score a Potion of Cure Light Wounds while a sack to the north yields some… potatoes. They all can’t be winners.
Battle: Warrior Queen Bdaah
Backtrack to the chamber to the northeast where you encountered half a dozen Giant Centipedes, and from there continue down a slope to the northeast to finally reach Warrior Queen Bdaah’s chamber. The entrance is guarded by a Mite to the east and a Mite Scout to the west, while a Mite Sentinel and Mite Priest guard a root-barrier to the east. At the northern end of the chamber, Queen Bdaah, a Mite Butcher and Seneschal Vaggik round out the opposition.
Warrior Queen Bdaah lives up to her reputation by being the sturdiest warrior on the Mite’s side, while Seneschal Vaggik is a Cleric, who will follow the traditional role of Mite Priests by starting fights out with Hold Person, followed by repeated bouts of Channel Negative Energy.
The Mites can prove to be unexpectedly tricky foes due to their casters and the terrain.
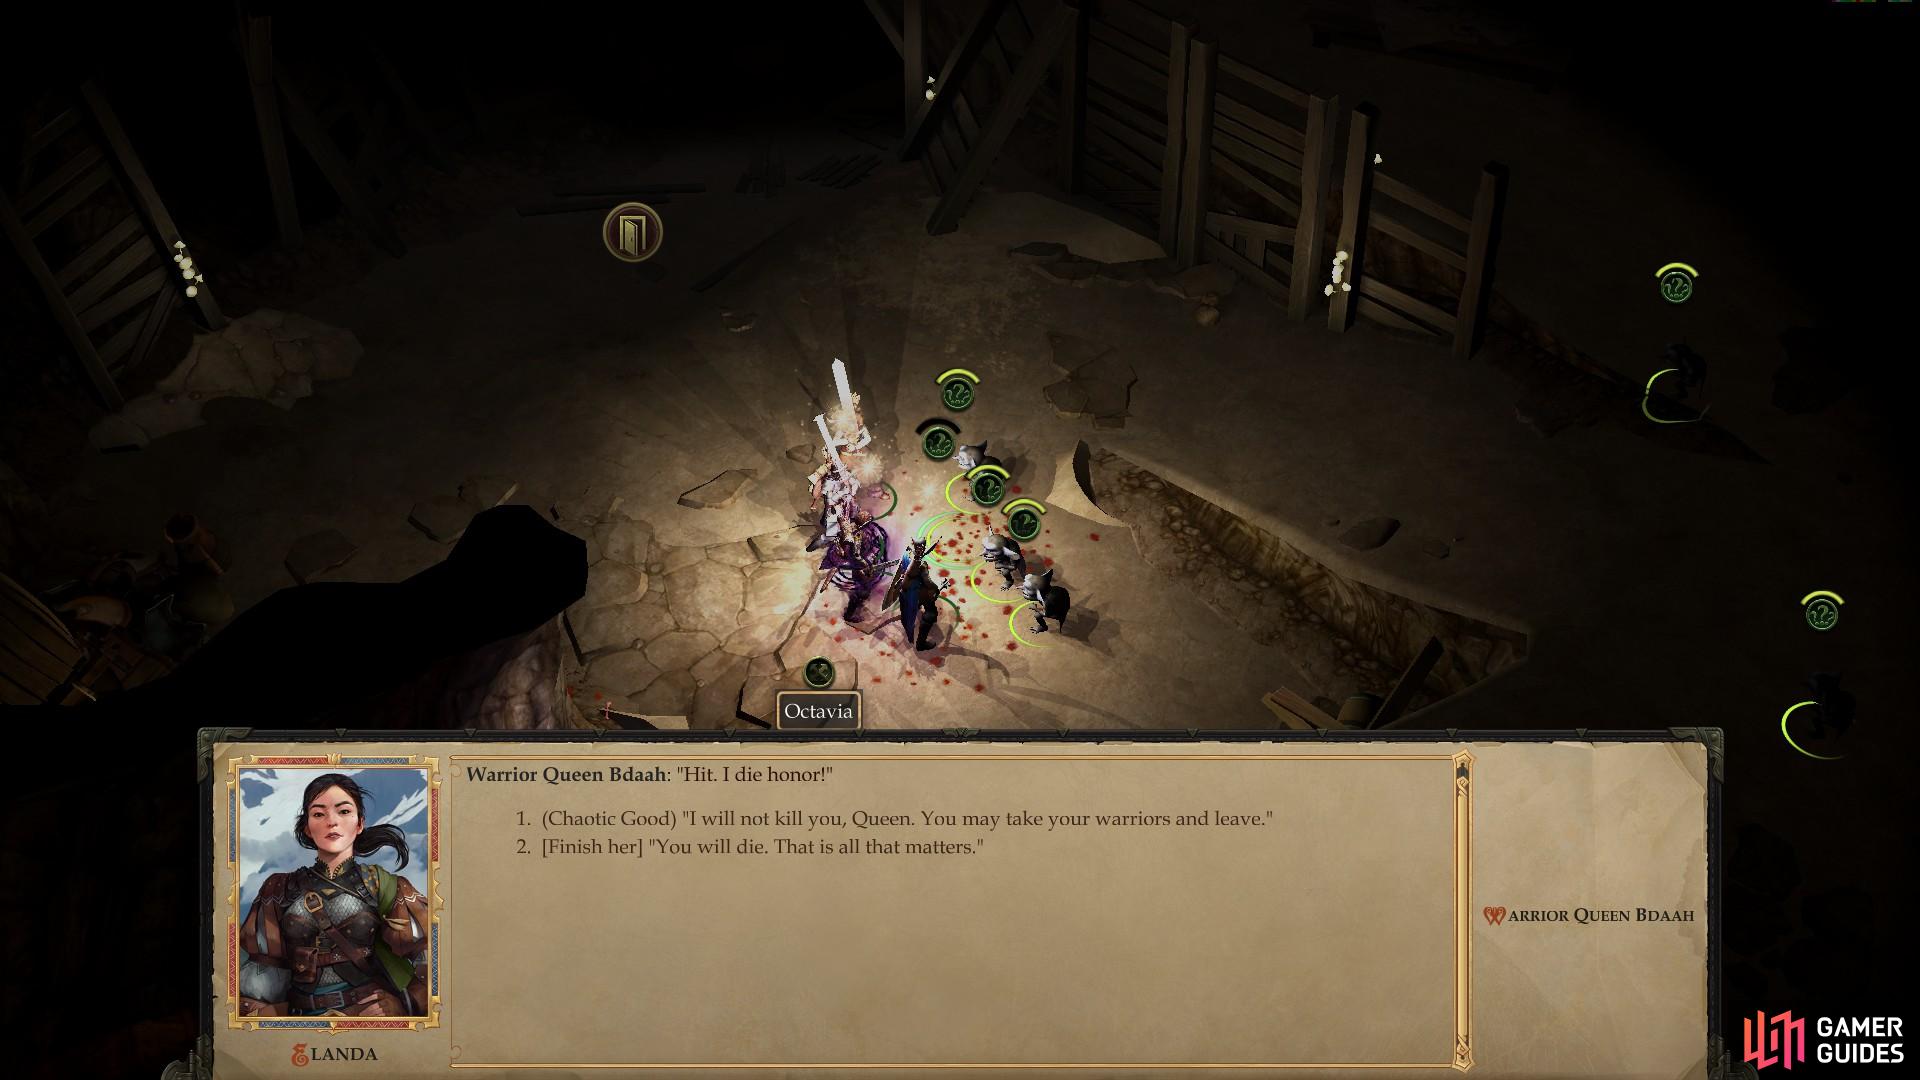
Focus on Queen Bdaah and cut her down quickly where you can let her surrender to end the fight.
Given that amount of spell power, and the winding route separating the southern end of the cavern (from which you presumably entered) from said spell-casters, a direct assault might not be the best option. If you’re resolved to risk saving throws against the inevitable Hold Person spells, you can just focus on Queen Bdaah when she comes within melee range, as you can spare her life [Chaotic Good] after defeating her, which will cause her and her minions to flee. On the other hand, if you defeat her you can loot her for a Scimitar +1 and a Headband of Alluring Charisma +2 - a boon for any character that benefits significantly from Charisma (Sorcerers, Bards, etc.)
If you have multiple characters armed with ranged weapons, you should be able to quickly pick off (or at least provoke and lure away) the Mite and the Mite Scout near the southern entrance, which - if they’re eliminated quickly enough or far enough away - shouldn’t provoke the rest of the Mites, or you can approach until they attack, retreat back up the ramp, and dispatch them away from their fellows. Either way, eliminate both of these Mites, then prepare an ambush.
Hide the majority of your party at the top of the ramp in the chamber to the southwest of Queen Bdaah’s chamber, hiding them behind the wall near the ramp to break line of sight from the ramp. With that done, send one character with a high Will Save into Queen Bdaah’s chamber to provoke the queen and her minions. Do not stand and fight, instead retreat back to the rest of your party while remaining in sight of the Mites at all times to keep their interest.
Queen Bdaah will probably lead, making it easy to gank her if necessary, and if she’s the only one that follows you all the way there, so much the better - the rest will be more easily smote without their strongest warrior. If the rest follow, that works, too, so long as you remain shielded by the wall, forcing Seneschal Vaggik and the Mite Priest to come close to cast their spells. If they do, ignore any melee combatants in your way (even if it provokes an Attack of Opportunity) and rush the casters, hopefully putting them down quickly.
Banter with Queen Bdaah
If you’re not hostile with the Mites, you can pursue diplomacy instead; or at the very least get close to Bdaah and her minions before starting the fight. In the latter case, be sure to surround Seneschal Viggik so you can gank him early, after which you can cut down the Butcher and Queen Bdaah before cleaning up the rest of the Mites, starting with the priest. All you need to do is talk to Queen Bdaah and choose the dialogue option [Attack] “It’s time to put an end to this alliance.”
Sneak attacks aside, if you want to work with Queen Bdaah pick the dialogue option “How may I help in your war?” followed by “All right. I will try to reach the Chief” to start the quest Death to Chief Sootscale!. Again, you can start this quest without committing to anything, even if you already talked to Chief Sootscale and started the quest Death to Queen Bdaah!. Whether you seek to start this quest or not, be sure to talk to her and pick the option “How do I get to Sycamore Hall?”, which will cause the guards by the root barrier to move.
If you obtained the Mites’ Relic from Sootscale earlier - whether through violence or diplomacy - you can now use it on the root barrier to the south of Queen Bdaah, which will allow you to finally confront Tartuccio - but before getting to that, you might as well explore the Old Sycamore Depths, then finish up this little war between the Mites and Kobolds.
Loot Queen Bdaah’s Chamber
Before descending into the depths, however, it’s time to loot Queen Bdaah’s chamber. At the southern end of the chamber you’ll find a sack containing some food-stuffs, while to the west of Queen Bdaah is a much more lucrative sack containing - among other things - a Scroll of Protection from Evil, Communal and a Scroll of Protection from Chaos, Communal. With that loot pocketed, use the area transition southwest of Queen Bdaah to reach the Old Sycamore Depths.
No Comments