

Walkthrough for the Lake Silverstep Village area in the Pathfinder: Kingmaker.
Located east of your capital, on the eastern shore of Lake Silverstep, Lake Silverstep Village is the primary location where the errand The Lonely Hunter takes place, and during that errand you’ll clear around half the map.
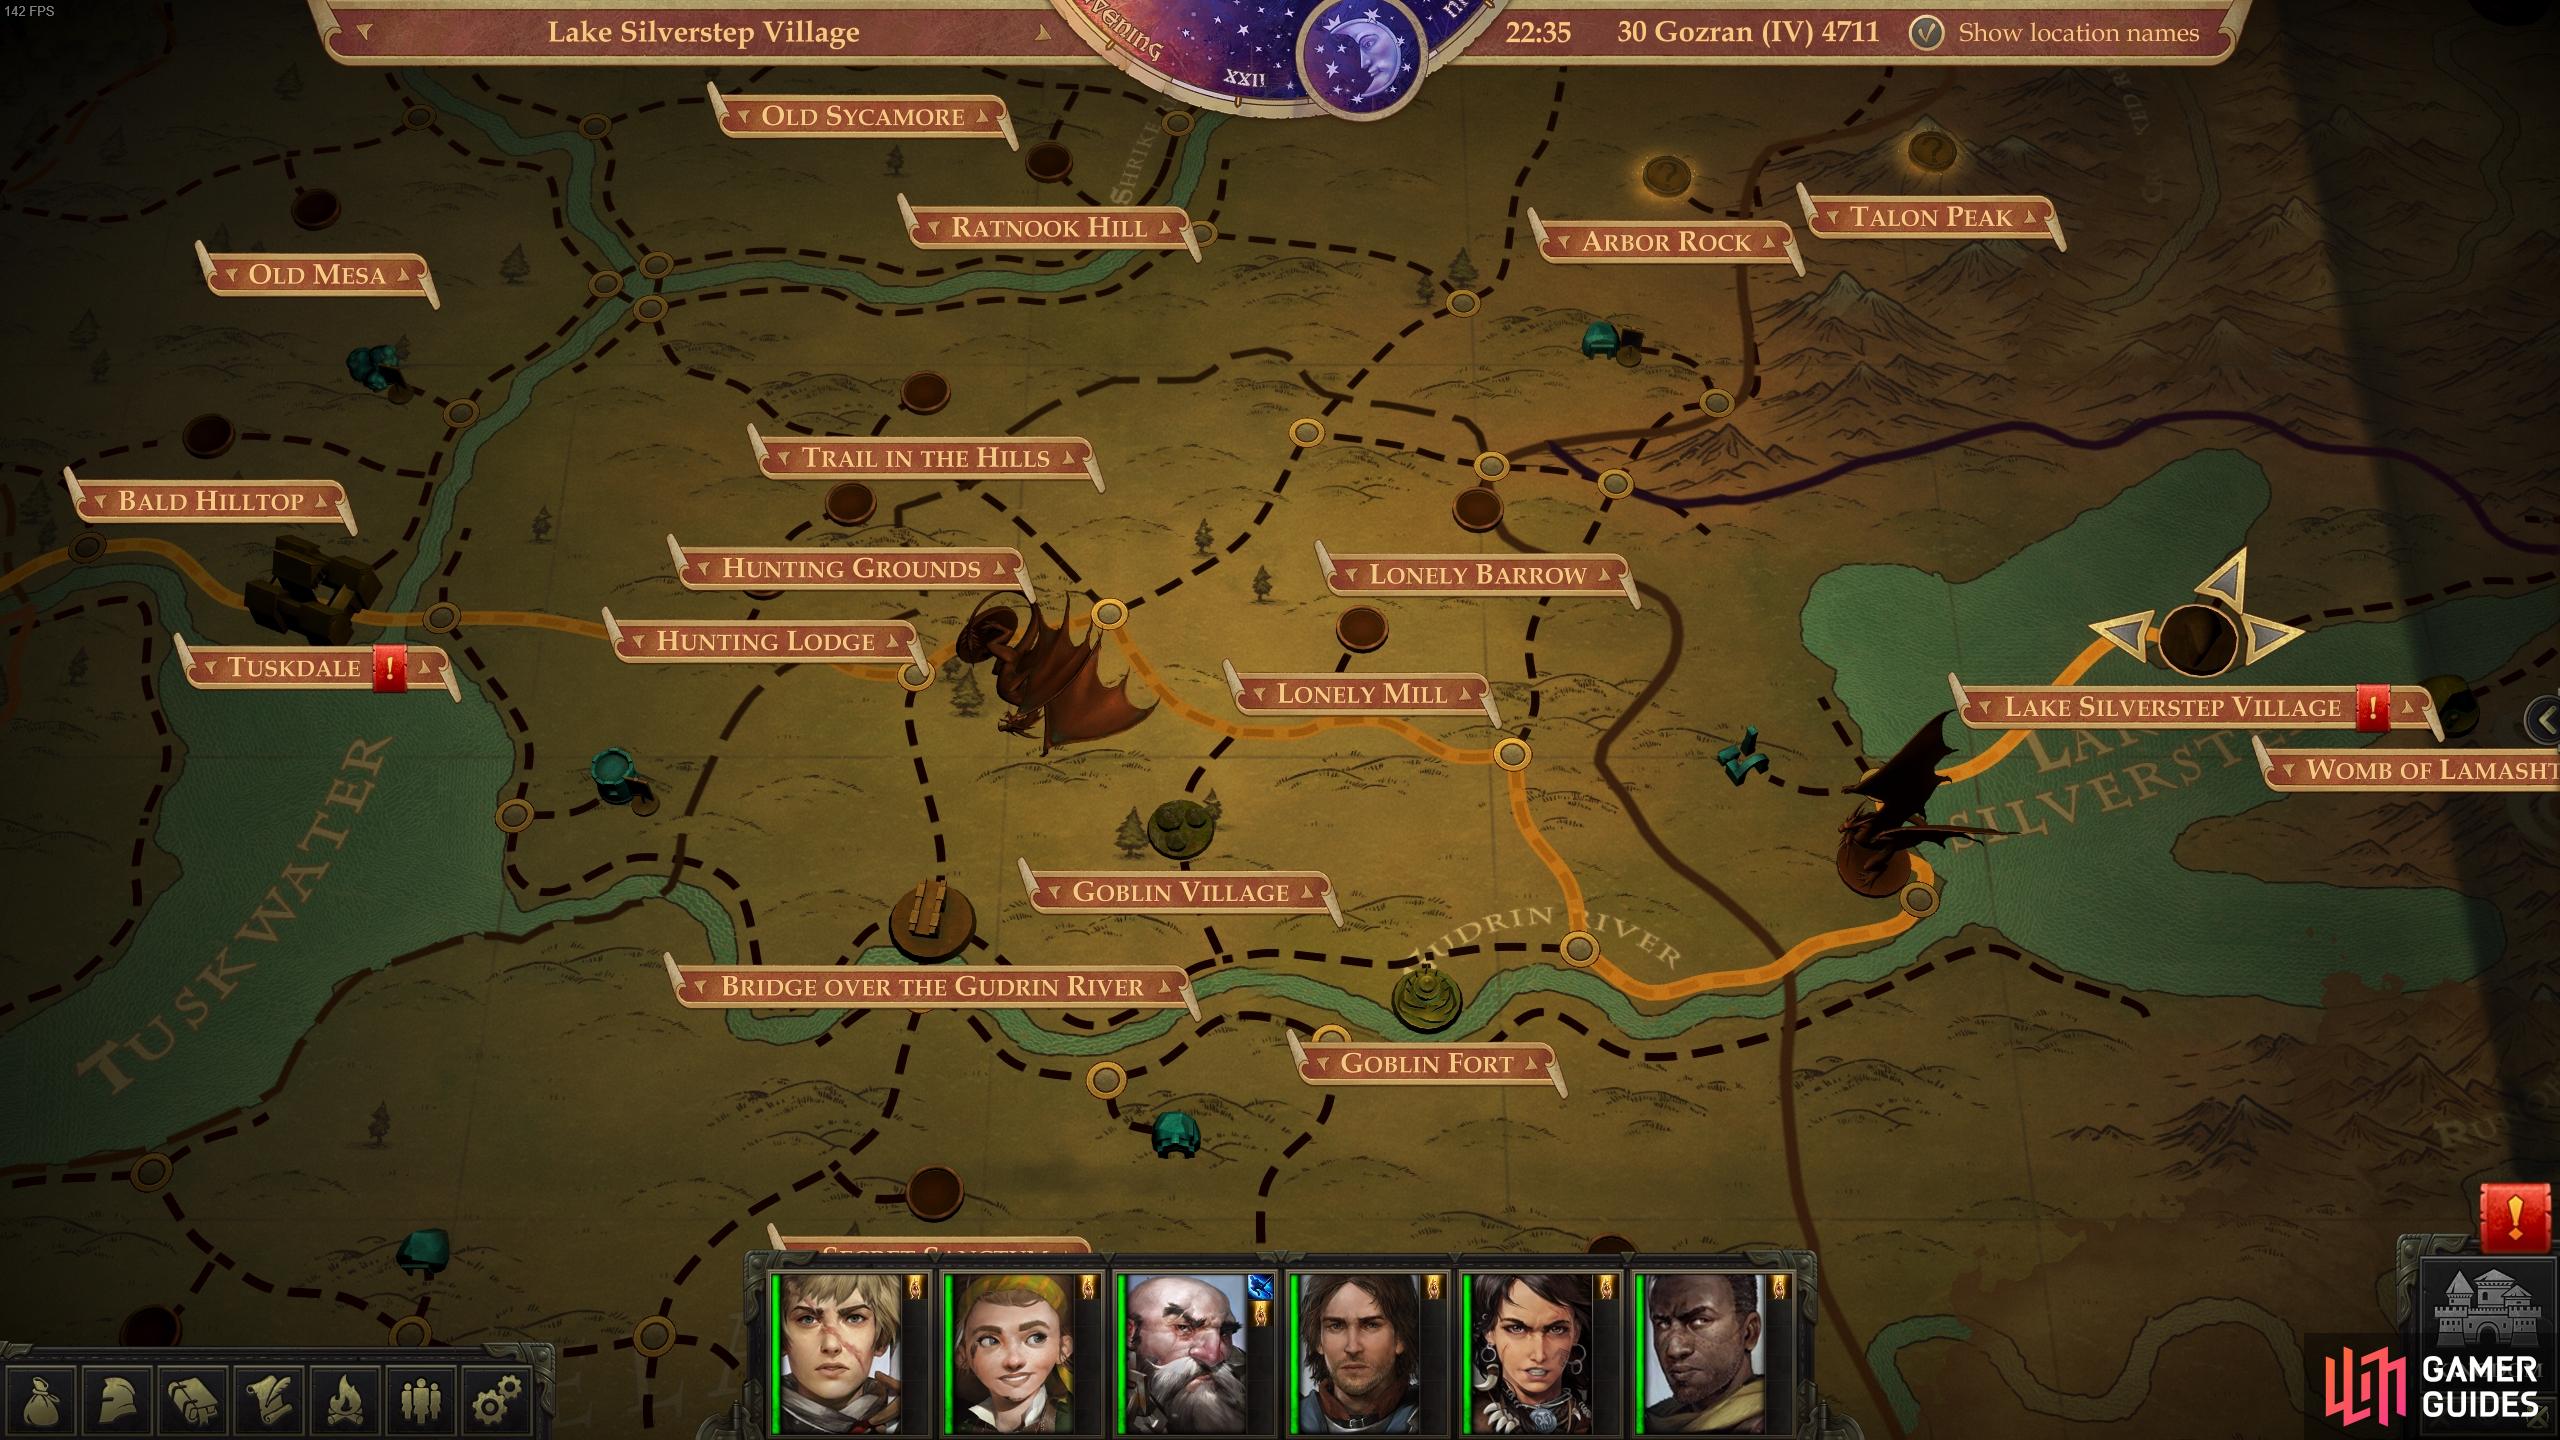
The location of Lake Silverstep Village (far east) in relation to your capital (far west).
To reach Lake Silverstep Village, follow these directions from your capital:
- East
- East
- East
- Northeast
- Northeast
- East
- East
- Southeast
- Southwest (path veers south along Lake Silverstep)
- East (across Lake SIlverstep)
You will alway enter along the eastern edge of the map, even if you reach Lake Silverstep Village by crossing Lake Silverstep. From there, head west to reach a road, which you can follow north to reach Ivar’s hut - a place with little significance if you’re not working on the errand The Lonely Hunter.
North of Ivar’s hut you’ll encounter a Nereid and her pet frogs.
Near a log bridging a chasm you’ll find a Token of the Dryad.
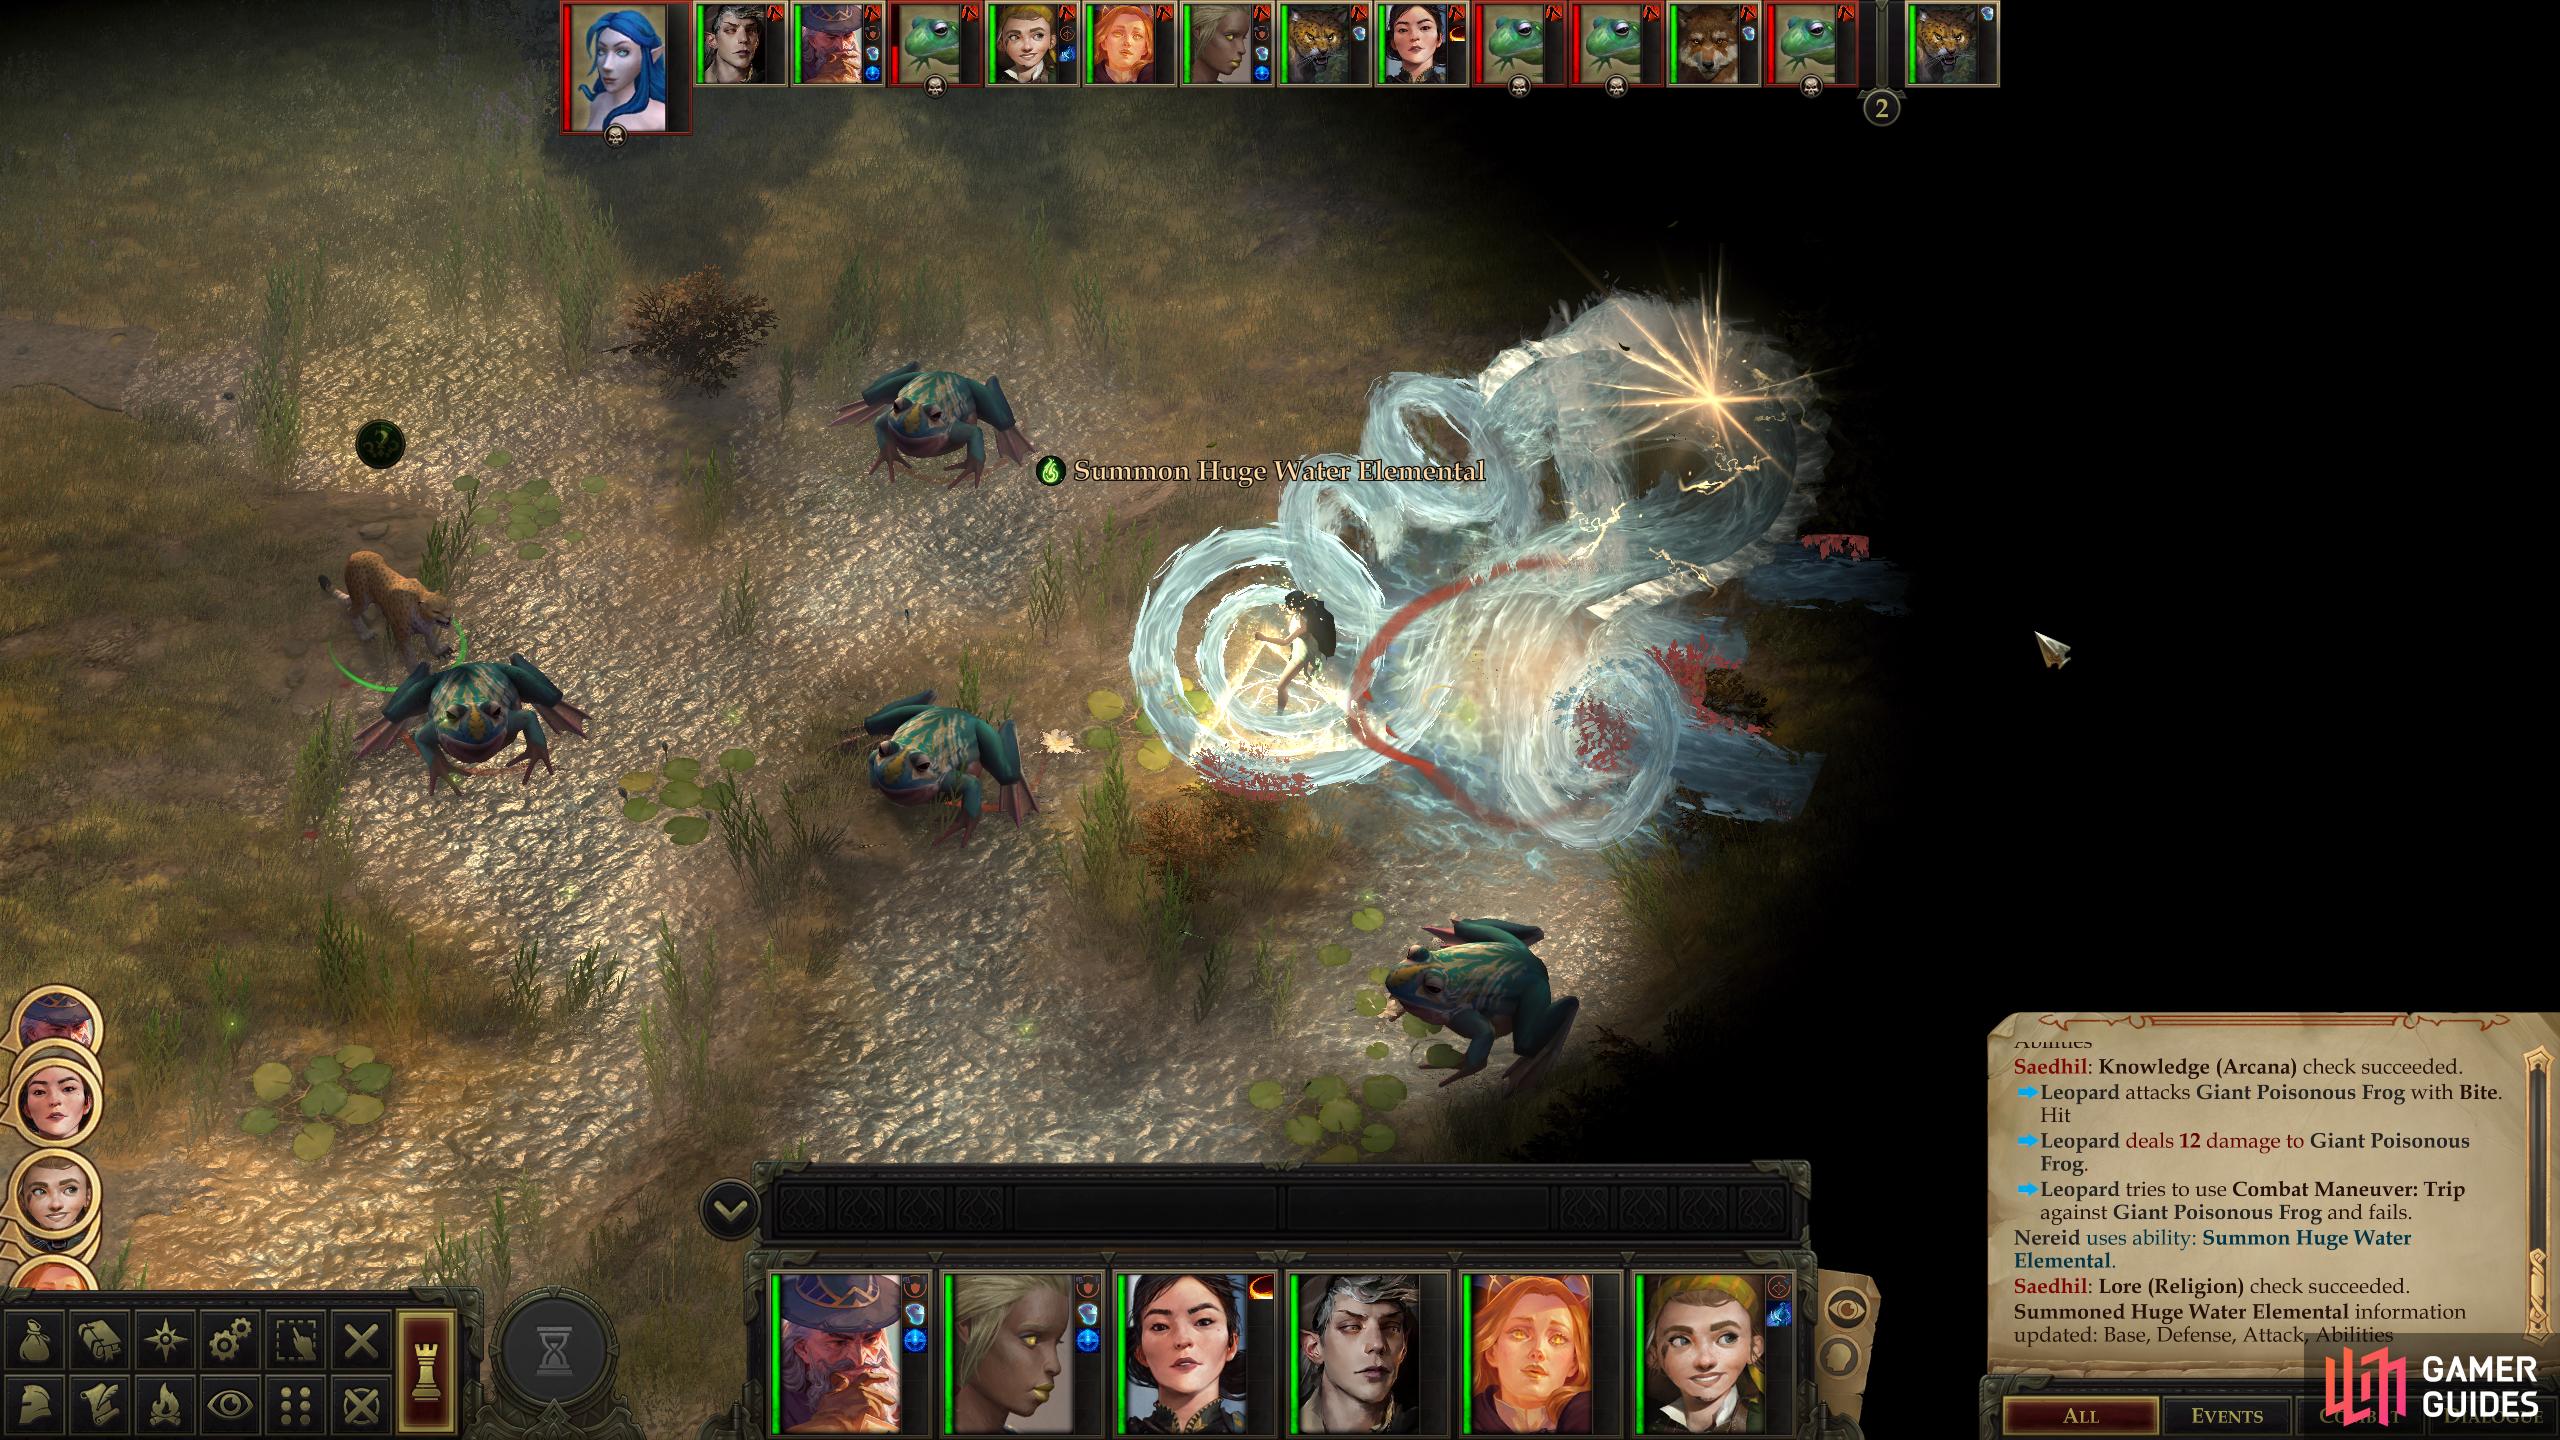
Battle: Nereid and Frogs
Continue following the trail north from Ivar’s hut and you’ll run afoul of a Nereid, a Nixie Prankster and several Giant Poisonous Frogs. The Nereid is the real nuisance here, as she can debilitate characters due to her Beguiling Aura (AoE, Will Save, always active) she can summon a Huge Water Elemental and she can cause blindness and Constitution damage with her Nereid Spray attack. She’s also got a decent Armor Class and Damage Reduction 10/Cold Iron to keep herself alive. The Nixie Prankster serves mostly to buff the Nereid with Greater Invisibility, while the amphibians are mere speedbumps.
Hit the Nereid with Glitterdust to strip off most of her defenses (especially if the Nixie buffs her with *Greater Invisibility) then cut her down as quickly as possible, attacking targets of opportunity until she’s within safe, easy reach. They drop little of interest, although you can find a chest to the southeast [Trickery 30] which will yield a Light Shield +2.
Battle: Worgs
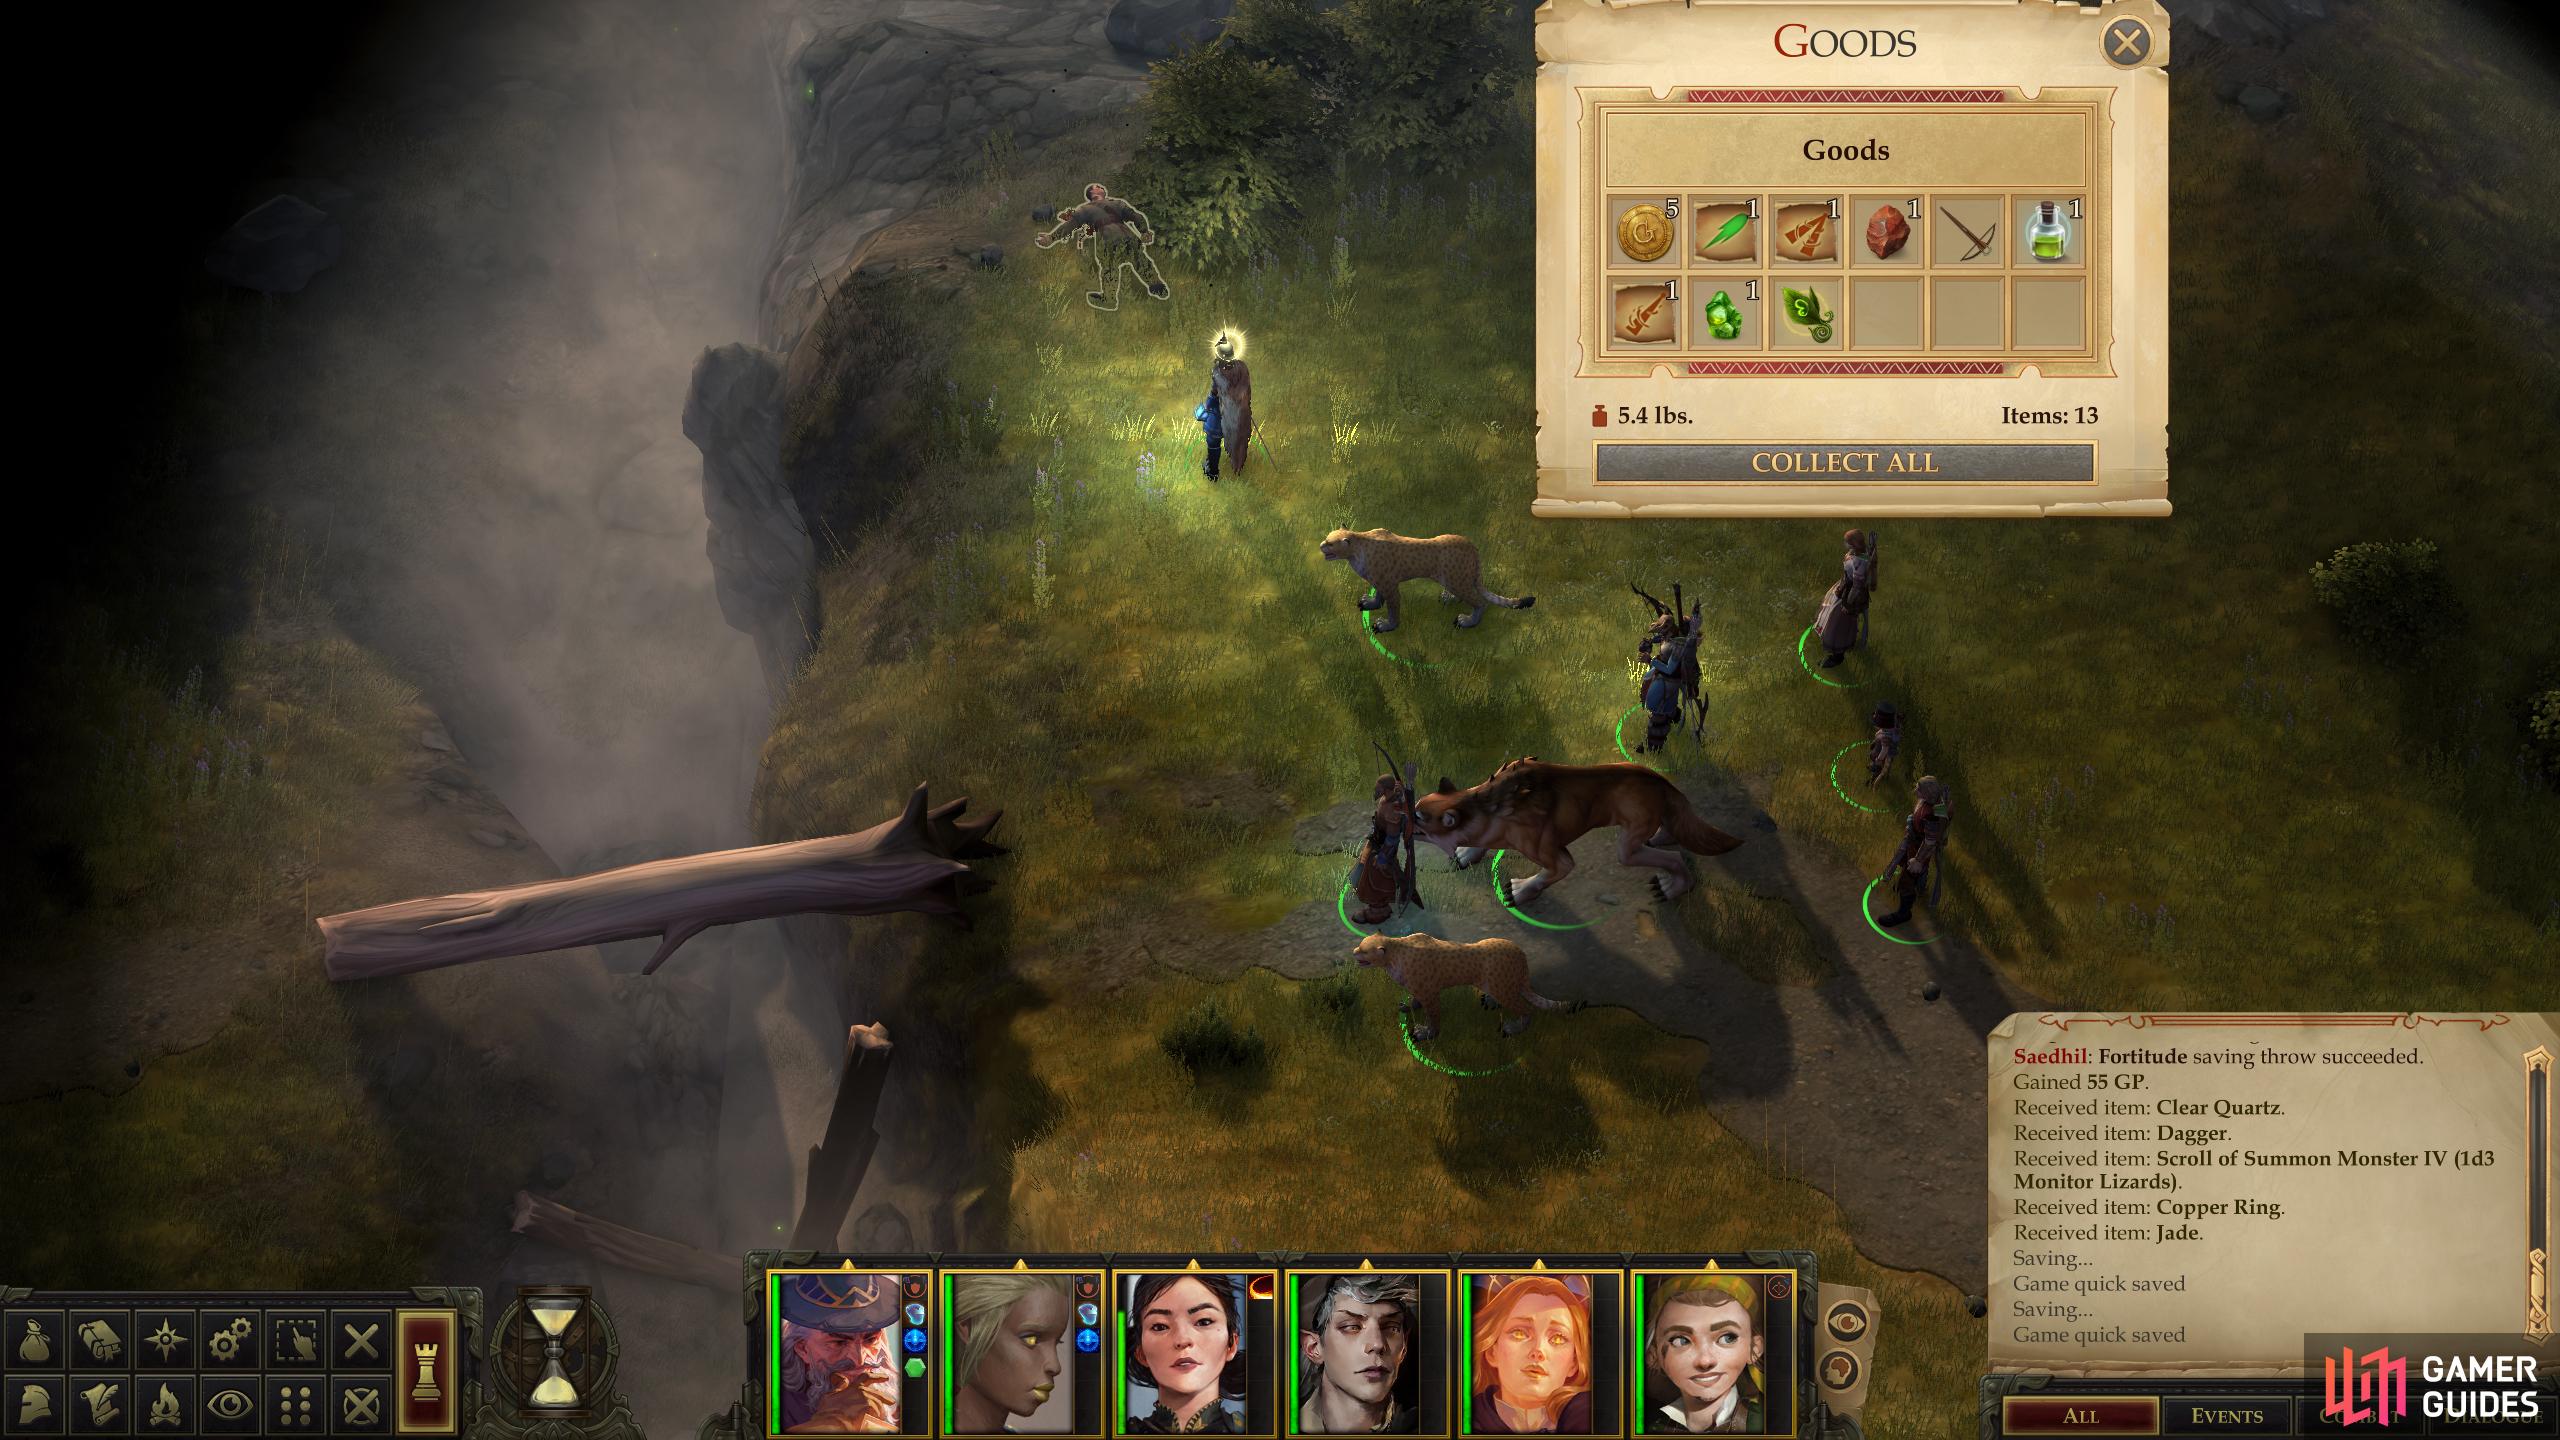
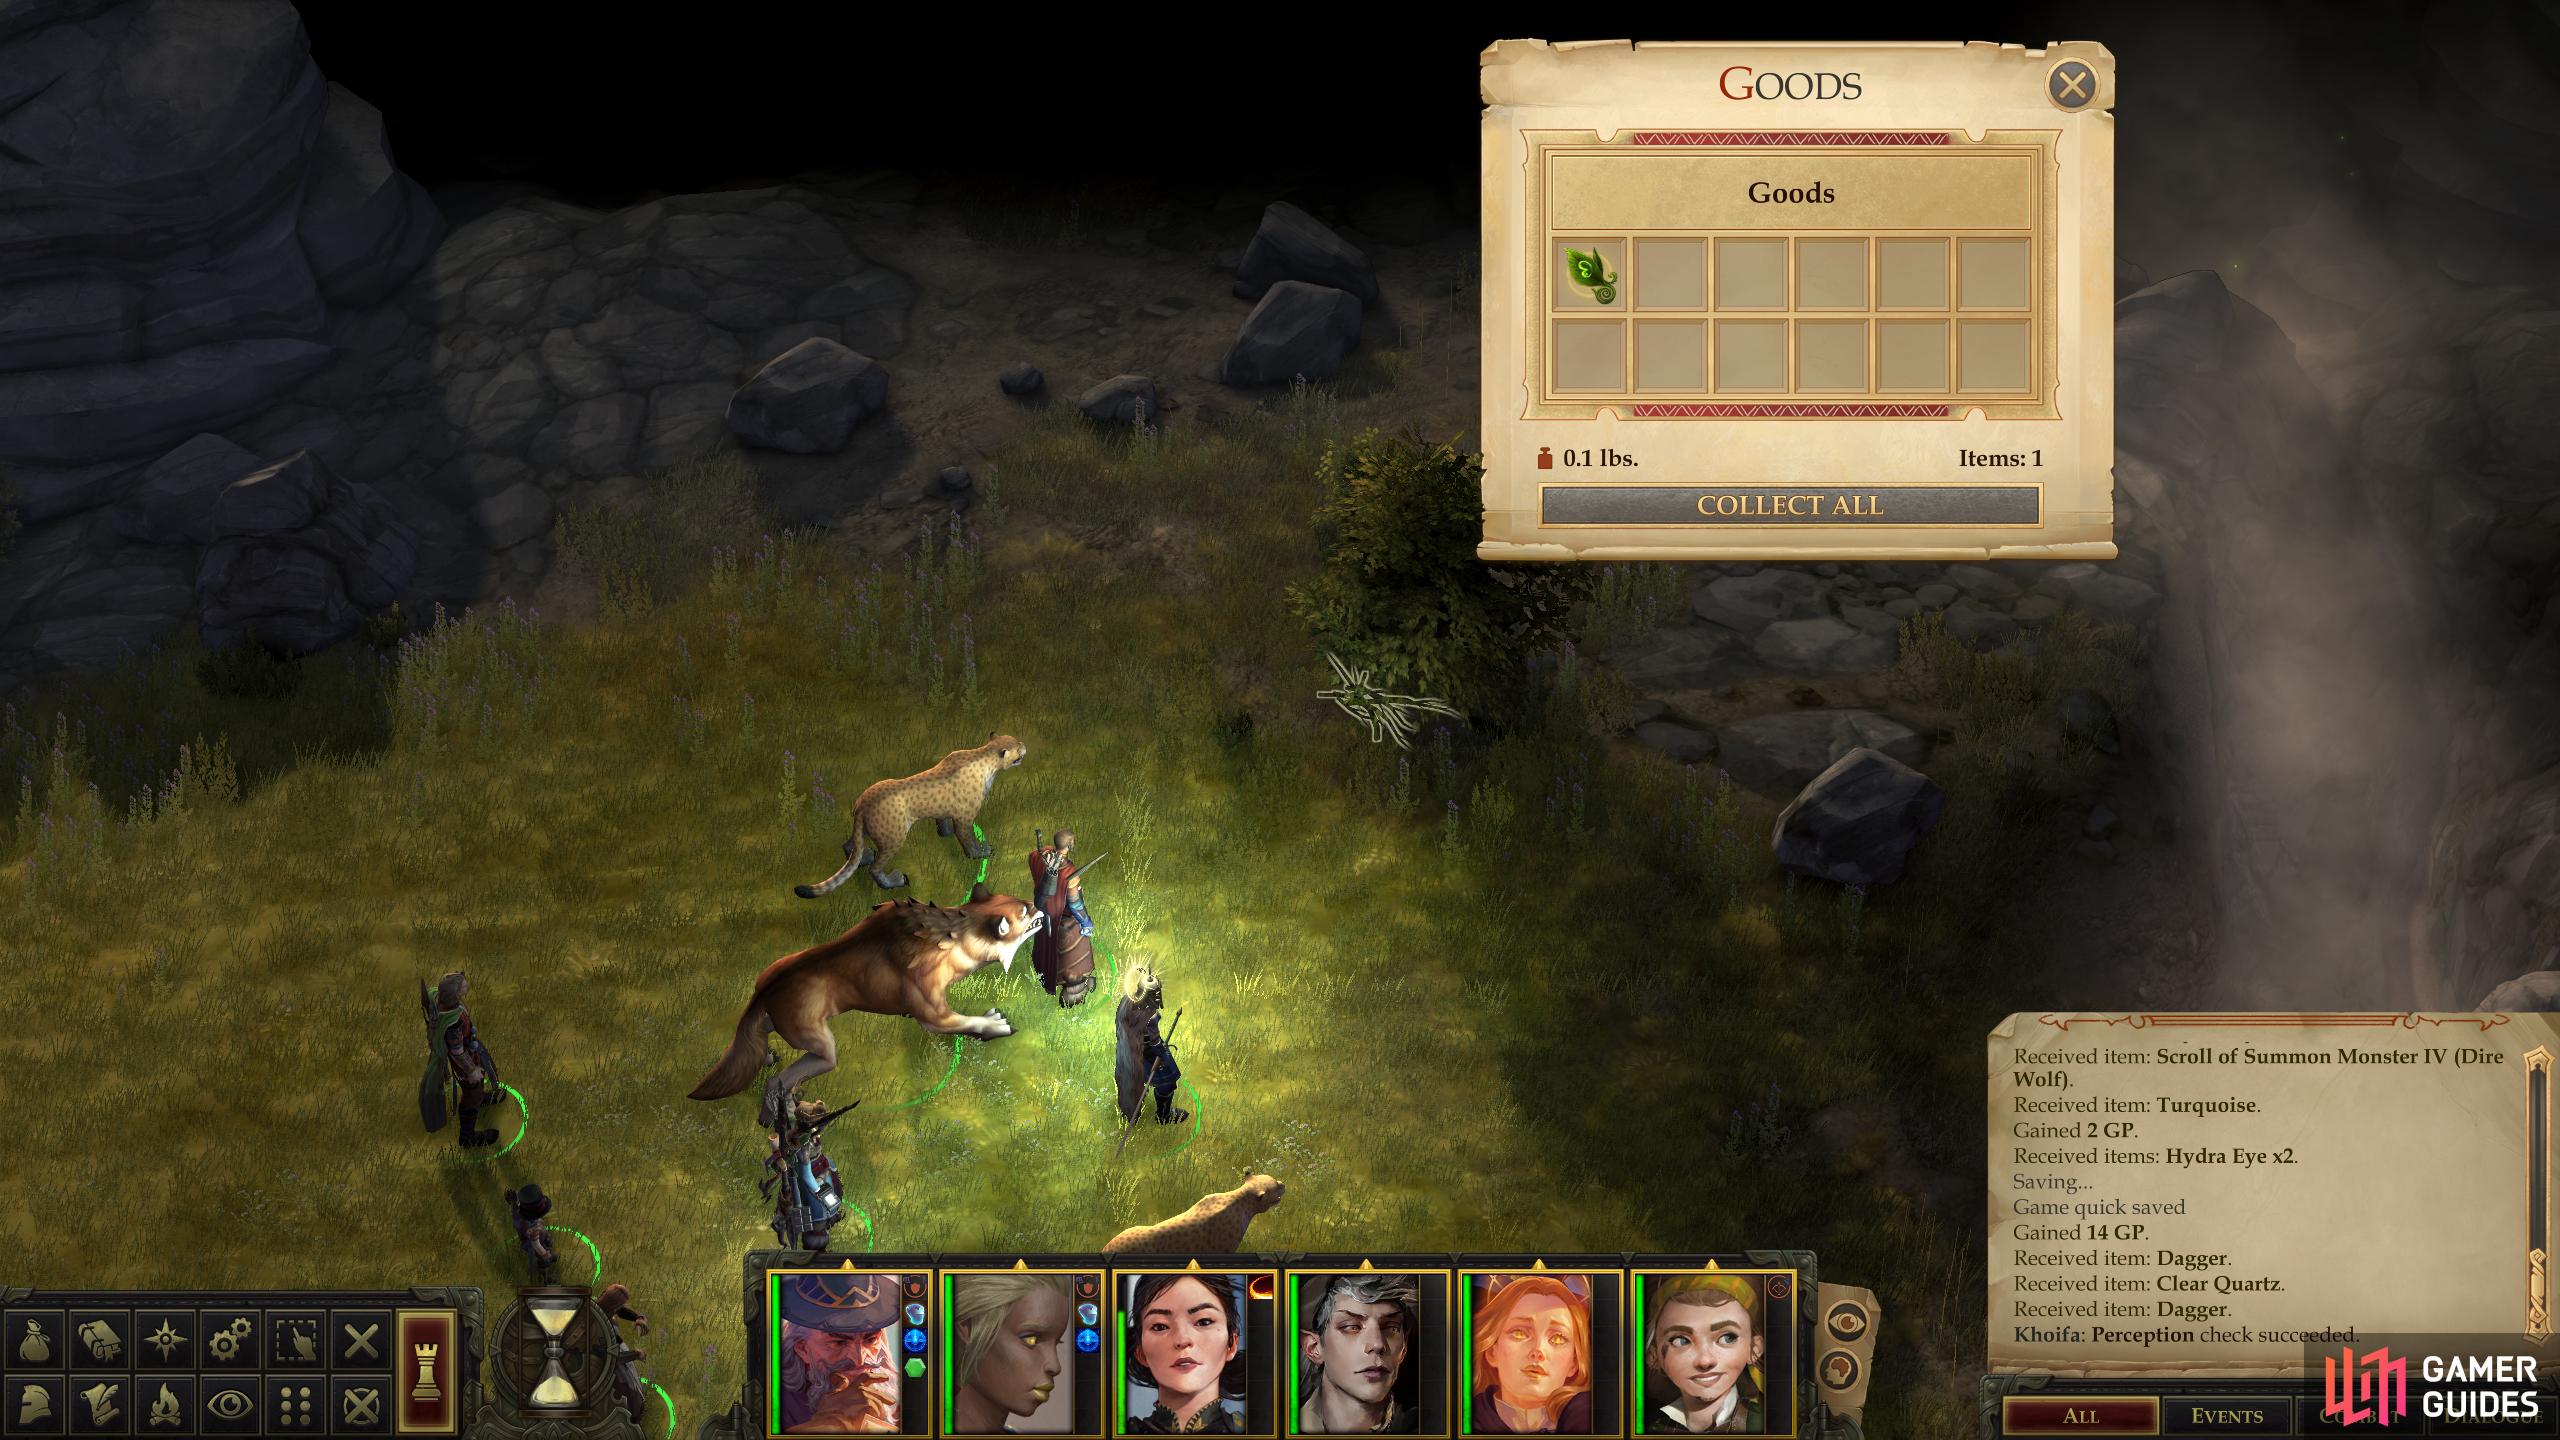
North of the Nereid and company you can find a pack of Worgs, three normal, two greater. None of them should pose much of a challenge to you anymore. Continue north from these wolves and you’ll find an area transition and a chest, the latter of which contains some scrolls, potions and trinkets.
West of here you’ll find a ravine, which is bridged by a log [Mobility 19]. North of the eastern side of this poor bridge you’ll find a corpse, which you can loot for more valuables, including a Token of the Dryad.
Battle: Nereid and Hydras
Cross the log or circle around the southern end of the ravine (you’ll have to fight some Dire Boars, in the latter case) and follow the road west a short distance to encounter another group of enemies - a Nereid, two Pixie Tricksters and two Ferocious Hydra. The latter beasts are somewhat outdated, getting numerous attacks but having a relatively low Attack value, while the Nereid and Nixies will largely get up to the same tricks as last time.
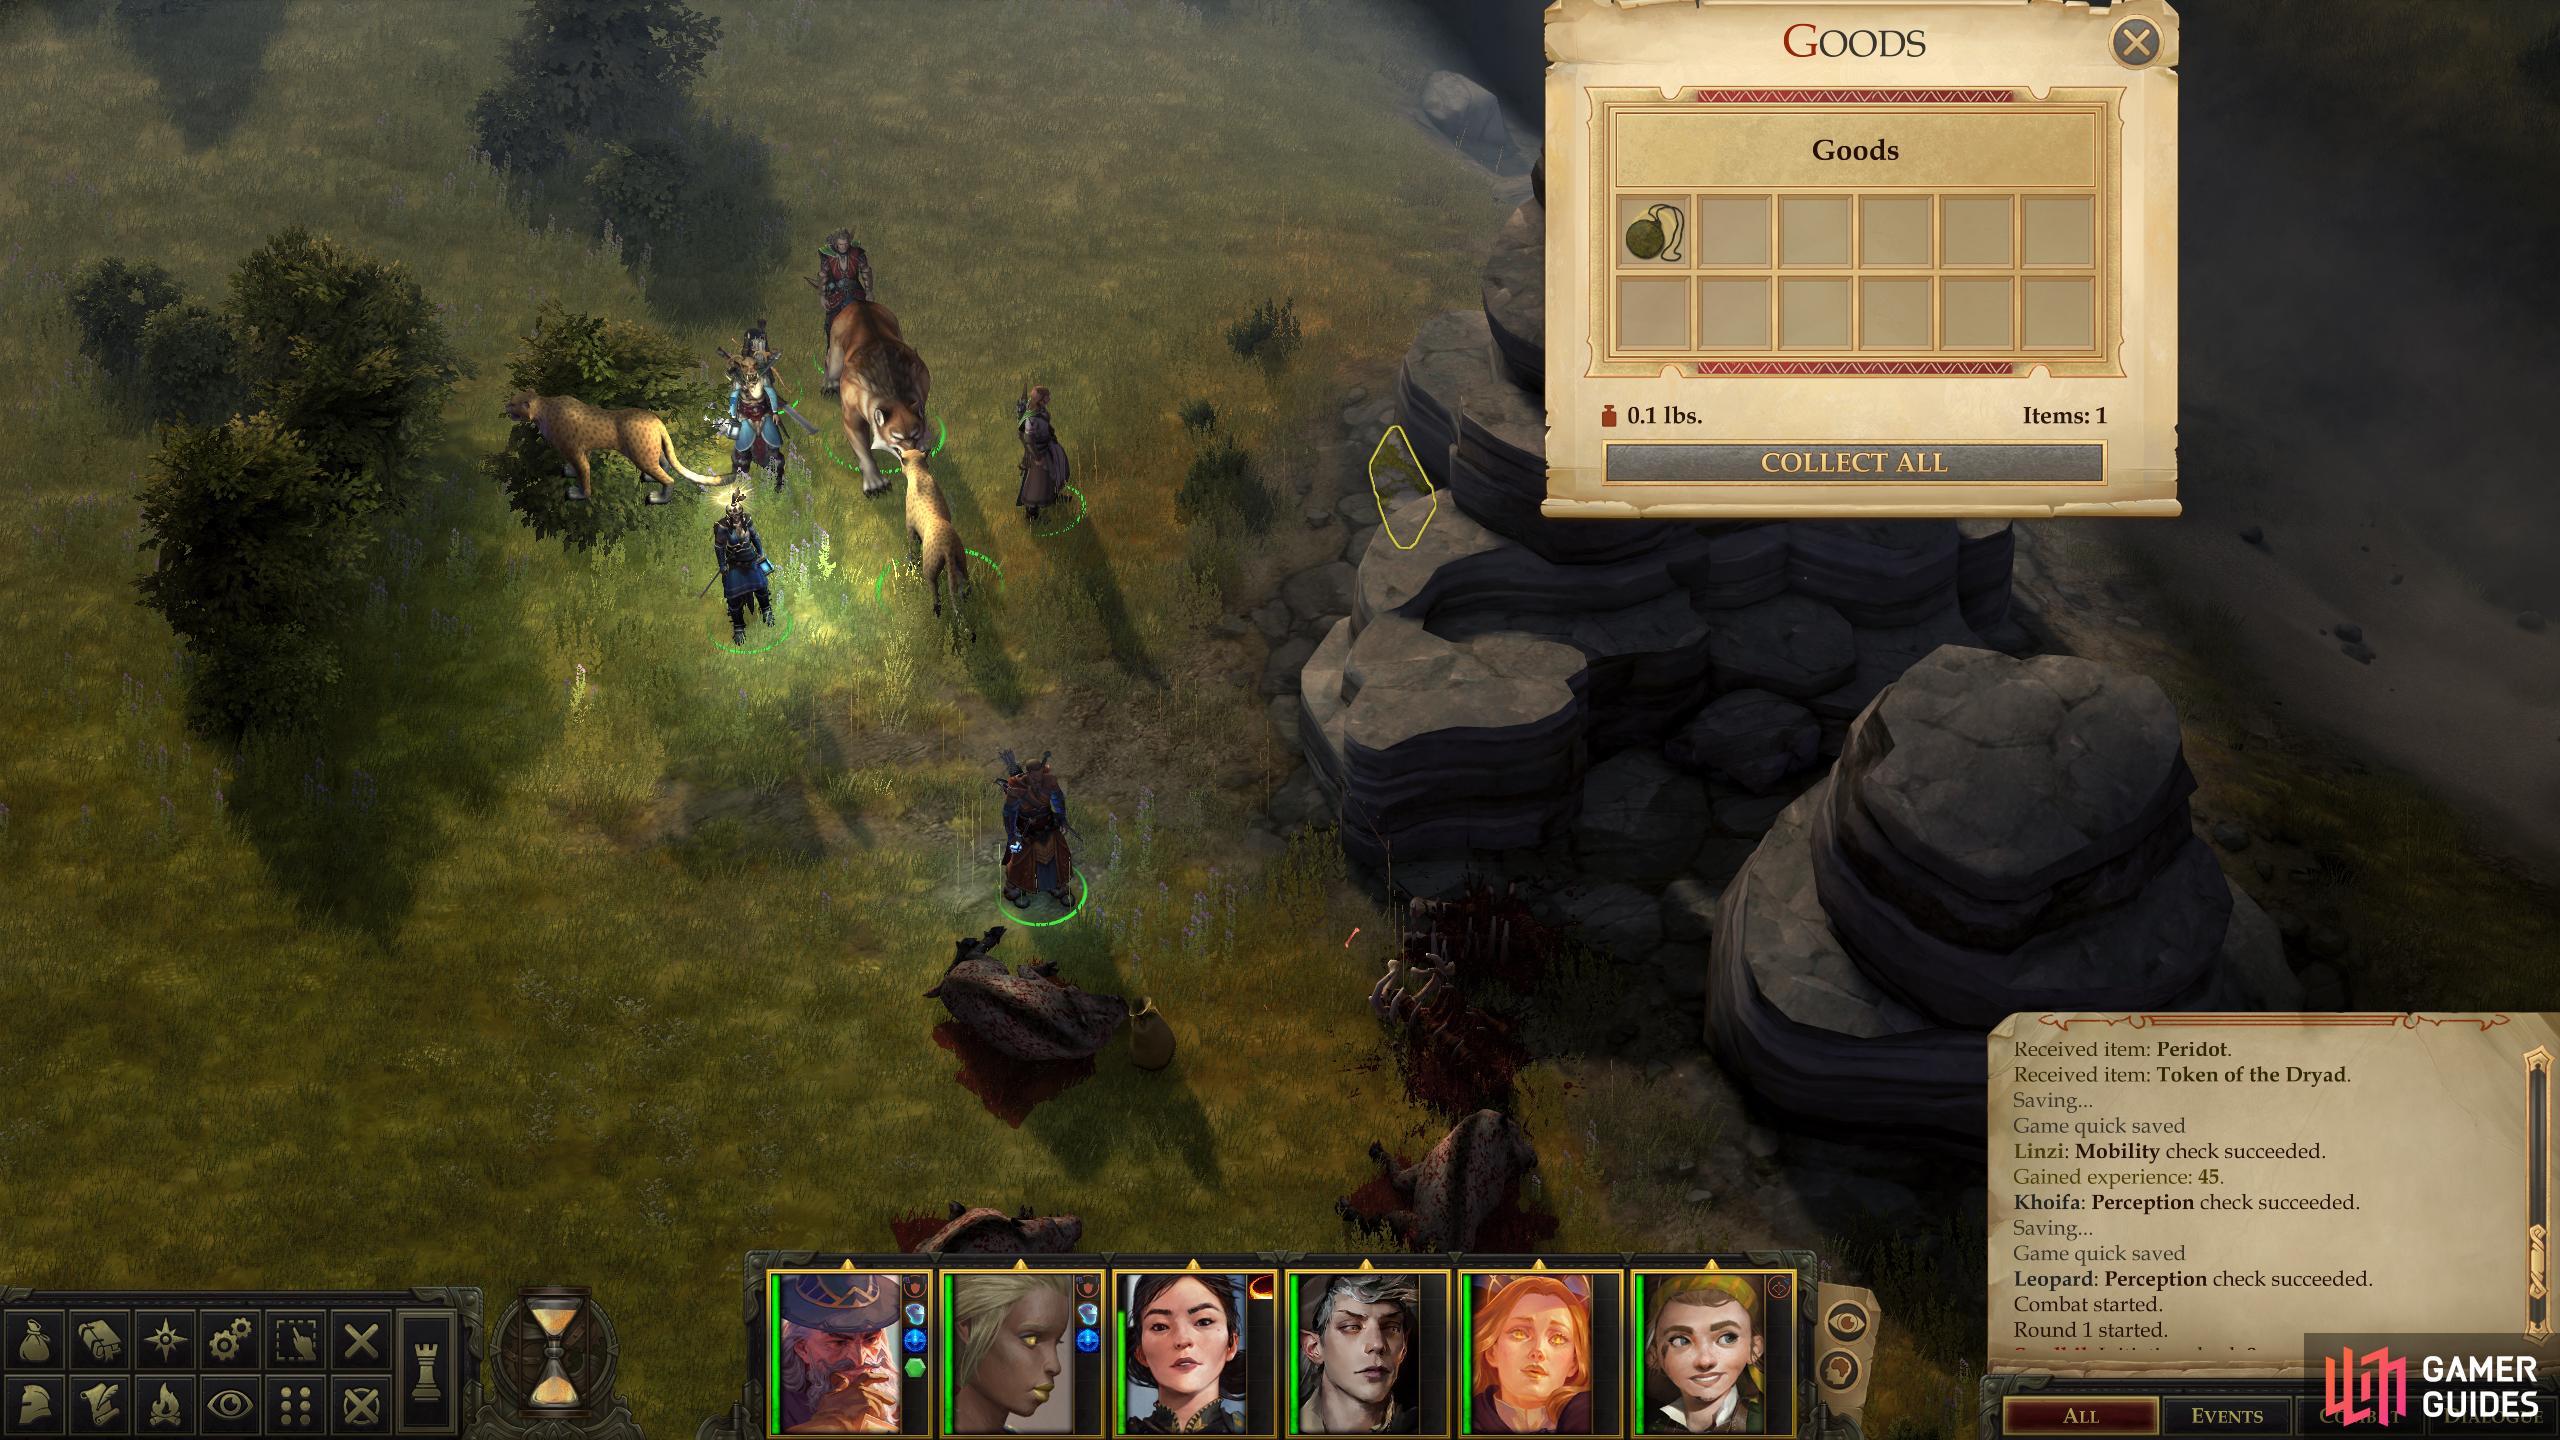
Search around west of the chasm to find a Taldan Warrior’s Dog Tag,
and a second Token of the Dryad.
On the plus side, once you’ve crossed the ravine you can search some rocks to the south [Perception 7] to find a Taldan Warrior’s Dog Tag. Search some bushes north of the ravine on the western side and you’ll find [Perception 0] a pile of branches concealing a Token of the Dryad.
Abandon the road and continue west and you’ll reach the cliff where Ivar lurks - at least, he’ll be here if the errand The Lonely Hunter is active. Search the bushes to the north as you go to find [Perception 20] a branch hiding a Scroll of Hold Person. If you follow the cliffs south you’ll find some wolves and worgs and some more dire boars - more battles that shouldn’t pose much of a danger to you. You’ll also find some slopes leading down to the beach, where Tatzlwyrms dwell. Ignore them for now and continue south until you reach the outskirts of the village.
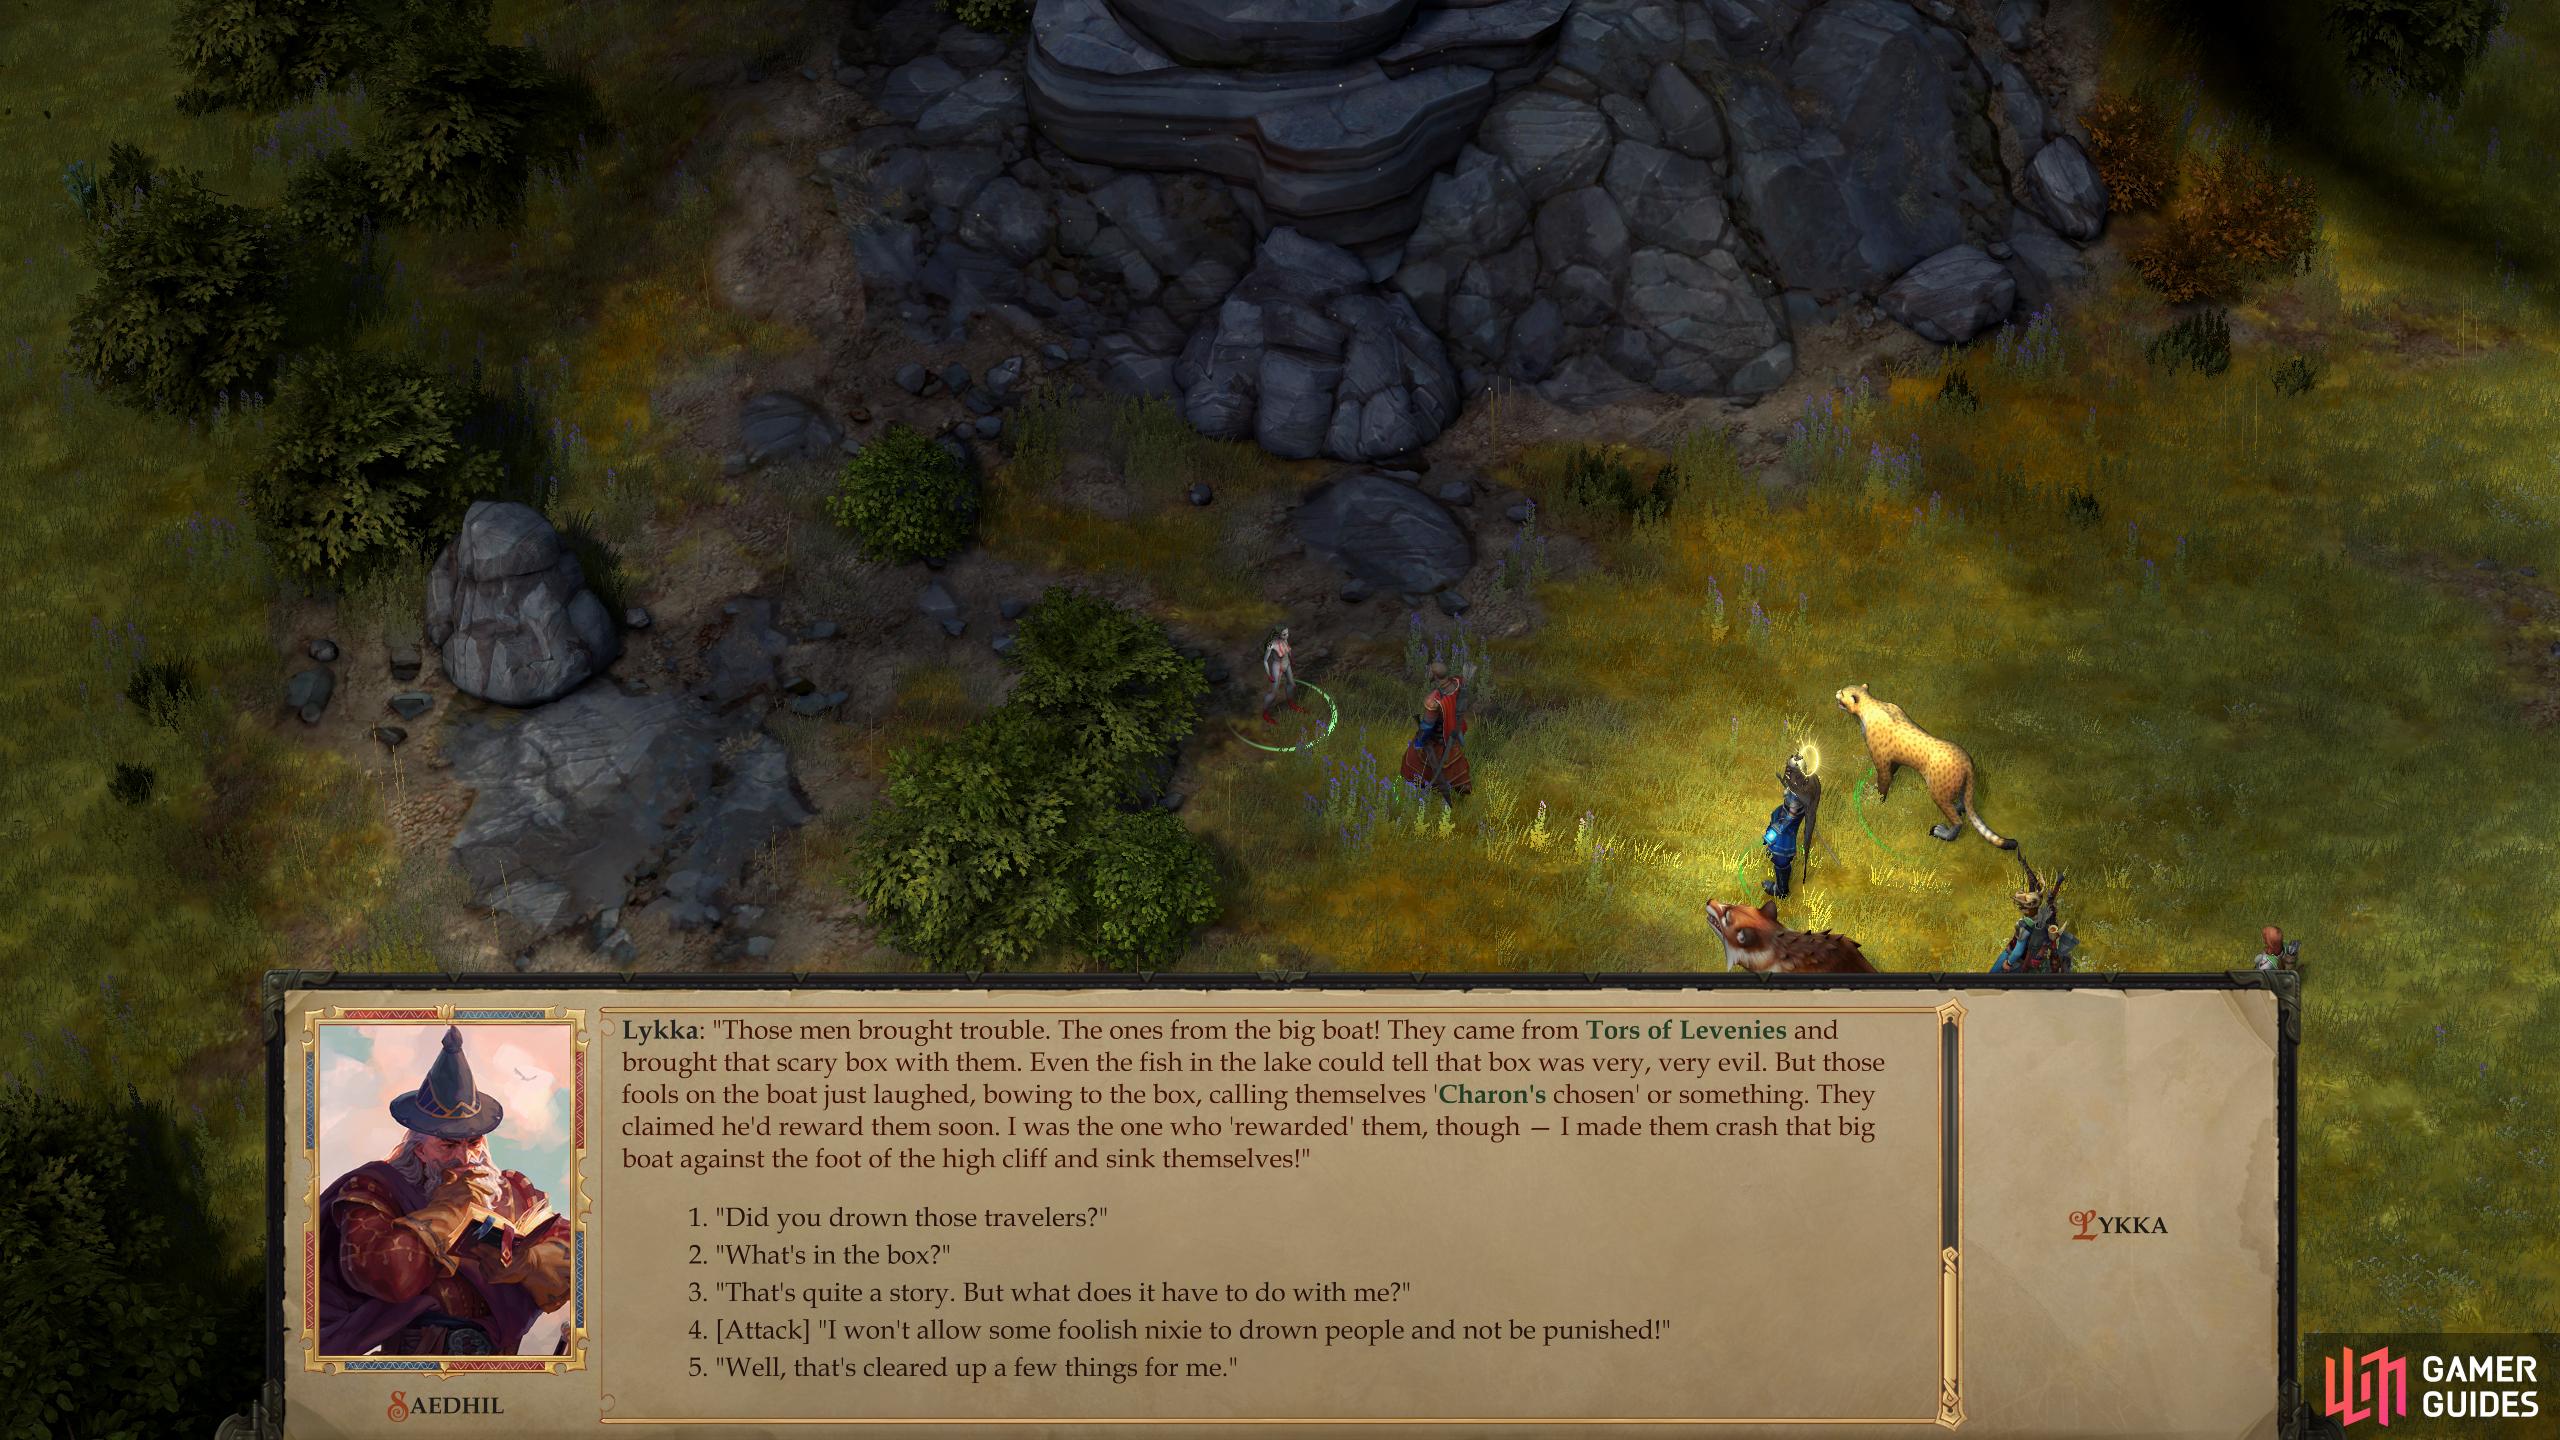
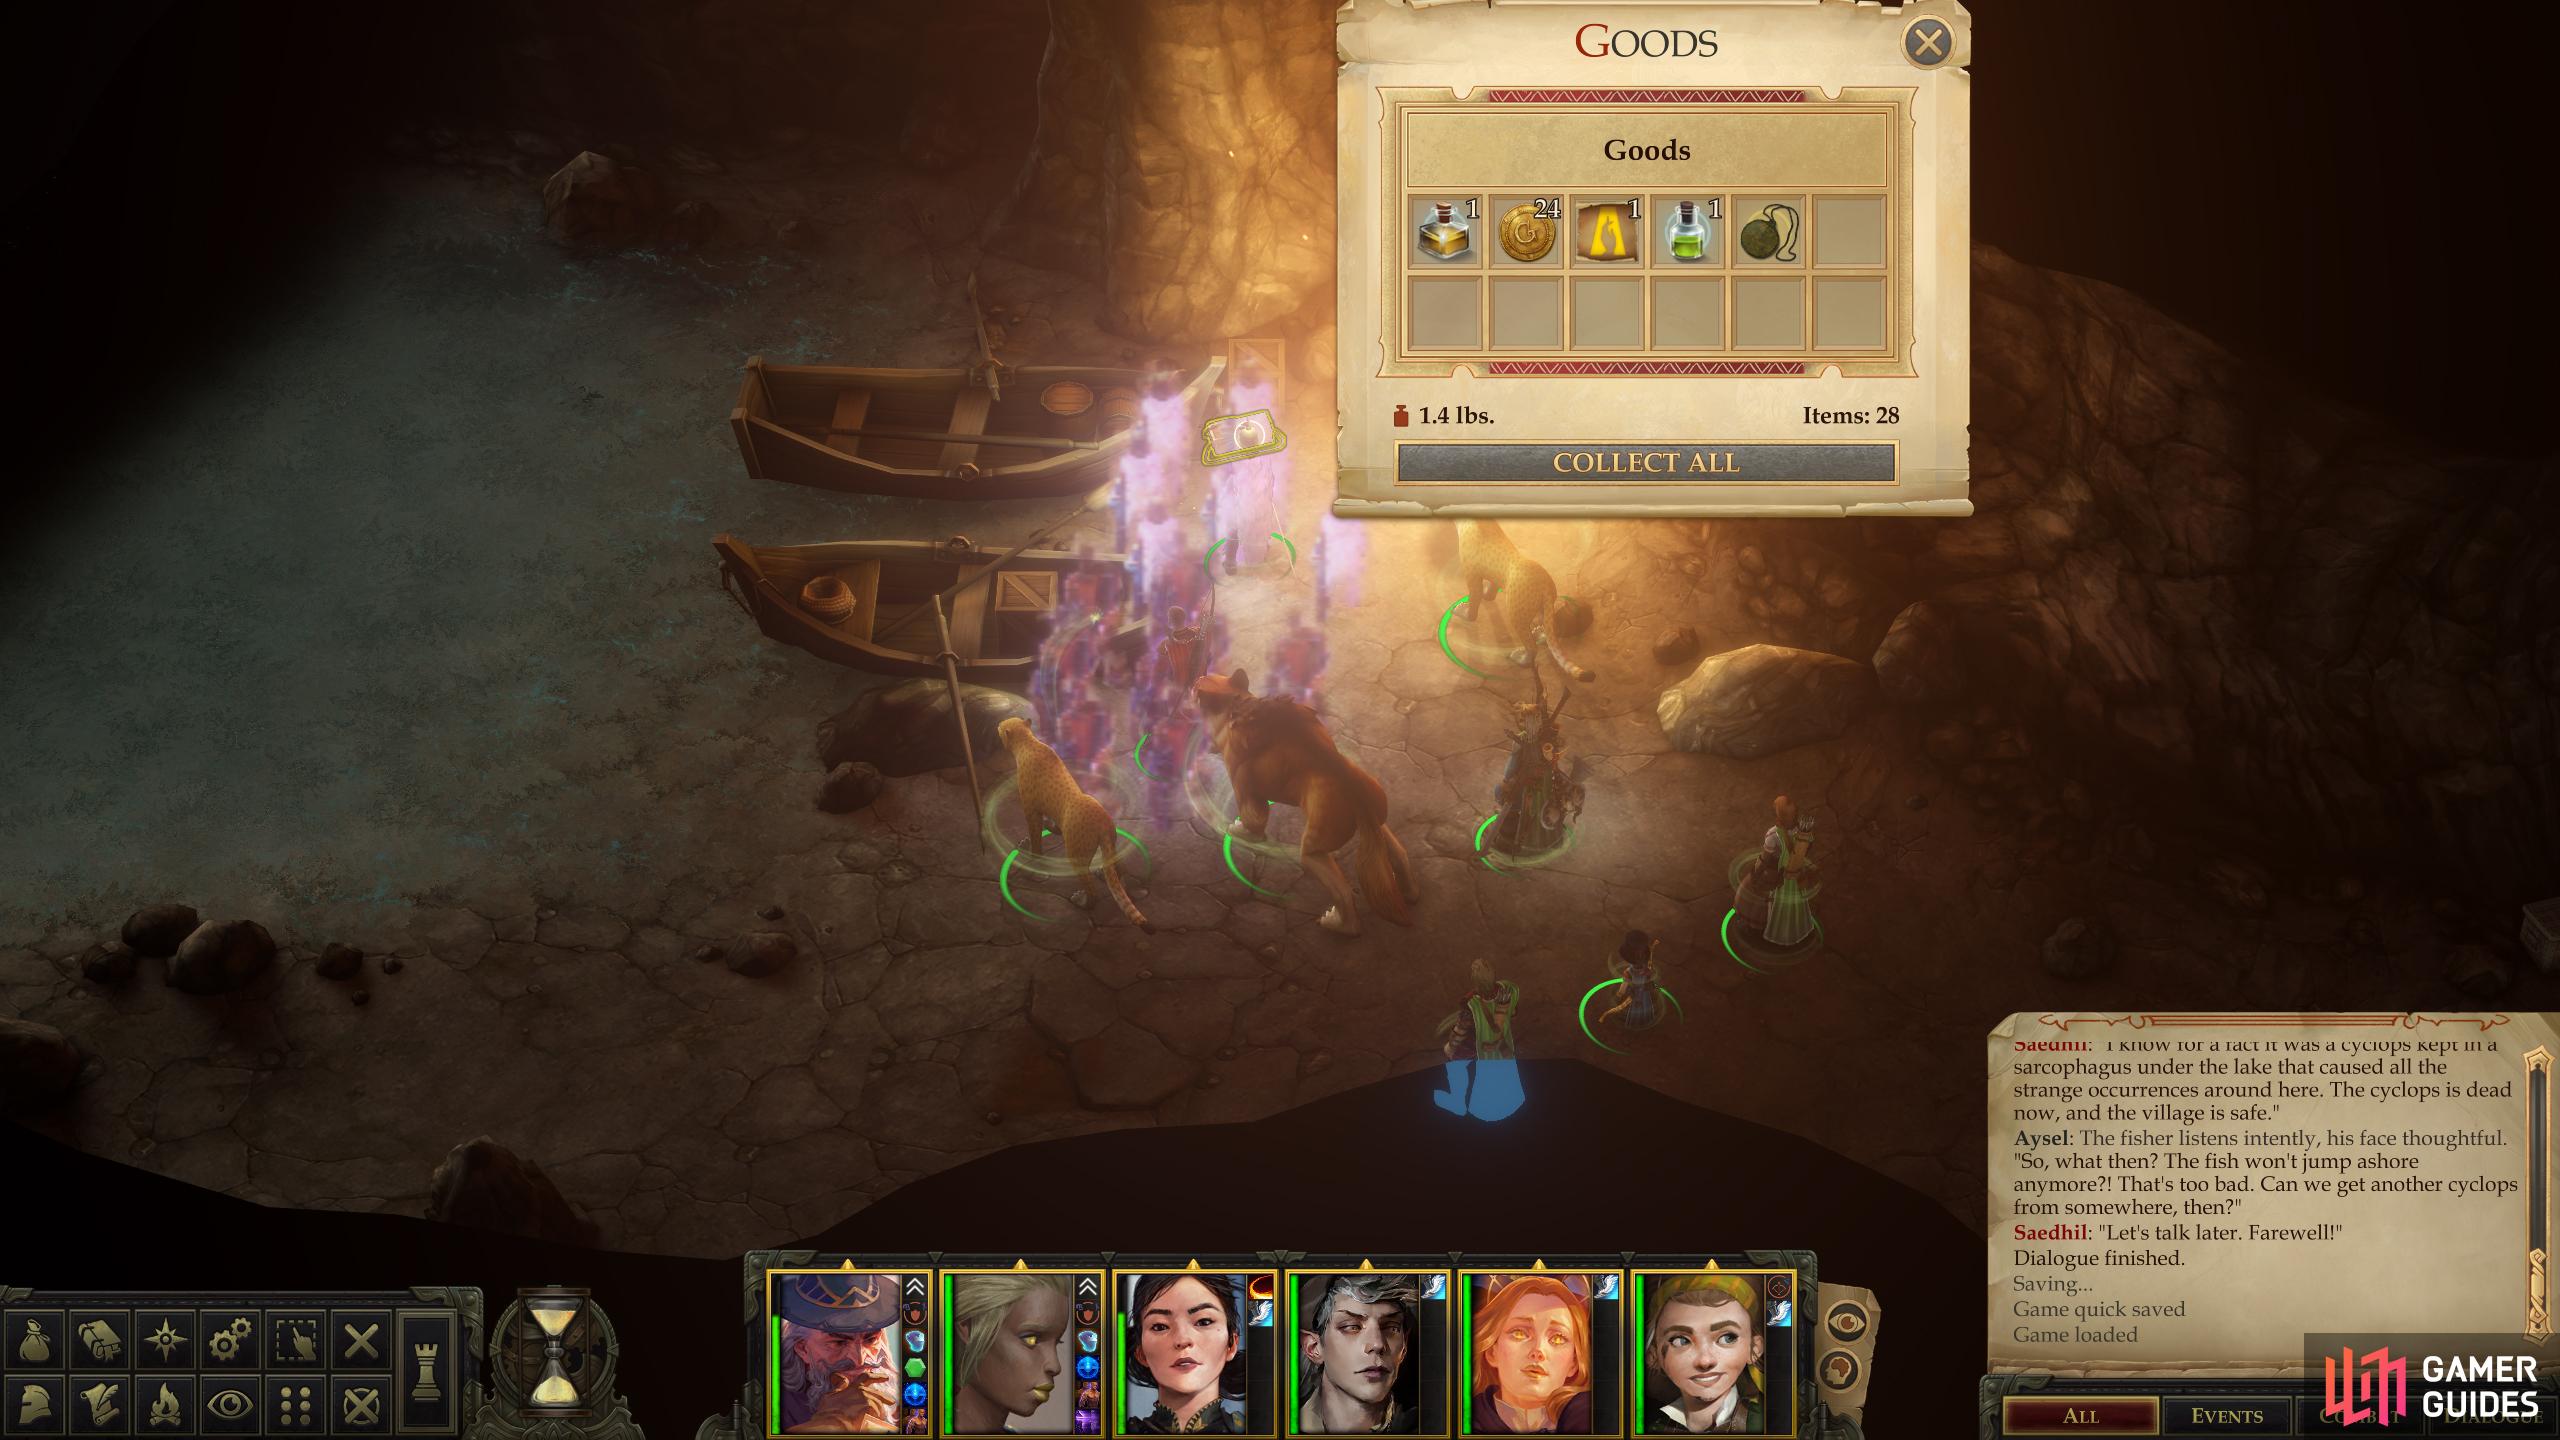
Talk to a Nixie named Lykka near Lake Silverstep Village to learn about “the scary box”,
then search near Lykka for a Token of the Dryad.
The Scary Box
Before entering the village, skirt the edge and head east to find a nixie named Lykka throwing a fit near some rocks along the edge of the village. Talk to her and avoid acts of violence and she’ll tell you she sunk a boat to stop some stupid humans from opening an “evil box”. Unfortunately, humans are persistent in their imbecility, and a few batch of human ne’er-do-wells dwelling in a nearby cave now seek to fish the box out of the lake and open it. Offer to help [Neutral Good] to start the errand The Scary Box.
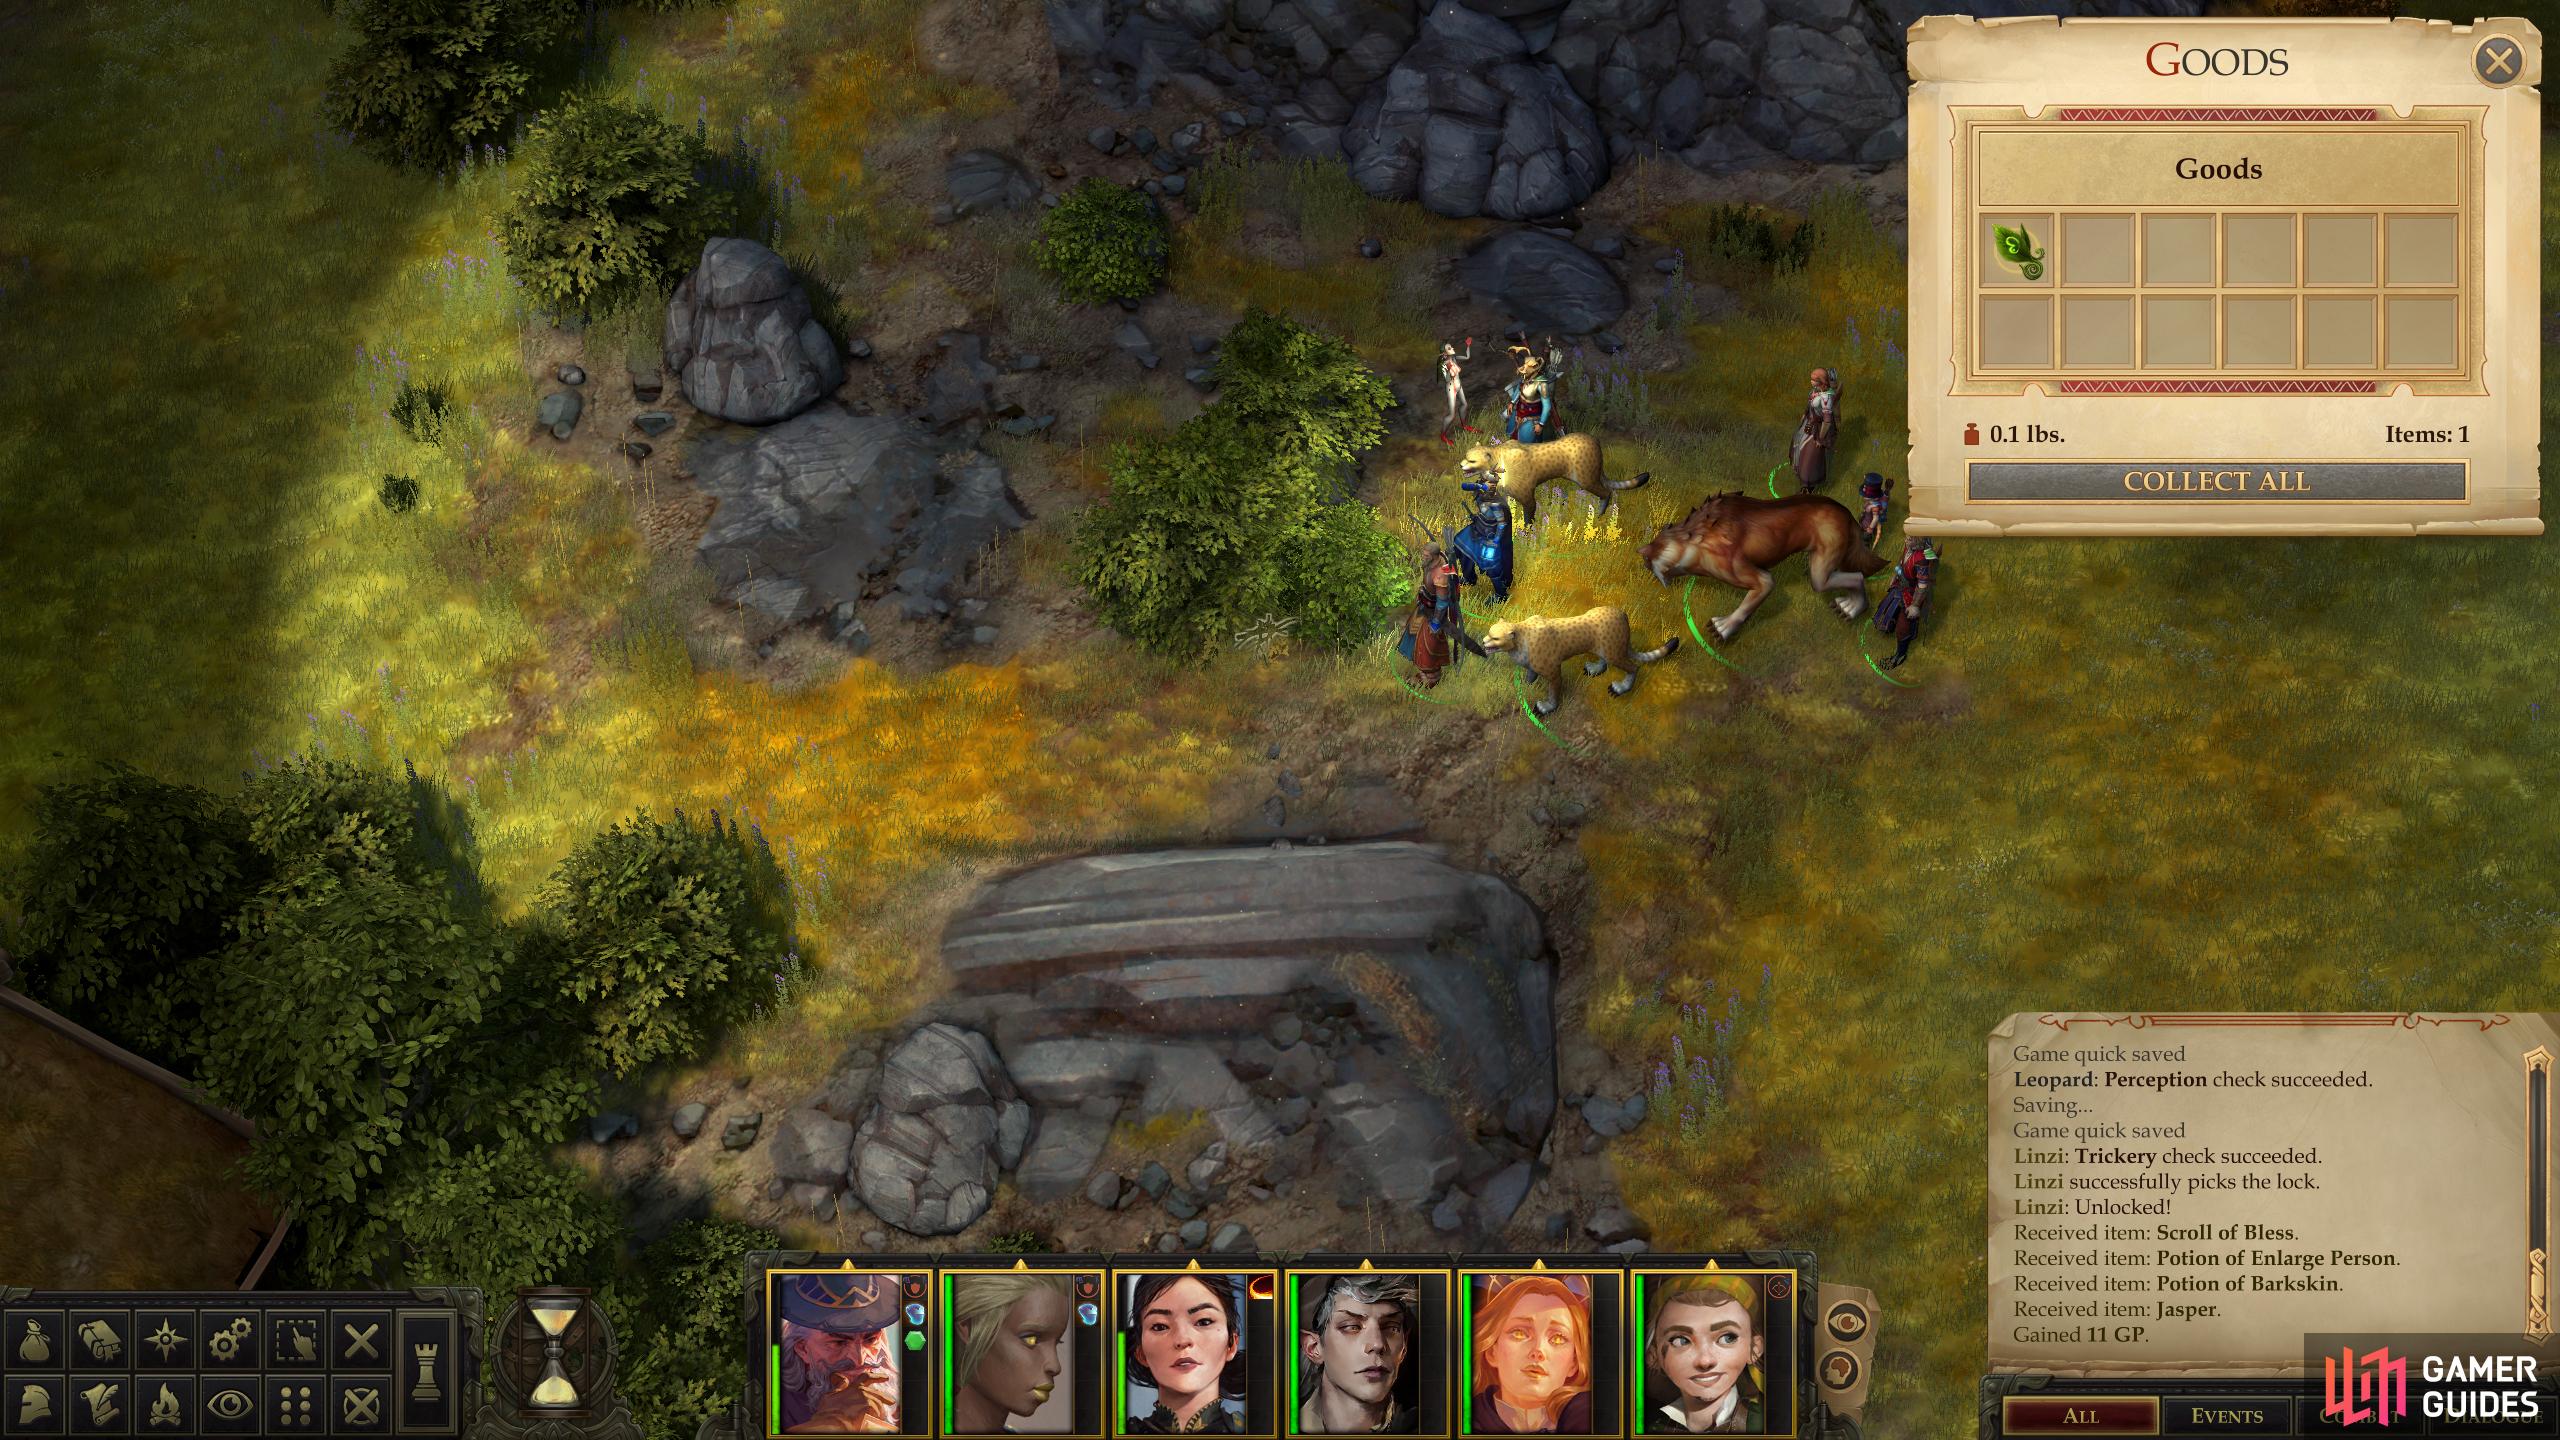
Search some branches near Lykka to find a Token of the Dryad, then circle around the rocks to the north and east of Lykka to find [Perception 18] a chest [Trickery 21] yielding a variety of potions and baubles.
Tatzlywrms and Nixie
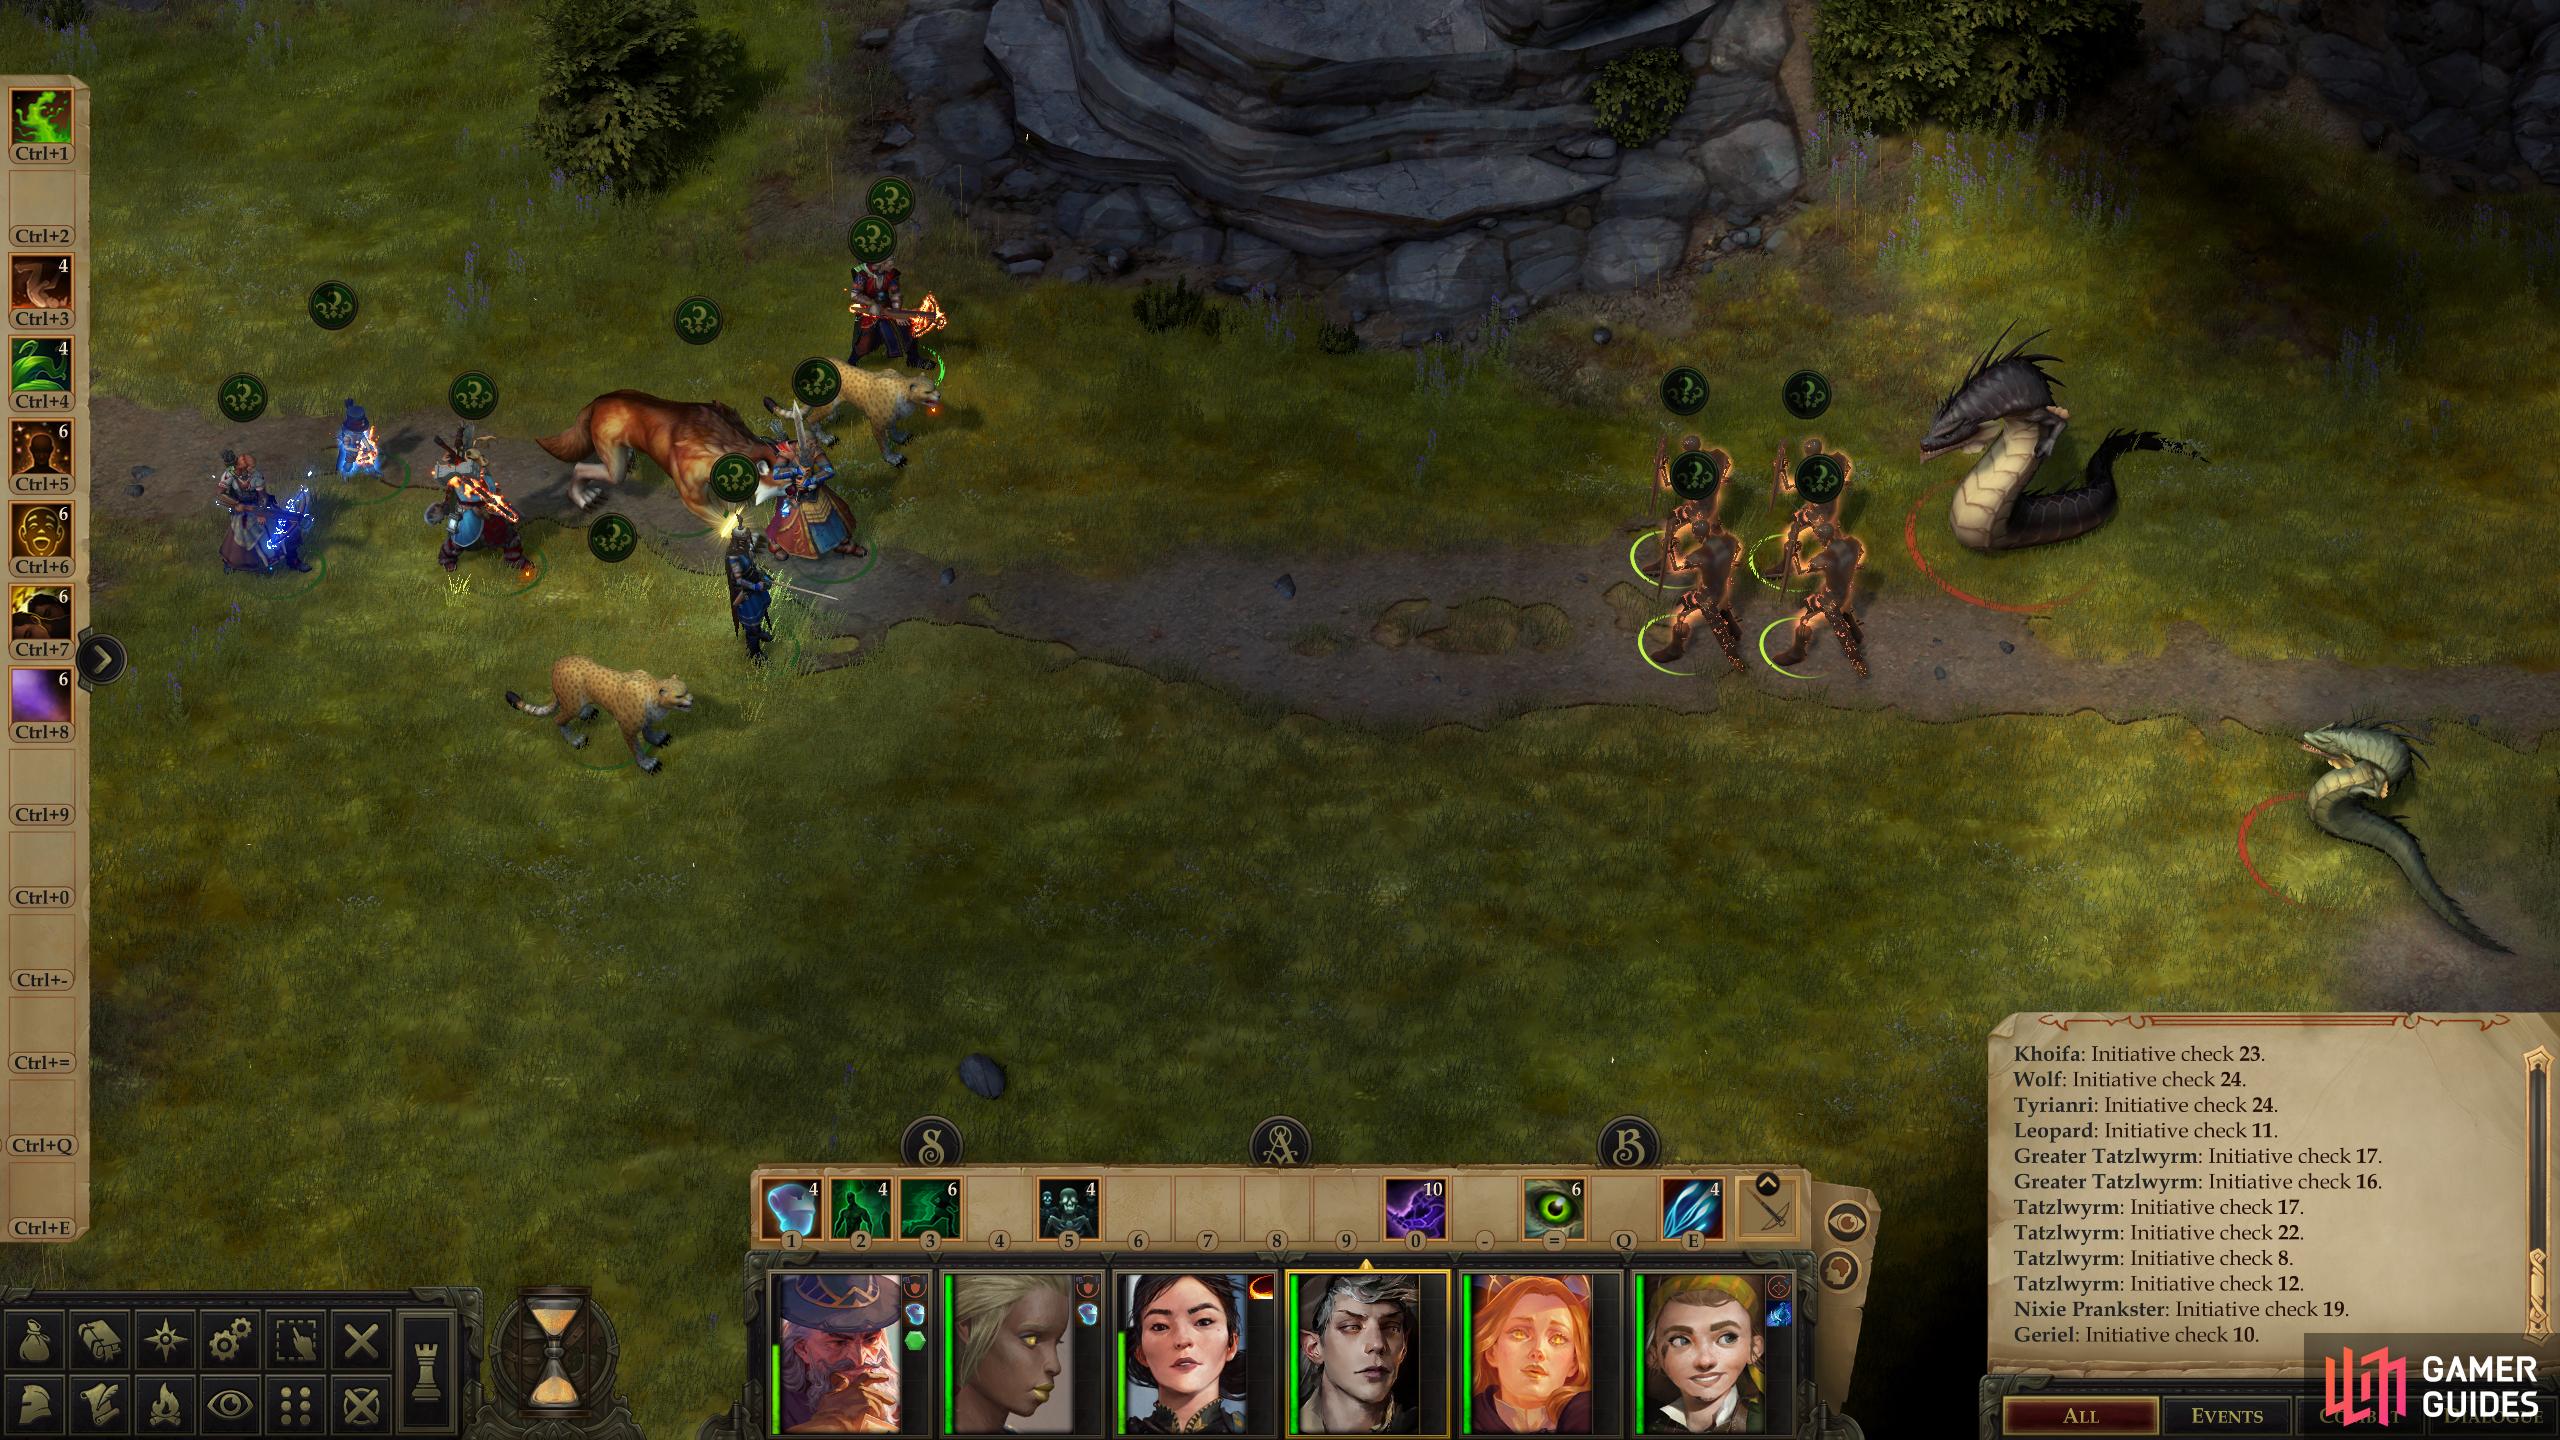
Now work your way around the eastern edge of the village - no need to bother entering it yet until you finish one final encounter. In the southeastern corner of the map you’ll find some Tatzlwyrms near a corpse, and while these are the most obvious enemy, they’re a mere distraction for the real threat - a Nixie Trickster. You’ve encountered these elsewhere on the map before, but this one is keen on buffing herself with illusions, standing near the beach where she can only be attacked by a few characters, and using nasty enchantment spells like Confusion, preferably while you’re preoccupied with the Tatzlwryms.
Approach from the west - if you descend a cliff [Mobility 21] you won’t have as much tactical flexibility, and when you see the Tatzlwyrms, use Animate Dead to conjure some skeletons near them. They won’t win, but that’s not the point - keep your party back and let the wyrms fight you undead. The ruckus should draw the attention of the Nixie, who will hit your undead servants with Confusion, wasting it on mindless fodder. When she reveals herself, attack her, leaving perhaps a token warrior to engage the Tatzlwyrms. Deprived of Confusion, she’s more a nuisance than a threat, and should fall soon enough. Wipe out the Tatzlwyrms when the Nixie is neutralised, then loot the corpse to find 121 gold and the Talon of the Wise, a Kana +2 with the Agile property.
Aysel and Brevis
Continue west from this hidden treasure cache until you reach the eponymous village on the edge of Silverstep Lake, which we’re now ready to explore. Near a house on the eastern edge of the village you’ll find a fisherman named Aysel, or rather, a former fisherman. Ask who he is and about this “Dragon Feast” he’s babbling about and he’ll tell you an improbable story of a silver dragon commanding fish for the benefit of an incompetent fisherman. Continue along this line of questioning to learn more about this silver dragon of theirs, in the process hearing the name of one “Ivar”, who bears the title of “Dragon’s Voice”. Being the representative of such a powerful, supposedly benevolent being would be quite the position of power in such a meager village, and one well worth seeking out. At the very least, maybe Ivar can formulate his own opinions about things instead of waiting for some “dragon” to tell him what his opinion is, unlike Aisel.
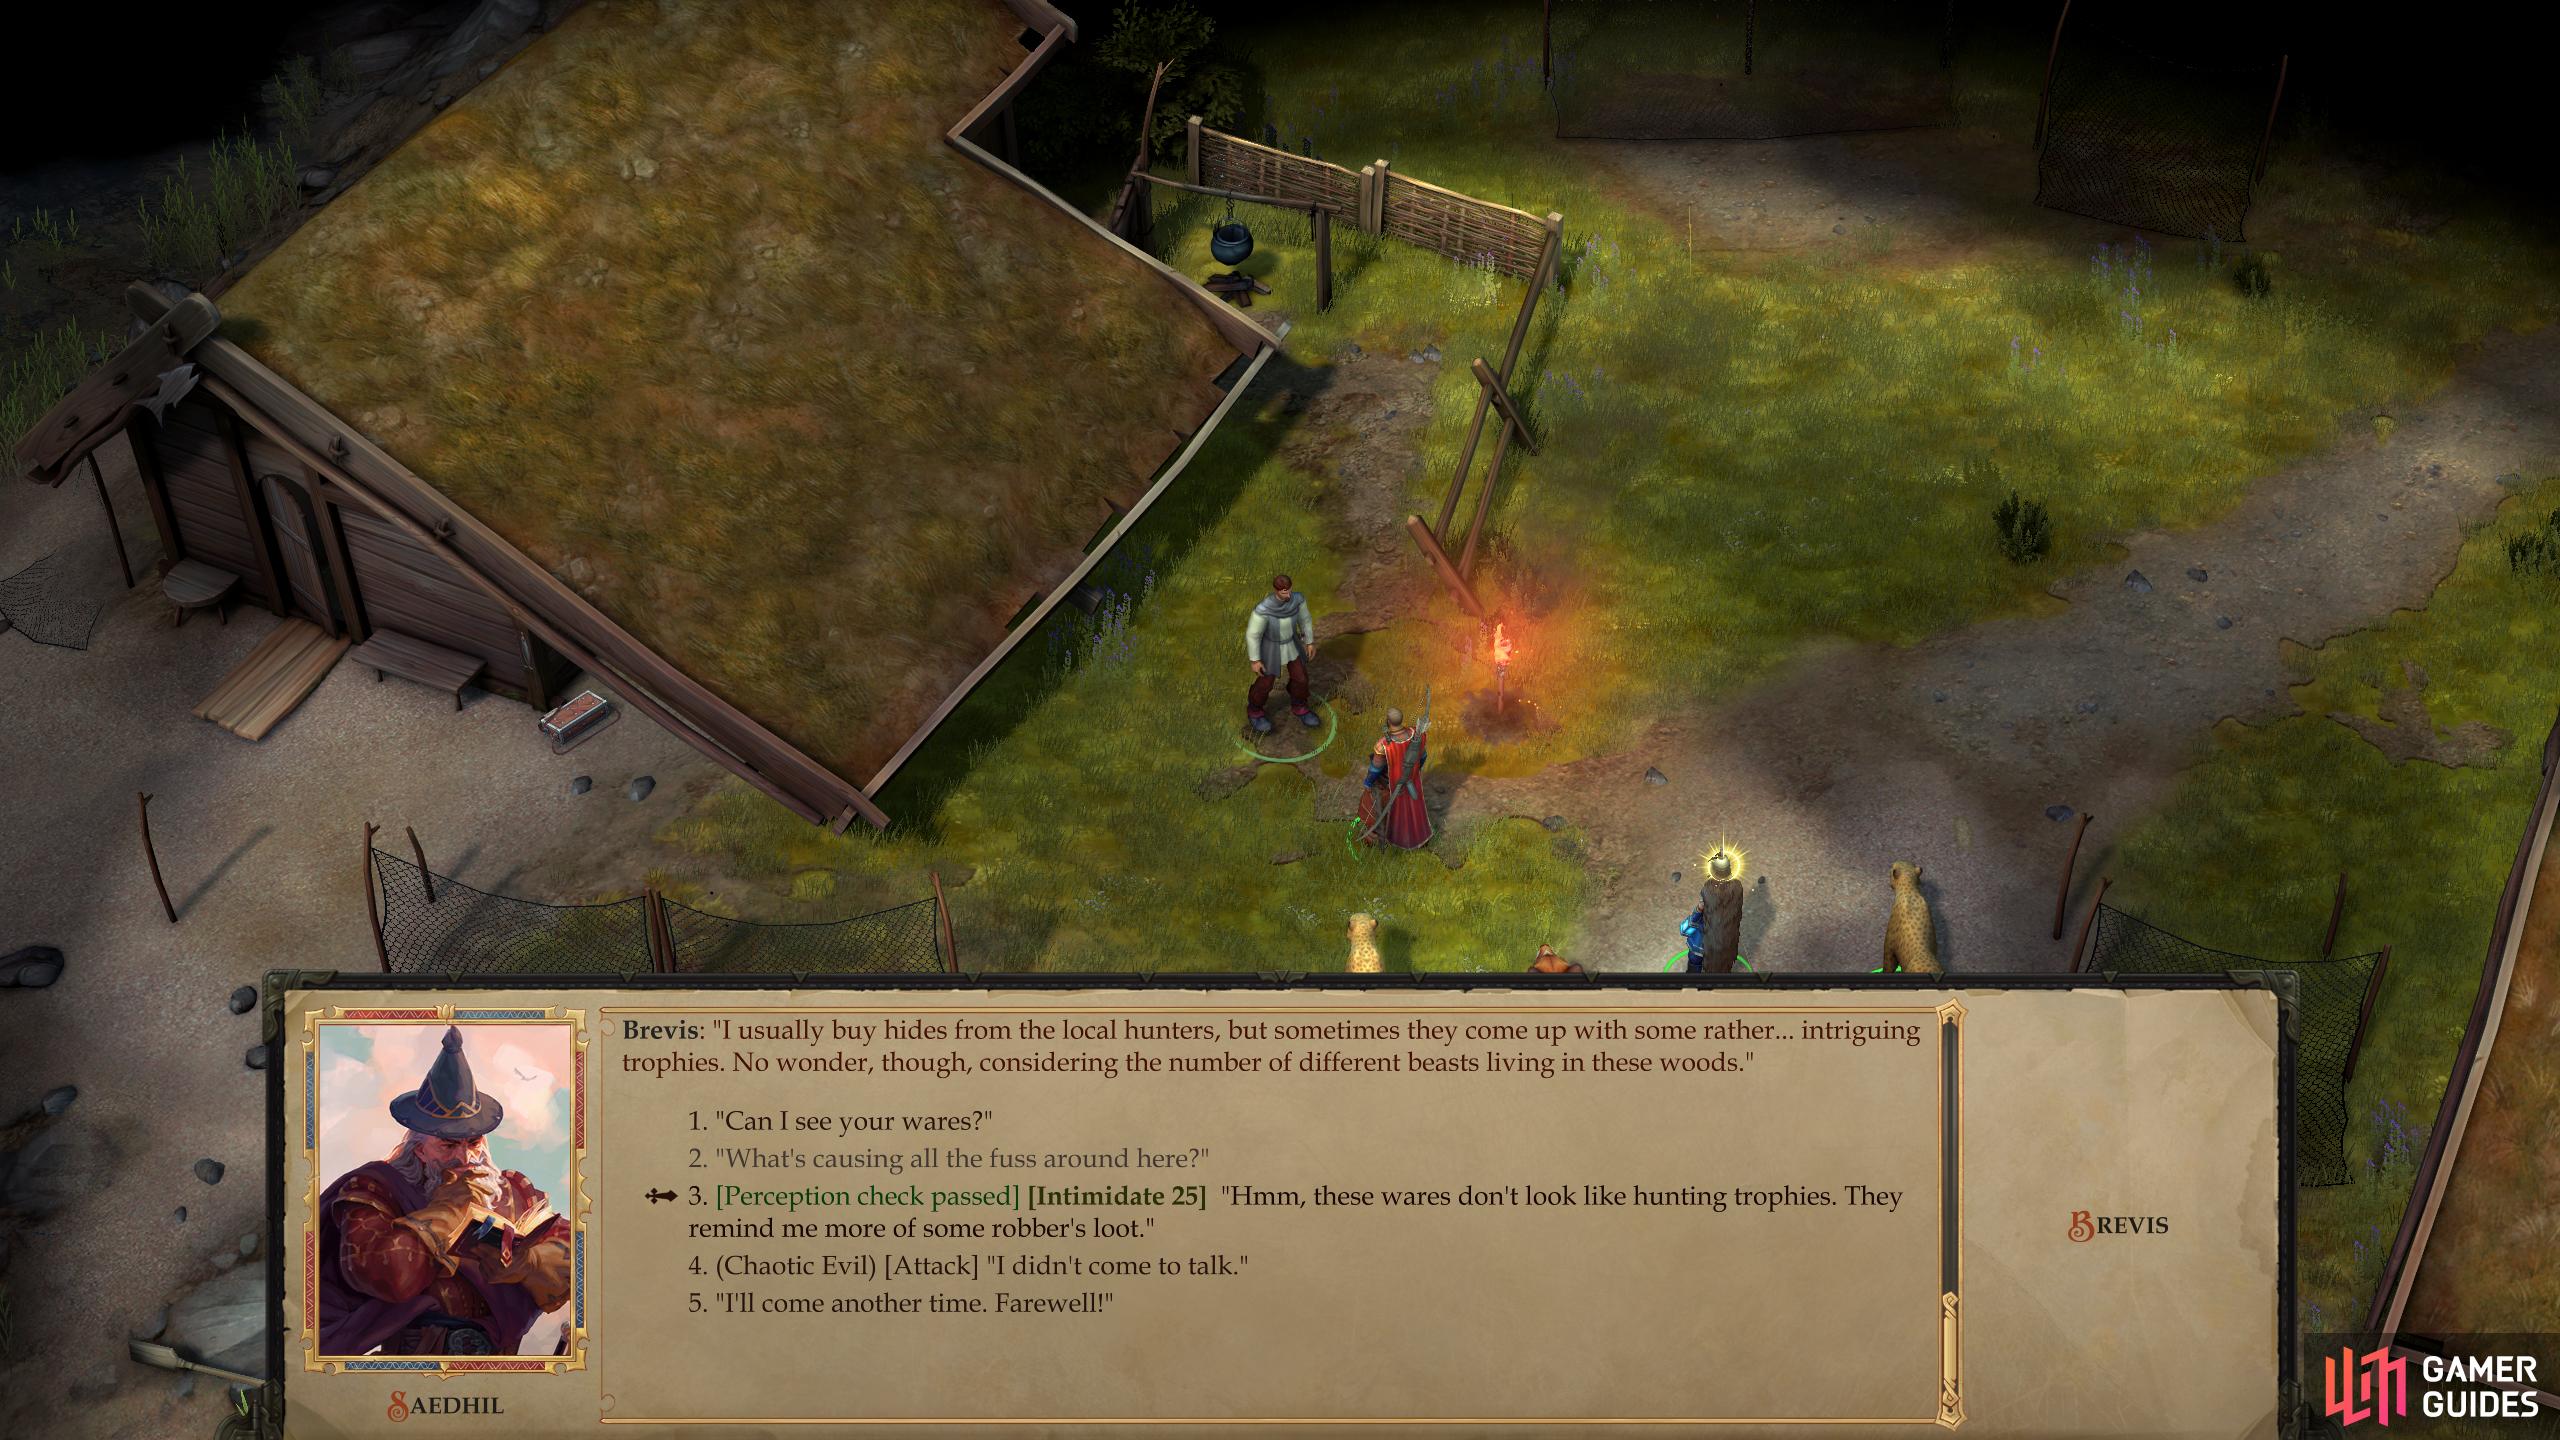
From Aysel, turn southwest to find another man, Brevis, standing in front of his shop. His appearance and accent gives him away as a foreigner, and while his wares aren’t anything to get excited over, you can use him to sell off any excess loot you may be carrying around.
Do what business you need to do with Brevis, then ask him about the commotion to hear a skeptic’s version of this “silver dragon” business. He’s also got some opinions on this Ivar fellow, although you’d be wise to note that he doesn’t disregard the man’s effectiveness, nor his peculiar effect on the local monster population.
Finish up your hitherto pleasant and informative conversation by asking him “I’m surprised to see a trader in such a remote place.” and pass an under-the-hood [Perception 18] check, after which you’ll get an [Intimidate 25] option. Succeed at both checks and he’ll suddenly discover both his poker face and a curious desire to donate to the barony. Odd timing, that. Be sure to say “Why don’t you start with where you acquired those goods of yours?” to learn about some bandits lurking in the mountains nearby, whose stolen wares Brevis sells. Brevis tries to defend what honor he has left - as if facilitating banditry isn’t just as bad as participating in it - leaving you with a variety of moral choices you can make in response. You can pick a [Lawful Good] option to chastise him, [Neutral Evil] will collect a cool 450 gold bribe from the dishonest merchant, and the [Lawful Neutral] option will impose some heavy-handed justice.
When you’re done chatting with named NPCs, search the village for loot. You’ll find a variety of containers lying around, some of which hold scrolls, potions and the odd bit of gold. The westernmost chest [Trickery 22] contains a Recipe: Grilled Silver Eel, while another chest to the north of this one (the northwestern-most chest) will yield Wand of Burning Hands, a Taldan Warrior’s Dog Tag and 799 GP. There are also two tricky treasures, search some bushes to the northwest of Aysel and you’ll find [Perception 19] a branch hiding a variety of potions, scrolls and a Taldan Warrior’s Dog Tag, then seek out a chest south of Aysel and east of Brevis, which requires a [Perception 27] check to spot. If you find it, plunder the chest [Trickery 25] for an Amulet of Natural Armor +2.
Battle: Tatzlwyrms
With the village properly explored, you’ve only got one area left - the coast northwest of the village. Make your way north from the village and take a slope down to the west to reach the coast, which is full of dead fish and the Tatzlwyrms this windfall attracted. Kill the wyrms - there’s no Nixie helping these ones - then keep going north until you find a cave. Nothing good dwells in this cave, so spell buff before hand, then head inside.
Search the entrance of the cave for some notes,
and yet another Taldan Warrior’s Dog Tag.
Lake Silverstep Cave
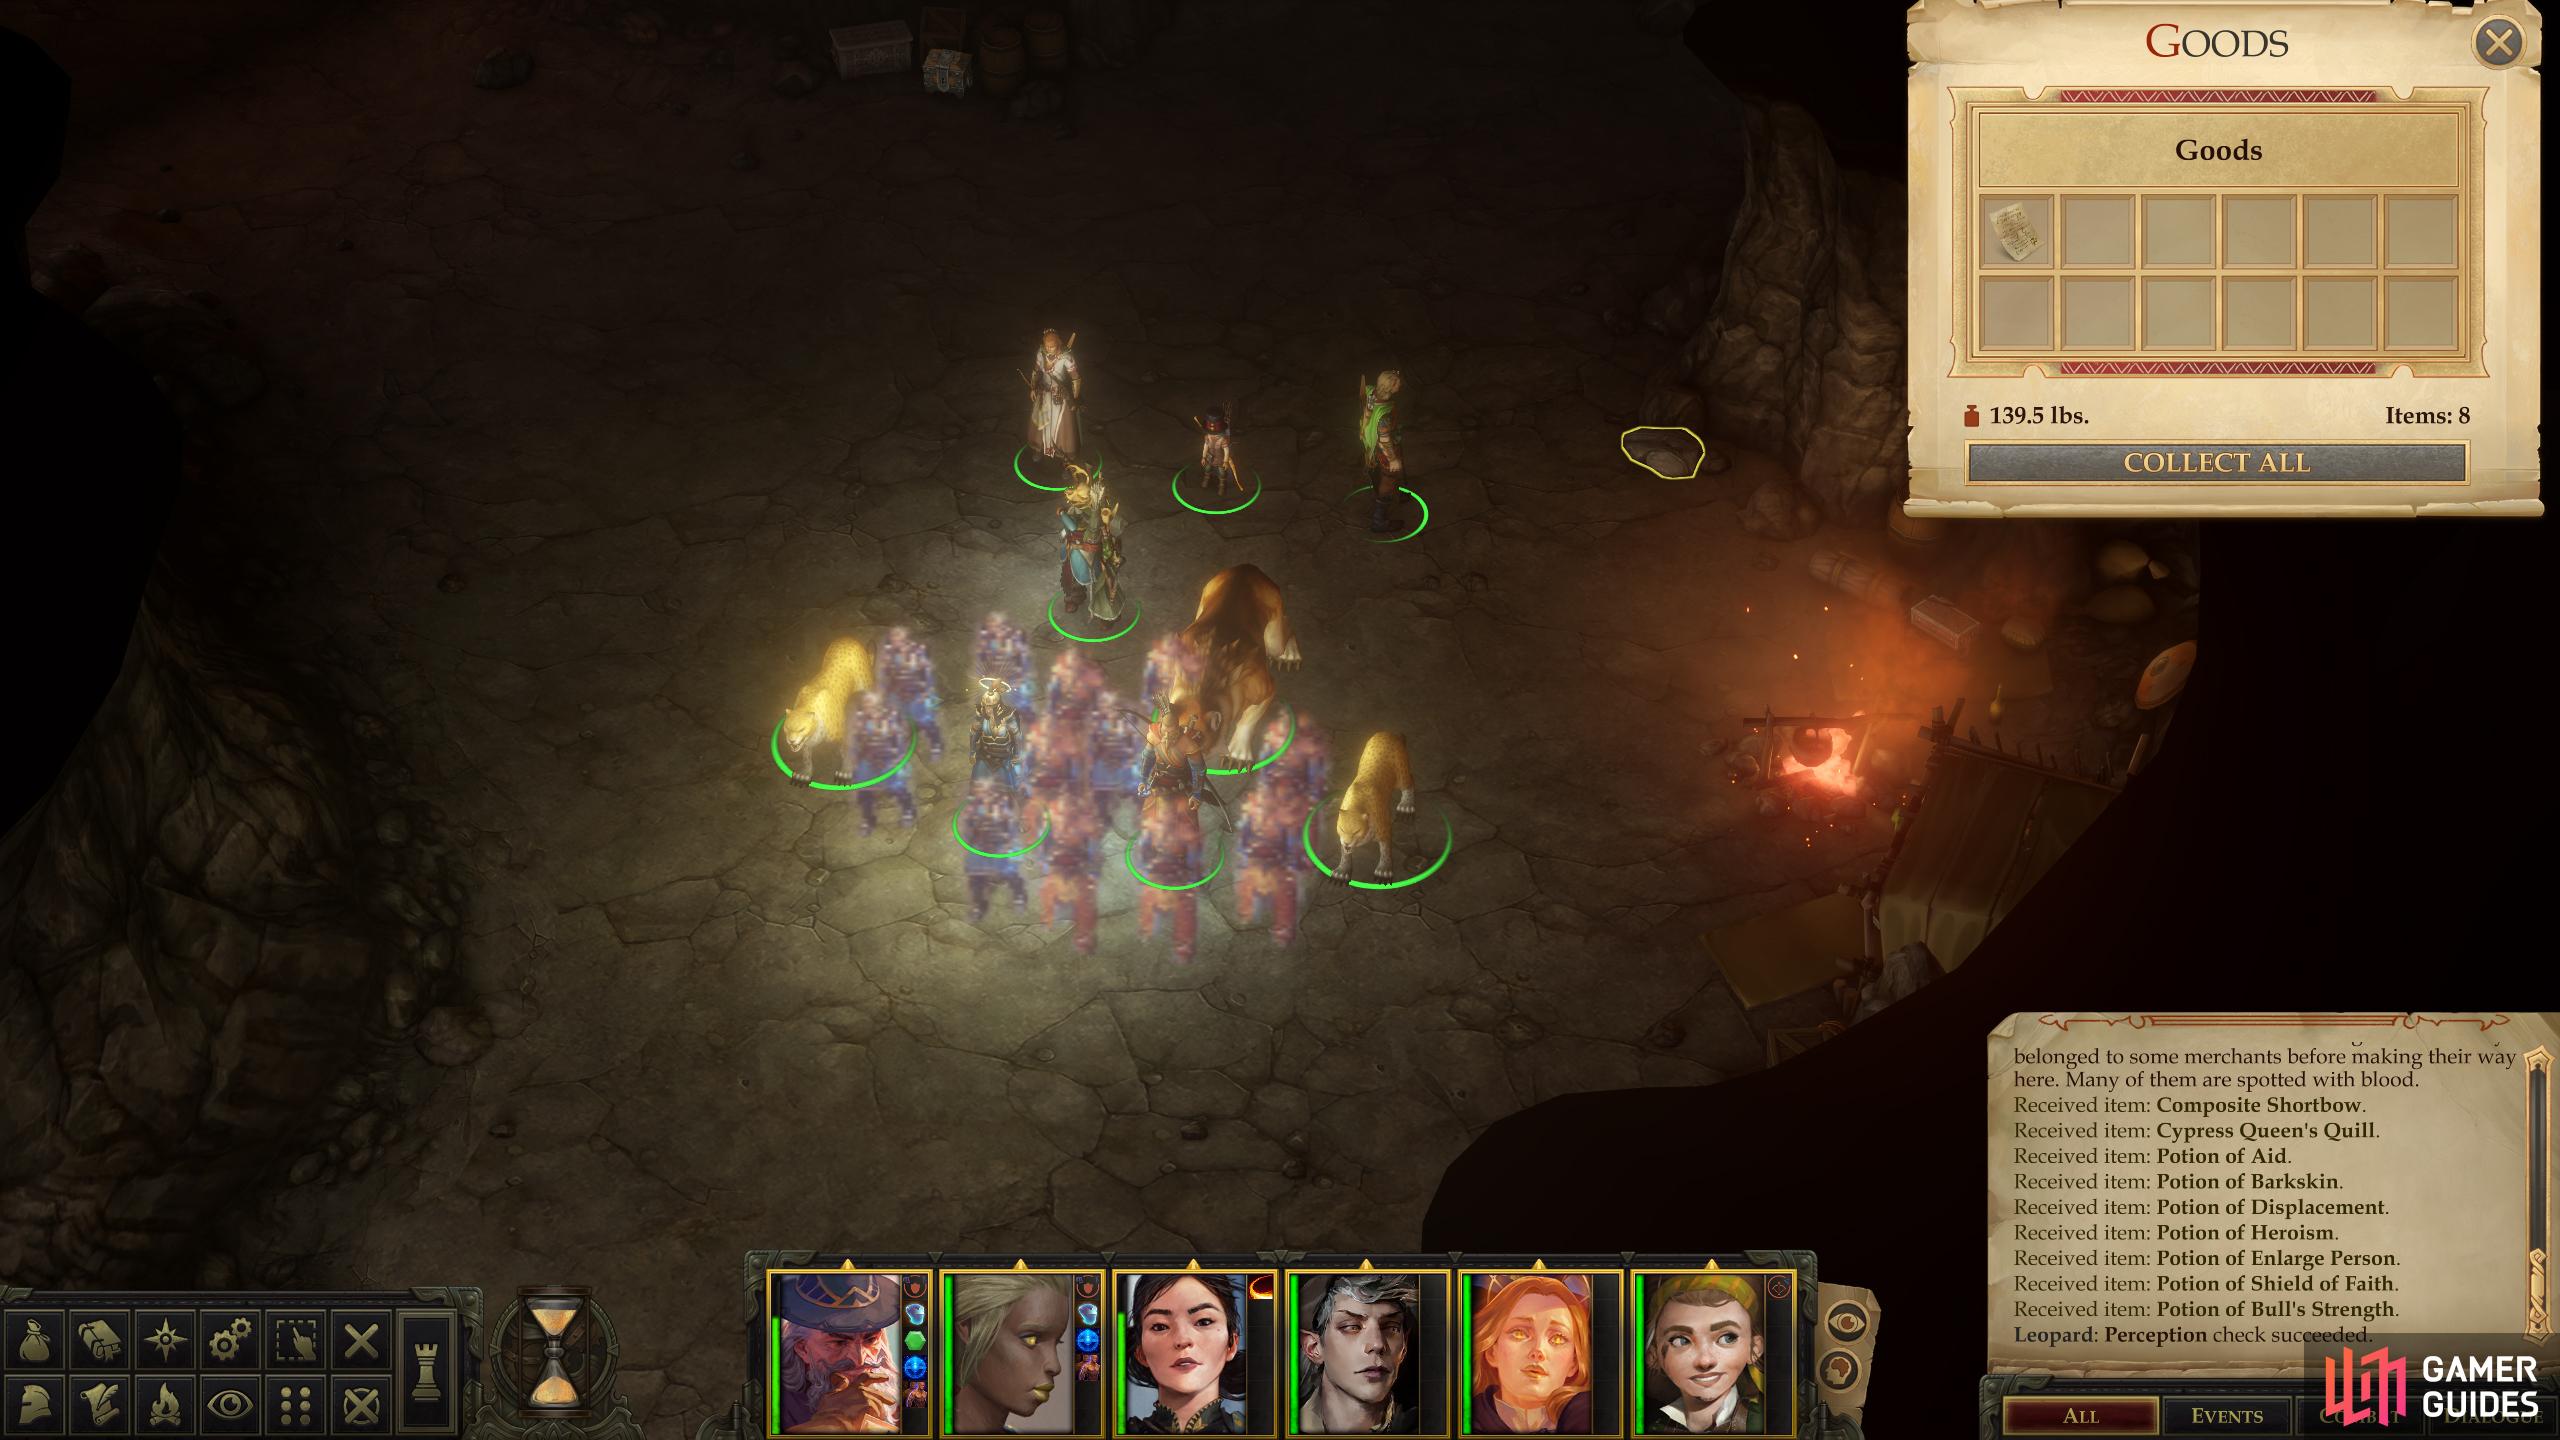
From where you enter, make your way north to find that the path ahead quickly splits. First loot the chamber you’re in to find a variety of scrolls, potions and lesser treasures in the two smaller chests, while in the larger chest [Trickery 18] you’ll find 621 GP. Along the eastern edge of the chamber you’ll find a pillar attached to the cavern wall, on the western edge of which you can find a Pile of Notes if you search carefully. Read these notes if you want to learn about the lake’s supernatural menace, and about a monster that attacked the bandits in this cave.
Score this loot, then venture northwest into a watery chamber that apparently opens up to the lake. Such a secluded cave must be a bandit’s dream, and sure enough, two boats are docked nearby. Loot a chest to find some treasure, including a Taldan Warrior’s Dog Tag, then return southeast to the entry chamber.
Kill the bandits,
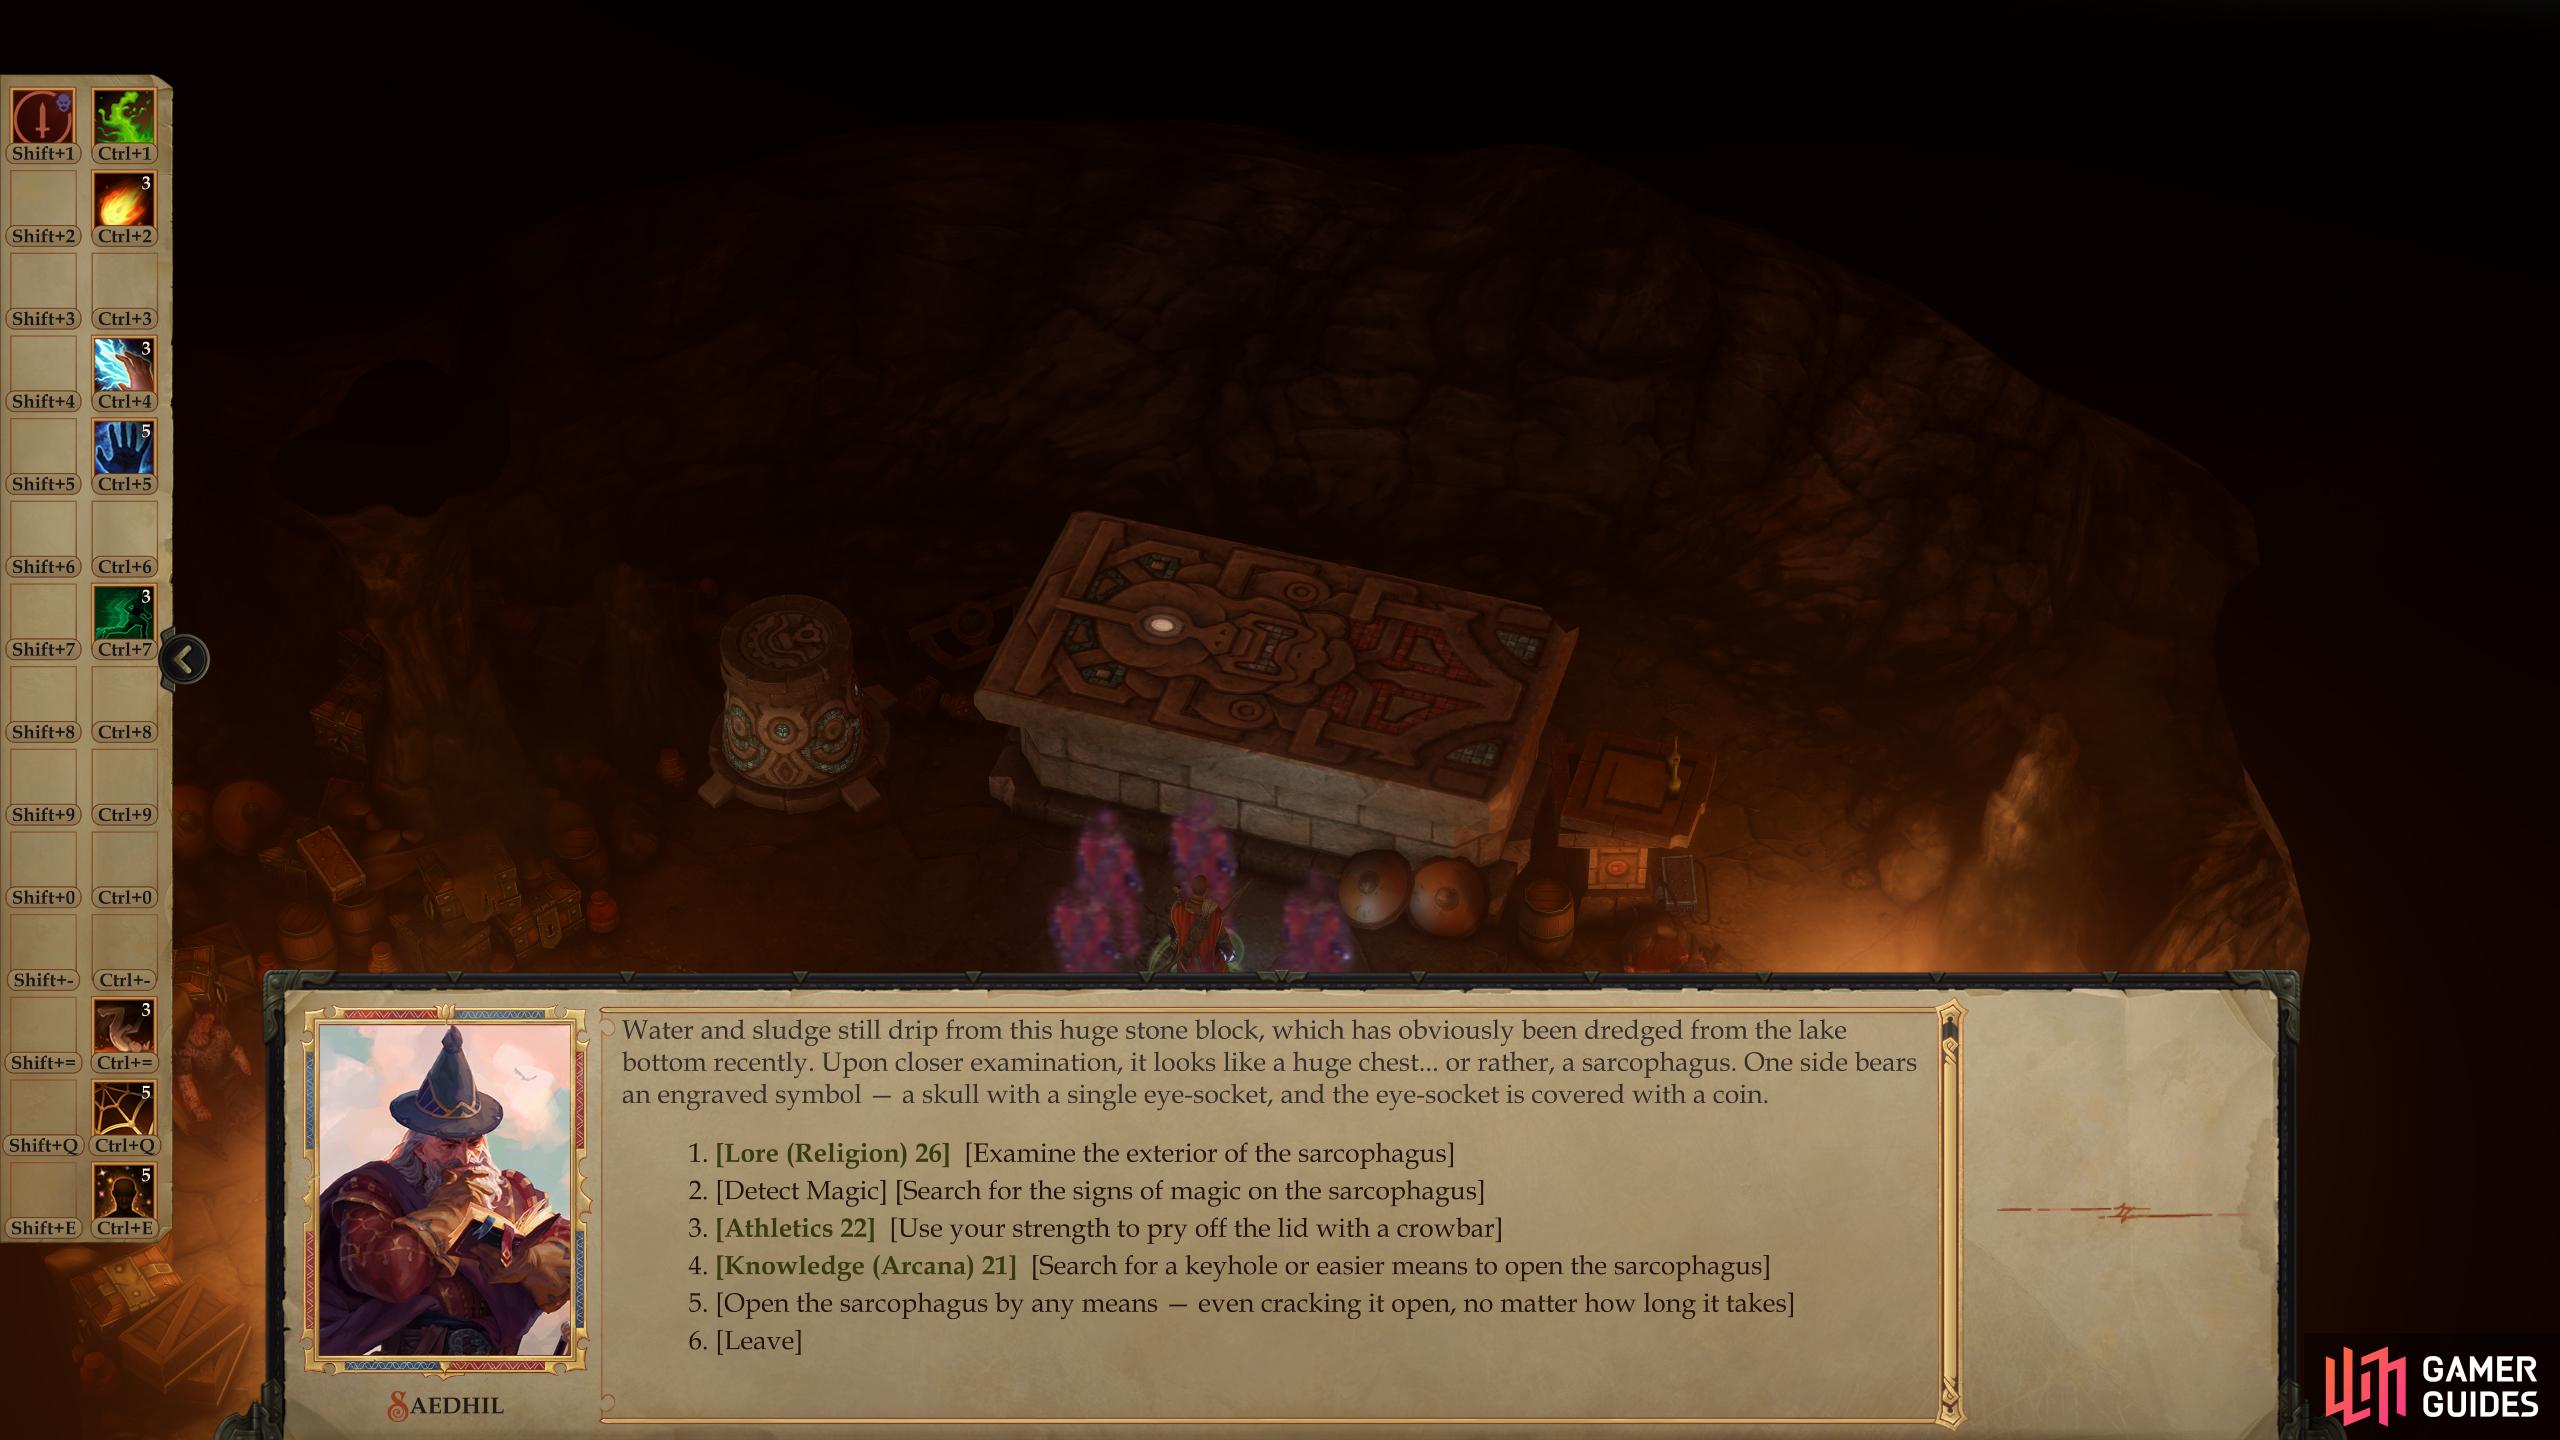
then examine the sarcophagus, which you can open with various checks.
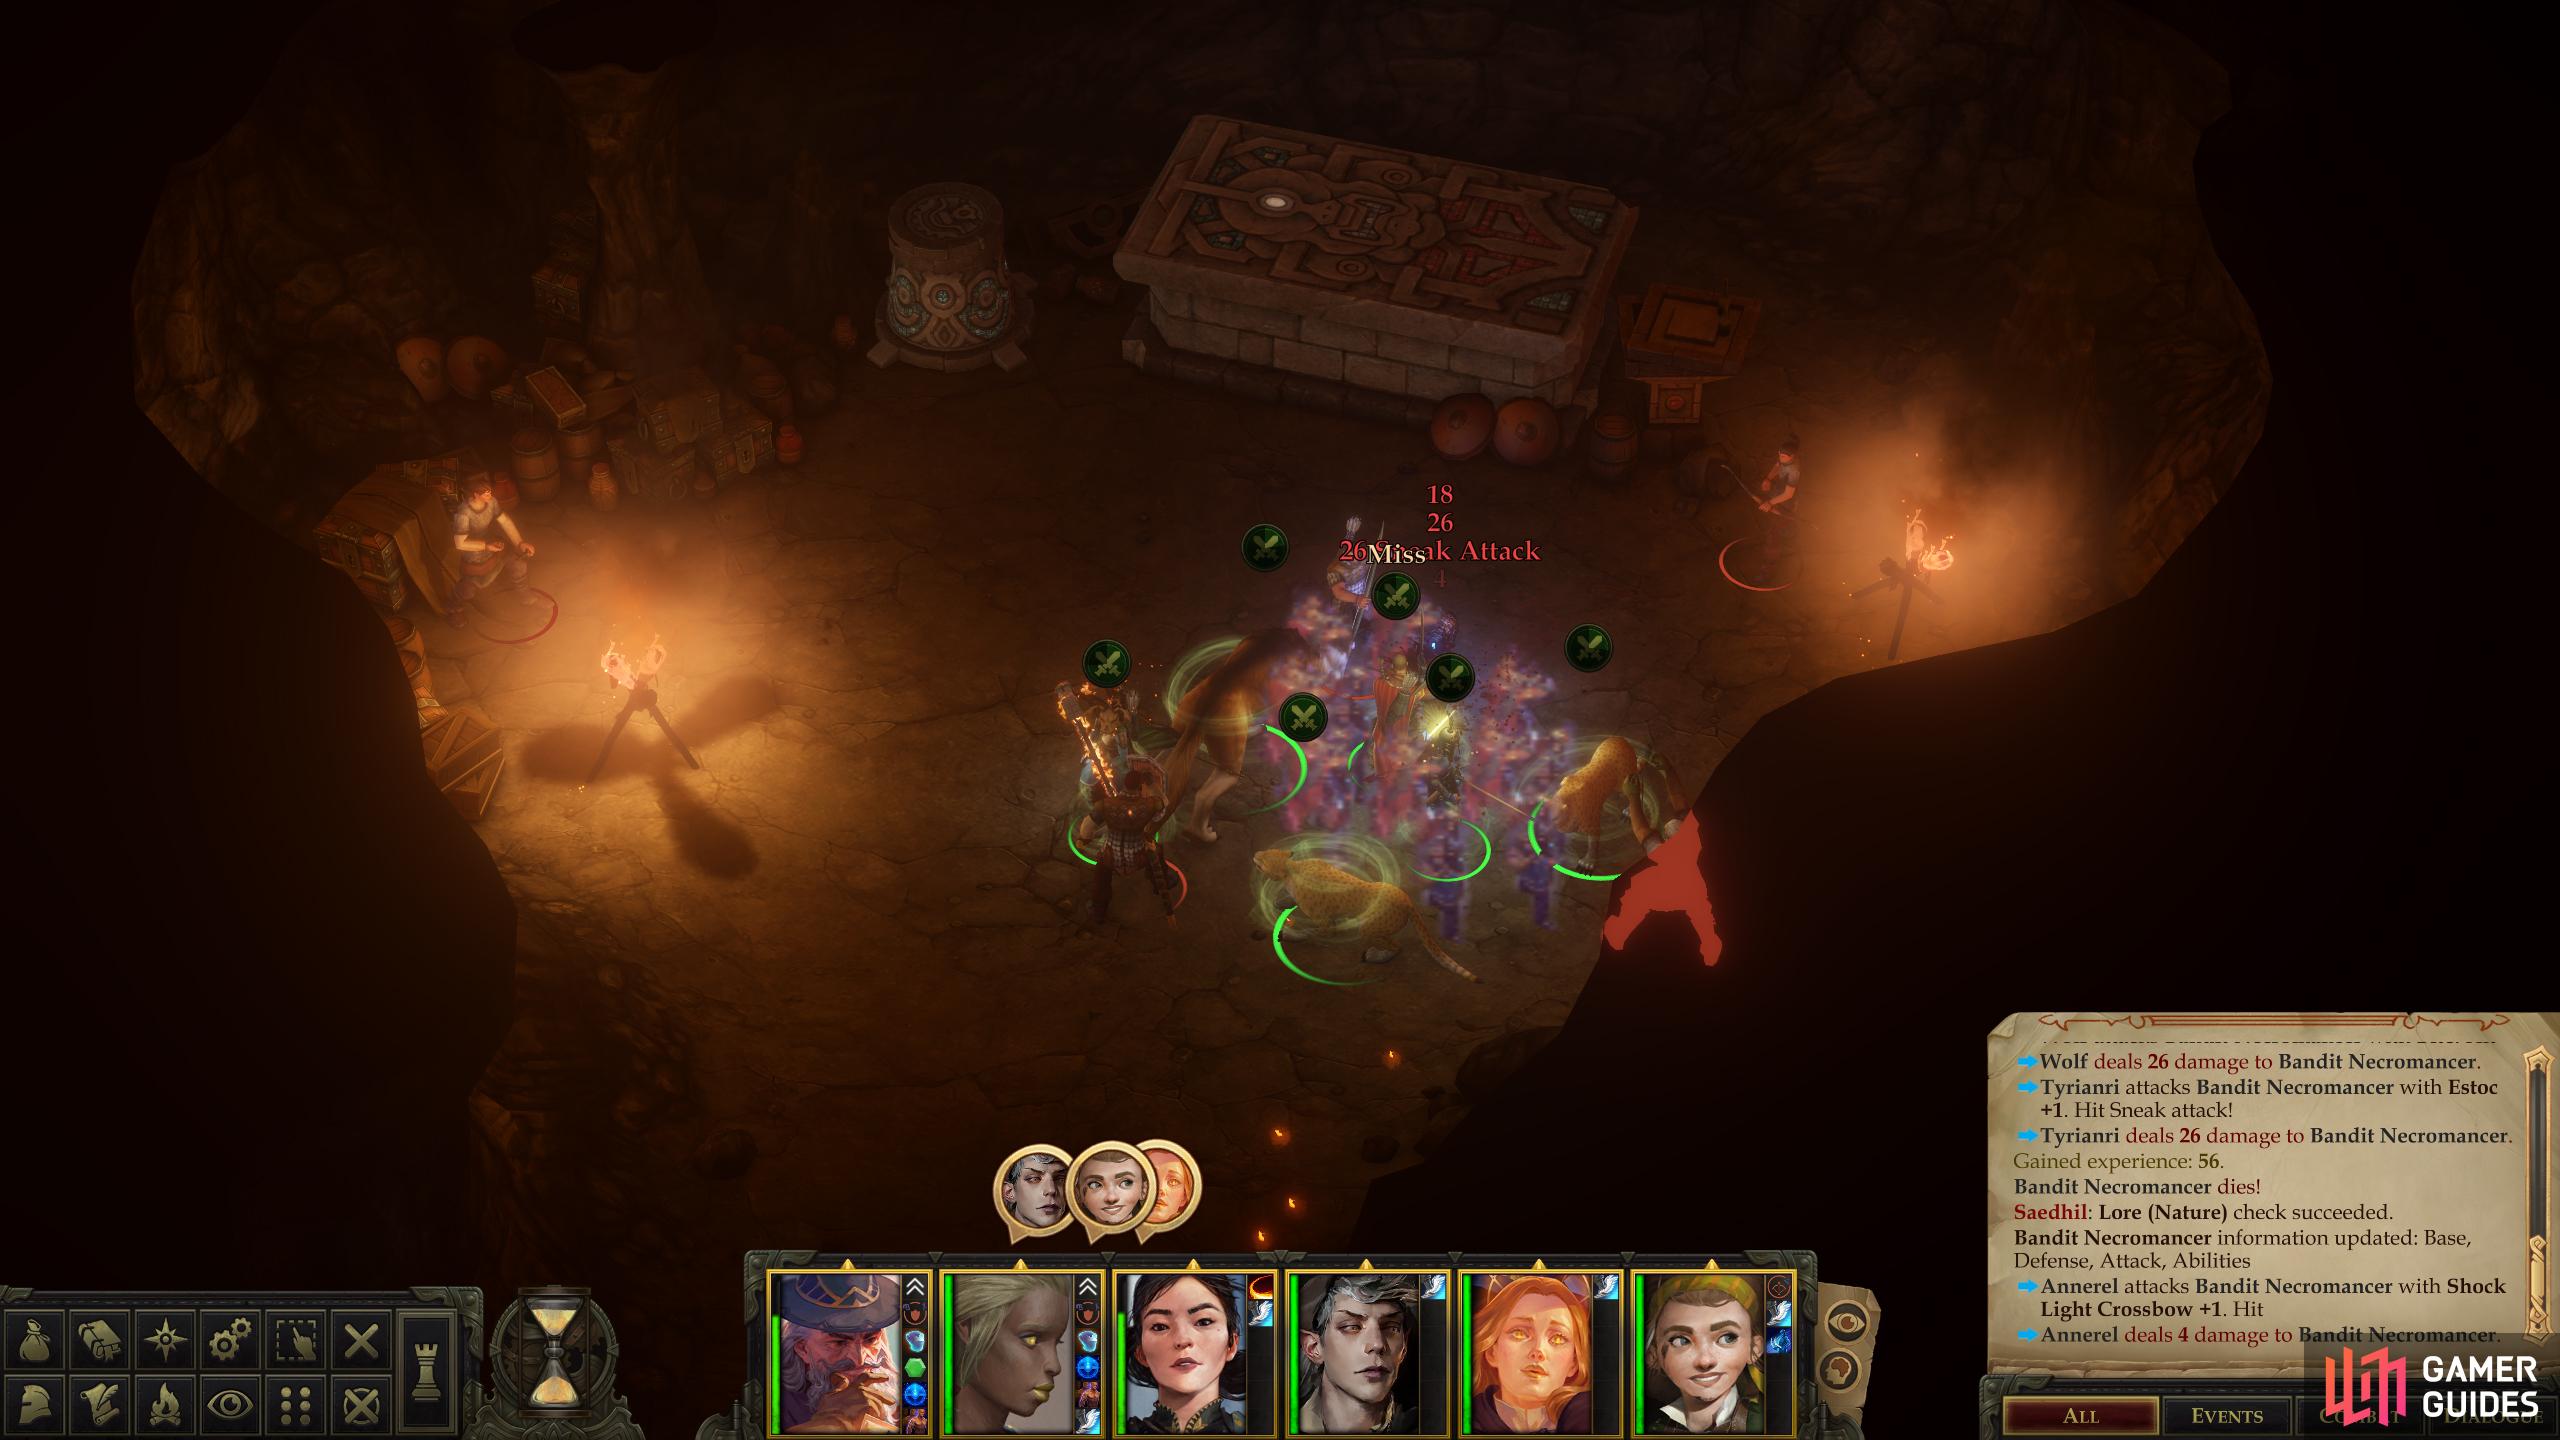
Some preparation is in order before you venture into the chamber to the north, as there are quite a few enemies in there. While they’re not overwhelmingly powerful, the difference between going in with the correct spell-buffs and without them is stark. Use longer-lasting buffs (Bless, Blur, Stoneskin, Shield of Faith) and shorter buffs (Haste, Prayer) as they’ll all come in handy. When you’re well-protected, head into the chamber to find some bandits complaining about a beast. You may not be the beast they fear, but they’re still not pleased when they find out they’re being intruded upon by a potential plunder-stealer instead.
The barbarian bandit with the greatsword might seem like the greatest threat - and he’s certainly the one most likely to trouble your warriors in melee - but you should start the fight out by charging the Bandit Necromancer. This black mage will attempt to cast multiple Enervation spells at you, inflicting Negative Energy Levels on a character. This is bad enough on its own, but he’s quite capable of removing all a character’s levels with repeated castings, which will kill a character outright.
He shouldn’t be too hard to cut down, after which focus on the greatsword-bearing bandit barbarian. Other than him, there are a few sneaky bandits that’ll try to make a big first impression with some sneak attacks, but nothing you really must worry about.
Once they’re dead, loot them for their meager possessions, then ignore the rest of this treasure in the room and focus on the large sarcophagus - you’ll want to attend to this task first, before your buffs wear off. Be sure to send the rest of your party south to the narrow passage connecting this chamber to the larger one to the south and only have your tank up front when you interact with the sarcophagus.
When you examine the sarcophagus - a cyclopean sarcophagus, on closer examination - you’ll get a variety of options. Pass a [Lore (Religion) 26] check to get some insight into a cyclopean version of a deathly figure depicted on the sarcophagus. You can also use a [Detect Magic] check to determine that, indeed, there be magic about this sarcophagus. As for getting inside the sarcophagus, you can waste a great deal of time forcing it open (about four hours will pass), you can pass an [Athletics 22] check to remove the lid with a crowbar, or you can pass a [Knowledge (Arcana) 21] check to open the sarcophagus more elegantly. Unfortunately, the sarcophagus is still inhabited, and the occupant isn’t happy about being disturbed.
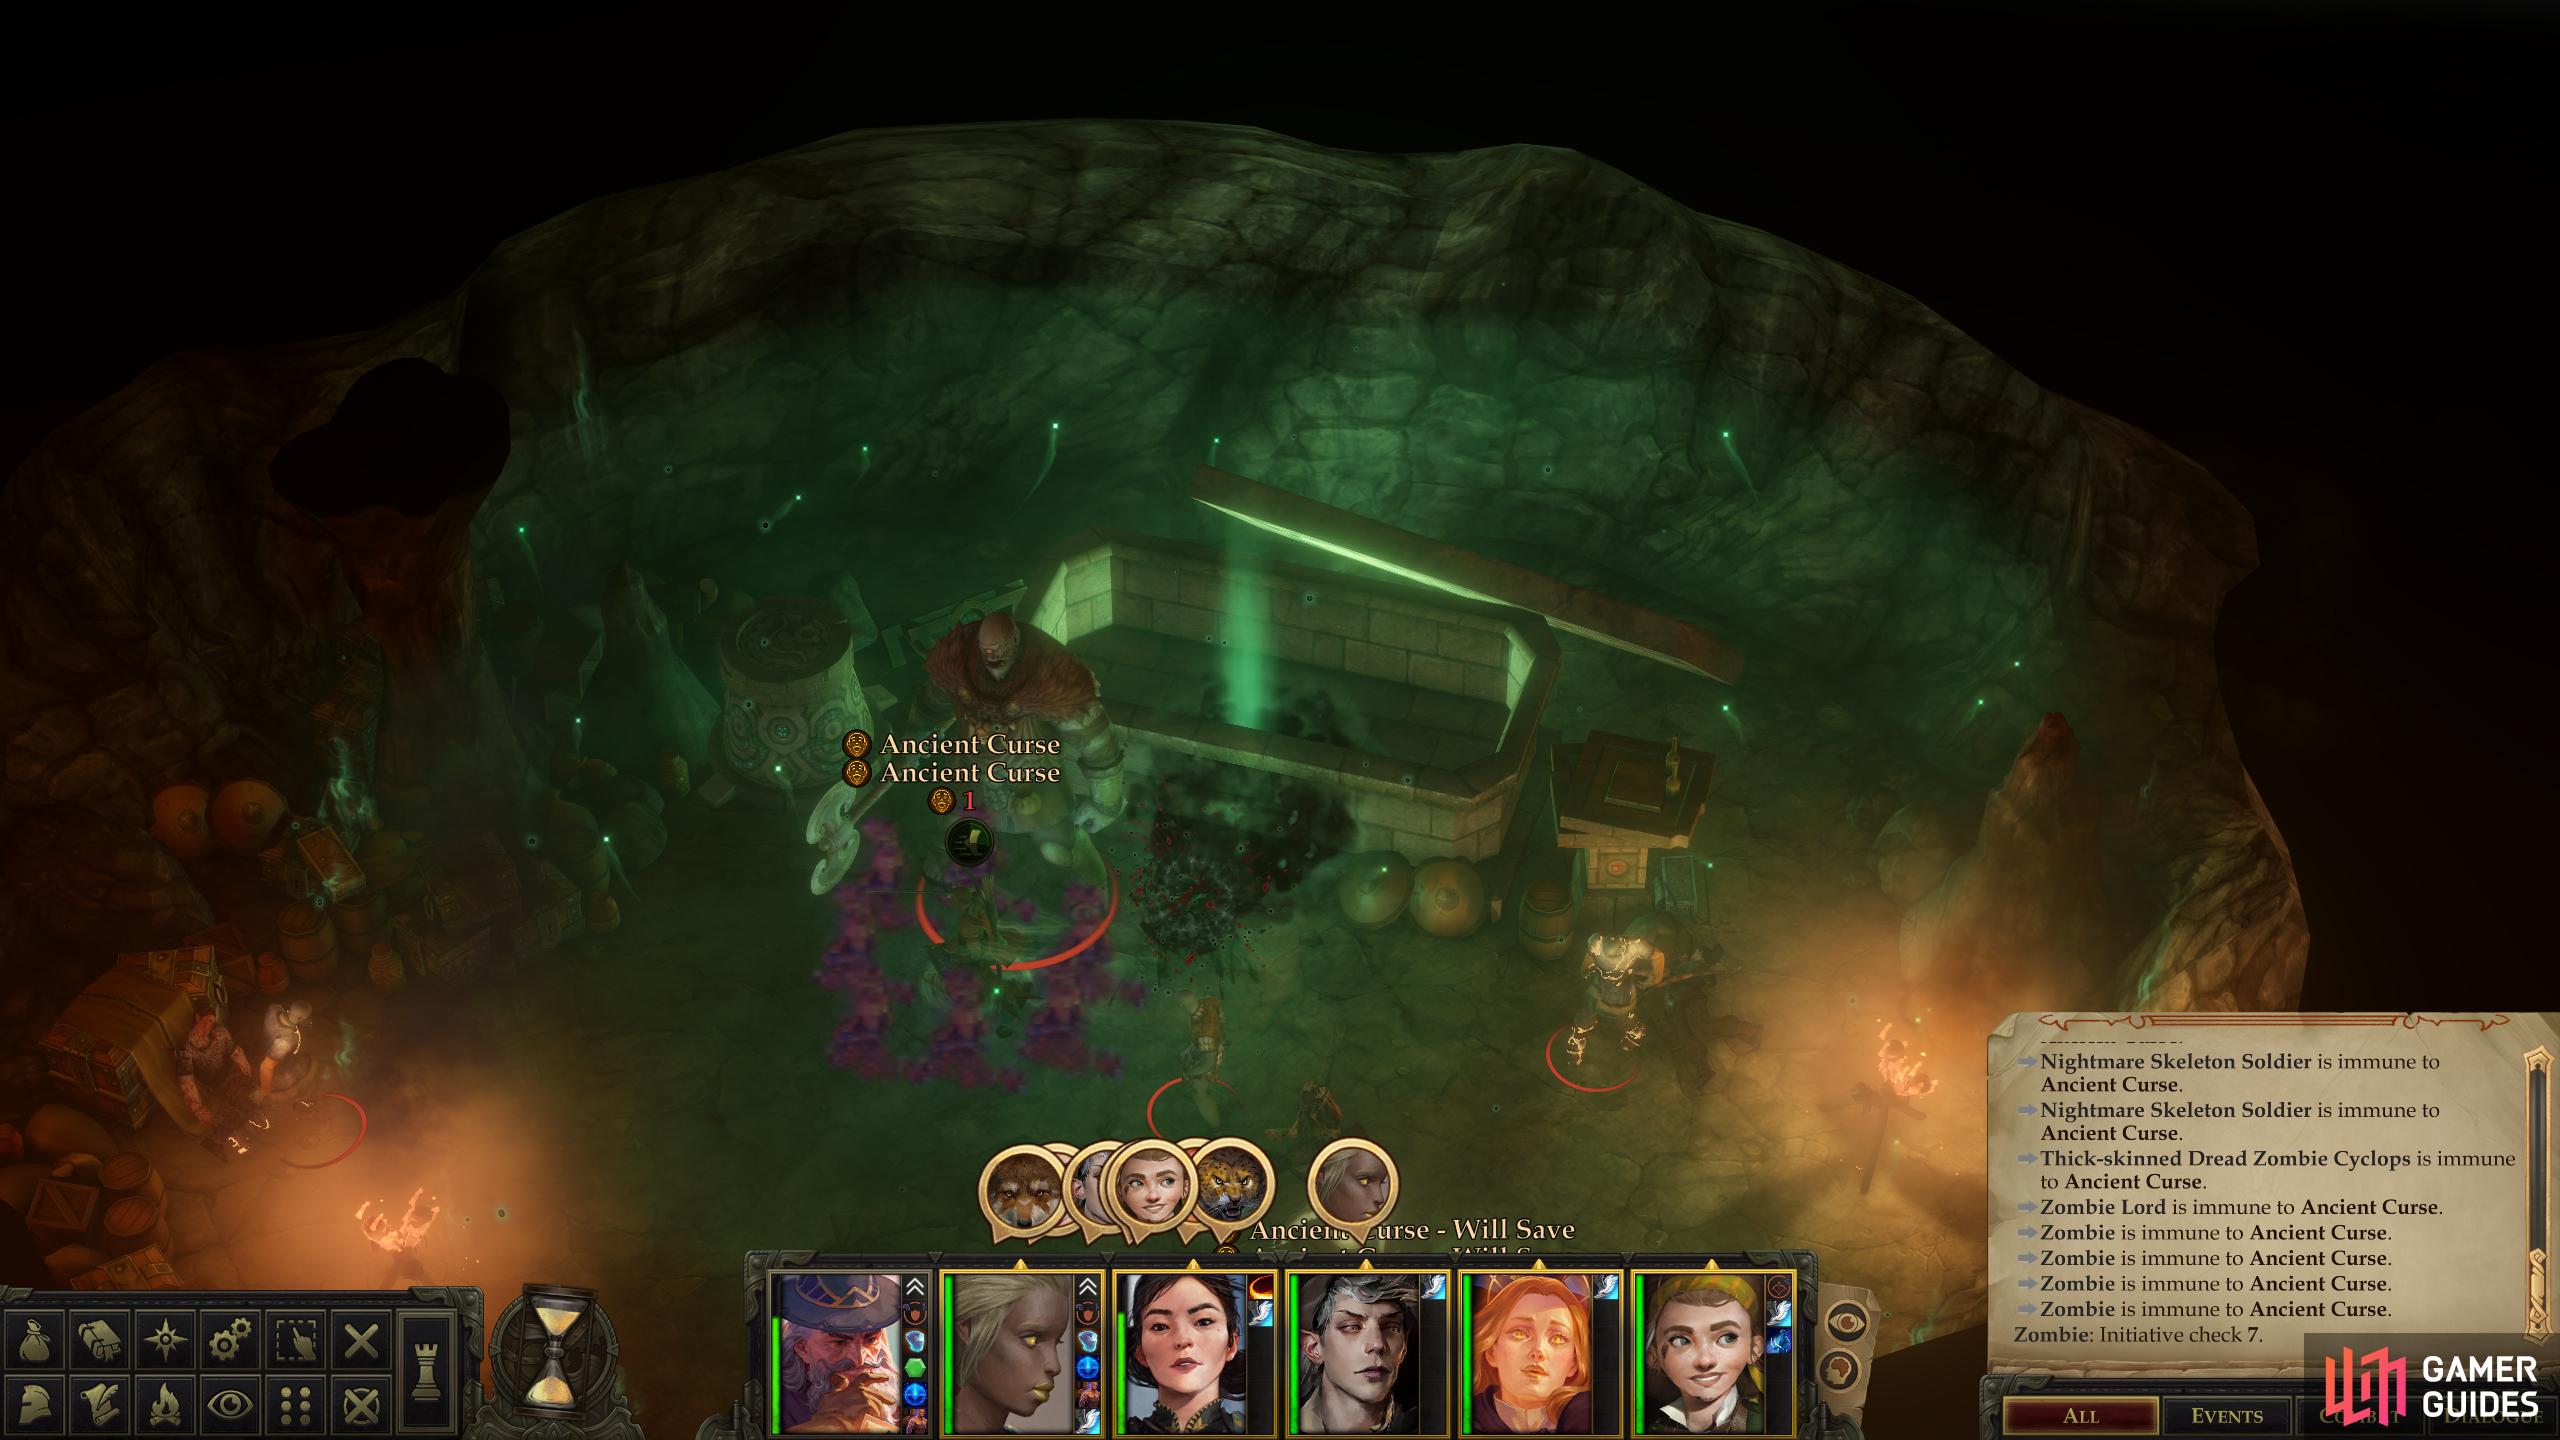
Be sure to only have your tank near the sarcophagus, as you’ll unleash an Ancient Curse when you open it.
Put down the Dread Zombie Cyclops and the revived bandits.
Battle - Dread Zombie Cyclops
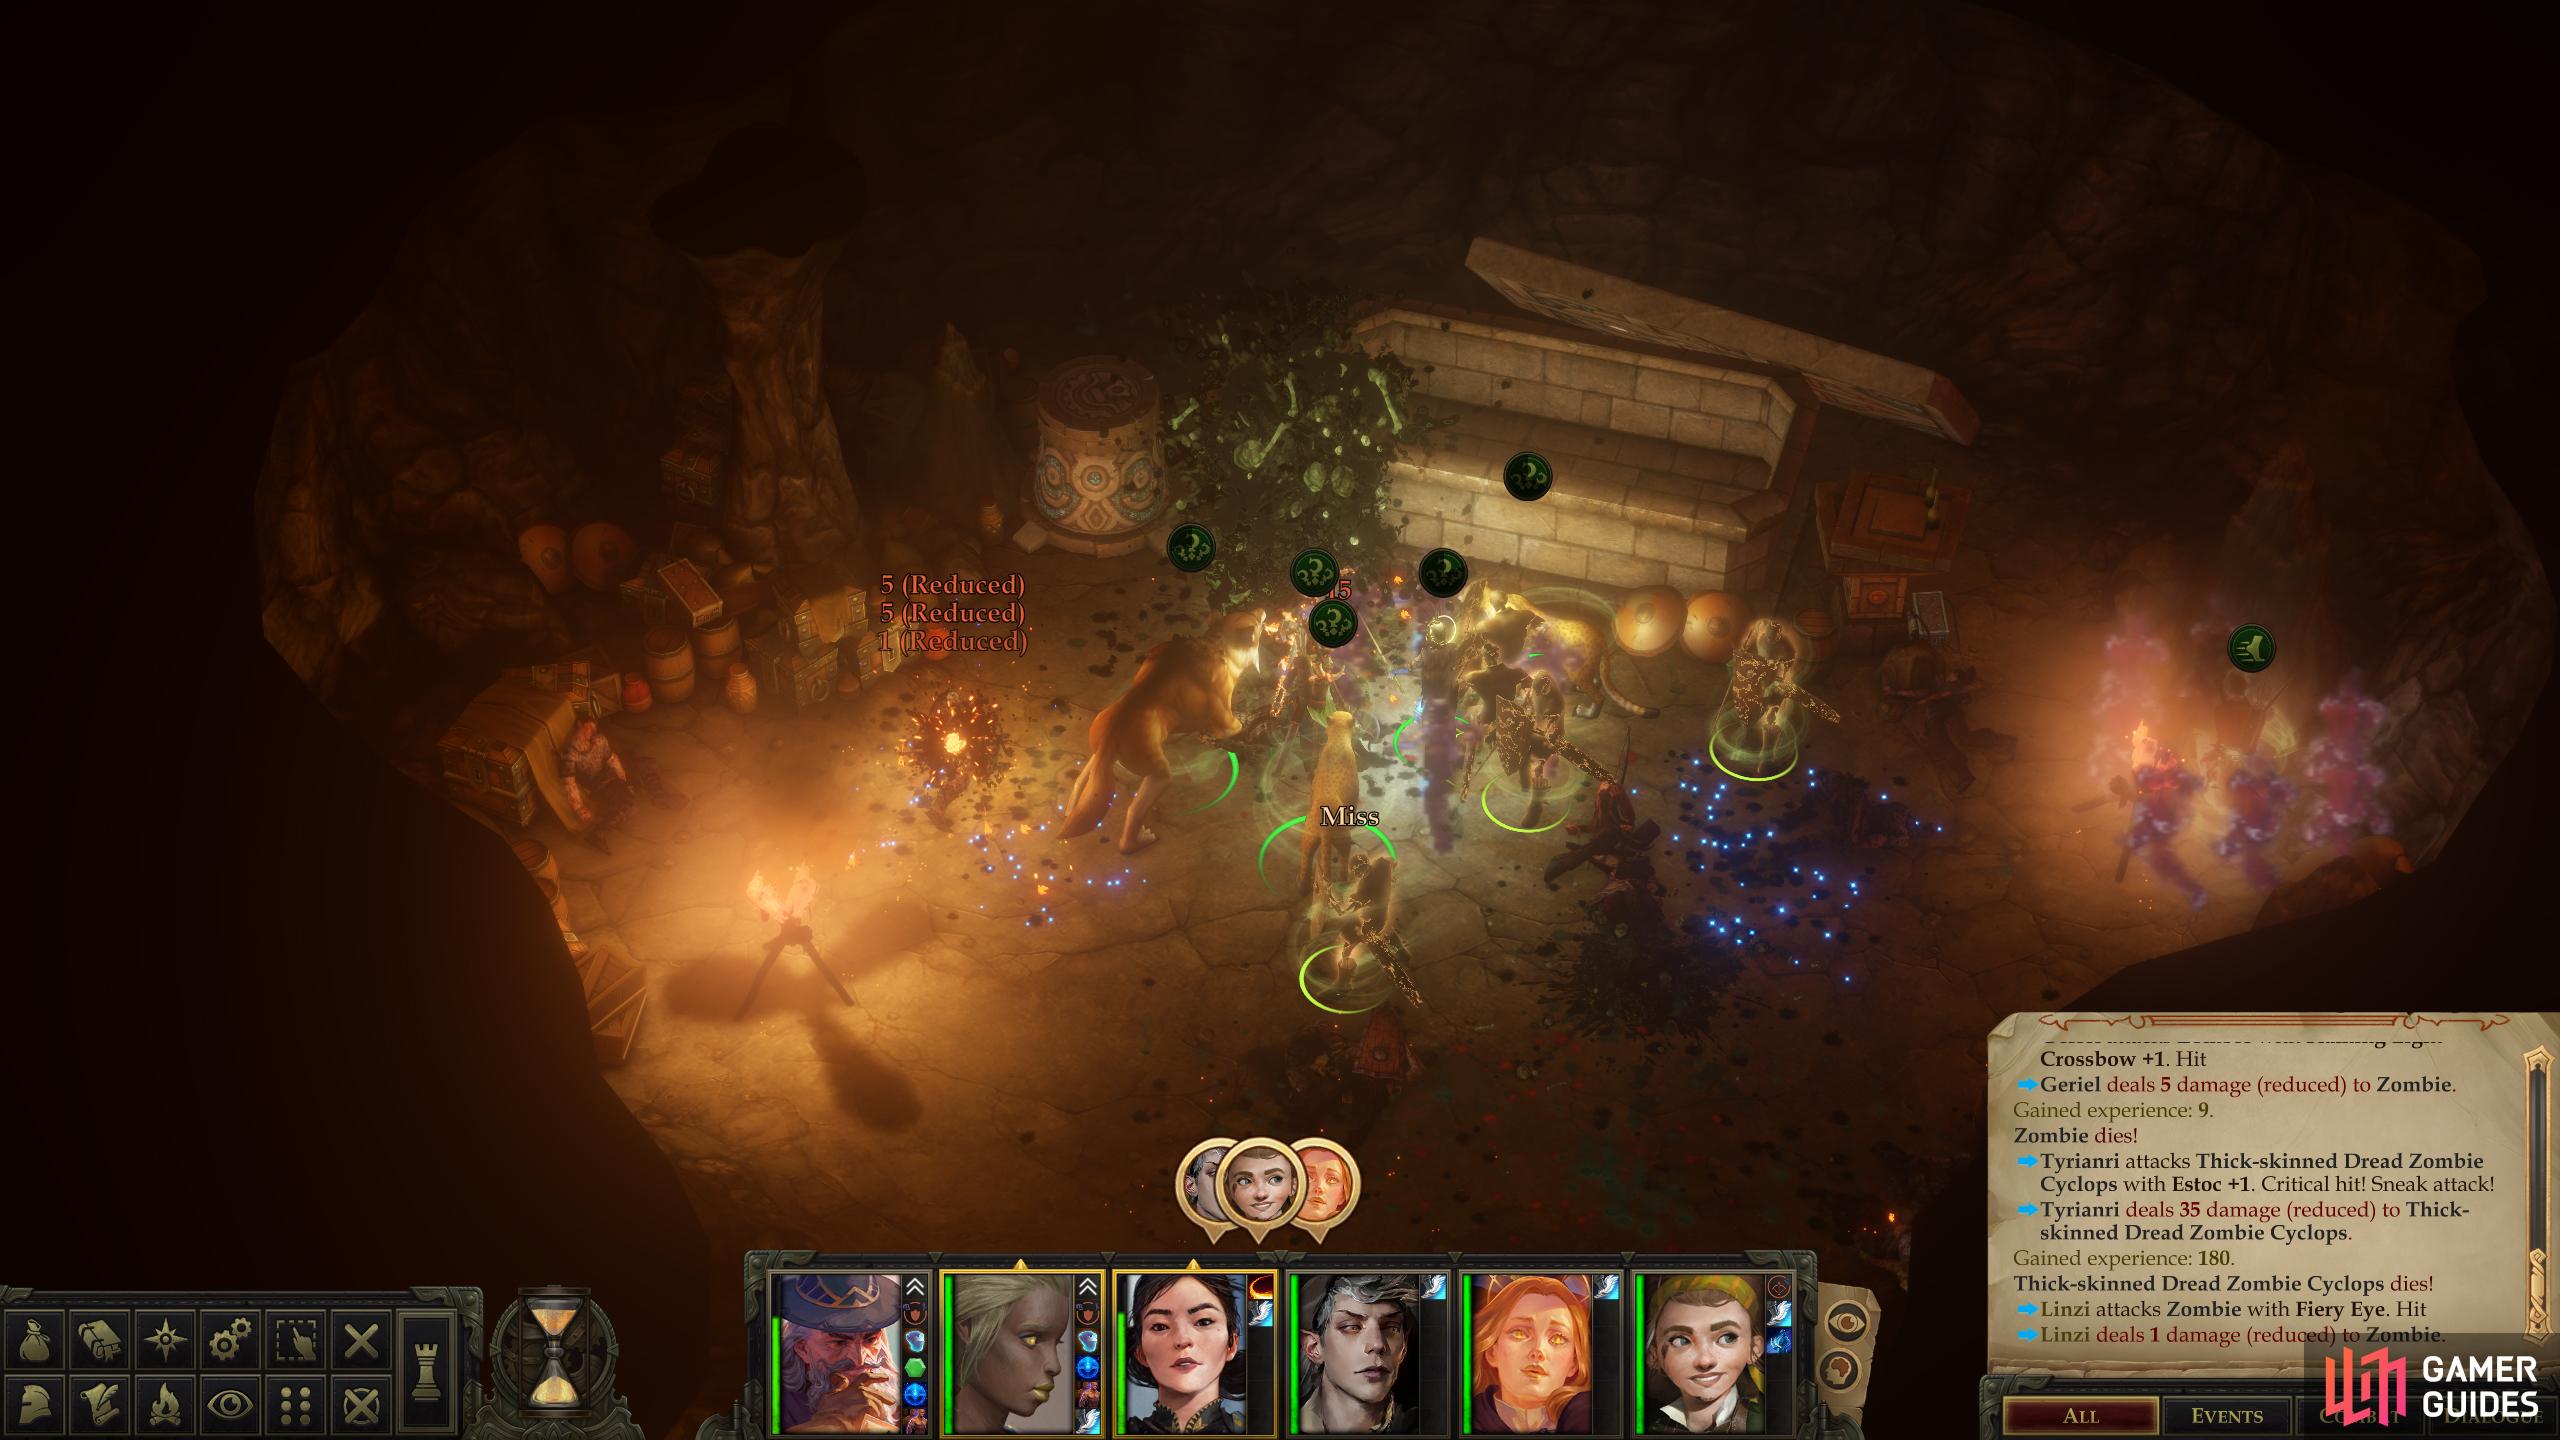
Having opened the sarcophagus you’ll have earned yourself the ire of a Dread Zombie Cyclops, which has a fair amount of HP, a respectable Armor Class and a high enough Attack bonus to hit your tanks. While a character with an Armor Class of around thirty won’t be getting hit regularly, the Dread Zombie Cyclops’s high damage (around 30~ per hit) will ensure that when it does hit, you’ll feel it.
On its own, this probably wouldn’t be much of a fight, but when the sarcophagus opens two things will happen: first, everybody in the area will be exposed to an “Ancient Curse”, which forces a [Will 18] check or else the afflicted characters will run around in fear. This is why you hid the majority of your party earlier, as two or three characters failing their save could result in a party wipe. As it stands, you’re only risking your tank, and even if they run around in fear, there’s a chance they’ll still draw enough enemy fire to serve a somewhat less than useless role in battle. The second development you need to be wary of is that the opening of the sarcophagus will cause the dead bandits in the room to reanimate as zombies and attack. None of them are terribly powerful in a straight fight, but their primary purpose is probably to distract you from the true threat - the Dread Zombie Cyclops - and to take advantage of fearful characters.
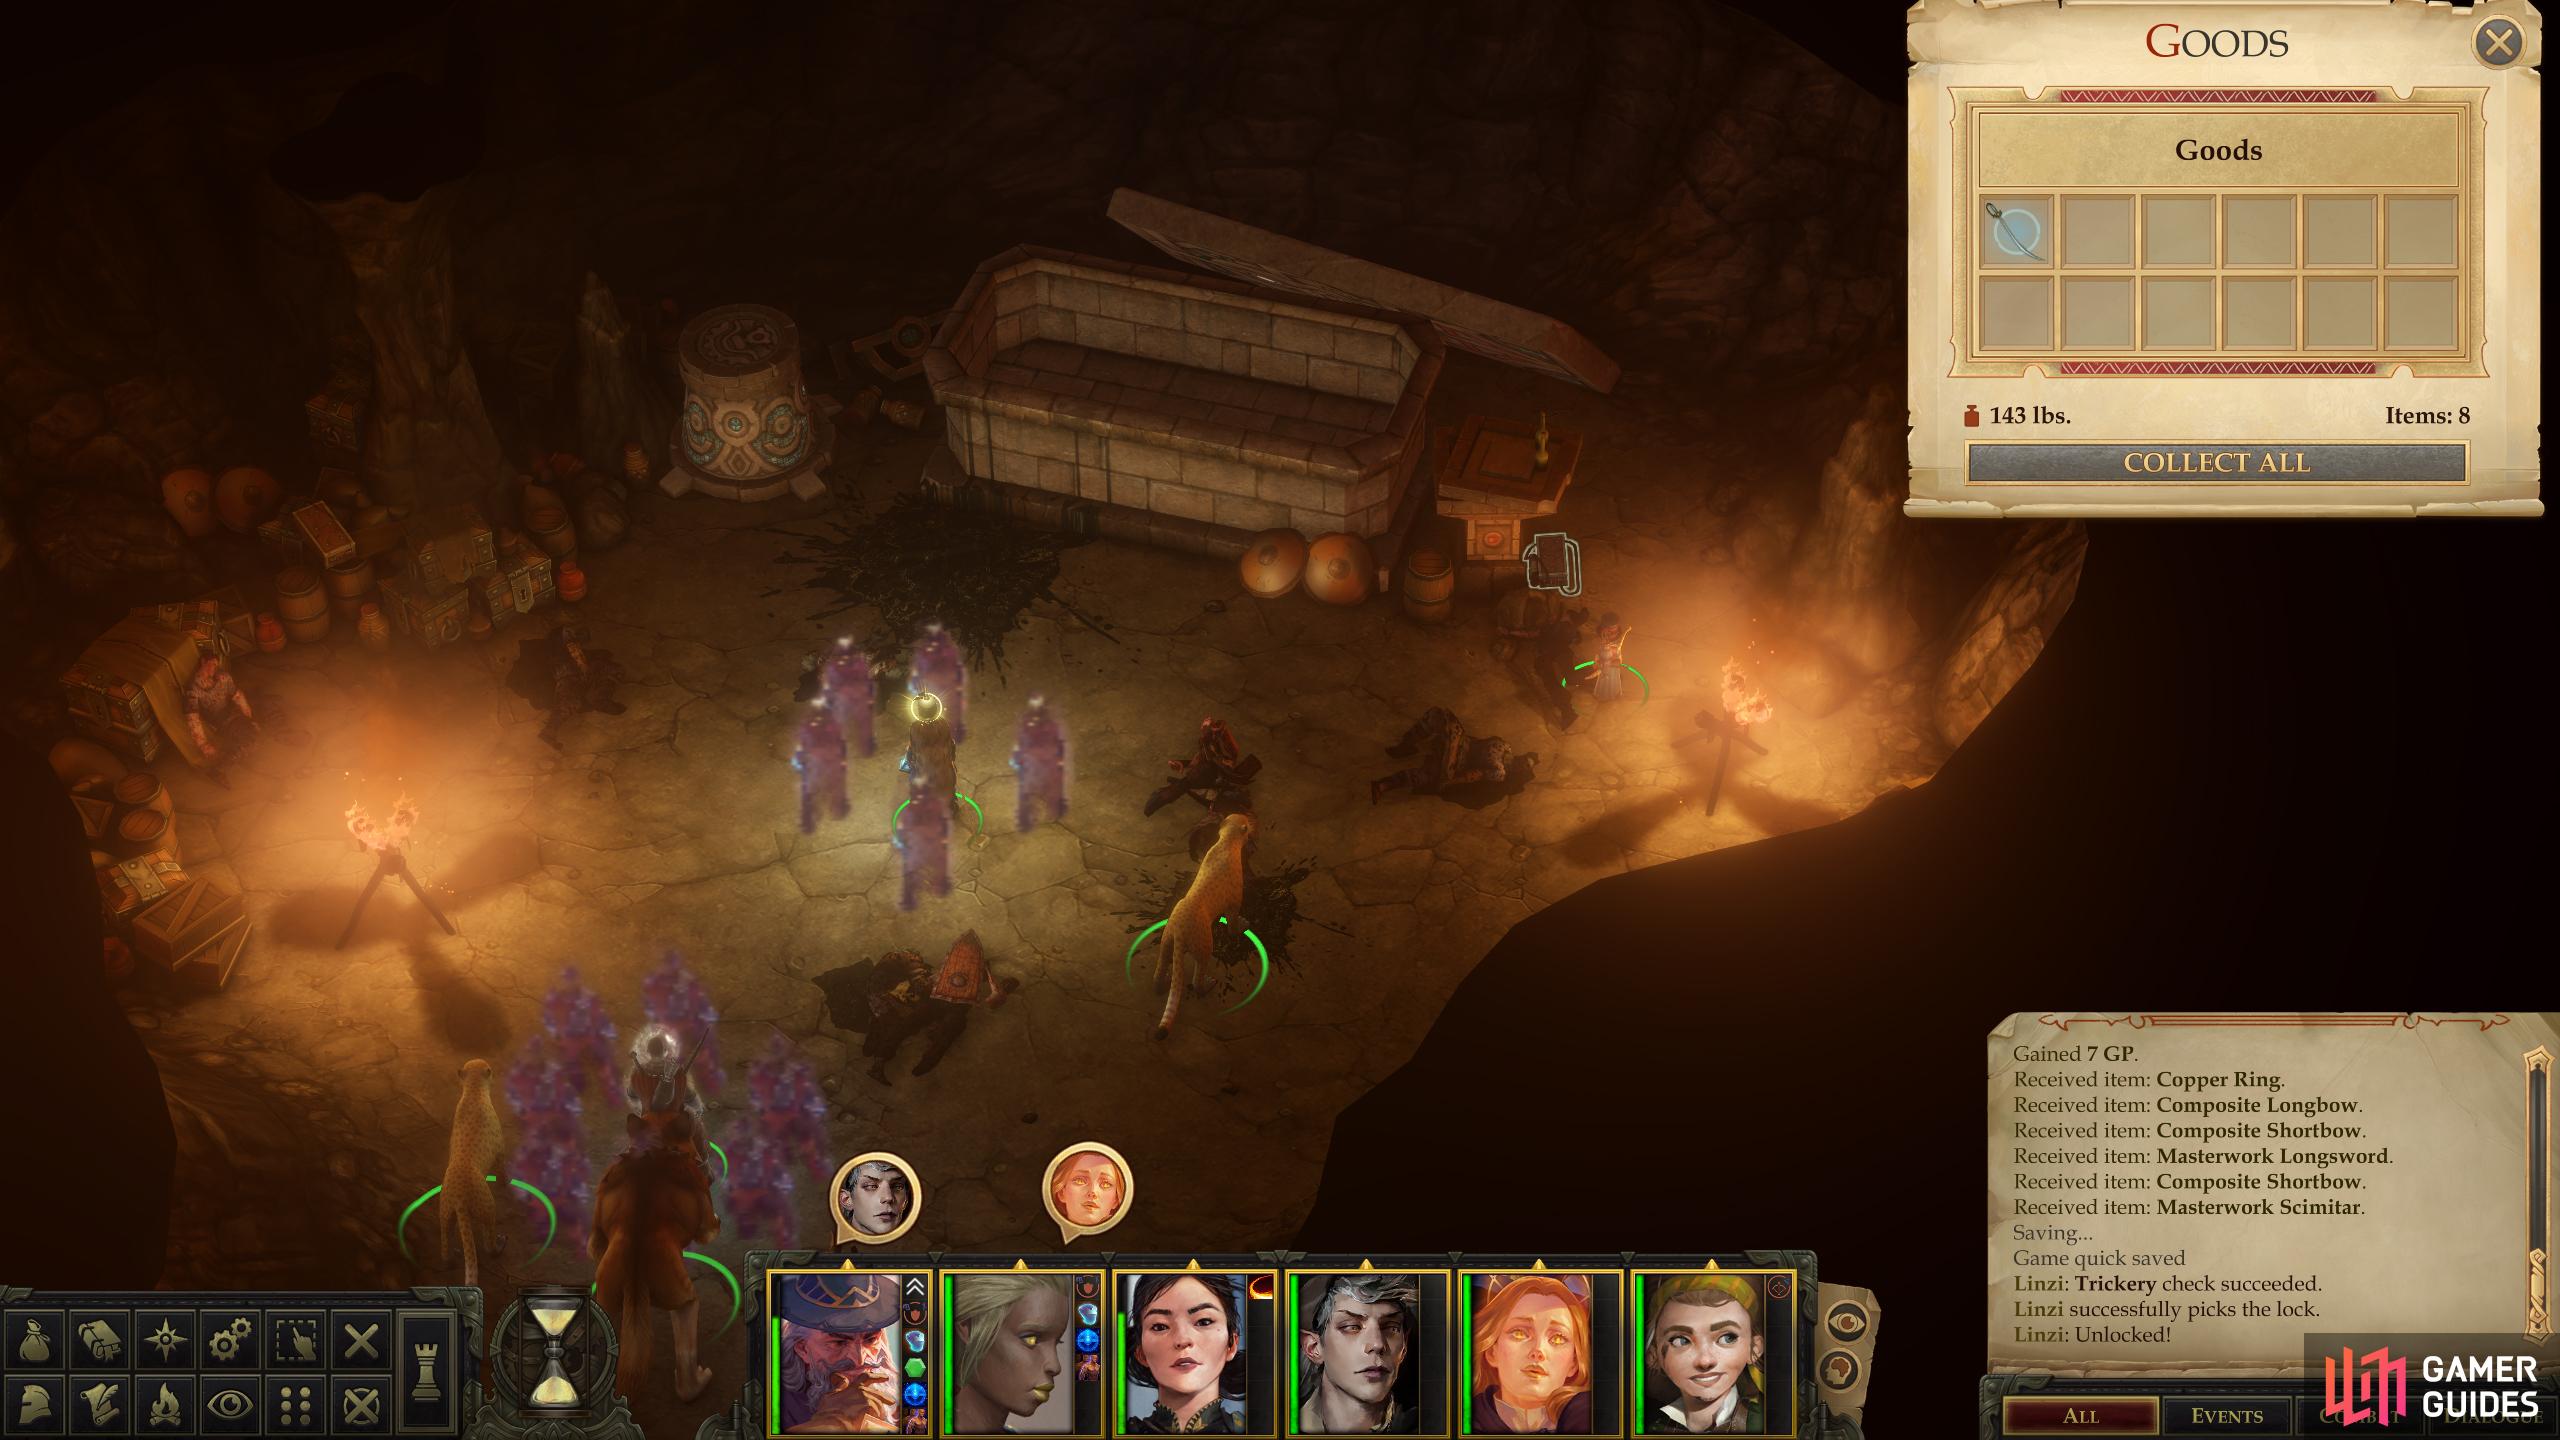
Pick up the weapon “Slicer”,

then grab the “Cypress Queen’s Quill” artifact.
Whether your tank is affected or not, cast Haste (which almost certainly wore off since the last fight) and charge the Dread Zombie Cyclops with the rest of your party. Five hasted characters should be able to cut it down without too much fuss, after which cleaning up the rest of the zombies will be a relatively trivial task. Loot the massive zombie to grab a Greataxe +1, then turn your attention to the rest of the containers in the room. Now that you don’t need to preserve your buffs, unlock [Trickery 18] a chest to the east to find Slicer, a Scimitar +2 with the “Runic Mageblade” property, which improves the enhancement bonus of touch spells by +2. Finally, search a crate to the southwest to find a Cypress Queen’s Quill, another item an antiquarian (the Storyteller) would be keen on see– err… bring it back to him.
Once you’re done in the cave, return to Lykka and tell her you resolved the “scary box” problem. This will earn you 300 XP, a Gold Ring, two Peridots and 647 gold.
Search the western shore for the item "Fish of Silverstep Lake". Take it to the cliff where Ivar was standing and place it on the pile of bones on the ground. An Ancient Wyvern will appear and initiative will be rolled.
Search some branches near Lykka to find a Token of the Dryad, then circle around the rocks to the north and east of Lykka to find [Perception 18] a chest [Trickery 21] yielding a variety of potions and baubles. after this u can also find a hidden chest nearby for 2k gold its near the tree