

If you’re following the walkthrough chronologically, we’ll be starting this expedition after exploring (or rather, re-exploring) the A Ford Across the Skunk River, Lone House and Ruined Watchtower areas, as all these areas will contain new encounters now that the Troll Invasion event has occurred.
After meeting up with Ekundayo in the Ruined Watchtower you’ll be informed of some Dwarven Ruins to the south, which is a point of interest in the larger Troll Trouble questline. There are a lot of areas between the Ruined Watchtower and these Dwarven Ruins, however, and some of them are related (to varying degrees) to the Troll Trouble questline. While most of them aren’t necessary, you’d still be well-served by exploring them en route to the Dwarven Ruins, hence this expedition.
The areas covered during this expedition are as follows:
| Area | Notable Encounters/Loot |
|---|---|
| Kobold Trail (Whitish Hills) | – |
| Kobold Camp | – |
| Troll Clearing | – |
| Monster Den | Lucky Longbow, Scalemail +1 |
| Swamp Witch’s Hut | Gnarled Branches, Swamp Bouquet quests, Chainshirt +1, Swordsman’s Passion, Ring of Protection +1, Ring of Protection +1, Phylactery of Positive Channeling, Wand of Burning Arc, Cloak of Resistance +2 |
Organizationally, this expedition is fairly mundane - go to an area, clear it out, move onto the next one. Just follow the links in the table above and you’ll be fine. The one exception to this, however, is a not-so-random event that’ll occur at some point south of the Murque River. While it’s more fickle than some scripted encounters in that it won’t take place at the same time (you may be able to make it all the way to the Dwarven Ruins without encountering it, for example) if you wander around down here long enough you should find it. It’ll be covered below:
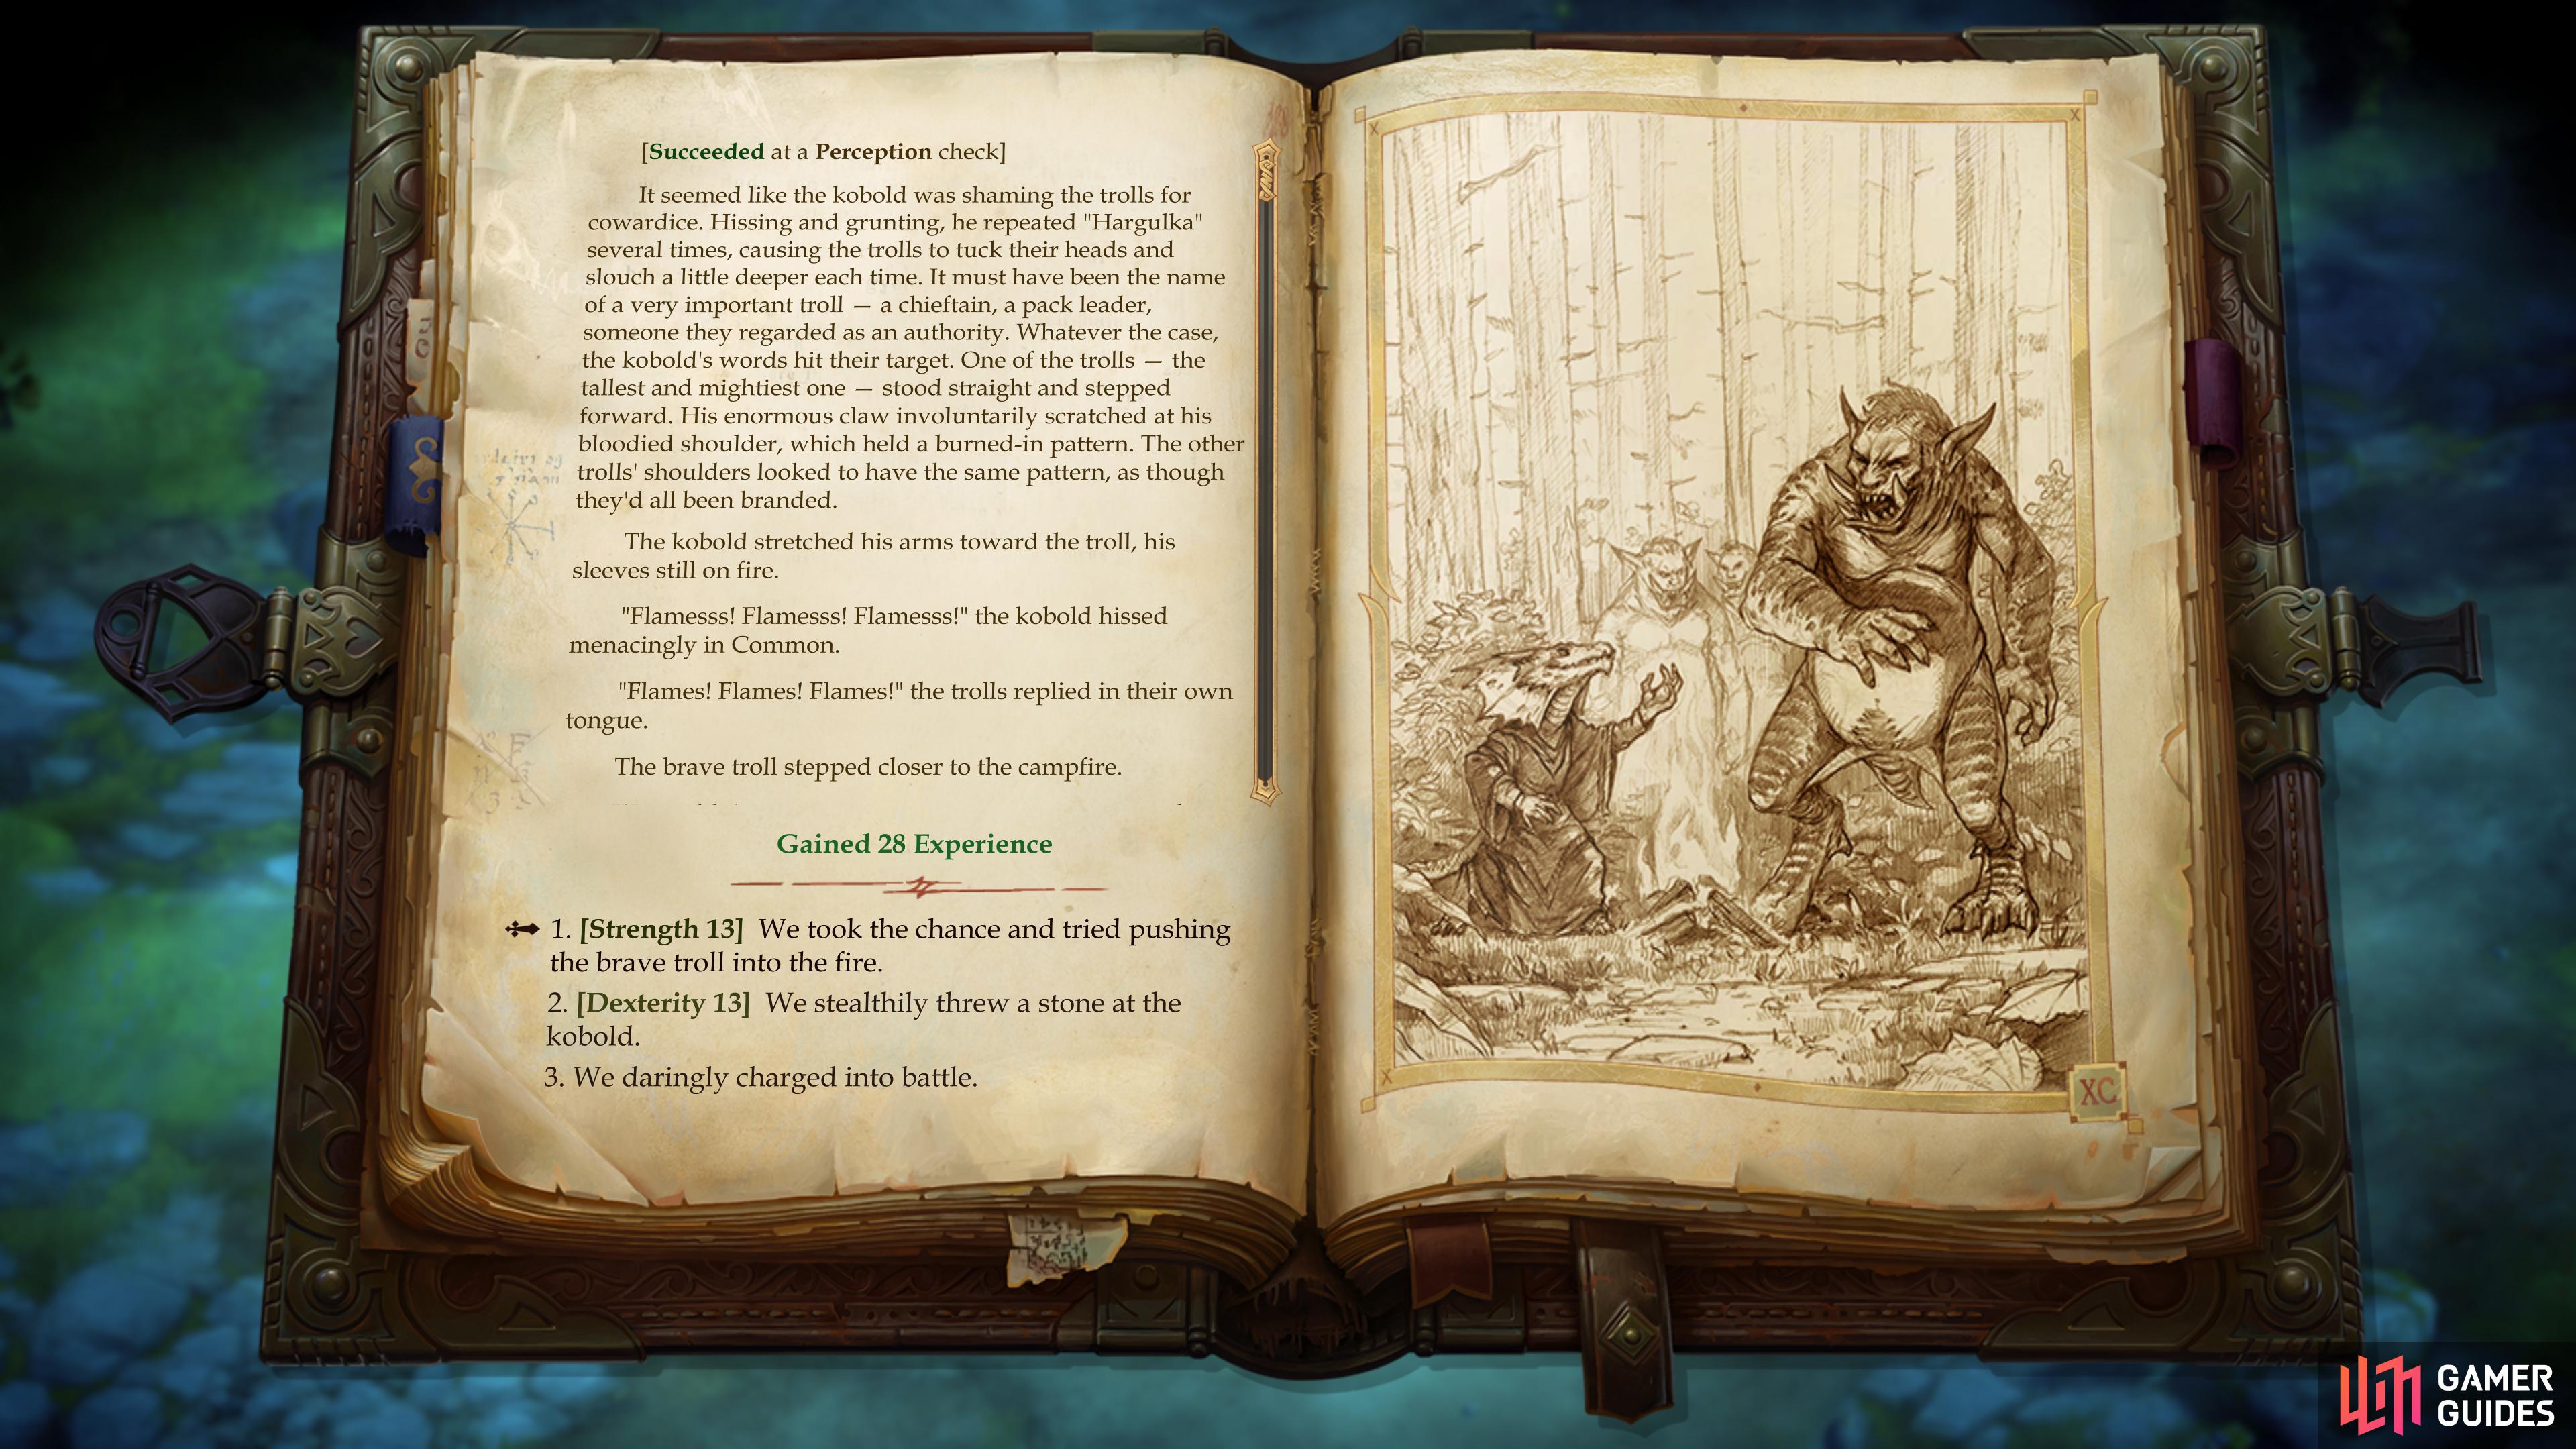
(1 of 3) Make an Illustrated Book choice to reduce the number of trolls you’ll have to fight.
Kobold and Branded Troll Random Encounter
This encounter begins as an Illustrated Book Episode which initially presents you with three options, although the last choice Losing no more time, we turned back. just avoids the encounter. That being the case, pick either the [Stealth 16] or the [Lore (Nature) 16] check to observe the scene undetected, after which you’ll get a shot an an [Intelligence 12] check or a [Perception 17] check to interpret what’s going on, or a [Charisma 13] check to start the fight with a farfetched bluff.
If the Charisma check works, you’ll scare off all three Trolls and begin the fight with an abandoned Kobold Flame Shaman, which is very bad odds for the kobold. Alternatively, if you interpreted what you saw, you’ll be able to follow up with a [Strength 13] check or a [Dexterity 13] check, the former of which will remove one of the trolls from the fight, while the latter will daze the kobold. In any case, there’s no reason to go into this fight without attempting to skew the odds in your favor, so ignore the option We daringly charged into battle. Not only is it directly sub-optimal, but it’ll result in you being ambushed by another troll!
Make what choices you will, after which a fight will ensue. The base encounter includes a Kobold Flame Shaman and three Branded Trolls, but depending on your actions you could end up removing one or three Branded Trolls from the battle, or incapacitating the Kobold Flame Shaman. Worse case scenario, you charge in blindly and end up fighting another Troll, which will appear behind you. Not ideal.
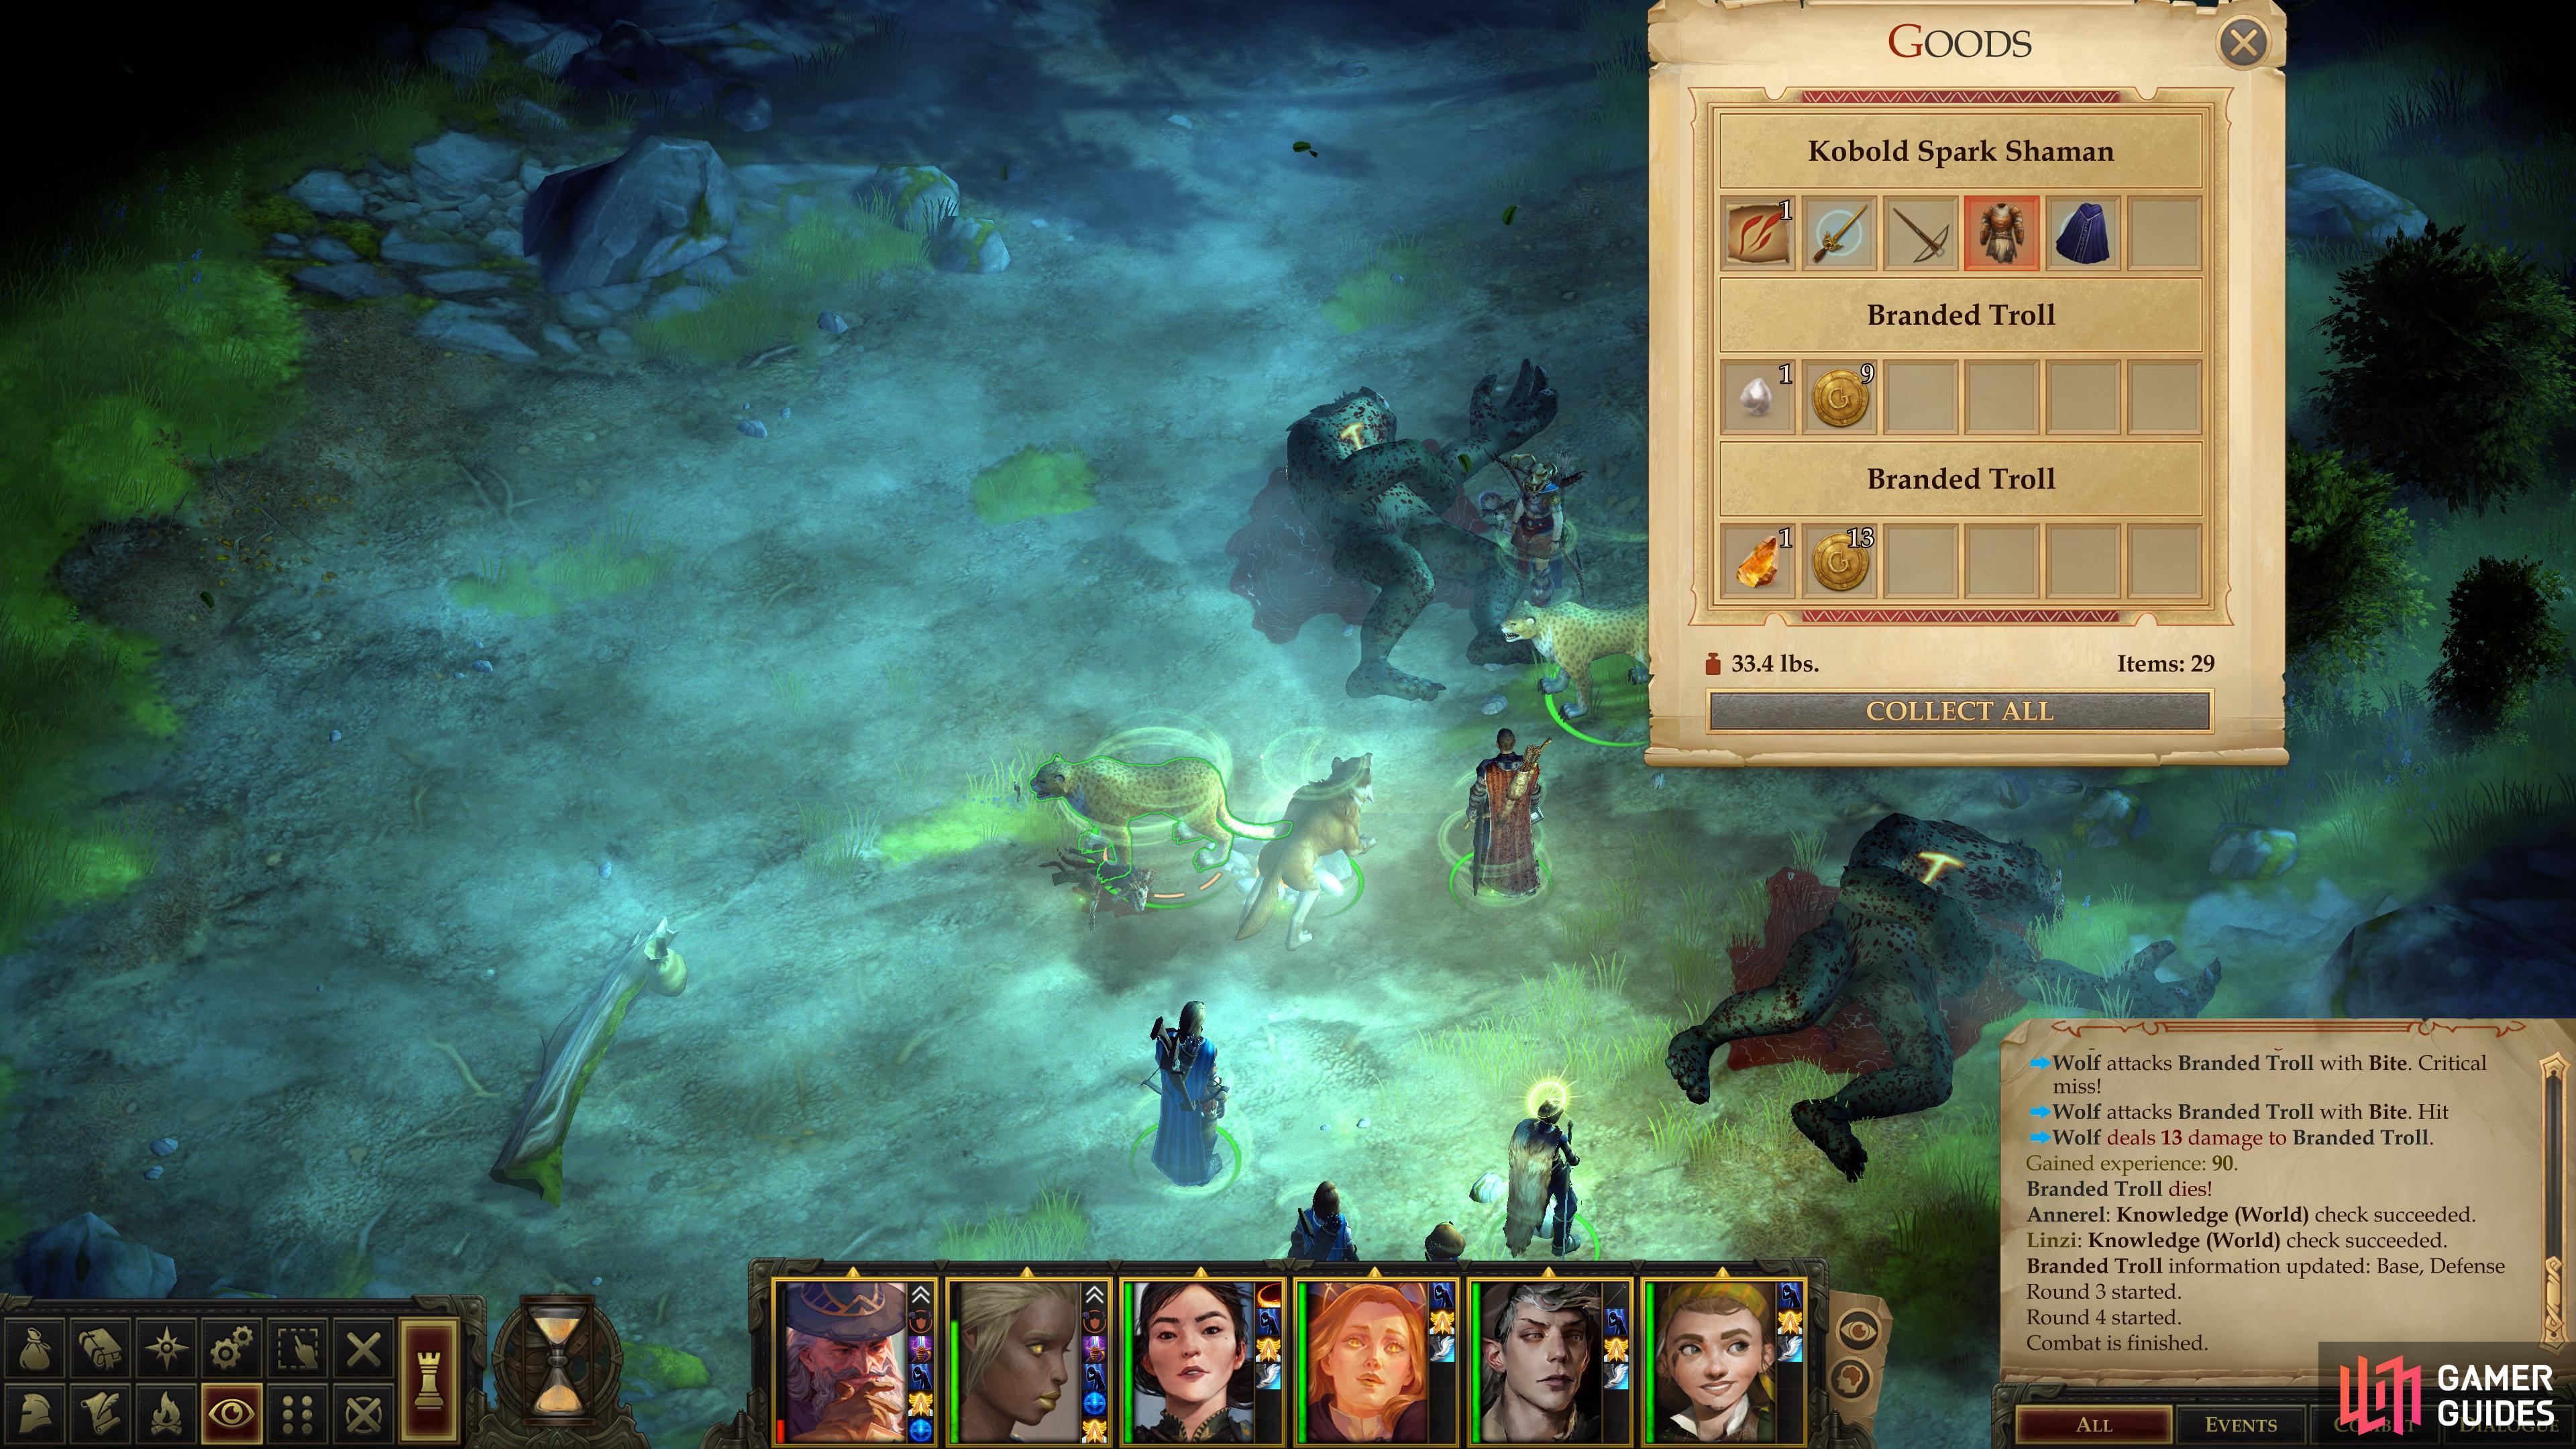
Loot the Kobold Spark Shaman for a variety of treasure,
then search the surrounding forest for a Torag’s Pendant.
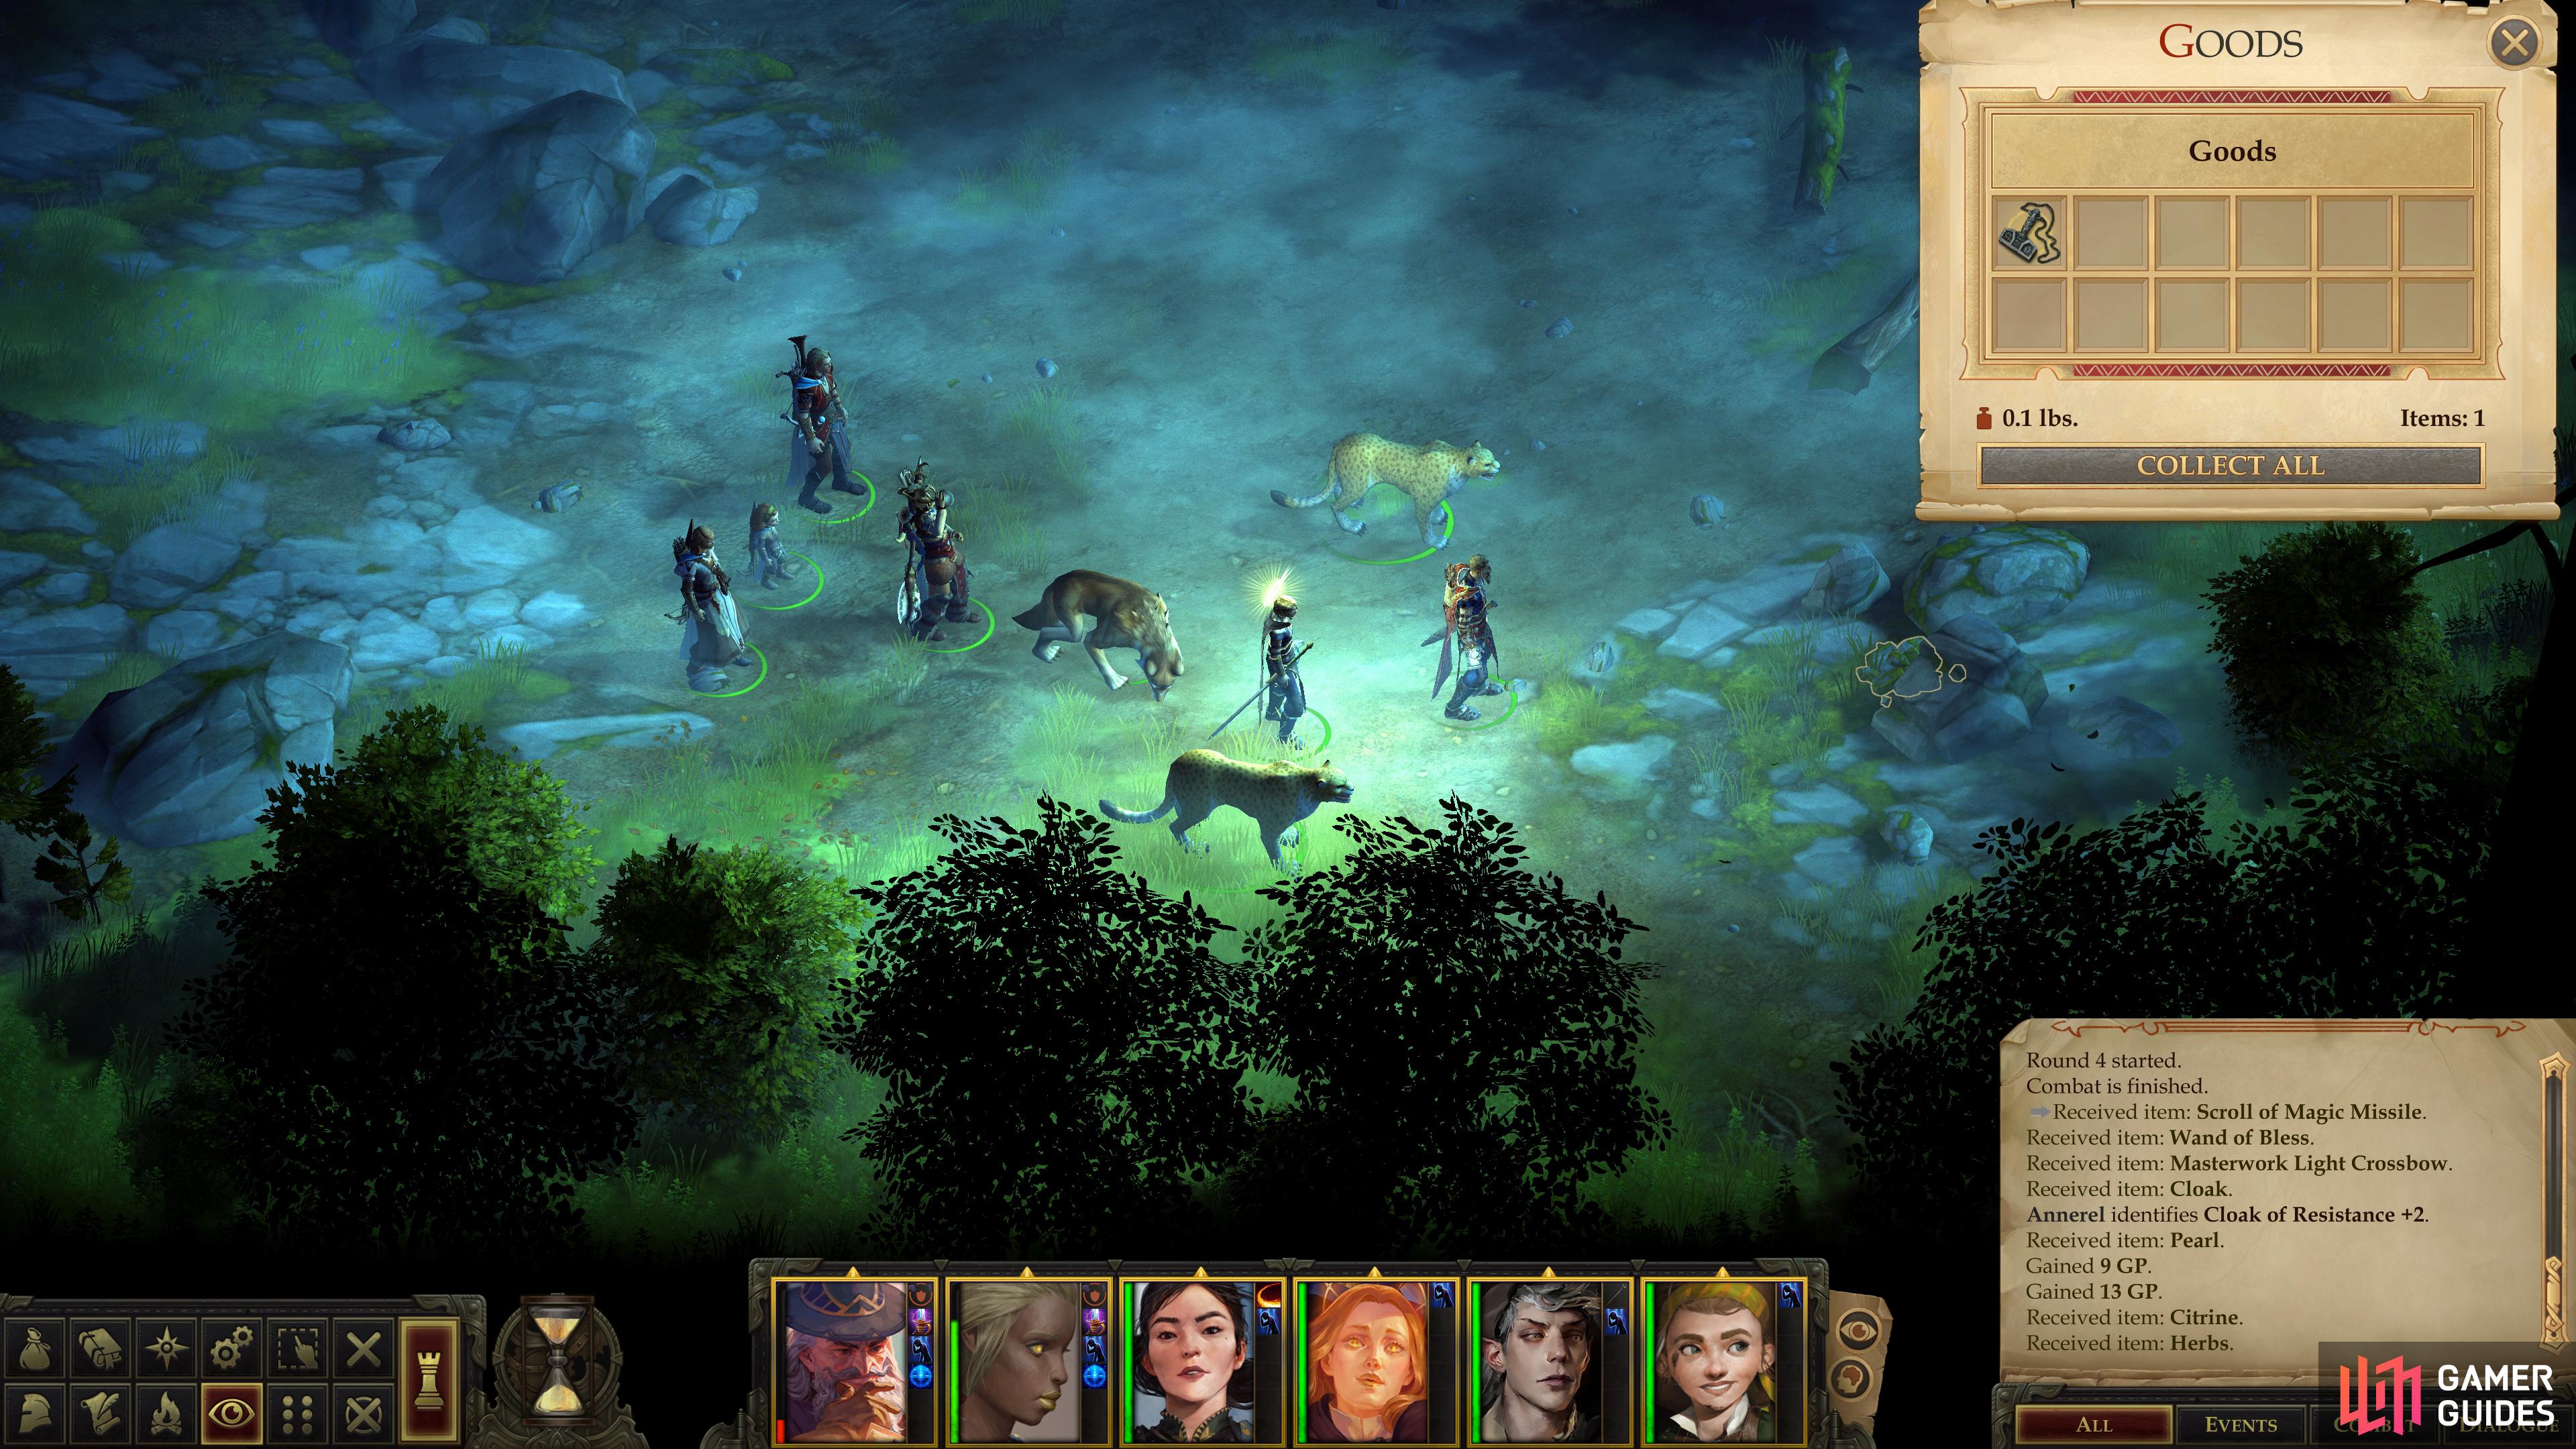
Kill the Kobold first if it’s any condition to fight, as you don’t need it pelting you with Magic Missile spells. At this point in the game, one Magic Missile of your own might be enough to take it out, or get awfully close. As for the trolls, concentrate your fire on one of them at a time and finish them off with acid. Should you emerge victorious, loot the trolls for random treasure, and search the Kobold Flame Shaman for a Cloak of Resistance +2 and a Wand of Bless.
Not bad for such a minor encounter. In addition, you can find some food in a sack to the west of where your enemies were, and under some rocks to the southeast is a Torag’s Pendant. On top of the material wealth, you also may have overheard the kobold talking about one of the trolls’ leaders, named Hargulka. A very worthy encounter, indeed.
After the Swamp Witch’s Hut Expedition
Once you’ve cleared out all the areas listed in this expedition, you can optionally embark on another expedition… or rather continuing on with the second leg of this expedition, as you prefer. This next journey will take you back to the capital by heading north through the previously unexplored Kamelands. Check out the following Kamelands Expedition Overview page for more details.
Charging into the fight may seem not ideal in terms of combat odds, but if you can handle the extra troll.... omnomnom experience. :333
Charging into the fight may seem not ideal in terms of combat odds, but if you can handle the extra troll.... omnomnom experience. :333