
Looks like destroying the Everblooming Flower won’t be possible via conventional means. Time to continue searching the Other World to see if we can find a way to eradicate this threat. Keep the Magical Lantern deactivated away and head through some mist to the north to seemingly travel back to where you last saw the Guardian of the Bloom and the Skylark talking, near where you killed the spiders. This is, in fact, a different version of the Other World than you’ve been traveling through, and here it’ll become apparent how this place works.
There are actually two nearly identical planes that you’ve been traveling between, let’s call them World A and World B. In World A (the one you originally entered) there are two small areas in the center, with the northern area housing the Old Gnome and the southern area being where you entered the Other World from the Womb of Lamashtu. In World B, these two areas are connected, and it’s here where you saw the Guardian of the Bloom cursed to destroy 1,000 kingdoms. Both World A and World B have a side area along the eastern edge of the map that connects the northern and southern halves (you killed the Poisonous Primal Manticores here in World A), while to the west both have a pool of bitter regrets and the trapshroom-lined hill.
Go through the mist and you should find yourself in World B - you’ll know you’re in the right place if you get attacked by some Quickspiders and Doomspiders while descending trapshroom hill. Fortunately the trapshrooms and their swarms aren’t a factor this time around. Descent trapshroom hill and you’ll return to where you fought the two owlbears in World A, although nothing opposes you here in World B. Head north from here, however, and you’ll run afoul of two Primal Manticores, which are something of a step down from the foes you’ve been fighting.
Equip the Magical Lantern again and head north past the pond of bitter regrets, then turn east past some more mist to return to where you saw the Guardian of the Bloom condemned on the dais. Continue east past the dais and through some more mist to find a trio of Doomspiders. Kill them, then note a hidden [Perception 25] area transition to the east.
Before you use this area transition, you’d best make sure you’re buffed. We would urge you to “buff to the max”, but… that’s not needed here. Not because the foe beyond isn’t strong, but rather because it’s so strong, some of your buffs are redundant. Don’t bother with anything that raises your Armor Class, as it probably won’t matter. Instead, focus on concealment (Displacement, Greater Invisibility), misdirection (Mirror Image) and damage mitigation (Stoneskin). Anything that boosts damage output is also a welcome boon.
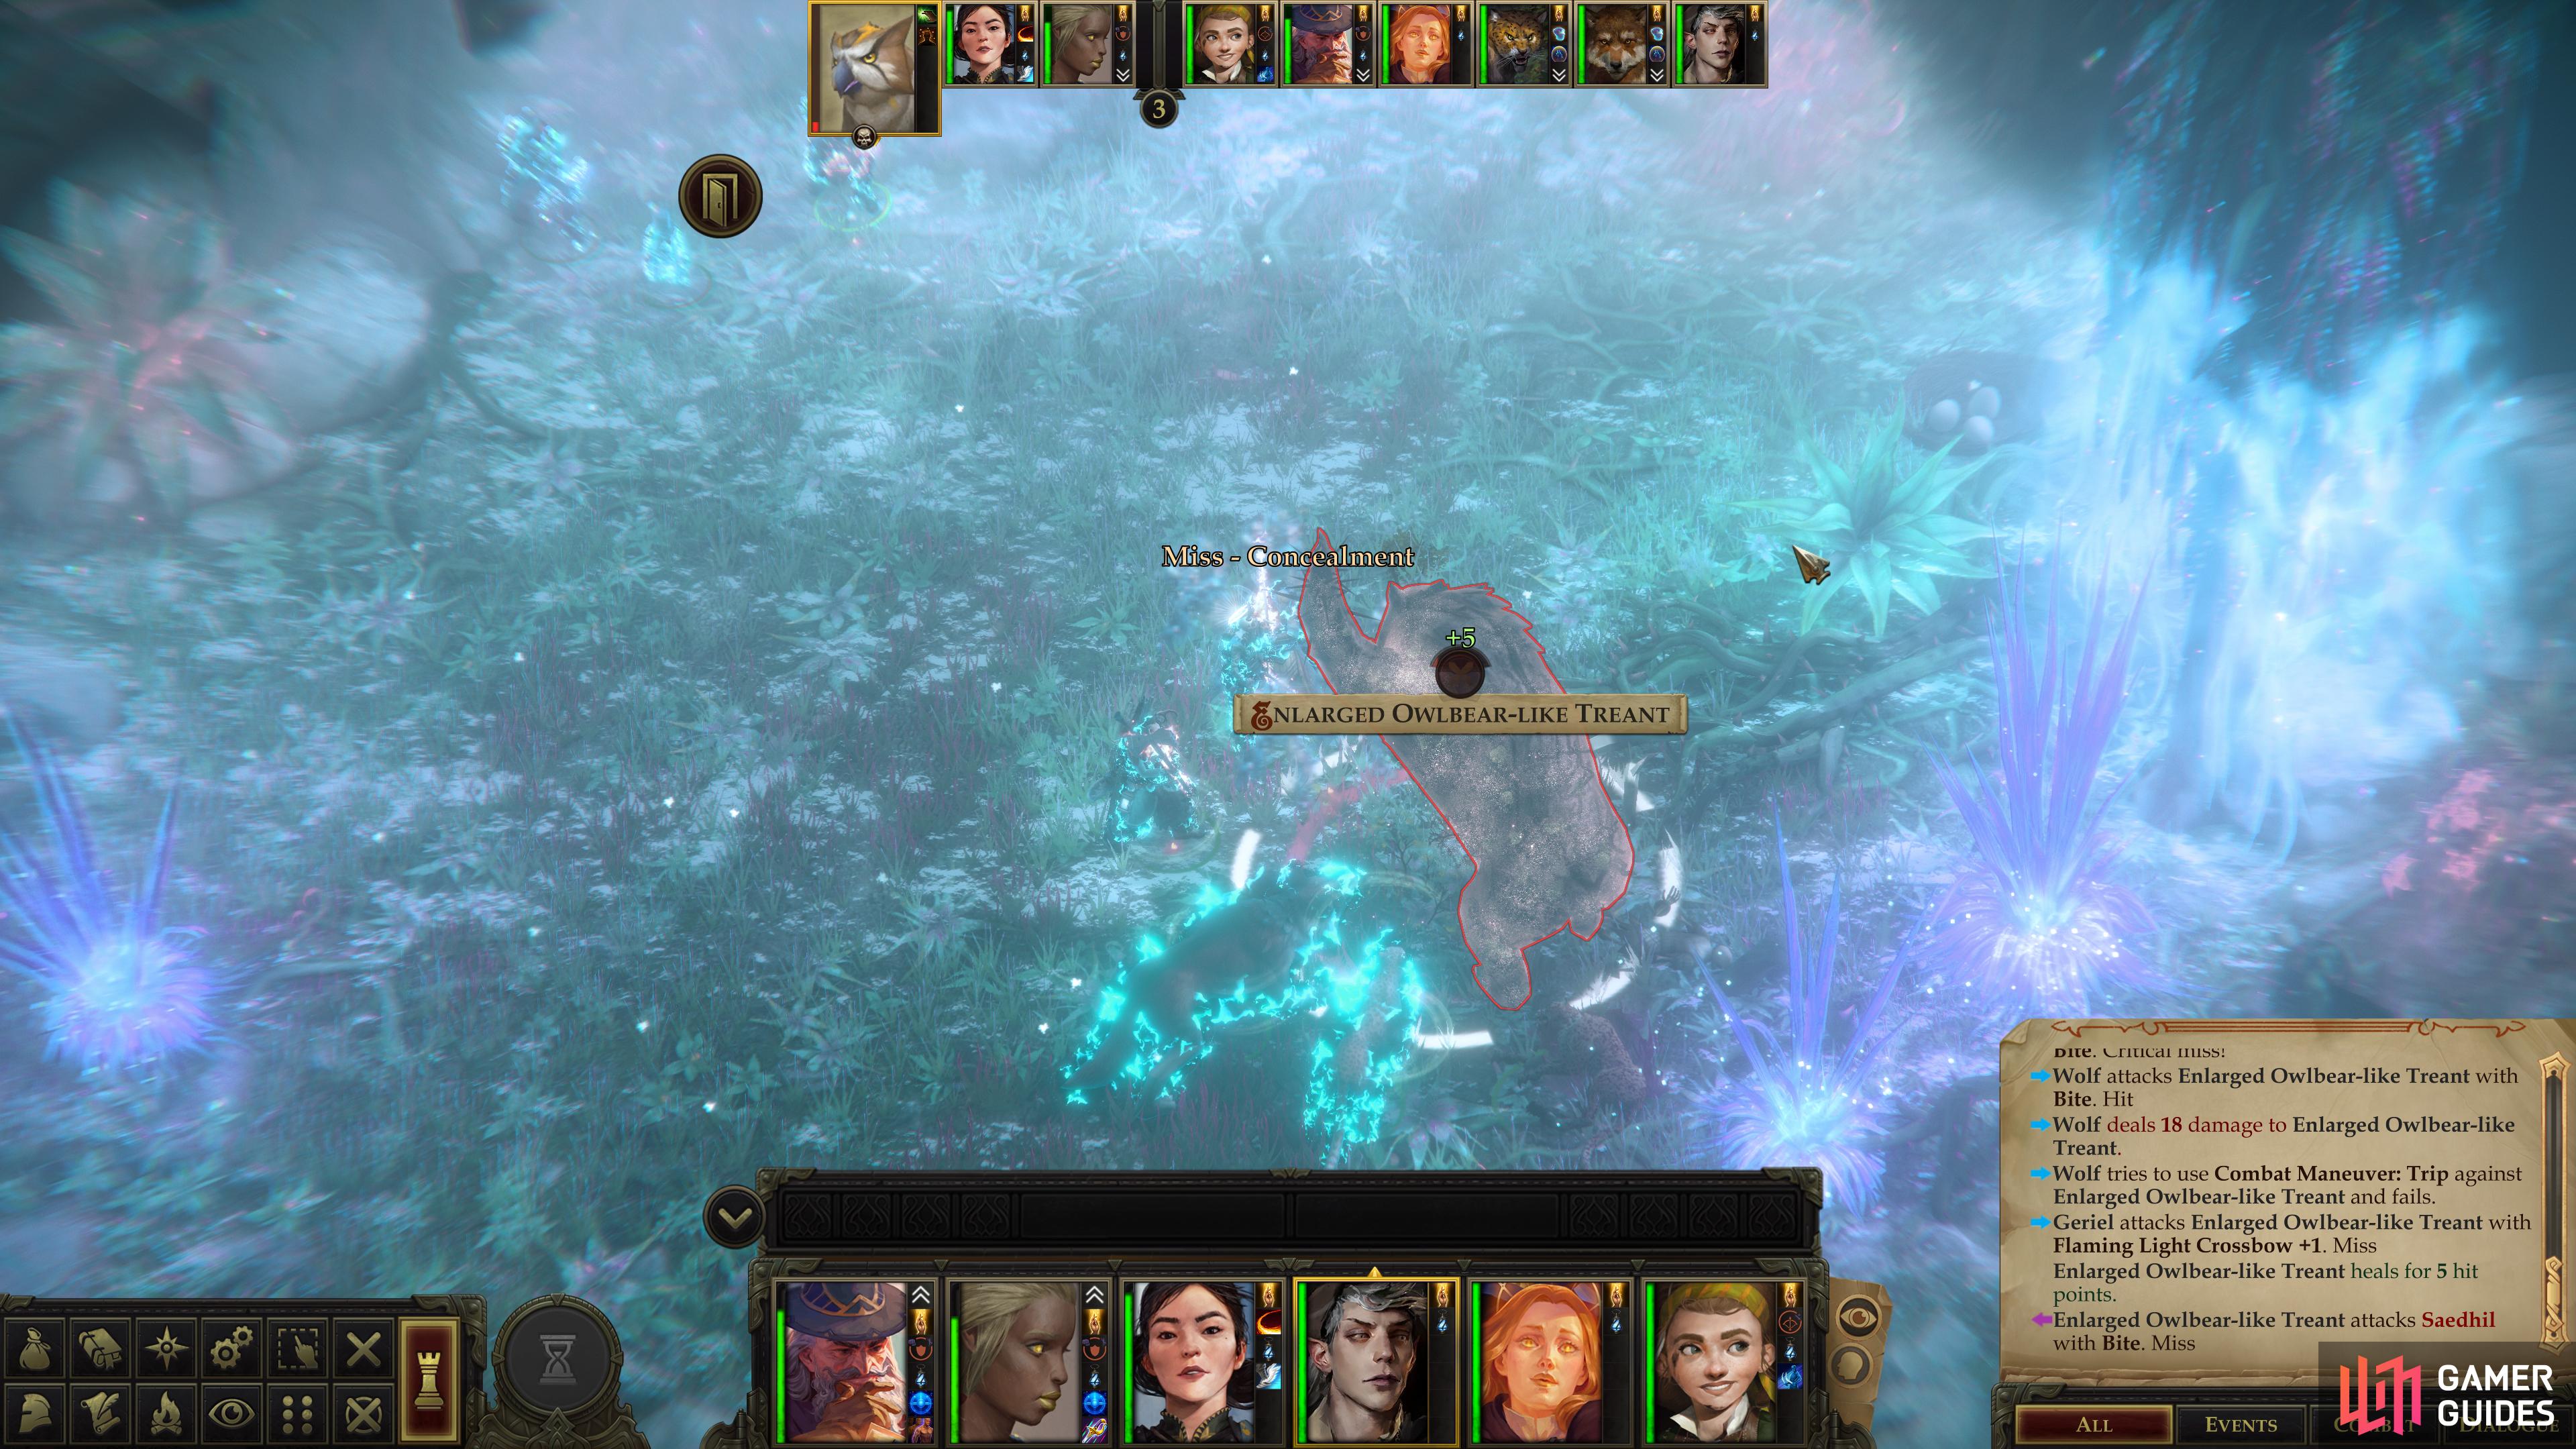
(1 of 4) The Enlarged Owlbear-like Treant’s offense can only be mitigated by illusions.
Battle: Enlarged Owlbear-like Treant
When you’re ready, go through the area transition to reach an elevated ledge overlooking the dais, which just so happens to be the lair of an “Enlarged Owlbear-like Treant”. If you’re reliving bad memories of the Bear-like Treant from the Temple of the Elk, well, those fears are well-founded, as slapping “Treant-like” on a critter is tried-and-true method of boosting a critter’s stats to make a defacto sub-boss.
So it is with this beast, combining an owlbear’s prodigious strength with some buffs and vulnerabilities to make a monster that, frankly, is just silly. It boasts a Strength score of 46, and this - combined with twenty-two Hit Dice - makes it such a fearsome combatant that even a well-built, fully-buffed tank is going to get hit just about every time the owlbear attacks. Concealment and Mirror Image will cause some of its attacks to miss and buy yourself some time, and Stoneskin will mitigate damage, but the owlbear won’t be denied for long. Any round where you take a mere 70~ damage from its attacks is somewhat lucky.
Defensively the beast is no slouch, either, boasting nearly 30 Armor Class - no longer terribly impressive, but still high enough to shake some hits. Added to this is has Damage Reduction 10/cold iron and it’ll regain 5 Hit Points per round, the latter of which is something of a paltry figure considering it has over 400 Hit Points. The Damage Reduction and Armor Class will slow you down, but hopefully your warriors are more than capable of dealing significant damage even with those impediments, especially when buffed.
As for debuffs, this is another fight where the odds are tilted against you. Your enemy has the ability to stun with its attacks, while it boasts high enough Saving Throws to ward off most status effects you might inflict. Make sure you’re full buffed before engaging, flank it to boost your damage output and don’t skimp on having your casters support your warriors with direct-damage dealing spells.
Defeat the beast and loot it for First World Fruit and an Amulet of Mighty Fists +3, which will improve unarmed attack and damage rolls. Shame you can’t equip it on your pets. A corpse nearby will yield further rewards, in the form of a Cold Iron Longsword +1 and a Belt of Physical Perfection +2. Finally, loot its nest to the north to score some Owlbear Eggs and a variety of rare gems. Why would a treant lay eggs? Oh well.
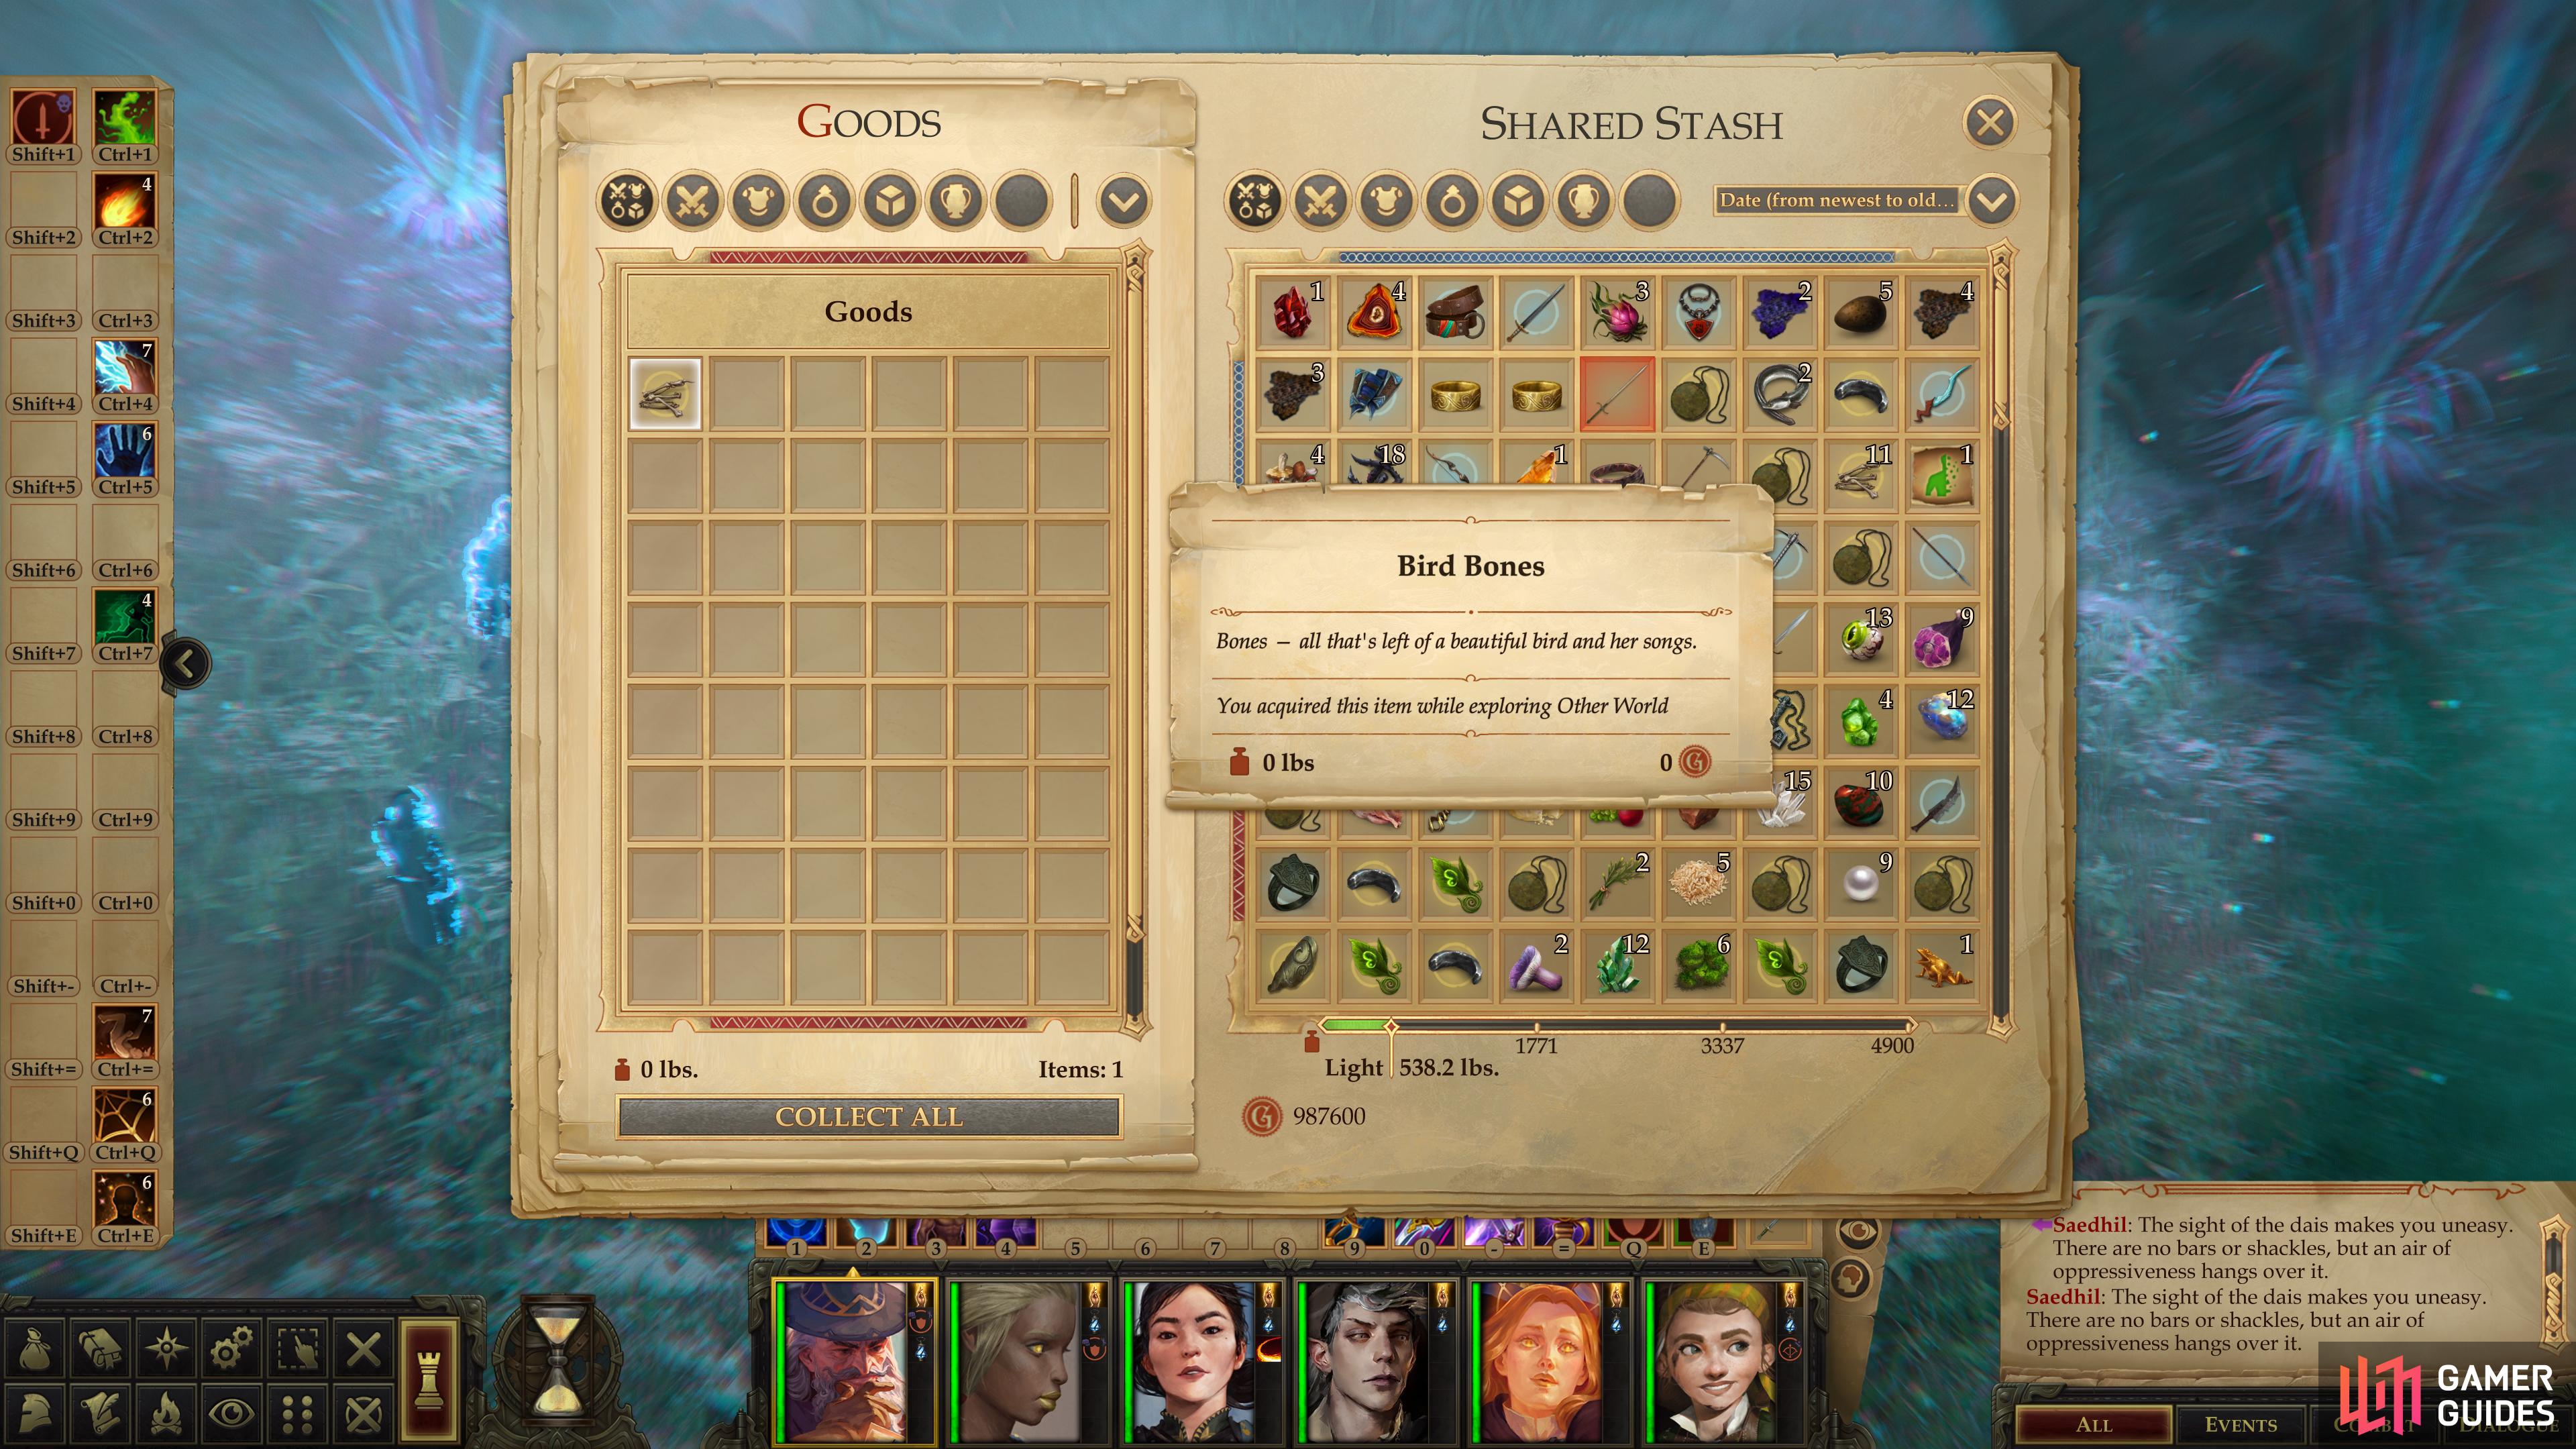
Place the Mysterious Bird on the dais, then rest and return to find some “Bird Bones”.
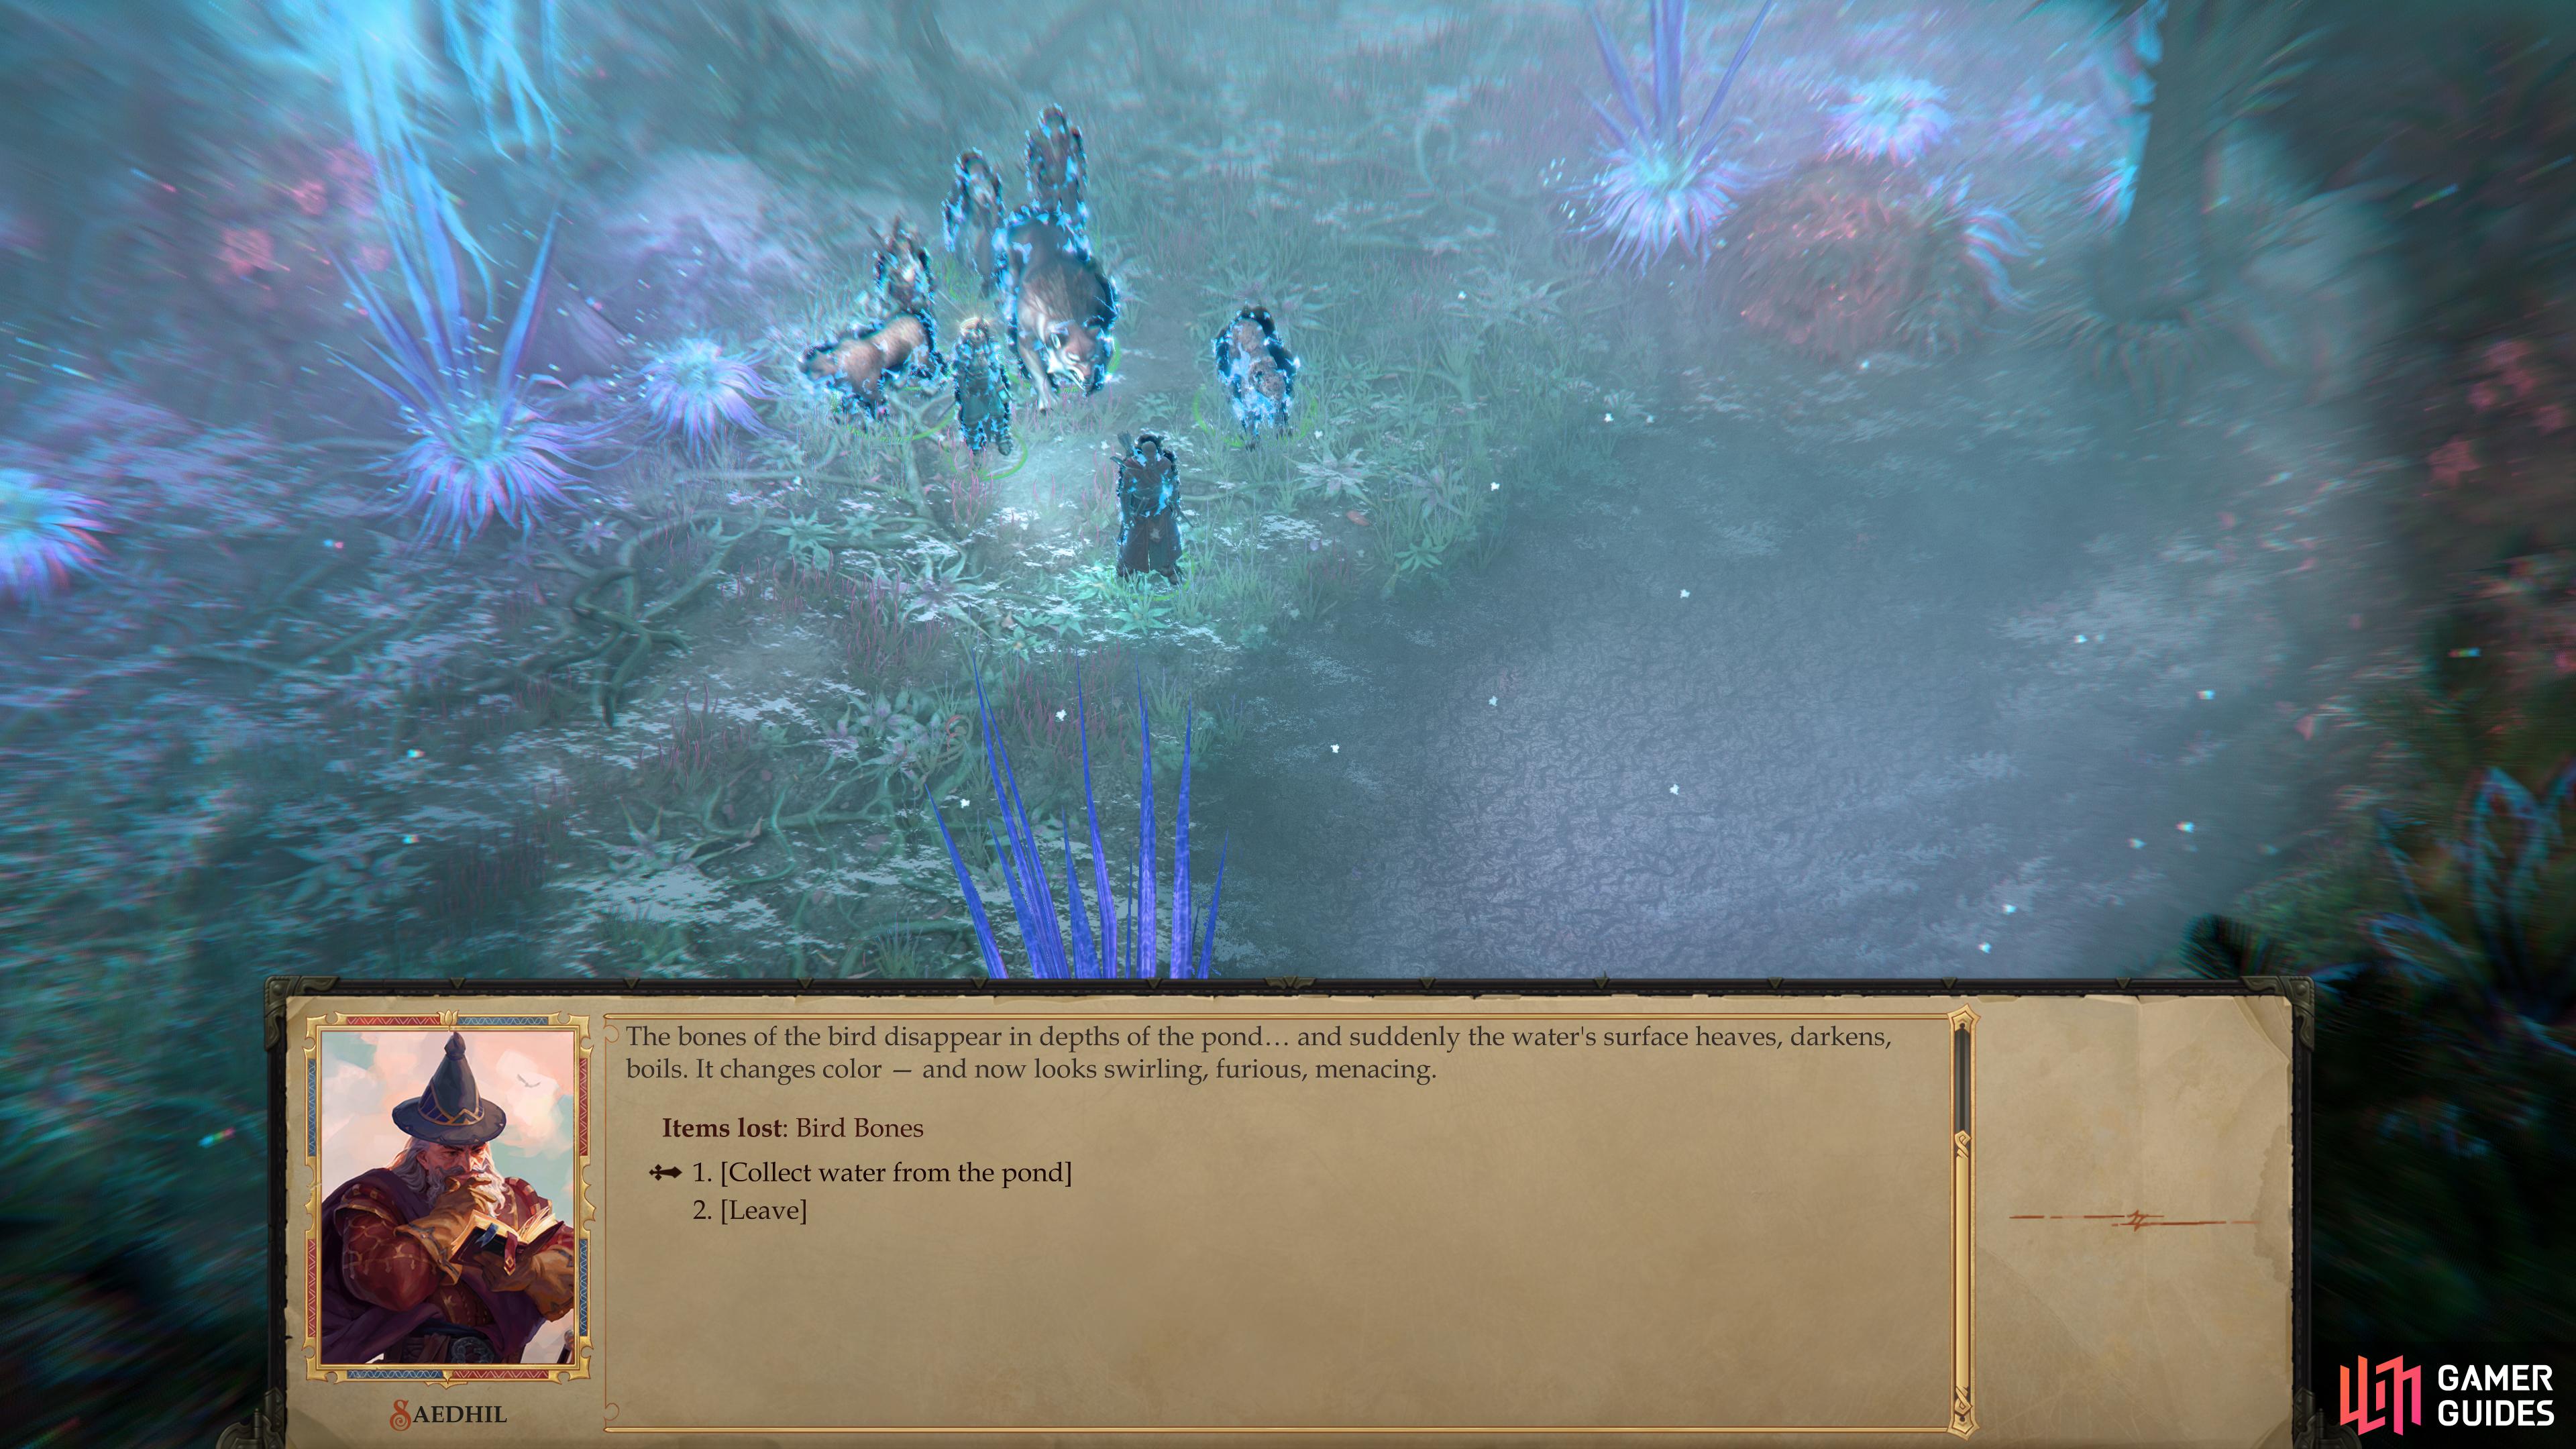
Take the remains of the poor, mysteriously-slain bird and dump them in the pool of bitter regrets to obtain some poison.
Poison the Everblooming Flower
Leave the Owlbear-like Treant’s roost and return to lower ground. Now that World B has been cleared, it’s time to deal with this Everblooming Flower. Deactivate the Magical Lantern, then go through the mist to the west. You will, of course, be teleported to the south, but you’ll also shift to World A when you do so. Activate the Magical Torch again and head north, then west through the mist to find the Old Gnome near the dais
Now is a good time to rest up if you’re not at your best - and after fighting the Owlbear-like Treant, you’re probably not. Before you rest, however, interact with the dais nearby to bring up an inventory menu. Play the Mysterious Bird on the dais, then use the Old Gnome’s campfire toe rest. When you wake up, search the dais again to find that the beautifully singing bird is now gone, and in its place are some Bird Bones. Creepy.
Collect these bones, then head west through the mist (make sure your lantern is still activated) and turn south to return to the pool of bitter regrets. When you interact with it, you’ll get a new option, [Throw the bird’s bones into the water.], after which select the option [Collect water from the pond] to obtain a Vial with Poisoned Water. That Everblooming Flower was resistant to brute force, but let’s see how it likes poison, eh?
Return to the Everblooming Flower by heading to the western edge of the map, ascending trapshroom hill, and entering the mist (make sure your Magical Lamp is deactivated) at the top of the hill. Repeat this process, if necessary. Before you interact with the Everblooming Flower, however, you should be warned of what comes next. Sure, slightly spoilerific, but you’ll probably want to be prepared.
After dealing with the Everblooming Flower, you’ll have to split up your party, and while it’s a short duration, both half-parties will have to win a battle while divided before they’re allowed to regroup. That being the case, you may want to buff up everybody, as depending how you split the party, you might not be able to do so later. This sort of scenario is a prime example of why we have both a Tank and an Off-Tank - sometimes you just need more than one.
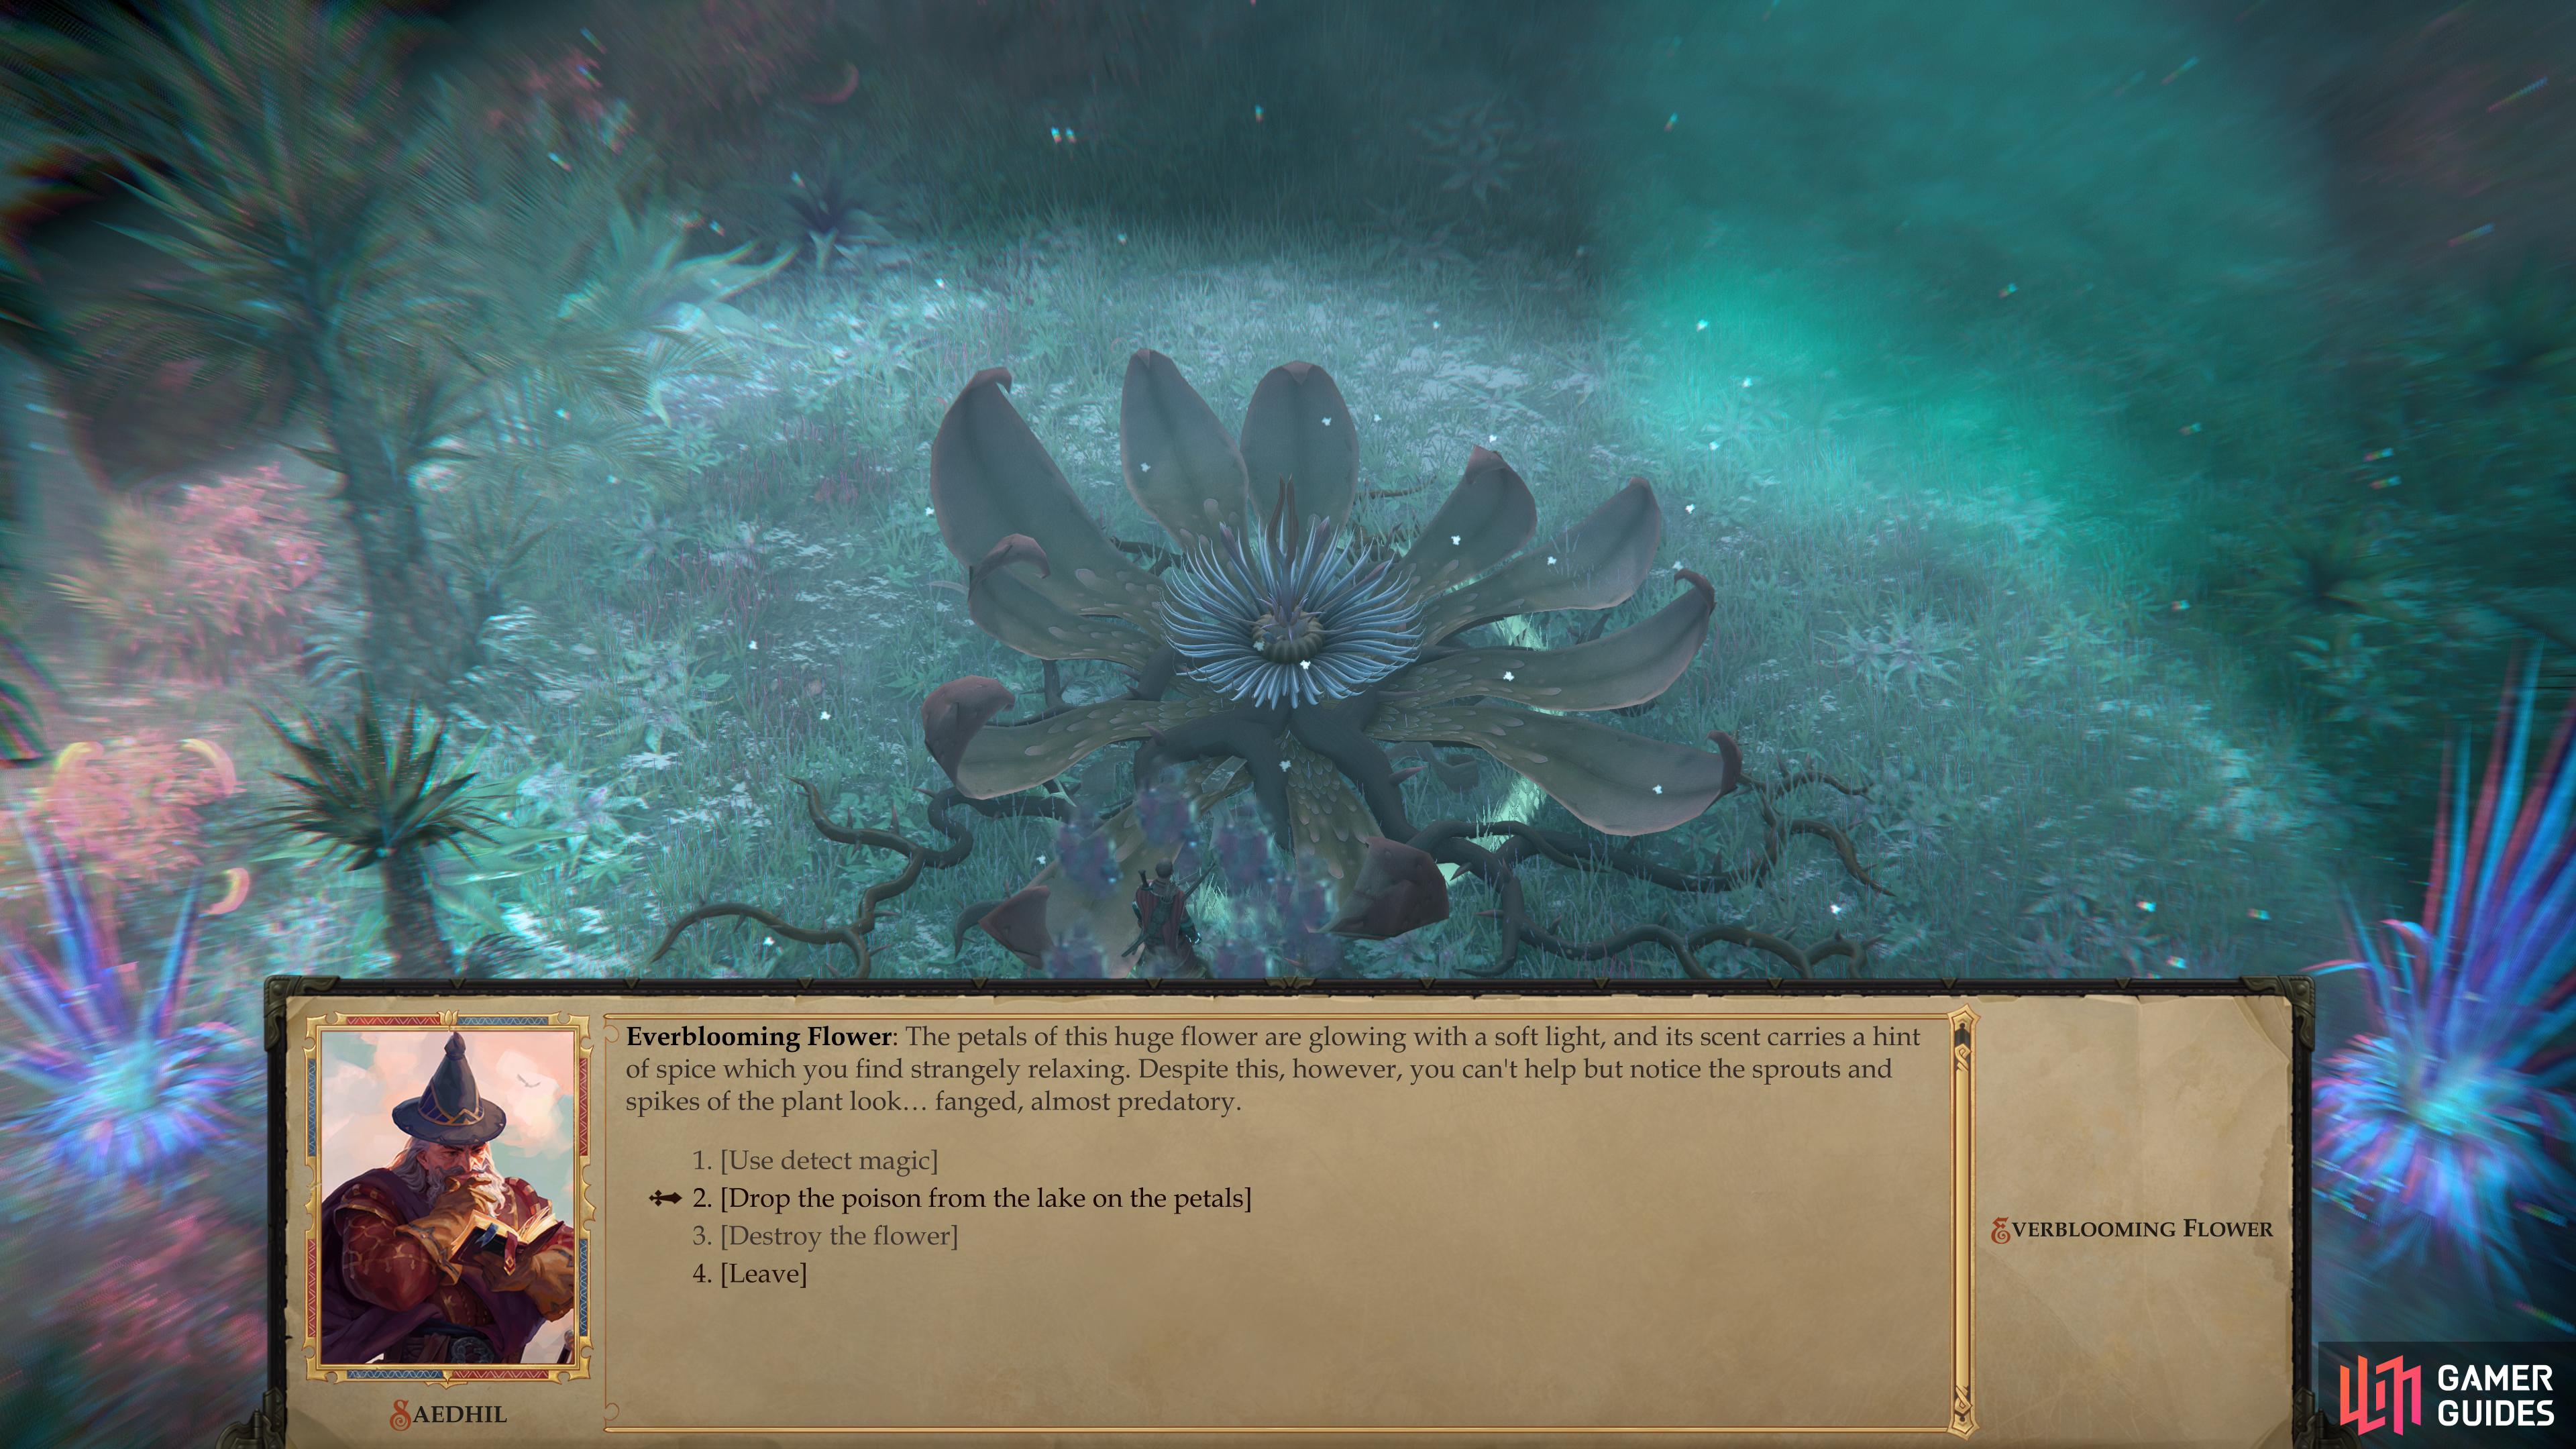
Poison the Everblooming Flower,
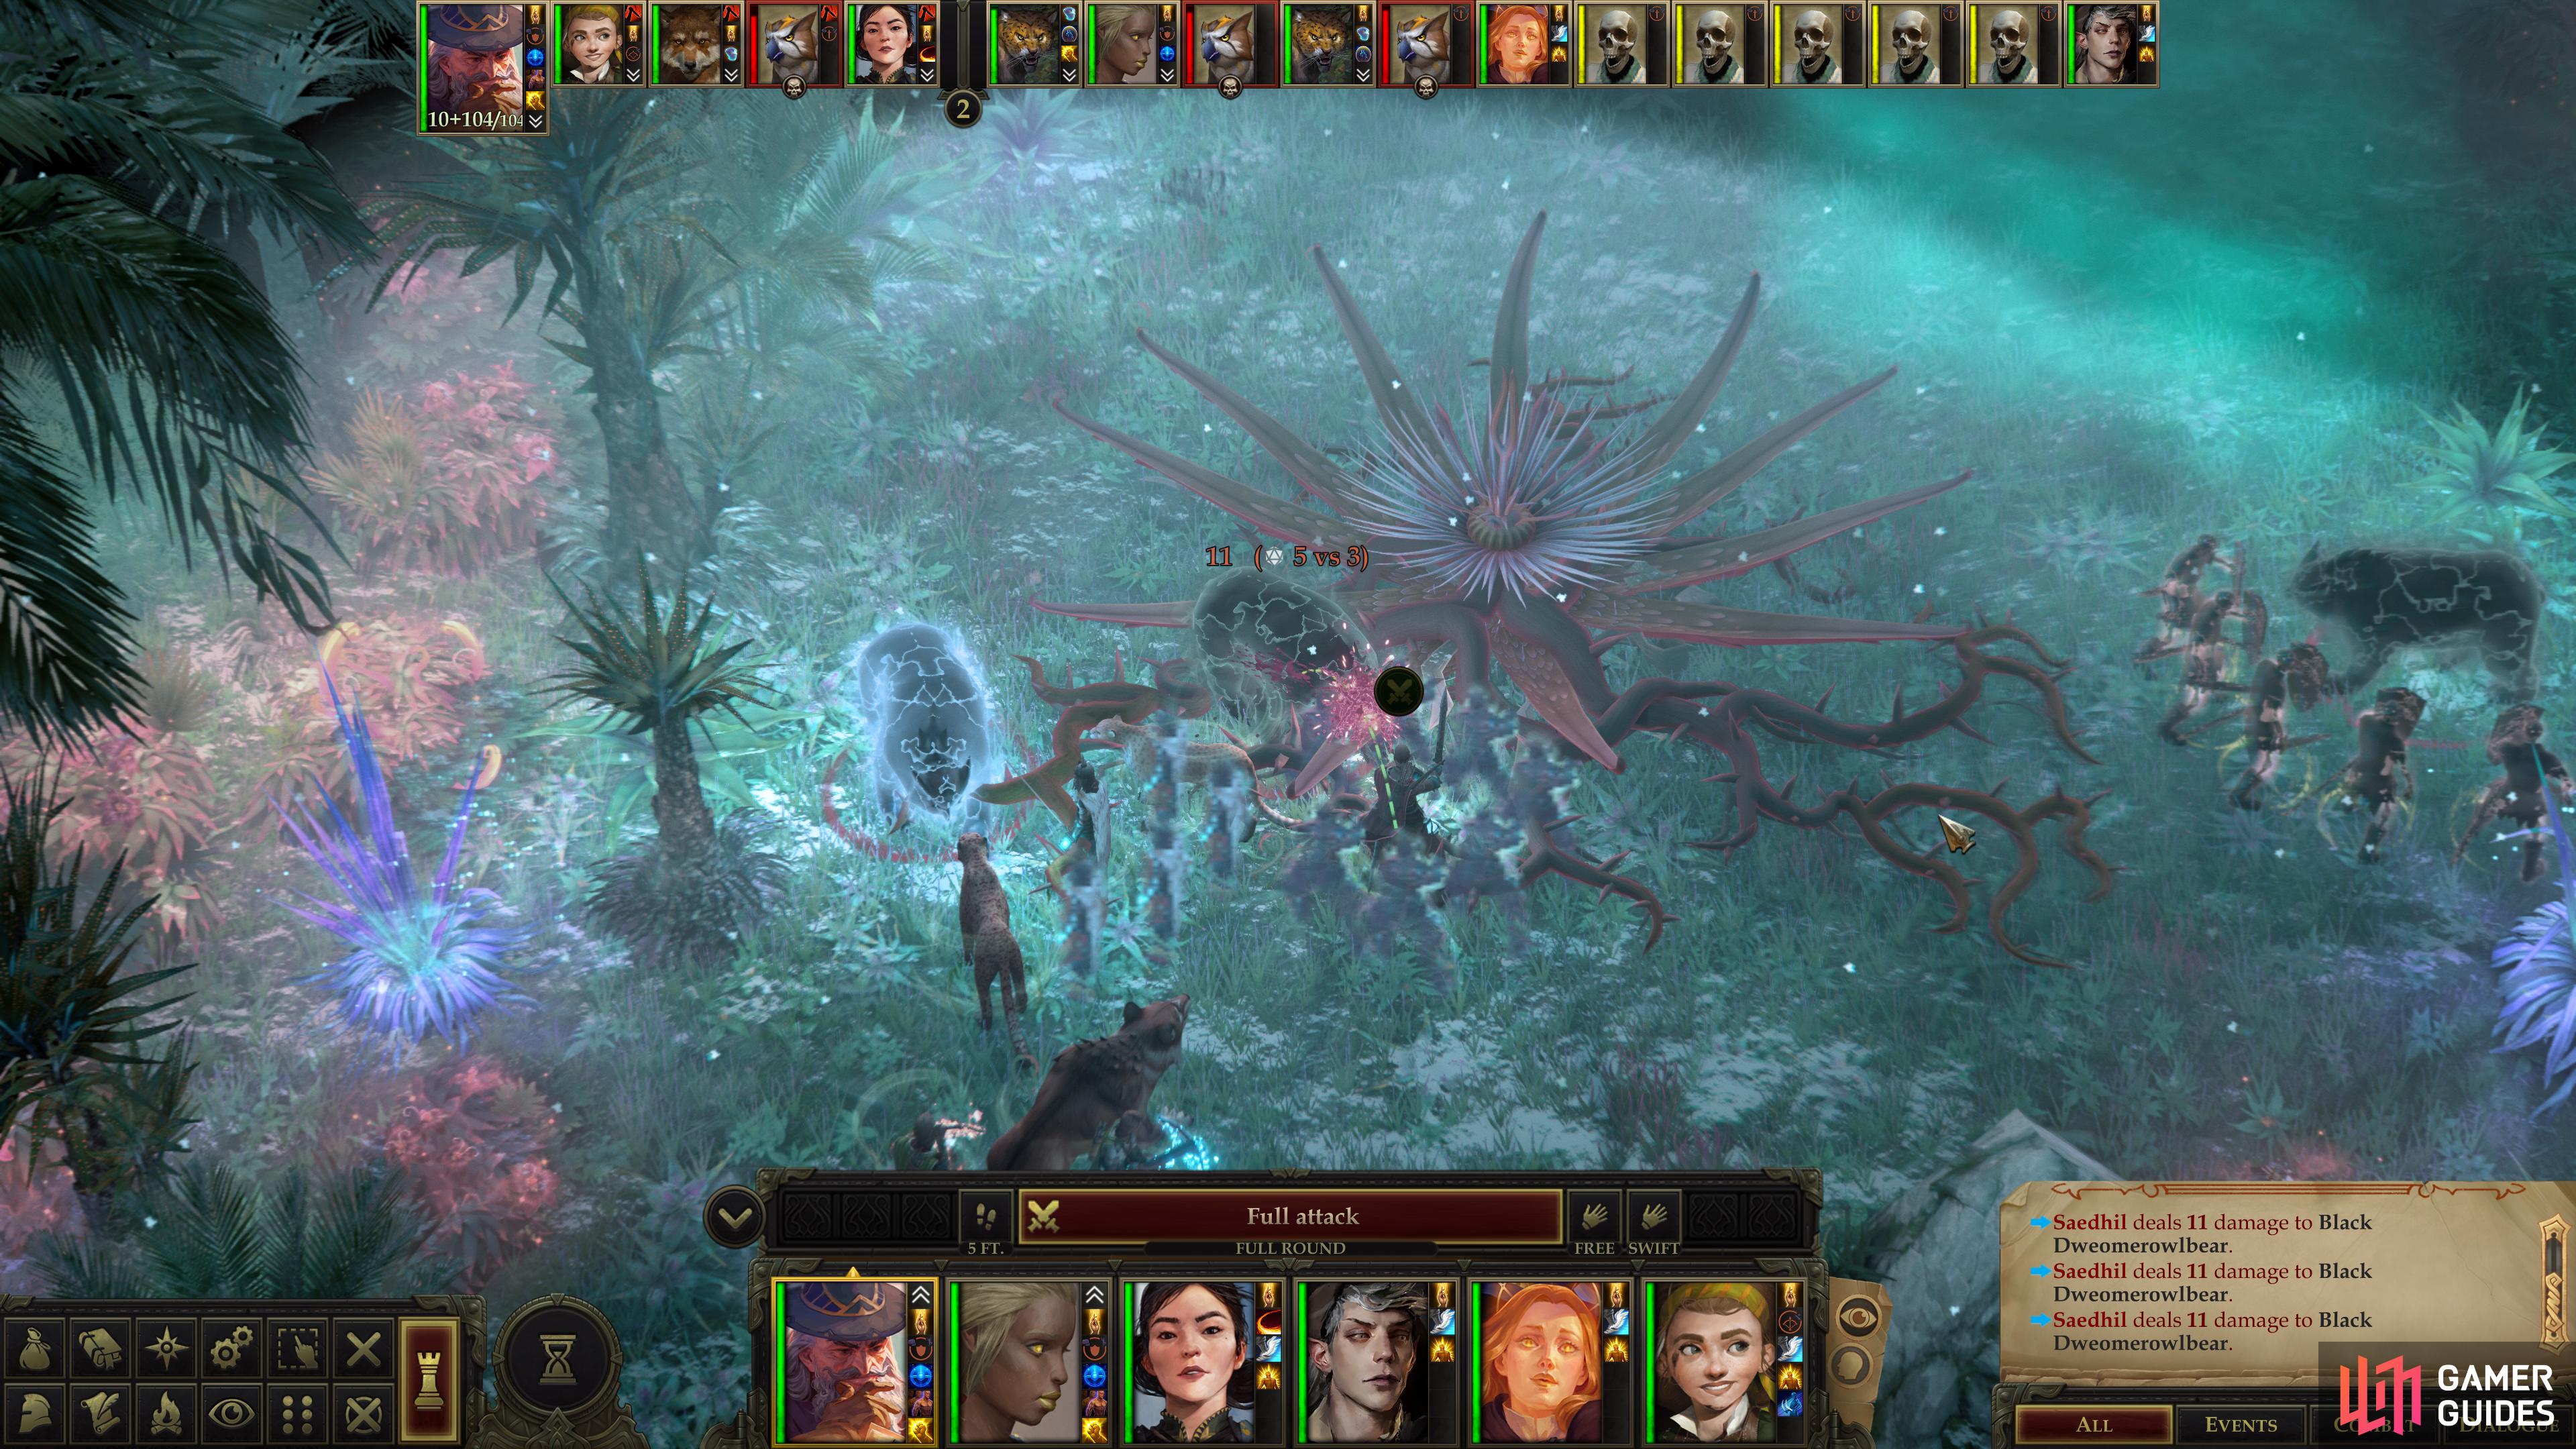
then cull the three owlbears that appear in response.
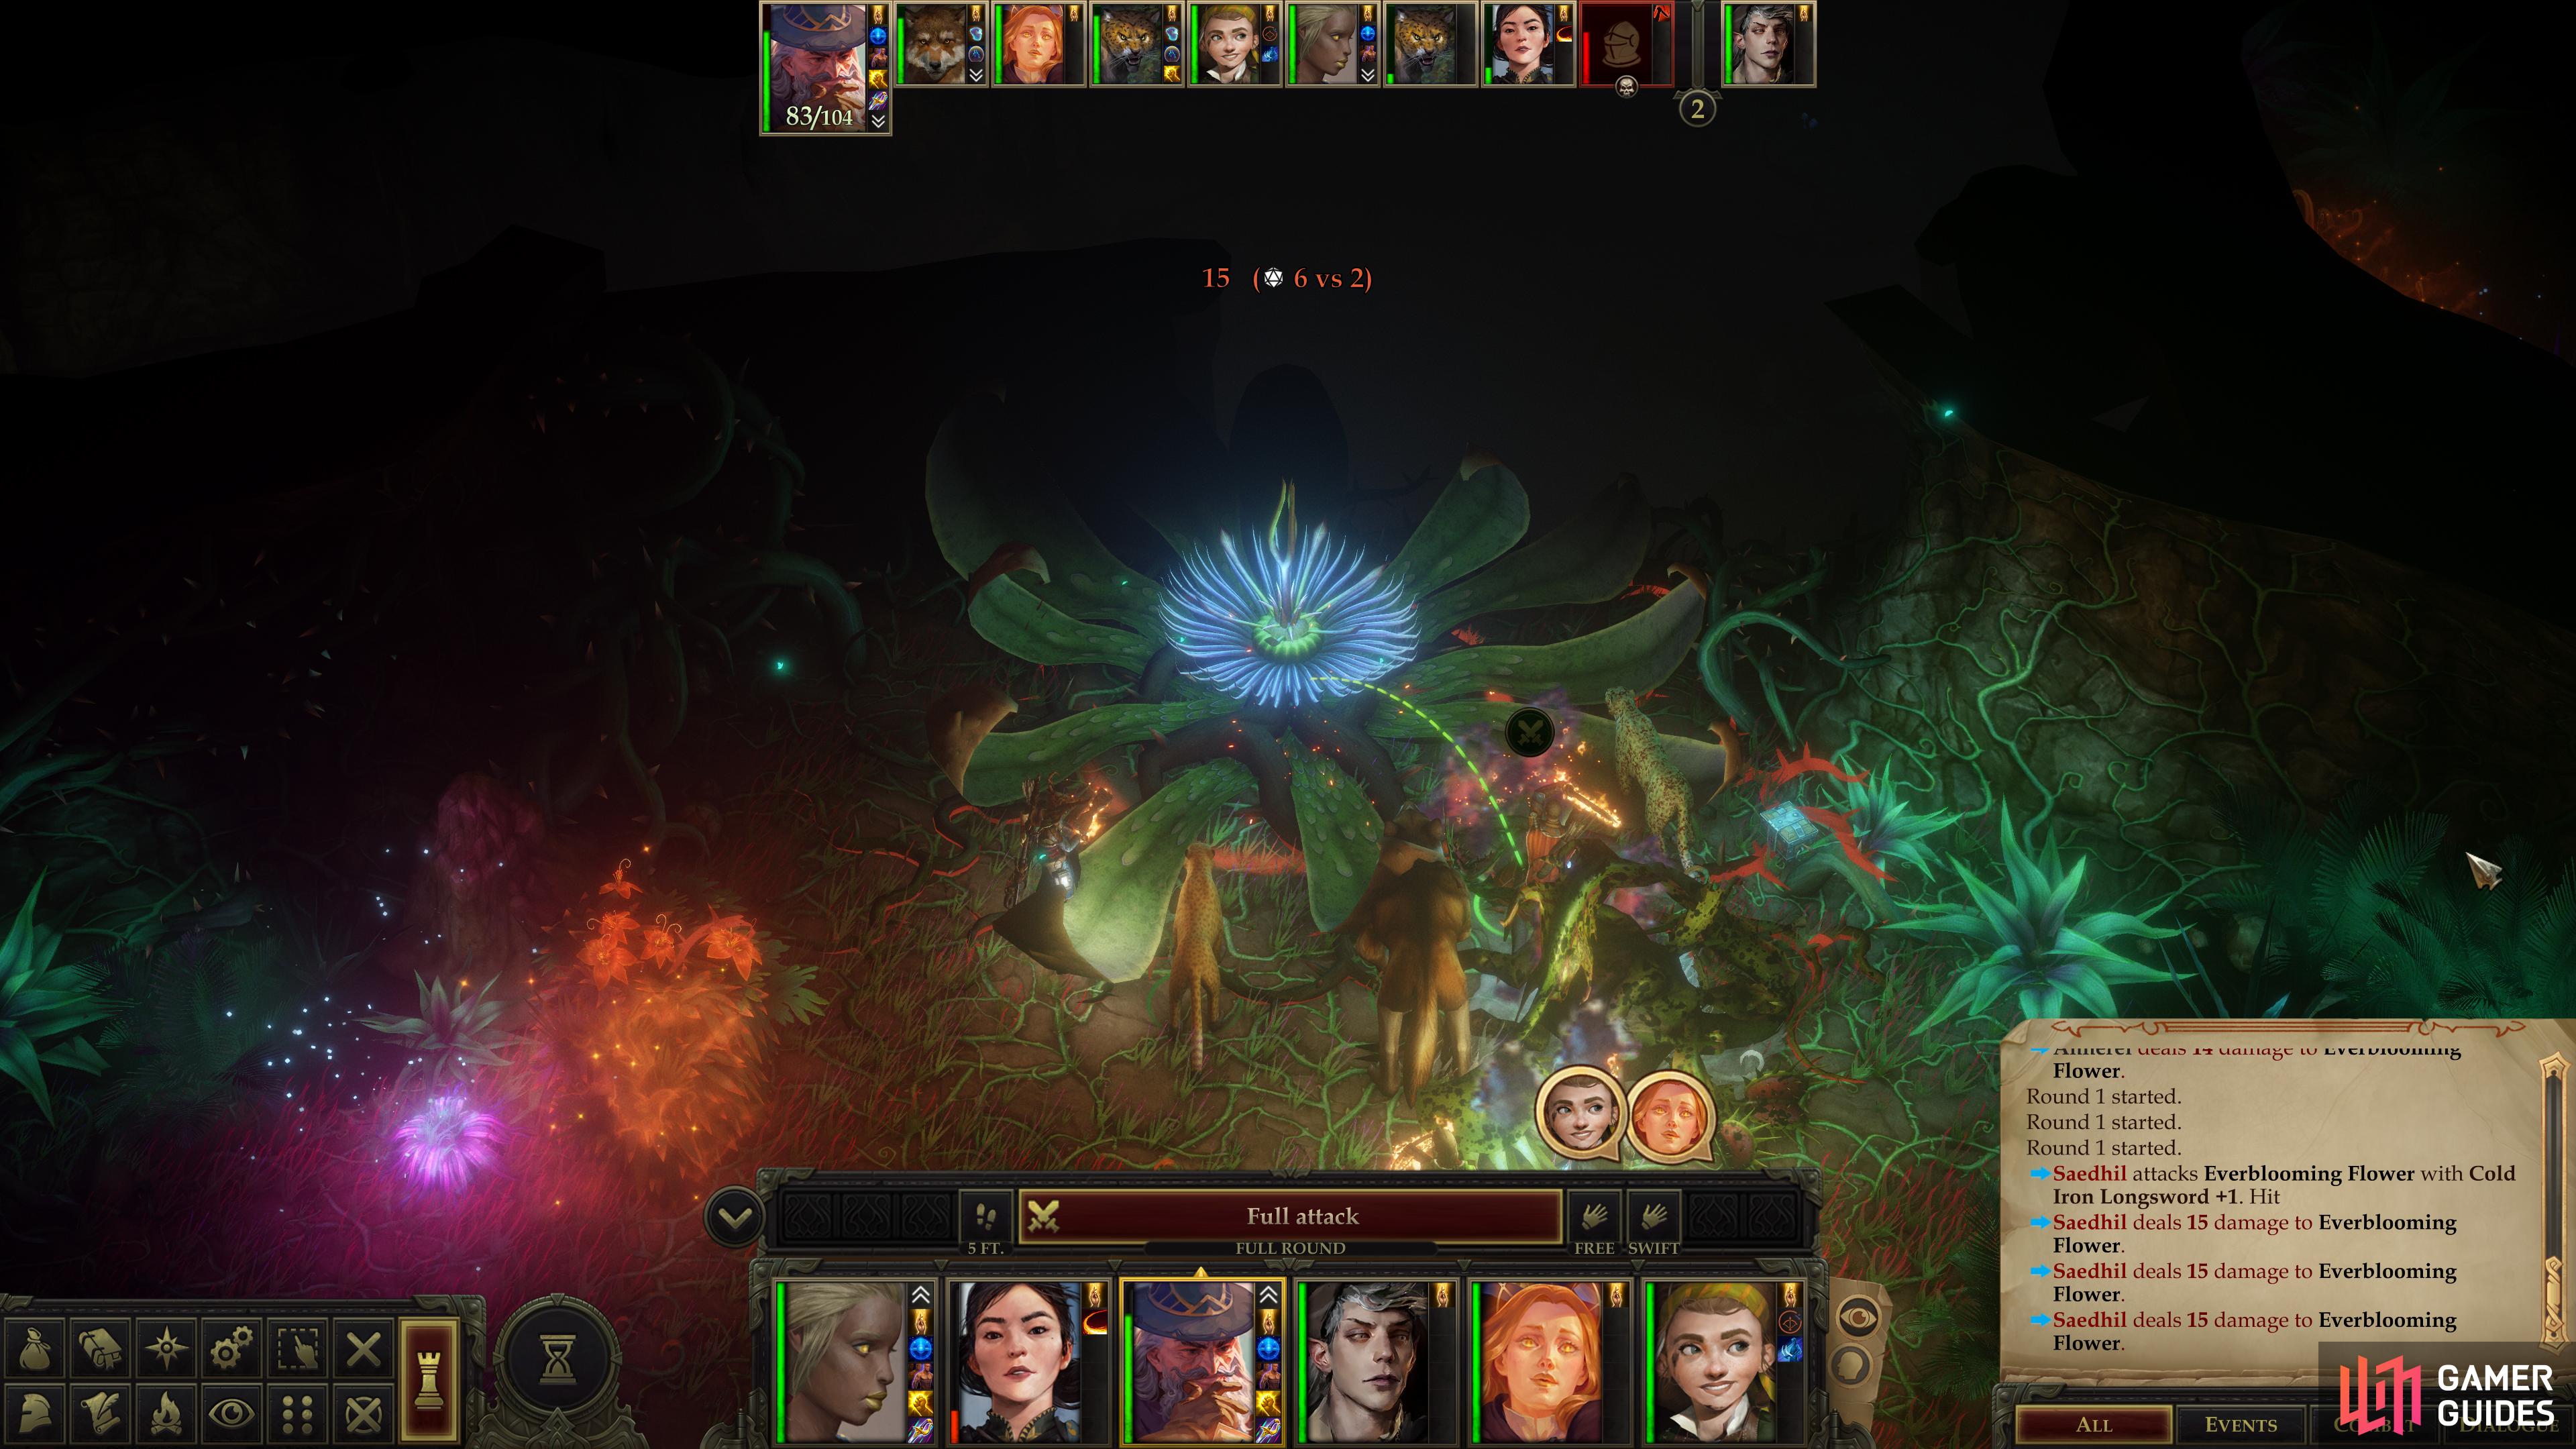
When you’re ready, interact with the Everbloom Flower and select the option [Drop the poison from the lake on the petals] to finally hinder the Everblooming Flower. This will cause portals to open, out of which will emerge three owlbears - a Purple Dweomerowlbear (starts the fight with Mirror Image active) and two Black Dweomerowlbears. Defeat them, but don’t celebrate just yet, as the war isn’t won yet.
The Old Gnome will show up after the battle and questions your motivations - a rare full-spectrum moral choice. Answer however best suits your protagonist, then after some ominous, fatalistic commentary from the gnome, ask “I’ve solved your riddle. But what do I do next?”… or if you need to prepare first (last chance to do so!) select the option “I still have some business to take care of here. We’ll talk later.”.
When you make the former of the two responses, the gnome will tell you that you must destroy the Everblooming Flower with fire… in both the Other World and your own world. Both must be destroyed at the same time, but violence begets violence, and you can expect your attack on the flower to be met with equal wrath in the form of summoned monsters. This plant isn’t going down without a fight.
| Reward: For poisoning the Everblooming Flower |
|---|
| 180 XP |
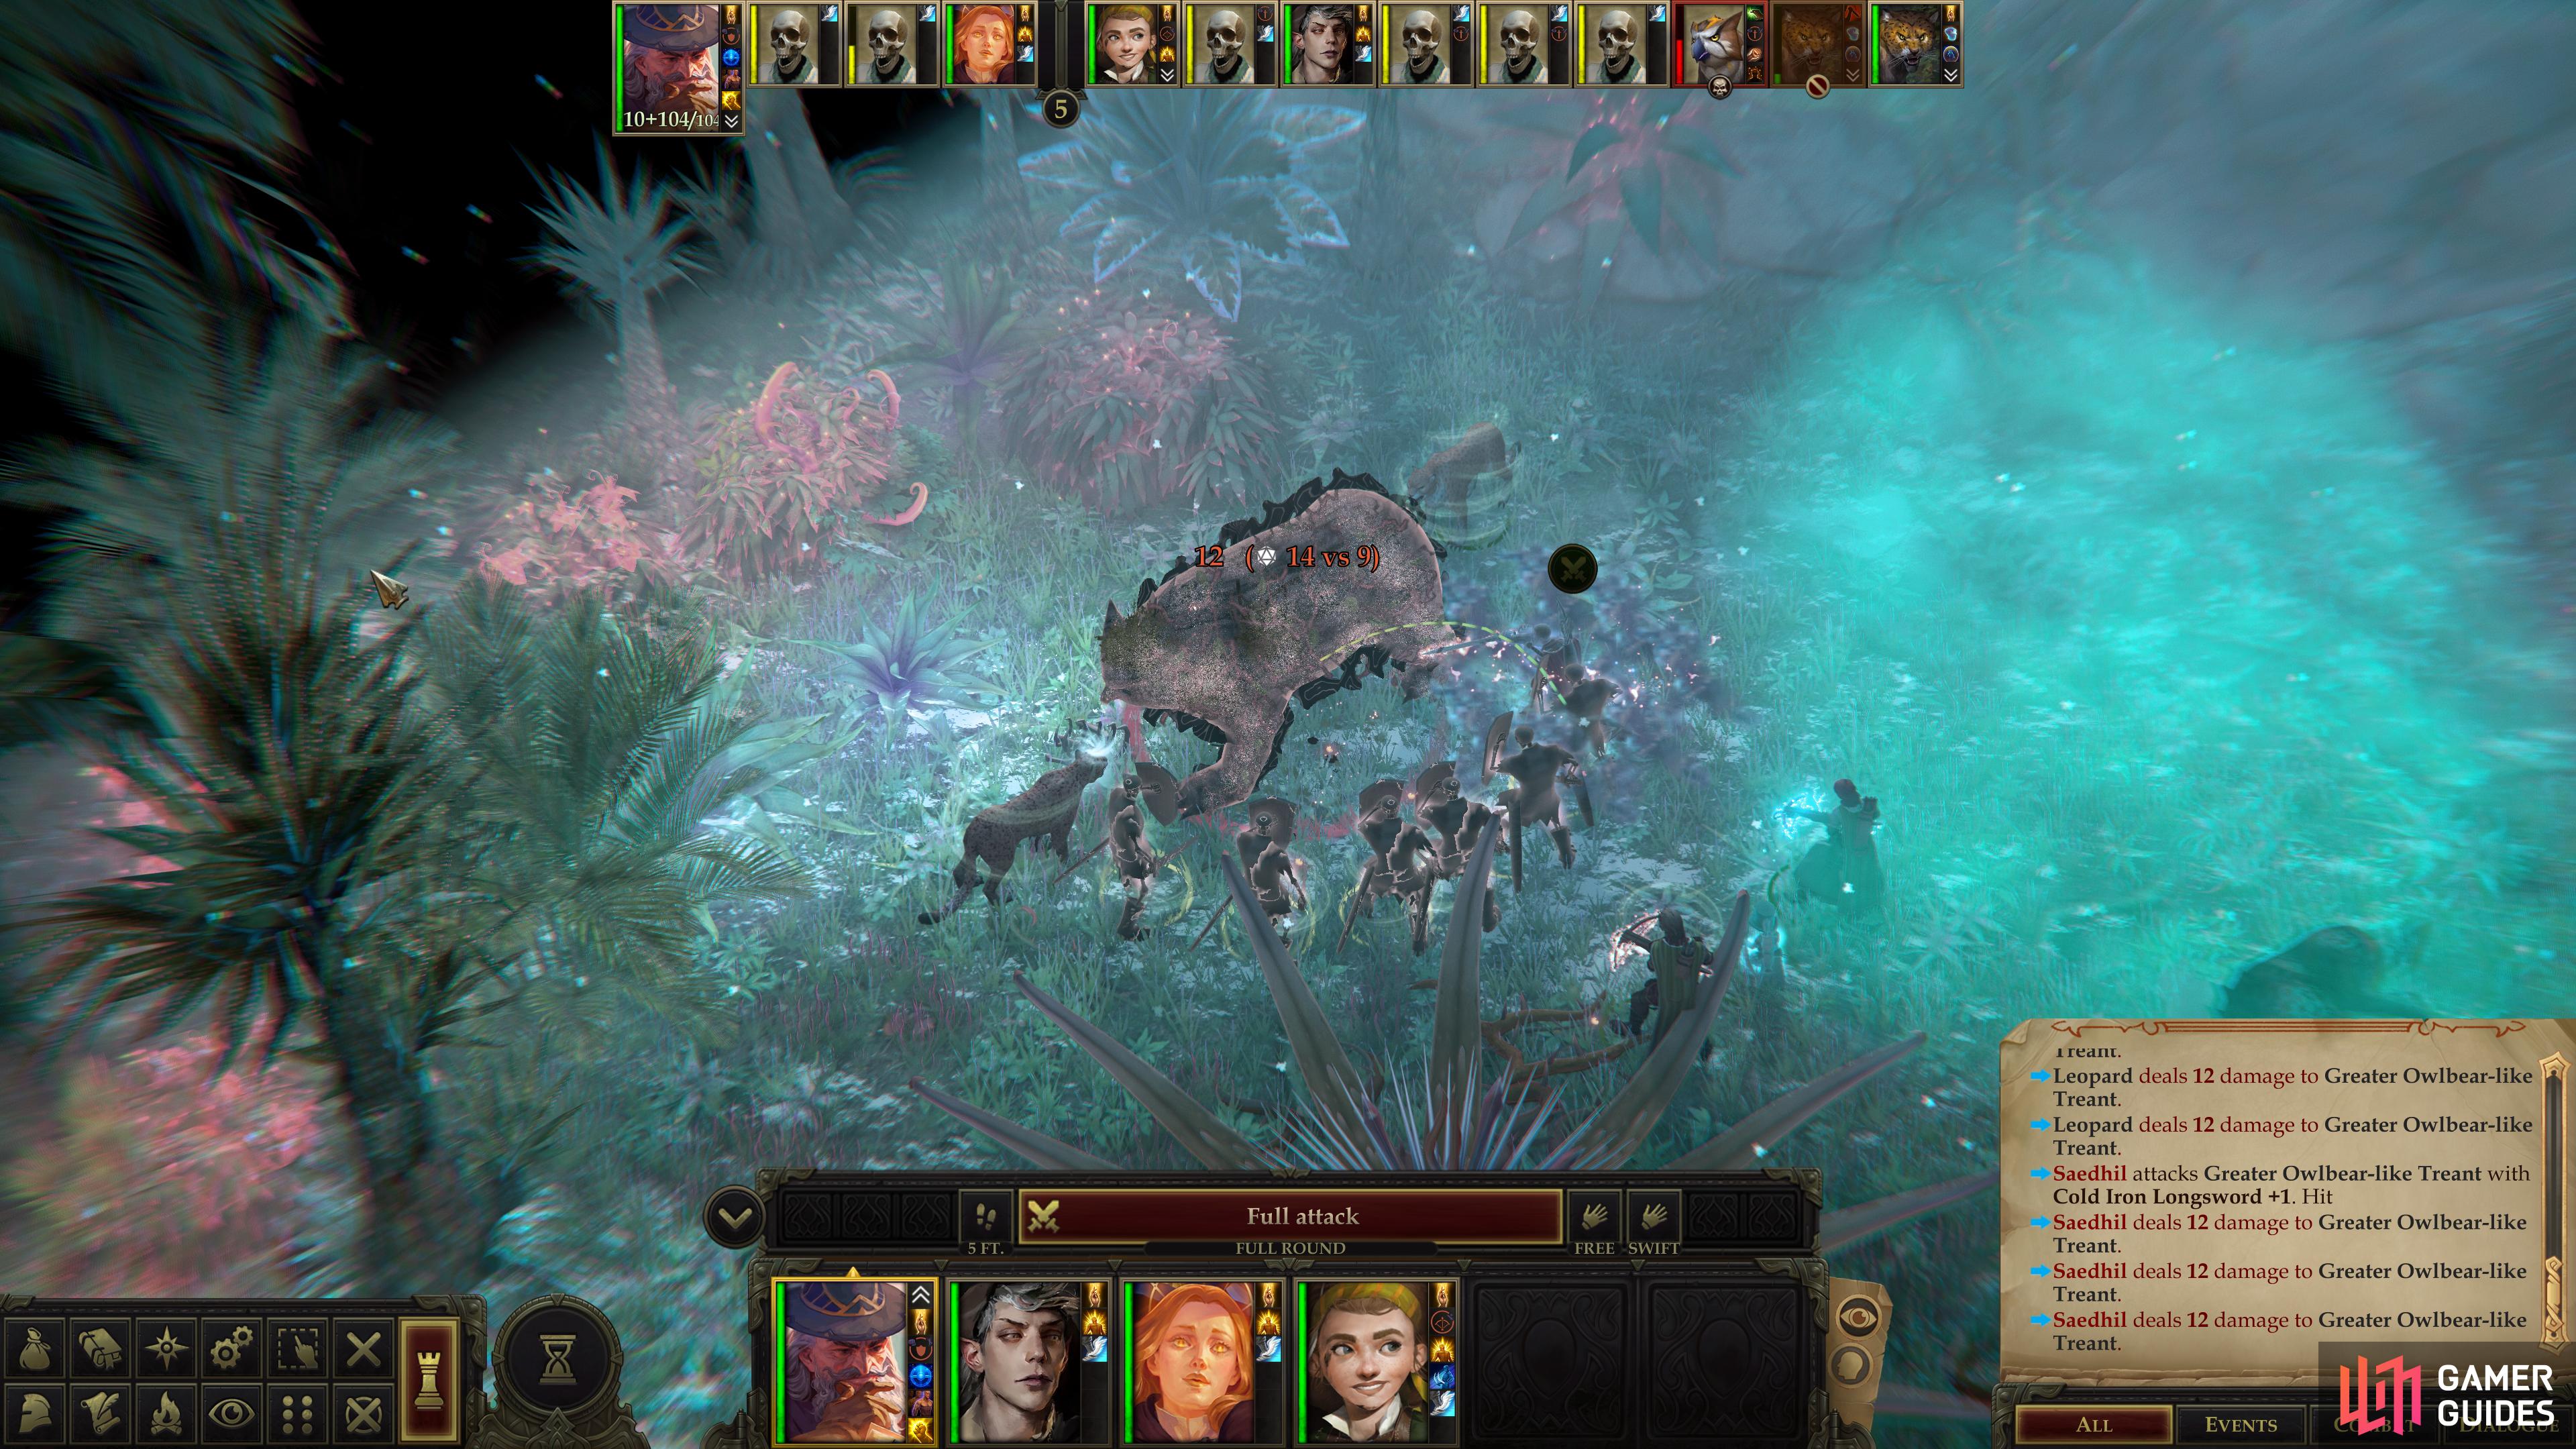
Your primary party will have to fend off a Greater Owlbear-like Treant,
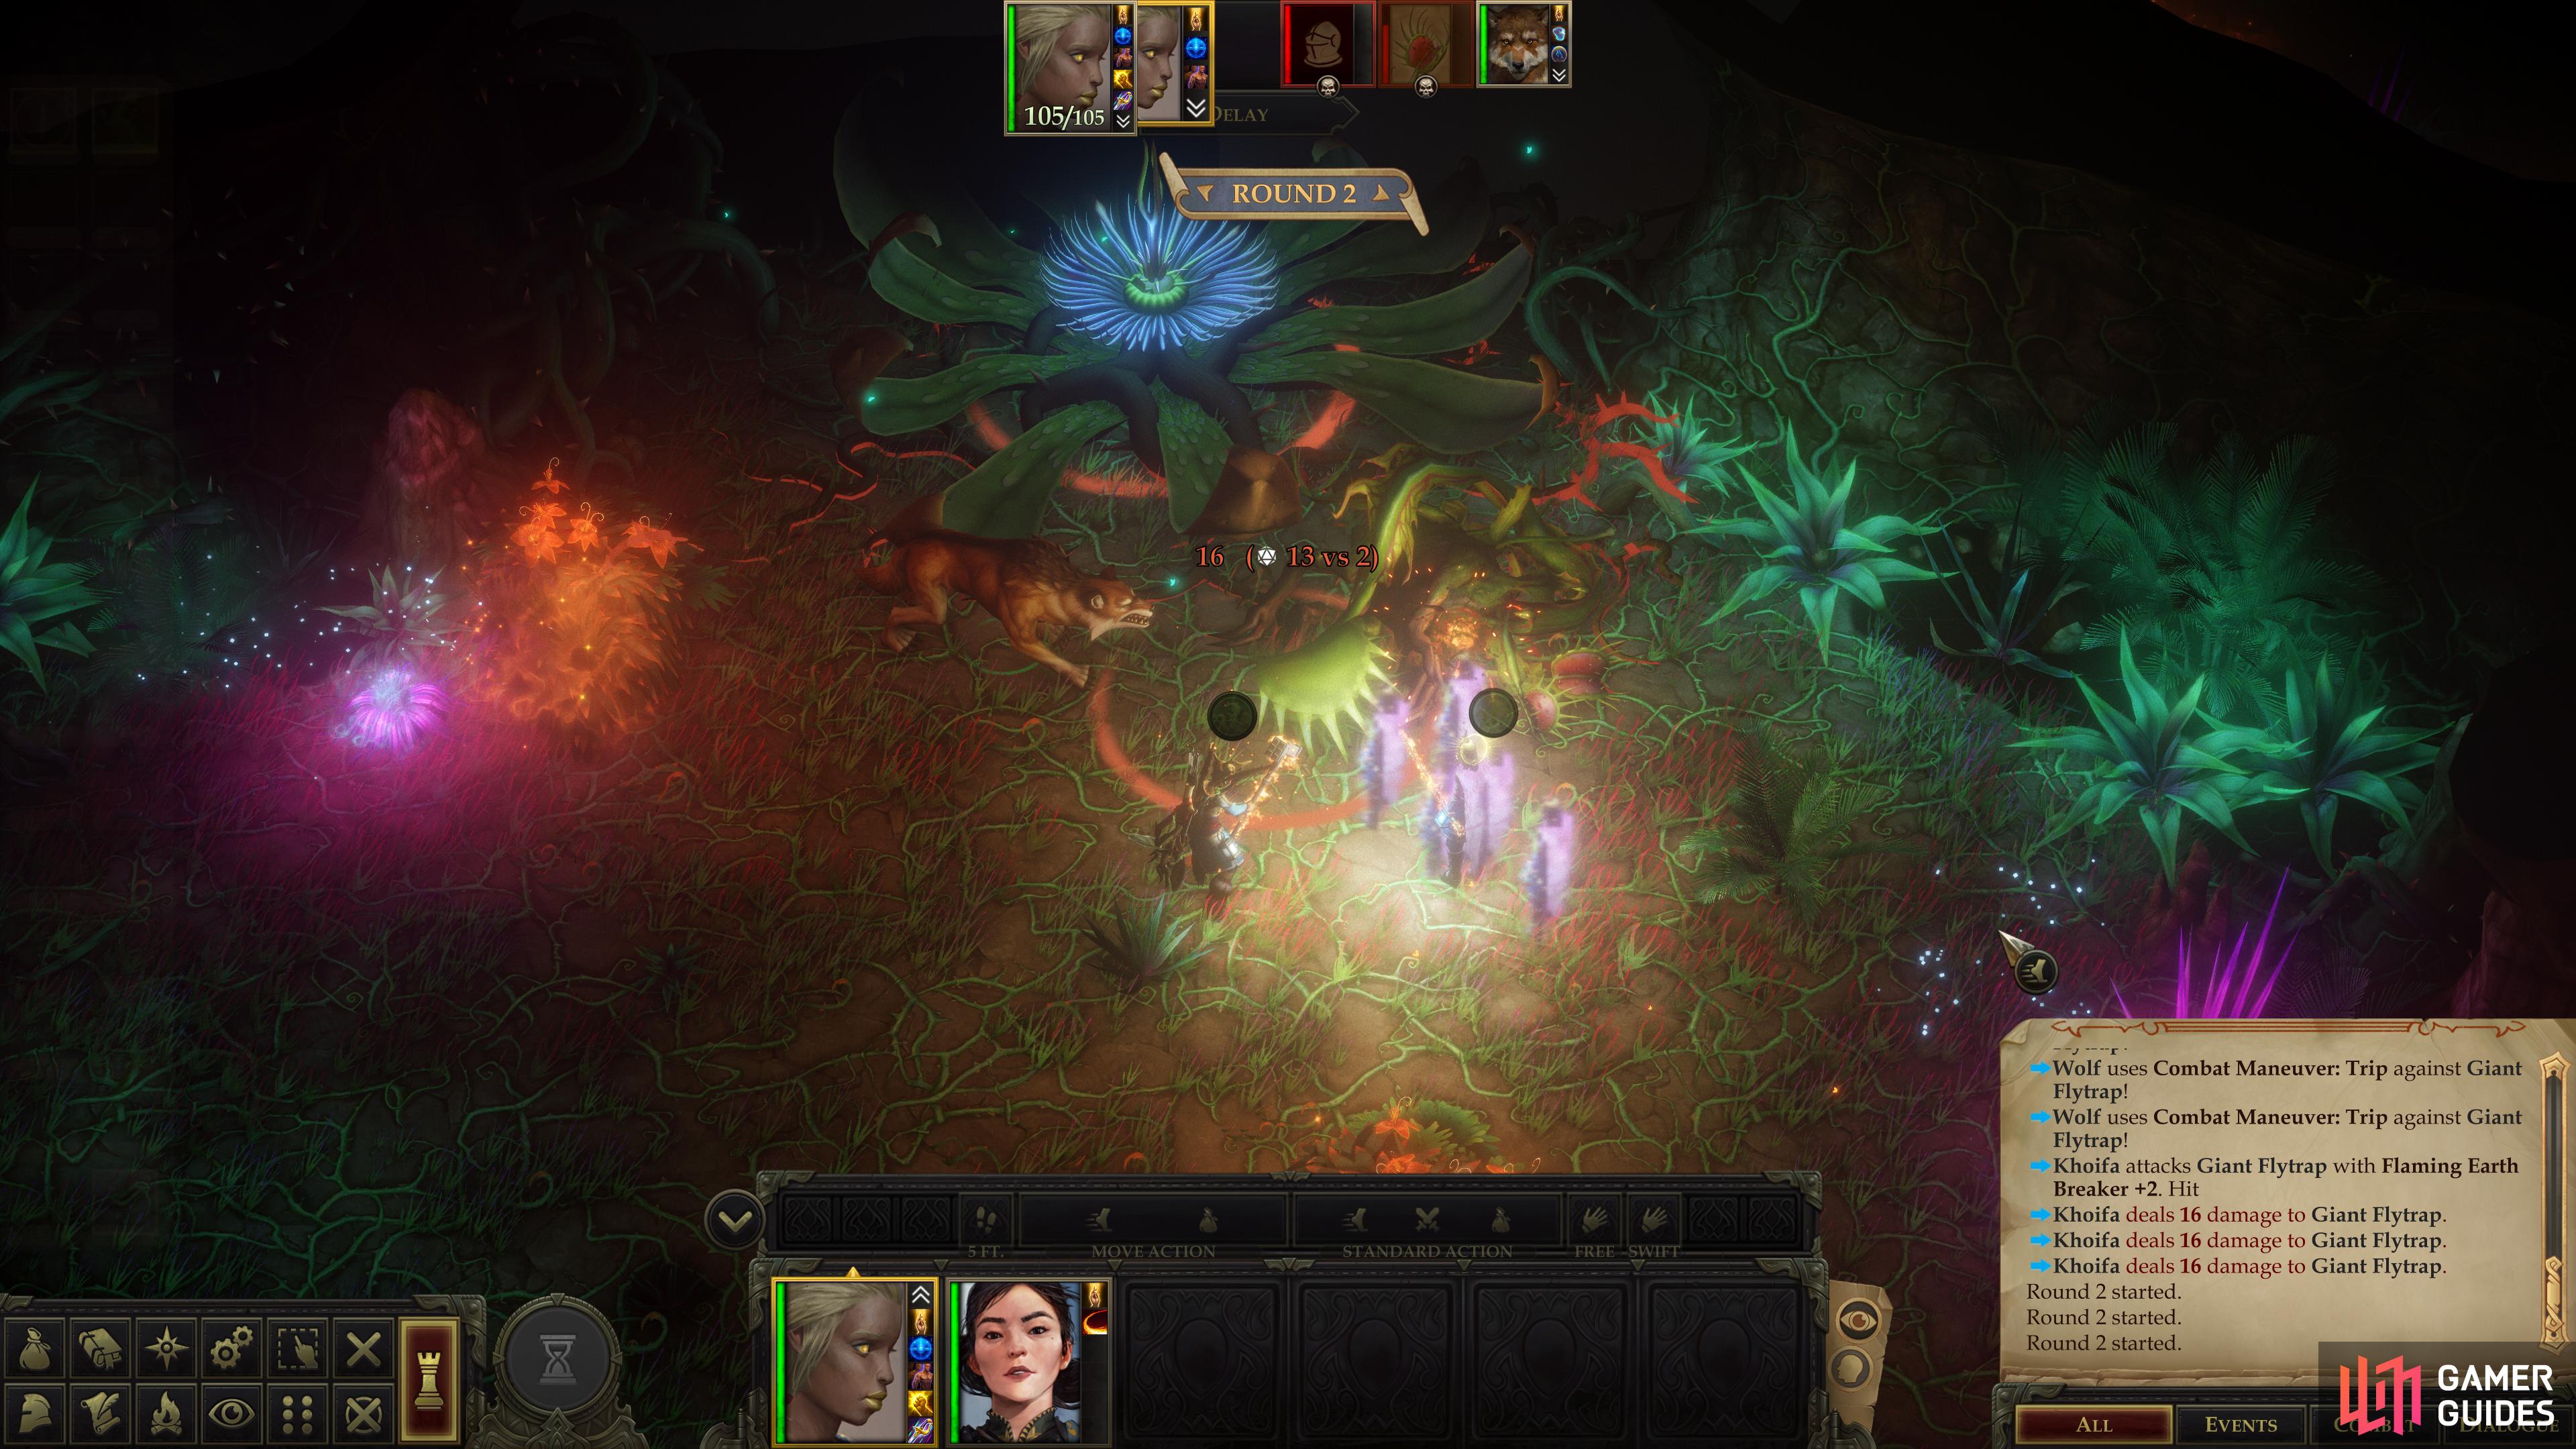
while the secondary party has the much easier task of cutting down a Giant Flytrap.
Battle: Greater Owlbear-like Treant and Dire Venomwolves
A few fights, as it turns out. When you get the chance to respond again, pick the dialogue option “It’s time to get to it, then. Let’s split up and destroy the flower in both worlds simultaneously.” After this you’ll have to split up your party. Whomever stays with your protagonist will remain in the Other World and have the harder fight - two Dire Venomwolves and a Greater Owlbear-like Treant.
If your heart skipped a beat when you saw the words “owlbear-like treant”… that’s understandable. Fortunately, this beast is nowhere near as dangerous as the Enlarged Owlbear-like Treant you (may have) fought earlier. Its Attack Bonus is considerably lower, and while it’s still high, it’s possible for a well-built and fully-buffed tank to evade most of its attacks solely due to their Armor Class. With Mirror Image and concealment, added to a high Armor Class, you’ve a good chance of going unscathed. Should your luck falter, however, this beast will do more damage than even the aforementioned owlbear-like treant. Don’t expect to see less than 50~ damage per hit, and like the other owlbear-like treant, it can inflict stun on hit.
Fortunately it only has one attack per round, limiting its offense somewhat. This is the most powerful foe you’ll face during these encounters, so don’t hold back on your direct-damage dealing spells, buffs, healing or any other resources you have at your disposal. Summoning some skeletons to occupy to the Owlbear-like Treant will give you time to focus on the Dire Venomwolves and occupy the Owlbear-like Treant until you get your warriors into position, and they’ll help you flank the Owlbear-like Treant when your warriors have joined the fight against it.
Defeat this treant, then interact with the Everblooming Flower to put it to the torch and switch to your secondary party in your home world. Head north and you’ll find yourself in a fight with a Giant Flytrap, which is much, much weaker than the Owlbear-like Treant was. A good tank can probably defeat it single-handedly - its Attack Bonus is nearly half of what the Owlbear-like Treant could boast, as are its Hit Points and Armor Class. Trim this weed down to size and your primary party will join the fray.
Defeat the critters that emerge via portals,
then prune the Everblooming Flower.
Battle: Everblooming Flower
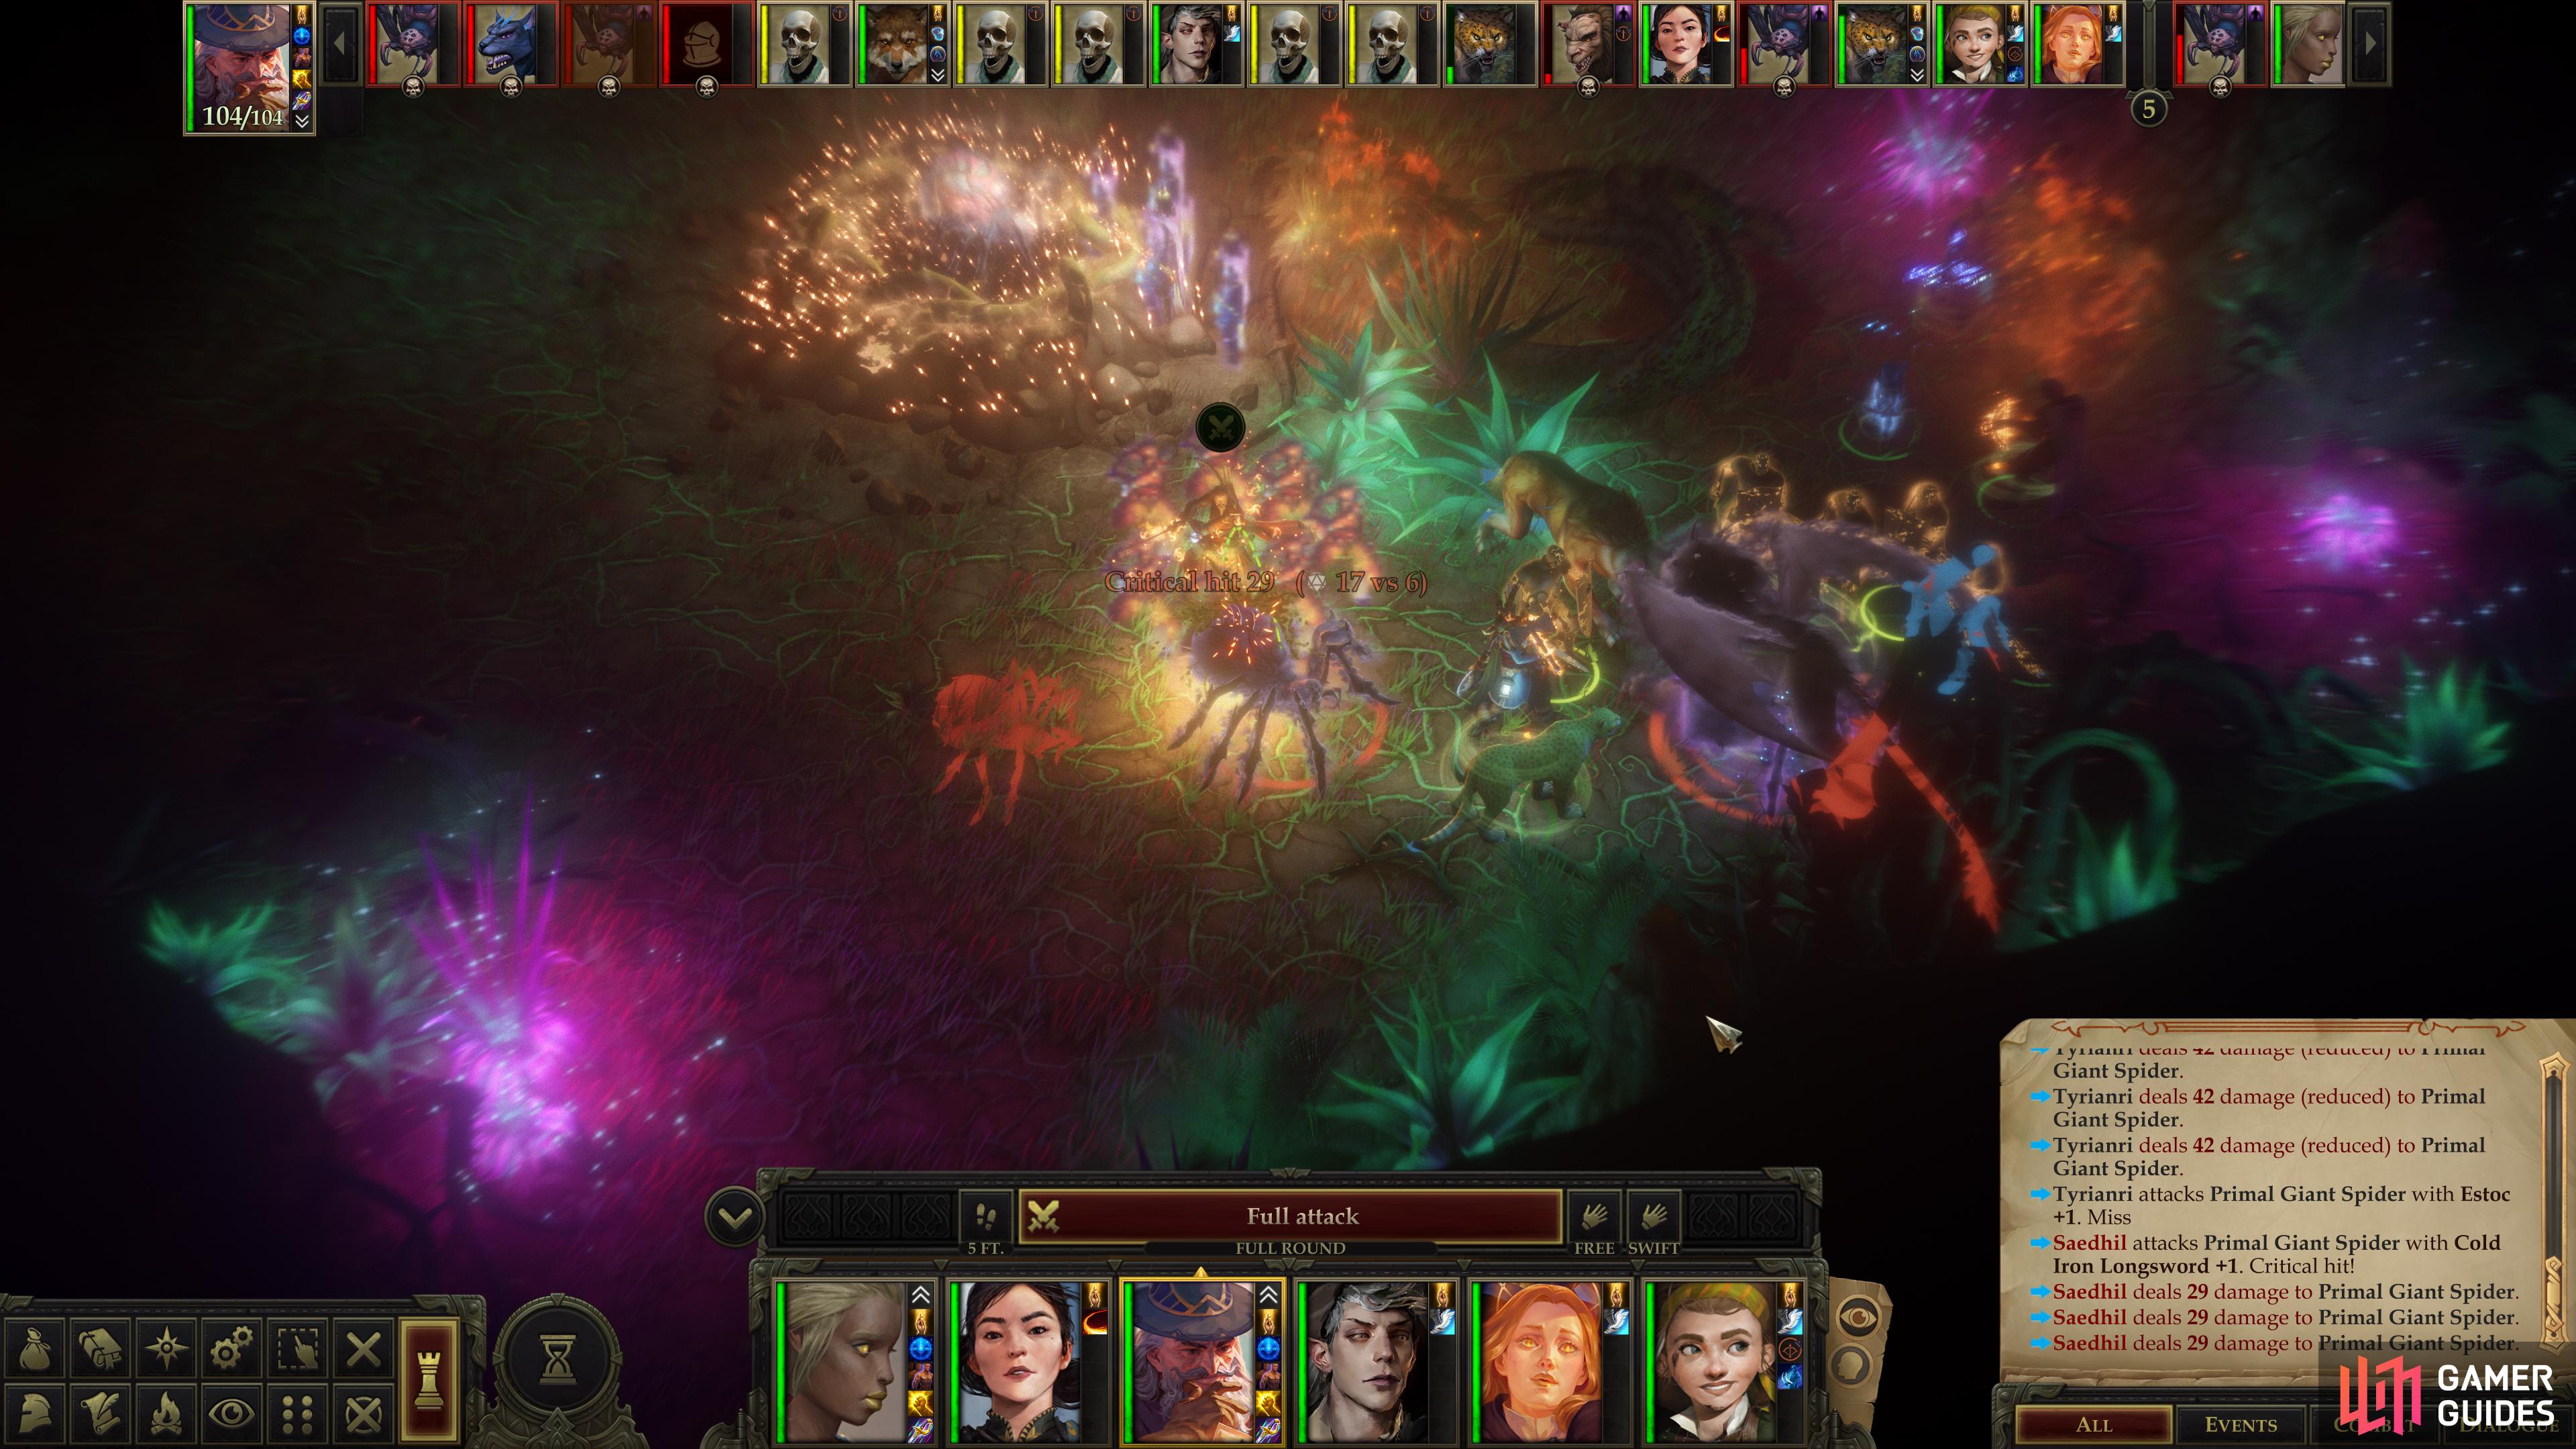
Your primary party will be further south, while your secondary party should be north, near the (now smote) Giant Flytrap. If you’re playing in turn-based mode, combat will start automatically, although the only enemy on the board at first may be the Everblooming Flower, but shortly portals will appear and more aggressive enemies will start pouring forth. Regroup your party, protect your casters (summons are, as ever, useful for drawing aggro and putting bodies in the way of vulnerable characters) and deal with the threats as they emerge:
- Primal Hydra
- Primal Manticore
- Primal Giant Spiders x2
- Ferocious Dweomercat
- Primat Giant Spider Matriarch
Defeat those foes and you’ll finally be assault the Everblooming Flower directly. Without its defenders, the plant can do little but die, which surprisingly prompts debate on what to do with the vegetation. Good and pragmatic characters will argue for destroying it without further delay, while evil and sentimental characters will express regret at having to destroy such a beautiful - and useful - plant.
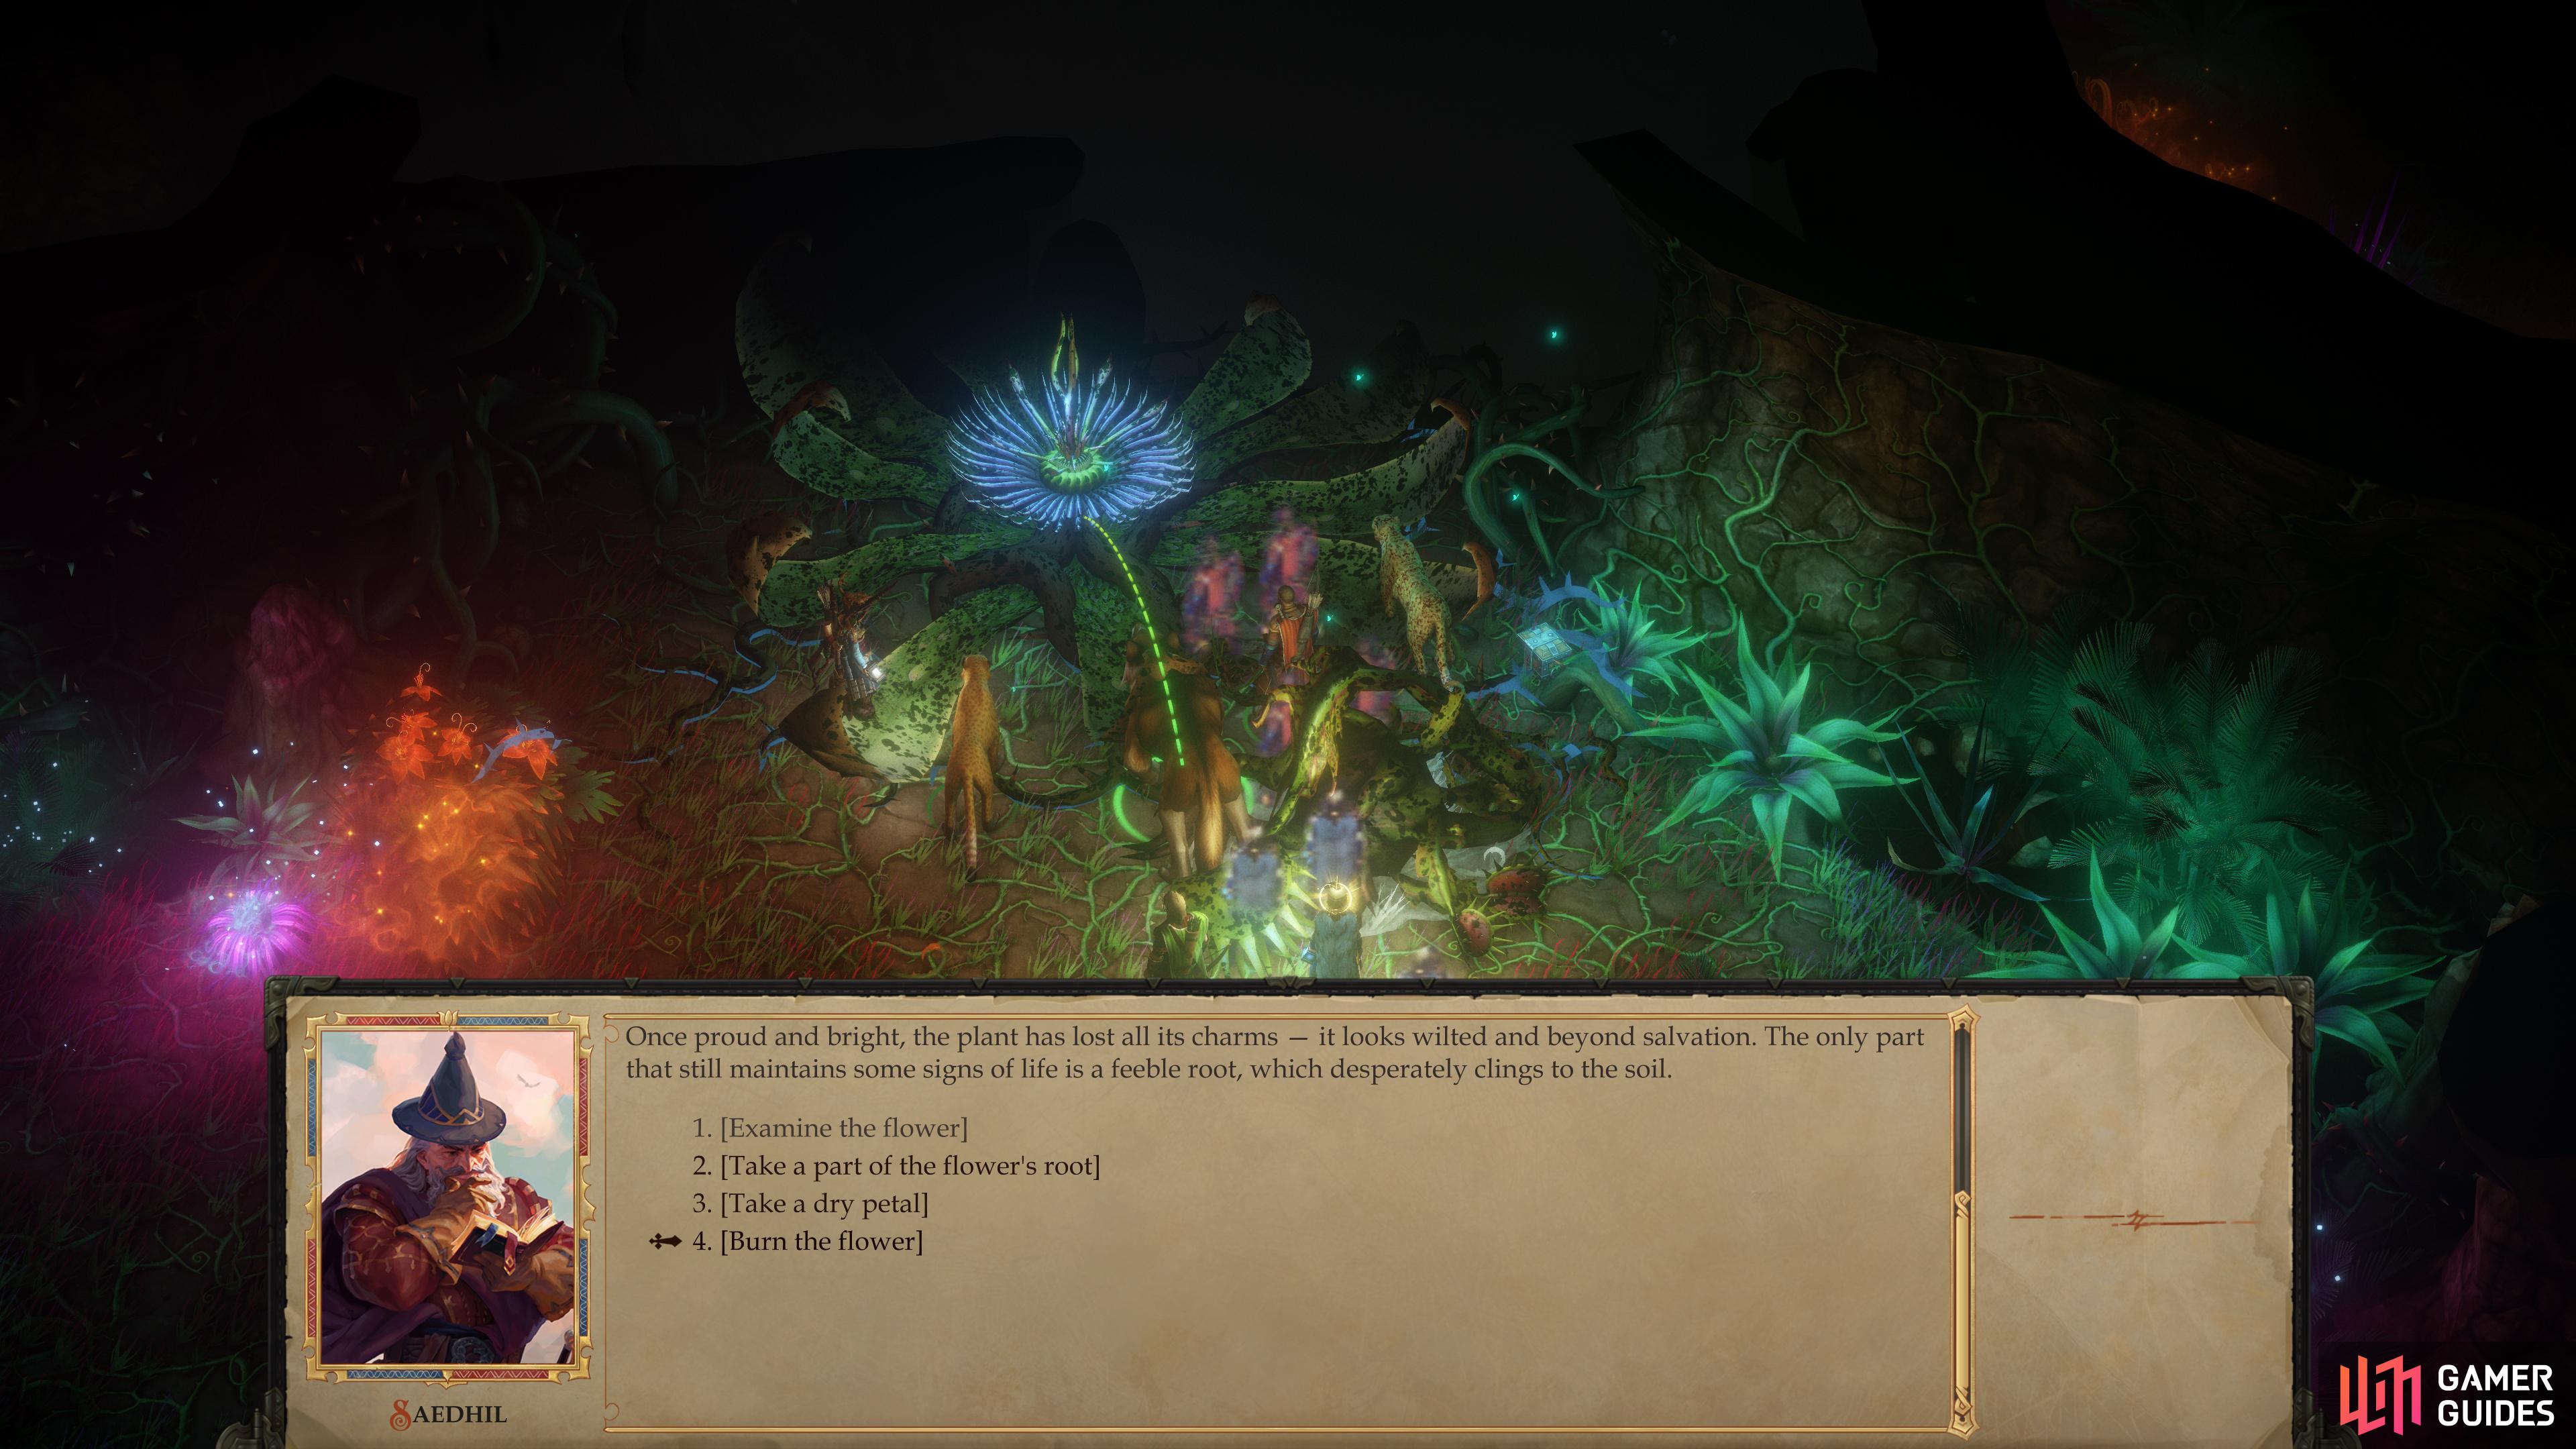
Either pick the option to [Take a part of the flower’s root.] to gain a Root of the Everbloom Flower then/or opt to [Burn the flower]. Whether you take a souvenir or not, you’ll gain a hefty experience reward once the plant is dead and burned.
| Reward: For destroying the Everbloom Flower |
|---|
| 660 XP |
Before you leave via either the area transition to the south or southeast, loot a chest near the plant [Perception 28] [Trickery 29] to score 403 GP, some masterwork weapons and a potion. A rock [Perception 19] to the southeast of this chest, well-concealed by foliage, hides a Taldan Warrior’s Dog Tag. Another chest [Perception 32] can be found on the western edge of the chamber. Unlock [Trickery 30] this chest to obtain Hairsplitter, an Estoc +1 with the “Agile” property. Another chest to the south is less well-hidden, and it contains more masterwork weapons and a suit of Banded Mail +3. Finally, pick up the Cypress Queen’s Crown the Primal Manticore dropped.
With that, either use the southeastern exit to return to the “Twisted Passages” part of the Womb of Lamashtu, or use the southwestern exit to descend a cliff, from where you’ll just need to head west then north to return to the chamber where you found Kesten. From here, you need merely head west to exit this wretched place.
Rejoice! With your victory here you’ve thwarted the Guardian of the Bloom and put an end to The Bloom. You claimed your barony by force of arms many moons ago, and now you’ve used that same power to preserve it. All that’s left to do now is to return to your capital and deal with the various [quests and events] that’ll pop up after the Season of Bloom.
| Reward: For ending The Bloom |
|---|
| 1,200 XP |
Is something missing from here? I can't find the section for post-season of bloom quests.
That section hasn't been written yet.
Is something missing from here? I can't find the section for post-season of bloom quests.
That section hasn't been written yet.