

A Baron’s Duties
After the banquet ends you’ll find yourself in your infant capital city, which stands on the site of the Stag Lord’s old fortress. They sure got to building fast, eh? Kesten Garess will be there to greet you, answer some initial quests you may have, and finally take you on a tour of the place. If you ask him about what peculiar citizens are about, he’ll inform you that Jhod and whatever emissary you chose are in the capital, as well as a blind elf named Desna. You’ll have to introduce yourself, but first, allow Kesten to guide you about the city, such as it is, after which you’ll enter your residence.
In your throne room you’ll be introduced to a new feature - the kingdom map. Your emissary will tell you - sparing every possible detail - what you can expect to find on this map before urging you to appoint capable ministers from your pool of companions and followers. Last but not least, you’ll be reminded to return to your capital regularly to deal with official business. Petitioners expect to be able to meet with the baron, and it’s a tradition you’d do well to maintain for the sake of your realm’s stability.
This constitutes a major change in the flow of gameplay, as many quests going forward (including most main story quests) will be started, advanced, or mitigated in some way via the functioning of your kingdom. You’ll need to keep doing what you’ve been doing - exploring areas, killing monsters and completing quests - but you’ll also need to time these bouts of adventuring between trips to the capital, where more mundane matters of state will demand your attention.
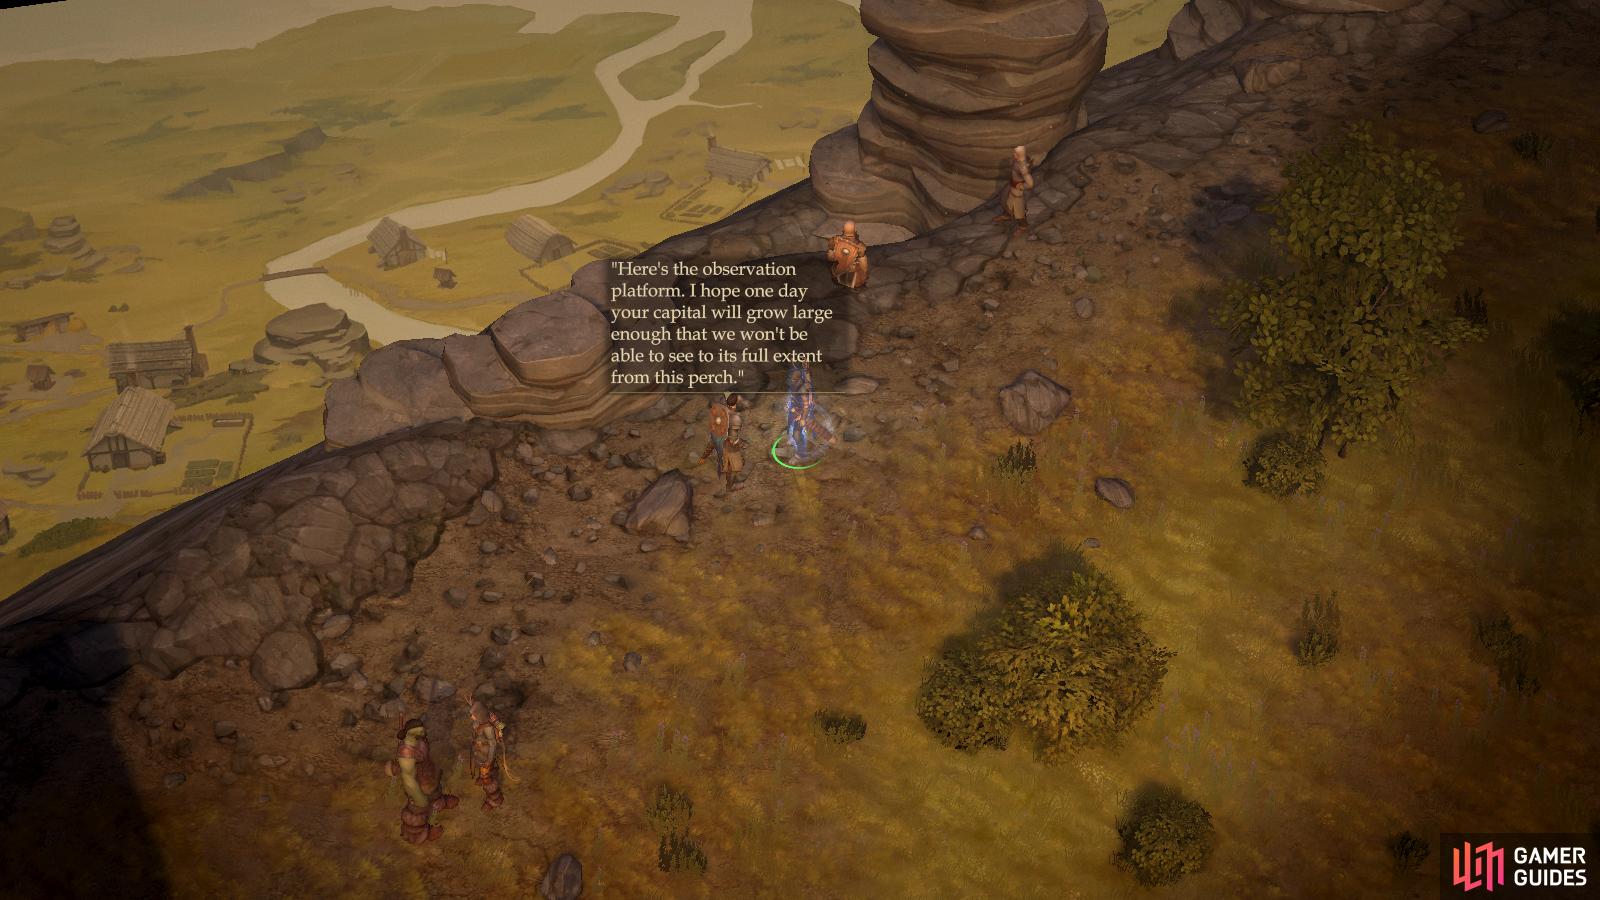
Kesten will show you around your capital - such as it is.
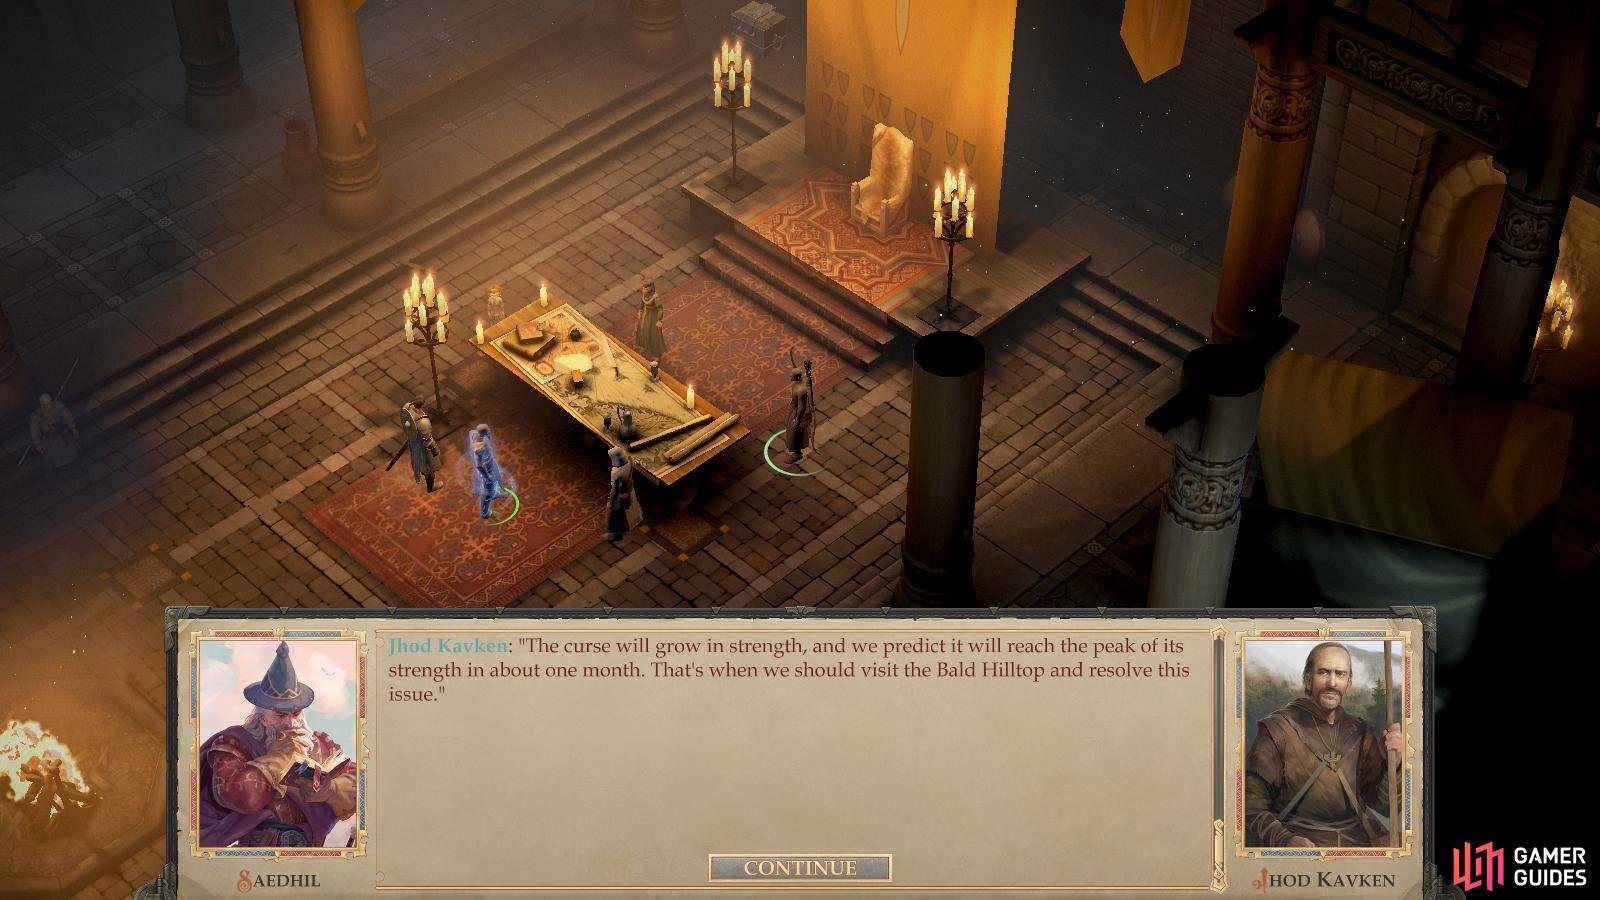
Your first meeting as Baron will be with Jhod and Tristian, who tell you of a recurring curse.
An Ancient Curse Begins
This will immediately move from theory to practice as Jhod and Tristian act as your first petitioners, telling you about some powerful curse at an area near the capital named Bald Hilltop. This starts the quest An Ancient Curse, which will have multiple parts that start and stop throughout the game, essentially forcing you to return to the capital every so often to deal with it. This curse manifests in the form of some monster invasion at the Bald Hilltop area, and failing to deal with the threat in a timely manner will negatively impact your kingdom stats (more on this shortly). It should be noted that the time between these battles is quite long - you need not fret about this first battle immediately, either, as it’ll be a whopping 41 days until it’s time to fight your first battle at Bald Hilltop.
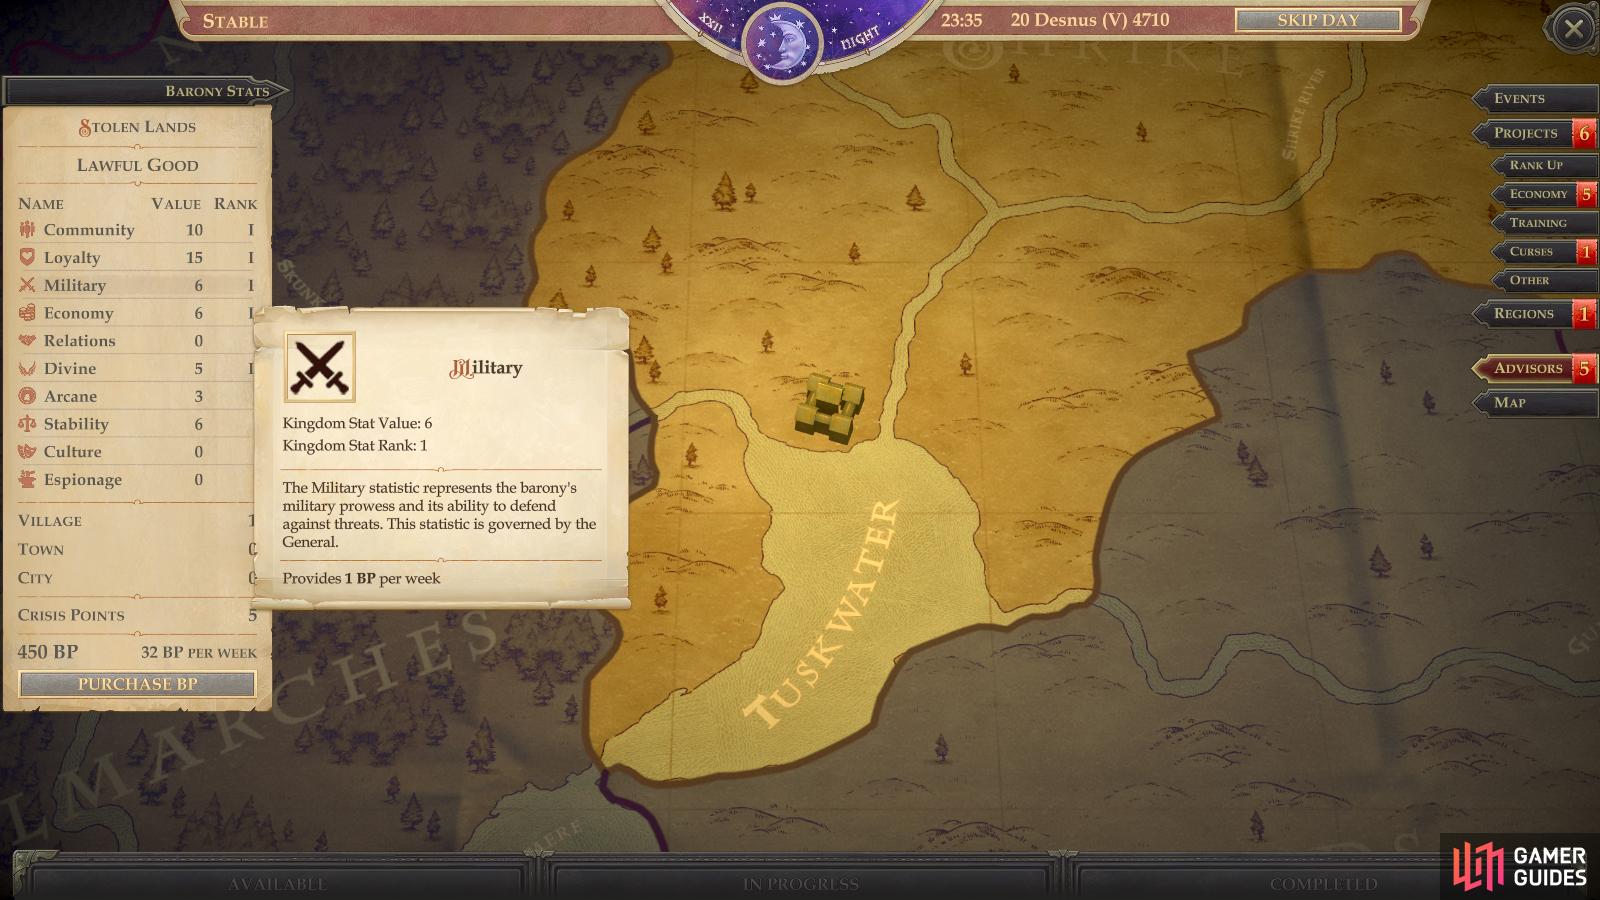
Your Kingdom Stats are the most important aspect of kingdom management.
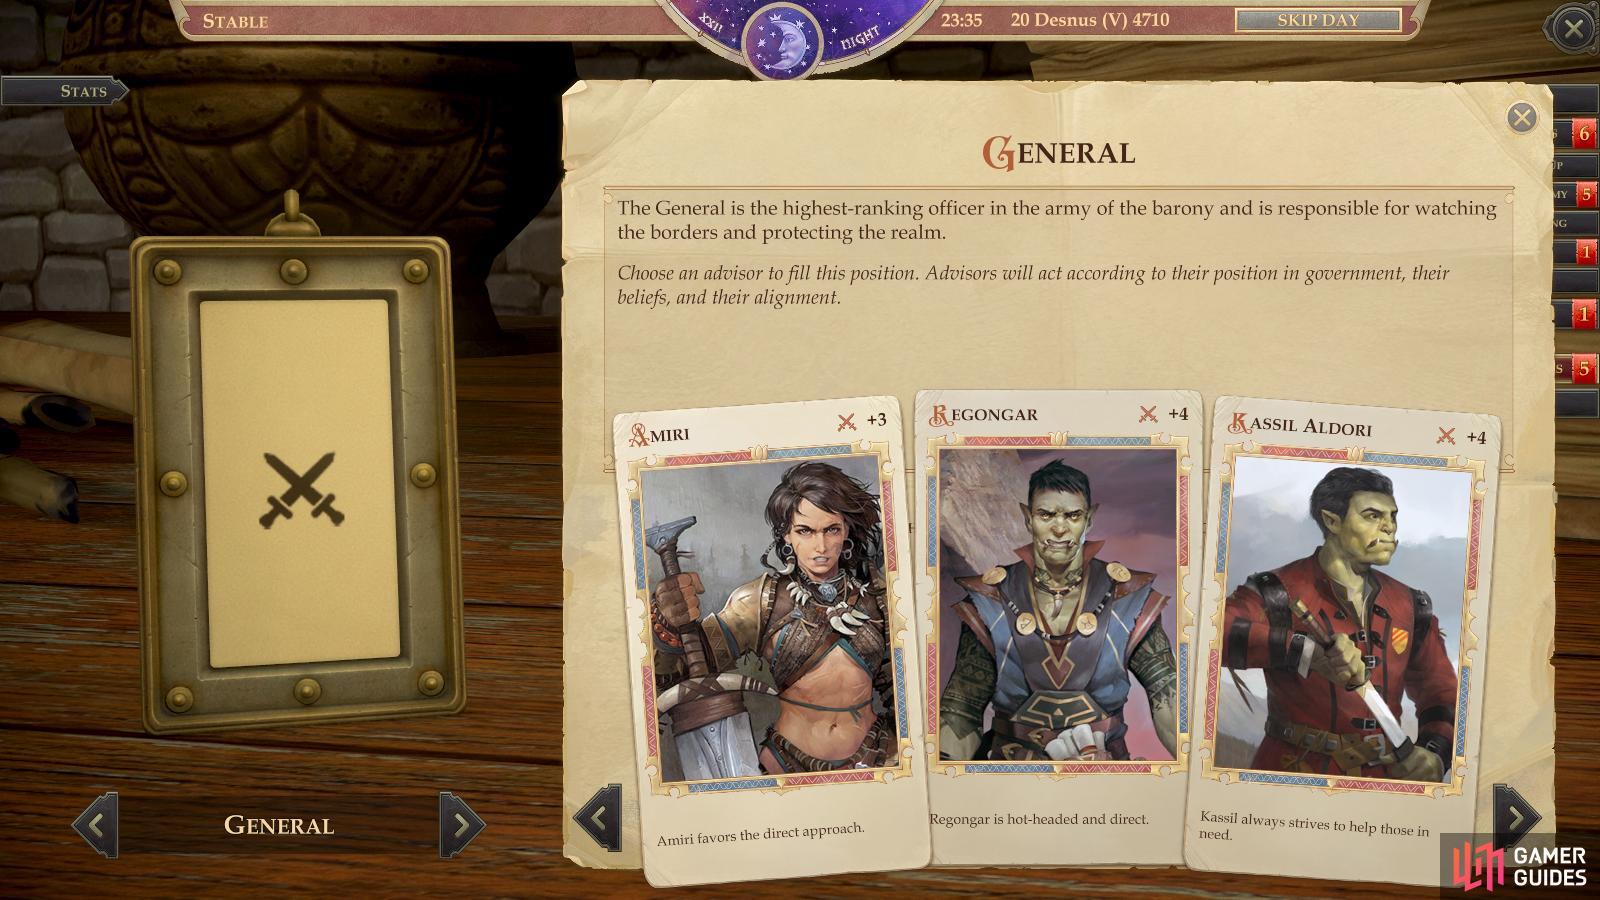
You’ll want to assign advisors to as many roles as possible as soon as possible.
How to Build a Kingdom: Kingdom Stats and Advisors
After a day passes the quest How to Build a Kingdom will start and you’ll find yourself looking at the unfamiliar Kingdom Map. The object of the aforementioned quest is to assign an advisor, while the first thing the in-game tutorials point out are your Kingdom Stats.
These might seem like fairly unrelated topics, but there’s a good deal of overlap, and becoming familiar with them to some degree will make managing your kingdom much easier, so we’ll discuss the basics here - you can find more details in the Kingdom Development section of the guide.
There are ten Kingdom Stats quantifying the development of various aspects of your kingdom. Each Kingdom Stat will eventually have an Advisor representing it, but for now only five Kingdom Stats have an Advisor: Community (Regent), Loyalty (Councilor), Military (General), Economy (Treasurer) and Divine (High Priest). Kingdom Stats are generally gained as you successfully resolve Events or build structures in villages. Kingdom Stats can be lost by failing to deal with certain events, and this will act as a “soft timer” for certain challenges your kingdom faces. For example, assume hordes of rampaging regenerating giants start raiding your realm - the damage they deal will be reflected by losses to Kingdom Stats, and as these stats decrease, unrest will build. This will be covered in more detail later, when such events start to occur.
You can assign various characters in your sphere of influence to various advisory roles - just click on the “Advisors” tab on the right side of the screen, then select one of the portraits to see who is eligible for each role. Different advisors can respond to events (which ones, exactly, vary by the exact event), so the more advisors you have assigned, the more events you can respond to at a time, and the more options you have for responding to each event. The advisor assigned to deal with an event indicates the type of response - using your General to respond to an event indicates a military response, for an example. While this can influence the outcome you get, generally you need not worry about this too much; success improves your Kingdom Stats or prevents their loss, and that’s more important than worrying about what stats, exactly, you gain.
| Advisoral Role | Kingdom Stat | Governing Attribute | Unlocked By |
|---|---|---|---|
| Regent | Community | Charisma | Chapter 2 Start |
| Councilor | Loyalty | Wisdom | Chapter 2 Start |
| General | Military | Strength | Chapter 2 Start |
| Treasurer | Economy | Intelligence | Chapter 2 Start |
| Grand Diplomat | Relations | Charisma | Community Rank IV |
| High Priest | Divine | Wisdom | Chapter 2 Start |
| Magister | Arcane | Intelligence | Divine Rank IV |
| Warden | Stability | Constitution | Military Rank IV |
| Curator | Culture | Charisma | Loyalty Rank IV |
| Minister | Espionage | Dexterity | Relations Rank IV |
Advisors deal with Kingdom Events the same way most checks are handled in Pathfinder: Kingmaker: each event has a Difficulty Check attached and each advisor has a bonus (indicated on the upper right of the advisor card) indicating their competence in each role. An advisor’s stats determine the bonus they receive, and the applicable stats vary depending by role. For example, the Regent determines its bonus based on Charisma, the General determines its bonus based on Strength. Mercenaries can be assigned to advisorial roles, but suffer a flat -4 penalty on their checks. Still, in the early-going, having somebody assigned to each role is more important than the stats.
For pregenerated characters, which character you assign does matter outside of pure stat considerations, as these unique characters have their own motivations, which may conflict with how you want your kingdom to be run. For example, if your protagonist is Lawful Good, assigning Chaotic Evil Regongar as an advisor might not be a good idea in the long-term. This will come up every time a Kingdom Stat is due to level up (every 20 points), as there will be a rank up event for that advisoral role forcing you to make a decision about the development of that aspect of your kingdom. For example, when your Military stat is 20 your General will ask for a meeting and, perhaps, bring up some military matter or another. You’ll typically get several choices during each of these events, each of which will please one possible assignee and displease another. If you displease an advisor too frequently, they’ll resign, although you can leave the choice up to them to ensure things run smoothly - especially since the actual choice you make doesn’t seem to have any major effect on your kingdom, aside from flavor.
| Character | Advisoral Roles |
|---|---|
| Amiri | General |
| Bartholomew | Diplomat, Treasurer |
| Ekundayo | Minister, Warden |
| Harrim | High Priest |
| Jaethal | Curator, Minister |
| Jhod | High Priest |
| Jubilost | Minster, Treasurer |
| Kanerah | Treasurer |
| Kassil | General |
| Kesten | Warden |
| Lander | Regent |
| Linzi | Curator, Diplomat |
| Maegar | Treasurer |
| Octavia | Magister, Regent |
| Regongar | General, Warden |
| Shandra | Councilor |
| The Storyteller | Curator, Magister |
| Tristian | Councilor |
| Tsanna | Councilor, High Priest |
| Valerie | Diplomat, Regent |
| Vordakai | Magister |
Hopefully that provides you with an idea of how all this works, although it’s something that’ll gain complexity over time, so you don’t need to be an expert on it all just yet. For now, assign some character or another to serve as an advisor in each available role so you can assign these advisors to deal with events that come up in the upcoming weeks. The outcome of events is random (although it should be noted that you can save/load to ensure more favorable results), but largely completing events involves boosting your Kingdom Stats or mitigating stat losses.
For the quest ”How to Build a Kingdom”, get things started by assigning any one advisor, which will then update and ask you to “begin construction of a new building in the capital”. This also start the quest ”Loyal Servants”.
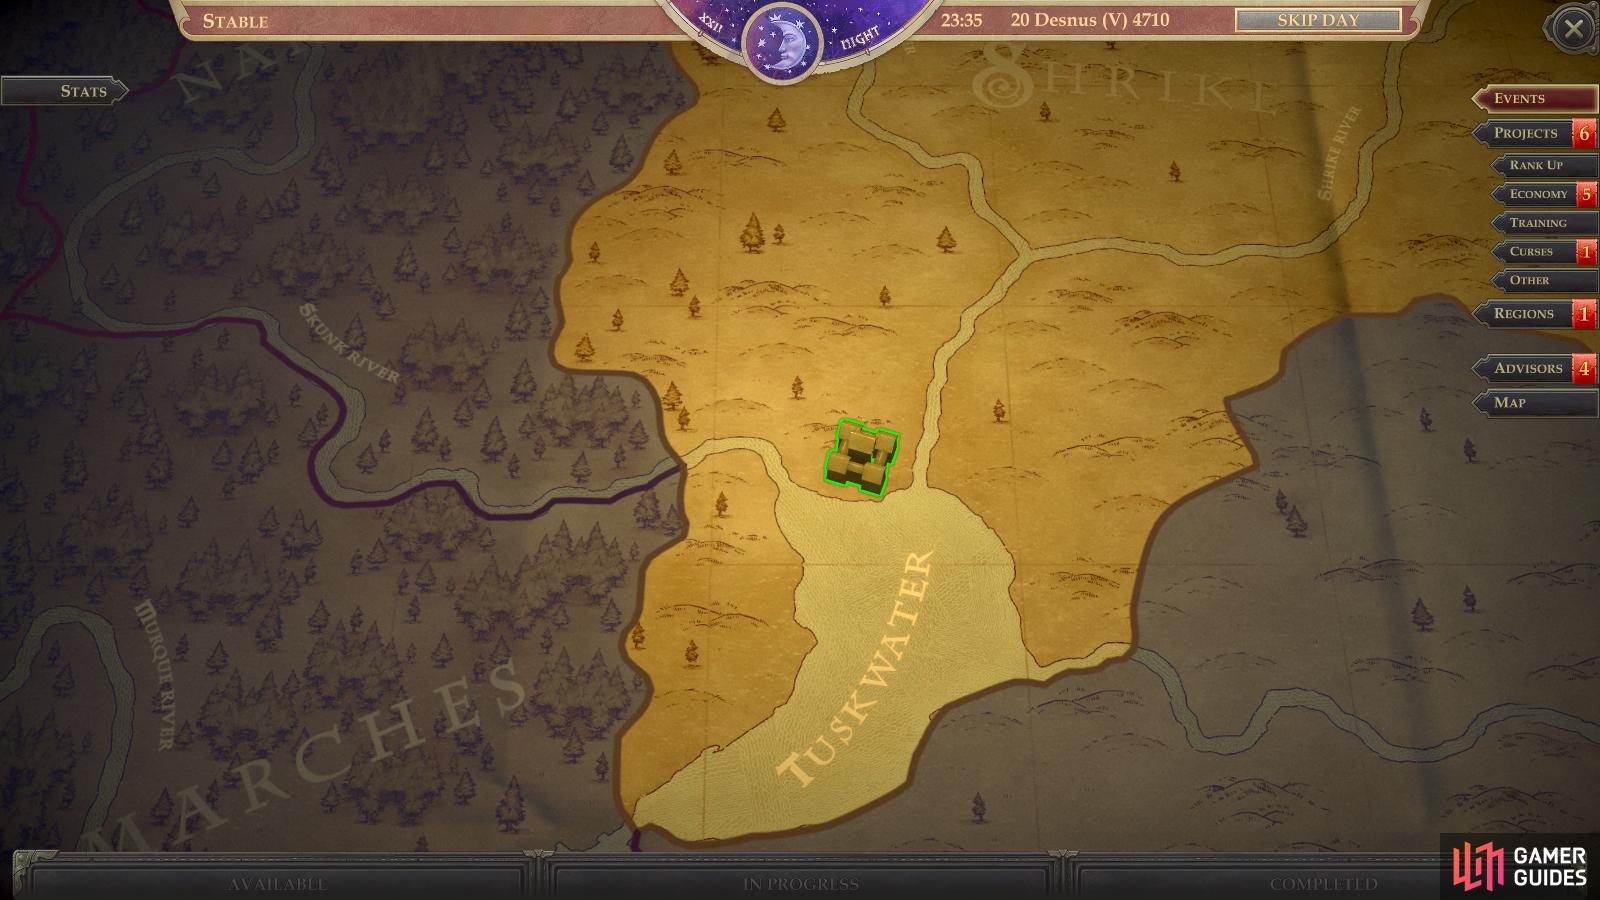
Select your capital on the kingdom map,
and enter the settlement overview screen, from which you can build new structures.
How to Build a Kingdom: Construction
There’s a lot of depth to building, but compared to assigning (and appeasing) advisors, resolving events and boosting Kingdom Stats, construction is relatively inconsequential. Still, you do sometimes need to build certain buildings to advance quests, and while it’s rare, it’s still worth covering… if for no better reason than there’s a quest active that requires you to dip your toes in this aspect of Kingdom Management.
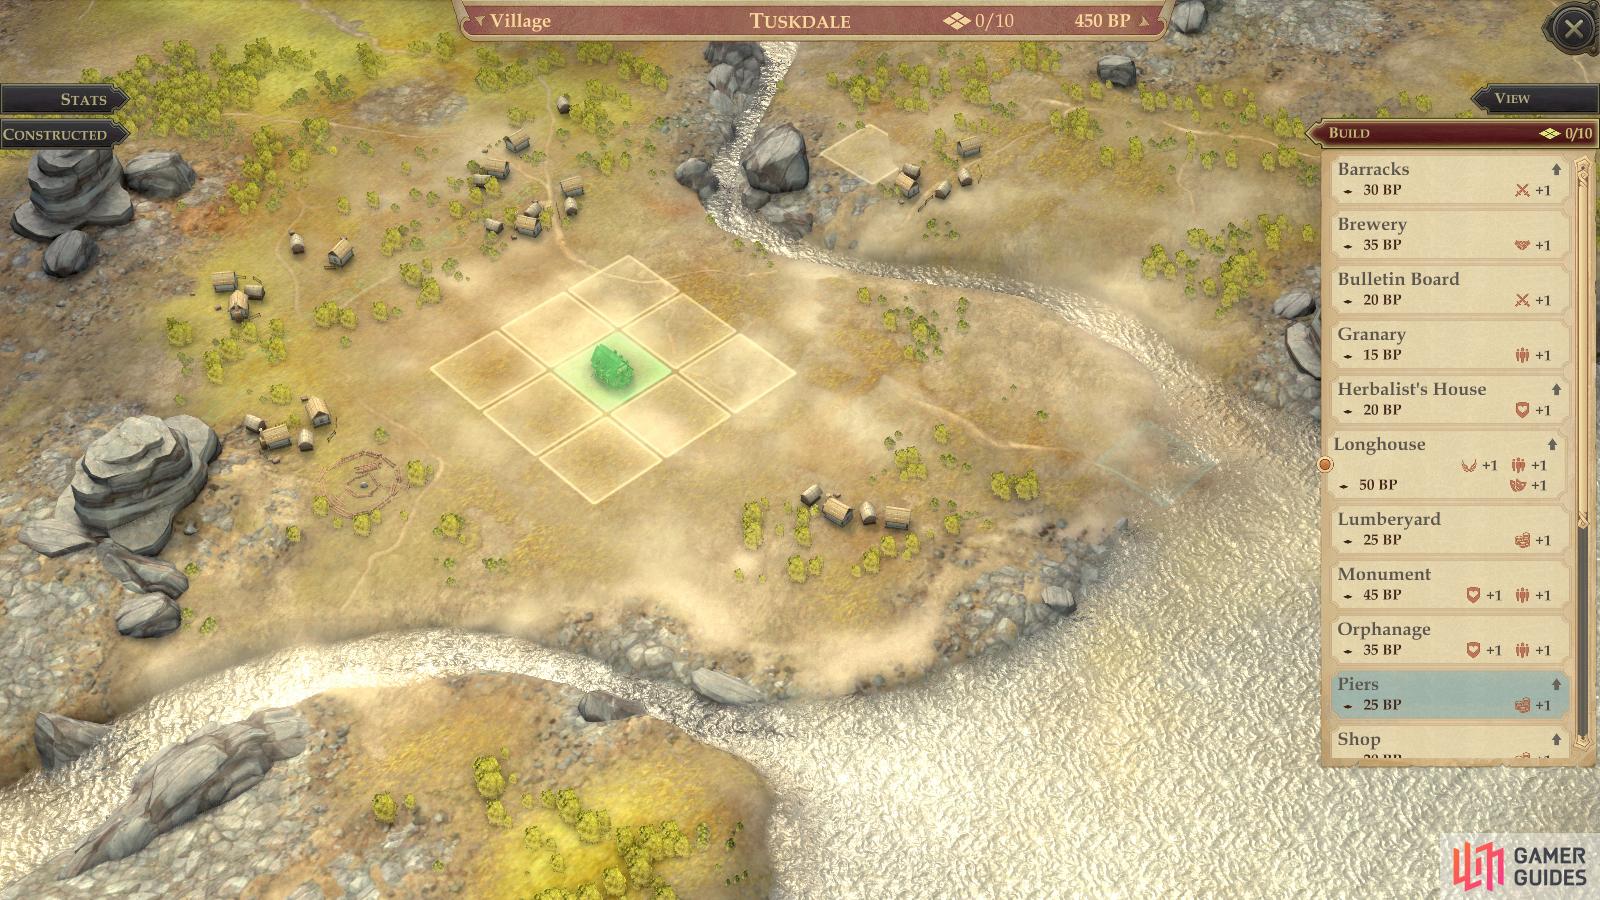
Right now you should only have your capital village (default name: Tuskdale) which is located on the northern shore of the Tuskwater. Click on it and you’ll get a rundown of the buildings constructed there and the stats they impose. Select “Enter” and you’ll get an aerial overview of the settlement, where you can refer to the aforementioned stats by clicking the “Stats” and “Constructed” tabs on the left hand side of the screen, while to the right you’ll find the “View” and “Build” buttons. “View” just shows the grid where buildings can be constructed, and “Build” allows you to construct said buildings. Constructing buildings consumes Build Points (which are earned weekly) and takes time, and each building also imparts bonuses to various Kingdom Stats - these bonuses are greater and more diverse if you put certain buildings adjacent to each other. Overall, however, the stat bonuses provided by each building are relatively low - you’ll probably get more Kingdom Stats for succeeding at a single event than you will from most buildings.
This subject is covered in more detail in the Kingdom Development - Building page.
For now, just build something somewhere - a “Longhouse” in a centralized location isn’t a bad idea - to update the quest ”How to Build a Kingdom”, which now tasks you with annexing the Outskirts.
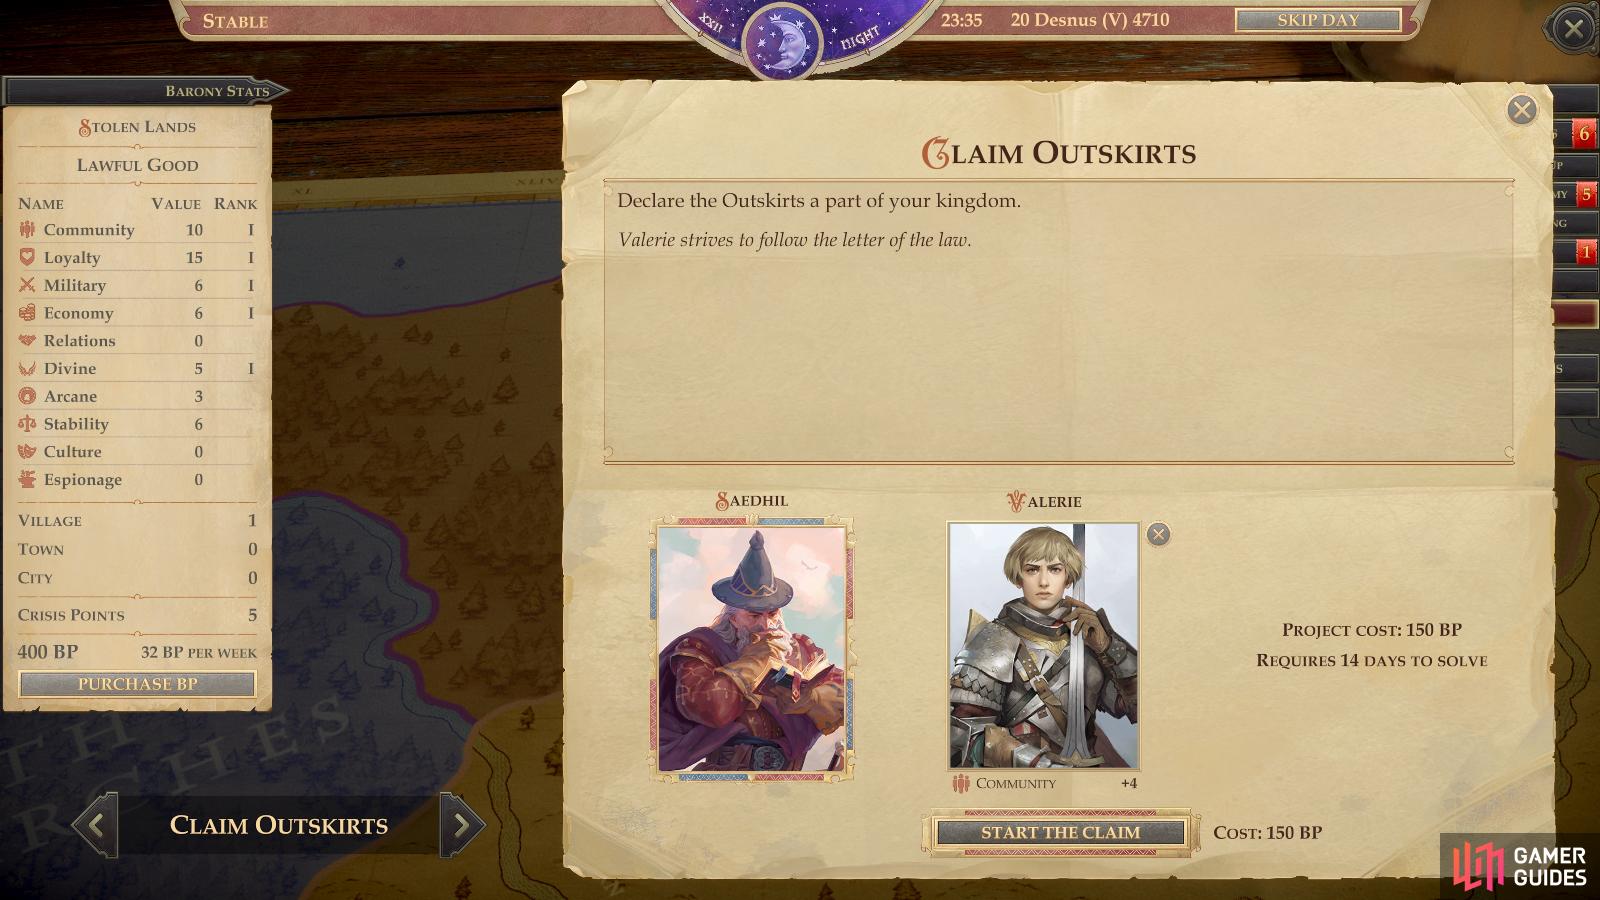
Assign and advisor and expend the time and resources,
to claim the Outskirts region.
How to Build a Kingdom: Annex the Outskirts
The next task in this quest tasks you with annexing the Outskirts region into your barony. To do this, click on the “Regions” tab on the right hand side of the screen while on the Kingdom Management screen and you should see the available region event cards pop up on the bottom of your screen. For now, this is limited to the “Claim Outskirts” card, which will require you to appoint a leader (Regent, Councilor or Treasurer) to oversee the annexation. Pick whomever you wish and, provided you have the 150 BP necessary, select “Start the Claim”, which will skip you forward two weeks. Don’t fret about the time, you need to get this out of the way.
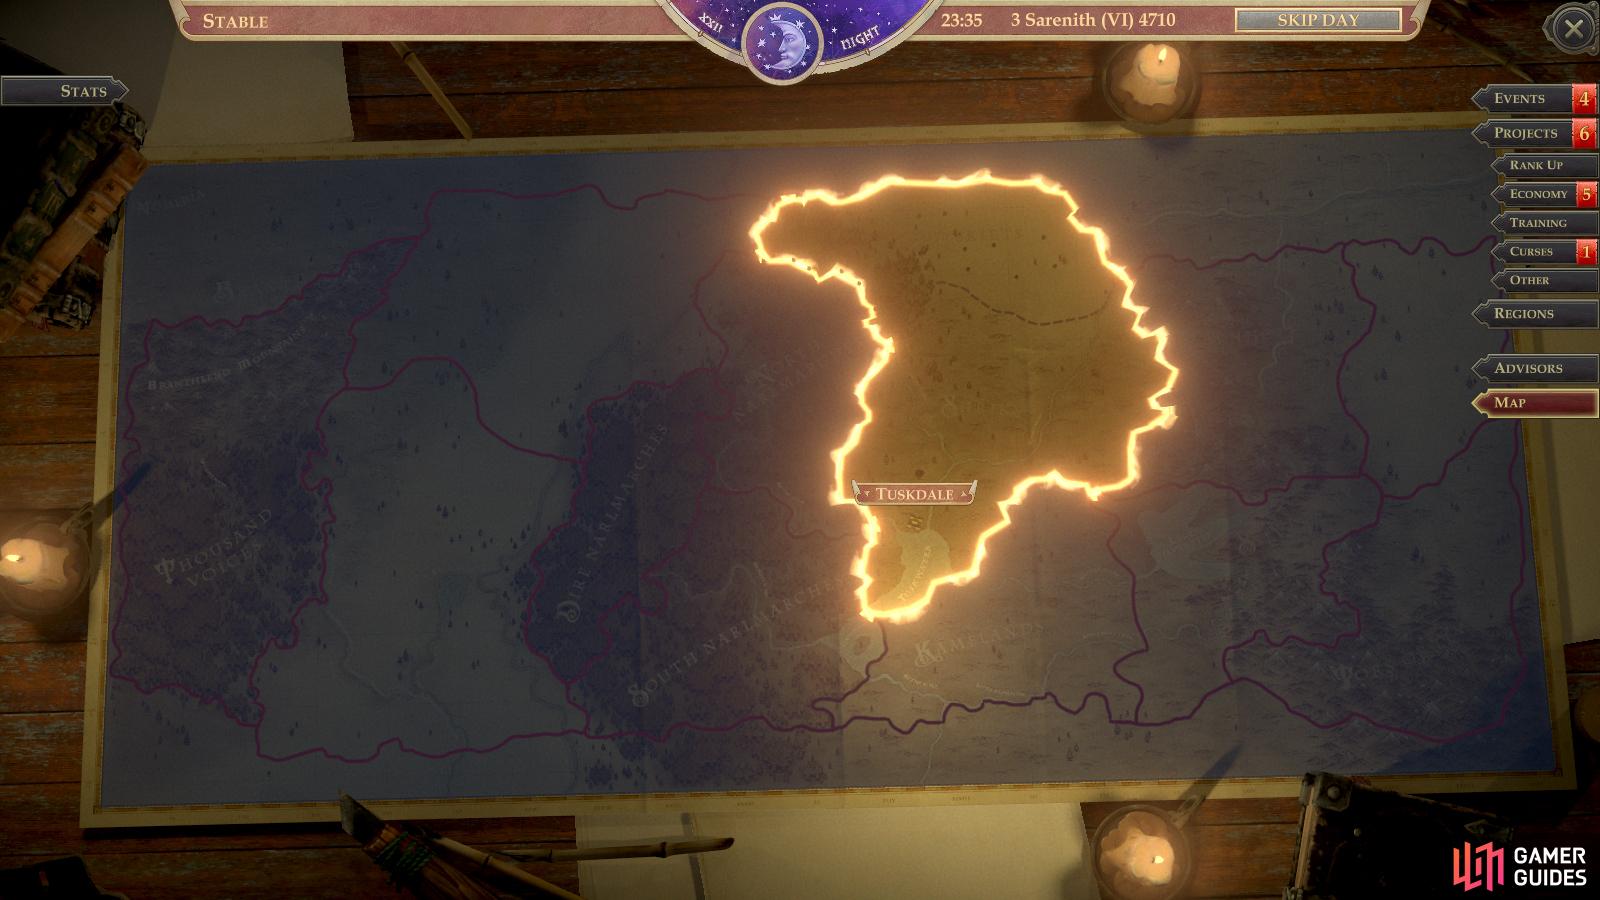
This will update the quest How to Build a Kingdom and add a new quest, Annexation, which tasks you to “add five regions to your lands”. Obviously you won’t be doing this any time soon, so you can safely ignore it for… at last the rest of this chapter.
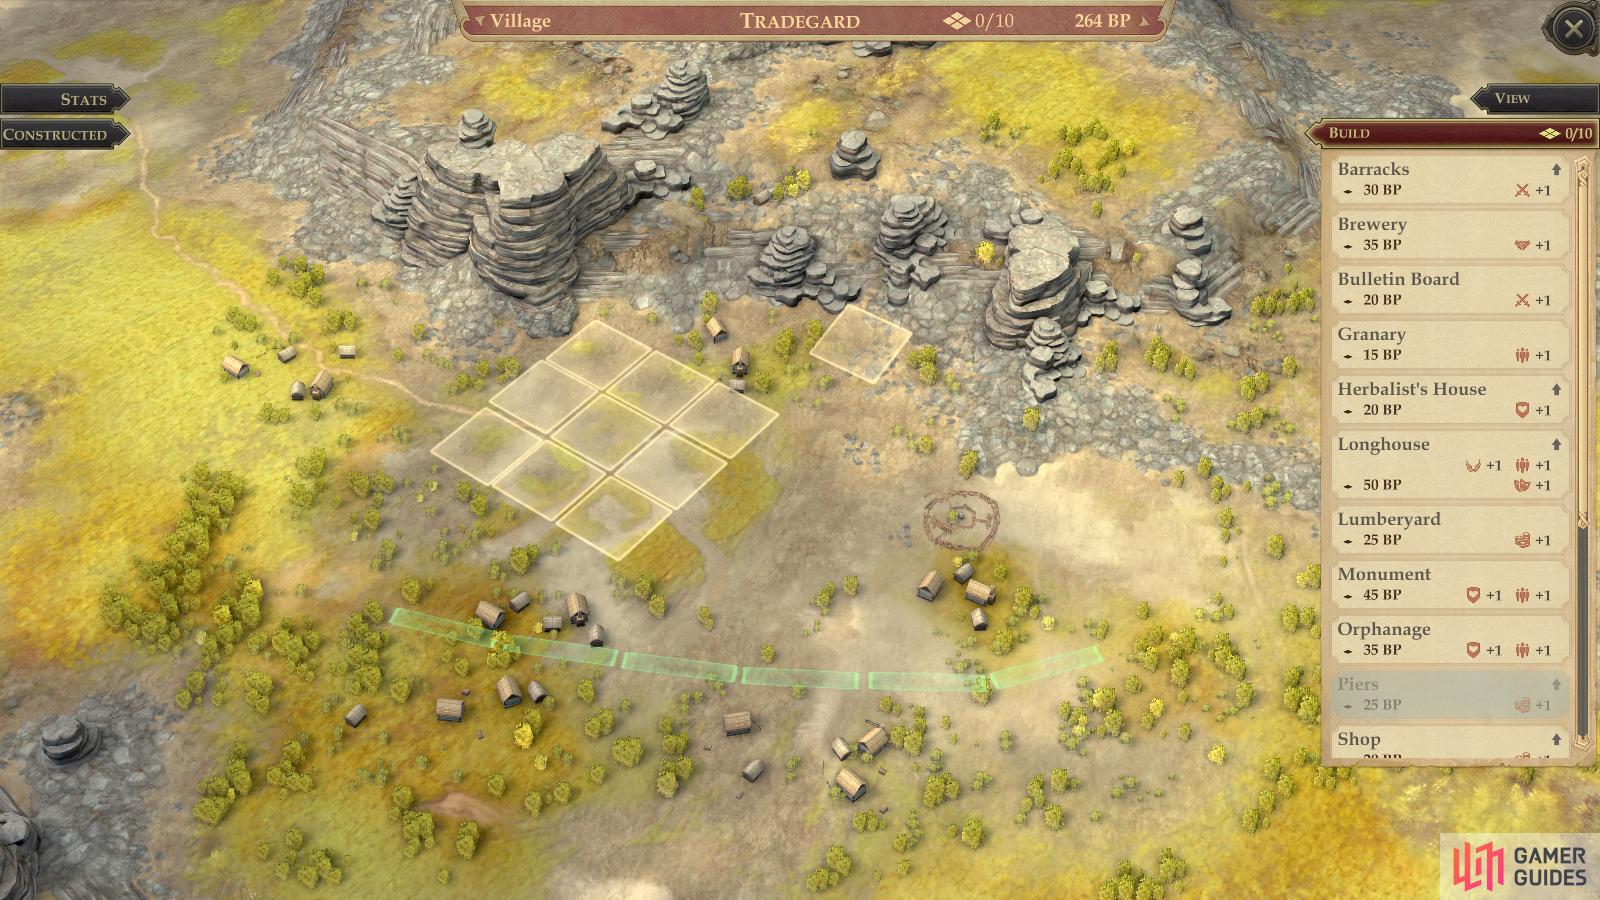
Where you choose to build your village can affect the layout - a forest village,
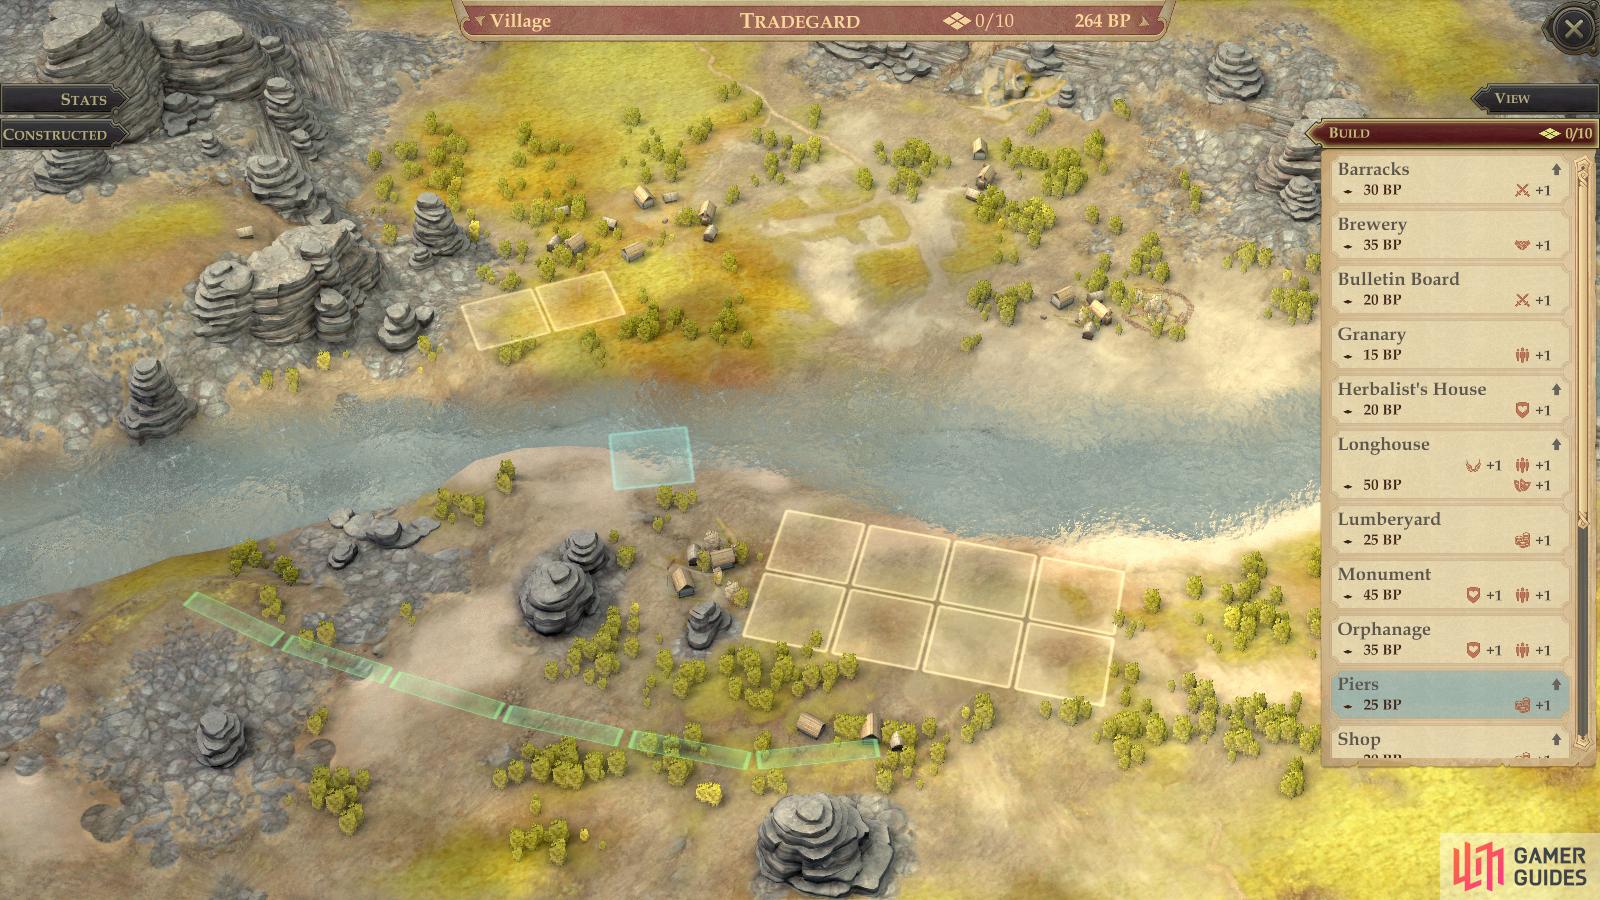
and a riverside village, both in the Outskirts.
How to Build a Kingdom - Found a Village on the Outskirts
Moving on with the tutorial-quest guiding you through kingdom management, your next task is to establish a village in the newly-claimed Outskirts region. To do this, simply scroll up to the Outskirts region on your kingdom map and you’ll see a bunch of little flag icons all over. Clicking on one will give you the option to build a village there. The exact location you choose doesn’t really matter a whole lot - if you build near a river, you’ll may get an extra waterfront building spot, and different areas may have different building grid configurations, influencing what buildings you can construct and what adjacency bonuses they’ll have, but considering the relatively minor effect on Kingdom Stats that buildings have, it’s not something to really fuss over.
Pick a site, give your village a name (defaut: Tradegard) and expend the 50 BP required to found your first village. Actually building something isn’t required.
Once you’ve founded a village the quest should update again, this time charging you with increasing the rank of any Kingdom Stat. We hit Loyalty 20 by this point, but there’s no guarantee everybody will manage to achieve this by this point, so we’re content to leave this quest alone for now and get onto other things.
Before you exit the kingdom map, however, note that since two weeks have passed you’ve likely got some activities under the events, projects, economy and curses tab. While it might not seem terribly lucrative right now, attend to any “Curses” event cards when you can. This first one will probably be Research into the Nature of Curses: Davik Nettle, the subject of the quest Riverbed Nightmare from Chapter 1. It’ll take a whopping 45 days and 50 BP to complete this event, but research into curses could drastically affect the end of the game, so it’s worth devoting some time and resource to.
Other than that, check out what events are available, assign advisors to deal with them as you see fit in the case of random events (these just boost stats). Others, however, are more important, specifically ones that inform you “This event can only be resolved by visiting the throne room.” These events frequently start or update quests, and should be attended to as quickly as possible. At this point in time you should have A Traveler Waits at the Castle and Harrim Has a Request. If/when one of your Kingdom Stats hits a 20 point increment, you’ll also get an [Advisor] Awaits in the Throne Room event, which are discussed in more detail in the Kingdom Rank Ups section of the guide.
Harrim Has a Request
When you leave your kingdom management screen and return to the throne room, this event should trigger automatically… assuming you have Harrim in your party and you skipped two weeks claiming the Outskirts. Harrim will ask you to take him to see some dwarven ruins nearby, starting the companion quest Unwanted Legacy.
A Traveler Waits at the Castle
A tiefling named Kaessi will tell you of some “ancient treasury”, and asks for your assistance in claiming it - for a share of the loot, of course. This starts the companion quest Sorrowflow, and may play out a bit differently if you had the “The Wildcards” DLC installed from the start of the game, but the end result should be the same.
The Court Alchemist
While not listed as an event, Jhod will come and tell you about Bokken, who really could use something productive to do with his time. The court could use an alchemist, and Bokken could use the job. Seems like a marriage of mutual convenience. Anyways, this starts the quest The Court Alchemist, which we’ll delay for quite a while, as it requires us to travel up to Oleg’s Trading Post. We’ll get quests that’ll take us back up there, and we might as well wait until we’ve plenty of reason to head north.
Loyal Servants
Just an overview on this one, since it’s in your journal. The first phase of this quest wants you to appoint a Treasurer. Once done, the next phase requests you to appoint five advisors. You probably can only appoint five right now, and you might only have a Treasurer candidate if you hired mercenaries earlier. Not that it matters much, because after this, the next phase requires you to “unlock a new leader post”, which requires you to hit Rank IV with one of the five starting Kingdom Stats. This will take a while, so you can ignore this for much of the rest of the chapter.
The Emissary and Antiquarian
Now that you’re done - for a short while at least - with all this busy baronial business, it’s time to have a look around your throne room. First, direct your attention to that most wonderful of features to the northwest of your throne: a stash! Honest to goodness, you can store all the junk you’d rather not carry around in here, be it magical items you can’t bring yourself to sell yet, excess potions and scrolls, food, or other junk that you’re not willing to sell and would rather not carry around. Because what kind of baron doesn’t have their own stash of treasure?
After that, you should notice plenty of people to chat with. You can talk to Jhod and Kesten to learn a little (very little) more about them, but the rest of your companions have nothing new to say, so turn your attention to your emissary. Whomever you choose, they can certainly tell you more about the relationship between the Surtovas and the Aldori, just don’t necessarily expect an unbiased account.
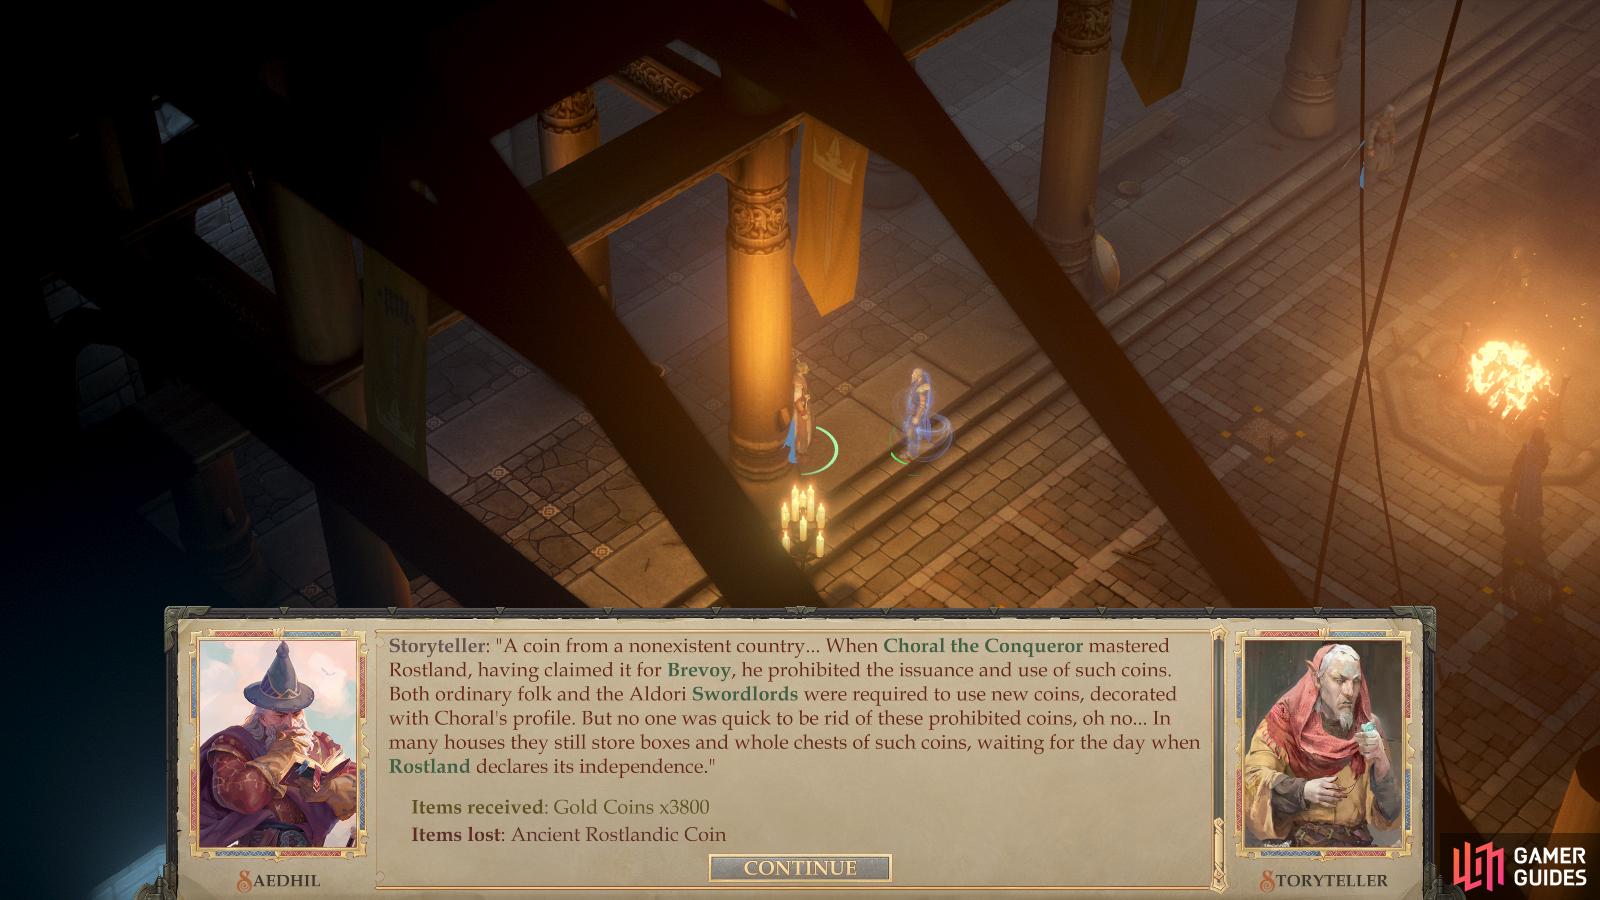
You can hand over various relics to the Storyteller and convert them into a fair amount of coin.

If you were diligent, you can offer up the Restovic relic set for a relatively hefty reward.
Exhaust their dialogue options, then turn your attention to the Storyteller, who can be found near the doors to the southwest. This is the blind elf Kesten told you about earlier, a collector of stories and a preserver of history, he’s keenly interested in such artifacts. Simply put, he’s the antiquarian whose services you’ve been in need of since Chapter 1, and he’s all too eager to buy up any Ancient Rostland Coins (200 GP each), Tokens of the Dryad (300 GP each), Ancient Cyclops Coins (400 GP each) and Taldan Warrior’s Dog Tags (300 GP each) you may possess. If you were diligent about hunting them down in Chapter 1, you every well see yourself become 7,800 GP richer by such an exchange. Alas, you currently don’t possess enough Scorched Fragments of a Necklace to turn in.
You may very well have enough Restovic artifacts to turn, however, and doing so will earn you a story - and a hefty monetary and experience reward, as well! Hand over the Restovic Sorceress’s Discharged Staff (found in the Oak-That-Strayed area), the Restovic Ranger’s Broken Arrow (found in the Old Sycamore area, on a corpse near some Tatzlwyrms), the Restovic Swordlord’s Empty Sheath (found near some Giant Spiders in the Old Sycamore Depths area), the Restovic Paladin’s Crumpled Helmet (found near the Tremendous Centipede in the Old Sycamore Depths area) and the Restovic Inquisitor’s Broken Crossbow (donated to you by Tartuccio in the Old Sycamore Caves area) for the aforementioned tale and reward.
| Reward: For giving the Antiquarian the Restovic item set |
|---|
| 600 XP / 4,000 GP |
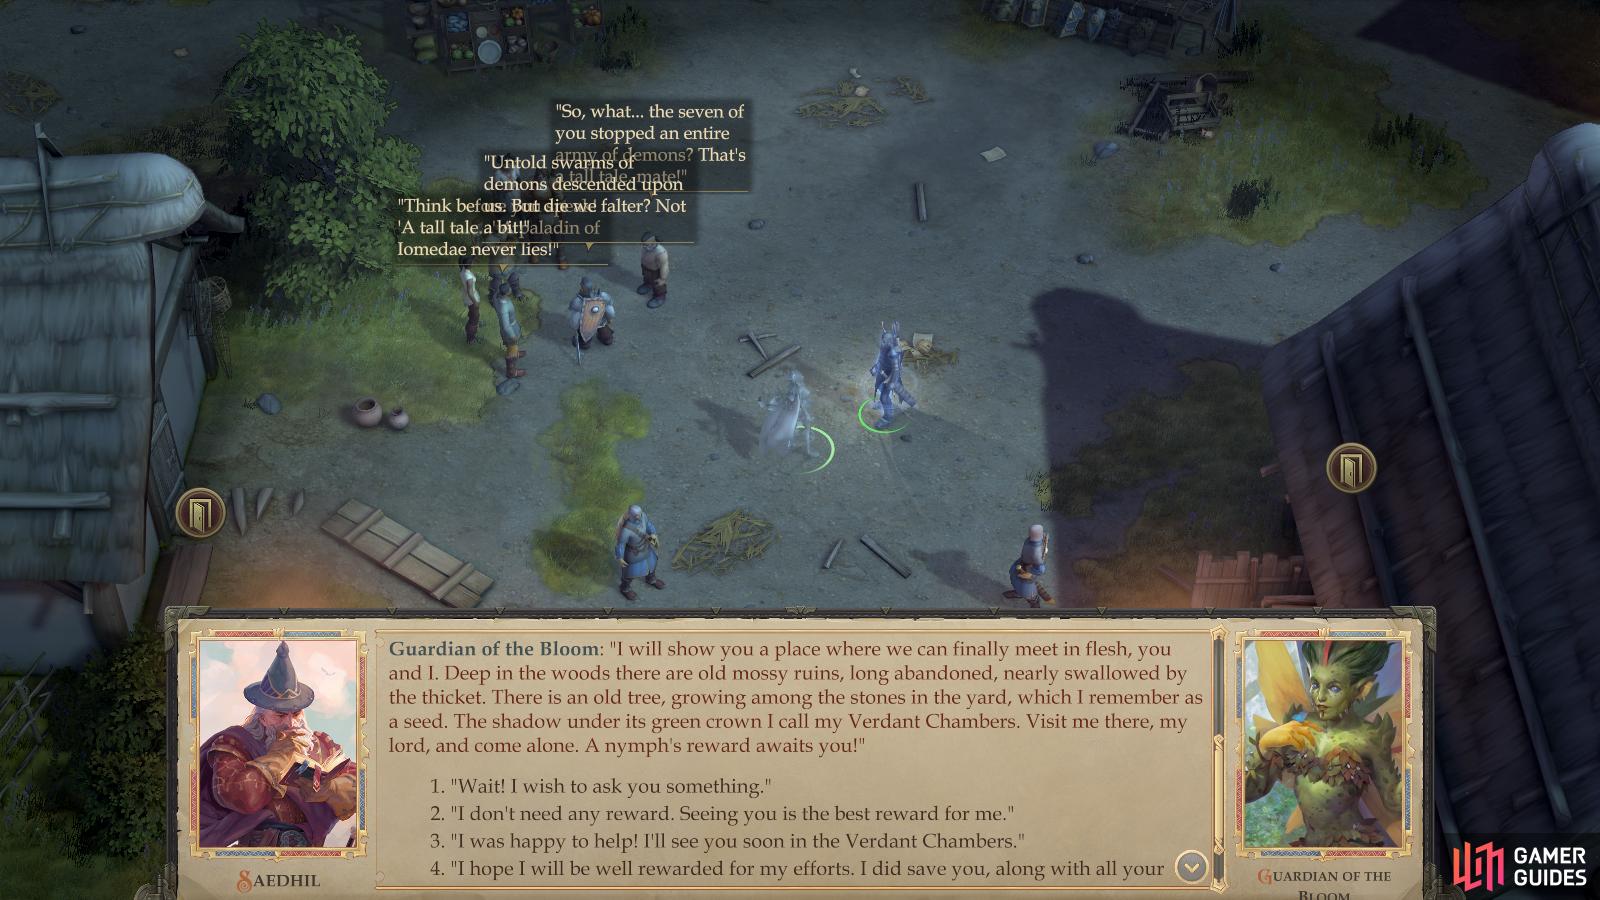
The Guardian of the Bloom will invite you to meet with her in person at the Verdant Chambers.

Before running off anywhere, consider perusing the wares of the capital merchants and making a few choice purchases…
A Just Reward
Complete your business in the throne room then leave the building. Once outside you’ll find yourself in a conversation with another familiar face - the Guardian of the Bloom. She’ll suggest that the lord of the realm should become more familiar with her, the living embodiment of the land. Deep in the woods you’ll find a crumbling fortress, and in that fortress’s courtyard you’ll find a tree, in the shadow of which the nymph will be waiting. This starts the quest A Just Reward.
The promises of greater rewards, meeting in the flesh, and seeing her as she truly is are lurid enough, but her request that you come alone should inspire caution. At the very least trekking through the wilderness alone will be dangerous, but on the plus side this gives you an excuse to explore the wilderness to the west of your capital.
Trade and Talk in the Capital
Before your curiosity (being generous here) gets the better of you, let’s finish looking around the capital. First, note that there are a variety of buildings you can enter, all of which have nothing of interest in them.
If you exit the screen via the area transition at the southern end of the map and return to the capital via the world map you’ll get a choice to travel to the tavern, the main square and the throne room. You need not bother with the tavern just yet, however, as there’s little of interest there right now.
That being the case, venture southwest from your throne room to encounter several merchants. To the west is Hassuf from Absalom, to the north is Zarcie, to the east is Verdel and further east is Arsinoe.
Hassuf sells a stunning display of tantalizing equipment, including standouts like Trapspringer’s Gloves (+5 Trickery - succeed at unlocking objects and disarming traps more easily), Eyes of the Eagle (+5 Perception checks - spot traps and hidden items more regularly), Necklace of the Eternal Hunter (+2 attack and +4 damage vs. Magical Beasts - there are quite a few owlbears and manticores out there, especially later in the chapter), Cloak of Shadows (+10 Stealth, immunity to Blindness and Daze - huge buff for sneaky characters) and Flameguard (a potent Tower Shield that protects the wielder from fire - useful for mitigating your tank’s damage from, say, alchemists). The Bag of Holding is another item worth salivating over, although it comes with a hefty 25,000 gold price tag. If you’ve sold enough junk from Chapter 1, you might have enough to afford it, and 200lbs of extra carrying capacity will mitigate a lot of the more annoying aspects of adventuring…
Much, if not all of this gear will prove quite useful in your future adventures. As for scrolls, consider picking up the Scroll of Fireball and Scroll of Haste. Keep them handy for when Octavia hits 5th level as a Wizard (or better yet, your protagonist or a mercenary you’ve hired does), as these are two keystone arcane spells, and for 375 GP each, they’re a steal. Of course, you can find both of these in the wilderness if you’re willing to wait, and if Octavia is your primary Wizard, you might as well, as she won’t be hitting sixth level (hence fifth level as a Wizard) for quite a while yet.
Zarcie sells a wide selection of spell scrolls - if you ever see mention of some spell we suggest using, Zarcie is a good place to check. The value proposition of spending a few hundred gold on a spell scroll which you’ll be able to replicate via casting ad infinitum can’t be overstated.
Verdel’s wares are more catered to the stouter sort of warriors, and it includes Adamantine Full Plate Mail +1 (heavy armor with Damage Reduction 3/-), Mithral Full Plate +1 (medium armor - thanks to being made of mithral - with the protection of heavy armor). These two suits of armor are some of the most expensive items you can potentially buy right now, but it is the sort of armor that’s fit for a baron…
Finally, a short distance to the east you’ll find Arsinoe, who mostly provides clerical services in the form of scrolls that can cure whatever ails you… for a price. If you ever need to remove some debuff or raise a character from the dead, you’ll find a scroll fit for the task in her wares. She also sells a night inexhaustible supply of Diamond Dust, a component required for some higher-end spells. Nothing you have to worry about yet, but worth keeping in mind for the future.
Peruse their wares as you wish (at the very least it’ll give you some financial goals to work towards) after which it’ll be time to contemplate your first moves in Chapter 2. Namely, planning for your first expedition in Chapter 2.
No Comments