Walkthrough for the Varnhold Stockade area in Pathfinder: Kingmaker. You’ll reach this area after exploring the Varnhold during the quest The Varnhold Vanishing.
Worgs in the Ravine
From where you arrive, follow the edge of the area southeast to find the lair of some worgs, including two Ferocious Worgs and an Alpha Worg. These mutts aren’t any stronger than the dozens you’ve killed previously, so you should have little trouble putting them down. Once you’re victorious, loot a corpse of a Spriggan to the southeast and pocket the trinkets you can find upon it.
(1 of 2) You can either fight through the front gate,
You can either fight through the front gate, (left), or sneak in with a Mobility check. (right)
Infiltrate the Spriggan Fort
Make your way uphill to the north (there’s a slope you can ascend to avoid backtracking) to reach the walls of the fort. There are, as usual, multiple ways to proceed: you can either attempt the front gate, which is well guarded by Spriggans, or you can sneak around to the back of the fort.
In the former case you’ll end up having to fight five Spriggans, whose sole trick seems to be augmenting their size before attacking. Even while large, they’re not terribly fearsome, having at best moderate Armor Class and Attack Rolls, although they’ve enough Hit Points to have some staying power. The only thing you really need to watch out for is the Spriggan Rogue, who is fond of sneak attacking. Aside from the few hundred Experience Points you’ll get for this victory, the only rewards of note include some masterwork weapons and potions.
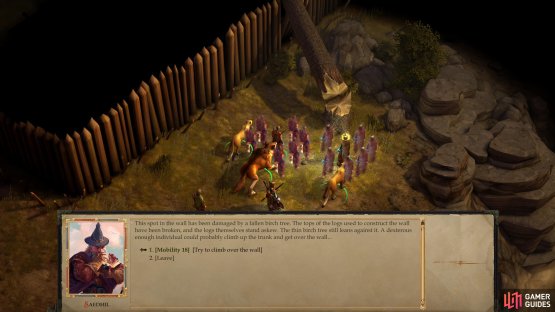
On the other hand, if you choose to circle around the southeastern end of the fort, then venture northeast, you’ll find a fallen tree, which leads over the wall of the fort. Not keen on maintenance, these Spriggans? Loot a pile of rocks near the fallen tree to score an Ancient Rostlandic Coin, then use the tree to infiltrate the fort, which requires a [Mobility 18] check.
| Reward: For using your Mobility to infiltrate the fort |
|---|
| 33 XP |
Sack the Spriggan-Infested Stockade
The benefit of sneaking into the fort is that you’ll be near the southern corner of the fort, in prime position to attack two unwary Spriggan Savages. Of course, if you killed the ones at the gate, you can simply enter the fort and turn right.. So, it’s perhaps not so much of an advantage either way. But you get a pittance of Experience Points for sneaking in! Eh… Either way, kill the Spriggans and deprive them of their meager loot, then examine the well [Perception 23] to make an observation and gain 56 XP.
| Reward: For examining the well. |
|---|
| 33 XP |
Now make your way to the western end of the fort, weaving through some buildings to reach a watchtower guarded by four Spriggans - two Spriggan Raiders and two Spriggan Crossbowmen. Dispatch them, loot them for their potions and weaponry, then search a pile of rocks [Perception 8] to find an Ancient Cyclops Coin.
To finish off the opposition in the stockade, you need merely head to the northern end of the area, where you’ll find three Spriggans waiting, while two more can be found atop a watchtower to the southeast. After this last victory, search near the watchtower where the two Spriggan Skilled Crossbowmen lurked. Behind a house you’ll find a sack full of mundane shields and a piece of jewelry, while atop the watchtower you’ll find a locked [Trickery 26] chest containing gold, gems, a potion and some scrolls.
(1 of 3) Inside the stockade you’ll find more Spriggans.
The Stockade, Interior
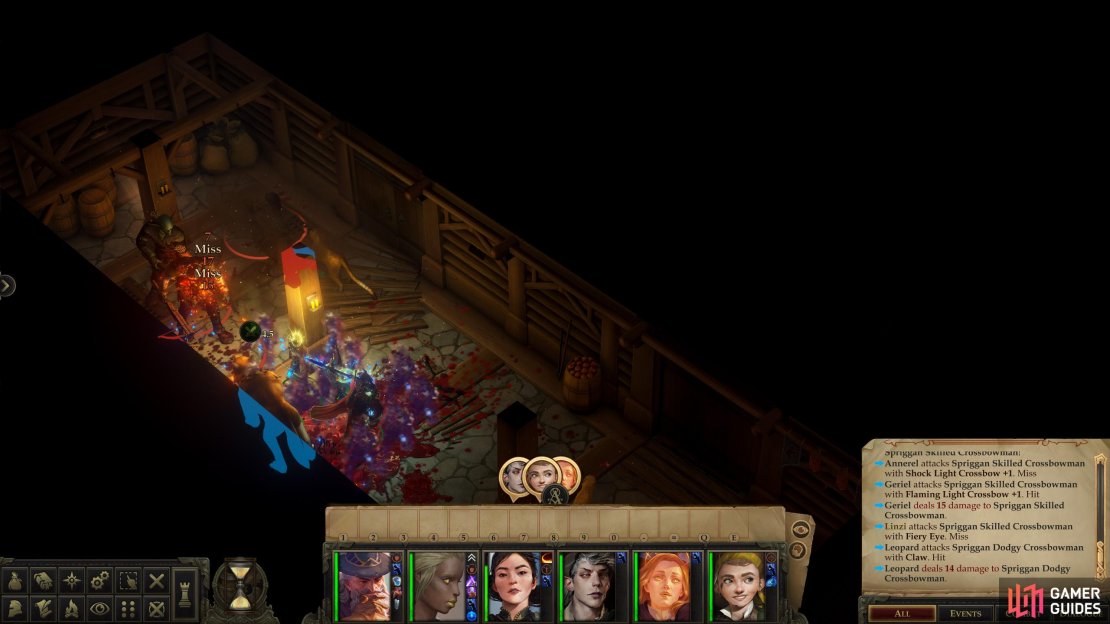
Now that the exterior has been cleansed, enter the large building at the northern end of the stockade (marked simply as “Stockade” on your map. Inside you’ll immediately find yourself accosted by five more Spriggans, including a Spriggan Savage, a Spriggan Raider and three Crossbowmen. While this fight shouldn’t pose any serious problems, you can make an easy fight even easier by debuffing the Spriggans - something like Web will be more than sufficient, but Confusion or Phantasmal Web… well, they might be glorious overkill.
Crush your enemies, see them driven before you, etc., then pass through some doors to the north, beyond which waits a trap [Perception 25] [Trickery 25]. A second such trap can be found in the room beyond, down to the northeast. When both those traps are disarmed, turn your attention to two rooms to the northwest. In the southern of these two rooms you’ll find two chests, one of which contains junk, while the other contains some jewelry, 187 GP and an Ancient Scrap of Script-Covered Leather. In the northern room there’s merely one chest, but it contains a scroll, some gems, a potion, 69 GP and another Ancient Scrap of Script-Covered Leather. Loot those rooms, then search a bookshelf at the northeastern end of the trapped hallway to find… well, junk, mostly.
Next make your way through a doorway to the southeast, where you’ll find another five foes. This batch of enemies includes a Spriggan Raider, Spriggan Rogue and three Spriggan Crossbowmen. Cut them down, loot them, then note two doorways you can use to facilitate further exploration.
Go through the northern door first to reach a bed-lined room, now occupied by Spriggans. Kill the several Spriggans here and work your way northwest up some stairs to find… another door! In the small chamber to the northwest you’ll find some foodstuffs and a hidden chest [Perception 10] containing a potion, a gem and 72 gold.
Backtrack to the room with the two doorways, and this time head through the southern door to reach a small room crawling with Spriggans. Again, the magic number seems to be five, and they’re not any stronger than the ones you’ve killed elsewhere in this building. Exterminate them, then loot two chests and a weapon rack along the southern end of the room. The northwestern-most chest [Trickery 19] contains a Wand of Displacement, but the rest is mostly mundane weapons and a smattering of gold coins.
With that, the bottom level is clear. Make use of the door to the northwest to find some stairs leading to the second level of the stockade. Before you ascend, however, interact with a stuffed bear to open some doors opposite the stairs, giving you a clear route of egress, should you need to prepare for what lies above (hint-hint).
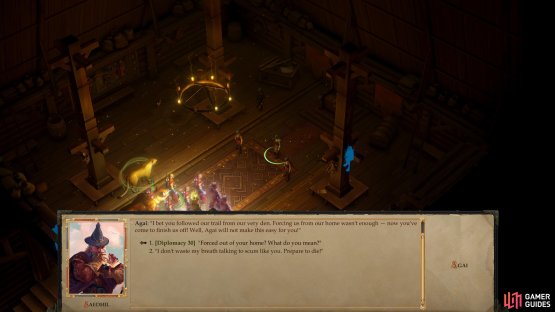
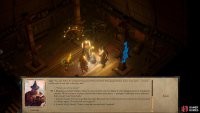
(1 of 2) You can attempt some diplomacy when you encounter Agai for a good bit of XP,
You can attempt some diplomacy when you encounter Agai for a good bit of XP, (left), but a fight is inevitable. Focus on Agai, as the fight will end when he’s wounded. (right)
Battle: Agai
Upstairs you’ll immediately be accosted by a Spriggan named Agai, who accuses you of crimes you did not commit. If you pass a [Diplomacy 30] check he’ll accuse “your kind” of chasing him from his cave-home. Whether you get this information out of the Spriggan or not, a fight is inevitable.
This isn’t a tough battle, pitting your party against - once again - five Spriggans. Agai is somewhat tougher than normal, but not enough to really call for special attention. A combination of Haste and Slow will put this battle in the win column pretty handily, and if you focus on Agai the fight will end even sooner. Just be wary of a Spriggan Rogue who may spawn in the southern corner of the room - leave a warrior behind and ready to intercept him, or summon some undead there via Animate Dead to keep your casters and archers safe.
Once Agai has suffered enough damage he’ll resort to dialogue again. Take the opportunity to accuse the Spriggans of being responsible for the disappearance of the citizens of Varnhold, which Agai surprisingly denies. If you didn’t already learn the rough location of Agai’s old cavern home you’ll get another chance now by picking the dialogue option “Where’s your former home?”.
After this you can pick the dialogue option “You’ve nothing to lose anyway, Agai, and I need to locate the missing citizens of Varnhold. Our troubles may be more closely related than you realize. Please, help me.” which leads to a [Diplomacy 30] check, or you can say “Last chance, Agai. Talk, or you’ll regret your stubbornness.” to bring up an [Intimidate 25] check. Succeed at either of these and you’ll get the location of the Spriggan’s former home.
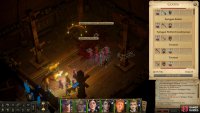
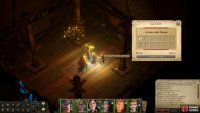
(1 of 3) Either finish off Agai so you can claim his gear,
Finally, you have three options for dealing with Agai and his fellows. You can, of course, continue with violence [Lawful Evil], which will allow you to loot Agai after the fight. He’ll drop Hide Armor +2 and Vanguard, a Heavy Flail +1 with the “Corrosive” (+1d6 acid damage) and “Vanguard” (wielder is immune to difficult terrain) properties. You can pick the [Chaotic Good] option to let them go - and warn them to stay away from human civilizations, while [Lawful Evil] will continue the fight. If your protagonist is [Lawful] you can sympathize with the Spriggans, try to tie both your interests together, and offer to resolve them both.
However you dealt with the Spriggans, once they’re gone be sure to loot a chest to find the Crimson Counselor, a Quarterstaff +2 that has the “Fire Gemstone” property. This gives the user the ability to expend six charges (which replenish daily) to cast a variety of spells, including Fireball (3 charges) or Scorching Ray (2 charges). In addition you’ll find the Owlbear Omelet recipe, and a Fallen Warrior’s Boot. You can also spot A Letter with Threats on the ground, which is from an anonymous source and Maegar’s friendship with you seems to be the cause of this unfriendly letter. Finally, search a stack to find an Unfinished Letter from Maegar Varn addressed to you. Seems your mutual acquaintance, Willas Gunderson (the man who asked you to intervene in his tragic Lake Candlemere expedition) found an odd bracelet, which has thus far gone unidentified.
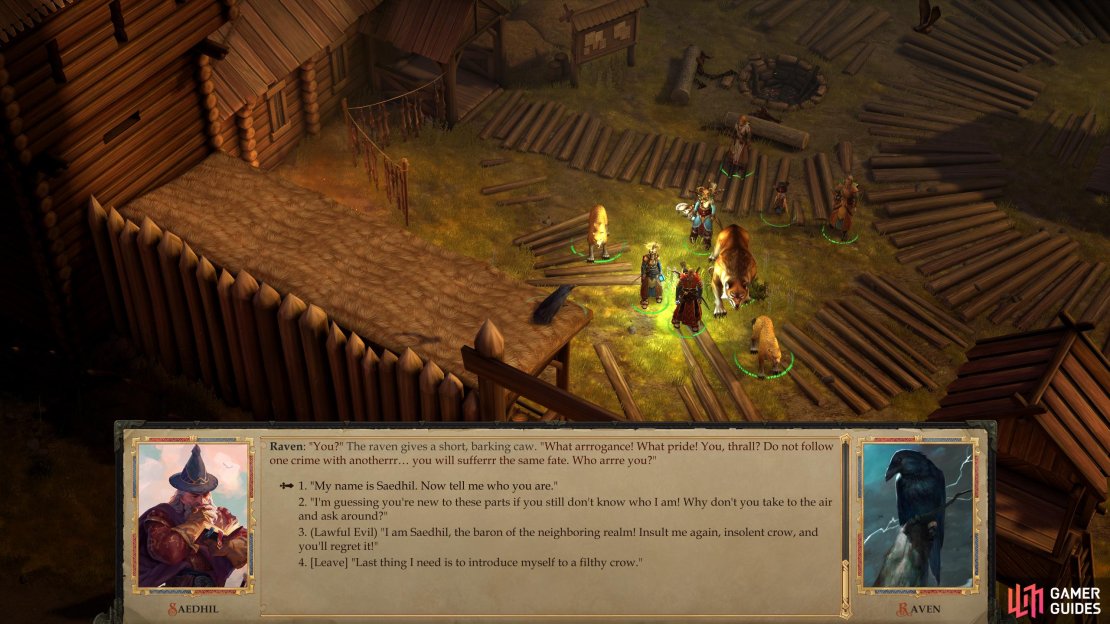
Maegar’s mysterious bracelet will have to wait until you find the man himself, and the only lead you currently have is the Spriggan cave to the north. Leave the stockade and make your way back to Varnhold. On the way you’ll be accosted by a large raven, who will screech out the word “hypocrite!” at you or “butcher!”, depending on how you treated Agai. How dreadfully rude!
When you leave the stockade, you’ll be accosted by a raven - don’t reveal your name, there will be consequences later if you do.
You can respond in kind by chucking a stone at it [Chaotic Neutral] [Dexterity 18], which will drive this rude raven off, hit or miss. If you choose to be a bit more civilized, however, and banter with the bird you’ll ultimately get the opportunity to comment on your actions regarding Agai (including a few more moral choices). Eventually, however, the raven will call the residents of Varnhold thieves - thieves who paid for their crimes - and refer to you as members of the “lesser races”. It won’t indulge too many questions before flying away, leaving you with more questions than answers.
Obviously somebody in Varnhold transgressed against something powerful, and the entire city suffered for it. Maybe the Spriggans made an enemy of the same creature, and examining their abandoned home will lead you to answers? Either way, it’s still the only lead you have, thanks to the not-quite-chatty-enough raven. Leave “The Varnhold Stockade” area, then abandon the Varnhold area itself.
Your next destination is the Overgrown Cavern. If you need to rest, restock or check kingdome business, just head back to the Silverstep region… assuming you’ve claimed it. The merchant at Lake Silverstep Village will be able to take junk items off your hand, or better yet, if you have a village in reasonable proximity, you can just use them. Best of all possible cases, you have a village in Silverstep that you upgraded to a town, built a Mage’s Tower in, and can use to teleport back to your capital. Either way, you should still have plenty of time, so feel free to play it slow and safe.
Also note that you can now advance the quest [The Lost Brother], which requires you to travel to the nearby [Shallow Gulch] area just northwest of Varnhold. We’re generally putting side quests on hold to focus on The Varnhold Vanishing, but this is an exception, and should be completed as you advance the main questline - now is an excellent time to make some progress on it.
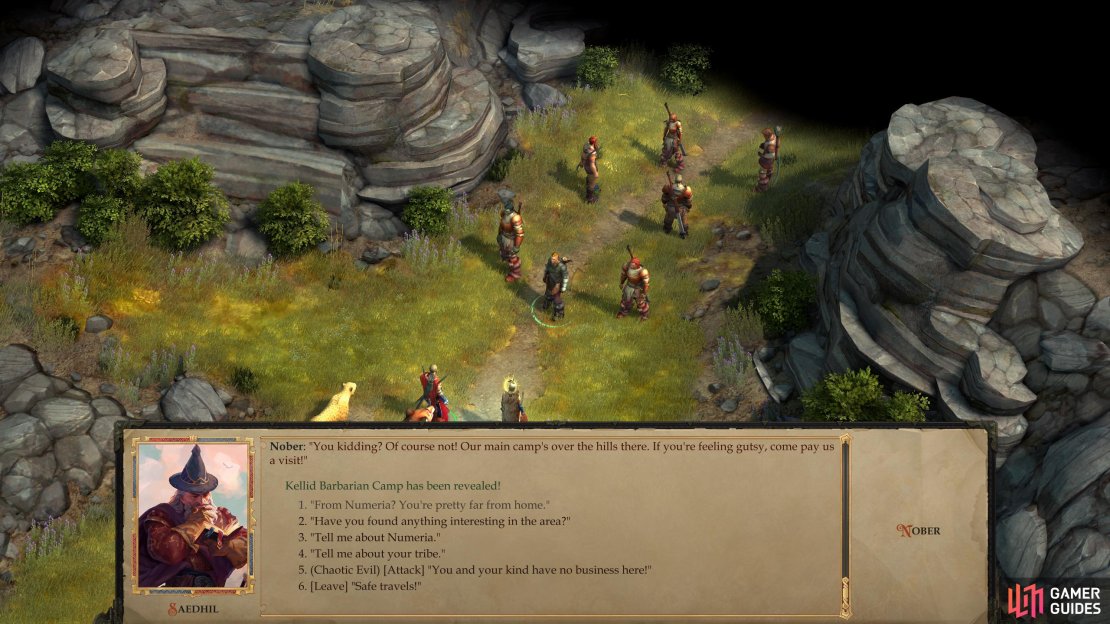
You may have a random encounter with some Kellid barbarians - heal one of their sick and you can gain the location of their camp.





No Comments