

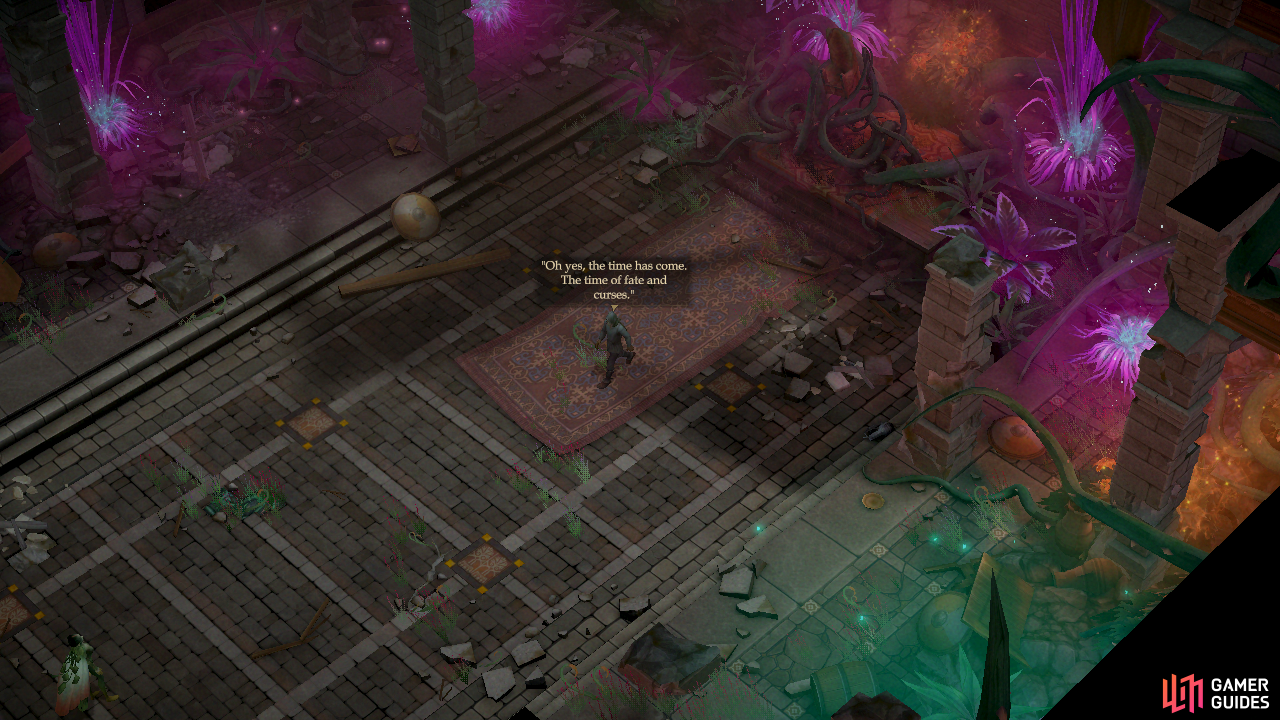
Enter the castle and the Lantern King will decide to finally face you
The Lantern King has a variety of potent, unique spell-like abilities he’ll use against you
The Lantern King - Curses
Enter the castle and stroll forward to find the Lantern King, who has assumed the less intimidating disguise as Remus. After a surprisingly terse exchange of words, the Lantern King will seek to enforce his preferred ending to his little game directly, with violence and he’ll summon four Vilderavn to help him.
The Vilderavn, despite their decent Spell Resistance, have suspect Fortitude and will Saves and Weird has a chance of getting rid of at least some of them. If you can only cast one such spell, however, you might want to hold it in reserve, as combat buffs should allow you to overpower them.
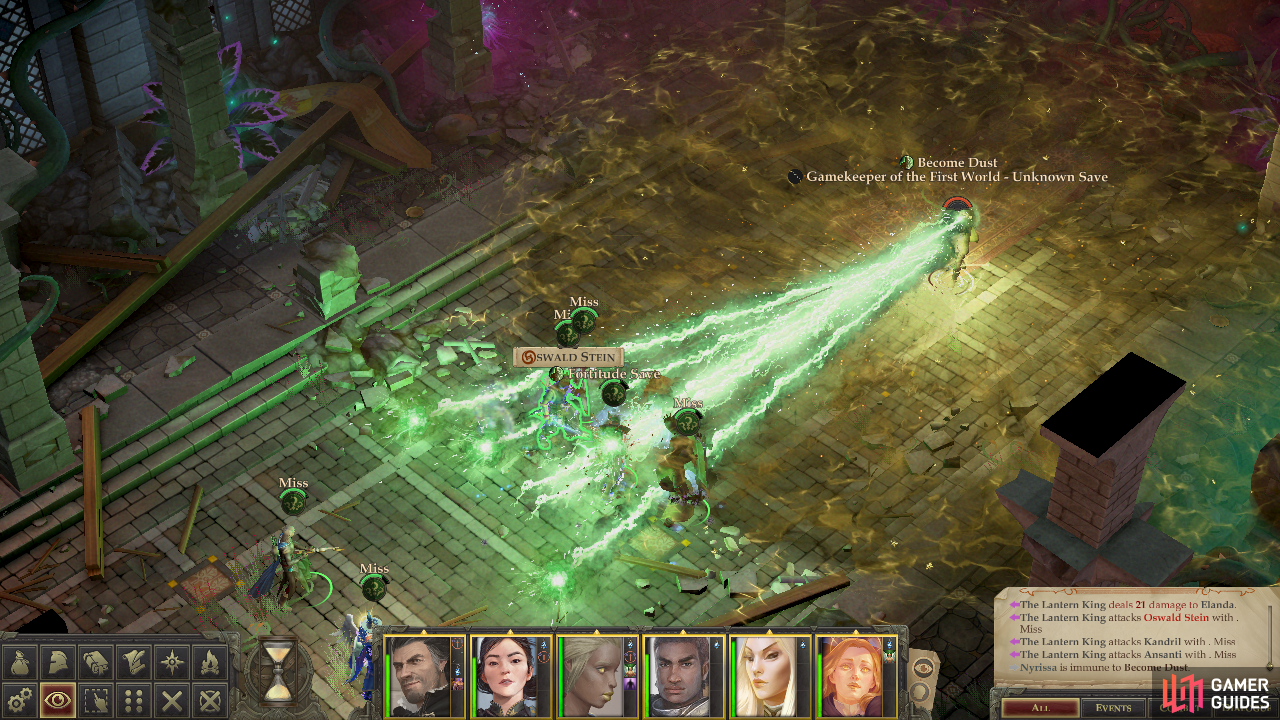
The Lantern King’s first form is far more formidable, having nearly 500 Hit Points, 50 Armor Class, Damage Reduction 10/Chaotic and universally high Saving Throws. High enough, in fact, that it’s unlikely most of your spells will have any effect unless he rolls a one. That said, this form of the Lantern King isn’t immune to any status effects save disease, so technically it’s possible to one-shot him with Baleful Polymorph… if you think shooting for that 5% chance is worth it. Much more likely you’ll just need to focus on whittling down his Hit Points, which will be something of a chore for your warriors. Spamming the humble Magic Missile spell is a reliable way to deal some damage, but to start out you should focus on using safe area-of-effect spells that’ll harm the Vilderavn while also using Death Clutch to keep the Lantern King off balance.
For his part the Lantern King will start out by using his odd abilities, Become Dust, Doomsday and End of All while his Vilderavn close to melee range. These spells have surprisingly low save DCs, so while you’ll probably take some damage, they shouldn’t be too awful. Use magic and might to cut down the Vilderavn, then focus on The Lantern King, being sure to flank him to give your warriors a fighting chance. Nyrissa - if you allied with her - will be happy enough to stand back and use her Ray of Annihilation, which has little chance of striking the Lantern King.
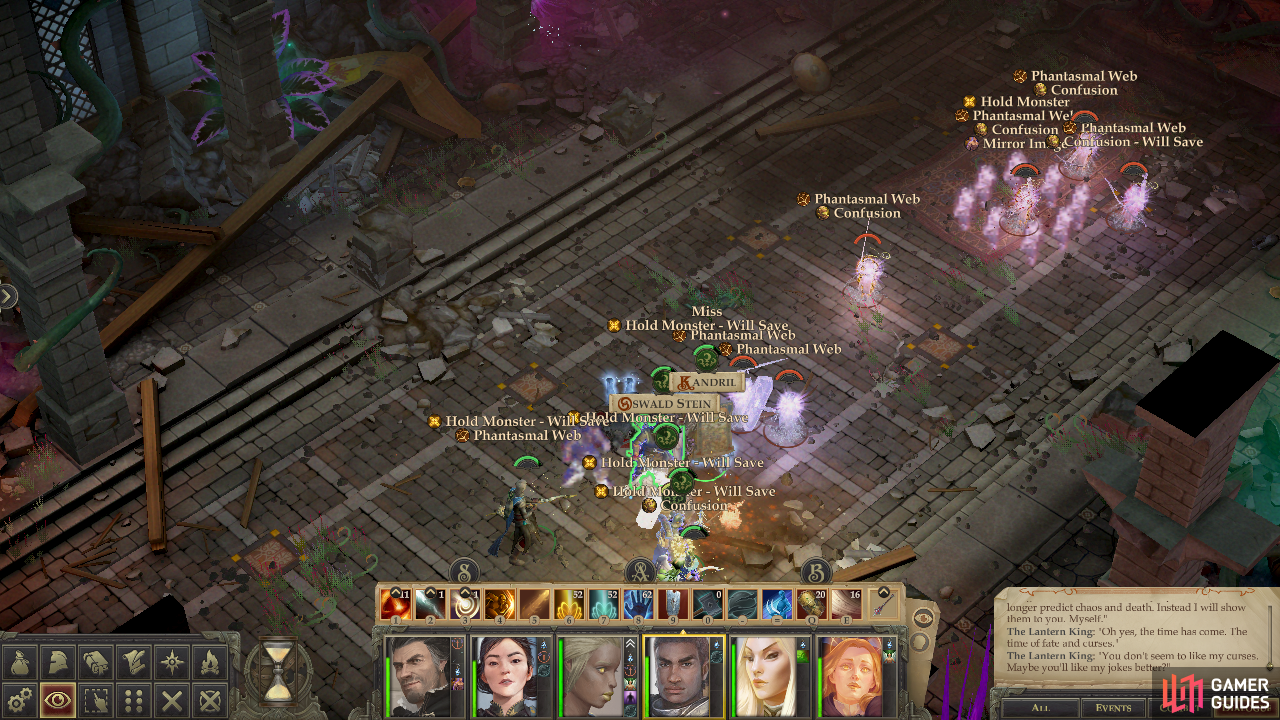
Against the Lantern King’s second form you can deploy debilitating spells like Phantasmal Web to dispatch his minions
while the Lantern King himself is vulnerable to Baleful Polymorph.
The Lantern King - Jokes
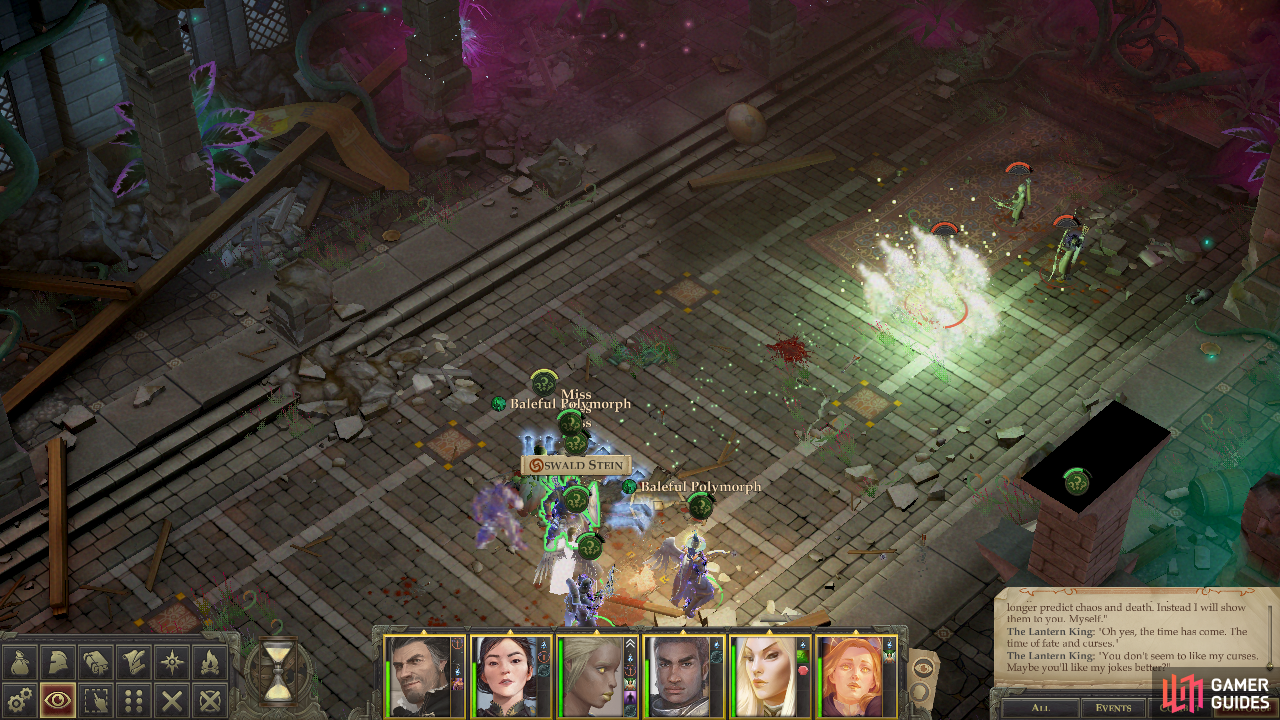
After you vanquish the Lantern King’s first form he’ll reappear back to the northeast in the guise of a diminutive Bard. Instead of summoning more fey, he’ll be attended by five warriors (all 20th-level Fighters also named The Lantern King). None of them have Spell Resistance, and some Saving Throw vulnerabilities. The Fighter Lantern Kings have a relatively poor Will Save, making them susceptible to Overwhelming Presence, Phantasmal Web and Confusion while the Bard’s Fortitude Save is… well, not exactly low, but low enough that Baleful Polymorph becomes an interesting and viable strategy. If you don’t want to employ that tactic, using spells like Destruction and Finger of Death can also deal some respectable damage, although The Lantern King’s Touch Armor Class might be a bit high for your casters.
As for your warriors. The Lantern King’s second form’s Armor Class is high, but not nearly as bad as his first form. In fact, a well-spec’d warrior should land hits fairly regularly, and lacking any Damage Resistance, those hits should have some impact. While he might be a relatively squishy target, he’ll defend himself ably with spells like Mirror Image and is fond of teleporting out of danger.
Two of his Fighters will move forward to attack while the Bard Lantern King and some of his other Fighters will stand back and attack at range. For the Fighters this consists of lackluster melee and ranged attacks, but the Bard Lantern King will resort to spells, including Sunburst, Hold Monster, Dominate Monster and Weird. Having your warriors afflicted with Blindness is not ideal situation, especially for an enemy who is already flighty enough, but Heal should work fine to remove said affliction as well as restore lost Hit Points. As for the other spells… your Mind Blank will earn its keep, certainly.
Debilitate The Lantern King’s Fighters, then go after the Lantern King Bard. If you can hit him with Baleful Polymorph, this stage is a breeze - just eliminate his Fighters, heal up, and leisurely dispatch him when you have the chance. Otherwise you’ll have to chase him around a bit and weather his spells.
After defeating the Lantern King’s third form you’ll be confronted in a battle of words
win or lose and you’ll end up facing the Lantern King’s true form, which deals fire and divine damage.
The Lantern King - Chaos
When the second form falls, the Lantern King will regroup again and reappear in the form of the Horned Hunter, this time being accompanied by some Wild Hunt Scouts, Wild Hunt Archers and a Wild Hunt Monarch.
The Lantern King’s tactics here are crude, but effective - he’s got dangerous minions to distract you, and his Attack Bonus with his bow is high enough to make your Armor Class irrelevant. Fortunately his damage isn’t great, but with six attacks per round it can chip away at you real quick. Buffs like Displacement and Stoneskin are some of the few ways to hopefully mitigate damage here. Being a 20th-Level Fighter with Weapon Mastery, expect him to critically hit often, and when he does, these critical hits will deal far, far more damage than his base attacks.
Start out the fight with Weird, if you have it. No sense in holding back now, this being the final (for real this time) fight. Given their Saving Throws, there’s a good chance a competent caster can eliminate some of the Wild Hunt foes while your warriors should focus on the Monarch. After they’re dead, focus all your efforts on the Lantern King. His high Armor Class and Hit Points will be a struggle for your warriors to overcome and his Saving Throws are again in the realm of “it’ll only work if he rolls a one”. That being the case, focus on dealing damage, as every little bit will help. Just expect him to make all his Saving Throws, and don’t use anything that requires a touch attack, as his Dexterity simply precludes that as a viable option.
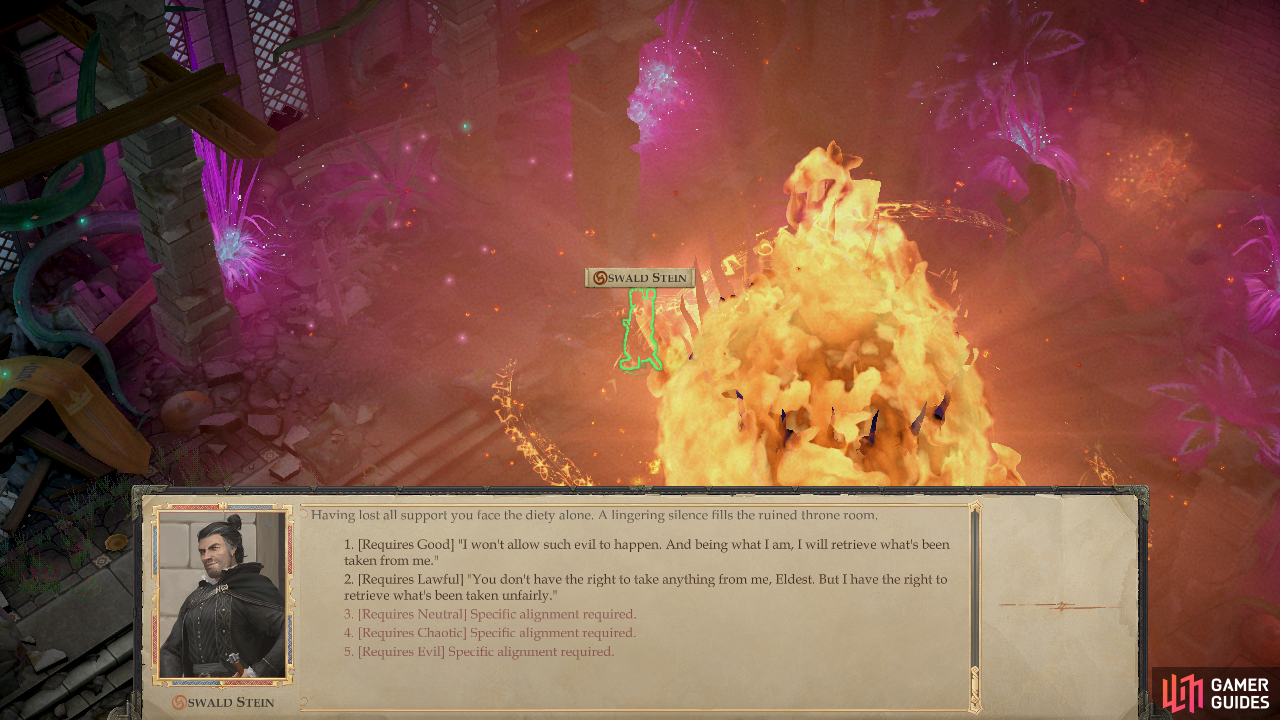
Once you whittle down his 575 Hit Points, the Lantern King will finally decide the whole “fair fighting” thing just isn’t working out and will force you to contend with him not in physical combat, but with words. He’ll recite to you the excuse you gave to the gnome you met in the First World plane you entered during the first Bloom - another of the Lantern King’s disguises - for why you wanted to be king. This, the Lantern King believes, is your essence. Pick whatever dialogue responses you wish, some leverage your alignment, others may become available if you raised a Kingdom Stat to ten, but mostly it’s a brief reprieve before the Lantern King decides to fight with his true form.
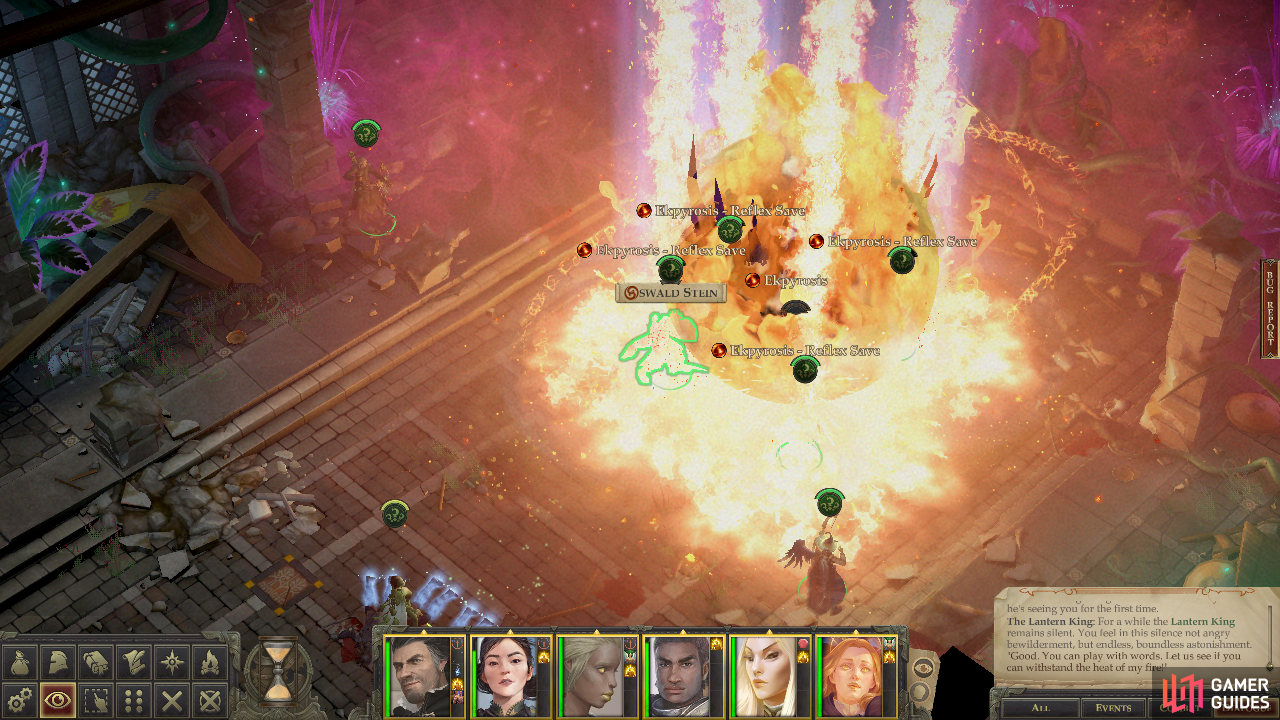
The Lantern King - True Form
This stage of the battle is surprisingly simple, as the Lantern King himself has relatively few attacks, no minions, and aside from a whopping 710 Hit Points, isn’t all that impressive. His Armor Class is high (but not as high as his Horned Hunter form) and at least half the damage he deals from any attack seems to be fire damage, so buffing against that will extend your life expectancy considerably. You’ll also get a well-needed bonus to Saving Throws via a “Champion in the Game of Words” buff if you bested the Lantern King in your verbal jousting earlier, ideally by passing the skill checks whenever possible. This will further help mitigate damage from the Lantern King’s attacks, many of which allow a Reflex Save.
Surround the Lantern King with your warriors and don’t be afraid to use your caster’s touch attacks, as this form of the Lantern King isn’t as well protected against them. Just avoid fire and acid damage whenever possible, as the Lantern King’s highly resistant to both forms of damage. If you keep your characters healed, there shouldn’t be any single attack that can take down a character, and if your characters are spread out (easy to do, since the Lantern King is a large target and should be flanked) many of his attacks will only hit one or two at a time.
Defeat the Lantern King in its final, true form and you’ll again talk to the defeated demi-god, this time from a somewhat better position. The Lantern King unsurprisingly seems amused at how its game ended, and offers you quite a prize - which also happens to be an ending to this little story that the Lantern King approves of. If she’s around, Nyrissa wants nothing of it, and makes a counter-offer which offers many of the same perks… but binds the two of you together in perpetual war against the Lantern King. It’s not without merit, considering what the Lantern King has put the two of you through, and is even more sensible if your romanced Nyrissa earlier. Sadly, killing the demi-god isn’t within your power, but the dignified end of refusing to play its game and returning to oversee your kingdom - finally free from fey influence for the first time in… however long it took Nyrissa to destroy a thousand kingdoms - is a tempting one.
Make what decision suits you best, the path you’ll follow is yours to choose.
No Comments