One of the three quests that’ll start following the [Monster Invasion] event card, you have to complete The Seed of Sorrow before you can begin this quest. You’ll get the quest by talking to your Councilor, something which will happen the next time you visit your throne room after Monster Invasion becomes active. Your Councilor will inform you of some goblins cheering the monster onslaught, and while they doubt the goblins are behind the plague, they might know something you don’t.
If you decided to hide the cause of the plague at the end of An Amusement for the Nobles you’ll learn the location of the Goblin Village from your Councilor. If you skipped this quest or informed your populace of the source of the plague, you’ll have to find the Goblin Village, which can be done by completing the Illustrated Book Episode at the Lonely Mill area. See the provided link for that route if necessary.
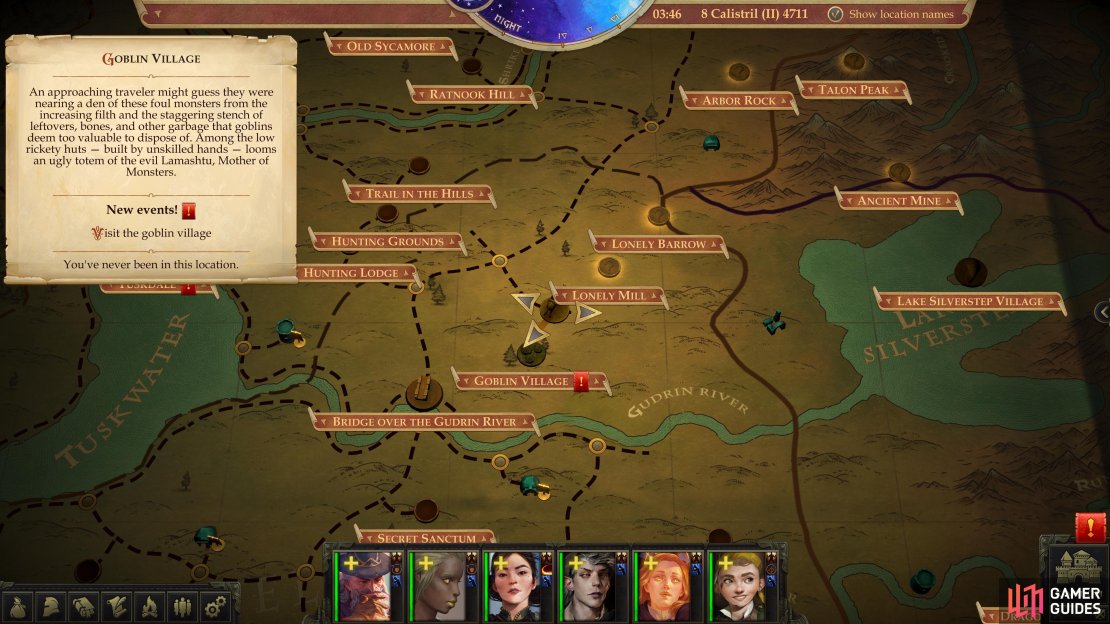
The location of the Goblin Village on the map.
Travel: Goblin Village
Once you’ve discovered its location, head over to the Goblin Village. To reach it from your capital follow these directions:
- East
- East
- East
- Northeast
- Southeast
- Southwest
If you’re fresh off of completing Witch Hunt, make your way to the Bridge Over the Gudrin River area, from which you’ll want to follow these directions:
- North
- Northeast
- Southeast
- Southwest
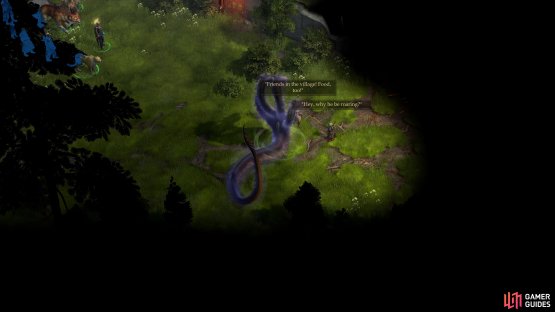
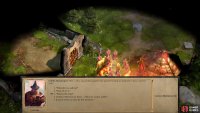
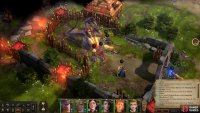
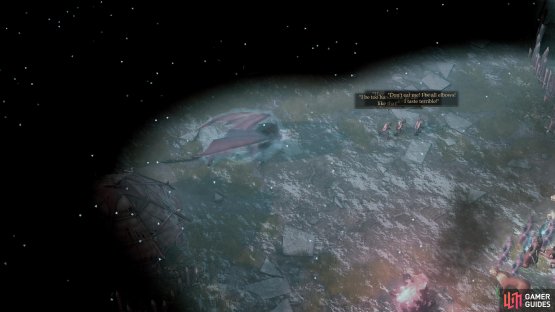
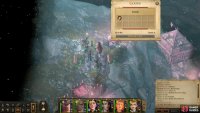
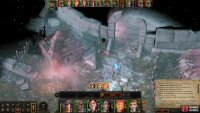
(1 of 2) Some goblins will try to sic a Primal Hydra on you, with predictable results.
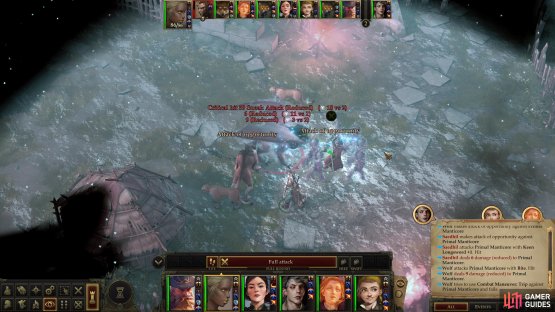
Some goblins will try to sic a Primal Hydra on you, with predictable results. (left), An evasive enough tank can foil the attacks of most of the monsters in this area. (right)
Hydra and the Half-Wits
You’ll arrive along the southwestern end of this area’s map, from which head northeast to reach the walls surrounding the goblin village, then follow the walls east. Along the way you’ll find some goblins trying to befriend a Primal Hydra, which ends about as you’d expect. After snacking on its would-be friends, the Primal Hydra will turn its attention to you. Must be hard to feel full with that many heads.
This Primal Hydra is much the same as the ones you fought during An Amusement for the Nobles; it has permanent Blur active (20% concealment) and Fast Healing 9 (recovers 9 HP/round) and Damage Reduction 10/cold iron and magic. It’ll ignore a good chunk of damage, evade a few attacks, and heal quickly. Otherwise, it has a relatively poor Armor Class and Attack Bonus. So long as it focuses on a tank, it should miss most of the time (although the sheer number of attacks it gets per round will ensure some damage is sustained, due to natural 20s). Elemental damage is a fine way to boost your damage output, if you have elementally-boosted weapons or access to characters with elemental-damage dealing abilities, like “Arcane Weapon Enhancement”. Engage with your tank, surround it, and dish out as much damage as you can as quickly as possible to bring it down.
If this battle was challenging… well, bad news, there’s a lot more of these things ahead. From where you fought the Primal Hydra, continue east until you can venture no further in that direction before turning north to find an entrance into the goblin village.
(1 of 3) Talk to the goblin near the entrance to the village and he’ll make an obvious ploy to trick you into feeding a hydra.
Goblin Quest-Giver
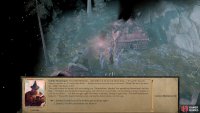
Enter the goblin village and you’ll find a Goblin Horseslayer standing near a gate. Talk to the little critter and he’ll claim to have a quest for you, which upon further explanation seems awfully like a mundane chore. So yeah, a quest. Seems that good help is hard to find, as his “fren” - who got the unequal task of feeding the beastie in the pen - has abandoned this task. Since this goblin can’t possibly open the door and feed the monster within, he’ll need your help, and guess which task you get?
You can, of course, decline the goblin’s generous offer, or you can outright attack him, but it’s more fun (and somewhat more lucrative) to play along and head inside the pen. Approach the creature in the pen - another Primal Hydra - and it’ll attack, predictably enough, and the goblin outside will quickly scamper off. What exactly were you planning to feed this hydra with? Oh well, the only acceptable meal for it to consume now is whatever lengths of steel you have handy. Cut it down, then exit the pen.
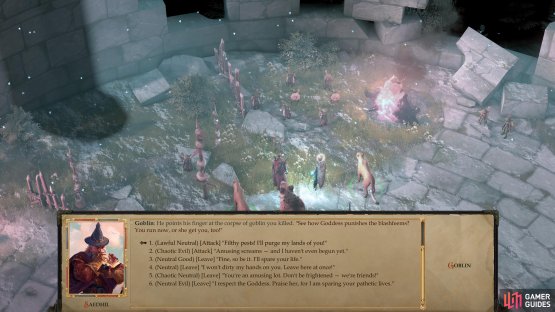
The goblin quest-giver fled north when the hydra attacked, but fortunately he didn’t go far. You’ll find him standing near a goblin statue, and if you interact with him, he’ll play dumb. Well… dumber. If you choose to leave, you’ll get a small experience reward, which is the same amount you’ll get by just killing him. If you have Jaethal in your party, she won’t give you a choice, provoking hostilities on her own.
| Reward: For sparing the quest-giving goblin |
|---|
| 67 XP |
(1 of 2) Search some rocks along the northeastern end of the village for a “Token of the Dryad”,
Search some rocks along the northeastern end of the village for a “Token of the Dryad”, (left), while a “Taldan Warrior’s Dog Tag” can be found outside a goblin hut. (right)
Through the Goblin Village
Continue northeast from the goblin statue to find another monster pen. The goblins beside it aren’t nearly as subtle as the quest-giving goblin was, as they’ll simply free the Primal Hydra in the pen, then flee its wrath. Kill the hydra, then loot a pile of rocks south of the pen to find a Token of the Dryad. Northwest of the goblin statue, in front of a goblin hut, you’ll find another pile of rocks which conceals a Taldan Warrior’s Dog Tag. Finally, between this goblin hovel and the hydra pen is another pen occupied by a Primal Manticore, which you can free and kill for some experience. Kill the manticore (its stats aren’t too dissimilar from those of a Primal Hydra, save it has fewer attacks per round and no Fast Healing) then search the fence west of the door to its pen, where you can find [Perception 23] a well hidden cache of loot containing 500 GP, some gems and other treasure.
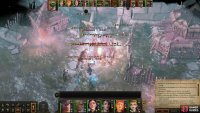
(1 of 2) Goblins repeat their mistake from earlier, but this time with a Primal Manticore.
Goblins repeat their mistake from earlier, but this time with a Primal Manticore. (left), Put the beast down so you can search the rest of the village. (right)
With the eastern end of the village explored, make your way west through the center of the village, passing between the goblin hut to the north and the goblin quest-giver’s Hydra pen to the south. As you go, some goblins will arrive with another pet - a Primal Manticore - which they gleefully sic on you. Dispatch the beast, then note the path to the north, where you can find a large stone structure - clearly not of goblin make - guarded by two Goblin Alchemists and two Goblin Horseslayers.
Ignore them for now and instead make your way south past the pen where you fought the Primal Hydra the goblin questgiver “tricked” you into feeding to find a barrel you can loot [Trickery 23]. It only contains gems and food, but still, you’ll put it to better use than goblins will. Return back to where you fought the latest Primal Manticore and focus your attention to the west.
Make your way west until you find another monster pen to the north, where you can slaughter another Primal Hydra, should you desire the experience for doing so. Whether you kill the Hydra for sport or not, make your way south from its pen to find a goblin hut along some cliffs. Maneuver around the hut and follow the cliffs south alongside a fence until you reach a dead-end, where you can find [Perception 23] another well-hidden cache containing some scrolls, potions and… a spider leg? Goblins, right?
(1 of 4) Disarm the traps the goblin trapster tries to lure you onto,
Goblin Trap-Taunter
Leave this profitable dead-end and make your way northwest from the last Hydra pen you passed to find another goblin. This one has a rather novel approach: instead of setting a monster on you, it’ll stand back and taunt you. Head towards the goblin taunter and you’ll discover the nature of its game, as it has trapped the ground in front of it. Fortunately, its trap-making skills leave much to be desired, as the traps are not only easily spotted [Perception 0], but trivial to disarm [Trickery 6]. To its credit, though, the traps can deal significant damage if you stumble onto them.
Take care of these traps and chase the goblin north, dealing with another pair of traps (with identical checks) as you go. After this, it’ll turn west and retreat to a dead-end, leaving you one more trap to deal with. Disarm this fourth and final trap, then confront the goblin, which tries to talk its way out of trouble like the goblin quest-giver. If you spare it, you’ll gain a pittance of experience, while if you kill it, you’ll gain the same amount. As before, Jaethal will limit your options by engaging in violence.
| Reward: For sparing the trap-laying goblin |
|---|
| 67 XP |
Deal with this goblin however you wish, then loot the nearby barrel to find Beastrender, a Falchion +2 that has the “Animal Bane” property, acting as a +4 weapon and dealing +2d6 extra damage against its designated foe. Do what you will with this weapon, then continue west and north past a ruined stone fence and around a small goblin hovel before making your way uphill and to the east. You’ll ultimately reach a dead-end cliff overlooking a large stone structure below you, but you’re not here for the view. Instead, loot a pile of rocks to the north to find a Melted Shard of a Ring.
(1 of 2) A goblin “merchant” will emulate the profession, but his prices could use some work…
A goblin “merchant” will emulate the profession, but his prices could use some work… (left), South of the goblin “merchant” you’ll find a “Taldan Horseshoe”. (right)
Goblin Merchant
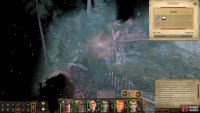
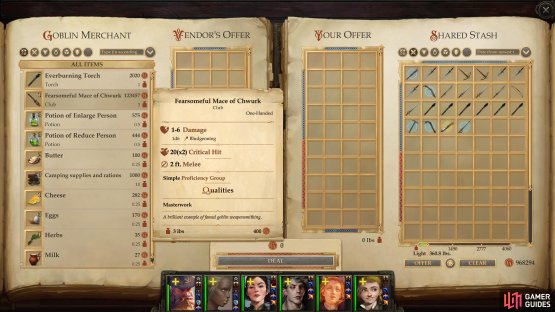
Return back to where you caught up with the goblin trapper, then make your way around a fence to the south to reach the abode of a Goblin Merchant. While he still lives up to what you’d expect from a goblin - being an absurd parody of a real merchant - he does actually have some wares to sell. It’s not quite “everything you be needing for adventures, spell-casting, sword-swinging” unless food, Potions of Reduce/Enlarge Person and Everburning Torches fit that description. It also should be noted that his prices are downright absurd. 123,457 GP for the Fearsome Mace of Chwurk, which is just a Masterwork Club with a fancy name?
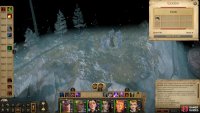
Leave the silly goblin to his trade and make your way up a steep hill to the south of where he does what he calls business. Atop this hill you may find [Perception 7] a pile of rocks wherein a Taldan Horseshoe is hidden.
(1 of 2) Focus on the Goblin Arch-Chemists first,
Focus on the Goblin Arch-Chemists first, (left), otherwise they’ll stand back and pelt you with bombs. (right)
Rescue Nok-Nok
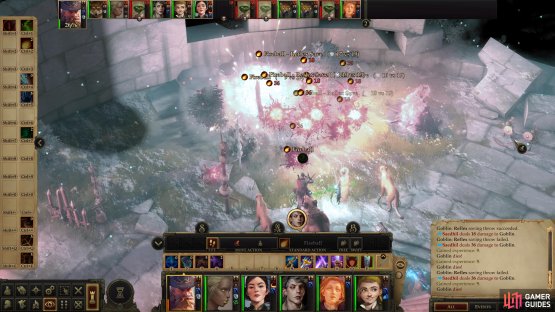
Now that the western end of the goblin village has been explored, make your way back to the center (where some goblins unleashed a Primal Manticore on you) and head north from there. Time to deal with the goblins (two Goblin Arch-chemists and two Goblin Horsereapers) guarding the archway leading to the stone structure beyond. They’ll be peaceful enough so long as you keep your distance, but approach too close and they’ll attack. Target the Goblin Arch-chemists first to prevent them from unleashing too much mischief with their bombs (protecting yourself from fire will help mitigate their damage output, as well), and when they’re dead loot them, as each alchemist holds a Ring of Protection +1.
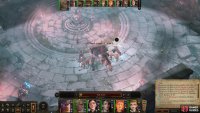
Enter the ruined, circular structure the goblins were fiercely guarding and they’ll try to entice another animal - a Ferocious Owlbear - to feast on a captive goblin, Nok-Nok. This goes about as well as most of their monster-handling efforts (much to Nok-Nok’s delight), and the goblin king and goblin shaman who were spectating from above will flee, leaving you to defeat the rampaging Owlbear.
(1 of 2) Defeat the owlbear the goblins tried to sic on Nok-Nok,
Defeat the owlbear the goblins tried to sic on Nok-Nok, (left), then make a decision about Nok-Nok’s future. (right)
Like the rest of the critters in this area, this one is similar to what you encountered earlier during An Amusement for the Nobles; its Armor Class is mediocre, and it has nothing in the way of concealment or Damage Reduction, but it does have a fair amount of Hit Points. As usual, however, this owlbear has a high Attack Bonus and will shred anything with less than an Armor Class of 35 that has the misfortune of drawing its attention. Glitterdust can help blunt its offense, but you really want a tank who can boast an Armor Class of at least 40 by now if you want to be secure in the quests ahead.
Recruit Nok-Nok
Dispatch the owlbear, then talk to Nok-Nok (not to be confused with the less phonetically correct “Knock-Knock”), who claims to be the Seer of Lamashtu. His proof is more than a little coincidental, but he will tell you what he knows about the plague of monsters that threatens your land, as well as his antipathy with the goblin shaman. It’s an enemy the two of you share, and accordingly Nok-Nok will offer his services for the mutual benefit of both parties.
| Reward: For rescuing Nok-Nok |
|---|
| 600 XP |
Accept him into your group if you want - he starts out as a 4th-level Rogue with an absurdly high Dexterity score. He can fulfill your thieving needs well enough (Stealth, Trickery, Perception), but he’s also inclined towards melee combat. With his two-weapon fighting style, the optimal use for him involves flanking, then letting his sneak attack damage make up for what his weapons and Strength score may be lacking. Just keep him using light weapons to make use of the “Weapon Finesse” feat and never attempt to have him go toe-to-toe with any competent combatant and he’ll do well enough.
(1 of 2) After rescuing Nok-Nok you can choose to either spare,
After rescuing Nok-Nok you can choose to either spare, (left), or kill the remaining goblins. (right)
Decide the Fate of the Goblin Villagers
Before you leave, you have one more decision to make. Head to the northern end of the structure you’re in to find a huddled mass of terrified goblin villagers. All the chatter here boils down to one decision: spare the goblins, or massacre them. Make what moral choice you will, but in this case it’s more profitable to show mercy. At least, you’ll get more experience, but you can take the weapons the goblins drop and sell them, for what that’s worth. Finally, before you leave, loot a sack near the goblins [Trickery 25] to score 200 GP and a Potion of Cure Serious Wounds.
| Reward: For sparing the goblins |
|---|
| 300 XP |
This ends the quest Mother of Monsters, and assuming you’ve completed the quests The Seed of Sorrow and Witch Hunt, the quest Season of Bloom should now begin… not to be confused with the superquest of the same name. It draws you back to the capital to “attend a council” to discuss what you’ve learned and plan your next moves with your advisors, but it’ll be complicated by some civil unrest. You’ve hopefully seen the Warning boxes for it after every decision that influences this event, but you should postpone your return to the capital, as there are more ways to influence the outcome of this civil unrest that have yet to be discovered.
That being the case, we’ll turn our sights southwest, to the Bridge Over the Gudrin River area, where new encounters await us. Who knows? Helping some folk here might just end up being beneficial for you shortly. On our way there, however, we’ll discuss a [random encounter with refugees] that’ll also influence the unrest in our lands.


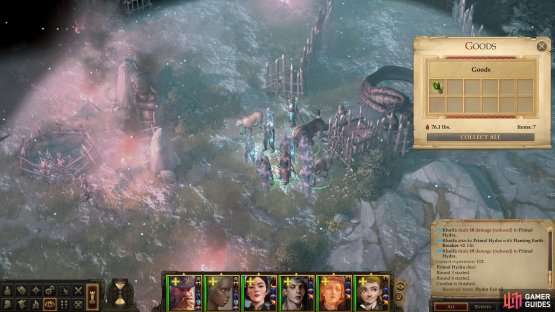












next to the merchant there is a dex +4 belt and some small items like food and such