

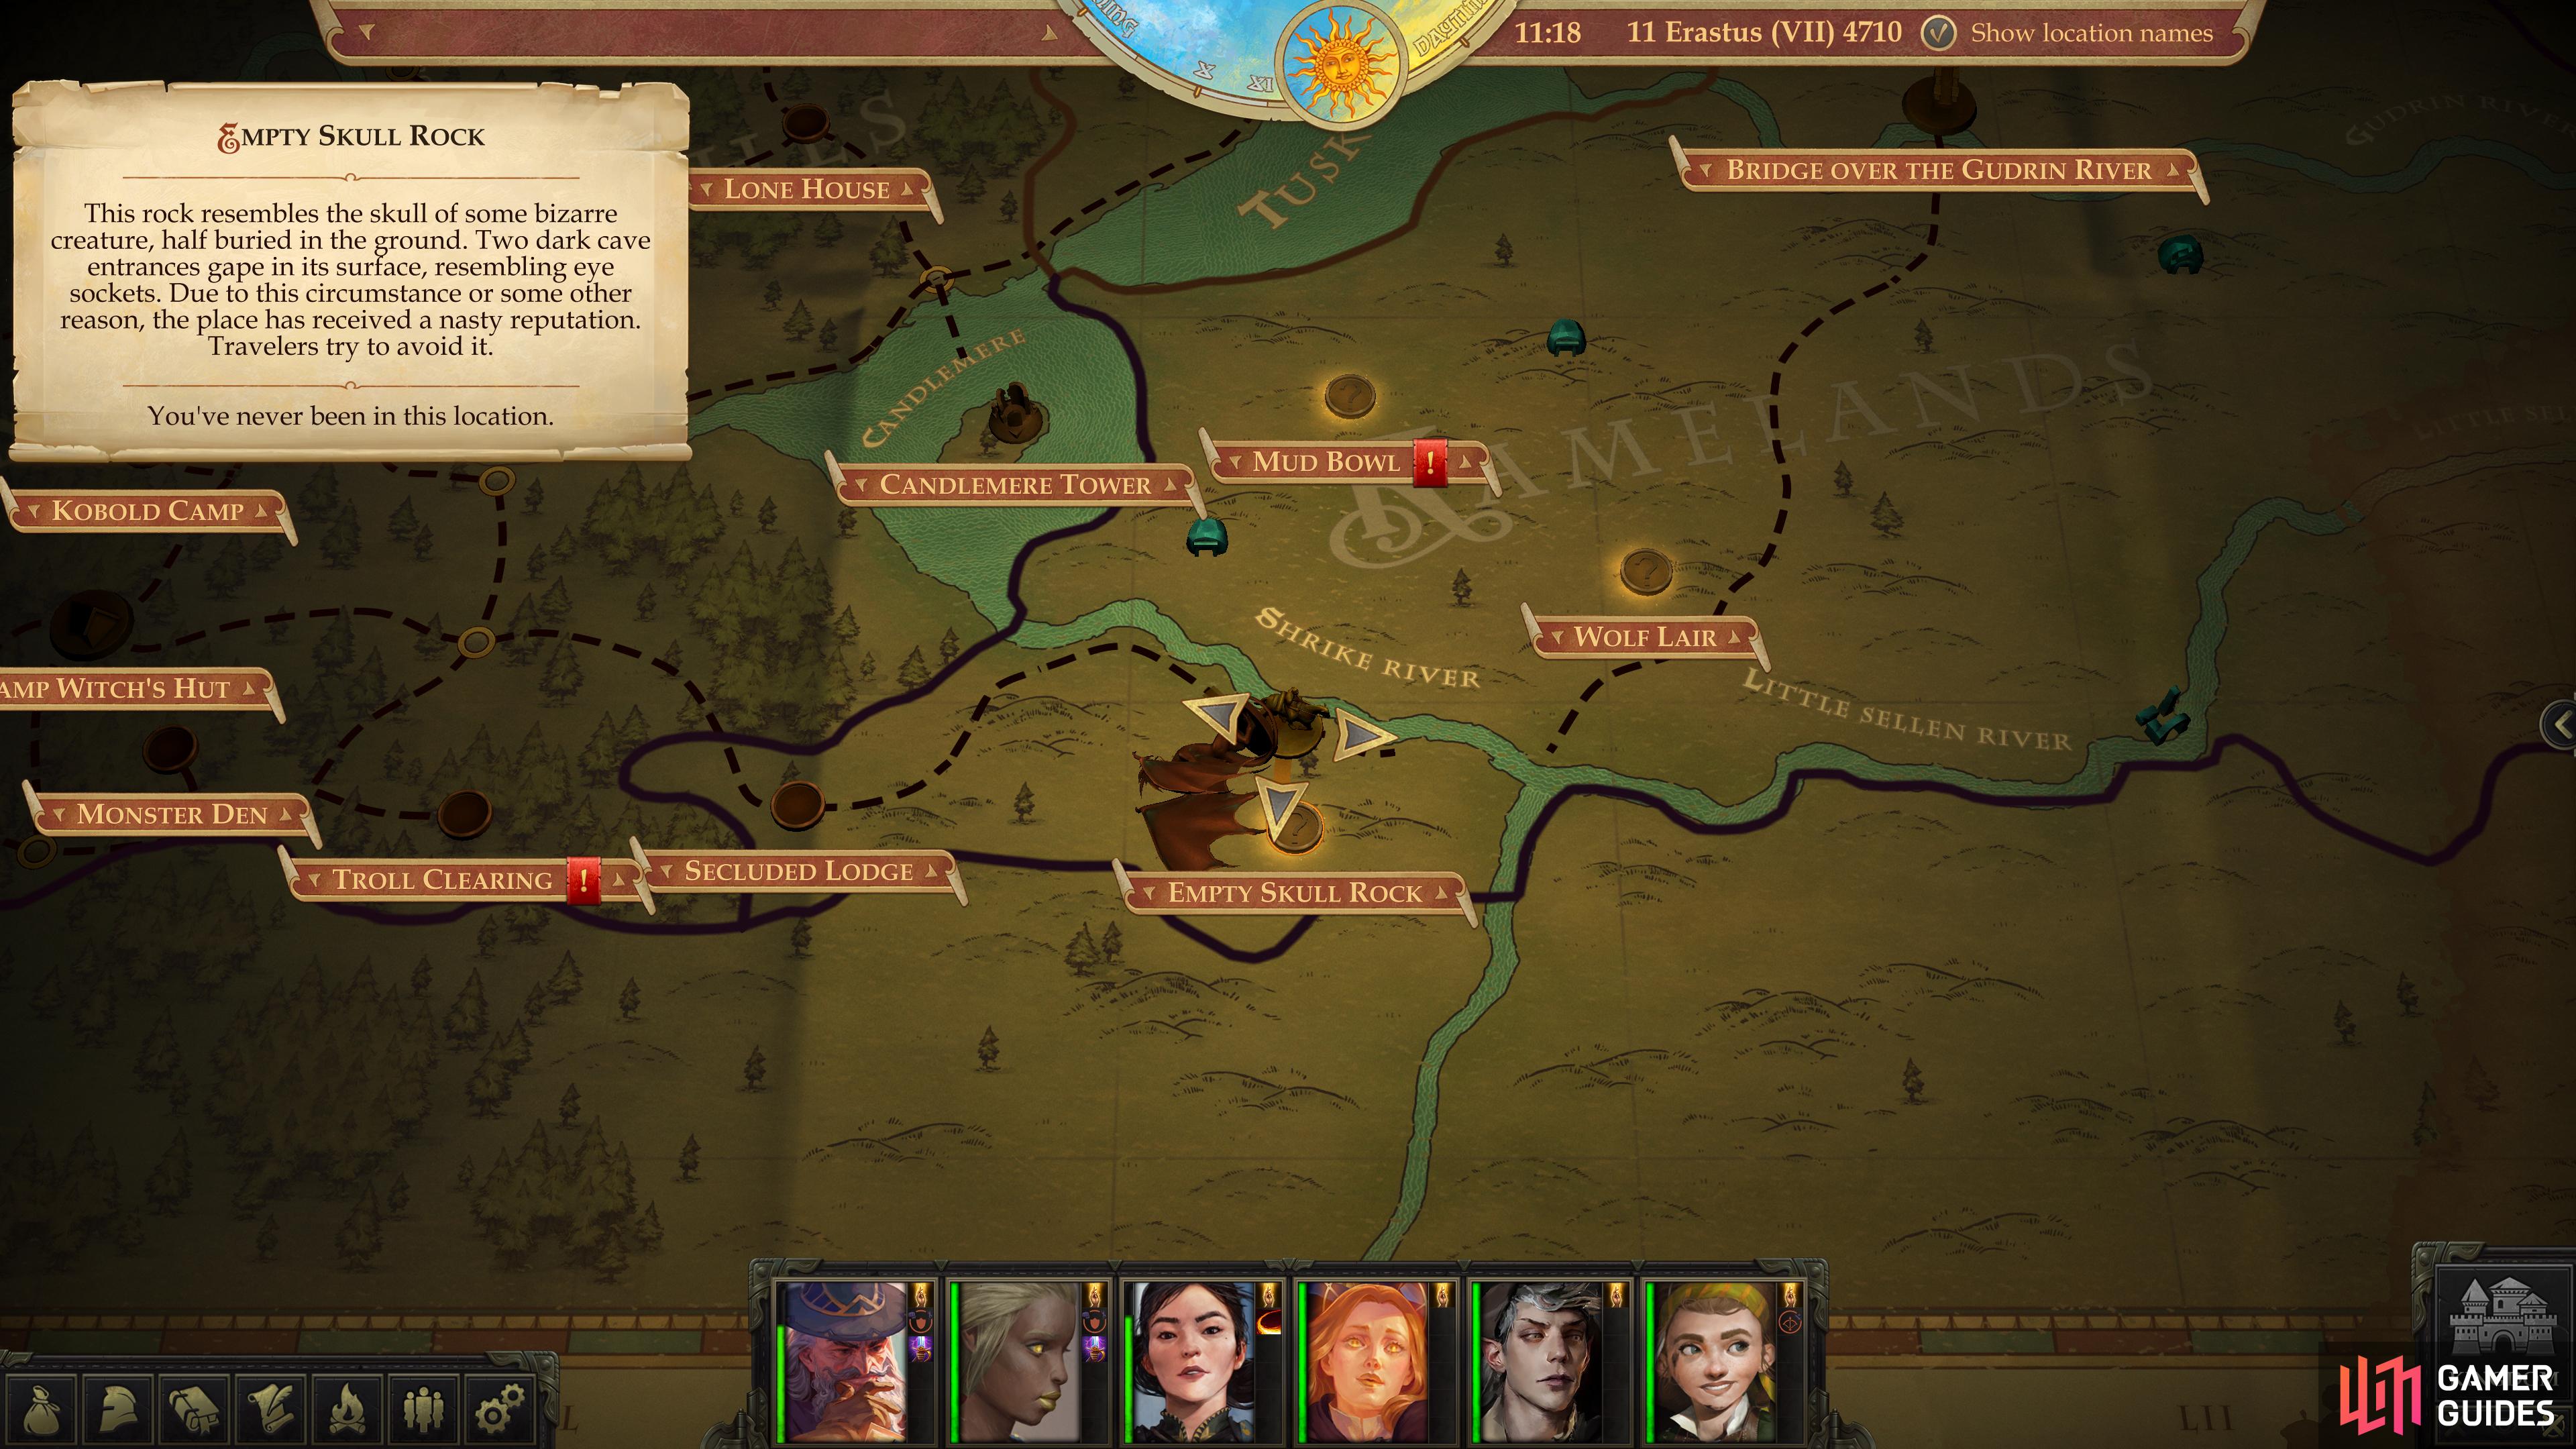
Travel: Empty Skull Rock
To reach the Empty Skull Rock area, follow these directions from the Secluded Lodge:
- East (path veers north)
- East (along the Shrike River)
- South
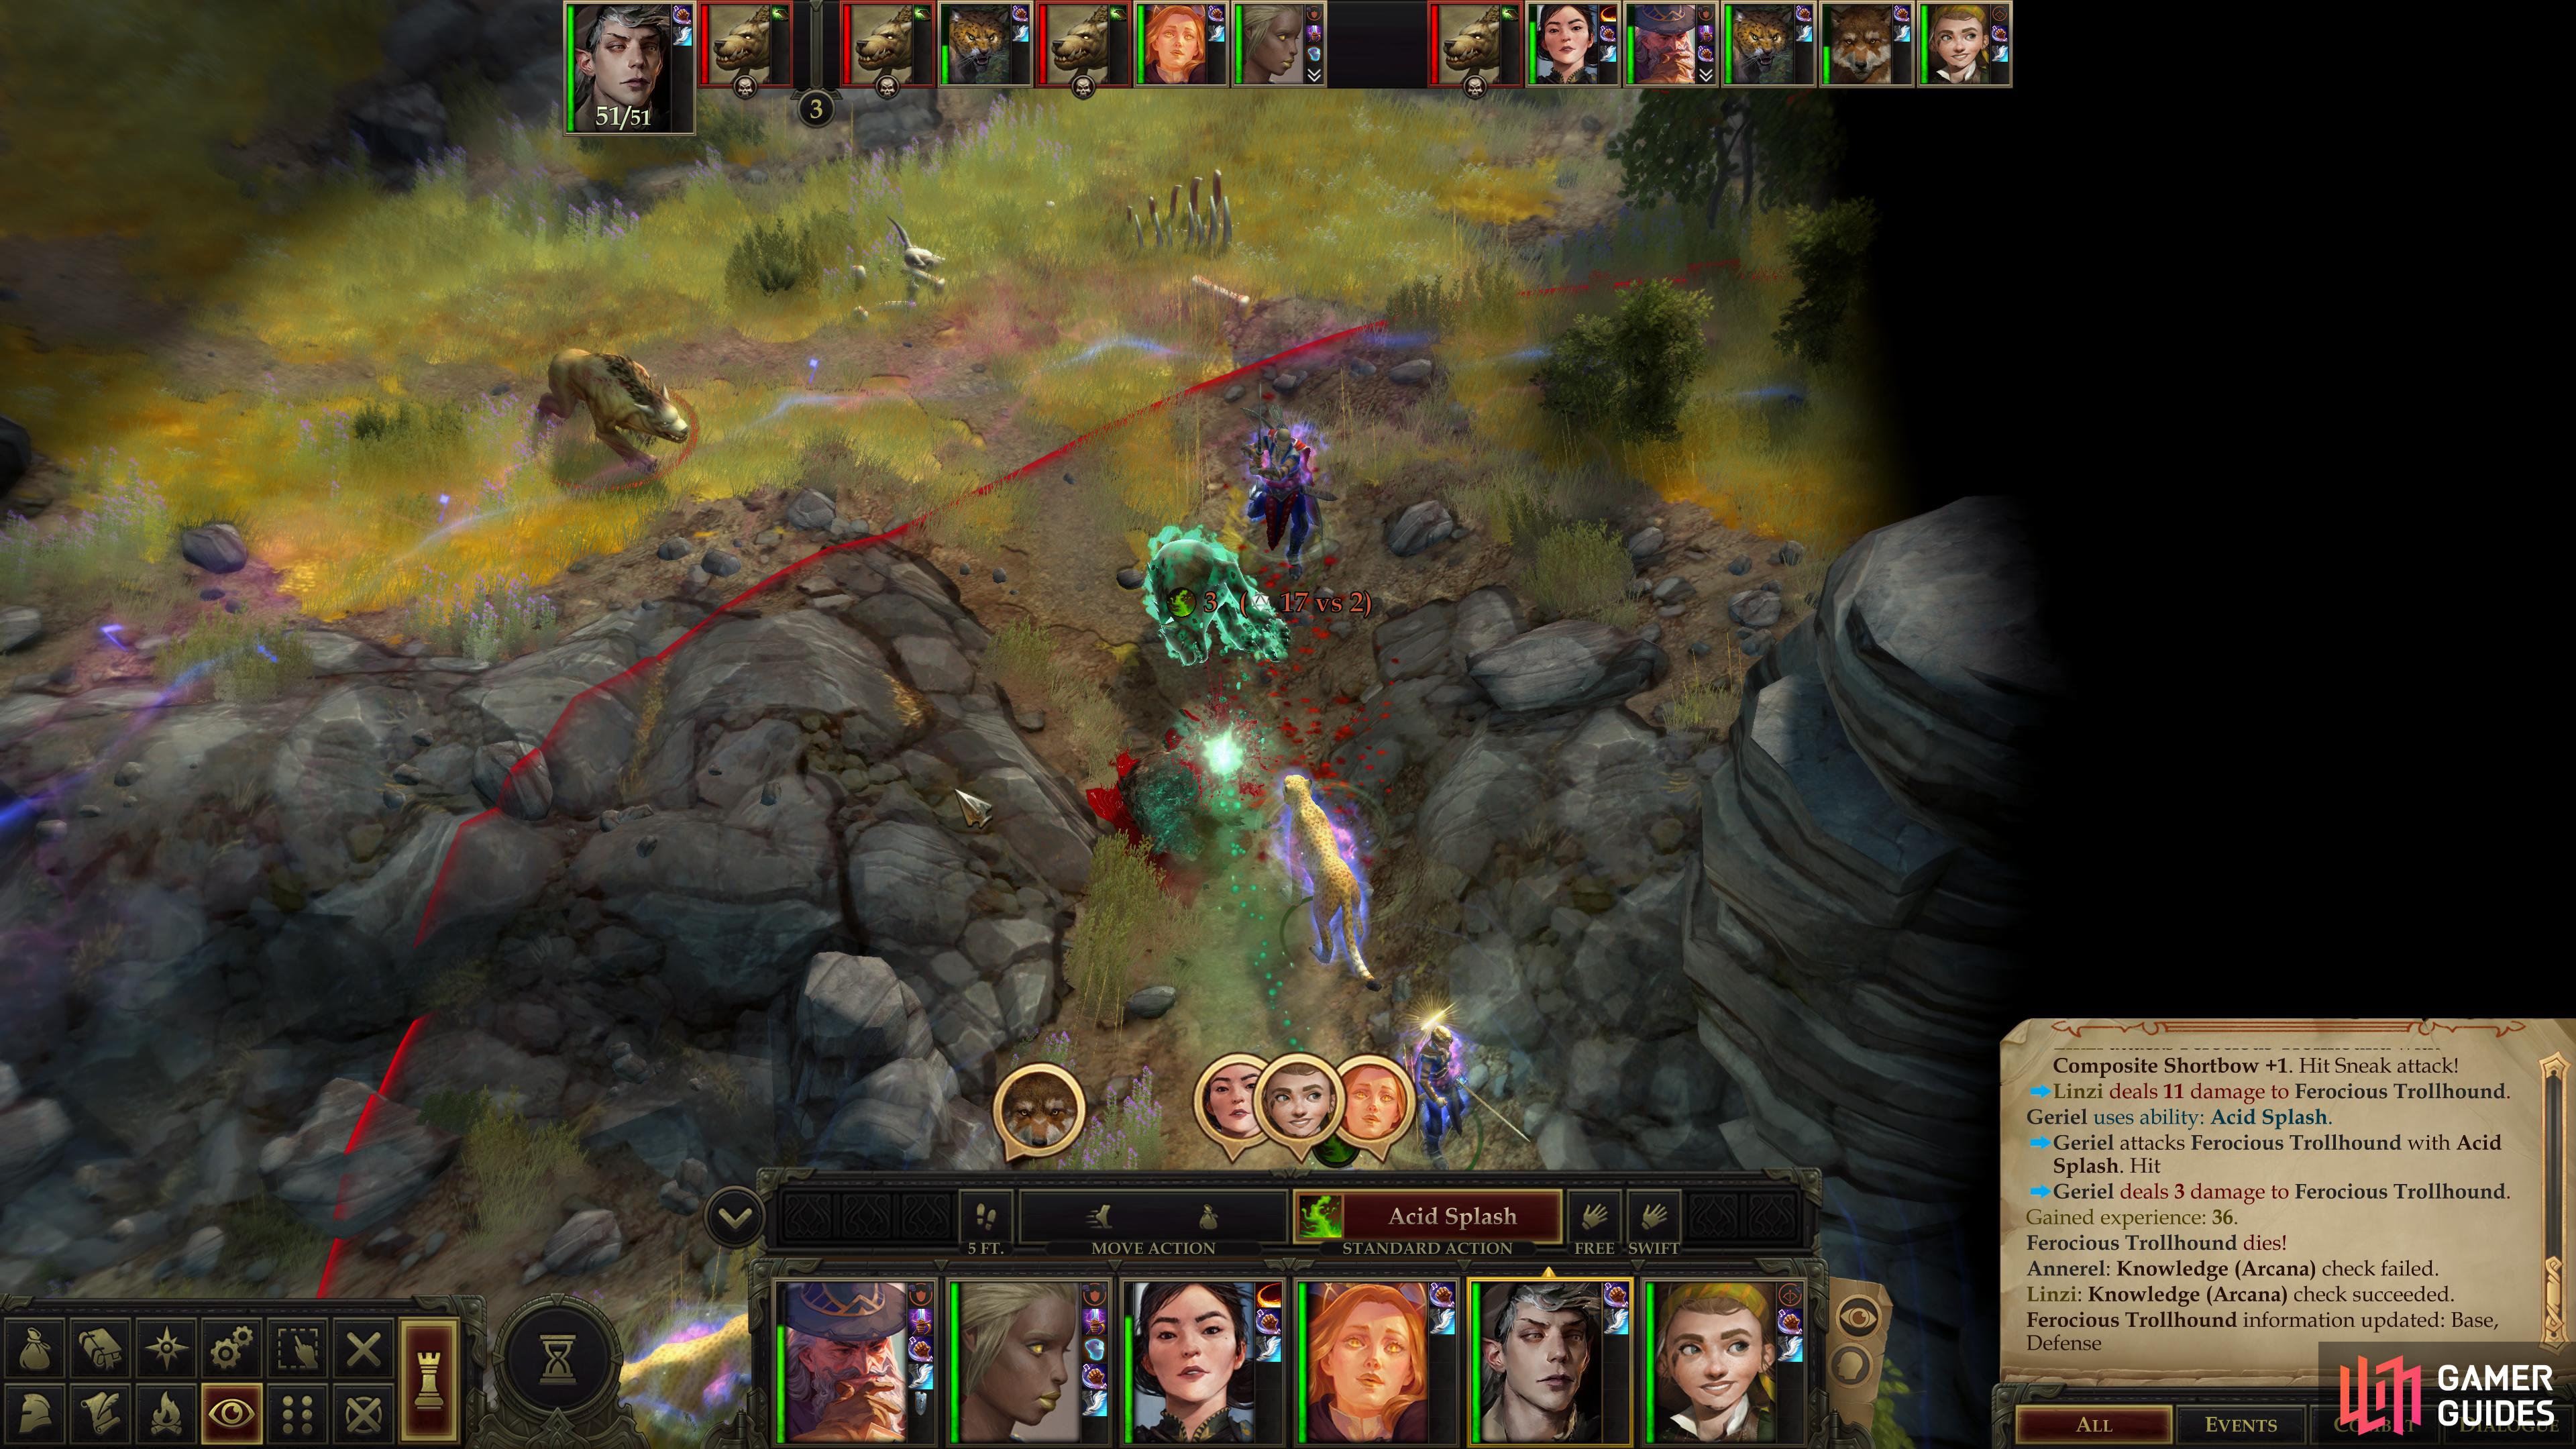
Pick off fallen Trollhounds with acid and fire attacks,
but be wary of a constant stream of reinforcements.
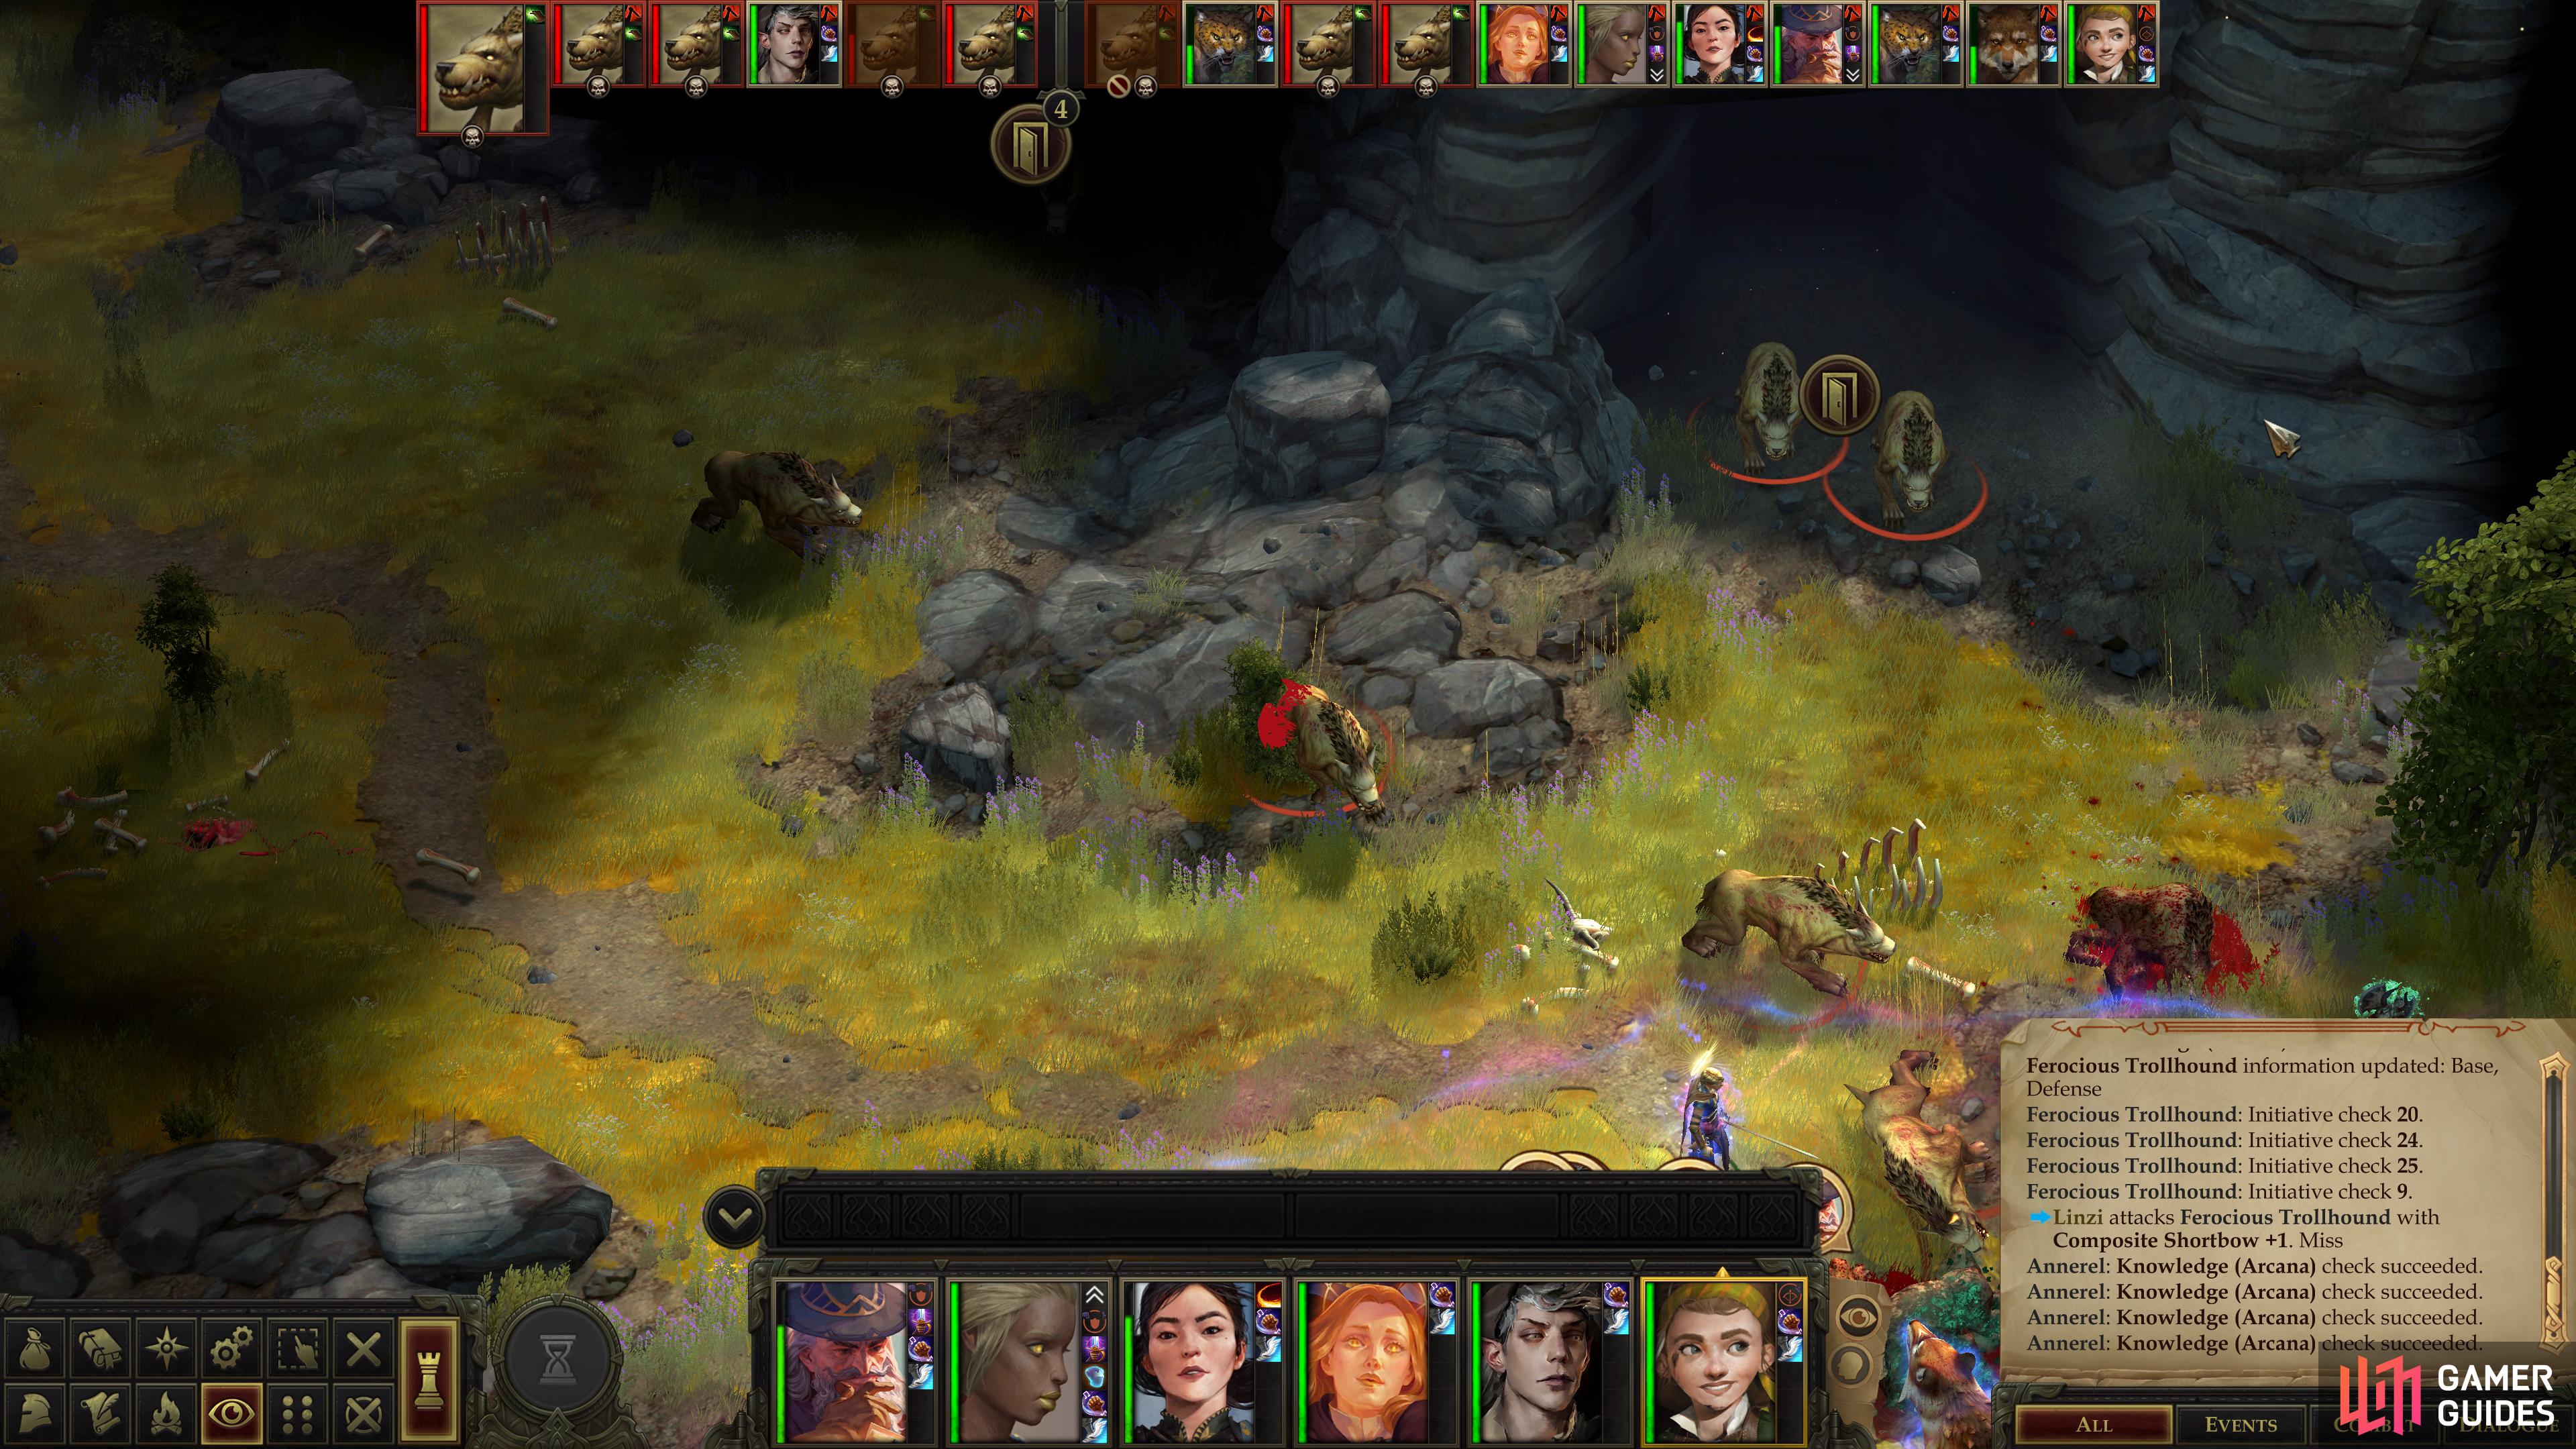
Battle: Dozen Trollhounds
This area looks awfully familiar. Haven’t we been here before? Oh well. There are two paths ahead, one to the north and one to the east. The eastern path runs along the southern edge of the level, while the northern path follows the western edge. If you go east, you’ll eventually be forced to turn north and head along the eastern edge of the map, so you’re really just choosing whether you want to head up to the northeastern edge of the map or the northwestern edge. Either way, you’ll find a host of Trollhounds waiting for you on the high ground to the north, guarding two cave entrances.
This is something of an odd fight, as it’s more of an endurance trial than your standard slug-fest with a high-powered enemy. Might even be a welcome change from the foes you faced back at the Swamp Witch’s Hut, depending on your perspective. What they lack in power, they aim to make up for in numbers, as in addition to the initial Trollhouds, two pairs will continuously spawn from the cave entrances, so go into this fight expecting it to last.
You should know what to expect from Trollhound by now; they’re profoundly mediocre enemies. Still, you’ll need to finish them off with acid or fire, so keep Acid Splash and Trollreaper handy and avoid getting surrounded. The latter is a real cause for concern, as the mutts are numerous enough to get around your warriors and to your squishier casters, if you let them. Setting up along the northeastern edge of the map will inhibit their ability to attack you, but may also bottleneck your own forces. Also keep in mind that their pathfinding is good enough to guide them around the other end of the map to flank you, if they can’t otherwise reach you - a humble Grease or Web spell to protect the flank of your casters may be in order.
We spared the area-denial in this one and just went with Haste and Animate Dead to make things easier. Cut down the dozen or so Trollhounds you’ll encounter here (not a bad chunk of XP, by any means) and you’ll be free to explore the caves they were so determinedly guarding. Heal and buff up before you head into the darkness, you can probably guess what lies ahead.
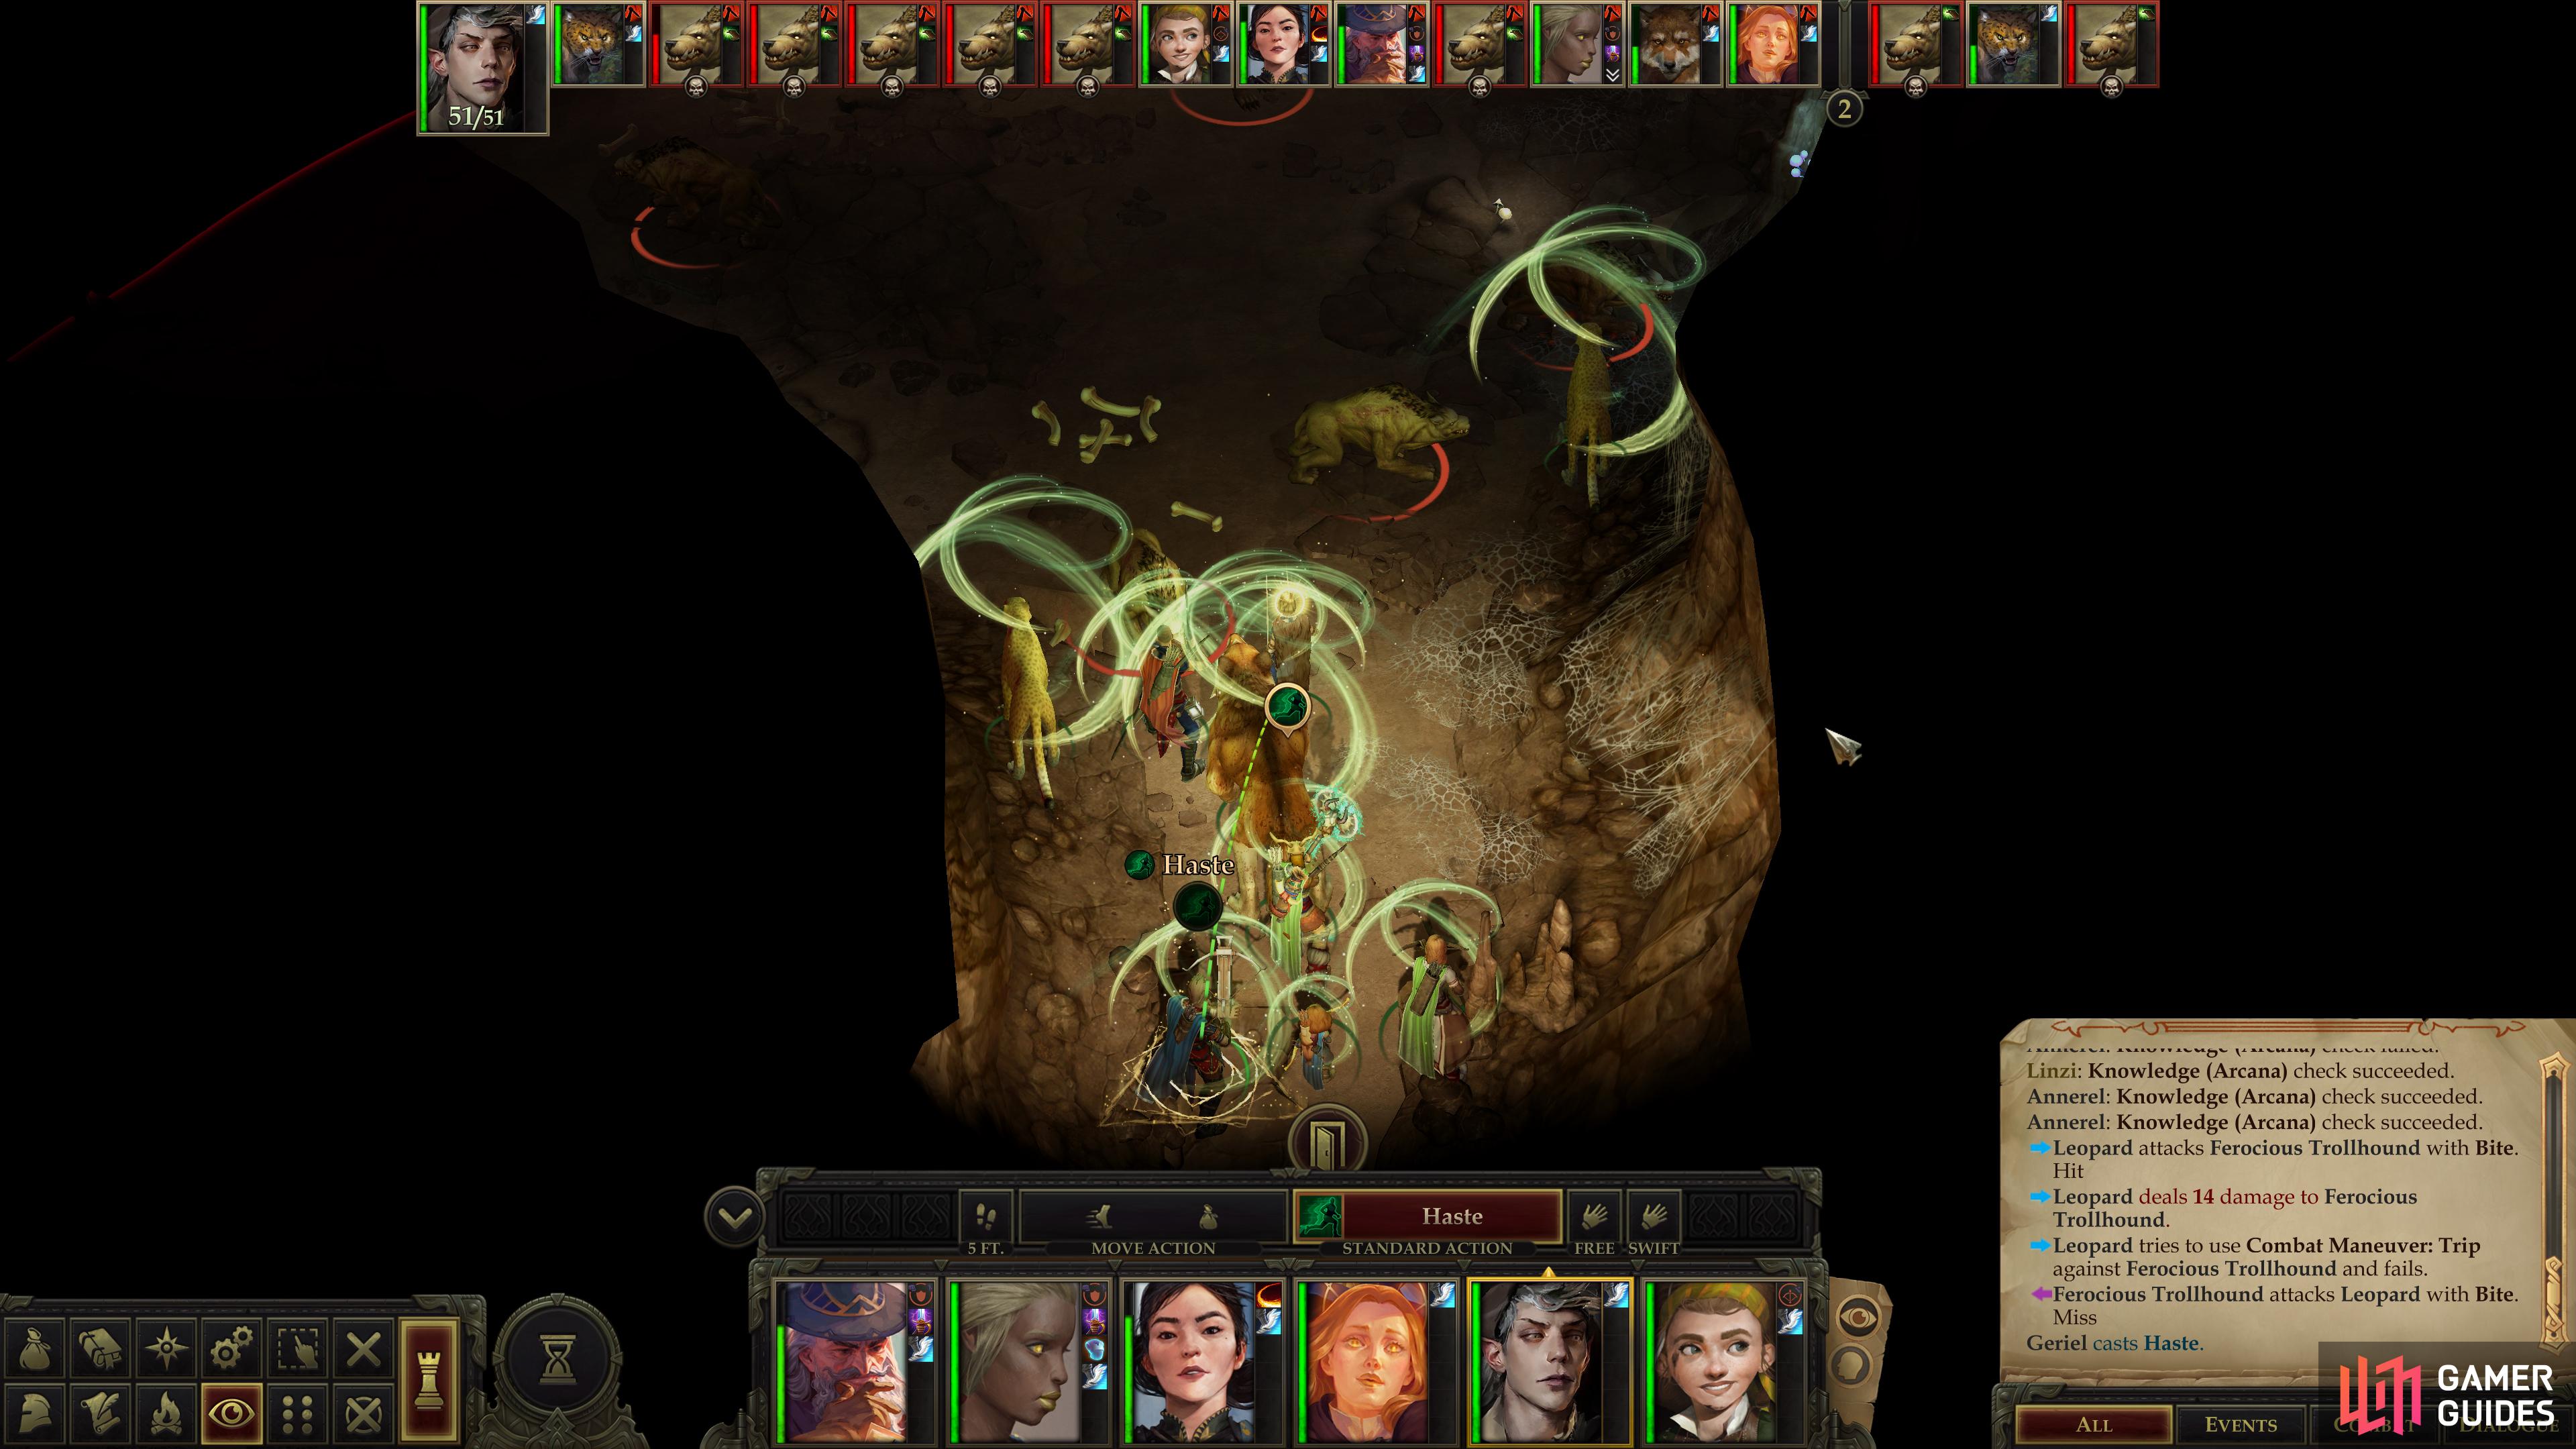
Haste will help you clear out the Trollhounds in the cave,
after which you can loot a bone pile for a Cloak of Resistance +1.
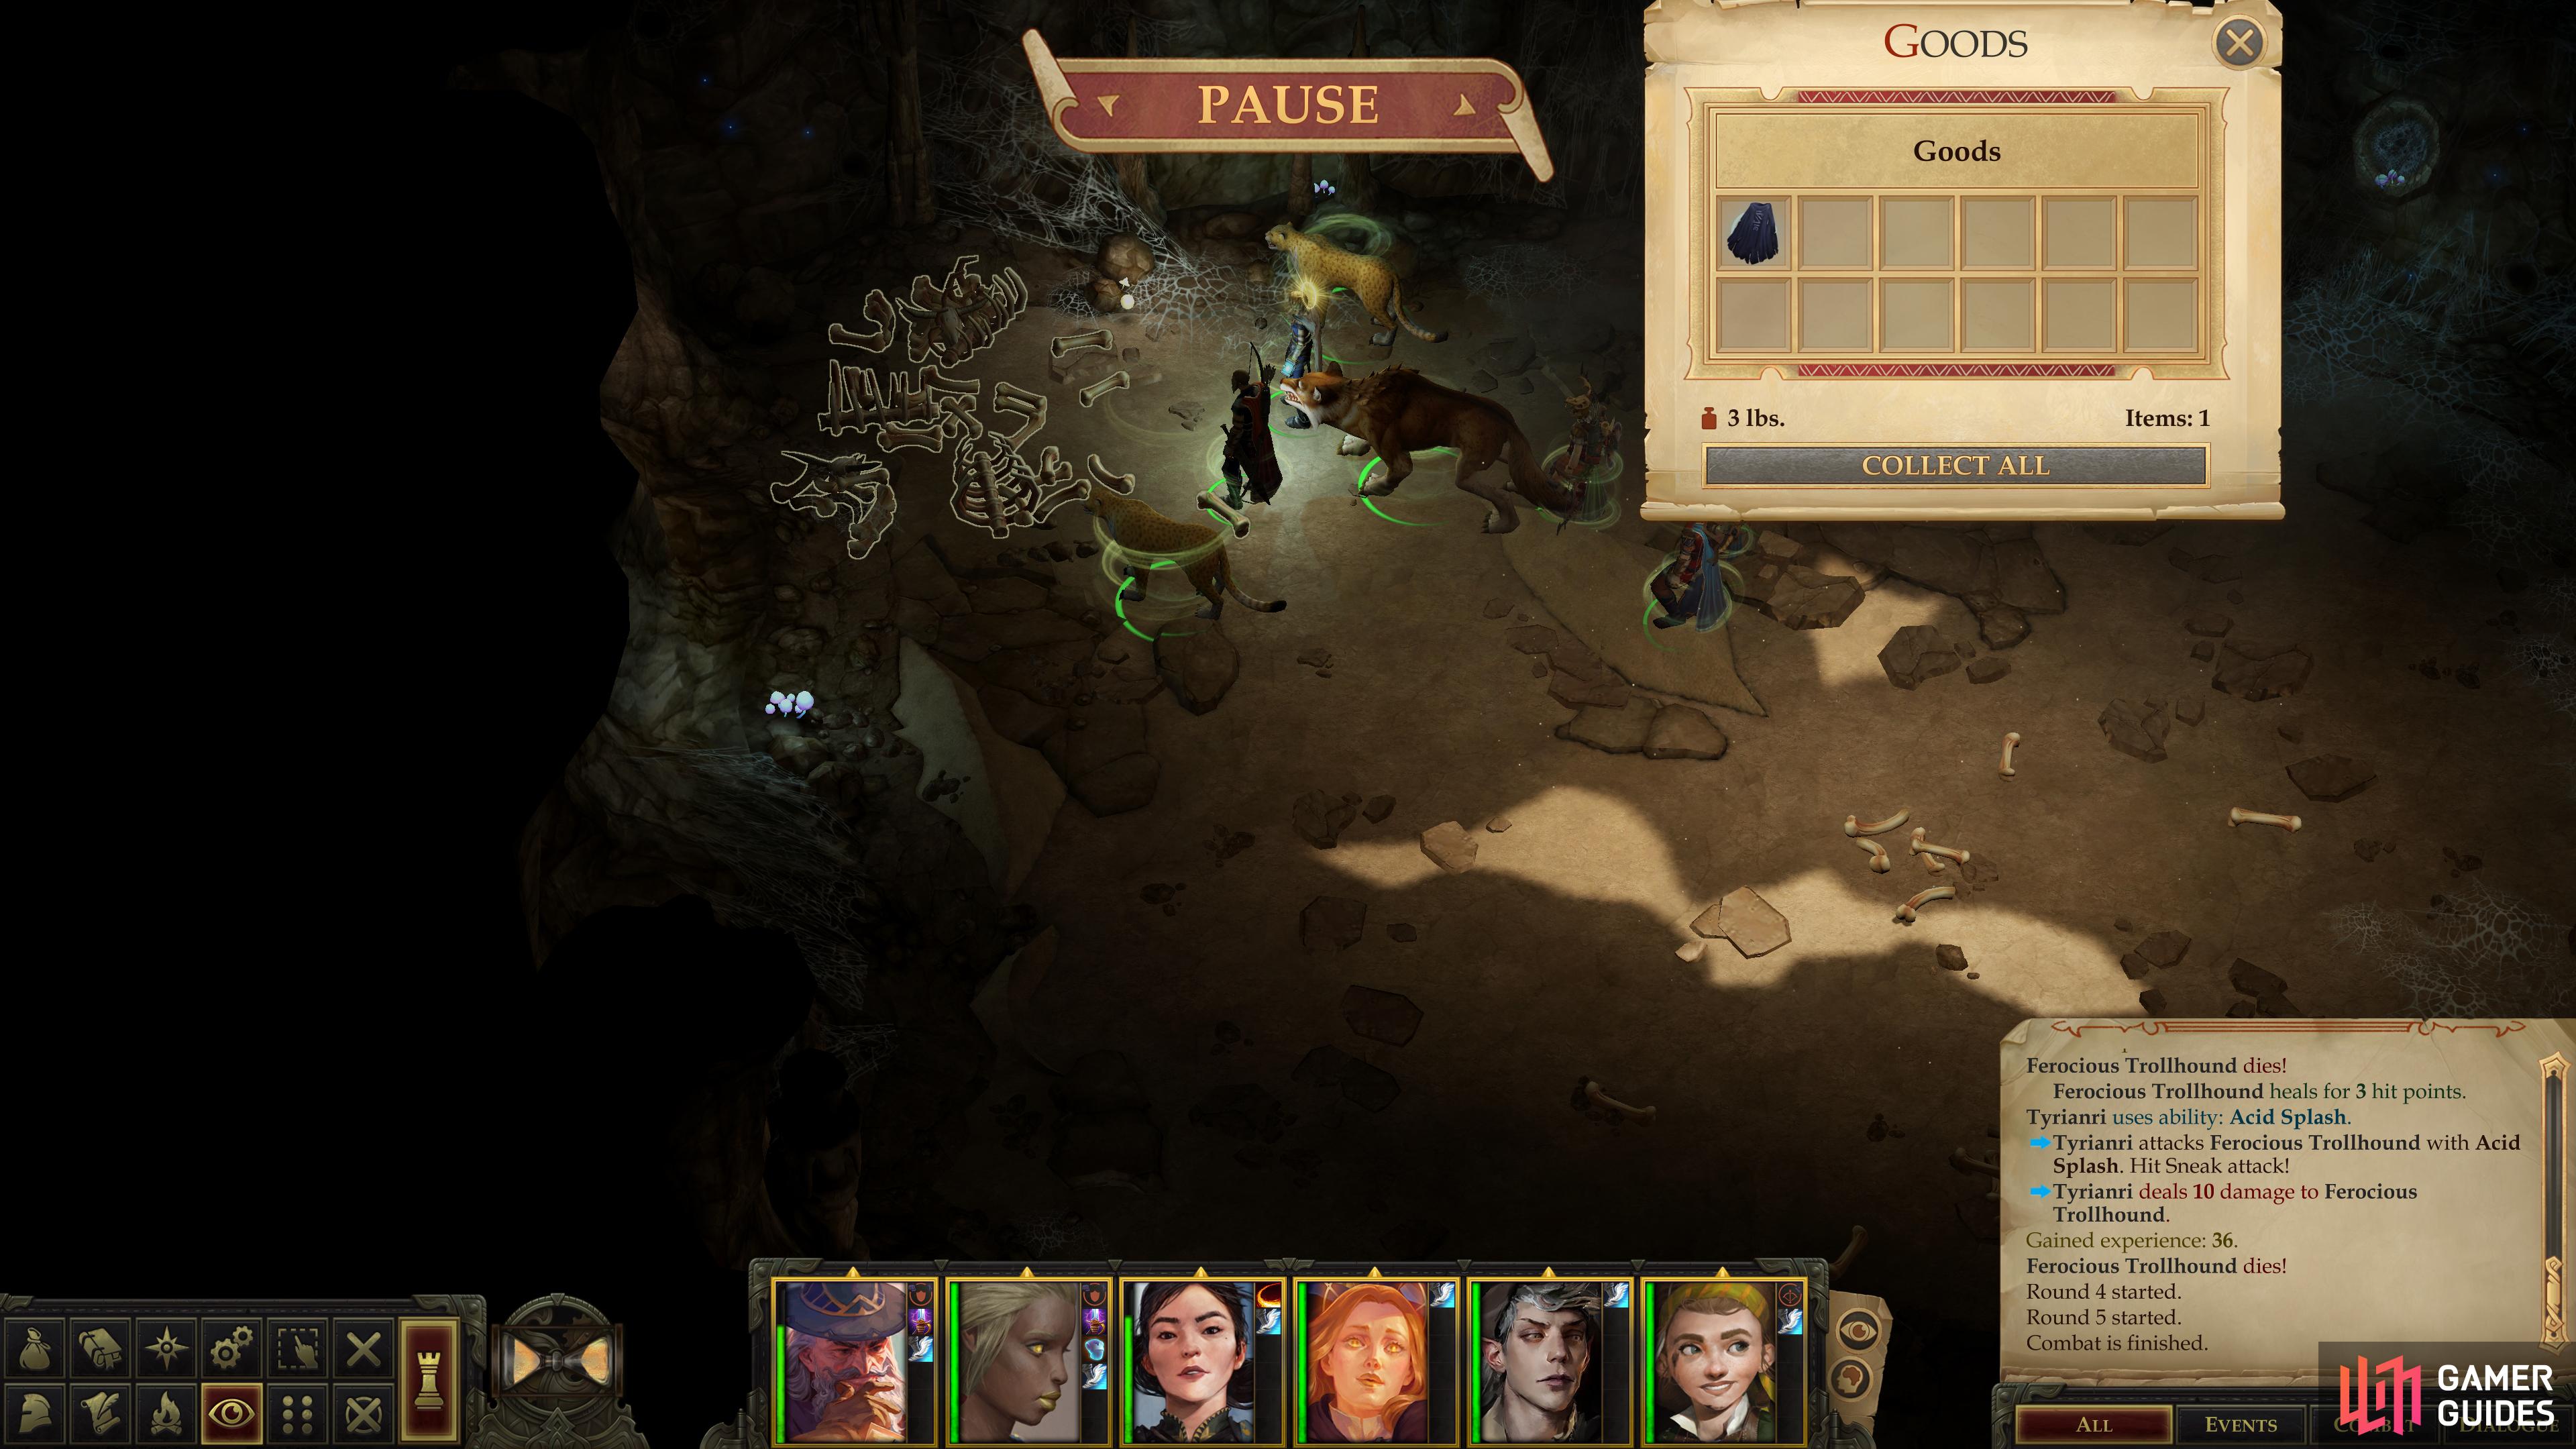
Battle: Eastern Cave
There are two entrances you can pick, an eastern cave and a western cave. The eastern cave is more dangerous, so you might as well explore that one, first, while you still have buffs up. Either way, you’ll come under assault immediately. Your foe? More Trollhounds, of course. This time there are eight of them, and while there are no reinforcements, their superior initial numbers might be a bit of a bother, especially if your initiative rolls are poor. Still, much of what worked last time will work this time - avoid getting flanked and use buffs and you should be fine.
Once you defeat all the Trollhounds you’ll be able to loot a pile of bones at the northeastern end of their den. Your reward for putting down a score of Trollhounds? A Cloak of Resistance +1. Well, they can’t all… wait a moment. There’s another cave left. This area still has a chance to redeem itself.
Battle: Western Cave
Exit the eastern cave and enter the western cave, where you’ll find more Trollhounds. No points for guessing that. This time there’s only four of them, so you really shouldn’t need much in the way of buffs or strategy. You outnumber and outmuscle them, so cut them down, then search for a hidden [Perception 20] chest along the northern wall to find a Keen Elven Curved Blade +1 and Bracers of Armor +4. Well, this is a much better reward for cutting your way through around two dozen mutts. If your character can make use of the sword, great, but it may be a bit of a longshot. The bracers, however, can certainly find a home somewhere on some mage or other lightly-armed character.
Worth noting that the northern entrance leads you to a second cave with more Trollhounds, and a perception chance to find a crate in the north wall with a Bracers of Armor +4 and a Keen Elven Curve Blade. Makes the stop well worth it.
Okay, just flat-out missed this one. Why did I think the caves looped around? Oh well. Thanks for the info, guide's been updated.
Thanks for the tip Emeras!