

The first of two super quests in Chapter 2, Troll Trouble, like Stolen Land, also has a stand-alone main quest component… which is also named Troll Trouble. Despite the super quest being named “Troll Trouble”, the first main quest that starts up in Chapter is is A Just Reward, with Troll Trouble itself only appearing after the Troll Invasion event is completed in the capital.
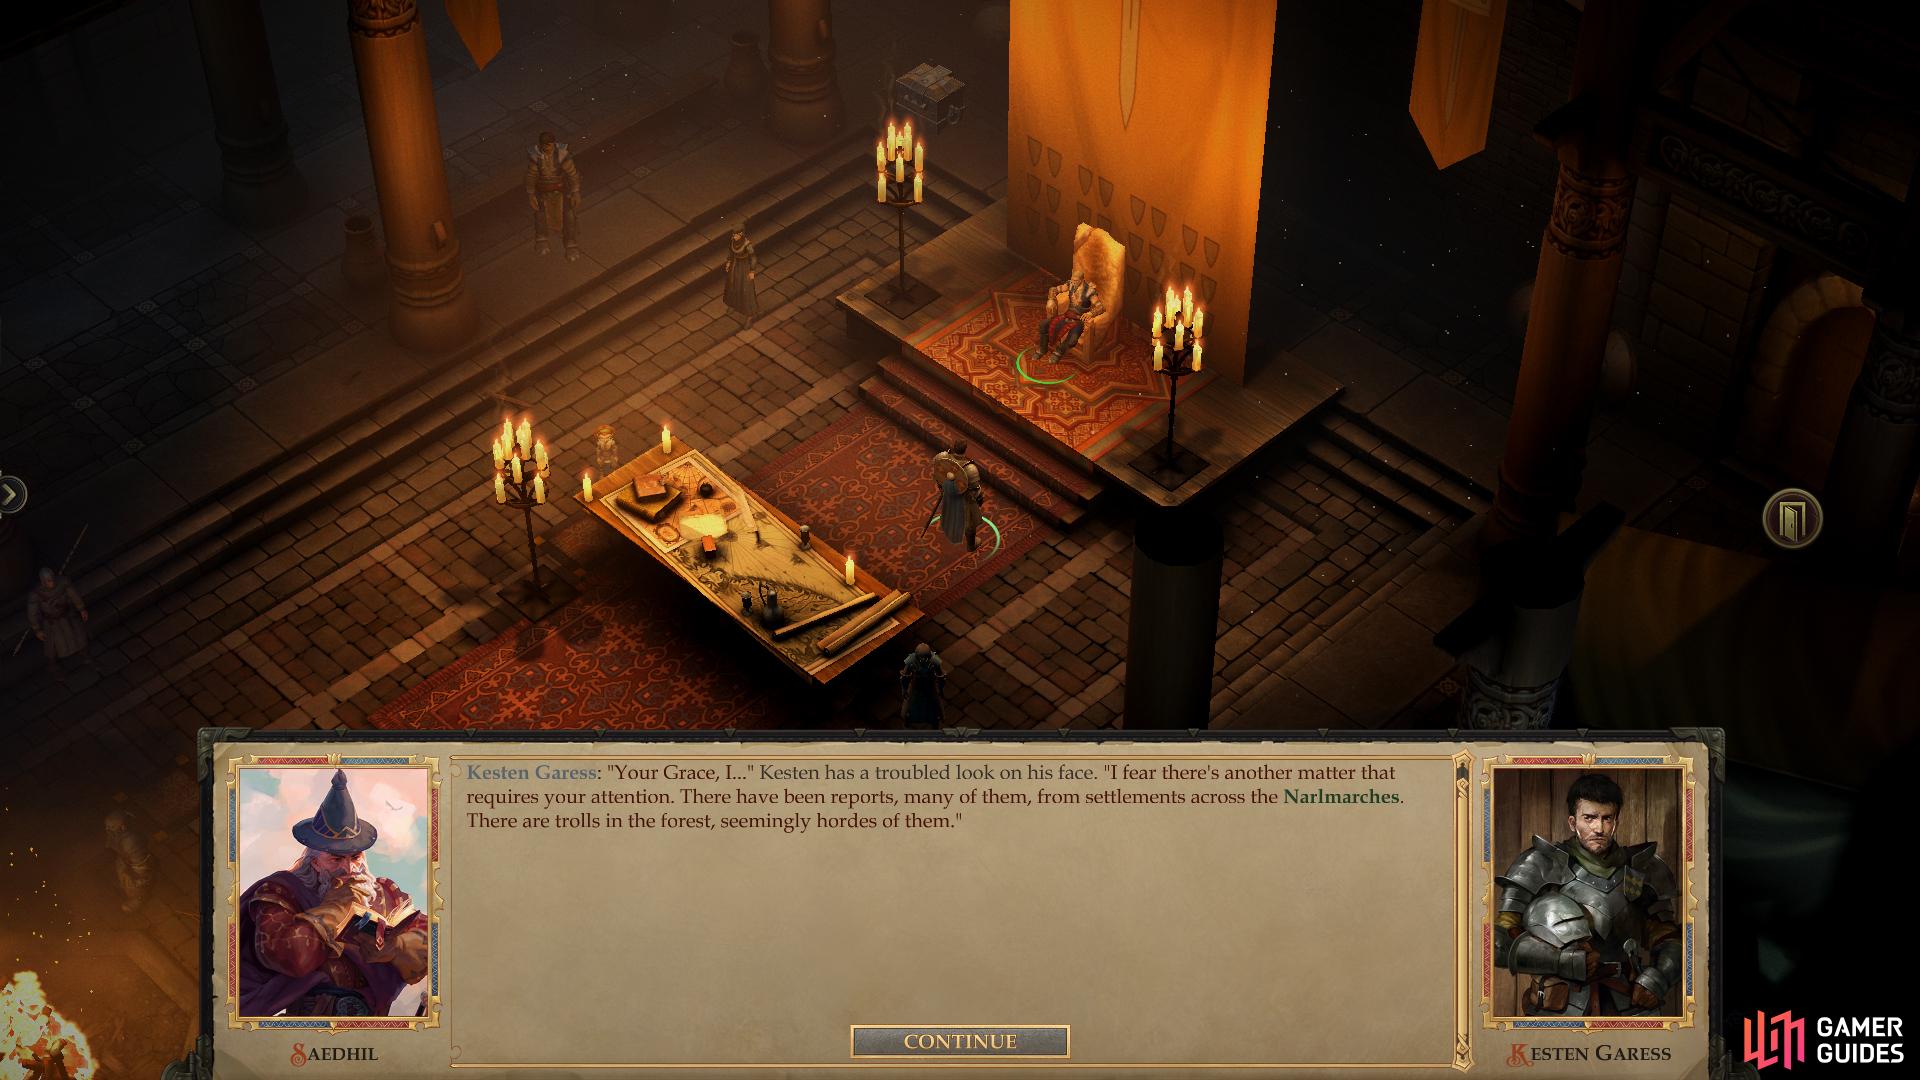
Eventually the “Troll Sightings” event will pop up, heralding the proper start of “Troll Trouble”.
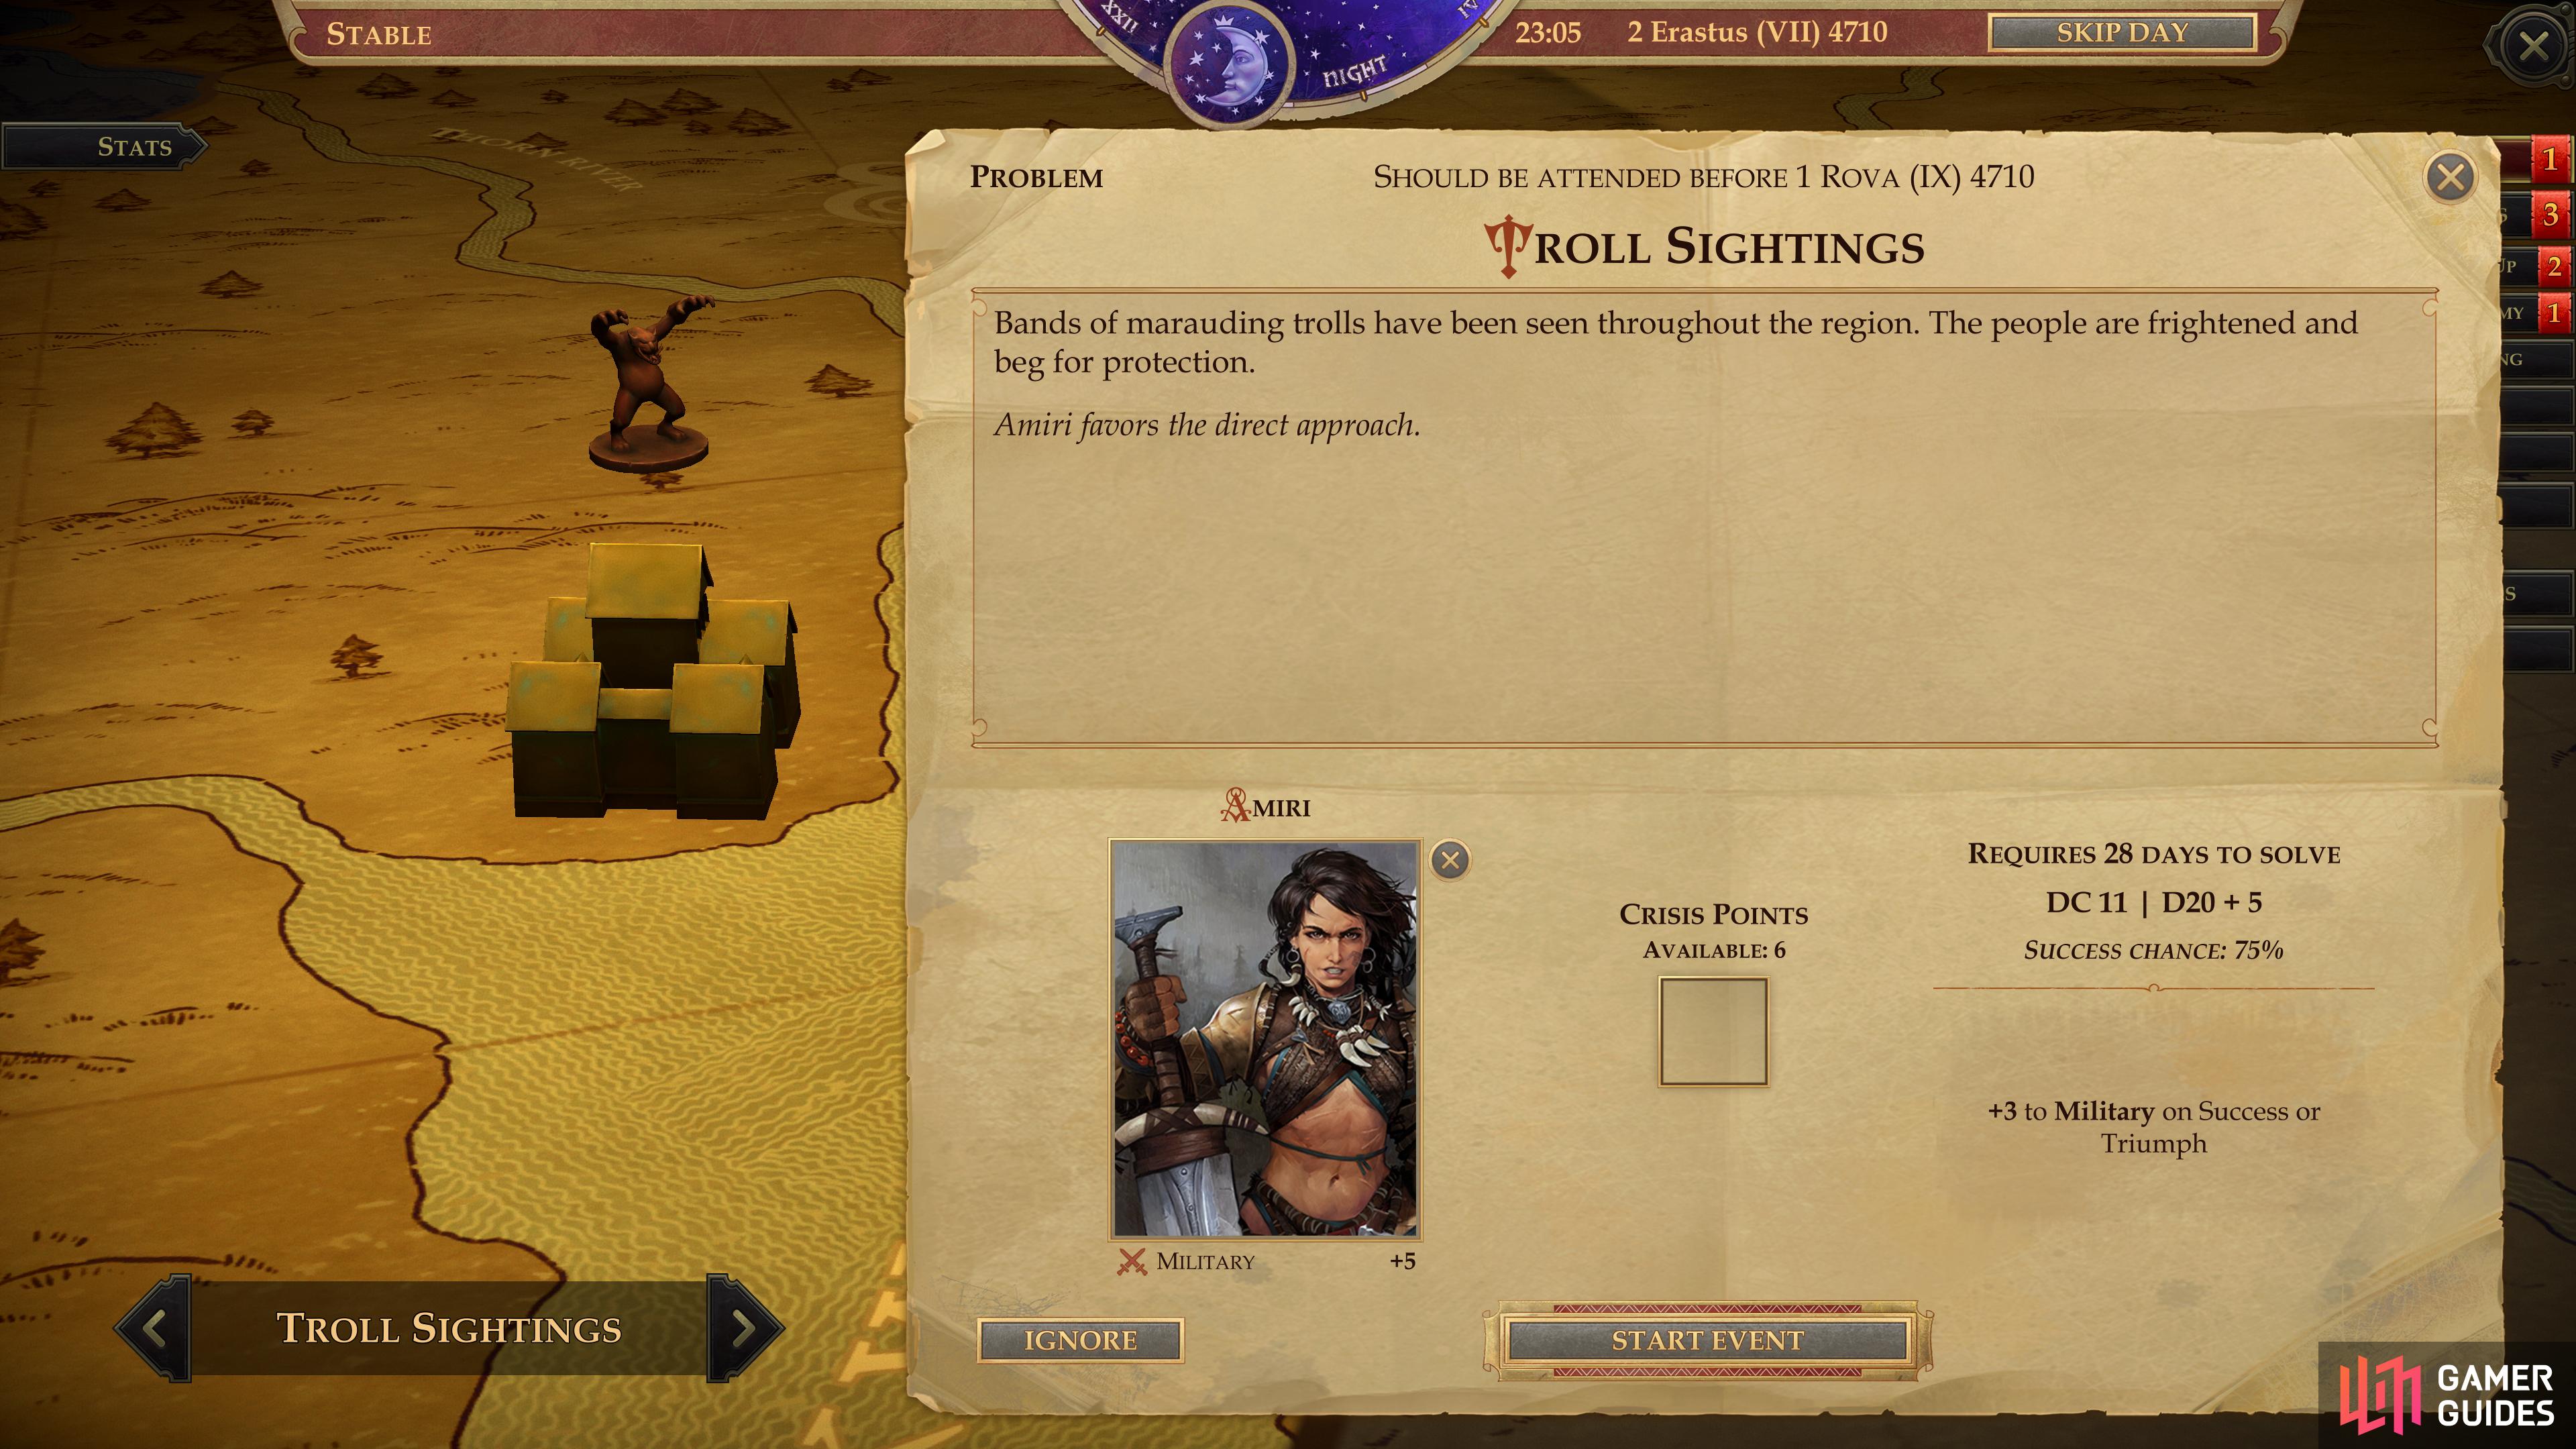
Have your General deal with the “Troll Sightings” event when it pops up, and subsequent “Troll Raids” events
Troll Invasion and Troll Raids
Despite its slow start, after Troll Invasion appears, Troll Trouble will take its rightful place as the most important quest in your journal… although there are many moving parts, including several related main quests and numerous events. After Troll Invasion you’ll be on a (rather generous) timer until Troll Raids events start to appear, which in turn function as another sort of timer. You can assign your General to deal with these events, and if successful, you’ll suffer no negative consequences. Should your General fail (or should you neglect to assign your General to deal with these events) you’ll suffer Kingdom Stat damage. The more time passes, the more Troll Raids events will occur, until there are too many for your General to deal with (you’ll start getting multiple events simultaneously), making Kingdom Stat damage unavoidable. Suffer too much damage and your kingdom will fall - game over.
These Troll Raids events will continue until you complete Troll Trouble. That said, the time between the appearance of Troll Invasion and the point where taking Kingdom Stat damage becomes inevitable is, again, fairly generous. You’ve got at least several months to accomplish this, so making a bee-line to the end of this quest isn’t necessary nor particularly recommended.
Troll Trouble: Related Quests
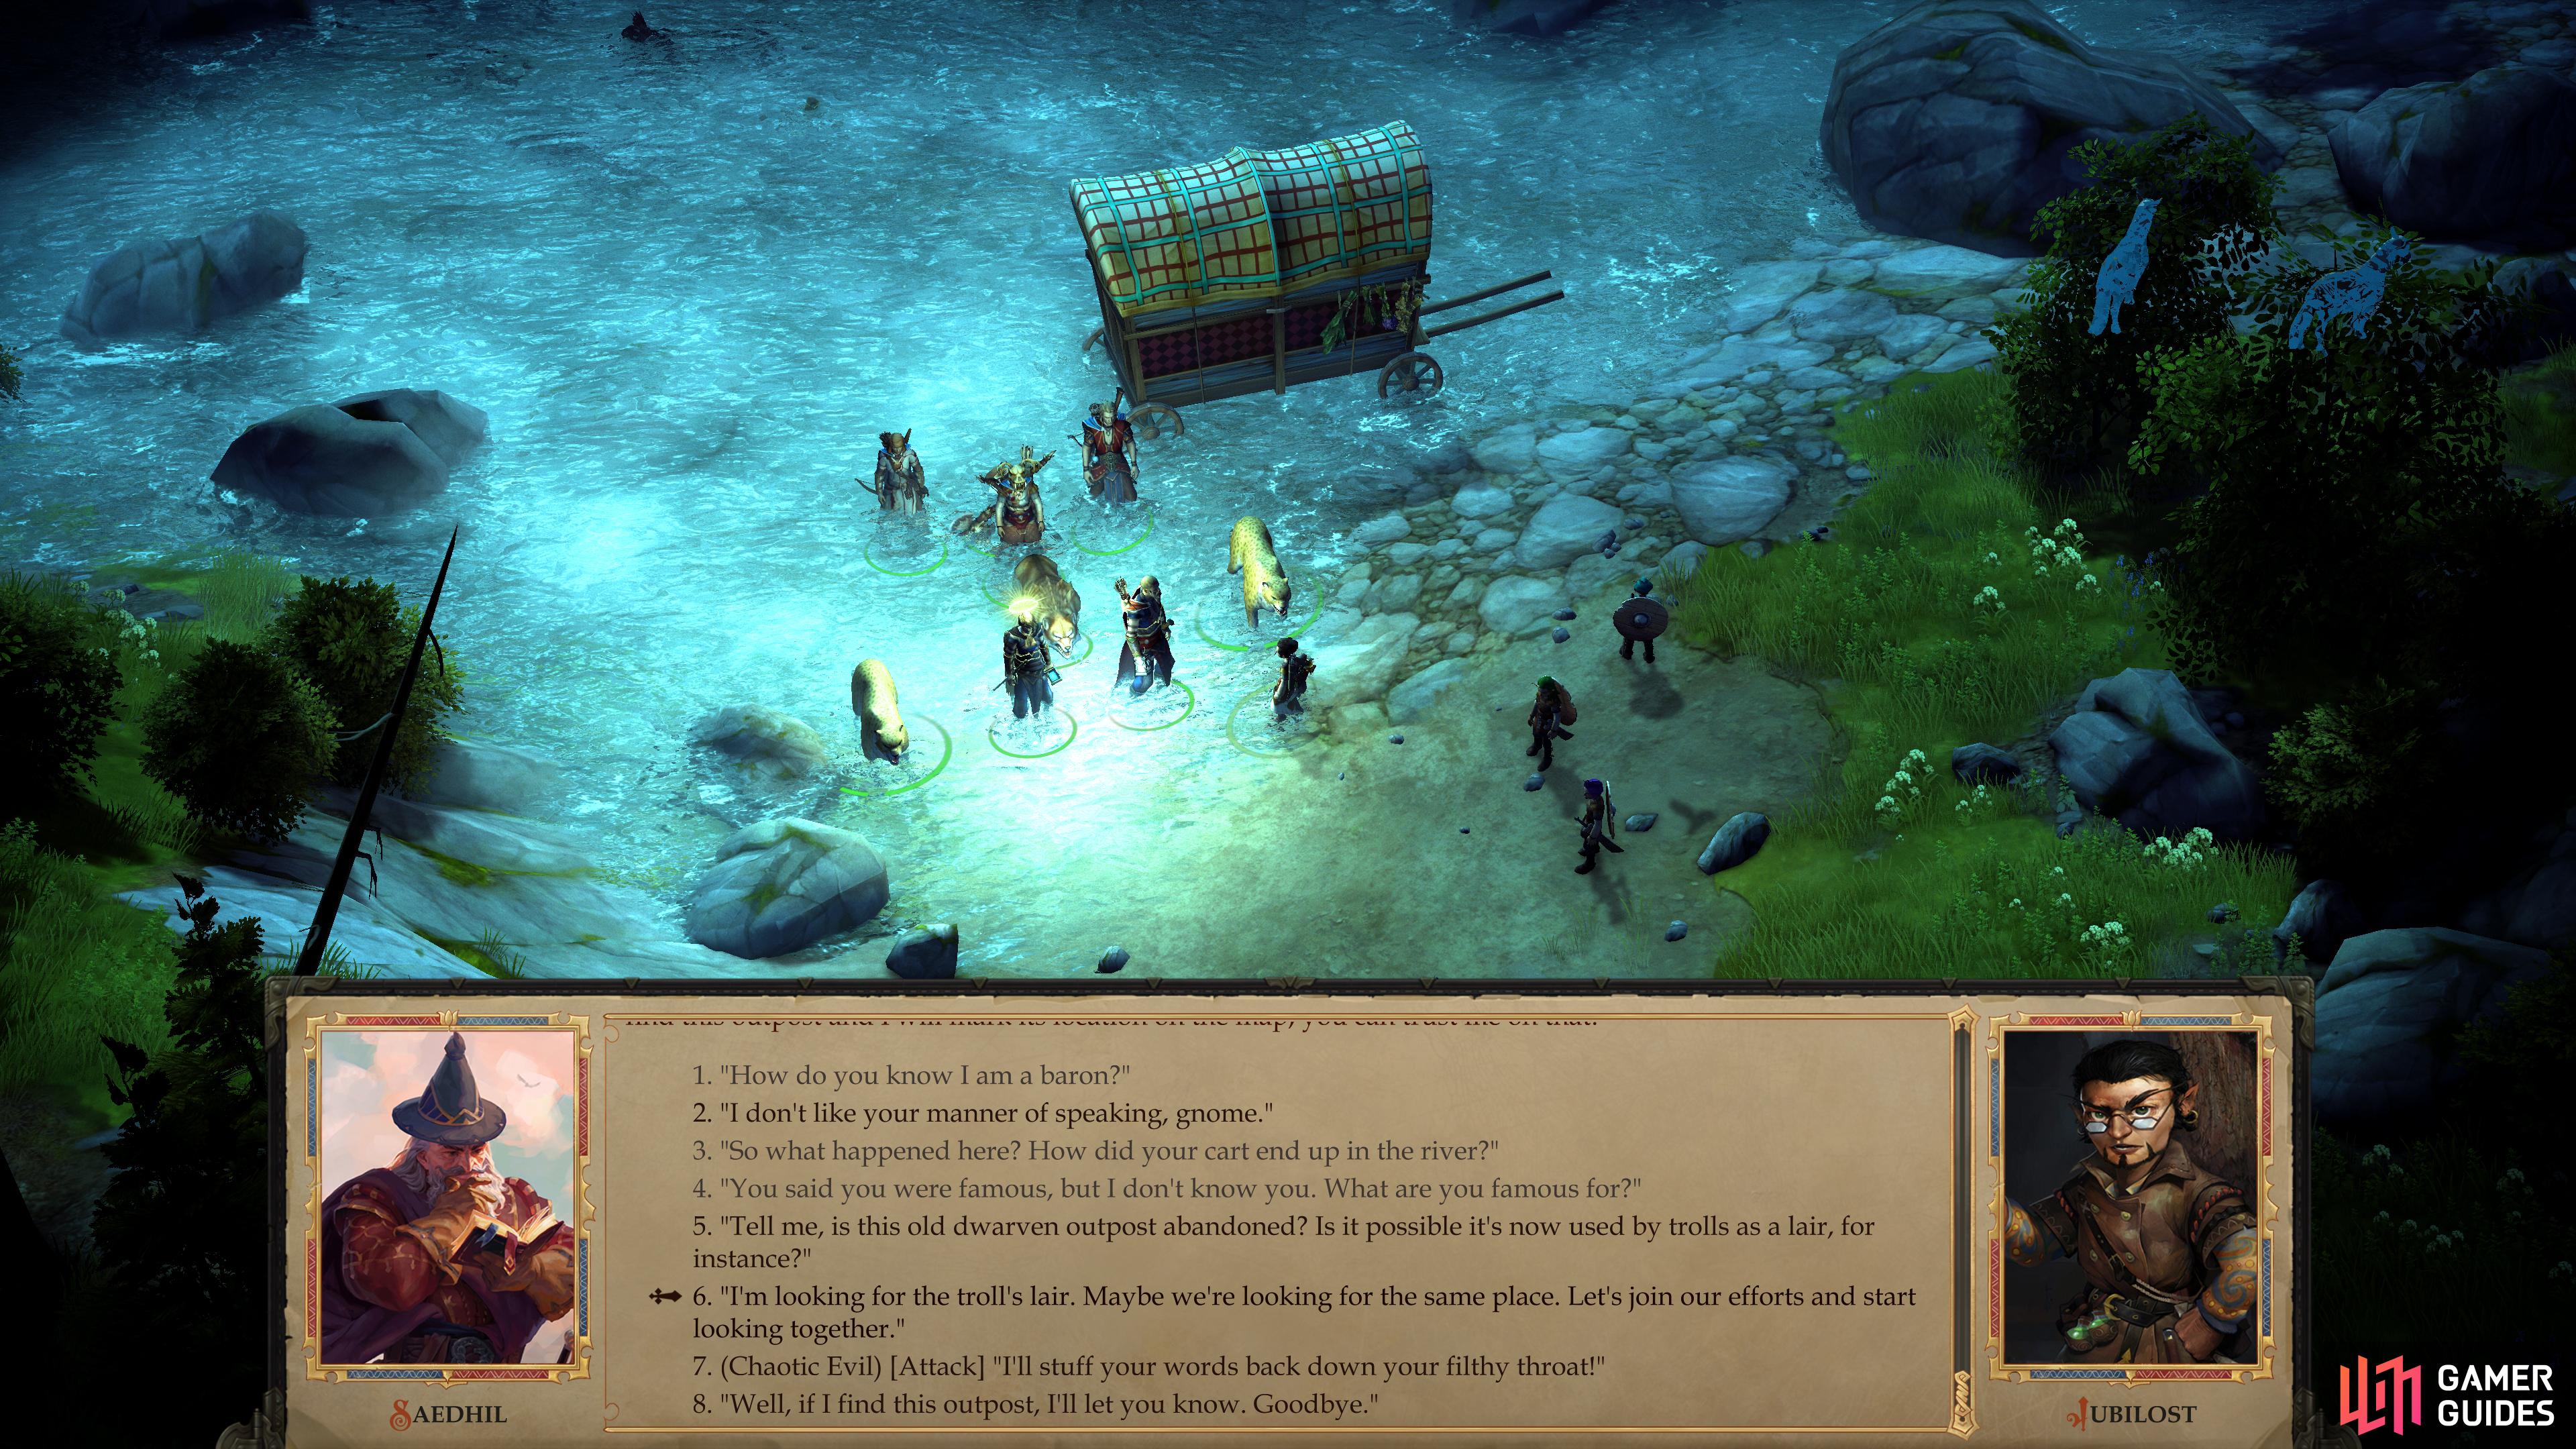
Instead, you should attend to several other main quests that’ll pop up around the time Troll Invasion appears, which will provide vital information about the threat you face, put you in contact with valuable new allies, and, ultimately, reveal the location of your enemy’s stronghold. These quests are Renowned Explorer, The Nature of the Beast and A Score to Settle. Optionally, depending on how comfortable you are with your progress, you can consider going on two expeditions, the Swamp Witch’s Hut Expedition and the Kamelands Expedition, both of which you should have plenty of time for.
For a far more in-depth run-down of the quests and events that will pop up during the half of Chapter 2 where Troll Trouble is the dominant main quest, check out the Troll Trouble Events Overview page.
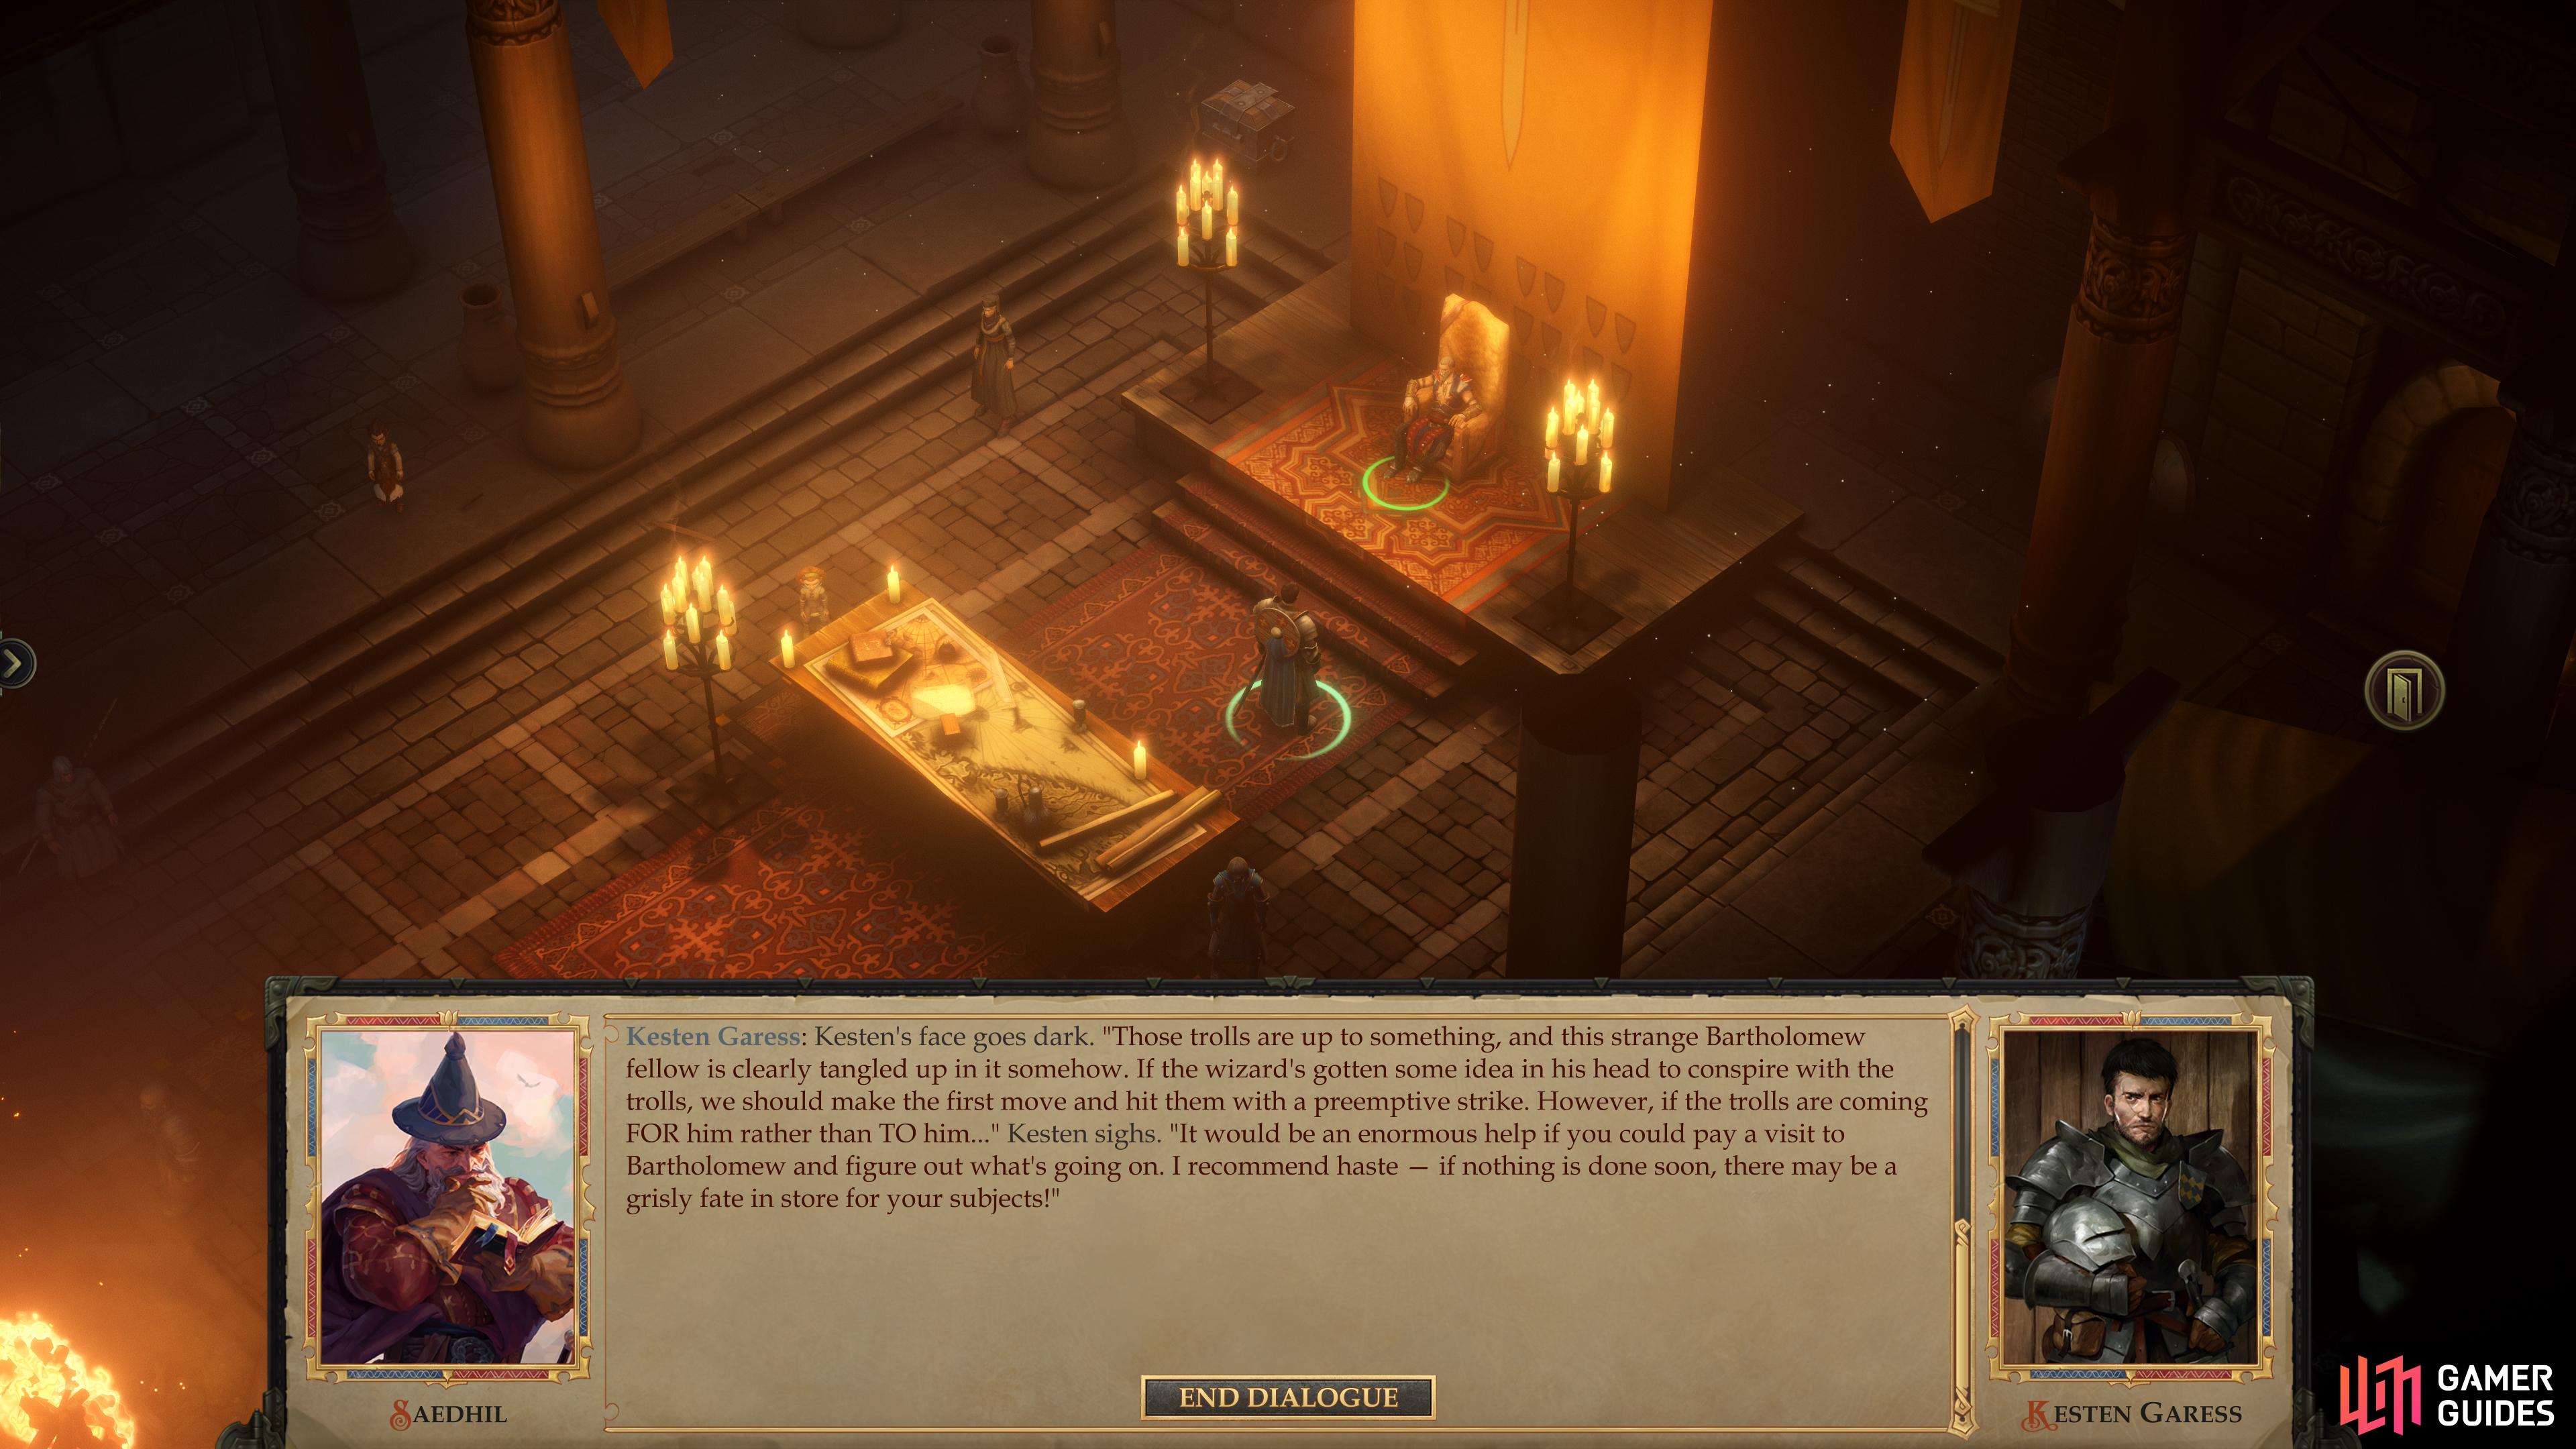
The event “New Troll Sightings” will prompt you to check in on Bartholomew,
whom you’ll find in mortal peril.
As for advancing Troll Trouble itself, completing the three aforementioned quests should update Troll Trouble with whatever intel you uncover, but your ultimate goal is the Dwarven Ruins in the southwestern edge of the South Narlmarches. On your way south from your capital you’ll want to complete the aforementioned subquests (Renowned Explorer, The Nature of the Beast and A Score to Settle) to recruit characters like Jubilost and Ekundayo, as well as gather information about the trolls. If you wait until you witness the event New Troll Sightings you can also stop by the Lone House area to start the subquest Guiding Beacon, which will allow you to retain the services of Bartholomew.
Troll Trouble: Clearing Trobold
When you reach the Dwarven Ruins in the Southern Narlmarches you’ll finally be able to start resolving the threat these trolls pose to your kingdoms. Not only will you need to clear the aforementioned Dwarven Ruins, but the subsequent Troll Lair and Troll Lair Depths areas, as well. Use the provided links for more detailed walkthroughs of these areas.
Aside from the various encounters with trolls and kobolds in these areas, you can also complete the companion quests A Score to Settle, Unwanted Legacy and Renowned Explorer. None of these are strictly necessary to complete Troll Trouble in general, and more information can be found on the linked pages provided.
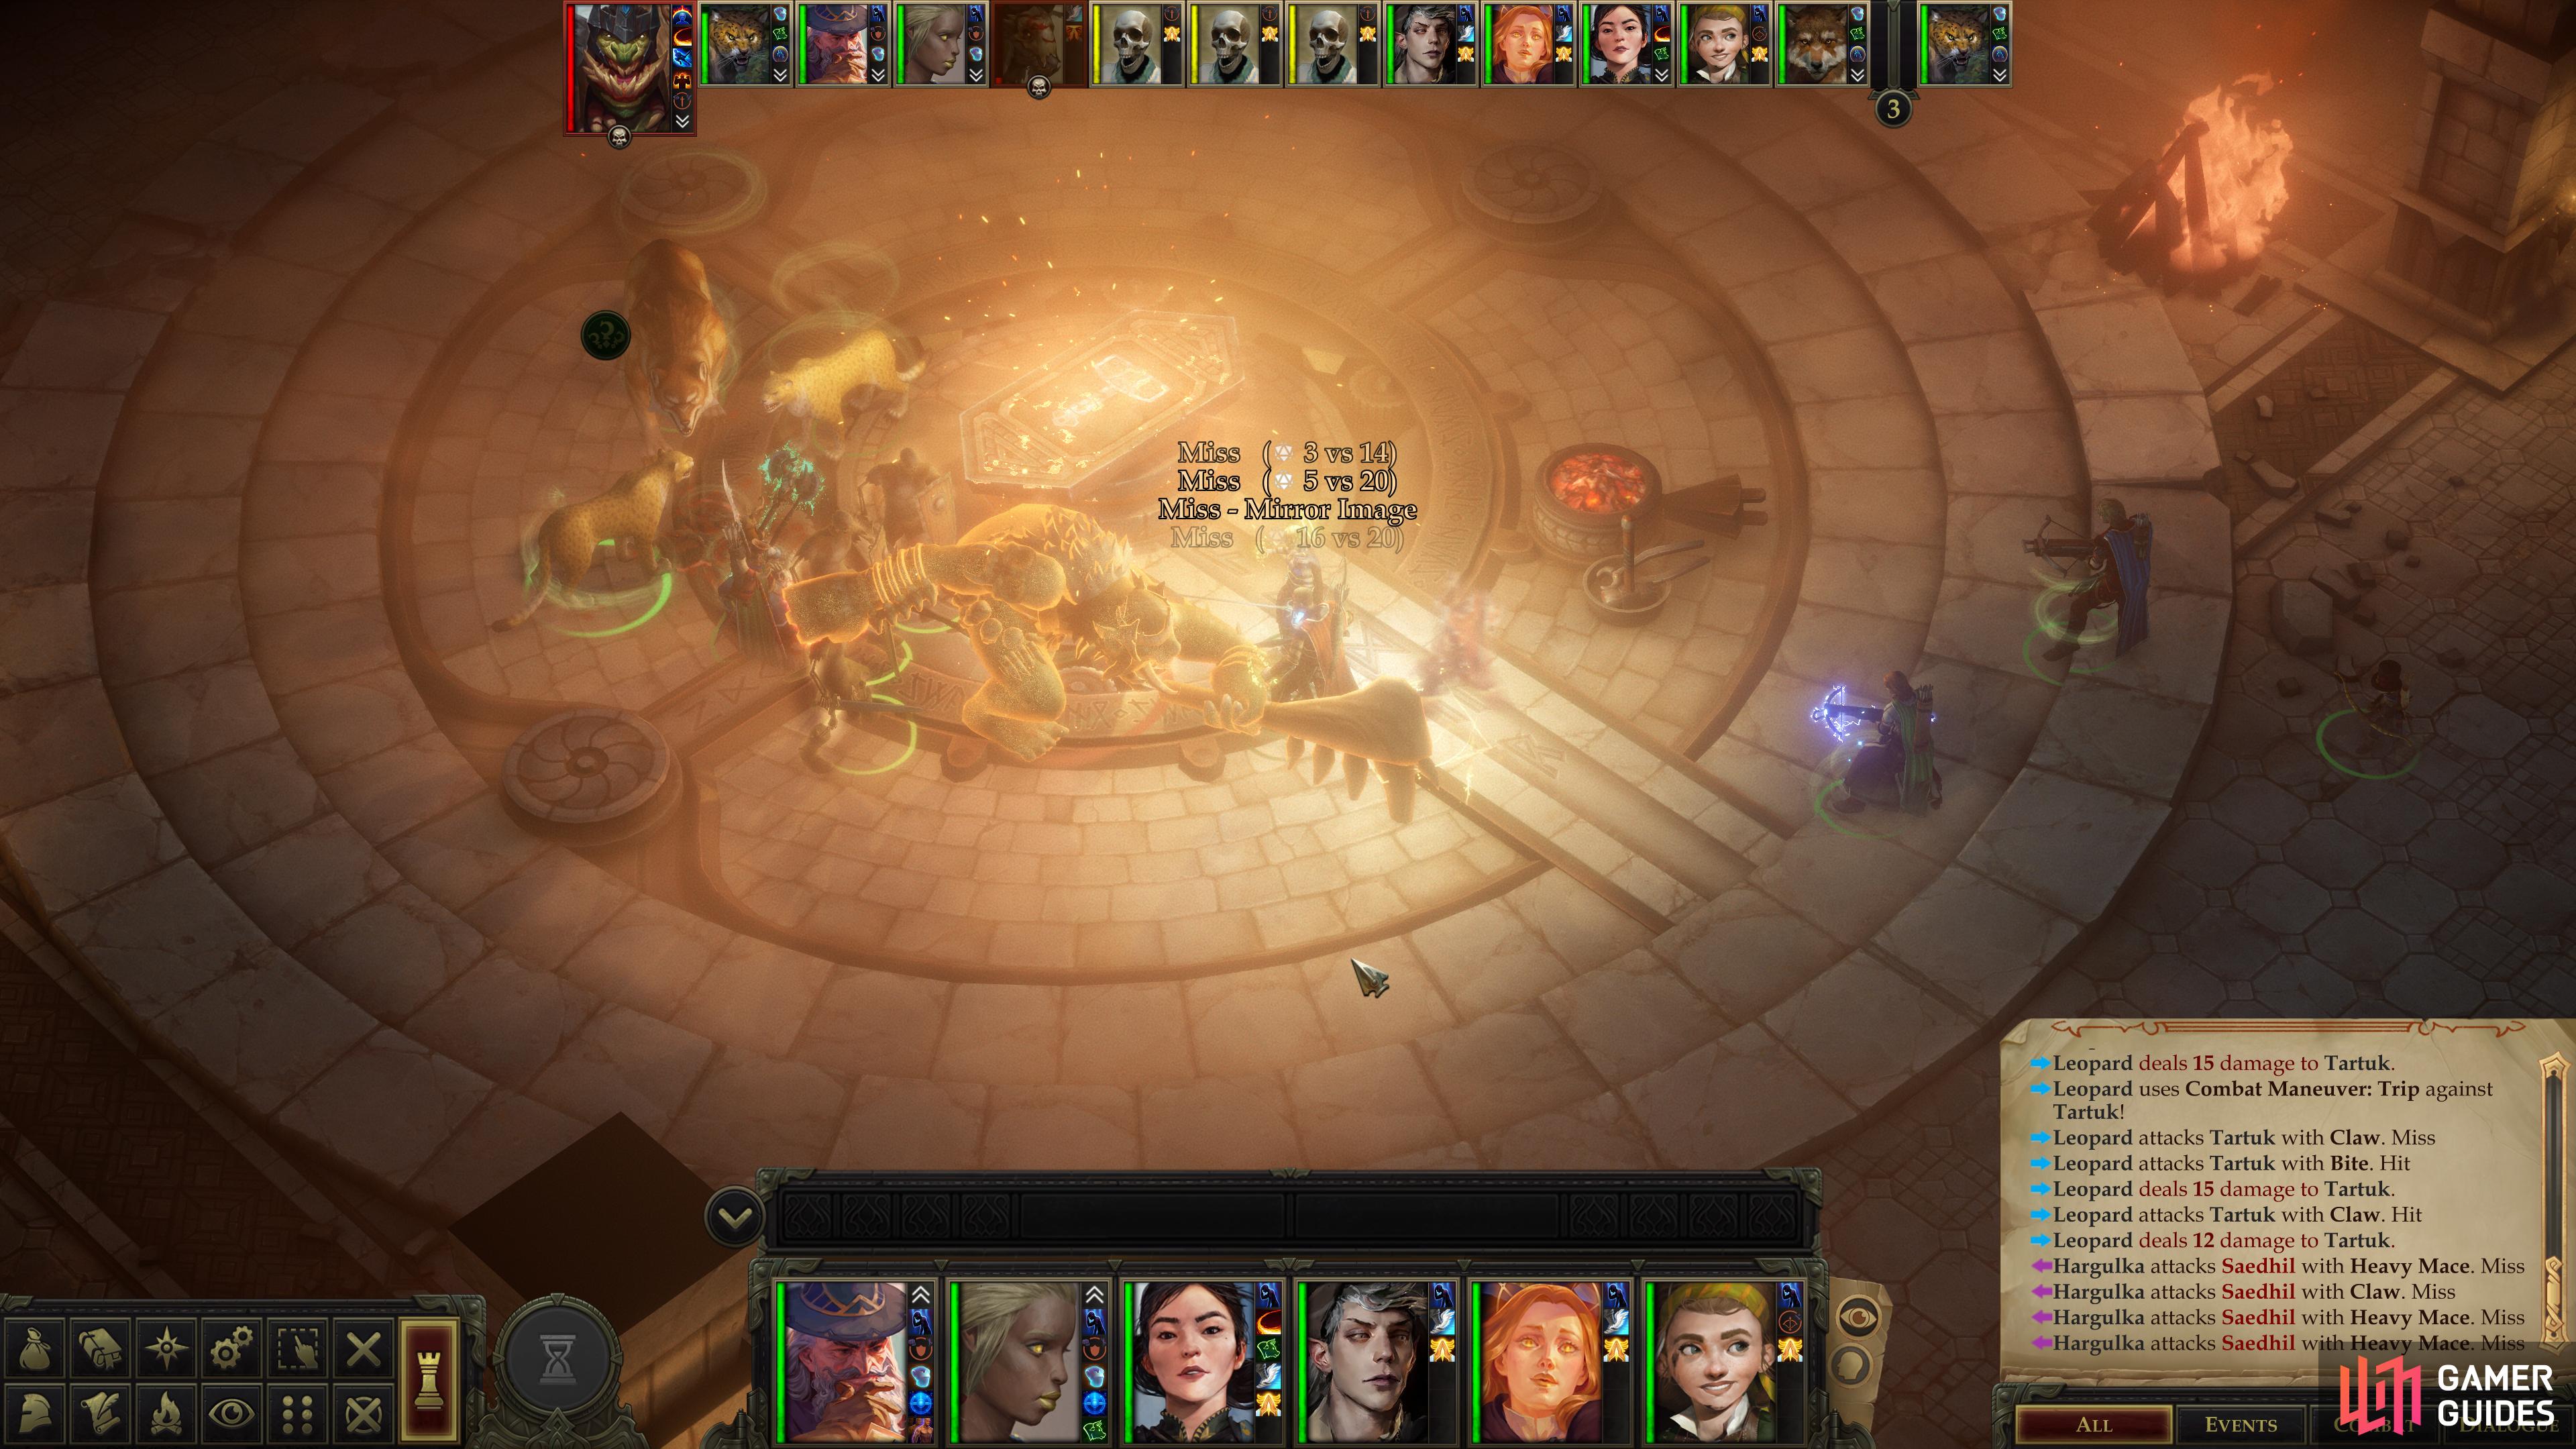
Battle: Hargulka and Tartuk
While there are a few mandatory battles in the Troll Lair and Troll Lair Depths areas, the deciding fight is with your rival kings, Hargulka and Tartuk.
This can be a pretty rough battle, and yes, a fight is guaranteed (although evil characters can make things significantly easier on themselves) no matter what you’ve done up until now. Hargulka is spoiling for violence, and he’ll get it, as Tartuk will quickly conclude that there can be no peace while violent borbas oppose them. Spellbuff as much as possible, save, then engage the two leaders of Trobold (lead with your tank so Hargulka focuses on them). What you pick during your chat doesn’t make much difference, so use it as an opportunity to define your protagonist’s alignment or to accuse Tartuk of being a certain Gnomish rival of yours… The only unique option requires you to have an evil protagonist, who can pick the dialogue option “I see you haven’t taught your pet to heel, Tartuk. Serves you right - these trolls may be strong, but the village dog has more obedience and sense than they do.”. After this, the well has sufficiently been poisoned and whatever you say afterwards will result in Hargulka turning on Tartuk - a supremely stupid move on the troll’s part.
Hargulka’s Armor Class isn’t very impressive, but he’s got enough Hit Points to weather an assault, and his offensive powers are brutal. He sports nearly a +30 Attack modifier and can perform multiple strikes per round, dealing around 25-30 damage per strike, enabling him to easily fight his way through any warrior you put in front of him; he’ll even hit tanks regularly, and take them out of the fight in two or three rounds on average.
Tartuk, for his part, is less well-endowed with Hit Points, but his Armor Class more than makes up for it, frustrating mid-tier warriors like Jaethal and Valerie. A well-built protagonist warrior, Amiri or Ekundayo may find their attacks landing more regularly, but Tartuk has an answer for this, too, as he prefers to start the fight out with Stoneskin. This will shave off ten damage from every attack that lands, and while there’s a limit to the damage this can deflect, its primary purpose is to slow you down and allow Hargulka more time to wreak havoc. After Stoneskin he’ll likely cast Haste (which won’t benefit them as much as it does you, but Hargulka doesn’t need to be even more dangerous!), followed by several rounds of Hold Person. Be sure to flank Tartuk, as the bonuses this provides to your Attack rolls is significant.
Almost everything Tartuk does makes it more likely that Hargulka will be able to wipe out your warriors, and if Hargulka succeeds at this, there’s a very good chance of a party wipe. Suffice to say, the evil party has a significantly easier time with things if they can turn Hargulka against Tartuk.
Assuming you have to face both Hargulka and Tartuk, RNG will play a significant role in the outcome of the battle. Best case scenario, Tartuk’s initiative roll is poor, and in that case rushing him isn’t a bad idea, as his Armor Class will be hindered while he’s flat-footed. If you’ve got pets at your disposal, all the better - you don’t have to worry about their safety, their movement range is good, and if they can manage to trip Tartuk they’ll delay his routine and make this fight much, much easier.
If initiative is less favorable, you’ll have to get to Tartuk by other, more dangerous means - giving Hargulka a wide berth will inevitably delay you, but Haste should still enable you to reach Tartuk in a round or two. Your tank can hopefully occupy Hargulka in the meantime, and using Animate Dead to distract Hargulka (or just to provide some flanking opportunities) is a sound strategic move. Hargulka’s biggest weakness, however, is his low Will Save, which leaves him vulnerable to all sorts of exploitation. Tasha’s Hideous Laughter can take him out of the fight for a while, while Glitterdust and Slow can further blunt his offense.

Whichever king you put down last will attempt to parley with you when their health is low,
spare the survivor or kill them - either way, be sure to loot your vanquished foe(s).
While the intro conversation might not be too meaningful for most characters, you’ll get more options when you’re victorious, but how you choose to prosecute the fight will heavily influence your choices. Whichever foe you defeat first will be well and truly dead, while the second one to bite the dust will surrender when depleted of HP, allowing you to negotiate with them. This may influence how you decide to carry out the fight, although if the end result doesn’t interest you too much, it generally seems easier to dispose of Hargulka first, as he’s a softer target and is individually more dangerous.
Whichever of the two you save for last and hence end up negotiating with, the conversation goes quite similarly. You have a few more background questions you can ask Tartuk to learn about the Tartuk-Tartuccio crossover (some of his answers may require you to pass an [Intimidate 10] check, which should be nothing more than a formality at this point) but your choices ultimately boil down to: finishing off your foe, sparing them and letting them flee, or accepting them as a vassal. The last of the three options requires your protagonist to be [Chaotic] - it’s certainly not traditional to allow Kobolds or Trolls to remain on your lands as subjects! - and will not make Ekundayo happy, possibly to the point of abandoning your party, especially if you haven’t killed Kargadd yet.
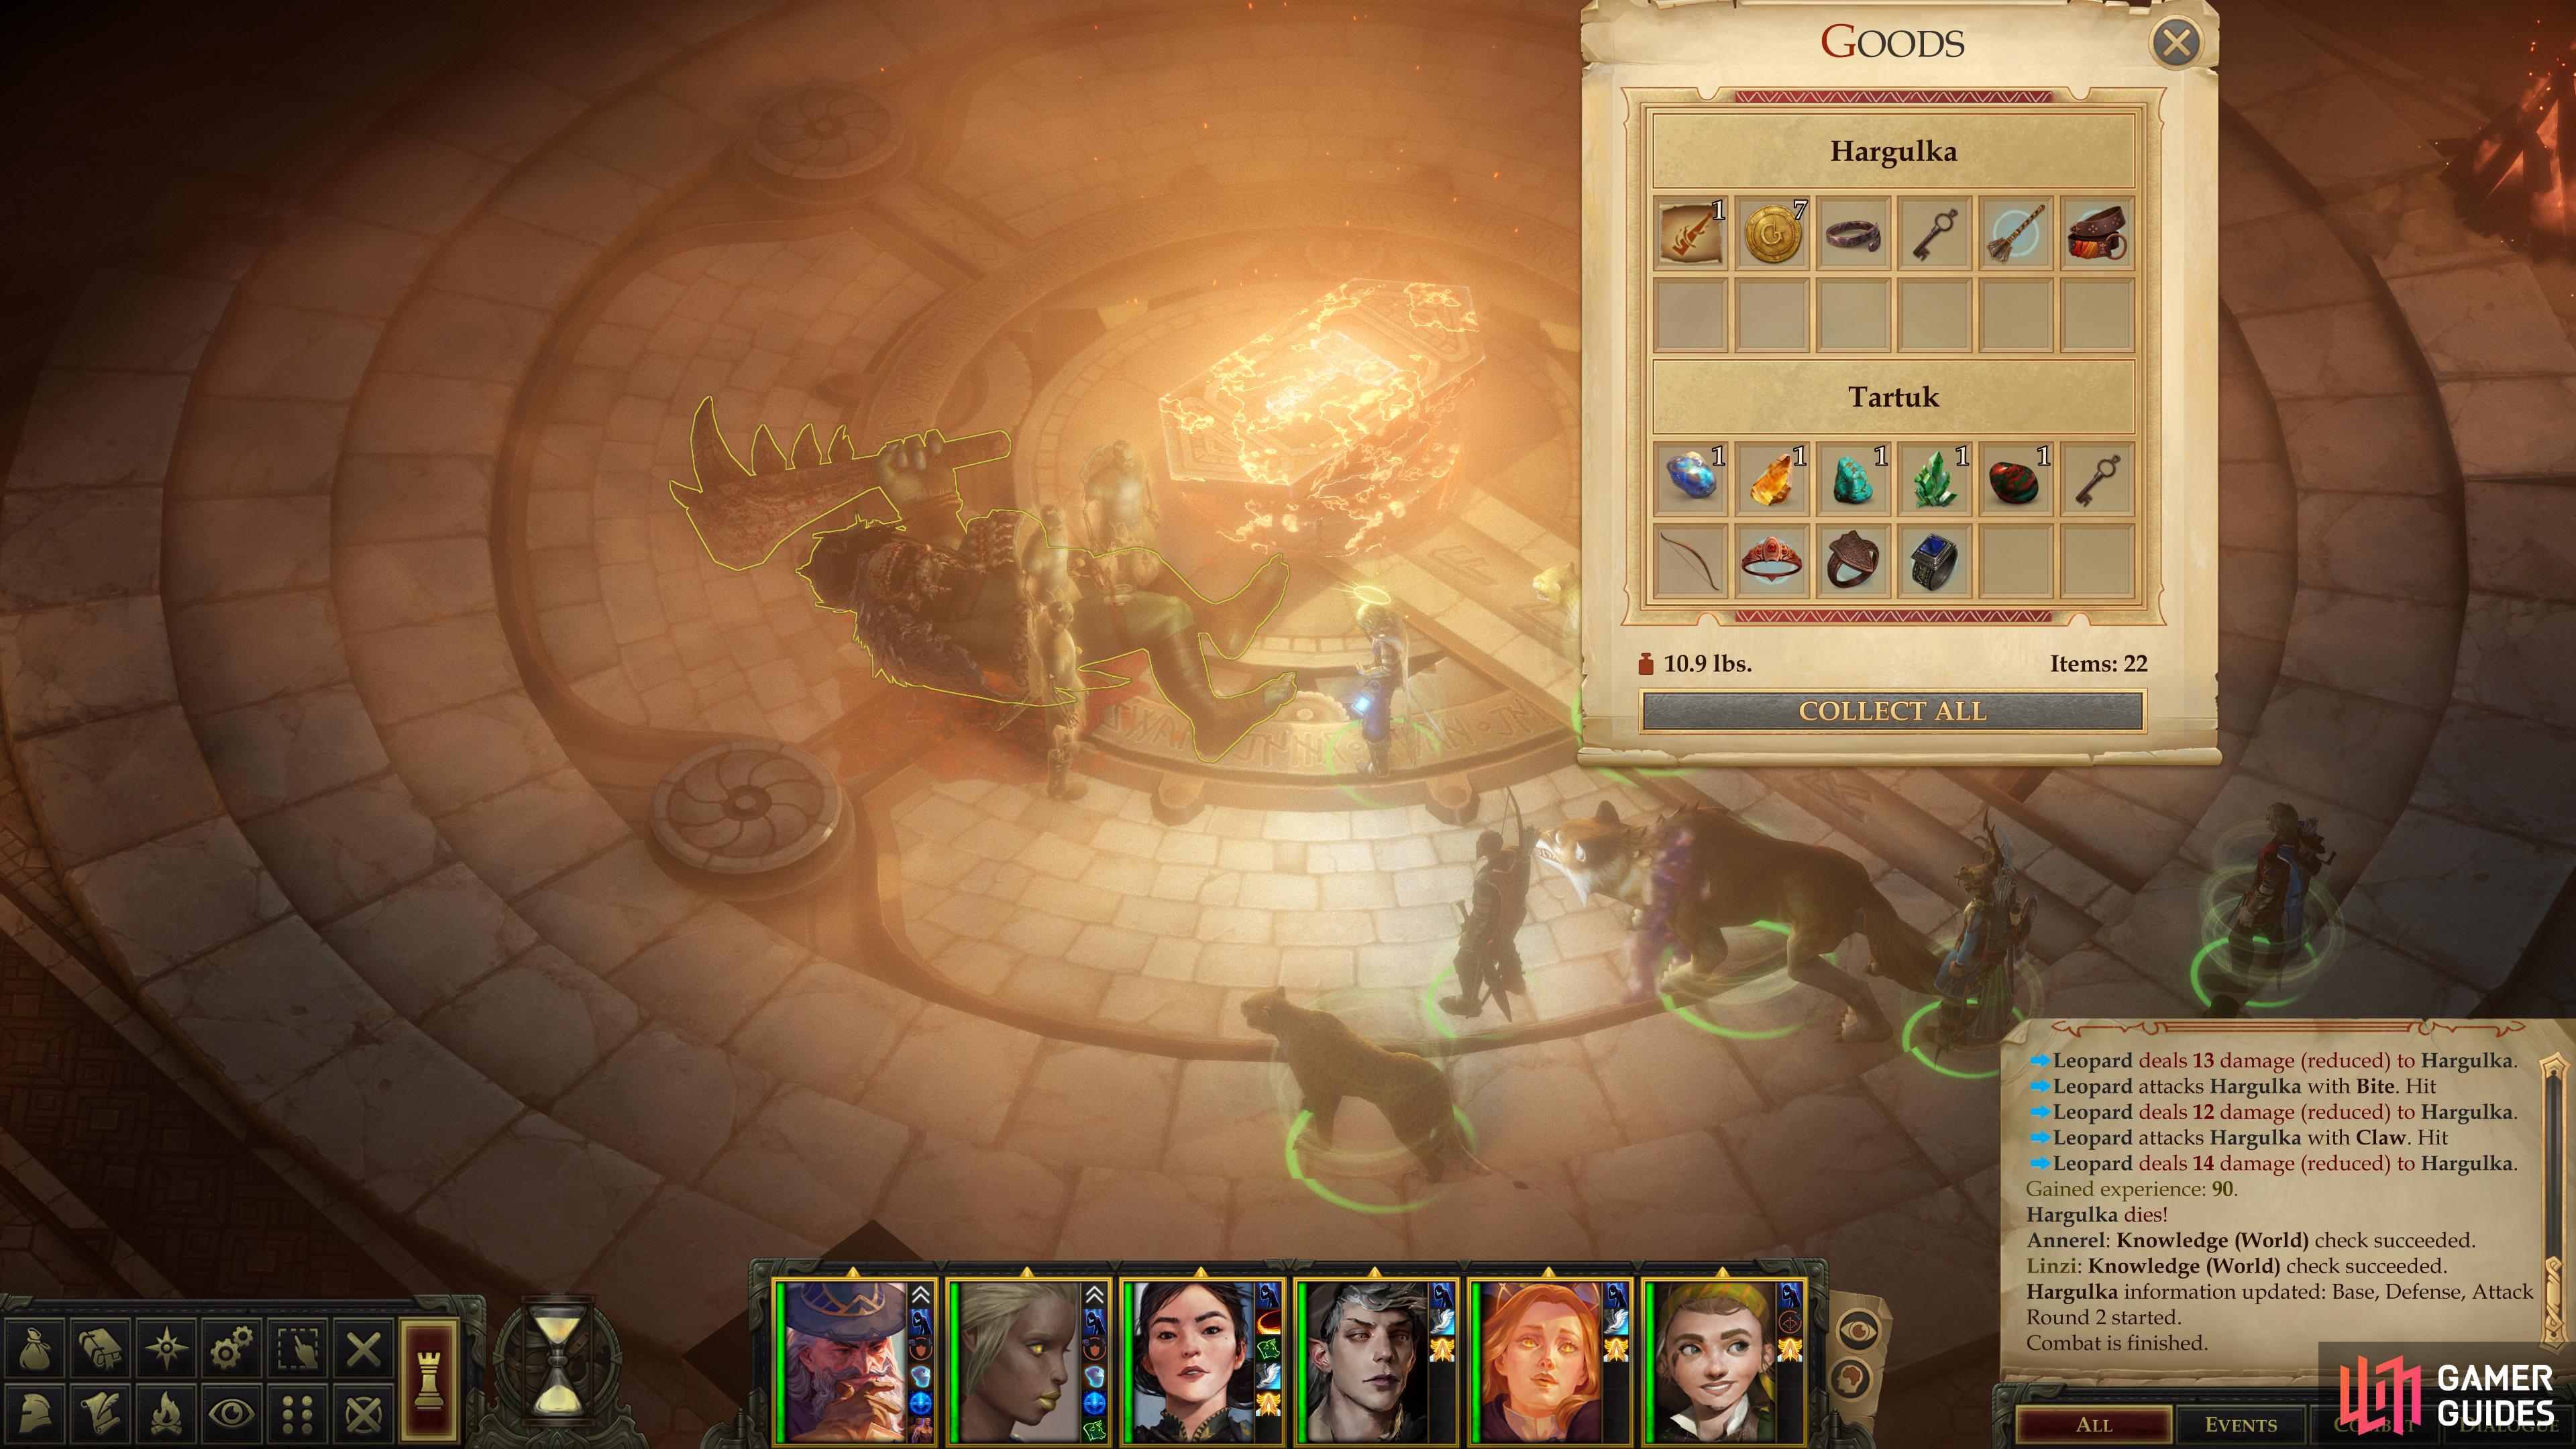
Make what choices you will, but take into consideration the loot each of the two monsters will leave behind - treasures you won’t gain by sparing them:
Tartuk will leave behind a Headband of Alluring Charisma +4, a Ring of Protection +2 and a Ring of Luck, while Hargulka forfeits a Scroll of Cure Serious Wounds, a Mallet of Woe and a Belt of Physical Might +4. Most of these items are self-explanatory, although the Mallet of Woe is a Heavy Mace +3 that deals 2d6 base damage and gives the user Freedom of Movement (by far the best weapon you’ve found) and the Ring of Luck gives a +1 Luck bonus to all Saving Throws. Both will also drop an Iron Dwarvern Key, which will make getting back out easier, as this key opens all the doors you couldn’t open without a key earlier.
After defeating Tartuk and Hargulka - regardless of which you spare (if either) and on what terms you part, Troll Trouble will end.
No Comments