

After completing the quests Witch Hunt and Mother of Monsters the quest Season of Bloom (not to be confused with the superquest of the same name) will start, tasking you with returning to your throne room and conferring with your advisors. Before you do that, however, you should Return to the Bridge Over the Gudrin River to complete some new encounters, which will influence how part of the quest Season of Bloom plays out. These new encounters will be covered in the page below. For the sake of continuity, we assume you explored the Bridge Over the Gudrin River area earlier, during the Kamelands Expedition. Check out the linked pages for more information on the area’s earlier encounters if you haven’t been here yet.

The location of the Bridge Over the Gudrin River on the map.
To reach the area from your capital, follow these directions:
- East
- East
- East
- South
As usual, you’ll arrive on the northern edge of the area. The entire area map has been revealed previously, and most of the loot and random beasties should have been cleared out by now, hopefully leaving little to distract you from the new encounters.

(1 of 3) Intervene in the dispute between Tigni and the refugees and make your position on exploitative markets clear.
Tigni Jusmert: The Greedy Merchant
Follow the road south until you find some “Hungry Peasants” who are facing off with a merchant named Tigni Jusmert. Talk to the merchant to witness the exchange, where the peasants will accuse the merchant of predatorily marking up the prices of his desperately-needed wares. When you get a chance to speak, pick the dialogue option “What is all the commotion at the bridge? Where have all those people come from?” to learn that the Stag Lord - or more likely, an impostor calling himself such - is charging for passage over the bridge. Peasants who can’t pay have subsequently been stranded, at the mercy of somewhat less violent thieves like Tigni.
Let’s stay focused on this price-gouging merchant, first, then you can see to this so-called Stag Lord. Pick the dialogue option “Your prices are three times higher than those of other merchants!”, which he’ll pass off as simple supply and demand. This leads to a more diverse array of dialogue options to resolve the situation.
The [Neutral] option washes your hands of the situation entirely, offering no gain for yourself and no relief for the hungry peasants. Picking the [Lawful Neutral] option will compel Tigni to pay you the “taxes” he owes you - a sum of 512 gold. If you pick the [Neutral Good] option and succeed at a subsequent [Diplomacy 24] check you’ll shame Tigni into lowering his prices and will earn an experience reward for your efforts. You’ll get the same consequences by picking the [Chaotic Neutral] option and passing the attendant [Intimidate 18] check. Finally - and most lucratively - if you choose the [Neutral Evil] option and pass an [Intimidate 18] check you’ll scare Tigni into lowering his prices and paying you 512 gold.
| Reward: For shaking Tigni down for taxes |
|---|
| 512 gold |
| Reward: For convincing Tigni to lower his prices |
|---|
| 345 XP, lower prices |
| Reward: For threatening Tigni into compliance |
|---|
| 345 XP, 512 gold, lower prices |
After dealing with Tigni, peruse his (hopefully now reasonably-priced wares), although he probably doesn’t have much of interest to seasoned adventurers such as yourself. He does, however, sell a copy of Of Transmutations and and Bodily Poisons, Part III, which is one of the three volumes Bokken requested for his artisan quest An Ancient Formula. Buy what you will, then continue off-road to the south to find Tigni’s wagon, on which you can find a chest [Perception 22] which you can unlock [Trickery 22] to find a Shock Dagger +1.

Elederian Pearls: The Goblin Prince
While this Stag Lord impostor is concerning, let’s focus on the troubles north of the Gudrin River for now. Not like the bandits on the bridge are leaving their lucrative post any time soon, anyway. A short distance northeast of Tigni, just off the road, you’ll find a “Refugee” pantomiming anguish. Chat with the sobbing woman and ask what troubles her to hear about how she was robbed by a “forest monster”. Strange is the forest monster who is interested in grandmother’s pearls, and her intent to spend them to gain passage across the bridge is yet another reminder of problems yet to be resolved. Exhaust her dialogue options, being sure to say “Describe this forest monster.”, which you can identify with a successful [Knowledge (World) 18] check. This starts the quest Elederian Pearls.
That done, you need merely track down this beast and recover the pearls. Simple enough, right? Follow the road back north, head east when you pass some rocks (also to the east) to find a Goblin Prince. What, exactly, qualifies him as royalty? Whatever, talk to the runt and ask “Are you alone here?” to learn that other goblins are about the area looking for a “greatbeast”. Good to know.
More to the task at hand, ask about the stolen beads he’s wearing, then either pick the [Neutral Good] option and forfeit a unit of Camping Supplies and Rations, pass a [Bluff 20] check, or an [Intimidate 22] check ([Neutral Evil]) to get the beads without a fight. Alternatively you can pass an [Intimidate 22] check without asking him about the beads to scare the goblin off, gaining the beads in the process. The game will also automatically make a [Lore (Religion) 18] check that’ll give you a dialogue option you can use to resolve the situation, if you pass it. If you fail, you simply won’t see the option at all. Should all that fail, you can simply kill him and take the Pearl Necklace by force. Passing one of the dialogue checks is arguably the most lucrative way to go about this, both for the XP it yields and the alignment consequences.
However you manage it, once you have the pearls return to the Fugitive Girl and give her back her pearls. If you wish to be petty and evil, you can pick the [Chaotic Evil] response to keep the pearls, but there’s little benefit in terms of experience or wealth for doing so. It botches the quest and you can sell the Pearl Necklace for a measly 2 gold. Alternatively you can pick the [Diplomacy 28] response to try and convince her to remain in your lands, earning you a Community +1 and Loyalty +1 bonus and securing a loyal citizen willing to speak for your good nature, should you be in need of such support. If you’re unable or unwilling to do either of those options, you can simply pick the [Lawful Good] dialogue option to hand over the pearls, after which the woman will lament handing them over to the bandits on the bridge. You can follow this up with a [Neutral Good] option to also provide the money she needs, leaving you 200 GP poorer but in the process gaining Loyalty +1..
| Reward: For convincing the woman to stay in your lands |
|---|
| 960 XP |
| Community +1 |
| Loyalty +1 |
| Reward: For giving back the pearls |
|---|
| 600 XP |
| Reward: For giving the woman money |
|---|
| Loyalty +1 |

Some exceptionally stupid goblins will attempt to rouse a sleeping owlbear,

after which they’ll flee, forcing you to fight the beast.
Battle: The Greatbeast
From where the Fugitive Woman stood, venture east until you hit some rocks, at which continue east along the northern side of these rocks - down south lurks the Crag Linnorm, and while you’re stronger now than you were when you first explored this area, you’re likely not strong enough for that. Continue east and you’ll find the lair of the “greatbeast”, which is being pestered by some goblins. The greatbeast - an Owlbear - once roused isn’t in the best of moods, and it’s at this point one must wonder if the goblin population is kept in check largely due to their fascination with monsters.
Naturally, when the greatbeast stirs the goblins will flee, luring the Owlbear back to you in the process. Cut the beast down for some easy experience (the beast is a bruiser, but still slightly weaker than the Ferocious Owlbears you’ve been fighting), then head to the bridge the area is named after.

Talk to the fake Stag Lord and convince him to desist, or join you.

Failing a dialog check will provoke the bandits, but you can also opt to settle things with violence.
Fake Stag Lord
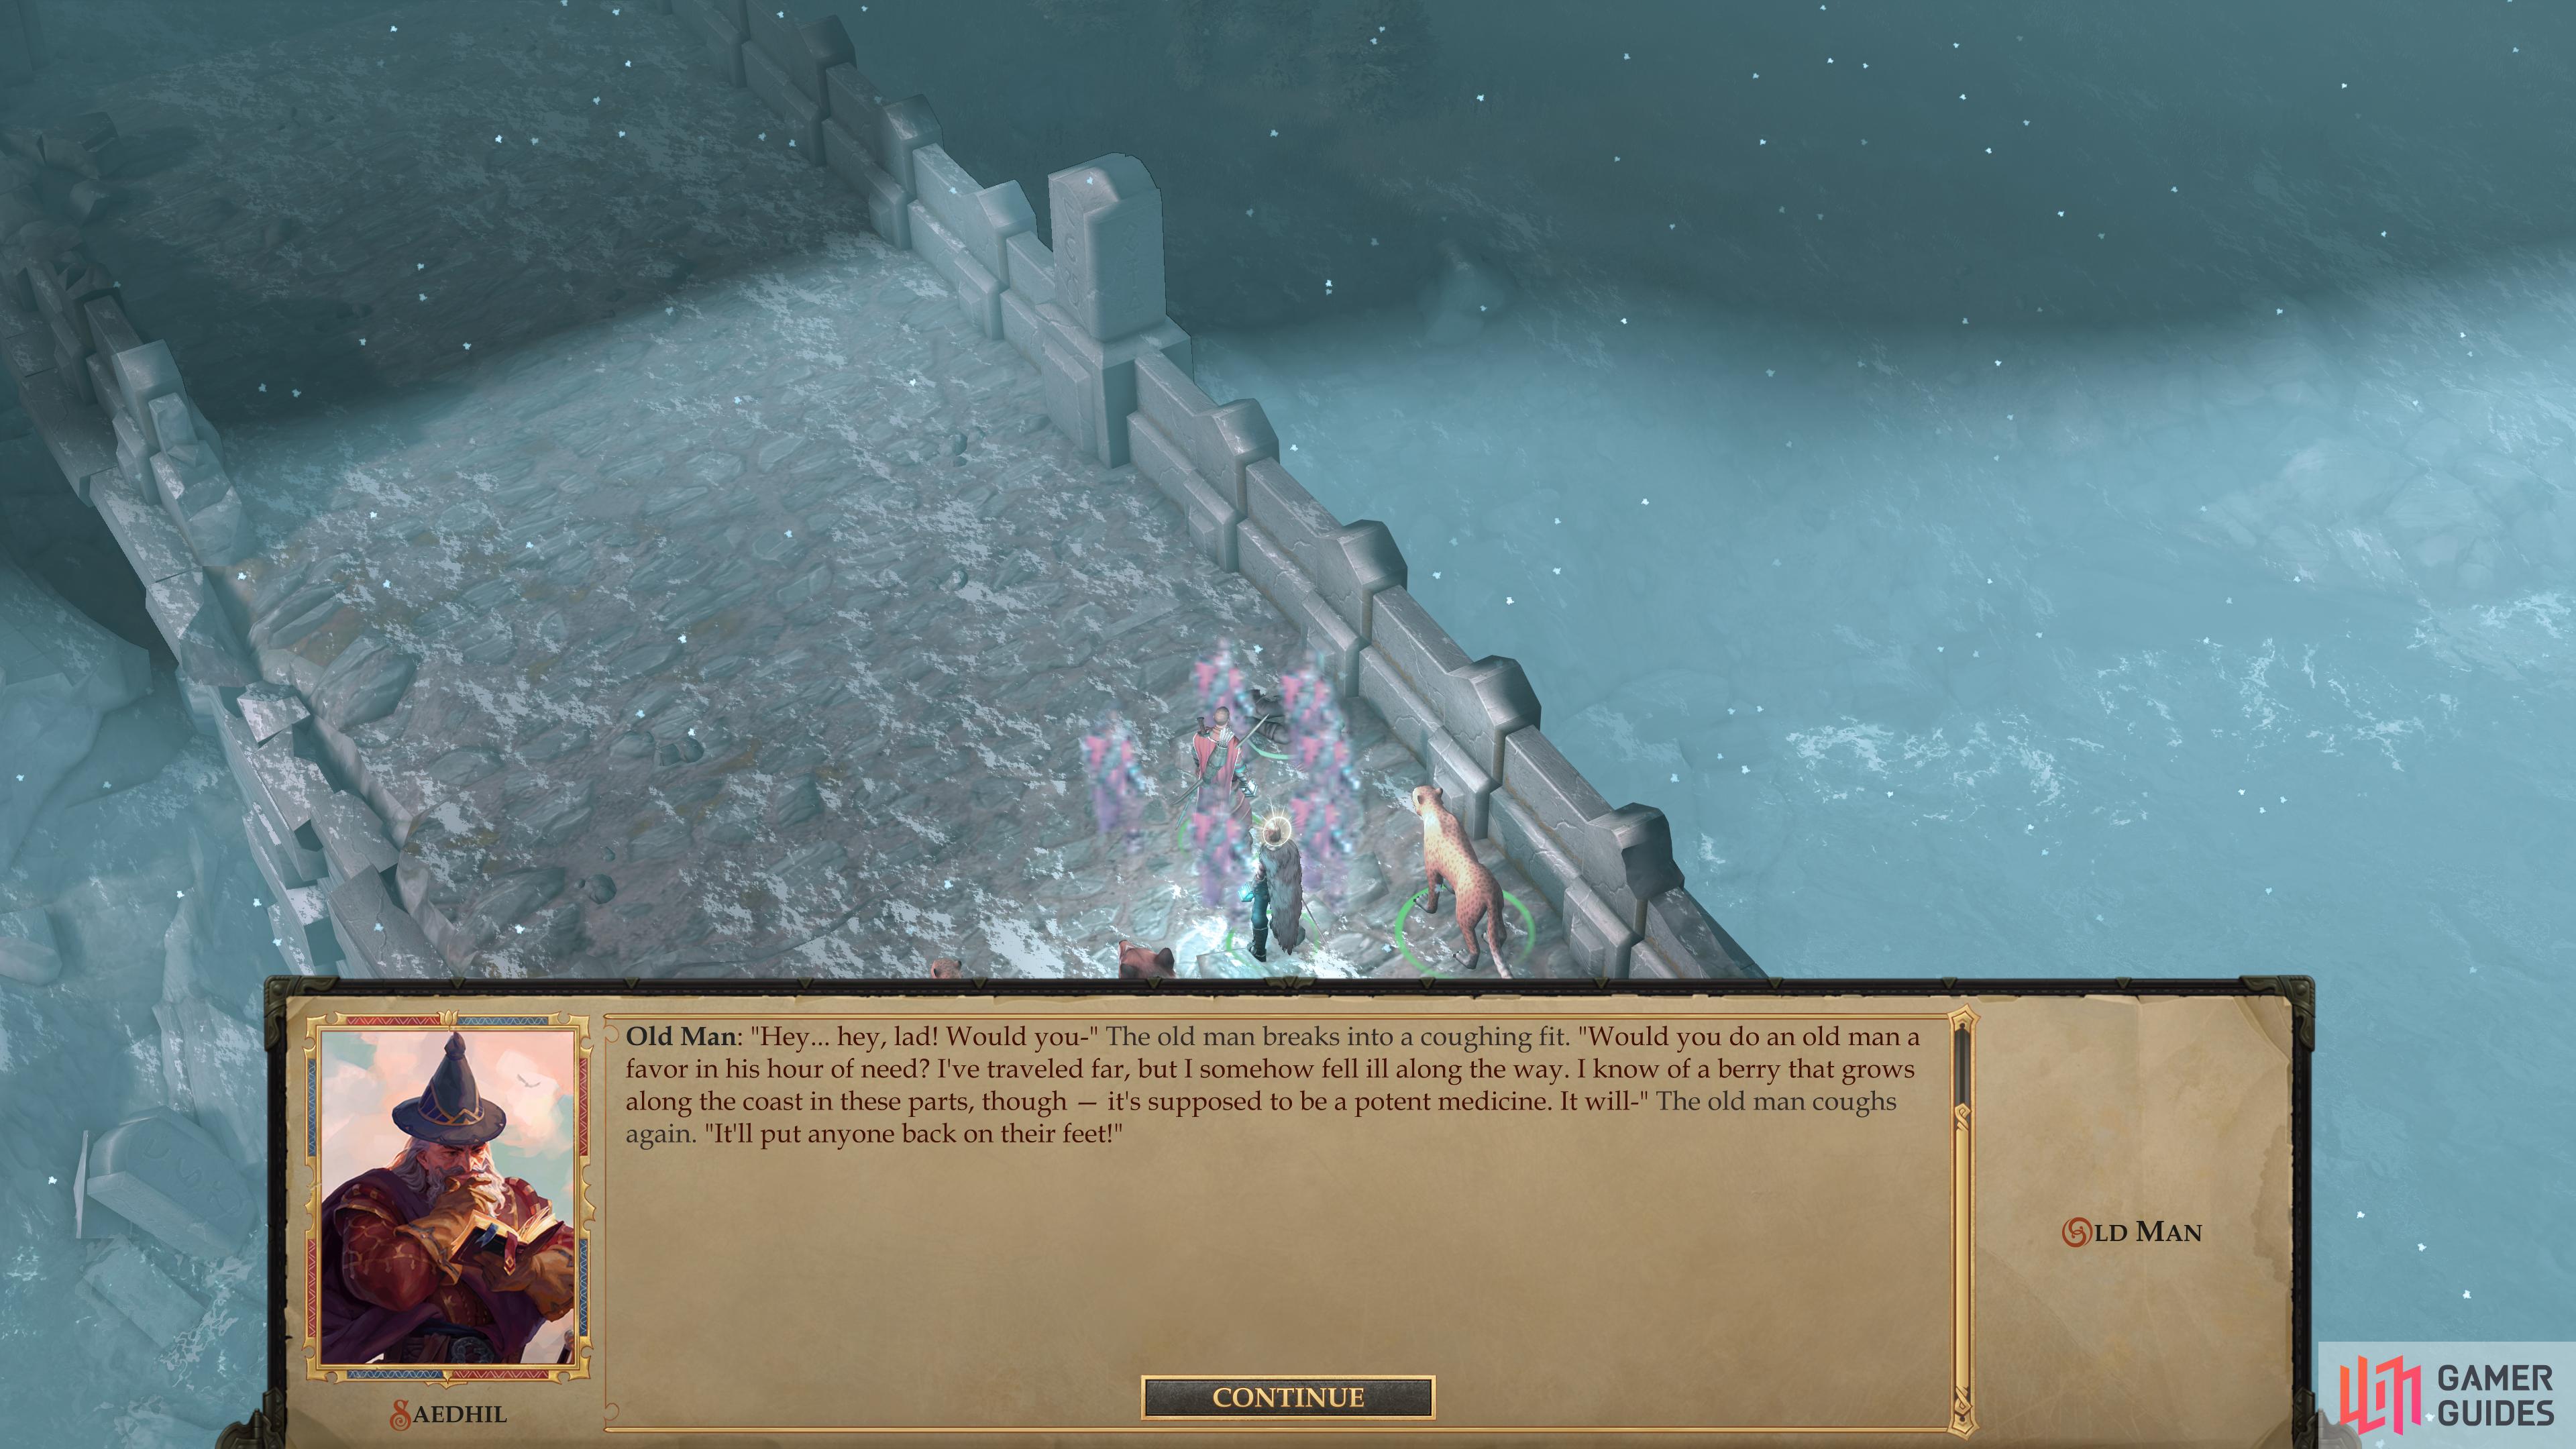
Cross the bridge and about halfway across you’ll find an “Old Man”. This place seems absolutely littered with peasants in need of aid these days. Ignore him for now, as his quest requires you to go hunting around on the southern side of the bridge, and before you bother with that, you should really deal with this bandit business.
Speaking of which, as you reach the end of the bridge you’ll be accosted by a bandit. He’ll quickly recognize you, however, and given the fate of the bandits who have crossed thus far, decides not to press you for cash. Feel free to question him as you wish to hear their excuses and justifications for their little operation. Ultimately, though, you’ll make little headway with these goons - if you want results, you’ll need to talk to this Stag Lord impostor.
To that end, finish crossing the bridge and turn east to find a camp, which is now well-populated with bandits, including a “Fake Stag Lord” character. Talk to the Fake Stag Lord and you’ll quickly identify him as the shoddy impostor he is - he couldn’t even bother to get a halfway decent outfit! Identify yourself and accuse him of being the fraud he is, after which you’ll get a variety of moral choices (paired with skill checks) to choose from:
- [Chaotic Good] [Intimidate 22]: Attempt to convince the “Stag Lord” it might be best for his health if he give up the charade and never let you hear of him again. If you fail, the emboldened impostor will attack.
| Reward: For Intimidating the fake Stag Lord to desist |
|---|
| 67 XP |
| Loyalty +2 |
- [Neutral Good] [Diplomacy 28] Much like the [Chaotic Good] option above, but with a more lucrative XP reward at the expense of the Loyalty +2 boost.
| Reward: For Intimidating the fake Stag Lord to desist |
|---|
| 360 XP |
- [Lawful Evil] [Intimidate 22] Scare the phony Stag Lord into leaving as well as secure you the 537 gold he’s stolen from your subjects thus far.
| Reward: For Intimidating the fake Stag Lord to forfeit the stolen money |
|---|
| 67 XP |
- [Neutral Evil] [Diplomacy 17] You’ll recruit this so-called Stag Lord to tax the bridge for you. As long as you’re getting a cut, right?
| Reward: For recruiting the fake Stag Lord |
|---|
| 28 XP |
| 1 BP |
Should you recruit the “Stag Lord”, you can talk to him again and renege on your earlier deal by picking the [Neutral] or [Lawful Evil] response, which have the same results as the ones listed above. While the rewards are somewhat paltry, there’s no good reason not to do the [Neutral Evil] action followed by either the [Neutral Good] or [Lawful Evil] to double dip, as it were. Either way, you’ll also get some XP for running off the fake Stag Lord:
| Reward: For evicting the Fake Stag Lord from your lands |
|---|
| 450 XP |
If you fail a check - or if you just don’t care to parlay and pick the [Attack] option - a fight will ensue. There are numerous bandits, and you’ll do yourself a great service if you arrange your party tactically ahead of time. Surround the Fake Stag Lord and keep the unarmored bandit with a crossbow on his back within reach, as both are spellcasters, and will make your life hell if you let them. Place your squishy characters to the north of the Fake Stag Lord, behind the log, which is a fairly safe place for them to operate. Summoning some skeletons via Animate Dead before the fight and hitting your party with Haste also isn’t a bad idea.
With this planning, and perhaps other buffs (Mage Armor, Shield, Mirror Image, Bless, Prayer, and Stoneskin), the fight should be pretty easy to win. The stats of the bandits aren’t high - perhaps not high enough to warrant such an expenditure of spells - but your position is tenuous, and killing several bandits quickly will make things much easier. You also need to be wary of a Bandit Conjurer, who will summon allies, a Bandit Cleric capable of lashing out with Hold Person and the fake Stag Lord himself, who will use Haste. The sooner these three are dead, the better.
Collectively the XP you’ll earn from killing them is… not terribly impressive. You can loot the fake Stag Lord for a Buckler +1 and an Amulet of Natural Armor +3, however, which almost makes wanton violence tempting. The rest of his bandits will yield masterwork weapons.
Either way, when you’re done, loot a chest near the fake Stag Lord [Trickery 34] to score a Diamond, 34 units of Diamond Dust and some Soft Cheese. Yum!
Second Breath
With the Stag Lord dealt with (one way or another) return to the bridge to find the Old Man patiently waiting for you. Talk to him and sure enough, this sickly old man will ask you to find him some black berries that grow along the coast. You can question him further if you’d like to know more about his travels. It’s an unfortunately familiar tale by now - peasants afraid of the disease fleeing the lands of an incompetent baron(ess). Your rapport with the common folk could use some work. This starts the quest Second Breath.
Make your way south along the bridge, then on the road beyond until you hit the area transition at the southern edge of the map. From here, make your way west until you spot a Poisonous Hydra looming in your way. You don’t need to fight this beast to get the berries you’re after - although you should kill it, as the XP more than justifies the effort - but first things first; head north to reach the cliffs overlooking the southern end of the river, then turn west again until you encounter several goblins: Two Goblin Horseslayers, a Goblin Sneak and a Goblin Roc Eye. Put them down then note the bush they were guarding.
Save your game, then approach the bush and, assuming this didn’t happen during your fight with the goblins, note the [Lore (Nature) 20] check that’s automatically made when you approach. Be sure to pass this check, as it’ll vastly expand your options for resolving this quest. Pass or fail, grab the Black Berries, then return to the Old Man on the bridge. Talk to him and if you didn’t succeed at the aforementioned check, he’ll eat the berries and reveal that he wasn’t seeking a cure - he was seeking a more dignified death.
| Reward: For giving the Old Man some Black Berries |
|---|
| 600 XP |
While the experience reward for resolving the quest by being duped by the old man is satisfactory enough, you’ll be able to pursue other options if you noticed the berries were poisonous. Tell him as much, and if you still want to allow him to kill himself, pick the [Neutral] option, to get the same ending being ignorant of the berry’s nature would have achieved. Picking the [Chaotic Neutral] response achieves nothing but reducing the man to begging for them, while the [Chaotic Evil] action will give him the death he wants, although perhaps not as painlessly as he wanted it.
The [Lawful Good] option is the most lucrative, both immediately and in the short-term. Having a direct beneficiary of your benevolence in Tuskdale might be of value in the near future…
| Reward: For sending the Old Man to see Jhod in Tuskdale |
|---|
| 1,320 XP |
Now, to finish up this area cross the bridge again to reach the southern shore, then head west to reach the Poisonous Hydra. If you didn’t kill it before, do so now. Either use spells like Delay Poison to protect yourself, or simply keep an eye out for the icon that signifies a breath attack is imminent and retreat.
Once it’s dead continue west and climb the flat rocks you find in the southwestern corner of the map, which you can climb with an [Athletics 22] check. If you already visited this area and hence dealt with the owlbears that dwell (or rather, dwelt) on these rocks you’ll have little to do but collect loot, otherwise kill the owlbears as a prerequisite. Once they’re dead, loot a corpse to find a Jagged Key and a Dirty Notebook of a well-meaning (well, sometimes well-meaning) but ill-fated reformer. Of more immediate concern - it’s time to return to Tuskdale and see about this disease…
The Jagged Key mentioned at the very end actually unlocks the fake Stag Lord's chest, should the party have somehow failed to lockpick it.
The Jagged Key mentioned at the very end actually unlocks the fake Stag Lord's chest, should the party have somehow failed to lockpick it.