Trouble at the Trading Post
Rest to remove everybody’s fatigue, if present, and be sure to go through spellbooks and select what spells you want readied, if you haven’t done so already. When you’re good to go, make your way either north or south to find some area transitions which will take you back to the world map. Press the left arrow again and you’ll make your way to Oleg’s Trading Post.
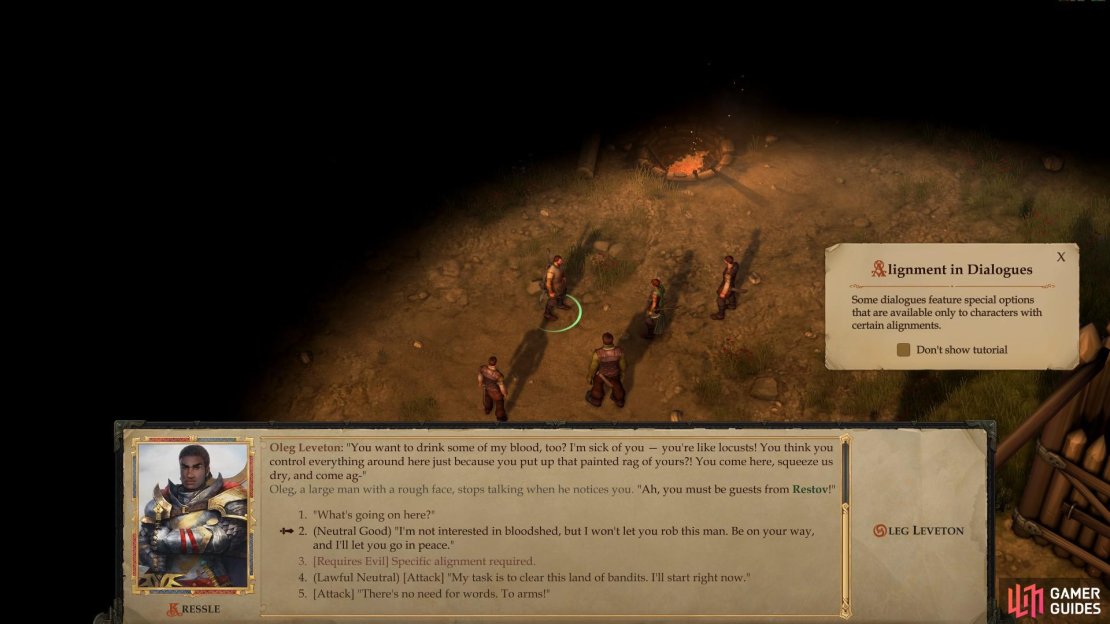
When you arrive, head northeast until you find a gate to the northwest, beyond which you’ll find Oleg being accosted by several bandits, who are in turn led by a bandit named Kressle. They’re here on a “tax” collecting mission, although the other bandits aren’t shy about making somewhat more repugnant demands.
(1 of 4) When you arrive at Oleg’s Trading Post, you’ll interfere in an in-progress shake-down
Approach the scene and the bandits will turn their attention to you, and shortly you’ll be given a chance to respond, notably with two different moral choices. If you’re evil, you can pick the corresponding [Evil] dialogue option that’ll cause you to cut in on the bandit’s business and shake down Oleg for money, scoring you 300 Gold Coins. In face of an even more rapacious bandit, the Stag Lord’s men will leave, vowing retaliation. If you pick the [Neutral Good] option (or just choose to attack) a fight will begin, in response to which Kressle will turn invisible and run off. This leaves you to fight three-on-four odds, with Oleg providing ranged support. Although these foes are tougher than the assassins were, you should still have little trouble cutting them down.
| Reward: For driving off the Bandits |
|---|
| 216 XP / 300 GP* |
*if you made an [Evil] moral choice to demand money from Oleg you’ll shake him down for 300 GP
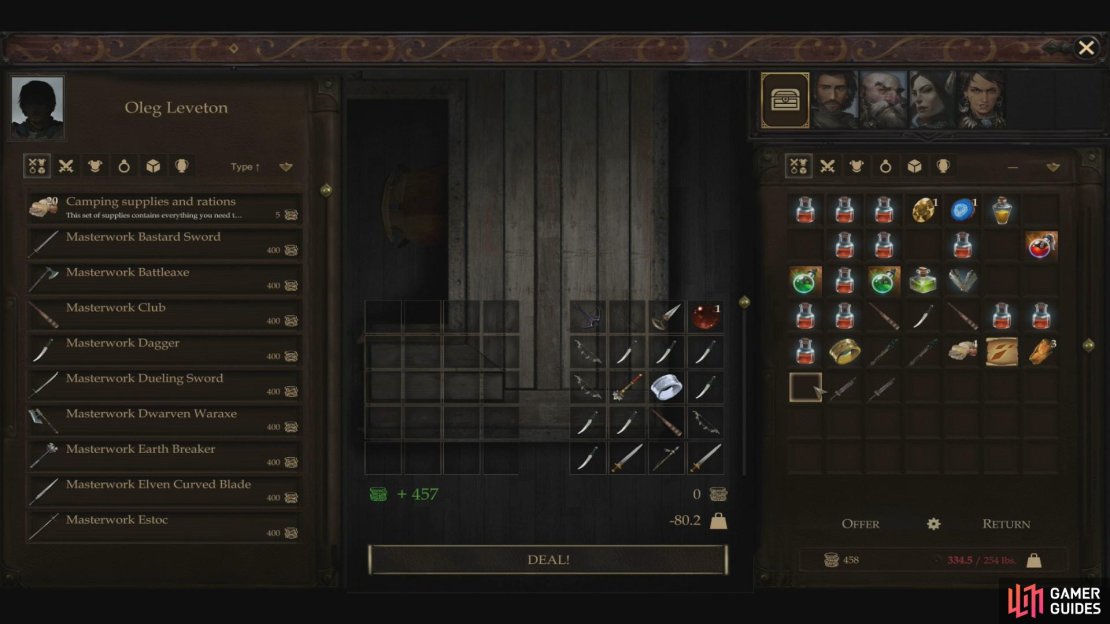
Respond how you will and defeat the bandits, if necessary, after which talk to Oleg, who will complain about the imminent bandit reprisals. That’s a concern for the immediate future, but for the present, be sure to ask to see his wares. There’s not a whole lot worth buying just yet (not that you can afford, anyways), but it’d be a good idea to sell off excess arms and armor from the Jamandi Estate, not to mention the gear dropped by the three bandits you may have just killed. Don’t expect a mountain of gold, though - items tend to only sell for a quarter of their listed value.
Sell off accumulated items you don’t plan to use, but be wary - they only sell for 1/4 of their listed value. Weapons are generally better items to haul about than armor, for selling purposes
Preparing for Reprisal
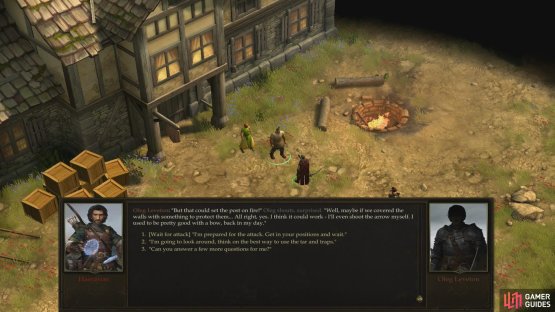
Once that’s done, ask about the man you saw running from the outpost earlier and he’ll identify him as Bokken, a talented alchemist whose talents are in demand by the Stag Lord. Maybe he’ll use his skills to aid you? Before bothering with that, exhaust Oleg’s dialogue options, being sure to ask about the bandits that he fears are soon to return. This option will allow you to learn more about their numbers, which will get you some info on two particularly nasty bandits - Auchs and Dovan. Even more importantly it’ll lead to another moral choice, giving you a [Lawful Good] option and a [Neutral Evil] option. Pick whichever (if any) you wish, and be sure to nag Oleg about using Alchemist Fire, the deployment of which will greatly help during the upcoming fight.
(1 of 2) Convince Oleg to spare some Alchemist Fire during the upcoming bandit attack
Convince Oleg to spare some Alchemist Fire during the upcoming bandit attack (left), and succeed at a [Diplomacy] check to gain Bokken’s support, as well (right)
Next talk to Bokken, who is standing to the northeast of Oleg. If you ask for aid against the bandits he’ll fork over a Potion of Cure Light Wounds… not much help, admittedly. Afterwards you’ll get a chance to make a [Diplomacy 16] check to cow him into providing more substantial support.
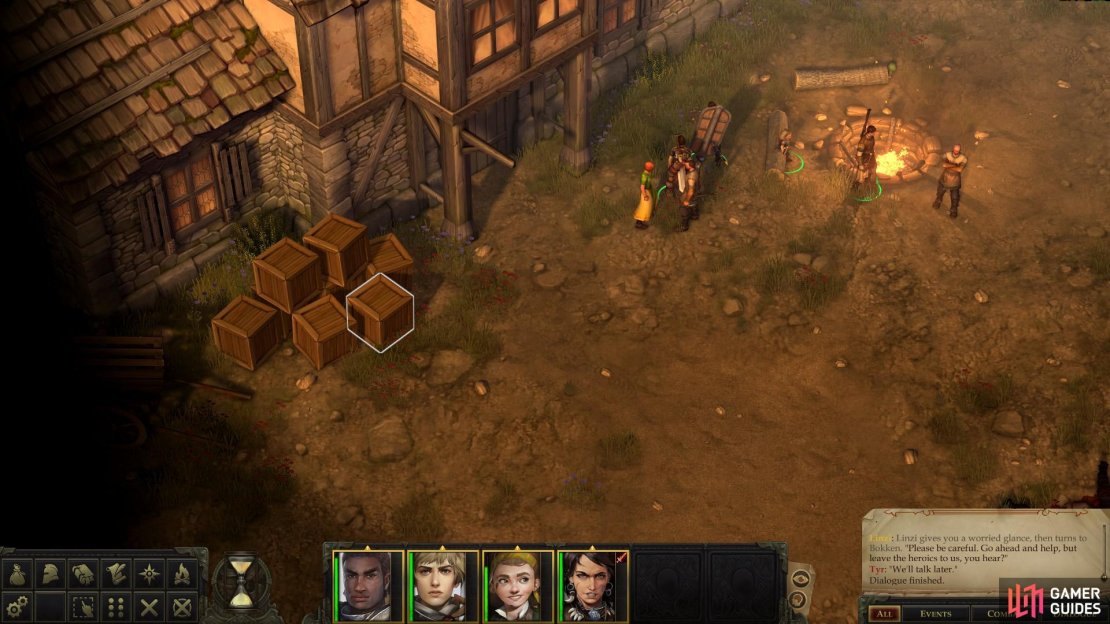
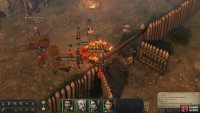
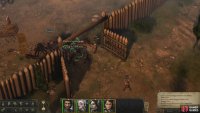
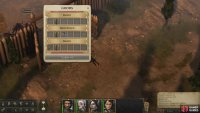
After you’re done talking, it’s time to prepare for the inevitable bandit attack. Save your game before you do anything, as there are checks involved that you can re-roll if you fail them. First up, interact with a crate near Oleg and Svetlana to deploy some traps, then make your way to the southwestern end of the outpost, where you’ll find a jar of tar you can interact with. If you do, you’ll discover some tar you can place near the entrance to the outpost, which will form a brutal combination with those traps you deployed earlier.
(1 of 4) Examine some crates near Oleg
There’s also a bit of loot to be had lying around. In the northern watch tower you’ll find a crate with a Heavy Crossbow, a Longsword and two Bucklers. In the southwestern corner of the outpost (near where the tar was) you can find two crates to loot, which will net you a Heavy Mace, a Jasper gem and 10 GP from one, and a Silver Spoon and 5 GP from the other. Feel free to sell any junk you pick up to Oleg.
The most important preparation you can make is to level up all your characters. The XP gained in Jamandi’s mansion and from helping Oleg get rid of the bandits (one way or another) should be enough to get you there. This is especially important at such low levels, as leveling up now will, in many cases, give characters an effective HP boost of between 50% and nearly 100%. That extra reserve of resilience will make surviving the next fight much easier… and it can’t hurt to have better saves, attack, and all the other immediate perks that come with leveling up. To do this, press the “C” button to enter the character screen, then click the “Level Up” button on the top left of the screen, between the character’s portrait and name… or you can just click the yellow “+” icon on the character’s portrait.
Repelling the Bandit Assault
Finally, when you’re ready for the big fight, talk to Oleg and choose the [wait for attack] option, after which the bandits will shortly arrive. This is honestly quite a fight, easily the biggest battle you’ve engaged in thus far. There are about ten bandits, not including their leader, an archer named Happs Bydon, who is capable of doing some nasty damage with his bow from a safe distance.
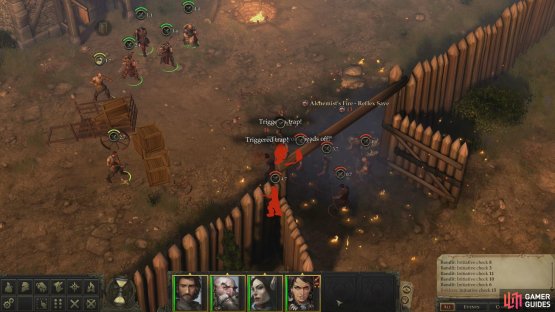
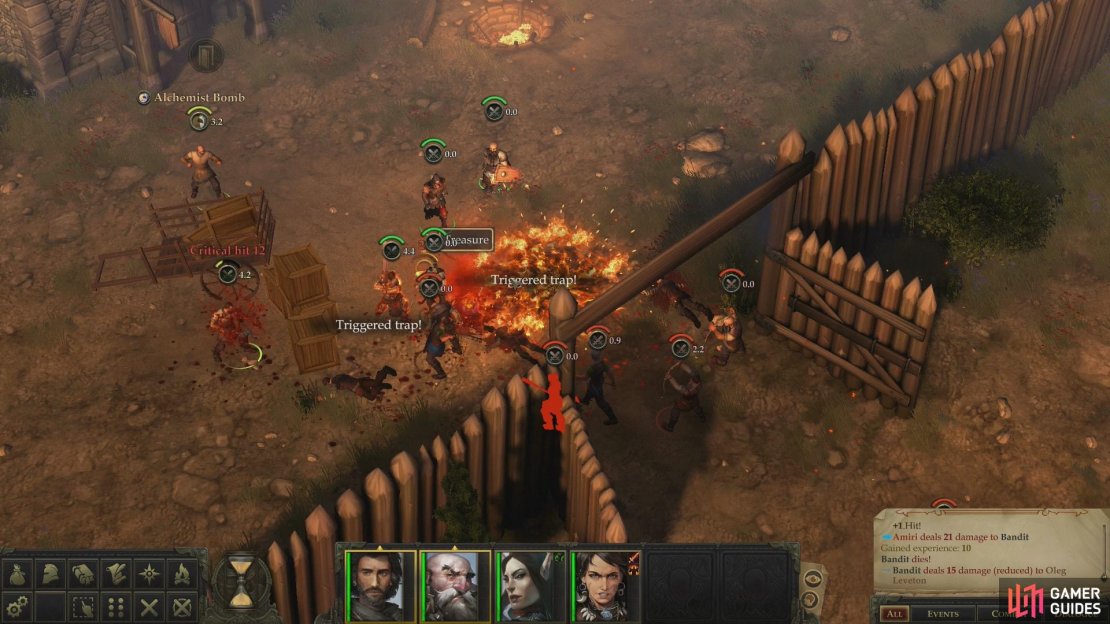
If you got Oleg to commit to using Alchemist Fire, he’ll start out the fight by tossing some, after which he’ll rely on his bow. Bokken, too, will chuck some Alchemist Fire later on if you secure his aid, and the traps will do some grievous damage to the bandits if you allow them to stroll over them. On Normal difficulty, between Oleg, Bokken and the tar, only one bandit from the first wave even made it far enough that we had to lift a finger. The second wave wasn’t much more successful, and aside from knocking down the odd straggler and seeking out an archer that avoided immolation, we actually had very little work to do in this fight. Nice.
(1 of 2) If convinced to deploy it, Oleg will make good use of Alchemist Fire
If convinced to deploy it, Oleg will make good use of Alchemist Fire (left), Traps and tar will further add to the attacking bandit’s woes. (right)
If your foes are proving more resilient, hitting them with a debilitating spell like Sleep can congest things further, and if you’re confident in your warriors (and the damage the bandits sustained) you may want to try a divide and conquer strategy. Sending somebody to aid Oleg may keep him in the fight longer (he can’t be permanently killed, so there’s no need to worry about protecting him, but he’ll tend to get himself picked off by archers if you leave him alone, not to mention the Attacks of Opportunity he’ll provoke if anything engages in melee), while another character - ideally your tankiest warrior - can stand just beyond the traps opposite the gate, ready to cut down bandits as they limp forward. Another fighter can be sent to the east, getting close enough until they can charge at the archers by the gate. Getting a warrior close to them - even if it means being isolated - will allow you to cut them down with satisfying quickness, and lessen the likelihood of suffering unwanted missile fire.
(1 of 3) Move to intercept the bandits as they head towards Oleg
When the bandits are all dead, be sure to loot their bodies. The gear they’ll drop is largely mundane (save for generous Happy Bydon, who will leave behind a Cloak of Resistance +1), but since there’s a merchant standing right next to you, everything can be converted into quick cash.
| Reward: For defending Oleg’s Trading Post from bandit reprisal |
|---|
| 100 GP* |
*if you did not perform the [Evil] dialogue option earlier to shake Oleg down for money, he’ll reward you after driving off the bandits
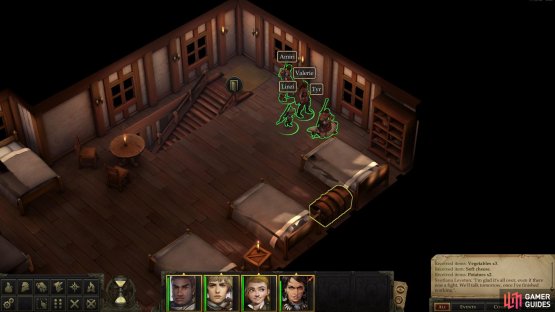
After the fight, talk to Oleg, who will offer to allow you to use one of his rooms to recover from your fight. Accept his generosity and head inside the inn, then go upstairs and loot the chests, two of which are locked. If you invested a skill point into Trickery for Jaethal, or if you have Linzi, you should have no trouble getting into these containers with a bit of save/loading. The locked chests contain a variety of valuables which serve no better purpose than selling back to Oleg, although the eastern-most locked chest contains a Scroll of Bane, while the southwestern-most check (the only unlocked one) to obtain a Potion of Vanish, a Scroll of Ray of Enfeeblement a Blessed Signet (cast Bless 3x per day - equip it and use it regularly, there’s no good reason to enter a big fight without this buff!) and an Explorer’s Belt (+2 Constitution, +2 on saves vs. disease, fatigue and exhaustion). When you’re ready to rest, interact with the bed.
Dispelling the Fog
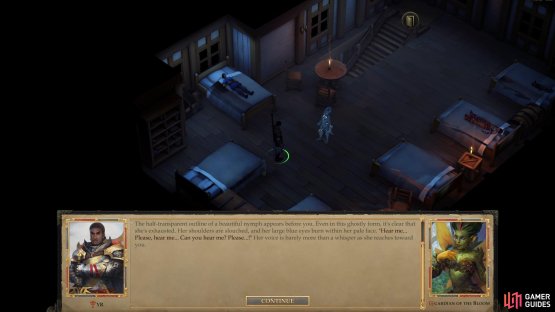
Thrice, at least, you’ve attempted to rest, and two of those times you were interrupted. Not good odds, thus far. This time you’re troubled by nightmares of the worst sort… the ones that don’t go away when you wake up! Speak with the spirit and - regardless of your alignment - maintain some civility, as you’ll get more information out of her this way. She’ll talk to you about the Stag Lord, suggesting that your shared foe may be somewhat more than a common bandit lord.
(1 of 2) If you’ve got a character versed in Trickery, loot the chests upstairs
If you’ve got a character versed in Trickery, loot the chests upstairs (left), Unfortunately, your rest will be interrupted by the Guardian of the Bloom, who points you to Thorn Ford (right)
To reach the stronghold of the Stag Lord and claim your rightful seat as ruler of this land (the land doesn’t know it has a master yet, but this isn’t a democracy, so its opinion doesn’t matter) you’ll need to dispel a malevolent fog that’s suffocating the land. To do this, you’ll need to find some “old house” in the forest which “echoes with the remnants of a strange power”. However, to find this house you’ll need to go to the bandits’ camp near the Thorn Ford and squeeze the information out of some ne’er-do-wells. Looks like you’ve got your work cut out for you.
Not so much work that you can’t pick up some side quests, however. The Stag Lord is your goal, but you’ll probably want to scrape together as much coin and get yourself as prepared as possible for the battle that’ll serve as the preamble to your inevitable coronation.
Anoriel Eight-Eyes
To that end, head downstairs (you only have control of your protagonist for now) where you’ll find Svetlana behind the counter, and a new face - Anoriel Eight-Eyes. She’s an adventurer, a seeker, a pathfinder… or at least she once was, now she’s a drunkard with a tale of treachery to tell who gets lost in the Stag Lord’s fog and an unsteady hand. She does, however, have connections, and she’ll promise to call adventurers to your aid should you have sufficient need… and by need, of course, that means cash.
Paying Anoriel essentially allows you to hire a new adventurer, whom you get to create yourself as if you were creating a new protagonist. This adventurer then joins your party for the rest of the game, so should you find any of the premade characters lacking in prowess or your party otherwise needing a specialist, you can hire - and customize - what you need. As your level increases, the price of this specialist will increase, although they’ll always join as a 1st-level character, albeit with enough experience for you to level them up to parity. You can hire multiple new adventurers, should you have the coin to do so, although they’re somewhat less interesting than the characters given to you by the developers.
While the pregenerated companions are doubtlessly more interesting to play with than the mercenaries you can hire from Anoriel, their personalities also can result in fickleness. Many of your companions can end up leaving the party - one way or for one reason or another - depending on the choices you make, and there are specific instances (Tristian in Chapter 3, and most every character near the end of the game) where you’ll be deprived of your pregenerated companions. Suffice to say, having your own custom-made mercenaries on-hand can make the loyalty of your companions less of an issue, and if you recruit them early, you’ll be paying a relative pittance for more reliable characters that have better stats and more combat utility. It comes highly recommended.
Svetlana’s Ring
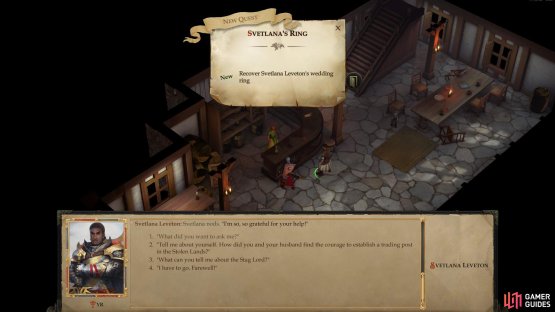
Talk to Svetlana, who sheepishly attempts to waste your time asking for a favor. Indulge her and she’ll ask you to recover her wedding ring if you find it during your battle with the bandits… and more interestingly, she’ll beg you to spare the life of a “dark-haired woman who wields dual axes” if you should encounter her. Interesting… Good or evil, don’t turn her down and you’ll get the quest Svetlana’s Ring. Everybody can use the experience, after all. Next, ask Svetlana about the Stag Lord to get a [Lawful Good] and a [Chaotic Evil] moral choice, should you feel tempted to refine your alignment a bit more.
(1 of 2) Talk to Svetlana to pick up the quest “Svetlana’s Ring”
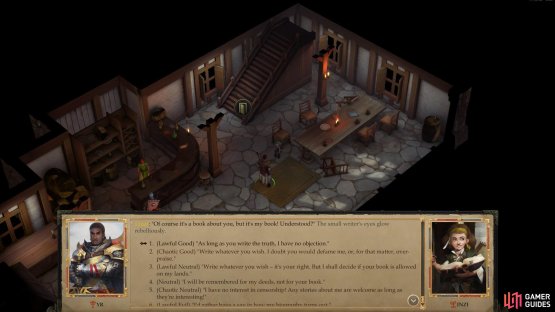
Talk to Svetlana to pick up the quest “Svetlana’s Ring” (left), You can also chat with your companions, many of whom have moral choices you can make… just be wary of learning too much about your allies. (right)
Bokken’s Quests
Head outside and talk to Bokken near the fire, and be sure to ask if there’s any way you can help him. Again, good or evil, it doesn’t matter, experience doesn’t care what alignment you are, and for offering your services he’ll tell you about Fangberry Cave. Bokken used to gather fangberries there, before the place grew infested with arachnids, and would like you to bring him a basket of the berries back. In addition, he’d like you to gather some moon radishes, which grow in habitats that are attractive to Kobolds. This starts the quests Fangberry for Bokken and Moon Radishes for Bokken. Sounds like things to kill and treasure to gain, eh?
You can do business with Bokken and buy a variety of potions from him. Some of his goods may just help you complete his quest in Two Rivers Field, so if you don’t have access to area-of-effect spells (Burning Hands is the best you can hope for at this point) consider buying some Alchemist Fire. He should have given you six units of Alchemist Fire to deal with his arachnid problem, but you’ll probably need 10-12 of them - two or three for each character you have now - which will set you back just over 200 GP. If you can’t be bothered to expend this money, you may just have to wait, as Bokken’s task does have a bit of a complication. This should not significantly affect your travel plans, however, as you can still carry out the recommended first expedition without too much disruption.
Oleg and Your Companions
Oleg will chat about the Stag Lord, but say little of interest. Still, you can finally dump off all that gear you pried from the cold, dead hands of the bandits who attacked earlier. After that, search around the outpost for your companions, whom you can now chat with and learn more about their pasts and motivations, if you wish. There’s a decent amount of text to parse, and it’s your first real opportunity to get to know their backstories, if that interests you.
Returning to the World Map
When you’re ready to leave, walk your protagonist to the southwestern end of the trading post area to find an area transition. Once you interact with the aforementioned icon, you’ll get a party selection screen, allowing you to choose who, exactly, you want to bring with you - an easy choice at the moment.
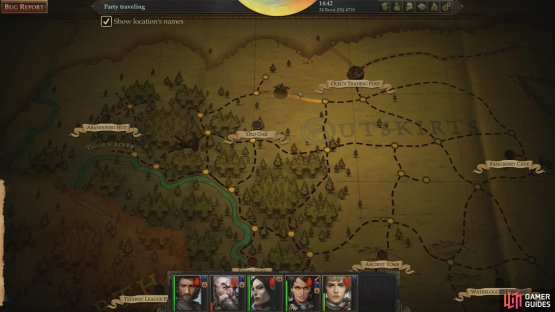
There are some things you should know about traveling via the world map before you go. First, some stages of the two major quests (Stolen Land and A Bitter Rival) you’ll be doing in this chapter are timed… in addition to the overall three month time limit you have to deal with the Stag Lord. Leads go cold, trails are weathered out of existence, targets move on to new sites, and berries get moldy, just to list some examples that you may encounter shortly. Suffice to say, you may need to prioritize your quests, but for the most part if you’re late to an objective you’ll just be forced to move on to the next - a task that often requires waiting for new leads, or blindly exploring the world map and hoping to stumble upon the next clue.
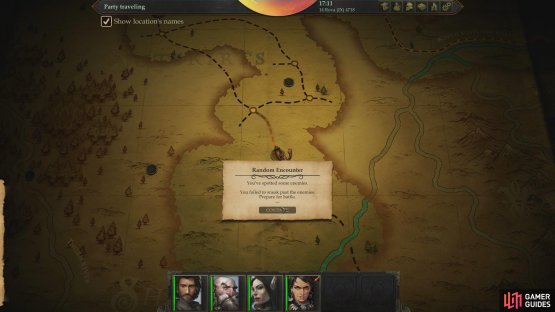
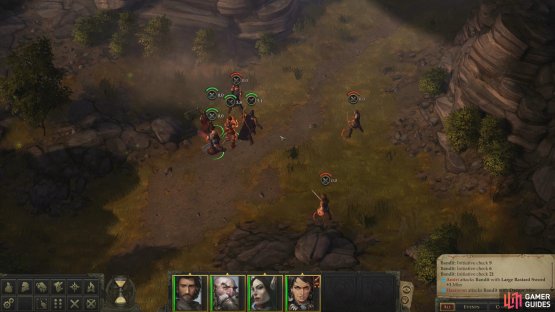
Which brings up another complication: travel on the world map was greatly simplified on your trek to Oleg’s Trading Post. You had only two options then, forward and back, but from now on, you can expect numerous, unmarked forks to arise as you explore, many of them leading off the beaten path and into the wilderness. Traveling takes time, of course, and there’s always the danger of random encounters, but it’s a necessary evil, as even if you know the rough location of an area, you still have to find the way there manually… at least the first time. That’s not to say exploring the world map is all bad, however, as random encounters can provide XP and loot, and unmarked areas can be discovered by venturing near them. Not all areas you’ll find will have quests associated with them, but most areas have monsters to kill and treasure to plunder.
(1 of 2) While you explore, you may happen upon random encounters
While you explore, you may happen upon random encounters (left), These encounters can provide you with extra experience and loot, but can be dangerous against a compromised party (right)
Here are some tips on travelling and questing in general:
-
Pick your objectives and complete quests with stricter time limits first.
-
Travel light so you’re wasting less time on the world map. Sell off any unused armor and all but the most exceptional of weapons, and when looting fallen foes, leave their armor unless you plan to equip it. (Anything with less than a 1:10 weight-to-gold ratio may not be worth hauling around if you plan to sell it.)
-
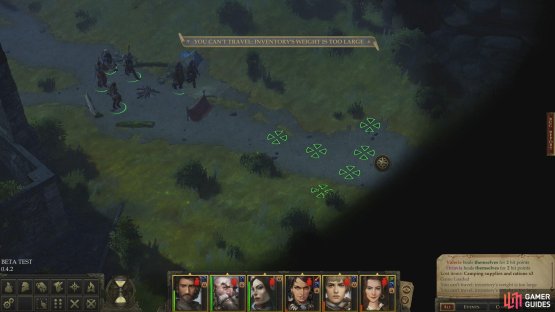
Be wary of fatigue and exhaustion, and particularly their effects on encumbrance. When you start out on an expedition, you’re probably traveling light and are well-rested, but as you accumulate treasure and grow tired, your carry weight will increase while fatigue and exhaustion sap your Strength. This will slow you down while you travel on the world map, and may overburden a character in area maps to the point where they may not be able to move. Together, it’s a recipe for frustrating random encounters on the road home.
(1 of 2) If you’re encumbered, your movement on the world map will be slowed
If you’re encumbered, your movement on the world map will be slowed (left), Encumbrance can slow you down on area maps as well, and an over-encumbered character may be prevented from traveling on the world map (right)
-
Don’t be shy about quicksaving on the world map in case you take a wrong turn and end up fruitlessly exploring, or run into a random encounter that is a bit more than you expected.
-
You do not have to be in a map area to rest. You can press “R” at any time to bring up the resting menu.
-
Camping on the world map is quicker than in areas, as your companions won’t engage in banter. Of course, if you want to see the banter, you’ll need to rest in areas.
-
You can press “Space Bar” to stop your movement along a path or to a destination.
-
You can travel to empty nodes (the yellow dots, usually at forks) and discovered areas on the world map by clicking on them. Your party will travel strictly along known routes when you do this, however, which may not be the fastest way to reach your destination.
-
Some areas on the map are hidden and require a check to discover. This check is made when you first travel along a path that’ll lead you past the area, and if you fail your check, the area simply will not appear. You cannot make another check until you level up again, effectively locking you out of the area for a while. You can, however, save/load as you travel to ensure you discover these areas.
-
Along with areas and empty nodes, you can also find resource nodes scattered across the map. These are usually marked by some blue icon or another, and when you have your kingdom you’ll be able to claim them, harnessing the resources there to your benefit.
-
When you start getting fatigued, weigh your options. Toughing it out and returning to Oleg’s Trading Post and resting there may be a better option than camping out in the wilderness, especially if you have loot to sell.
-
Just because you can discover a location on the world map now doesn’t mean you belong there. Some areas will contain challenges that are simply too great for you when you first discover it, so don’t be afraid to admit defeat and leave well enough alone.
With all that out of the way, it’s time to put theory into practice with our first expedition. It’s during this expedition where you’ll get your first taste of exploration and possibly knock out a few side quests. Check out the following page, Expeditions Overview for general information about expeditions.

![and succeed at a [Diplomacy] check to gain Bokken’s support, as well](/assets/guides/145/Bokken_Diplomacy_Check.jpg)

![and succeed at a [Perception] check to find the traps within.](/assets/guides/145/Bandit_Attack_Preparation_Trap_Check.jpg)
![and pass a [Lore (Nature)] check to identify the substance within as tar.](/assets/guides/145/Bandit_Attack_Preparation_Tar_Nature_Check.jpg)






No Comments