
Walkthrough for Sharel’s Masterwork quest, A Bloody Craft in Pathfinder: Kingmaker.
To unlock this quest, you must claim the Northern Narlmarches, which you’ll be able to do when you raise your Community Kingdom Stat to Rank IV. After that, found a village in the Northern Narlmarches and visit it, where you’ll find a guard accosting a half-elf named Sharel. Intervene, return to the capital and talk to Hassuf to acquire Confirmation of Sharel’s Innocence, then return to the guard and pick the [Lawful Good] or [Chaotic Good] choice to exonerate Sharel.
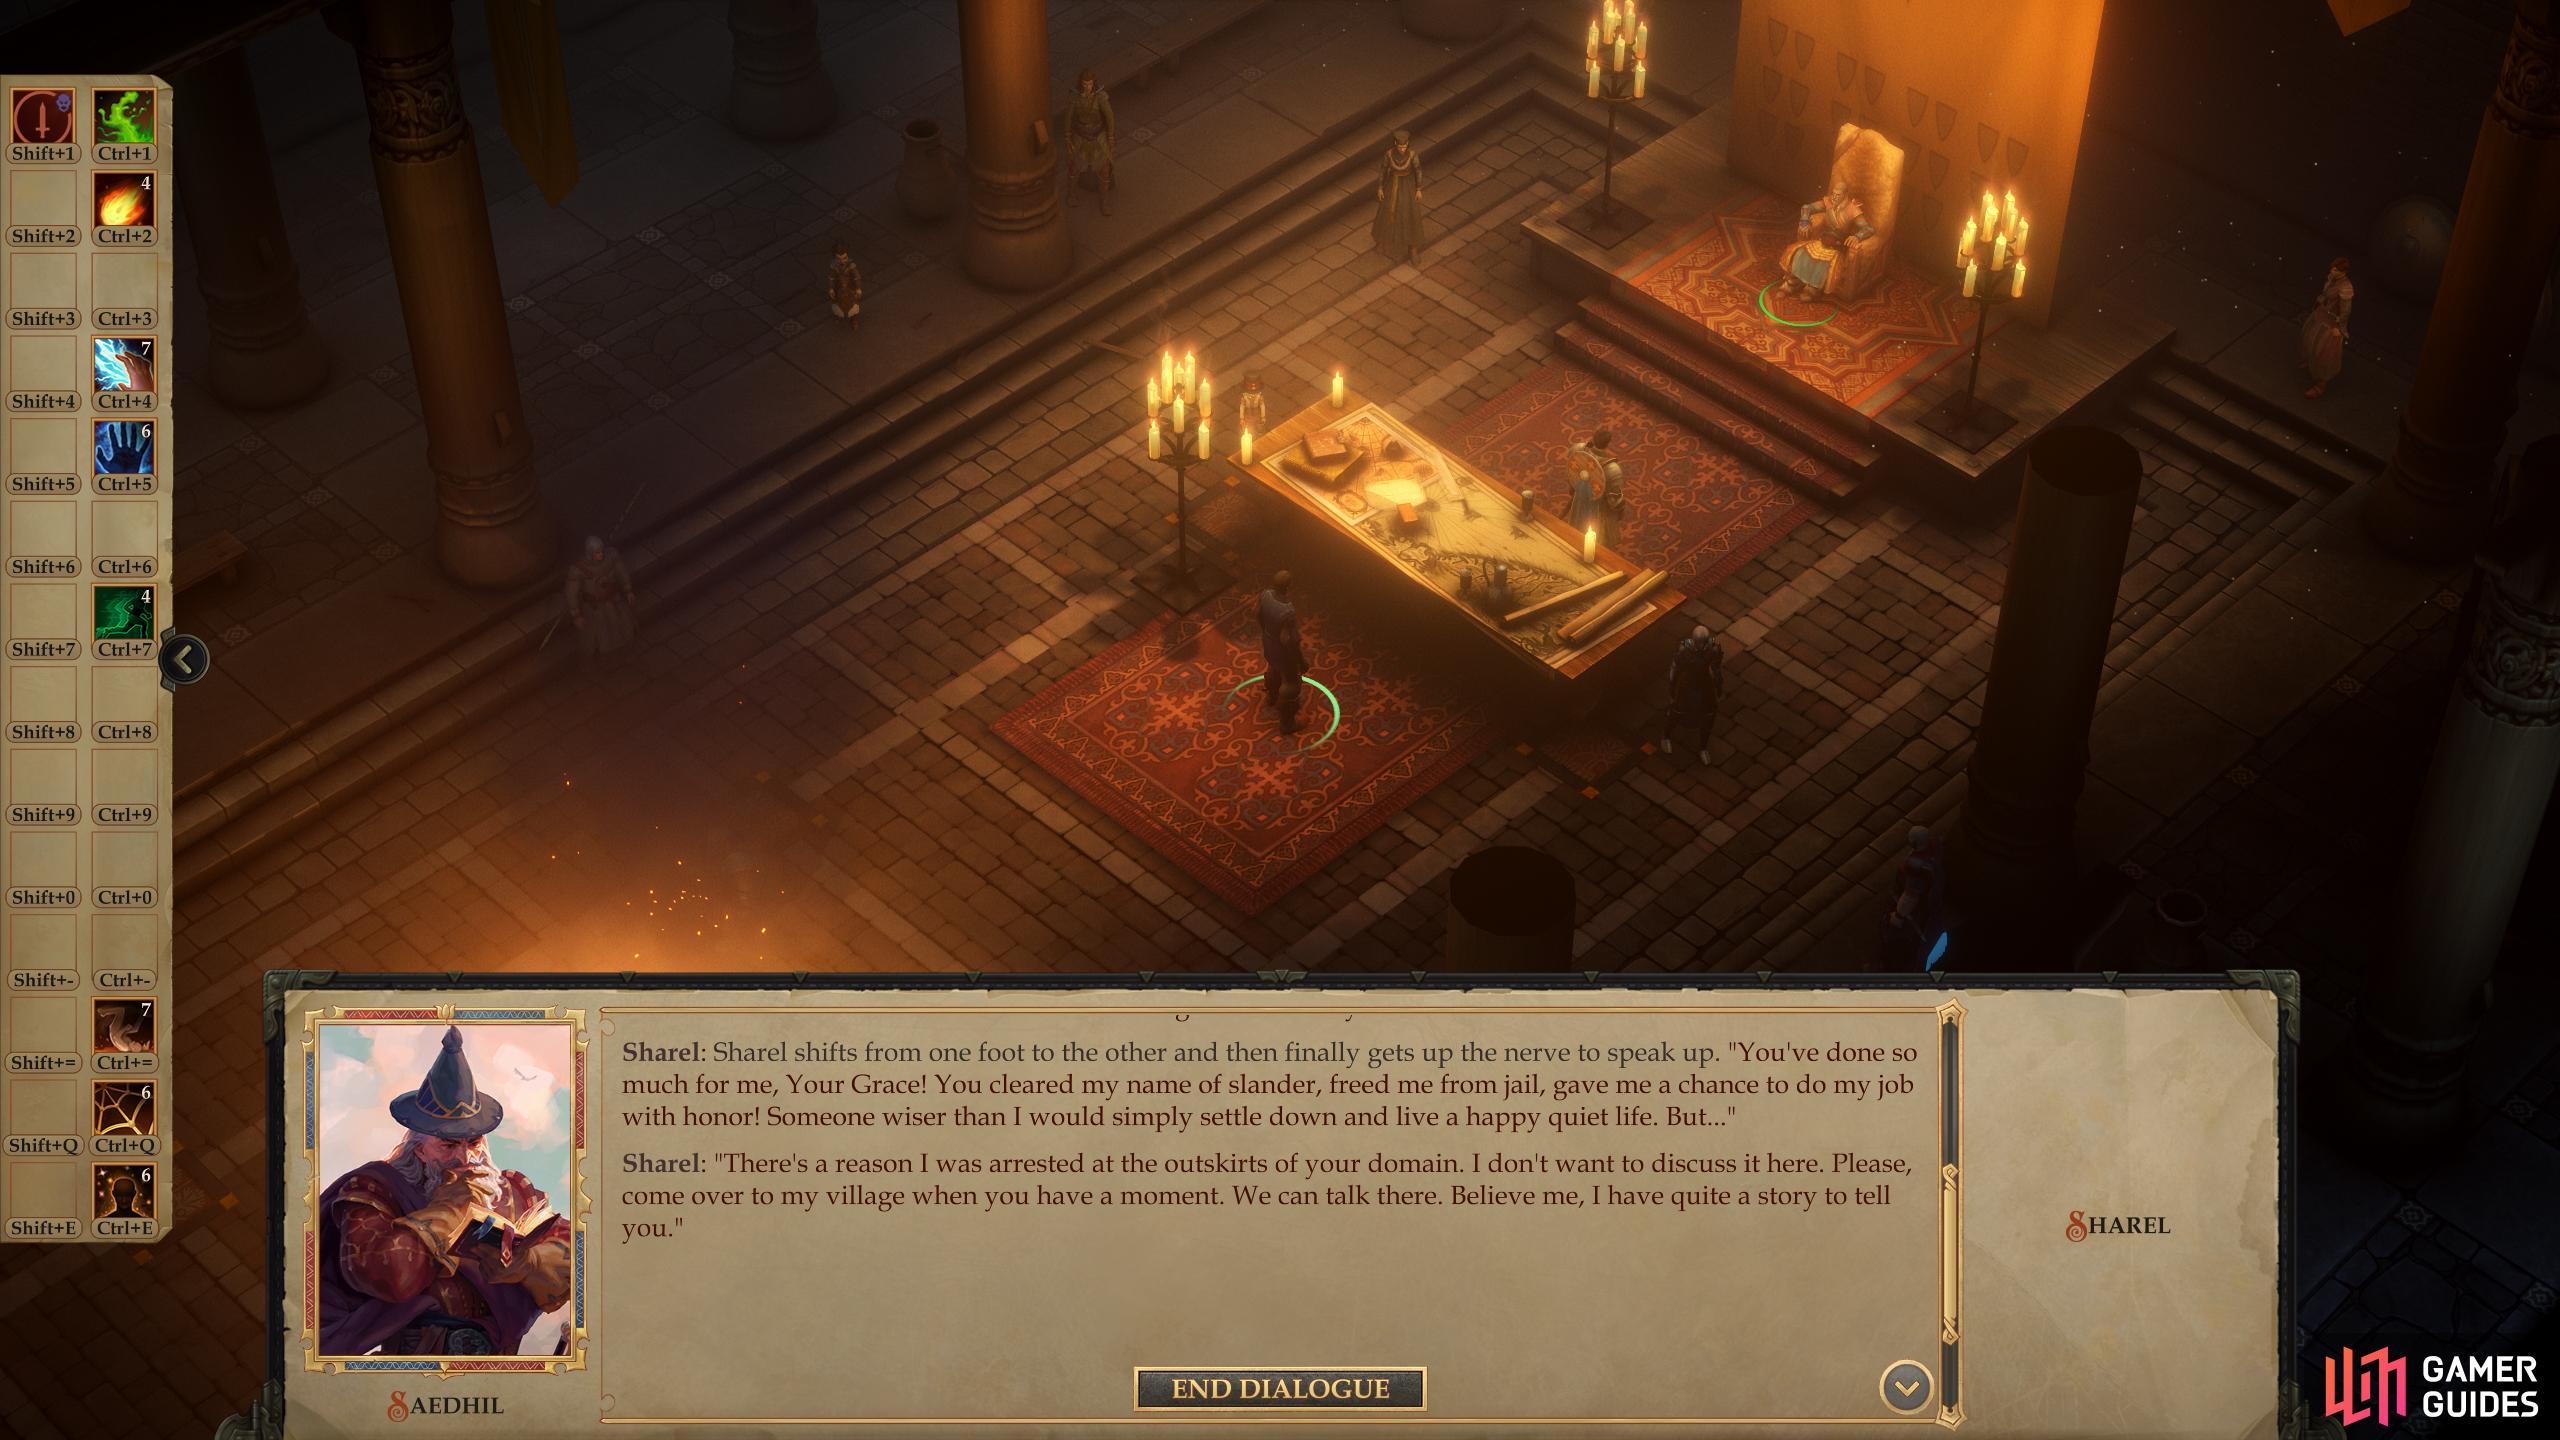
After crafting an item for you, Sharel will tell you about the plot to arrest him, and ask you to visit him to learn more.
Sharel will then offer his services to you. Accept, build Sharel’s Sewing Shop in the village, and Sharel will start crafting items for you. Shortly after bringing you your first item, he’ll ask you to visit him in the village in the Northern Narlmarches, starting this quest in the process.
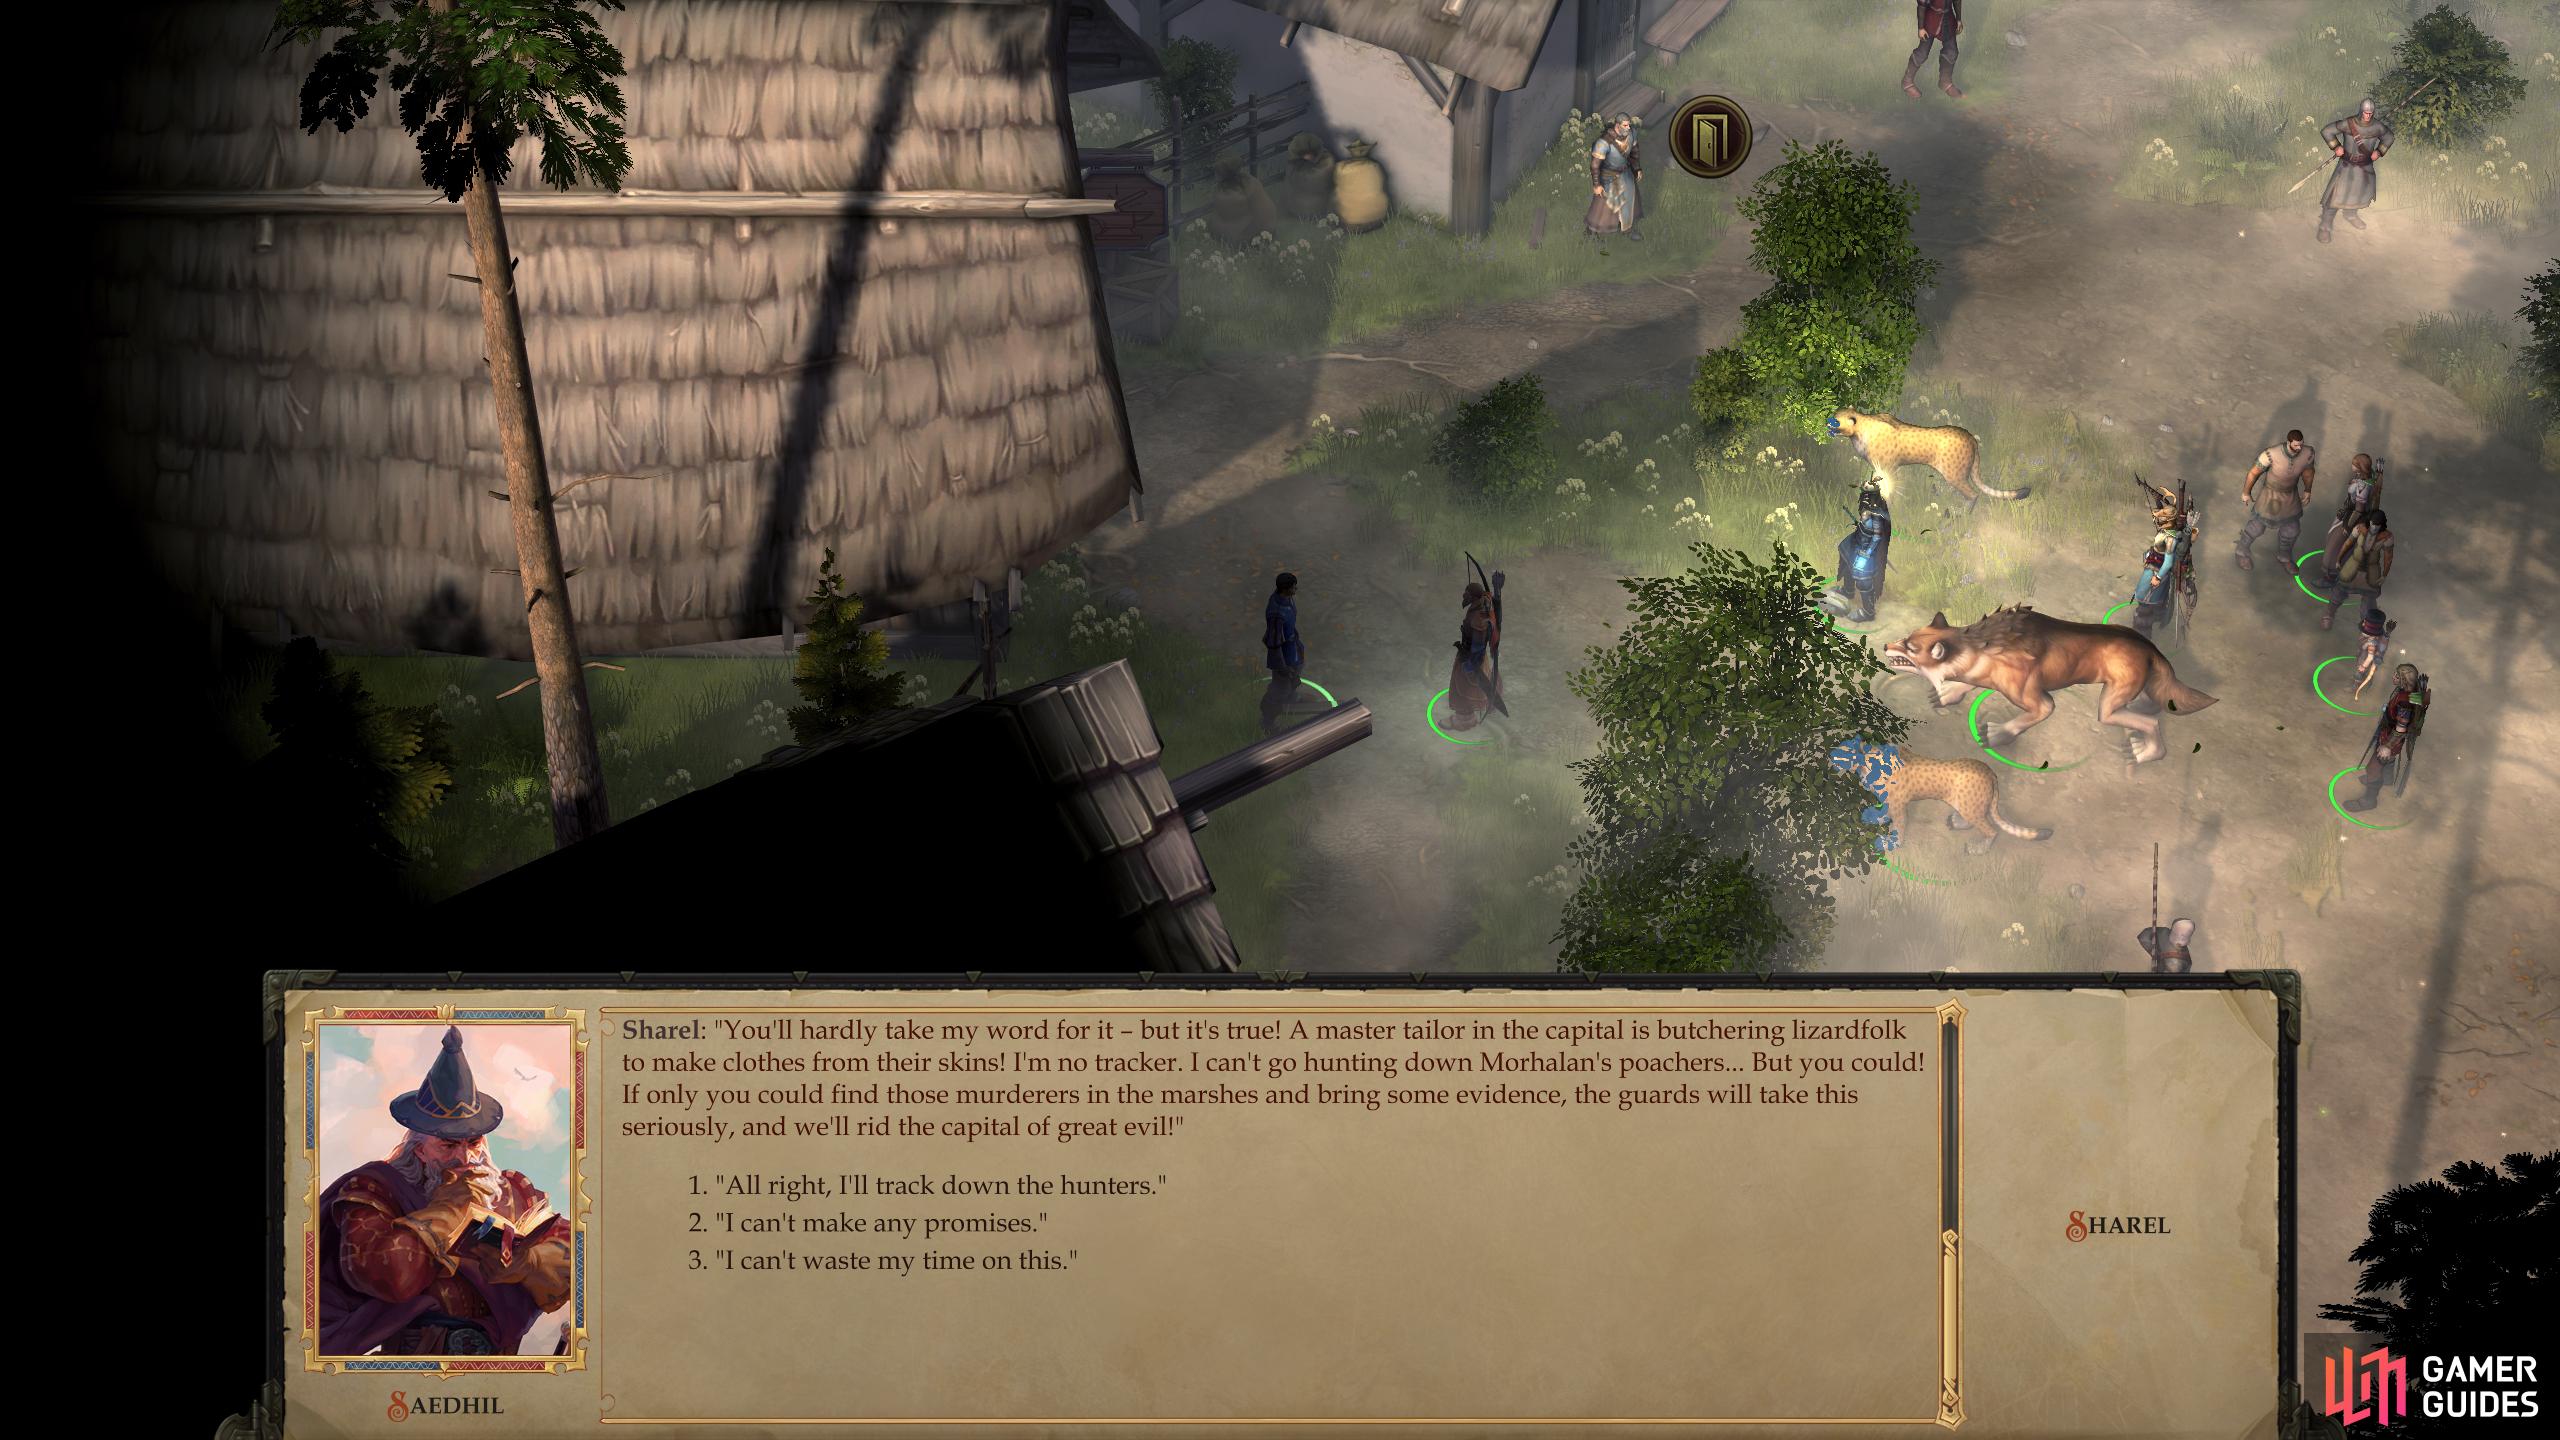
Travel to the village you founded in the Northern Narlmarches and talk to Sharel, who will tell you of another tailor named Morhalan, who is sourcing materials unethically. Agree to track down Morhalan’s hunters to score 180 XP and he’ll suggest you look around the “Narlmarches”, which isn’t much to go on, since the “Narlmarches” includes half your territory.
Morhalan’s Poachers
Travel around the Northern and Southern Narlmarches until you trigger a random encounter with some poachers, including a Poacher Alchemist and two Poacher Brawlers. The alchemist is a pain, as alchemist tend to be, and should be your priority lest he have free reign to pelt you with bombs. While the alchemist is a nuisance, the two Brawlers are mid-level barbarians with plenty of HP and decent Attack/Damage output - nothing compared to the Owlbears you’ve been fighting, but still dangerous enough that you should exercise caution. Bring them down and loot them - the barbarians will both drop a Falchion +1, a suit of Hide Armor +1, a Ring of Protection +1 and a collection of coins, baubles and potions, while the alchemist will drop a Chainshirt +1, a Light Crossbow +1, various alchemical concoctions, and a chest full of Lizardfolk Skins.
Pick up the chest and return to Sharel in your village in the Northern Narlmarches and he’ll confirm his own suspicions and decide to take the initiative with the rest of the matter. This earns you another 180 XP.
The quest will go dormant after this point, only resuming the next time Sharel brings you an item in yourthrone room, which will probably take several weeks of in-game time.
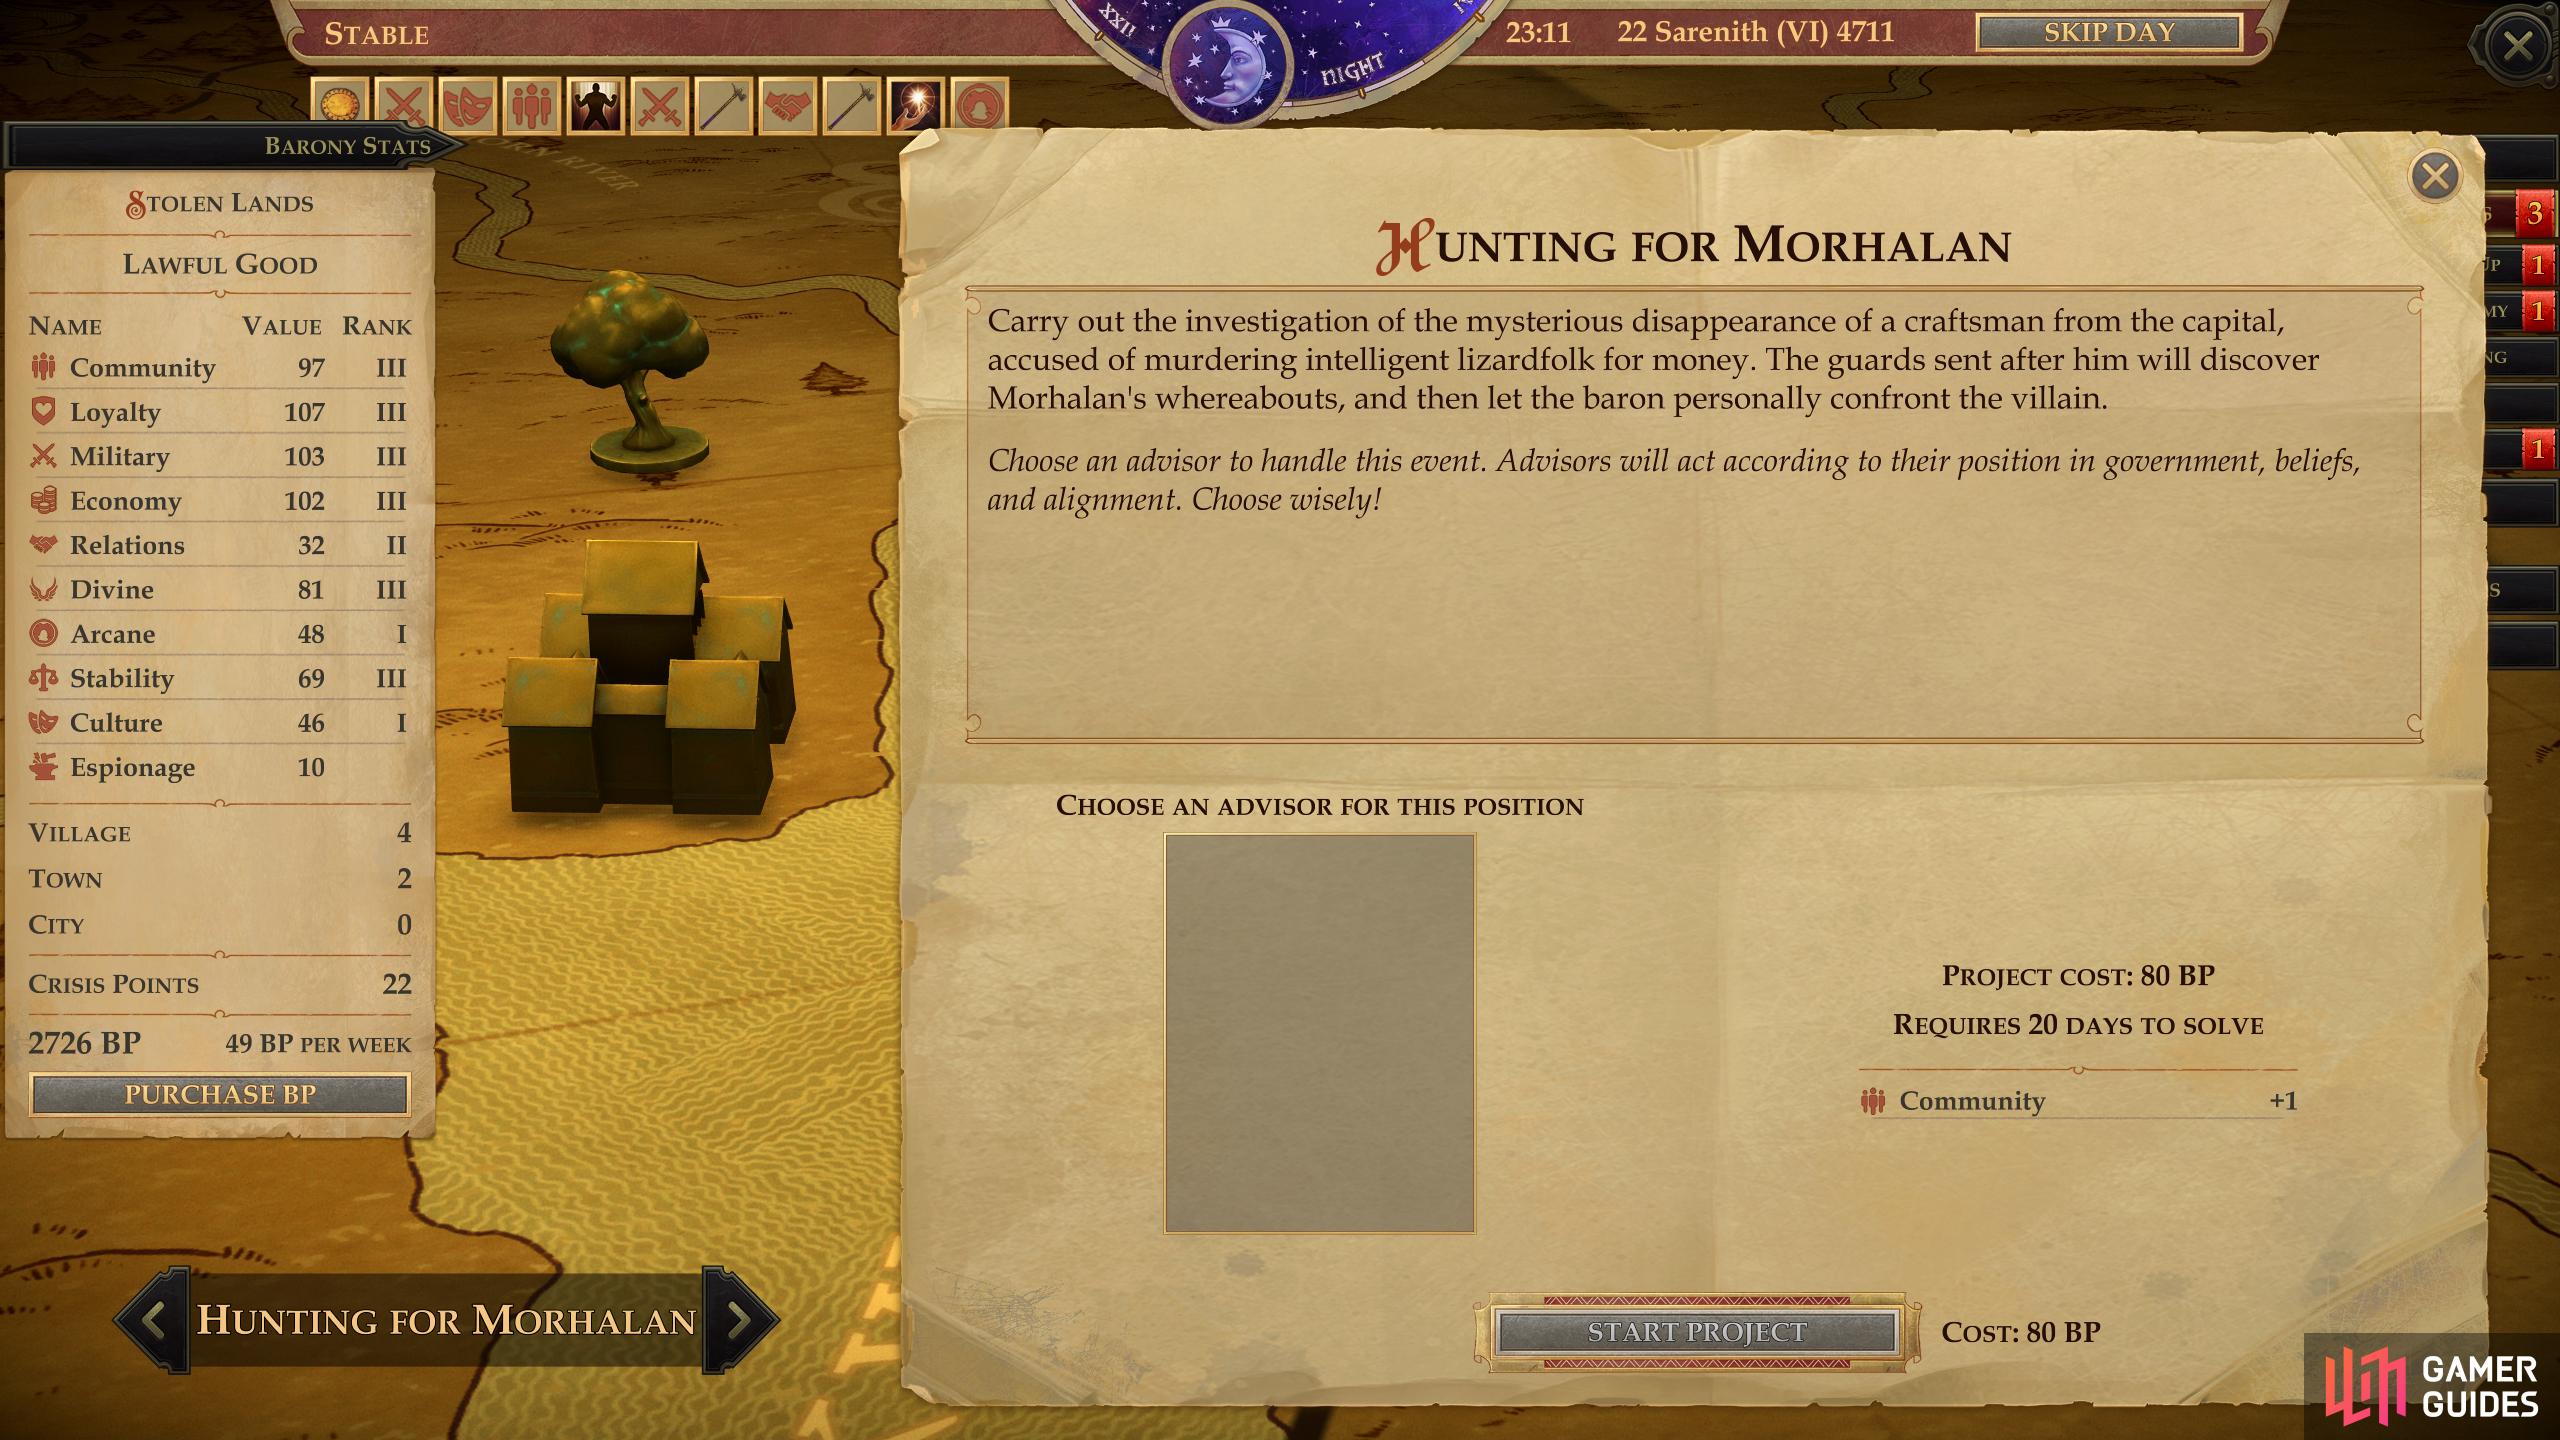
Morhalan is able to escape justice, forcing you to hunt him down via the “Hunting for Morhalan” project.
Hunting for Morhalan
This quest will go dormant after this phase, only resuming once Sharel crafts you another item. After delivering said item to you in your throne room, he’ll mention Morhalan, who escaped before he could be apprehended. Sharel will say that your Warden needs to hunt down Morhalan (via a new event, Hunting for Morhalan), but your Councillor or General will both suffice as well. Be sure to assign one of them to start this event, as the quest will expire in 120~ days, and this event will take 20 days (not to mention 80 BP) to complete. Better to start it now and have more time than you need rather than wait and risk failure.
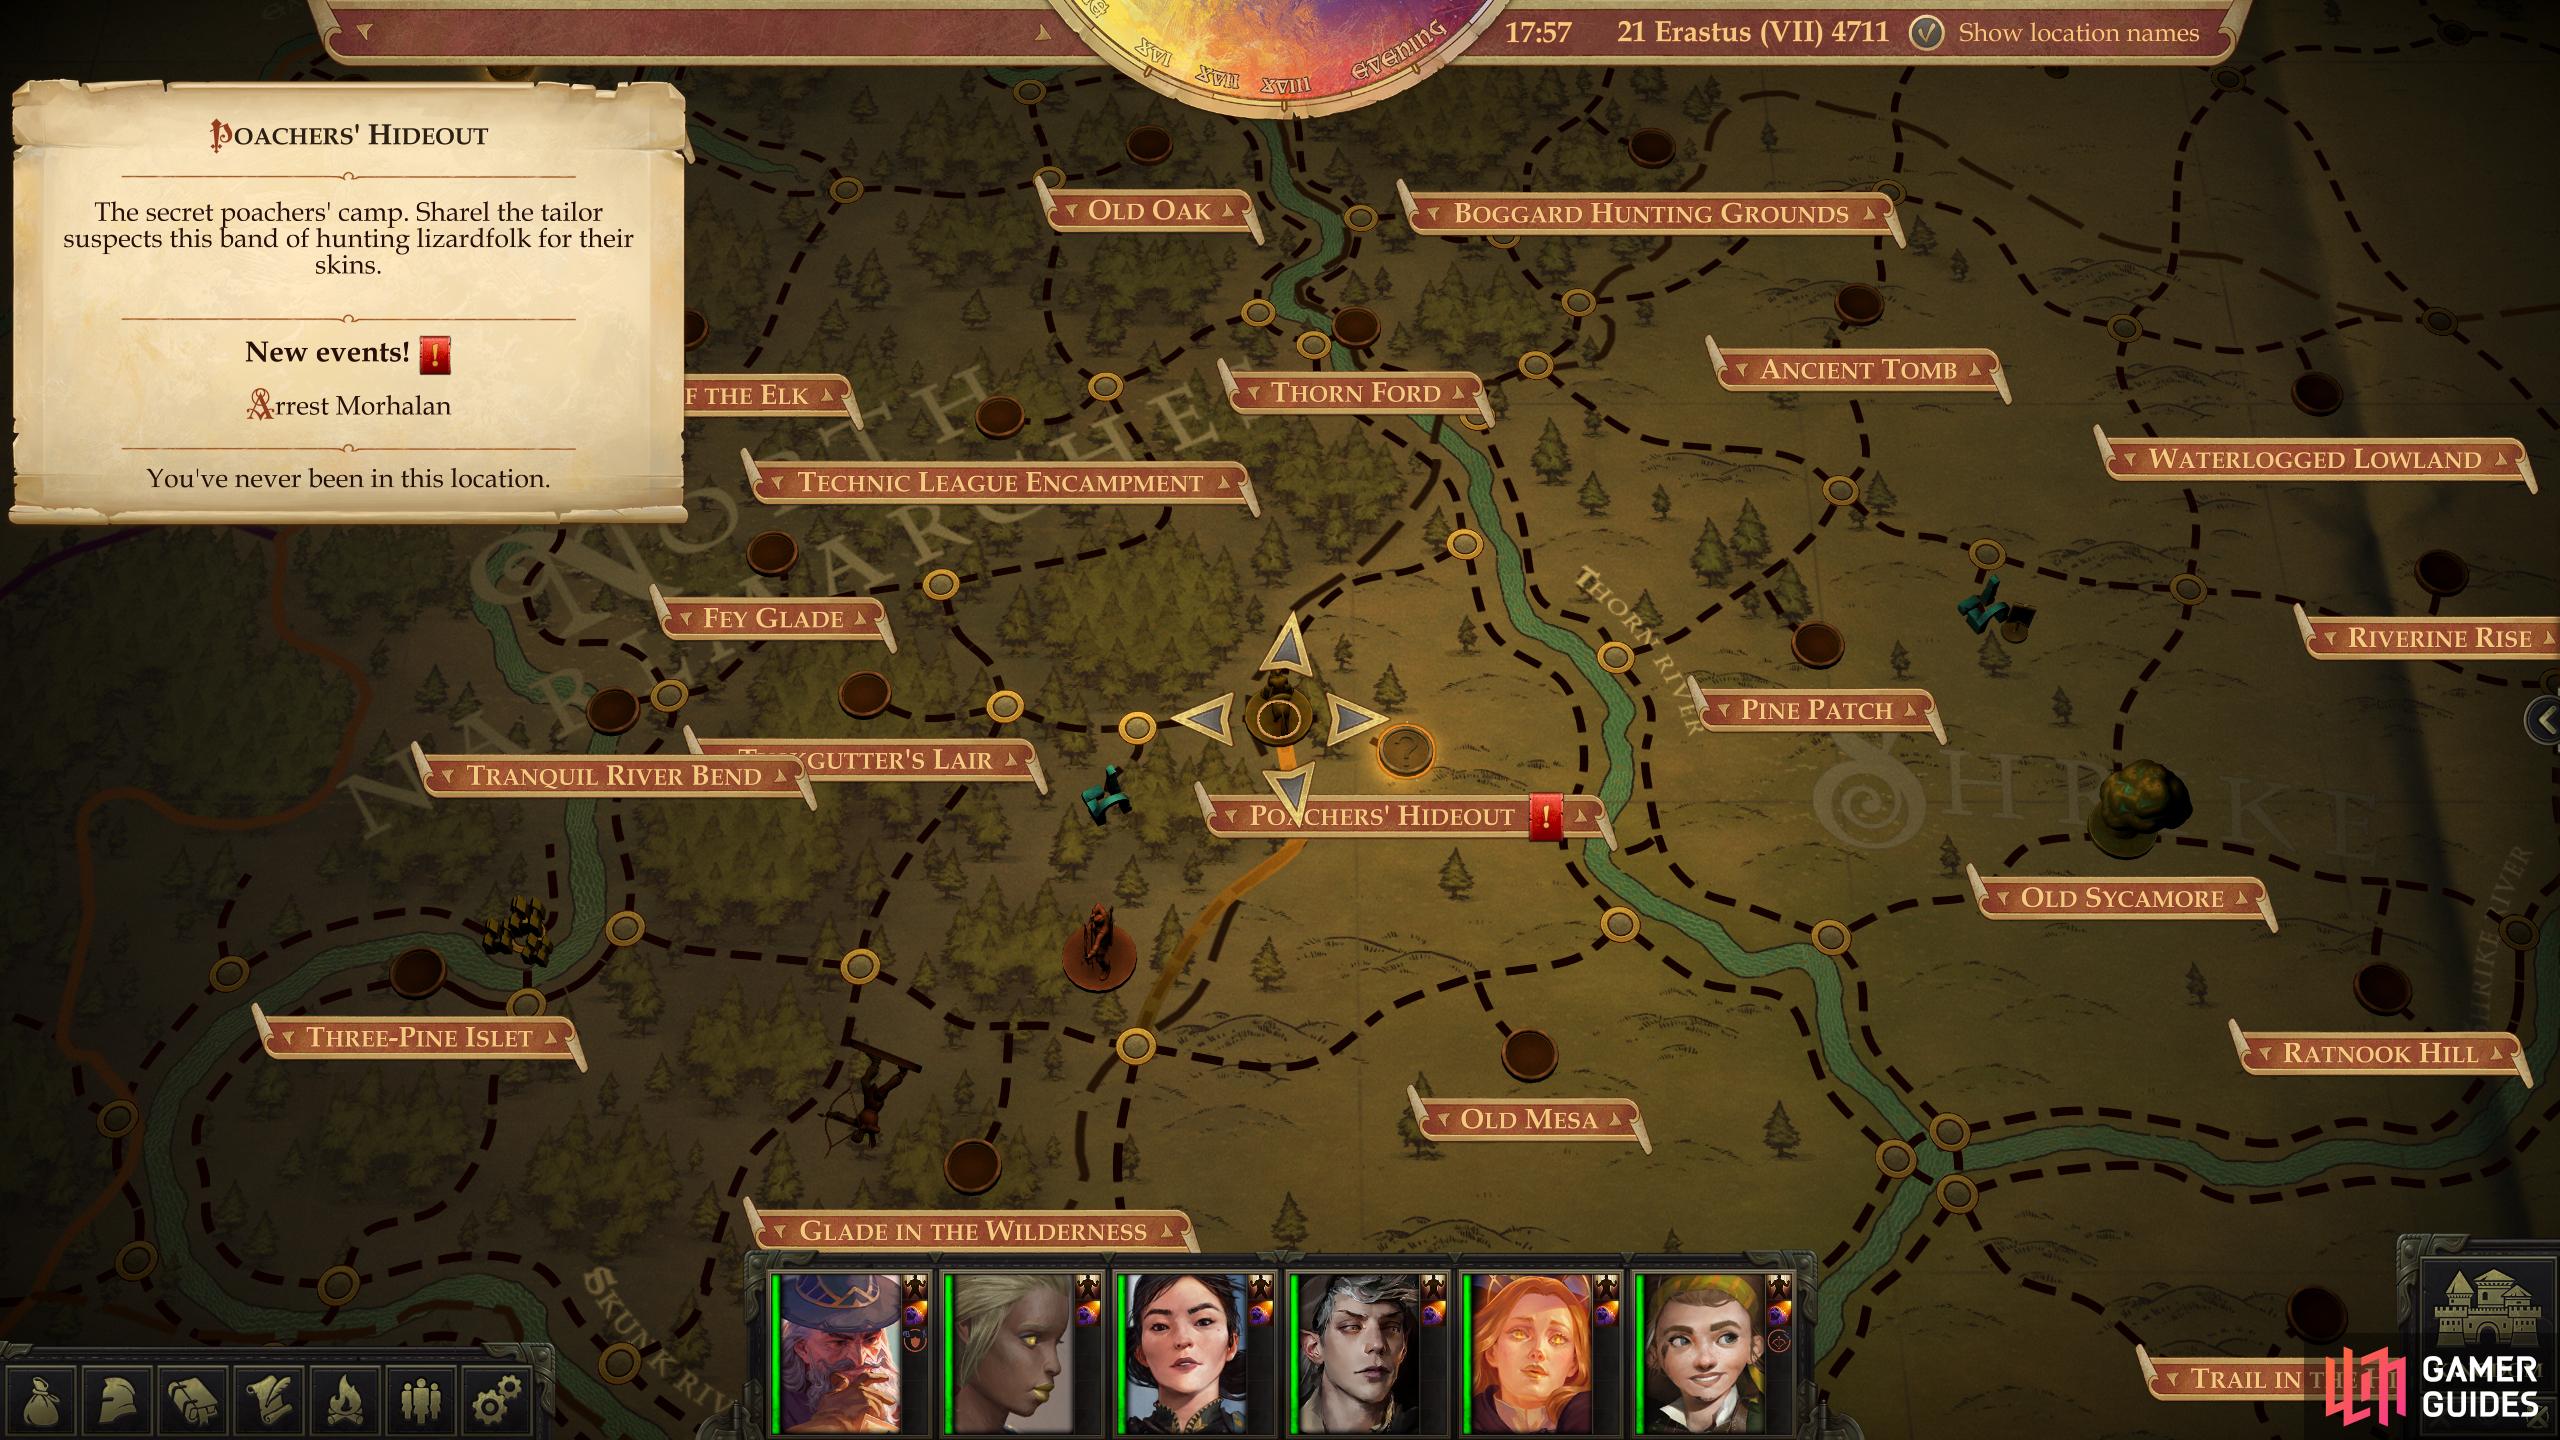
The location of the Poacher’s Hideout on the map.
Once this project is complete, the quest will update and the likely location of Morhalan - the Poacher’s Hideout - will be added to the map. This area is thankfully not very far from the capital:
- West
- North
- Northwest
- Northeast
- East
(1 of 4) Morhalan will try to bribe his way out of trouble, and while the compensation is lucrative, accepting will fail the quest.
Poacher’s Hideout
As soon as you enter, you’ll hopefully spot a trap [Perception 27] just a few paces to the east. Disarm it, but be wary, as several more traps fan out to the east and southeast. You won’t be able to disarm them all before confronting Morhalan, but you can disarm this first one, and if you can spot the rest, they can be avoided.
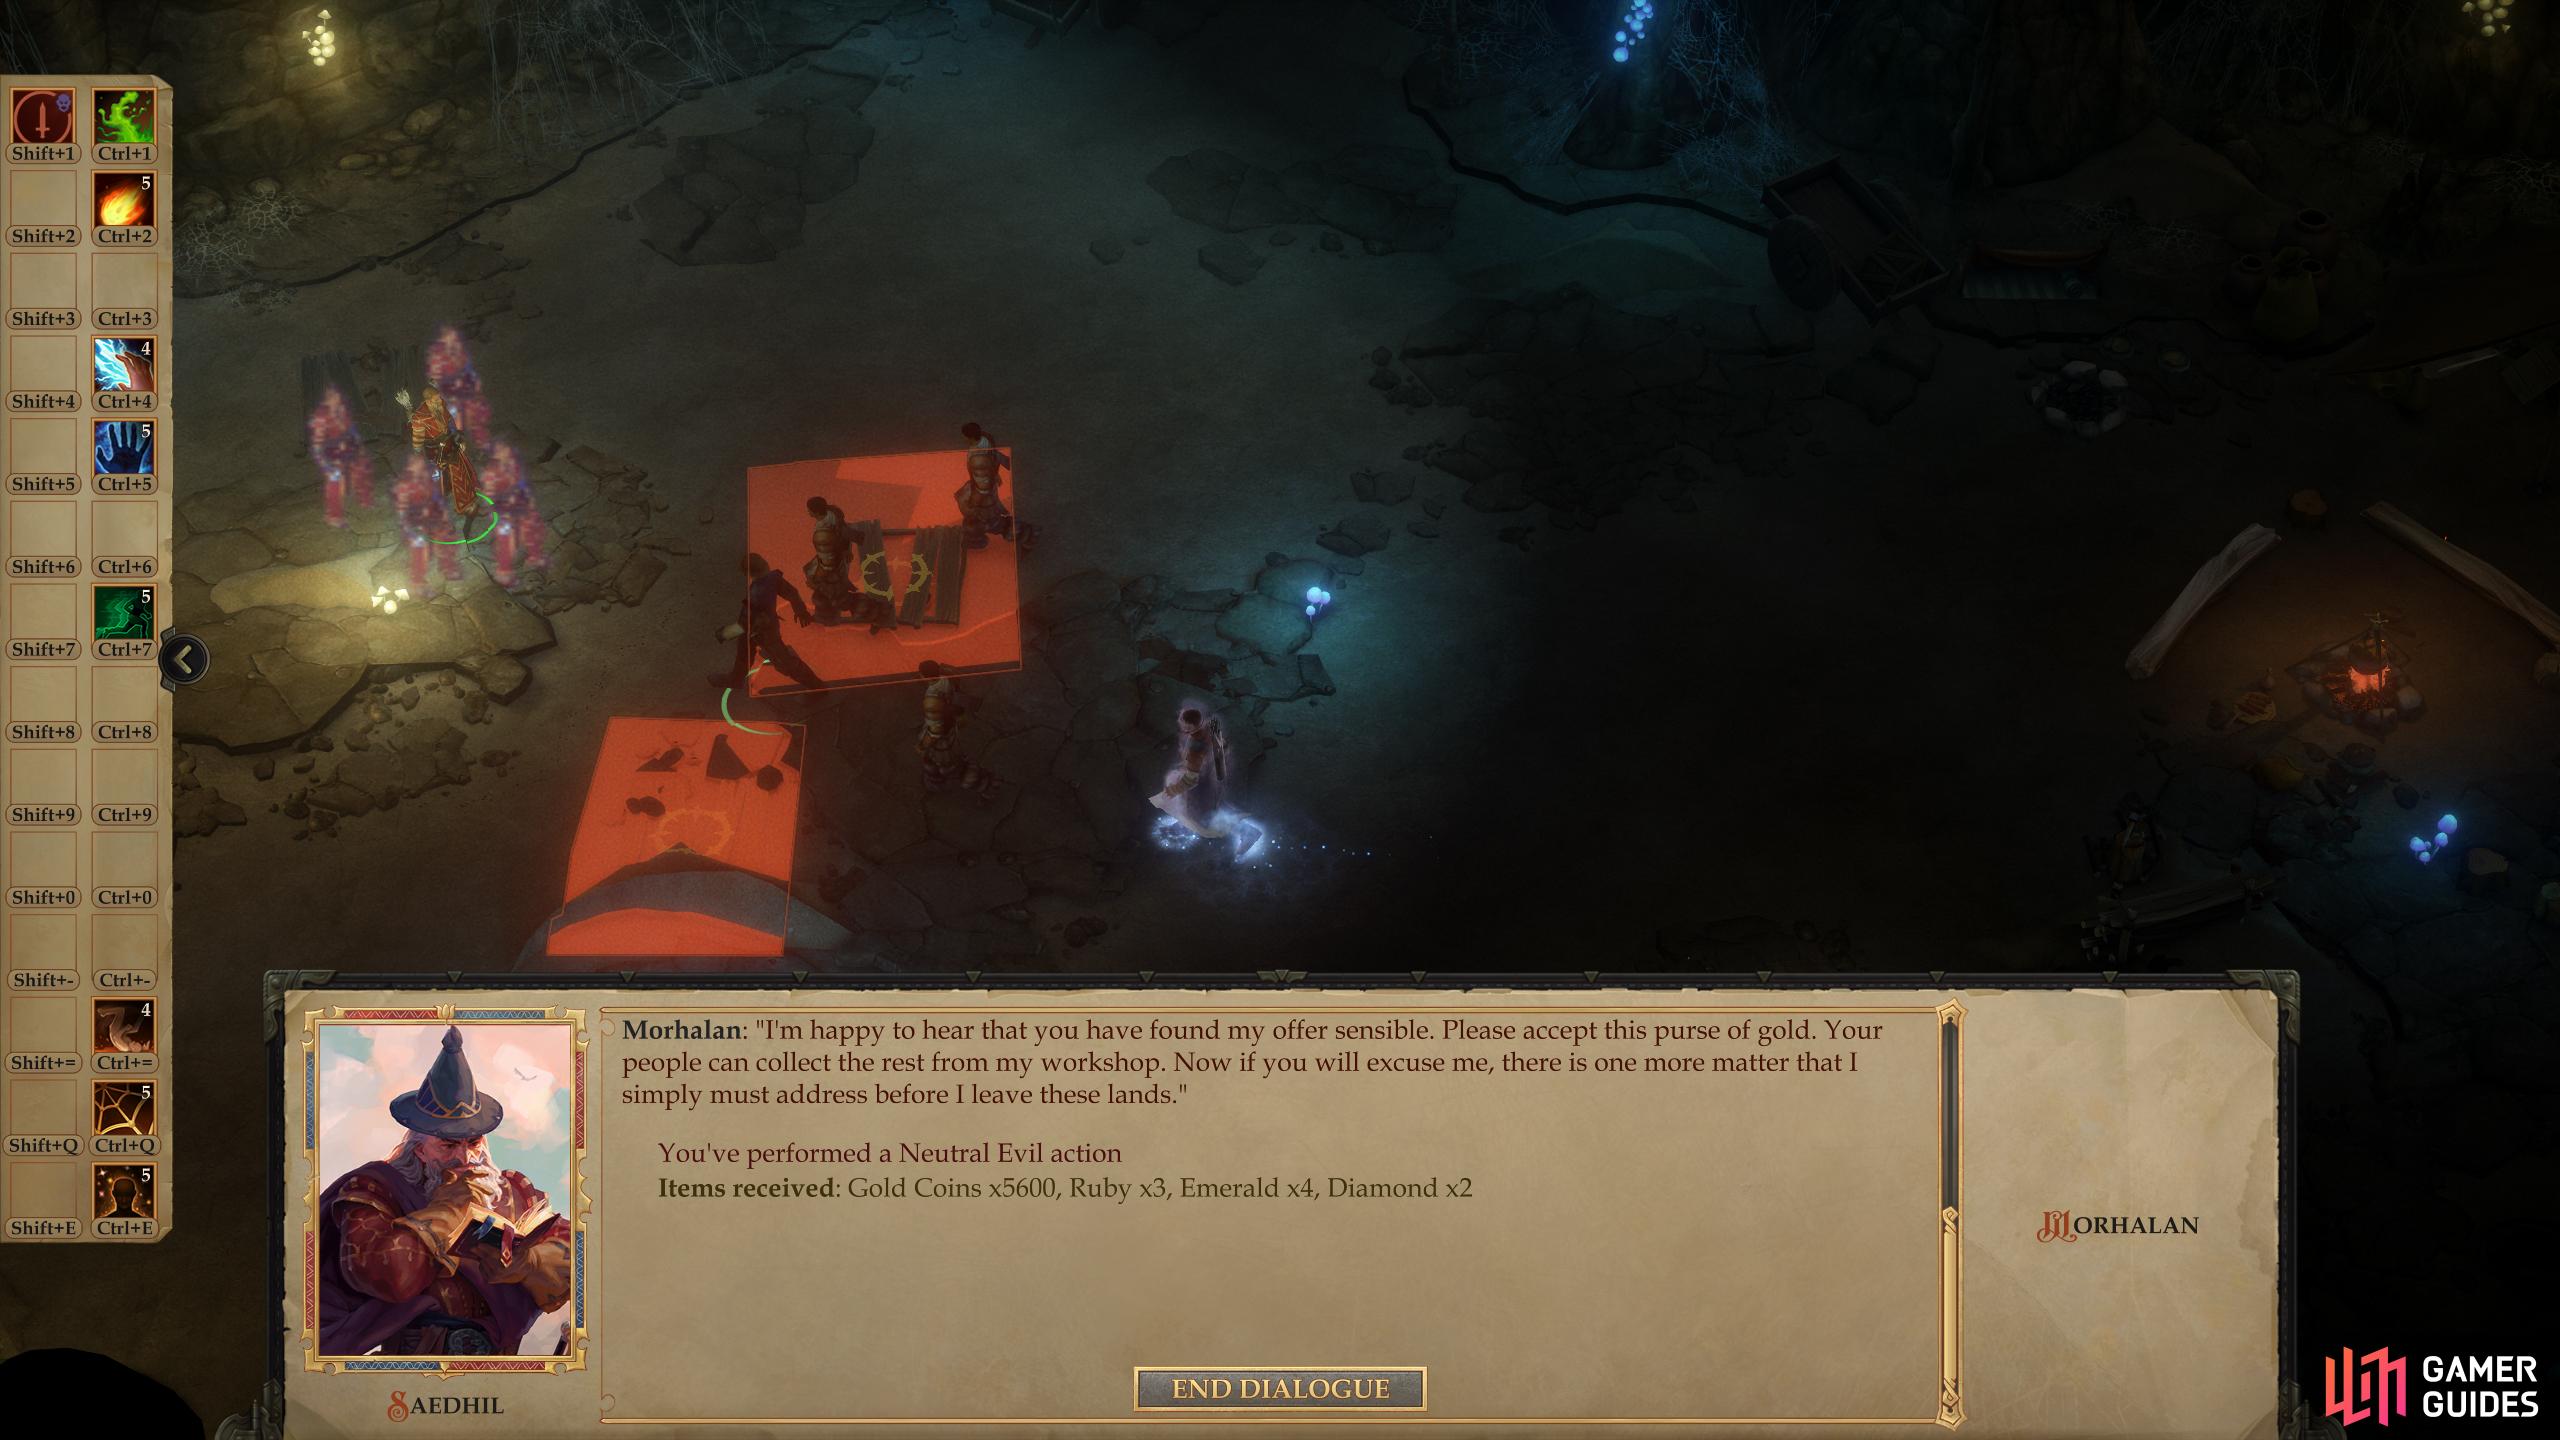
Spell buff, then advance east until you find Morhalan, who attempts to bribe his way out of trouble. If you accept [Neutral Evil], you’ll find that skinning lizardfolk may be evil, but it apparently has made Morhalan awfully rich - he’ll give you 5,600 gold, 3x Rubies, 4x Emeralds and 2x Diamonds to get out of trouble. This fails the quest, however, and hence isn’t recommended.
Pick a fight [Neutral Good] and you’ll find yourself engaging several Bandit Brawlers, a Bandit Alchemist and Morhalan himself. Morhalan and the Alchemist are the real threats, especially the latter, who will use Greater Invisibility to start the fight (countering with Glitterdust is a good idea) before pelting you with force bombs. These deal minor damage, but he can chuck several per round, and they can knock victims down, which makes the Alchemist a good first target. Morhalan and the Alchemist both have decent Armor Class, but Morhalan can’t back his defense up with meaningful offense - his Attack Bonus is just too low to be a serious threat to any passable warrior.
Neutralize the Alchemist, then focus on the Bandits and Morhalan, who should fall without much trouble. Morhalan will surrender before his Hit Points are depleted, forcing you to take him captive and depriving you of any loot he may have dropped. The rest of the bandits drop various magical items, which will sell well enough, even if they aren’t worth equipping at this point in the game. Loot various chests near the camp to the east to find a haul of potions and skins, then leave the cave.
Return to Sharel in your village in the Northern Narlmarches and inform him of Morhalan’s incarceration to end this quest, earning 600 XP in the process.
No Comments