

Technic League Ambush
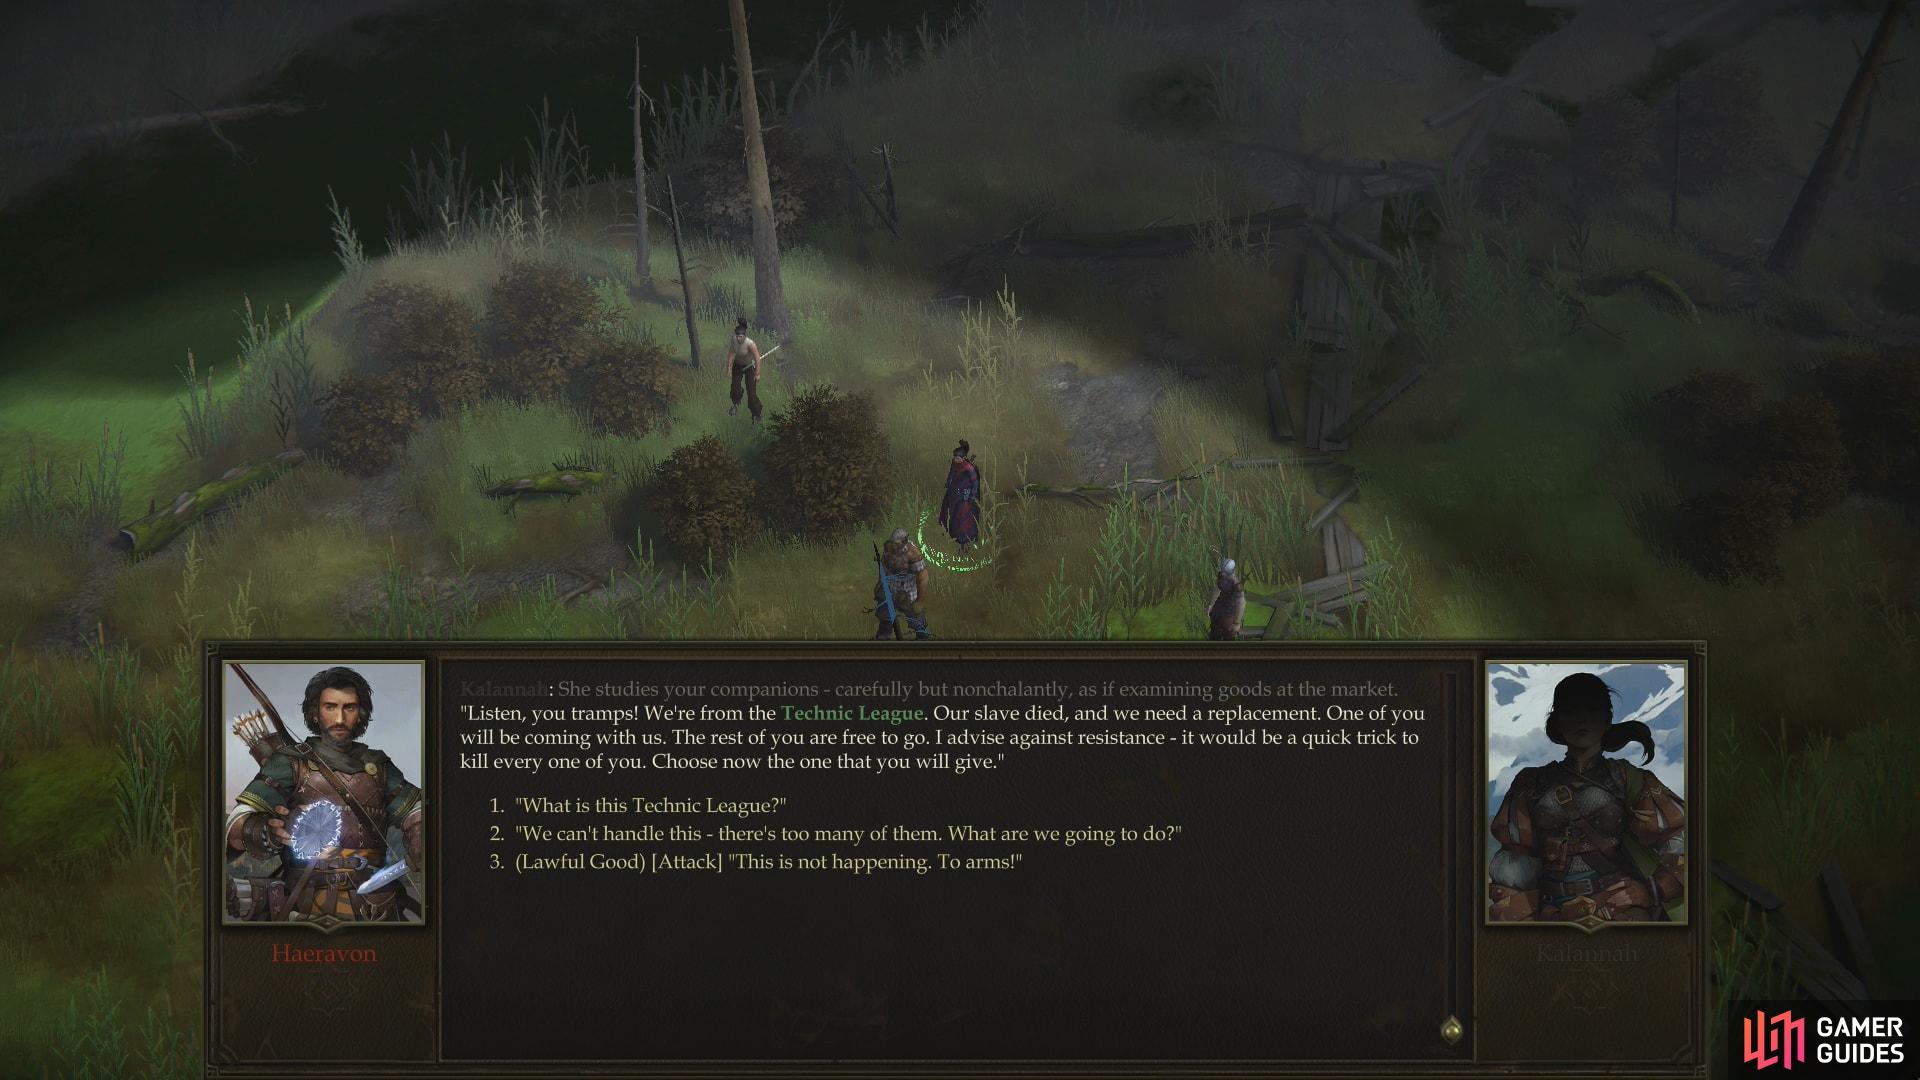
When you’re exploring the North Narlmarches (the forests west of Oleg’s Trading Post - presumably en route to the Abandoned Hut) you may be ambushed by a bunch of slavers led by a mage named Kalannah. They will suggest that one of you should volunteer to replace their now-deceased slave… and their request is backed by the threat of force. Their boasts are hopefully somewhat beyond their abilities, but they’re still a tough fight. If you wish to defend the freedom of your allies, simply pick the appropriate [Lawful Good] or [Chaotic Neutral] moral choices.
If you contemplate subjugating one of your companions for fear of the enemy’s strength, you’ll eventually be given a variety of new options: pick the [Neutral Good] option and volunteer yourself, or volunteer a comrade, all of which are [Neutral Evil] choices - yes, even though Amiri all but volunteered.
The best course of action here, arguably, is to attack immediately. You can’t volunteer as a slave (that damn snout of yours, you know), and forfeiting a companion might suit your morality, but it certainly is counter-productive to your goal of defeating the Stag Lord. Plus, if you want that companion back you’ll end up having to find where the Technic League goes, and defeat them in force while you yourself are handicapped. Whatever you choose, this starts the quest Hand of the Technic League (formerly known as A Warm Welcome from the League).
(1 of 3) While traveling in the Narlmarches you’ll encounter some slavers - the Technic League
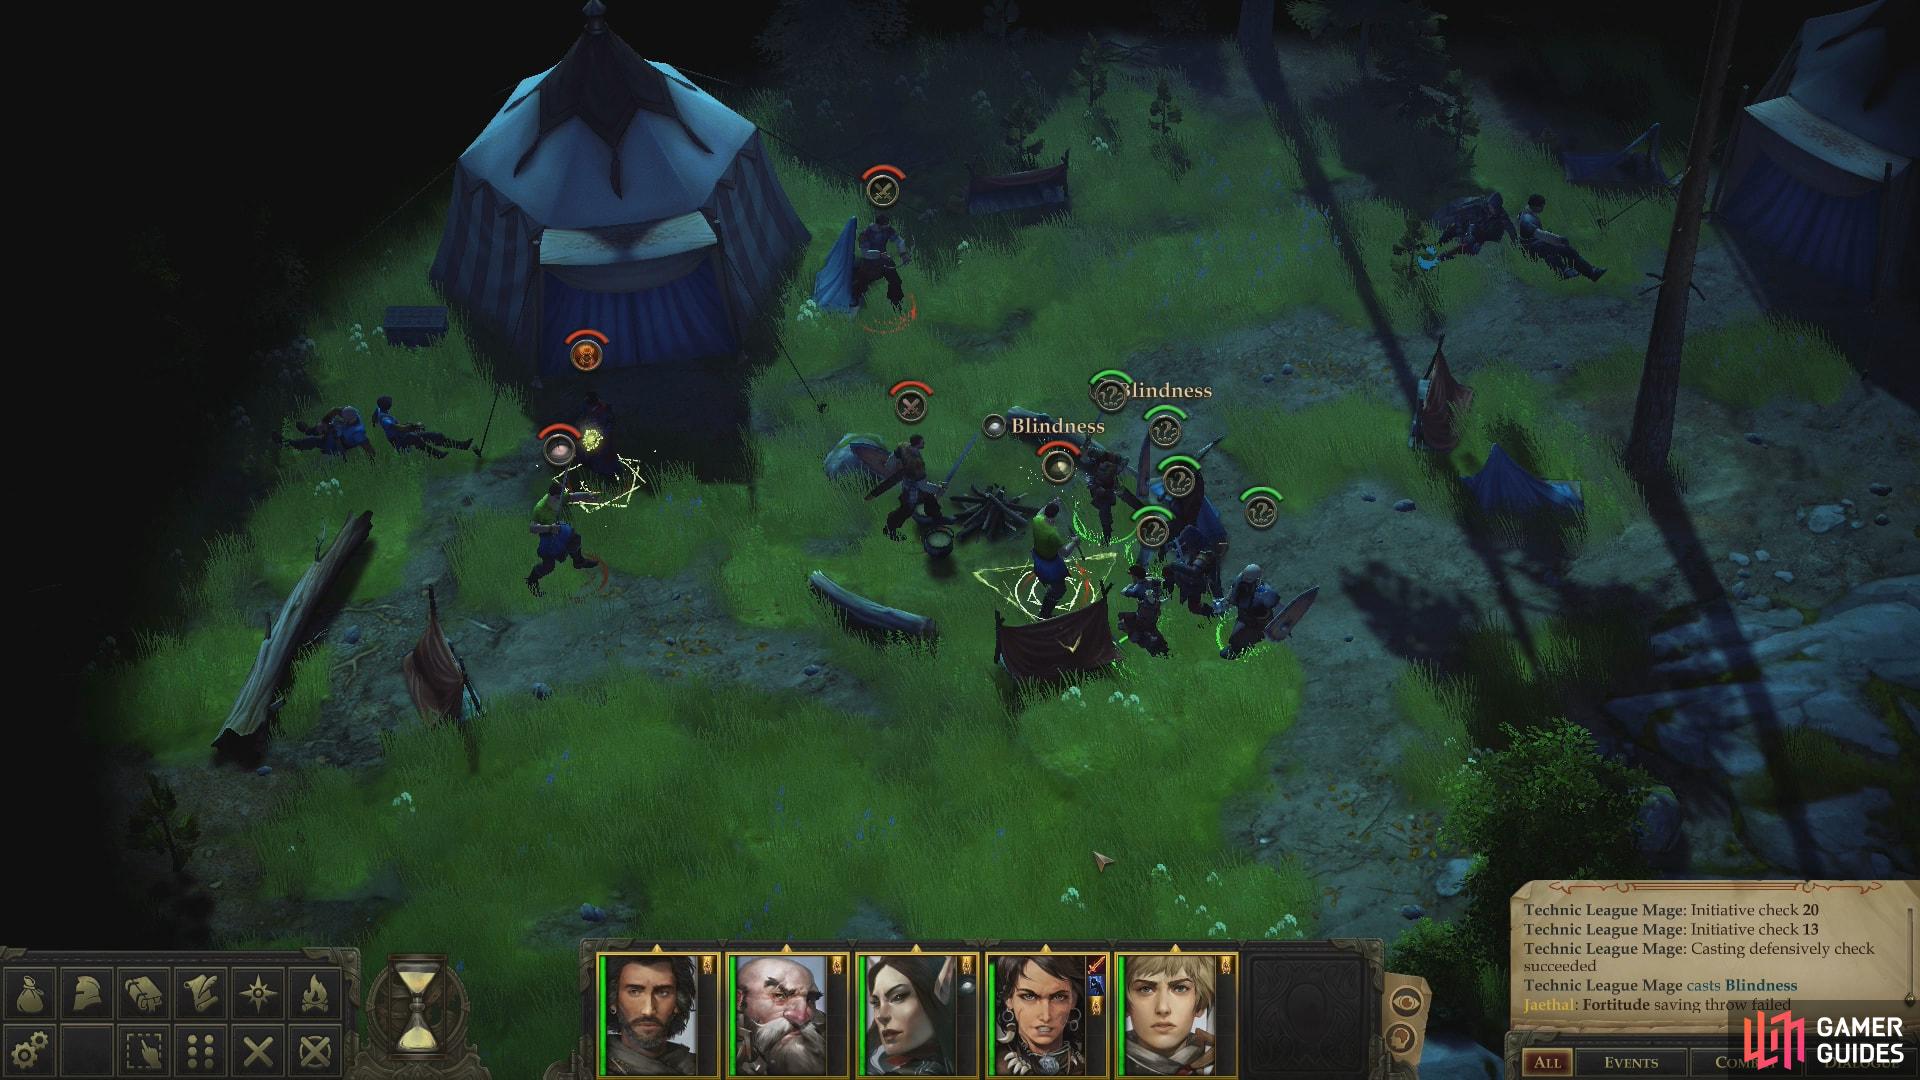
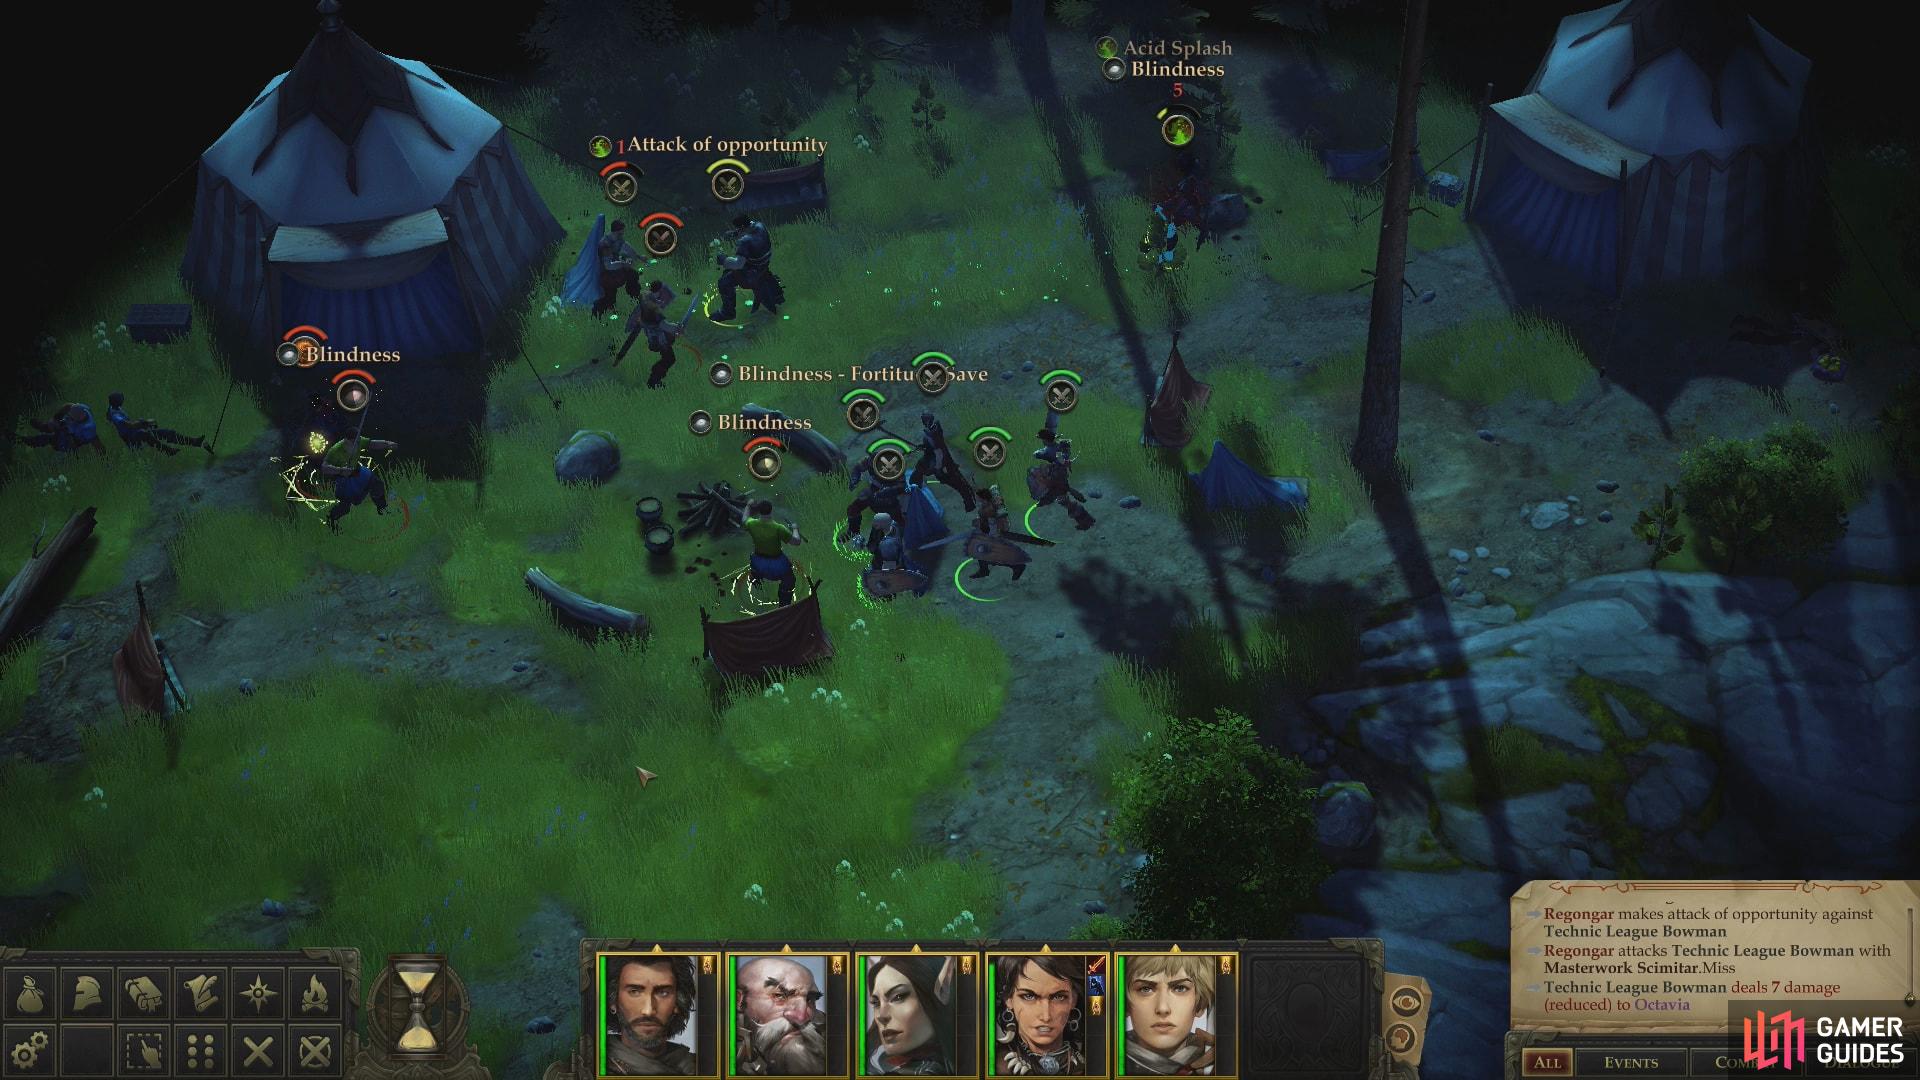
That being the case, decline their generous offer of mercy and servitude and consign yourself to an encounter. The most annoying foe here is the Technic League Mage furthest north, as she will constantly cast Cause Fear spells on you, which is a wretched debuff that can incapacitate a good portion of your party - and may prove fatal in a fight like this. Having Remove Fear handy is a good idea, but even better you should consider charging this mage with most of your warriors and hopefully prevent her from ever getting that spell off in the first place.
This leaves two Technic League Swordsmen, Kalannah and a Technic League Bowman for you to deal with. Ignore the Bowman for now, try to debilitate the Swordsmen with Sleep, Color Spray, Hideous Laughter or Hold Person, and have one warrior attack Kalannah. Kalannah will flee after taking damage, and left unattended she’ll summon Wolves to aid in combat.
If you’re lucky and the tactic works it’s entirely possible to chase off Kalannah, smite the Mage and incapacitate the Swordsmen in short order, but the battle doesn’t always go so smoothly. Clean or messy, when you stand victorious, loot your would-be masters to score an Estoc +1 and a Masterwork Longbow, then save your game and leave the area.
Tracking the Technic League
You may have fought off the Technic League, but Kalannah is still out there somewhere, and such an assault can’t go unpunished! If you surrendered a companion, your need to seek out these slavers is even more dire. Either way, you’ll fortunately get an Illustrated Book episode, during which you can track down the Technic League. This varies a bit depending on whether you gave up a companion or not.
- 1: “[Knowledge (Arcana 20)] Tried to understand, based on what we’ve seen, what kind of spell Kalannah used to get away, and where it could bring her.”
or
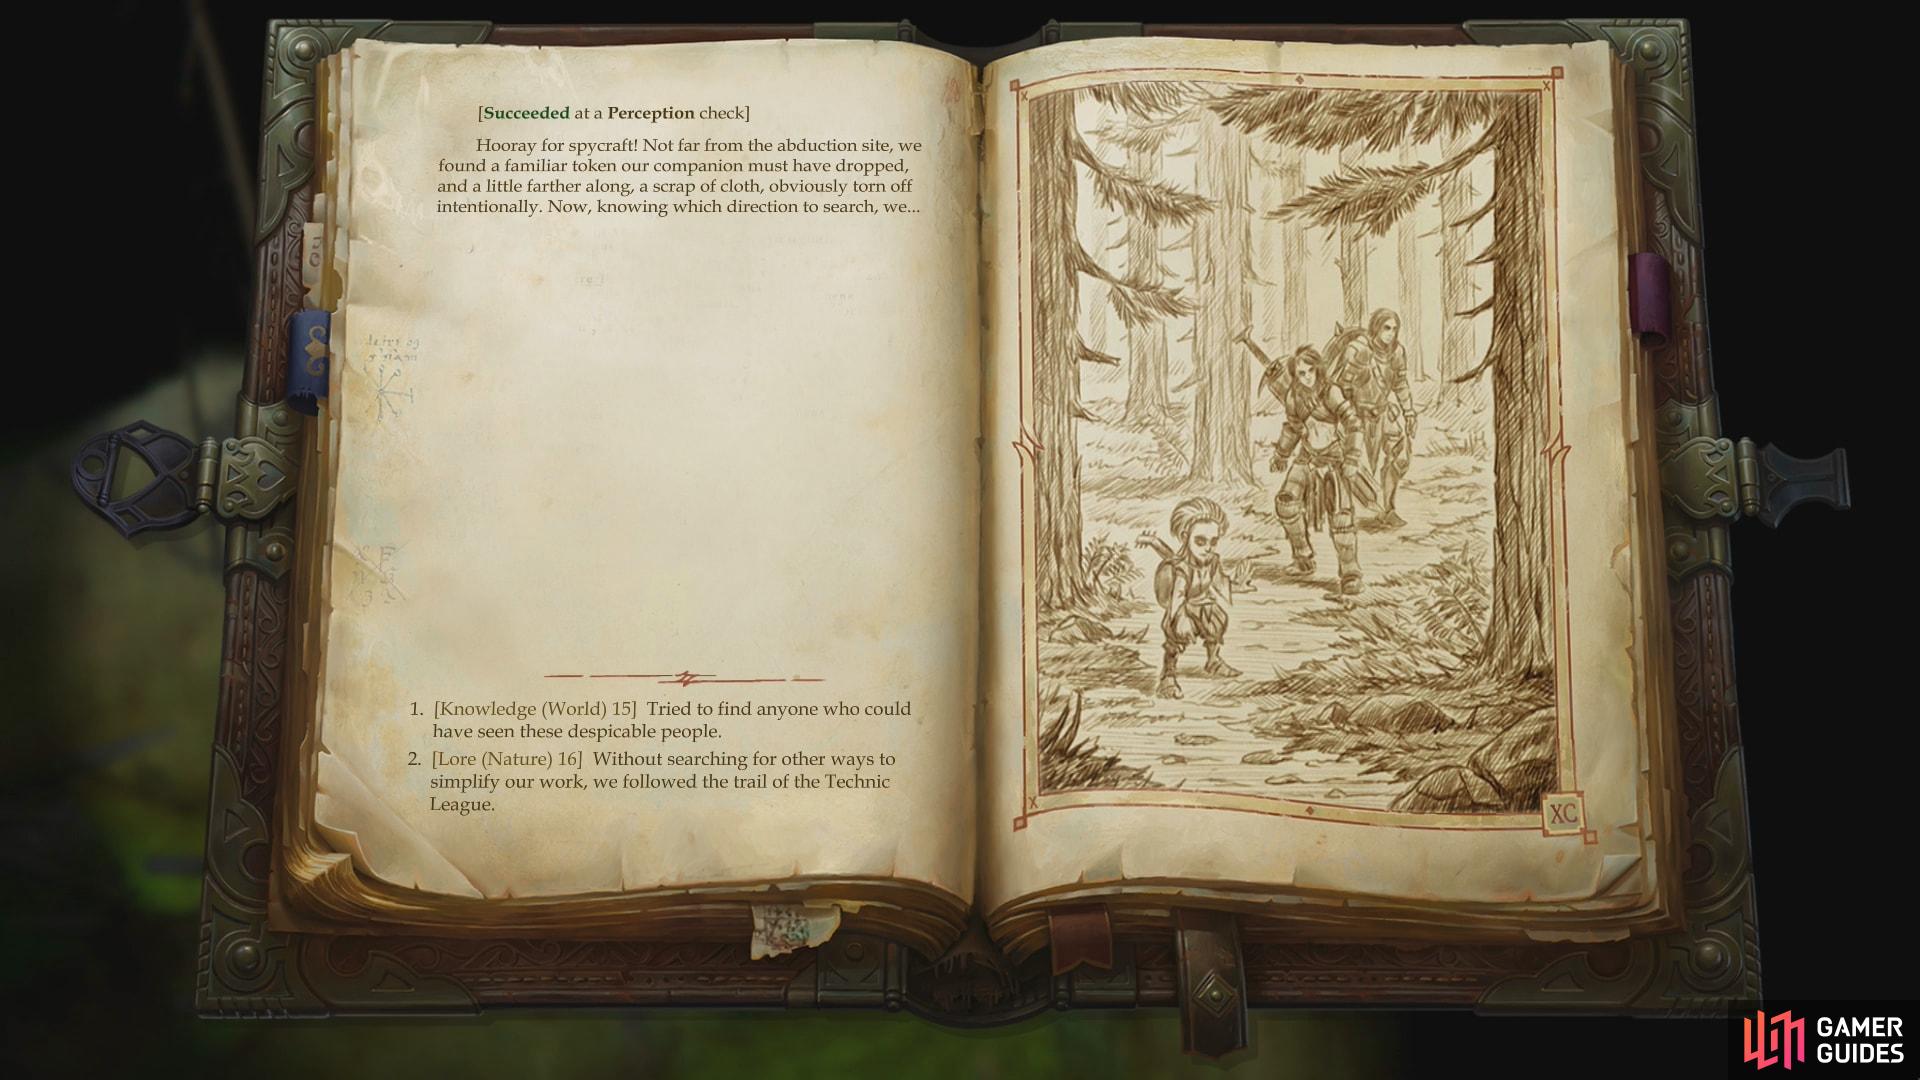
“[Perception 15] Searched for signs or trails that our abducted companion could have left for us.”
If you allowed the Technic League to take a companion, you’ll get a [Perception] check, while if you defeated them and chased off Kalannah you’ll have a significantly more difficult [Knowledge (Arcana)] check. The only point either of these serve is to reduce the difficulty of the [Lore (Nature)] check by two.
- 2: “[Knowledge (World) 15] Tried to find anyone who could have seen these despicable people.”
Like the previous check, this one won’t get you any closer to Kalannah, but if you’re successful here, it’ll lower the difficulty of the [Lore (Nature)] check by two.
- 3: “[Lore (Nature) 18] Without searching for other ways to simplify our work, we followed the trail of the Technic League.”
When you leave the area, you’ll get an opportunity to track the Technic League back to their camp
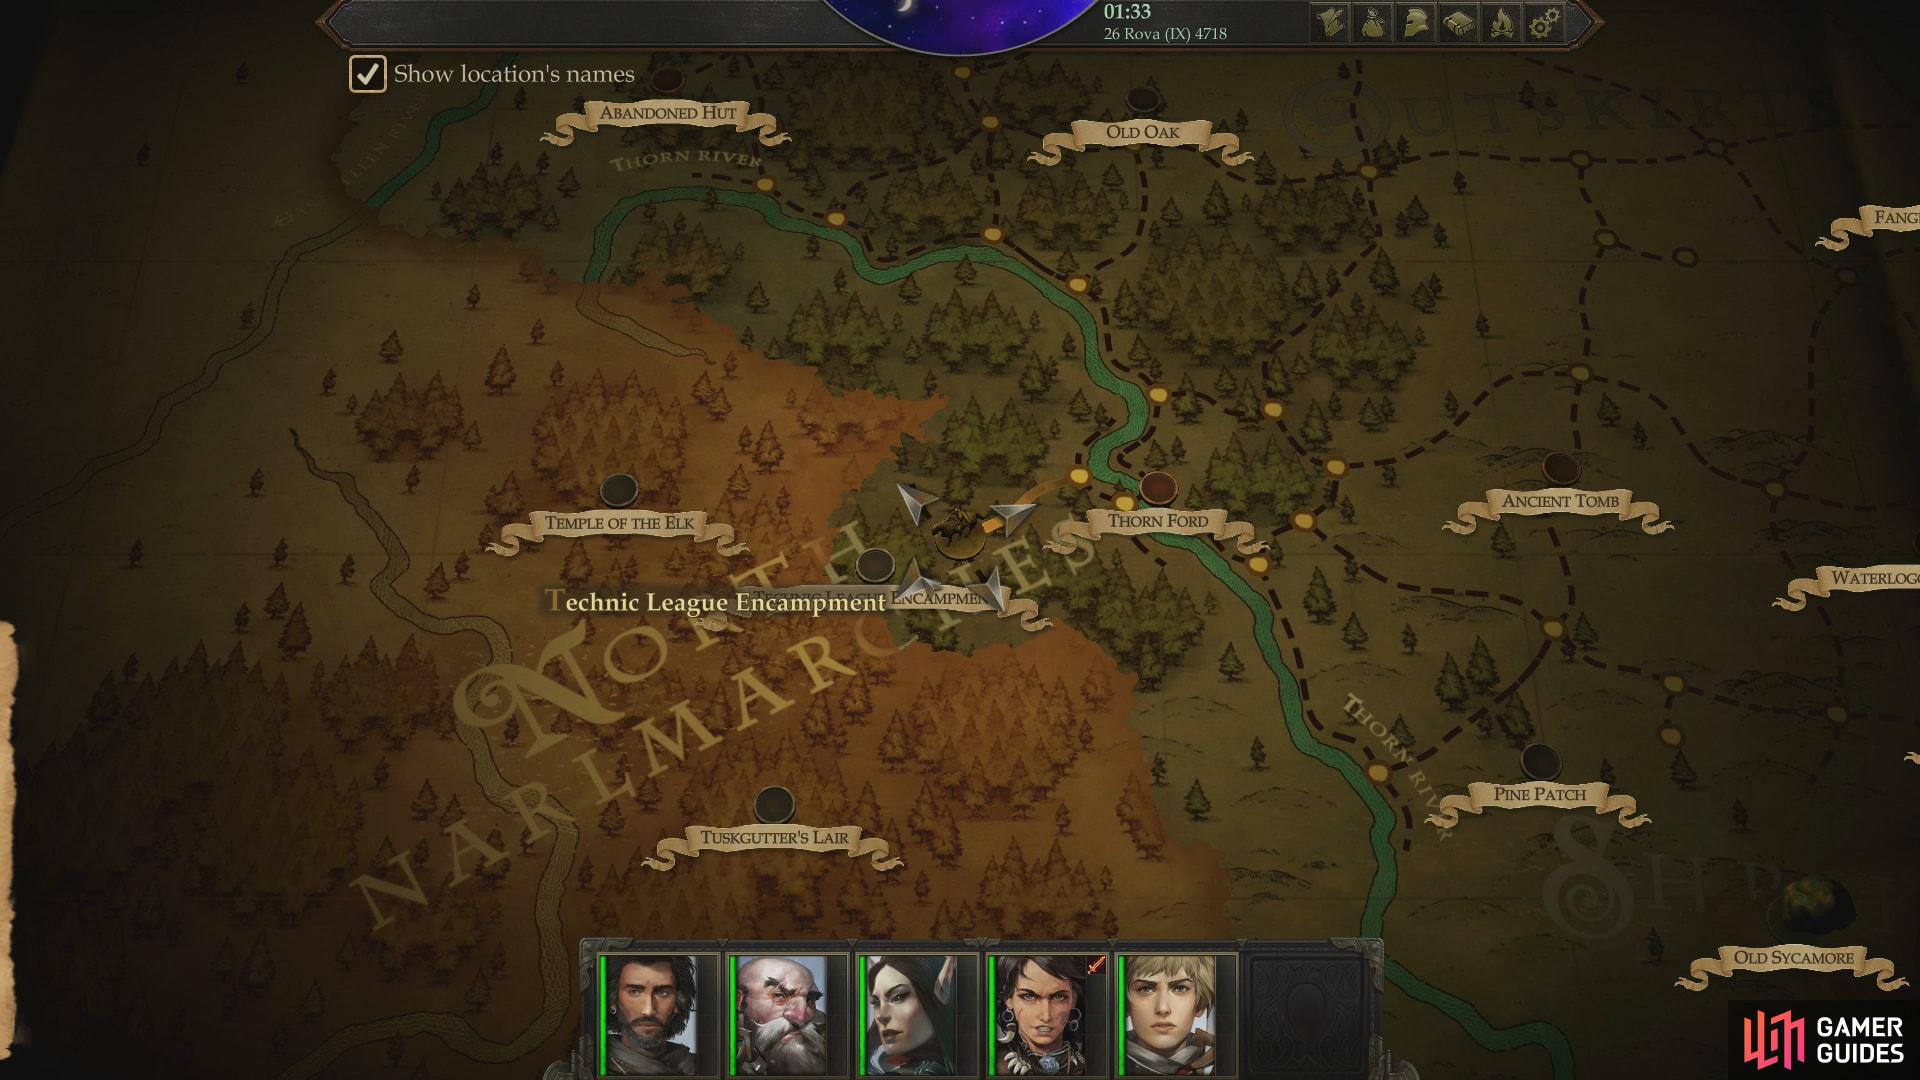
The Technic League Encampment can be found southwest of Thorn Ford
It doesn’t matter much if you succeed or fail here, and this is the only decision that even remotely matters in this Illustrated Book episode. You’ll find the Technic League Camp whether you succeed or fail, and the difficulty of this check can be reduced by four - two each time you succeed at one of the checks above. If you succeed you’ll be rewarded with some experience.
| Reward: For successfully tracking down the Technic League |
|---|
| 160 XP |
Fortunately, you don’t have to travel there right away, nor do you move there. It’s quite deep in the forest that covers the North Narlmarches, so travel will be slow and will take quite a bit of time.
When you are ready for such a lengthy expedition, start out by heading to Thorn Ford and follow these directions from there:
- West
- Northwest
- Southwest
- Southwest
With any luck you’ll make it to the Technic League Encampment without being fatigued, but if not, you can always rest when you reach the area. You’ll want to be fully rested, too, as a rather large fight awaits.
Technic League Encampment
From where you start at the southwestern end of the area, head north until you reach the northernmost edge of the area. From here, turn west and you should spot a tent, near which two stragglers - a Technic League Bowman and a Technic League Swordsman - lurk. Pounce upon them and kill them, a feat which shouldn’t alert the rest of the camp, then carefully proceed to the west until the rest of your foes are in view.
Attack the isolated guards on the eastern end of the camp to easily wipe them out
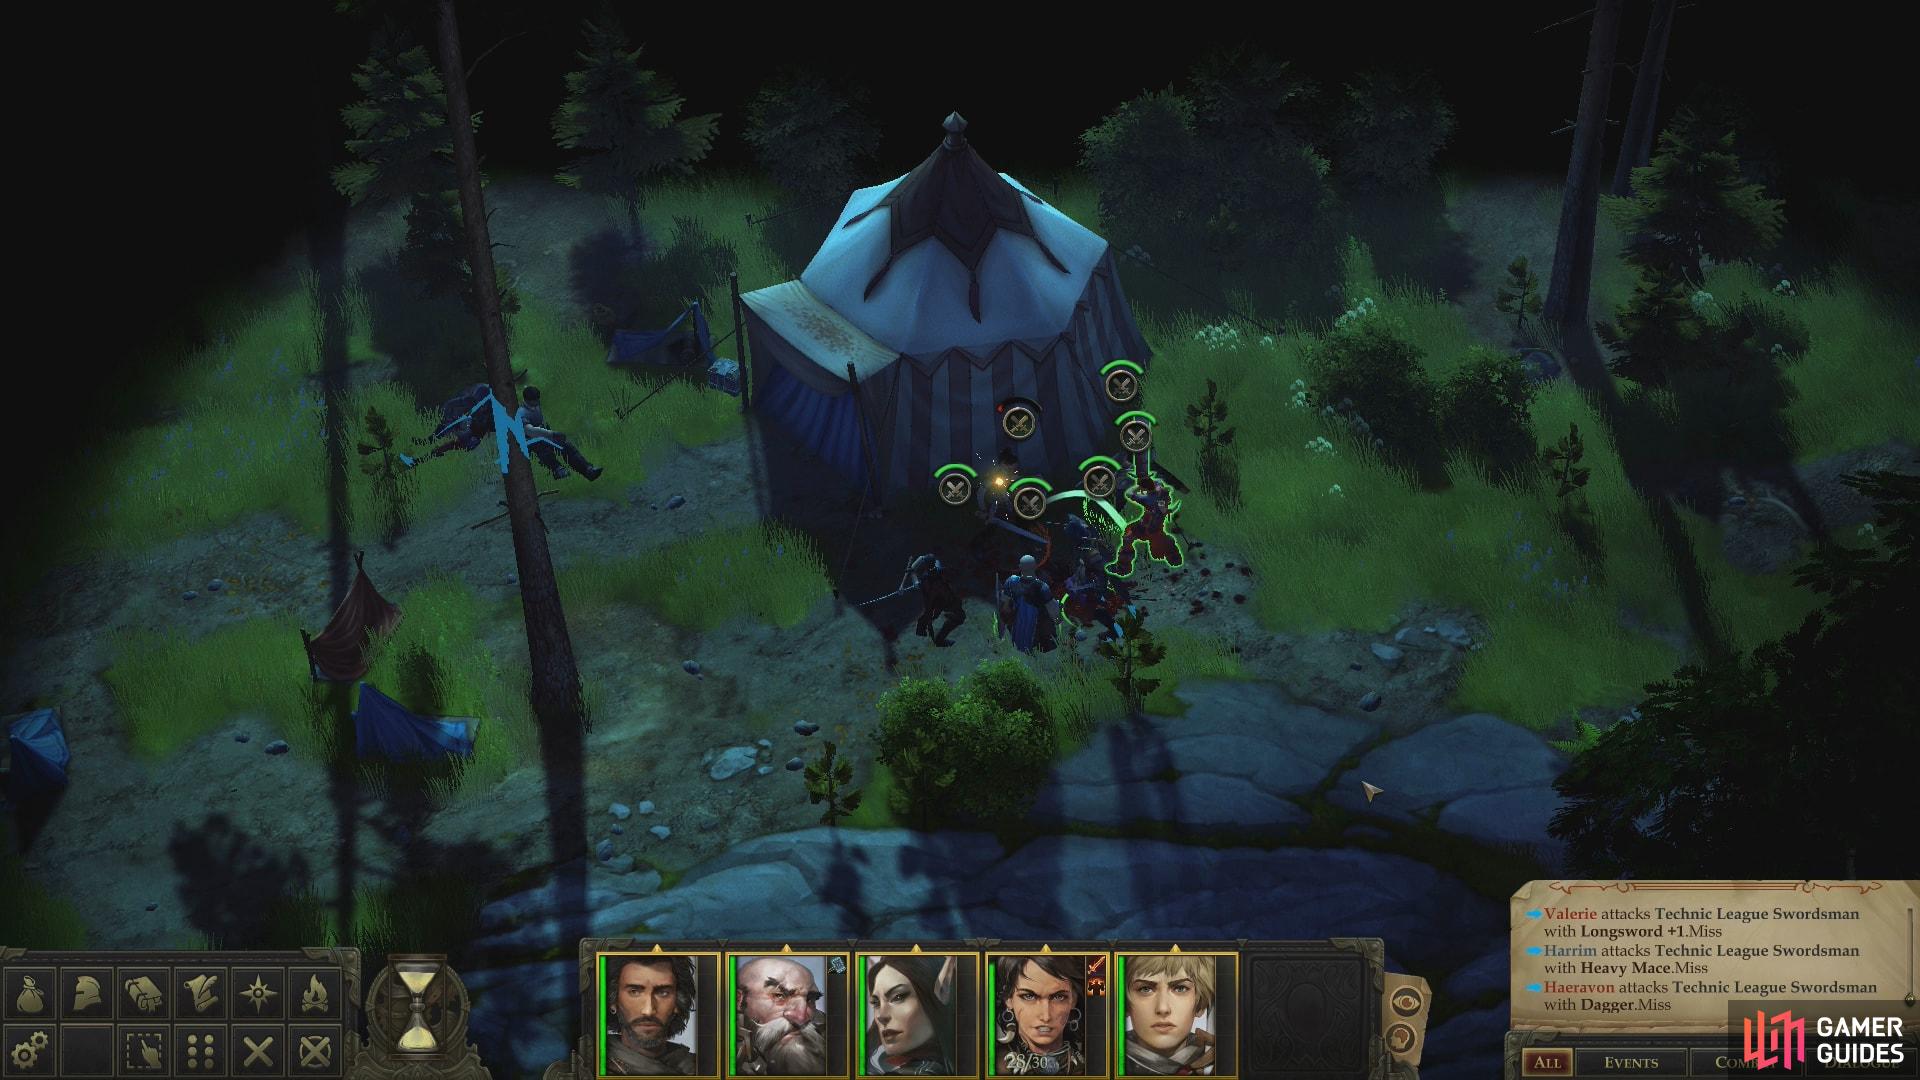
Rushing the stronger western section of the camp will be more difficult
The majority of your foes still remain, and they include a Technic League Archer, a Technic League Swordsman, two Technic League Mages and Kalannah. You can sway the odds more in your favor by freeing some prisoners - Regongar and Octavia - who are bound west of the eastern-most tent. They’ll immediately leap to attack and spoil any element of surprise your may otherwise have had, but they’ll also hopefully draw fire to themselves and spare you the attention. While they distract the archer and swordsman, sic your entire party on Kalanah to prevent her from summoning more enemies. If you have summons, consider a divide-and-conquer approach, as the Mages will cast Cause Fear repeatedly, making them almost as disruptive as Kalannah herself. Once she falls it should be a simple matter to mop up the archer and swordsman.

To even the odds you can free some prisoners
and let them engage and soak up enemy spells.
Otherwise the enemies have the same abilities here that they had during the random encounter. The archer will take pot shots at you, Kalannah will summon some Wolves, and the Swordsman is just there to deter you from hindering the casters.
Decide Kalannah’s Fate
After you defeat your enemies, Kalannah will immediately begin to beg for mercy, and in her current predicament, she’s far more forthcoming with information. Her former slave, Regongar, however, is hungering for revenge. Get what information you can out of her, then pick between three options: allow Regongar to kill her, kill her yourself, or let her go free (a [Neutral Good] act). There’s no immediate penalty for killing her, and if she doesn’t leave the camp alive you can loot her Wand of Expeditious Retreat and Headband of Vast Intelligence +2, making her demise a lucrative one. If you spare her, however, she’ll offer some assistance in a quest quite a distance in the future. While that Headband of Vast Intelligence is a fine early-game prize, you’ll find many other identical (and superior) pieces of headwear in the future.
| Reward: For defeating the Technic League under Kalannah |
|---|
| 200 XP |
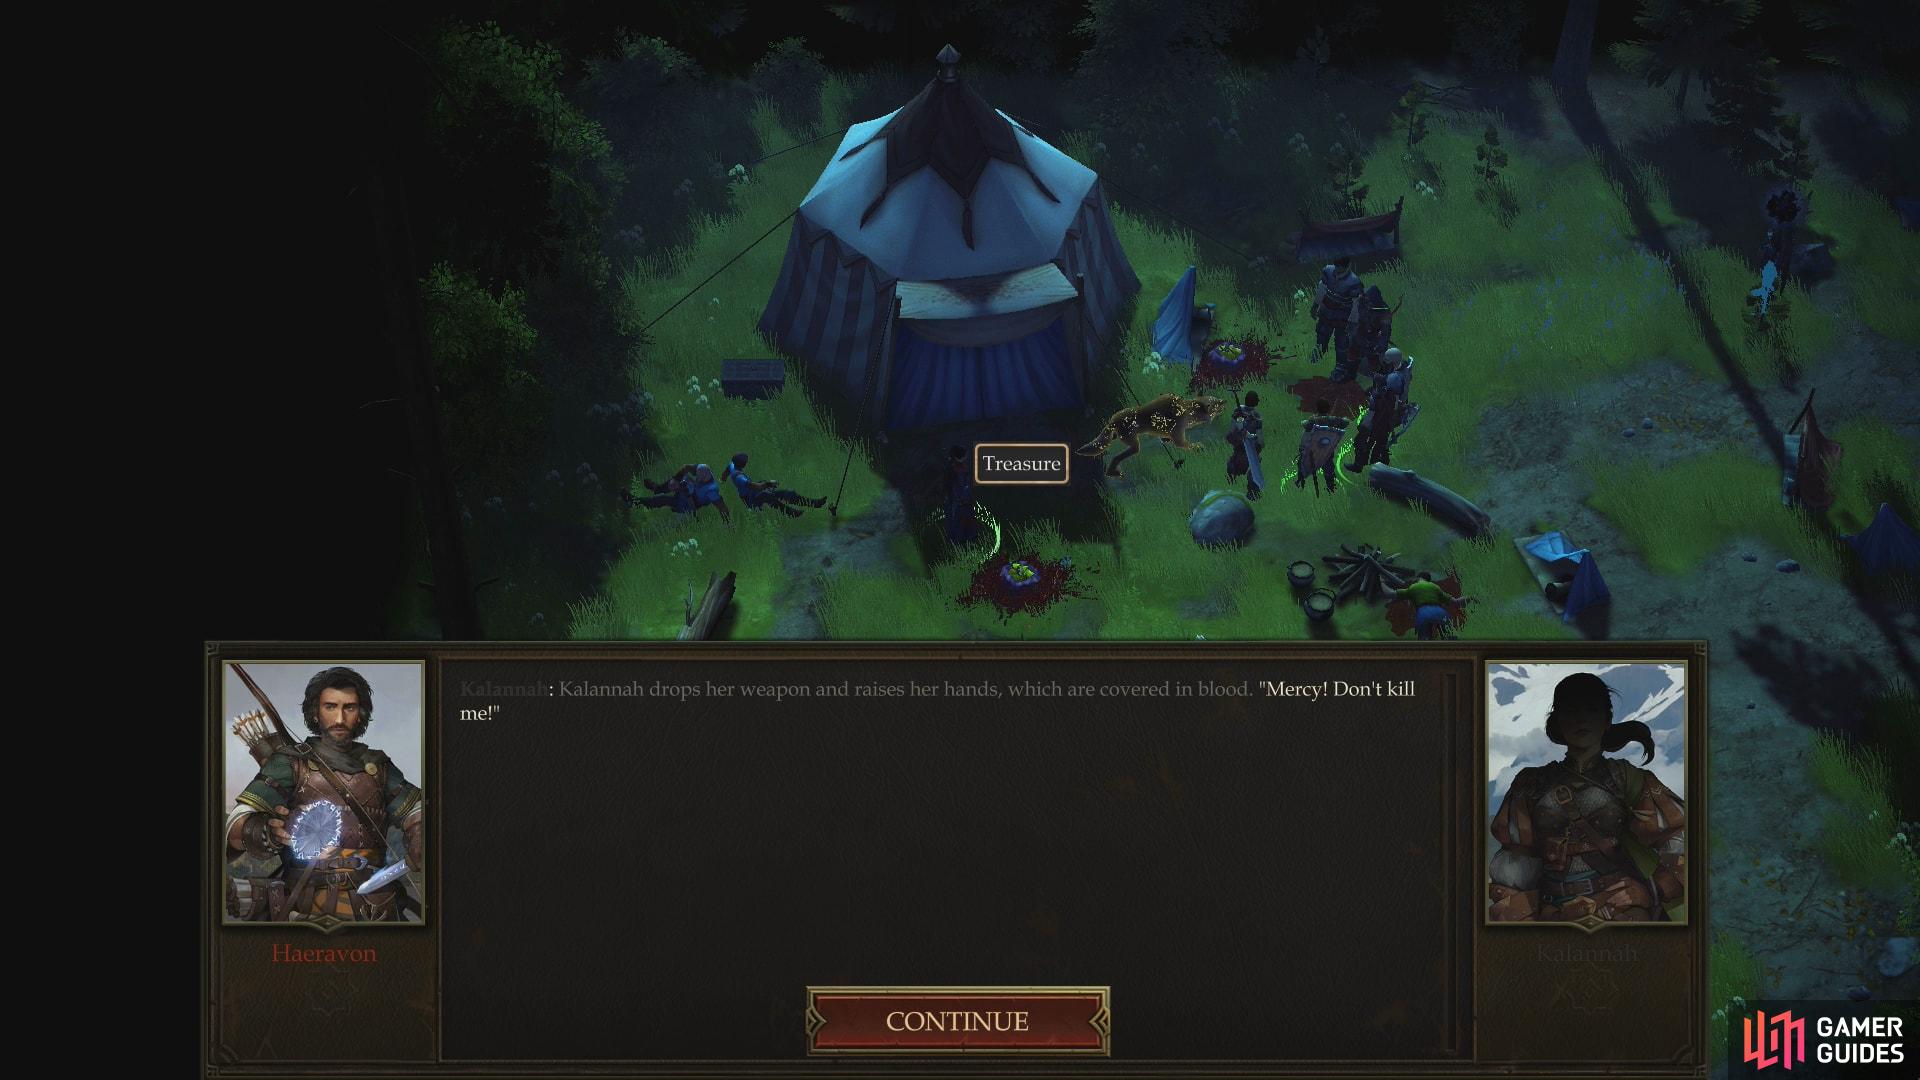
Defeat the Technic League and Kalannah will surrender
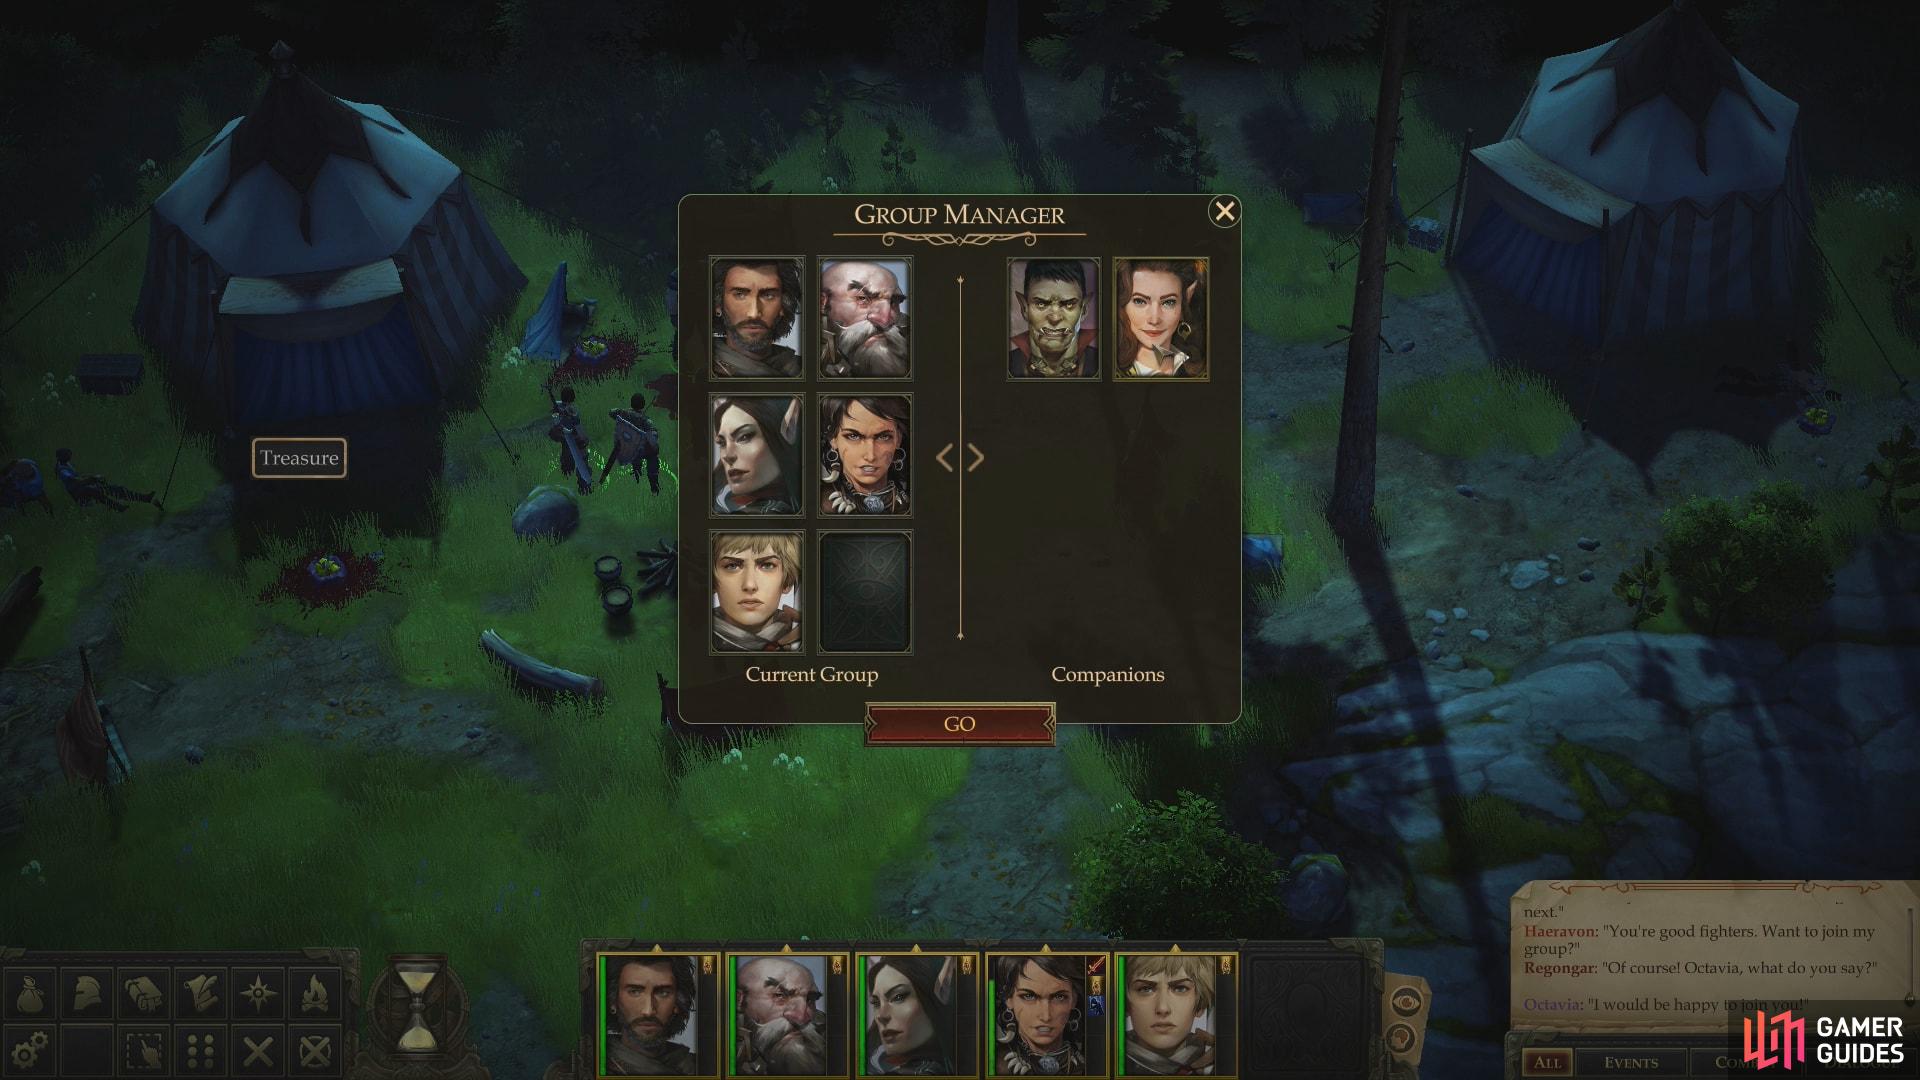
Whatever her fate, the slaves Regongar and Octavia will join your party
Decide what you will, and regardless of your choice Regongar and Octavia will offer to join you. They were willing enough to fight at your side after you freed them, and look to continue in that line of work if you merely accept them. The unlikely pair are both spell-casters, with Regongar being an Eldritch Scion and Octavia being a Rogue/Wizard. Regongar won’t be of much immediate use as an arcane spellcaster, as his spells are suited to enhancing his combat abilities, and should ideally remain so. Octavia, despite her level in Rogue, is your typical spell-caster, albeit her high Dexterity and Rogue proficiencies will make her more competent than usual at ranged combat, for the short-term.
In any event, Regongar and Octavia are now at your disposal, which completes this quest - their first companion quest.
No Comments