Ravaged Capital
You’ll appear in your capital, where the Lantern King has been busy, having apparently merged your lands with the First World to the great detriment of the former. Suffice to say, fey beasts and shadows of foes vanquished in the past now prowl around, and as king you’ll need to defeat these enemies for the sake of your kingdom.
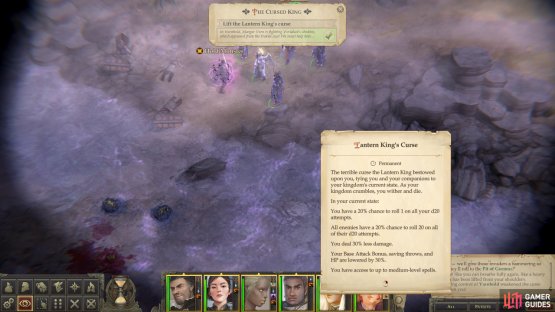
Apparently such a struggle wouldn’t be entertaining enough on its own, however, so the Lantern King will curse you and your party for good measure - for the foreseeable future you’ll bear the Lantern King’s curse which will cause all your d20 attempts to automatically roll a one (automatically miss 40% of the time in combat), 40% of the enemy’s d20 rolls will be 20s (automatically hit 40% of the time - and critically hit around 16% of the time). If that’s not bad enough, your damage, Base Attack Bonus, Saving Throws and Hit Points are reduced by 60% of their normal amounts. Worst of all, your casters only have access to zero-level level spells, which functionally makes them next to useless for this chapter, hence why you were encouraged to replace your party with warriors, as a warrior at 40% of their normal strength is still superior to a caster who can’t use any noteworthy spells.
Perhaps displeasing a demi-god wasn’t such a good idea?
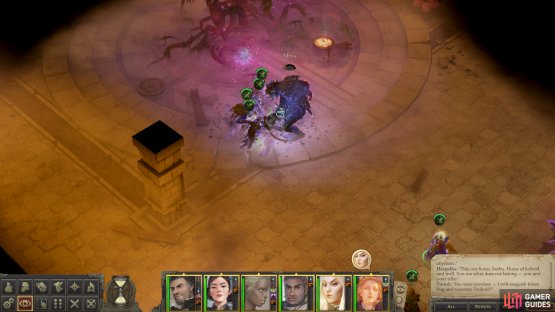
(1 of 2) The Lantern King will gloat about the trials you’re immediately about to face
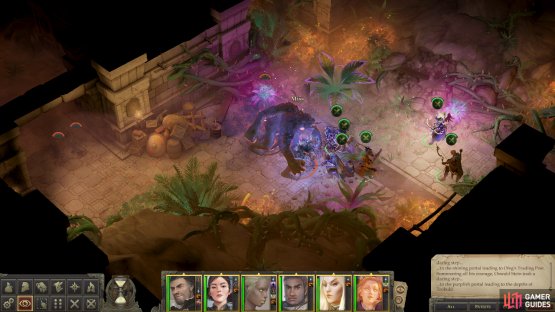
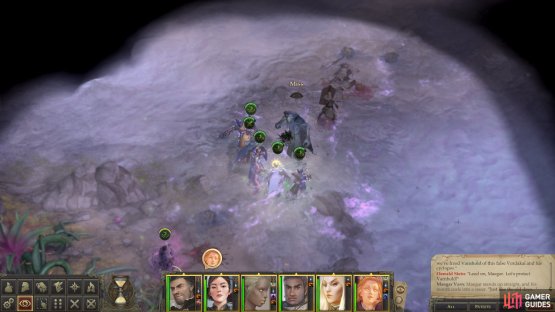
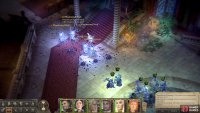
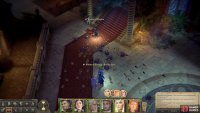
The Lantern King will gloat about the trials you’re immediately about to face (left), The capital is polluted with First World foes and the shades of dead men, and the Lantern King’s curse will ensure these are dangerous foes. (right)
Oh well, nothing for it now. Once the chatter is done head southeast, descend some stairs, then turn southwest to find your capital’s plaza overwhelmed by beasts. These include Owlbears, Young Hydras, Manticores, Wyverns and Dweomercats. Be sure to loot your fallen foes and claim the odd bit of treasure you can find lying around, as gold will help you buy your way to victory in the long run.
Ultimately make your way west to find the Shadow of Nugrah waiting for you, along with several bandits. They range from level seven to nine, and you should note that Nugrah isn’t restricted from his spells like you are. Still, they shouldn’t pose much of a threat considering your level disparity… even if you’re gimped. Put Nugrah down a second time and follow the road southeast, kill two more bandits, then loot a chest to find a Necklace of Magic Missile Mastery. Continue south to reach a magical barrier which blocks you path. Just venture near it and the Storyteller will use magic to take it down, then encourage you to follow the rest of the refugees to safety. Use an area transition to the south to reach the Camp at the Capital Gates.
Camp at the Capital Gates
From where you appear head southeast to find the Storyteller - who has some vital information for you - as well as Anoriel Eight Eyes and your stash. This will have to serve as your defacto base for the present, and any preparations you failed to make before confronting Nyrissa should be made now, including hiring new characters and selling off any junk you may have. More on that last bit soon, but for now talk to the Storyteller and heed his words, as he’ll reveal another limitation being imposed upon you - you’ve got a mere fifteen days to resolve this situation. Since the mythical bond between king and kingdom have been made literal by the Lantern King, the only way to free yourself from his curse is to save your kingdom from the First World influence that pollutes it. Naturally that means traveling about and killing whatever shadows and First World critters you find. Only once that is done can you consider confronting the Lantern King.
This starts the quest The Cursed King, which helpfully keeps track of how much time you have left and where you must provide aid. Right now this includes:
-
Varnhold, where Vordakai’s shadow is wrecking havoc.
-
Pitax, as Irovetti’s shadow has decided to reclaim his throne.
-
The Flintlock Grassland, where another Brevic army is beset by barbarians.
-
Oleg’s Tavern, which is once again being threatened by bandits.
(1 of 2) The rest of this chapter is a bit of an endurance run, so spend your gold on Scrolls of Heal to cut down on resting
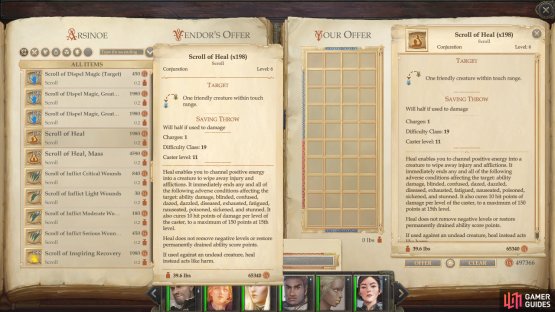
The rest of this chapter is a bit of an endurance run, so spend your gold on Scrolls of Heal to cut down on resting (left), You’ll have several options of where to go, but focus on Oleg first so you’re fighting the weakest foes when the Lantern King’s curse is strongest. (right)
Before you run off, however, consider perusing the wares of the merchants who have fled to your camp. These include Issili, who is standing near the Storyteller, and Arsinoe, who can be found to the northwest. In the latter case Arsinoe will sell various clerical scrolls, including nearly 200 Scrolls of Heal. Be sure to have a cleric handy who can use these (or better yet, a character with the Use Magic Device skill), as they’ll be essential sources of healing in the upcoming battle.
It also wouldn’t be a bad idea to make a hard save here, in case something goes wrong in one of the upcoming battles. No sense letting yourself suffer from a game-ending mishap at this late stage if you can avoid it.
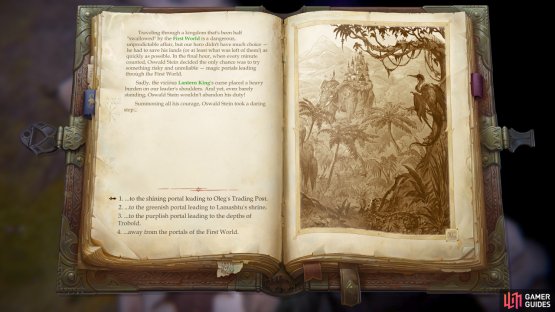
When you’re ready to move on, head northeast from Arsinoe to find a portal that’ll take you to your next destination, which you’ll get to choose between the following destinations: Oleg’s Trading Post, the Shrine of Lamashtu and the depths of Trobold. Unless you’re a masochist, it’s suggested you avoid the Shrine of Lamashtu and Trobold areas, as the enemies there are much stronger than at Oleg’s Trading Post, and the need to venture to those areas is dubious, at best. At the very least you should travel to those areas after you’re done with Oleg’s Trading Post, for reasons which will become clear shortly.
Oleg’s Trading Post
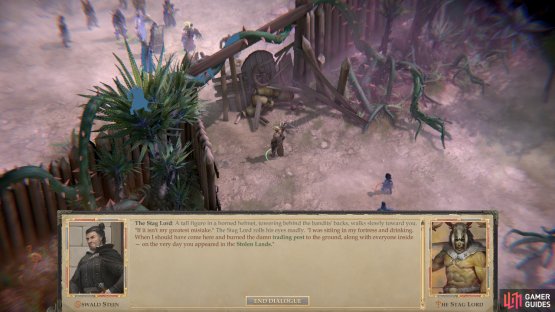
When you arrive at Oleg’s Trading Post, head northeast to return to the familiar vista of your early adventuring career, now clogged with First World foliage. Head through the long-suffering gate to Oleg’s Trading Post and talk to the poor defenders, who include Kesten Garess, Jhod Kavken and poor Oleg himself. After a short bit of chatting, their antagonist will show up - who else but the Stag Lord?
(1 of 2) The Stag Lord will show up and make threats
The Stag Lord will show up and make threats (left), make him eat his words and save Oleg’s Trading Post to reduce the effects of the Lantern King’s curse. (right)
He’s not much on talking and a fight will shortly ensue. The Stag Lord’s eight levels of Ranger no longer makes him an impressive foe, the Lantern King’s curse notwithstanding. In addition you’ve got plenty of guards to help occupy enemies, so jump on the Stag Lord when he appears within the palisade, then focus on the bandits that spawn after him, paying particular attention to enemy mages (or Bards, as the case may be).
Once you’re victorious, talk to Oleg and company again to send the forces you have here to the capital in preparation for the inevitable showdown with the Lantern King. Afterwards, with this objective complete, you’ll be blessed with an easing of the Lantern King’s curse, which now only has a 30% chance for you to roll a 1 and an enemy to roll a 20 on a d20, your damage, Base Attack Bonus, Saving Throws and Hit Points are now only reduced by 45% and you can now cast 1st and 2nd level spells. Perhaps not good enough to bring your casters back into the party yet, but it’s a start.
Be sure to loot the Stag Lord for a Longbow +3, a Ring of Protection +2, Bracers of Archery, a Mithral Chainshirt +2, a Belt of Physical Perfection +4, a Cloak of Winter Veil another Stag Helmet, some Boots of Elvenkind and an Amulet of Natural Armor +2. At the very worst these can be sold to purchase some healing scrolls, if necessary. When done, head through the portal to Varnhold, although you can perhaps spare time to a trip to Trobold, if you feel so inclined. Again, there’s no incentive to do so - even the experience and loot probably isn’t worth the time you’ll waste, much less any damage you sustain. The Shrine of Lamashtu should still be avoided at all costs.
(1 of 2) Defeat a small group of Trolls and Kobolds
Defeat a small group of Trolls and Kobolds (left), then vanquish Tartuk and Hargulka again. (right)
Trobold
Trobold’s less of a hassle than the Shrine of Lamashtu, as you’ll only have to fight… what else? Trolls and Kobolds. They’re of a much more reasonable level, and you should be able to brute-force your way through these low-level enemies. Just be sure you have a way to deal acid damage, as that’s one of the few ways to keep these trolls down. Tartuk and Hargulka are more formidable, but Tartuk’s 34 Armor Class is far less impressive now - even with your combat stats at (hopefully) 55% of its normal amount - than it was back in Chapter 2. Just rush Tartuk and hope your defenses hold against Hargulka, who isn’t a stellar combatant by higher-level standards. In fact, he’s a good bit weaker than just about all the foes at the Shrine of Lamashtu.
Varnhold
When you arrive head southeast to find two Dread Zombie Cyclops. How you fare against these foes is a good measure of how difficult you’ll find this area, as they’ll be the least of your concerns going forward. Although bearing 12 levels of undead, their Hit Points and Armor Class aren’t really sufficient to make them significant threats as much as speed bumps. If you brought an arcane caster back into the fold, Web can be used to debilitate them, but there shouldn’t really be a need for it.
Fight your way south, then east, then northwest along the river, aiding guards as you find them and putting down undead as they block your path. At the river crossing you should find Maegar Varn, who will insist you liberate Varnhold before he acquiesces to mustering at your capital. Agree and Vordakai will spawn across the river, joined by some more Dread Zombie Cyclops.
Unlike other foes you’ve faced thus far, Vordakai can be something of a nuisance, as his Damage Reduction 15/Bludgeoning and Magic will make it quite difficult for you to deal damage. To counter this, have all your warriors equip any magical blunt weapon they can - with the Lantern King’s Curse they won’t be dealing any damage otherwise. The next nuisance you’ll have to prepare for is his Fear Aura (Will 29), which might require Remove Fear and a bit of luck to avoid. On the plus side, the allied guards will join in on the fight, but Vordakai has little interest in them and will save his spells - including Finger of Death, Bone Shatter, Fear and Hold Monster - for your party. All you can really count on the guards for is a few rounds of occupying Vordakai’s minions, and even then they’re more likely to get in the way than anything else.
(1 of 2) Defeat Vordakai and his minions
Defeat Vordakai and his minions (left), and you’ll further reduce the effects of the Lantern King’s curse. (right)
After Vordakai is defeated you’ll automatically end up chatting with Varn again, who will commit to fighting for your cause. This causes the curse to weaken further, now imposing a mere 20% chance for you to roll a 1 and an enemy to roll a 20 on a d20 and a 30% reduction to your your damage, Base Attack Bonus, Saving Throws and Hit Points. Your casters can now also use up to 4th level spells, which brings back into play mainstays like Haste, Slow, Obsidian Flow, Prayer and Death Ward… meaning it might be time to go back to camp and fetch them. Your warrior mercenaries/companions have served their role well enough.
Pick up all the masterwork weapons your enemies (and allies) dropped, then loot Vordakai for an Amulet of Natural Armor +2, a Headband of Mental Perfection +4, a Ring of Protection +1 and another Shroud of Abaddon. Your casters might be getting their arsenals back, but supplemental healing may still be required. Once done, cross the river and use the area transition to move on to the Rostland Borderlands, which should be an easier fight than dealing with Irovetti again.
(1 of 2) Attack the barbarians and Brevoy Soldiers you find
Attack the barbarians and Brevoy Soldiers you find (left), but keep your casters away from the mist, as more foes will arrive through it. (right)
Flintrock Grassland
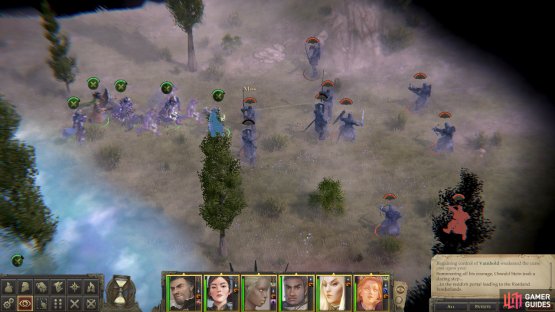
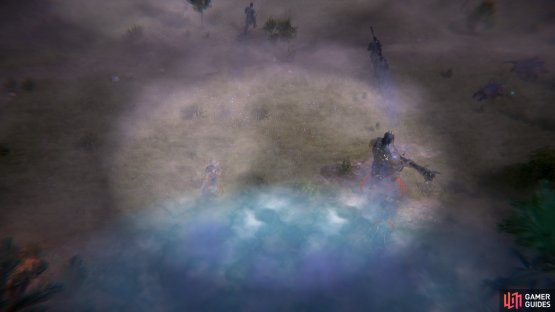
Venture north from where you arrive and make sure your Magic Lantern is still equipped, as mist blocks your path. If you teleport through this mist you’ll just go to a clearing with some Faerie Dragons loitering around, so don’t waste your time and just pass through it. Beyond the mist you’ll find some barbarians and Brevoy Soldiers fighting, neither of which is your ally. If you brought a caster along, or otherwise have any vulnerable characters, be sure to move them away from the mist, as some reinforcements will show up from there eventually. As for the fight itself, the barbarians and soldiers here are weaker than the cyclops you just fought, so they should provide little resistance as you cut your way through them.
Clear the first group of combatants, then work your way west to find another, smaller group. Further west is a third group which includes a Barbarian Hill Giant - a somewhat mightier foe, but still not much of a threat for your party, what with the reduced curse and all. After this third group falls, either Armag or Dugath (depending your choices earlier in the game) will come from some mist to the west and pledge themselves to your cause.
(1 of 2) After you find your ally you’ll be attacked by more barbarians - and giants - emerging from the mist
After you find your ally you’ll be attacked by more barbarians - and giants - emerging from the mist (left), Help your ally fend off the barbarians to possibly secure their aid and reduce the Lantern King’s curse. (right)
Fair enough. Return back east to where you fought the second group of foes and, if you have casters in your party, consider buffing with Haste, Prayer, and other buffs that may be available to you. When you’re ready head north and you’ll find some allies battling barbarians. This ally varies depending on who you sided with in Chapter 5, either Jamandi Aldori or Natala Surtova, and the amount of aid they’ll extend you also depends on how cozy you left that alliance. For now, however, focus on mopping up the barbarians, after which a larger raiding party will spawn from some mist to the south, including several giants. Keep your casters and archers north and your warriors wary, however, as more groups of foes will materialize to the east and west as you fight. None of the foes you’ll face here should be overly challenging (especially if you’re buffed), but that’s no reason to get sloppy.
When the battle is over, talk to your ally and try to get them to reinforce your capital. If you kept your alliance strong (at the expense of petulant notions of independence) you’ll get your ally to support you, otherwise they’ll state they were only here to ensure that your problems don’t spill over the border. Ah well. Either way, the Lantern King’s Curse will weaken yet again. You now are burdened with only a 10% chance for you to roll a 1 and an enemy to roll a 20 on a d20 and a 15% reduction to your your damage, Base Attack Bonus, Saving Throws and Hit Points. Your casters can now employ up to 6th level spells, bringing back some of your most powerful debilitating spells like Baleful Polymorph and Phantasmal Web and your ability to cast powerful restorative spells like Heal. Casters are back in action!
Pick up the masterwork weapons, potions, and odd bits of magical gear the enemies leave behind if you wish to pad your coffers even further. Once done, make for Irovetti’s palace din Pitax…
Irovetti’s Palace
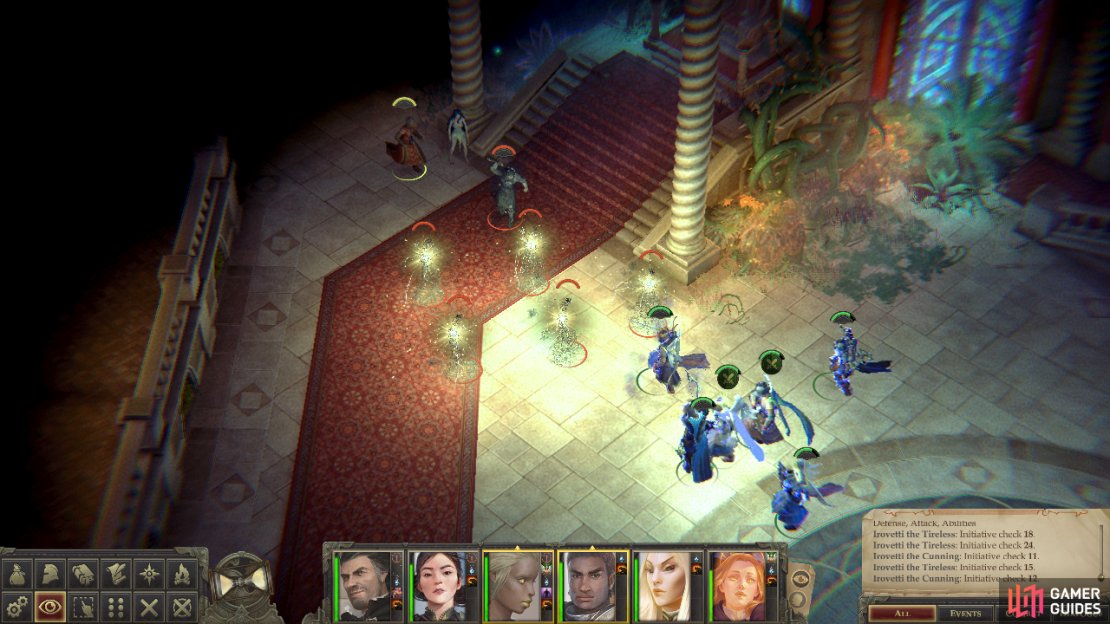
Of all the strange scourges unleashed upon your lands by the Lantern King, the affairs in Pitax are probably the most bizarre. Irovetti hasn’t just overrun his old palace - an army of Irovettis has! The first few Irovettis you’ll face in the antechamber, all named “Irovetti the Tireless”, are 8th-level Fighters with stats that are frankly laughable. Even at the outset of this curse you would have handily smote such foes, but now with nearly your full powers back at your disposal, it’s child’s play.
Wipe the floor with this trivial opposition and head into the long hallway leading to the throne room, where you’ll find a more powerful and diverse cast of Irovettis. These include several “Irovetti the Invincible” foes (who are anything but), several “Irovetti the Cunning” foes (what’s so cunning about being archers with low mental stats?) and an “Irovetti the Genius”, which is perhaps more fair, all things considered. The Invincibles are warriors that serve little purpose but to hinder your advance, the Cunnings are archers, and the Genius is a 7th-level Wizard. These foes are stronger than the Tireless warriors you fought earlier, but they’re still well below you on the pecking order. Even granted the 10% auto-hit, they shouldn’t be capable of inflicting too much damage to your warriors, nor should their own Armor Class slow you down much. The Genius will waste his time casting Greater Invisibility, followed by Phantasmal Killer, and finally a barrage of Scorching Ray and Magic Missile Spells, making him at best a nuisance with perhaps one chance to be dangerous.
Dispatch these goons and advance to the throne room, where another host of Irovettis await. These include four Invincibles, four Cunnings and two Geniuses. If you feel like making this fight easier, just subdue them with Phantasmal Web and dispose of them.
(1 of 3) Irovetti will summon minions to slow you down
Finally advance to throne itself, where Irovetti has subdued whatever governor you may have left behind. After a bit of chatter, Irovetti will attack and you’ll be joined in combat by your governor. Irovetti is joined by several Immortals and Cunnings, and more will spawn to the northwest and behind you to the southeast. Both groups can likely be delayed indefinitely with Phantasmal Web, leaving you to focus on Irovetti himself, For his part, Irovetti hasn’t changed much. He’s still got a silly high Armor Class and decent saves, but Baleful Polymorph should still have around a 25%+ chance of working. This won’t stop him from using his Storm of Razors ability, but it will prevent him from casting any spells.
Once Irovetti - the real, fake Irovetti - is vanquished, talk to whomever is left standing, be it Gasperre, or Evindra (the person will vary depending on your choices earlier). After the chat you’ll finally be freed of the Lantern King’s Curse. Time to end this… unless, of course, you want to take a diversion to the Shrine of Lamashtu. Now would be the time to do it, since you’re back at full strength and all.
Whatever the case, grab whatever loot you wish (sadly you won’t get to loot Irovetti again) then return back to your capital… or the aforementioned Shrine of Lamashtu.
The Shrine of Lamashtu
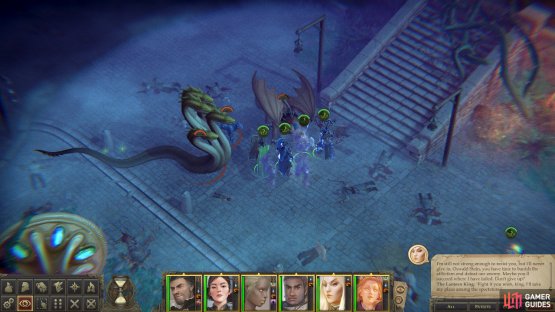
In the Shrine of Lamashtu you’ll encounter four Greater Owlbear-like Treants, a Poisonous Primal Hydra and Tsana herself (now a 16th-level Cleric). These would be formidable enough foes without the Lantern King’s Curse, but with it the fight’s a right chore… which is why you saved this for last. Or skipped it entirely. Right?
If you choose to pick a fight here, send up one fast character (Monk or Barbarian will do fine, as will a character wearing Manticore Skin Boots) to provoke your foes (they’ll remain neutral until you get near Tsana), then lure the Poisonous Primal Hydra and Tsana south to the rest of your party. The saving grace of this encounter is the glacial pace at which the owlbears move, so use the time to cut down the hydra and limit your exposure to its poison, then dispatch Tsana, who will merrily spam negative energy channeling until you force her to stop. Once those two are down, focus on taking out the owlbears.
There’s no great haul of loot or experience waiting for you at the end of this fight, but… at least it’s done?






No Comments