

After dealing with the Unrest in the Streets part of Season of Bloom you’ll be tasked with “exploring the Gudrin river to the east of the capital”, joining Kesten and his militia in their search for the source of the plague. In effect, this means you need to locate the Goblin Fort area, which, suitably, is along the Gudrin River, just east of the Bridge Over the Gudrin River area.
Ideally you’ll be able to find it just by following the shore south and east from your capital, where a sufficient Perception check should reveal your destination. Failing that, you can learn the location of the Goblin Fort by successfully resolving a Goblin Ambush random encounter.
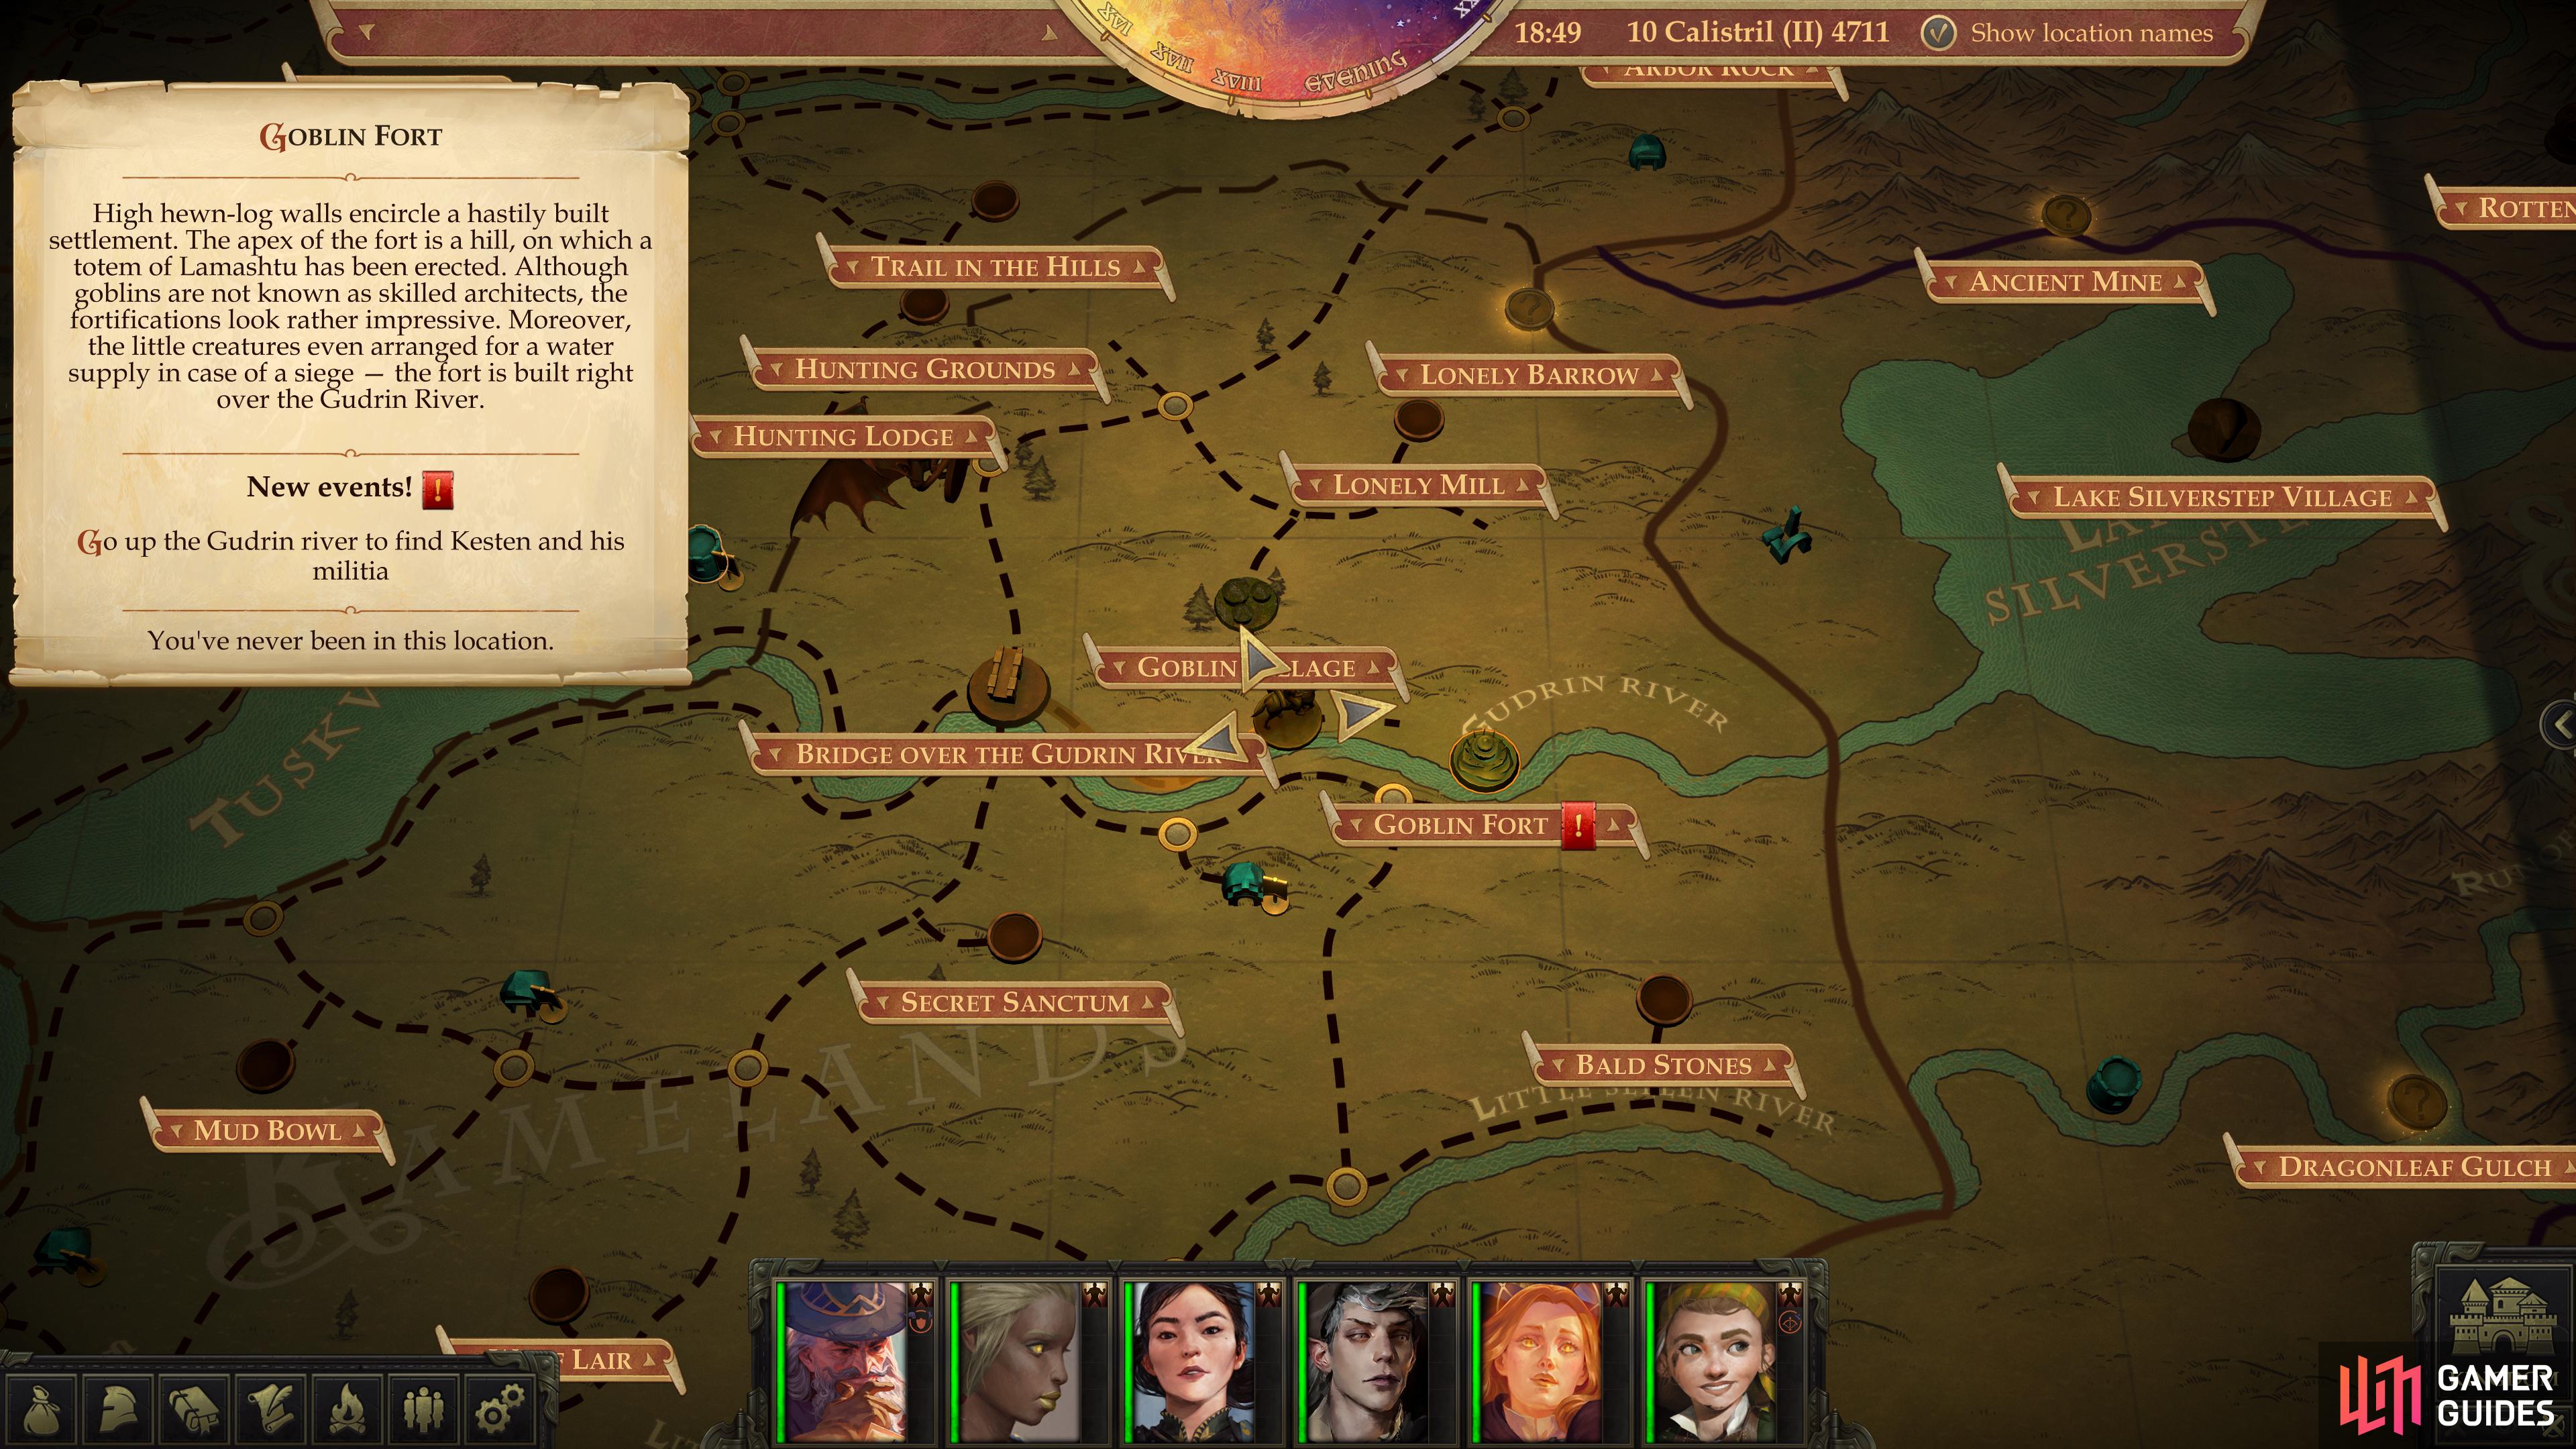
The location of the Goblin Fort on the map.
The location of the Goblin Fort from your capital is as follows:
- East
- Southeast
- South (path veers east - to Bridge Over the Gudrin River)
- East
- East
- South
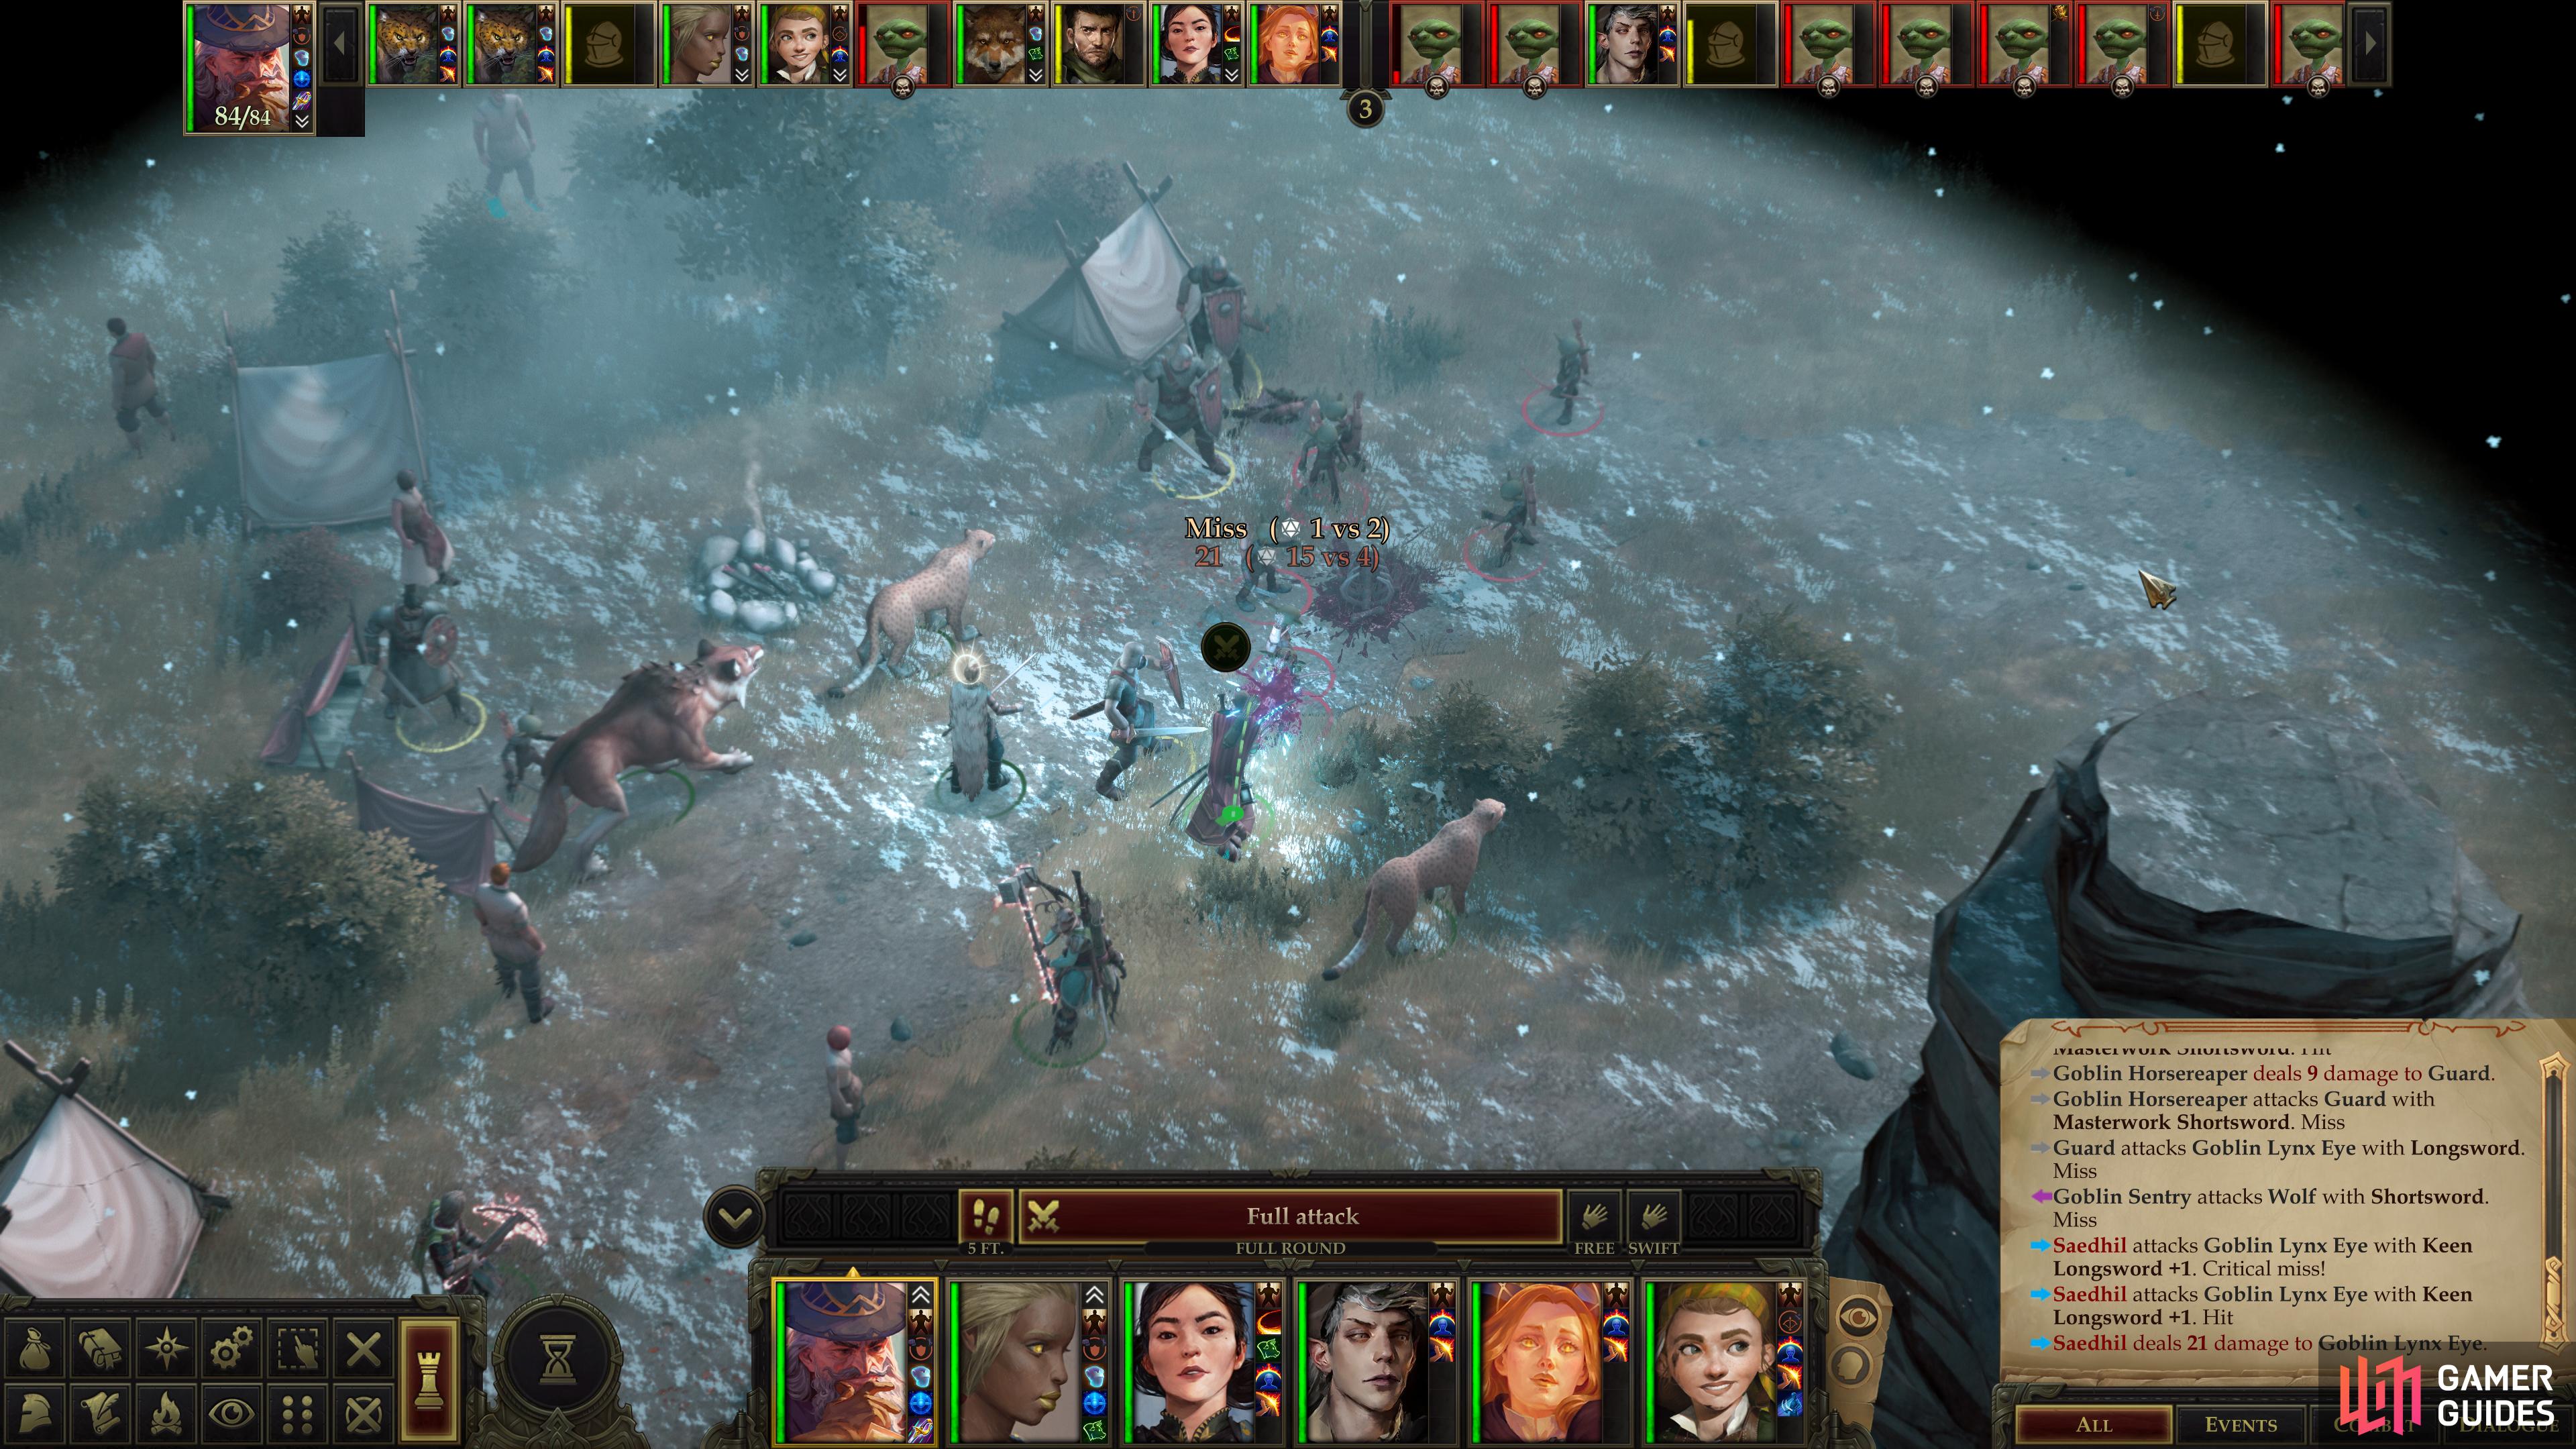
Defeat the goblins attacking Kesten’s camp.
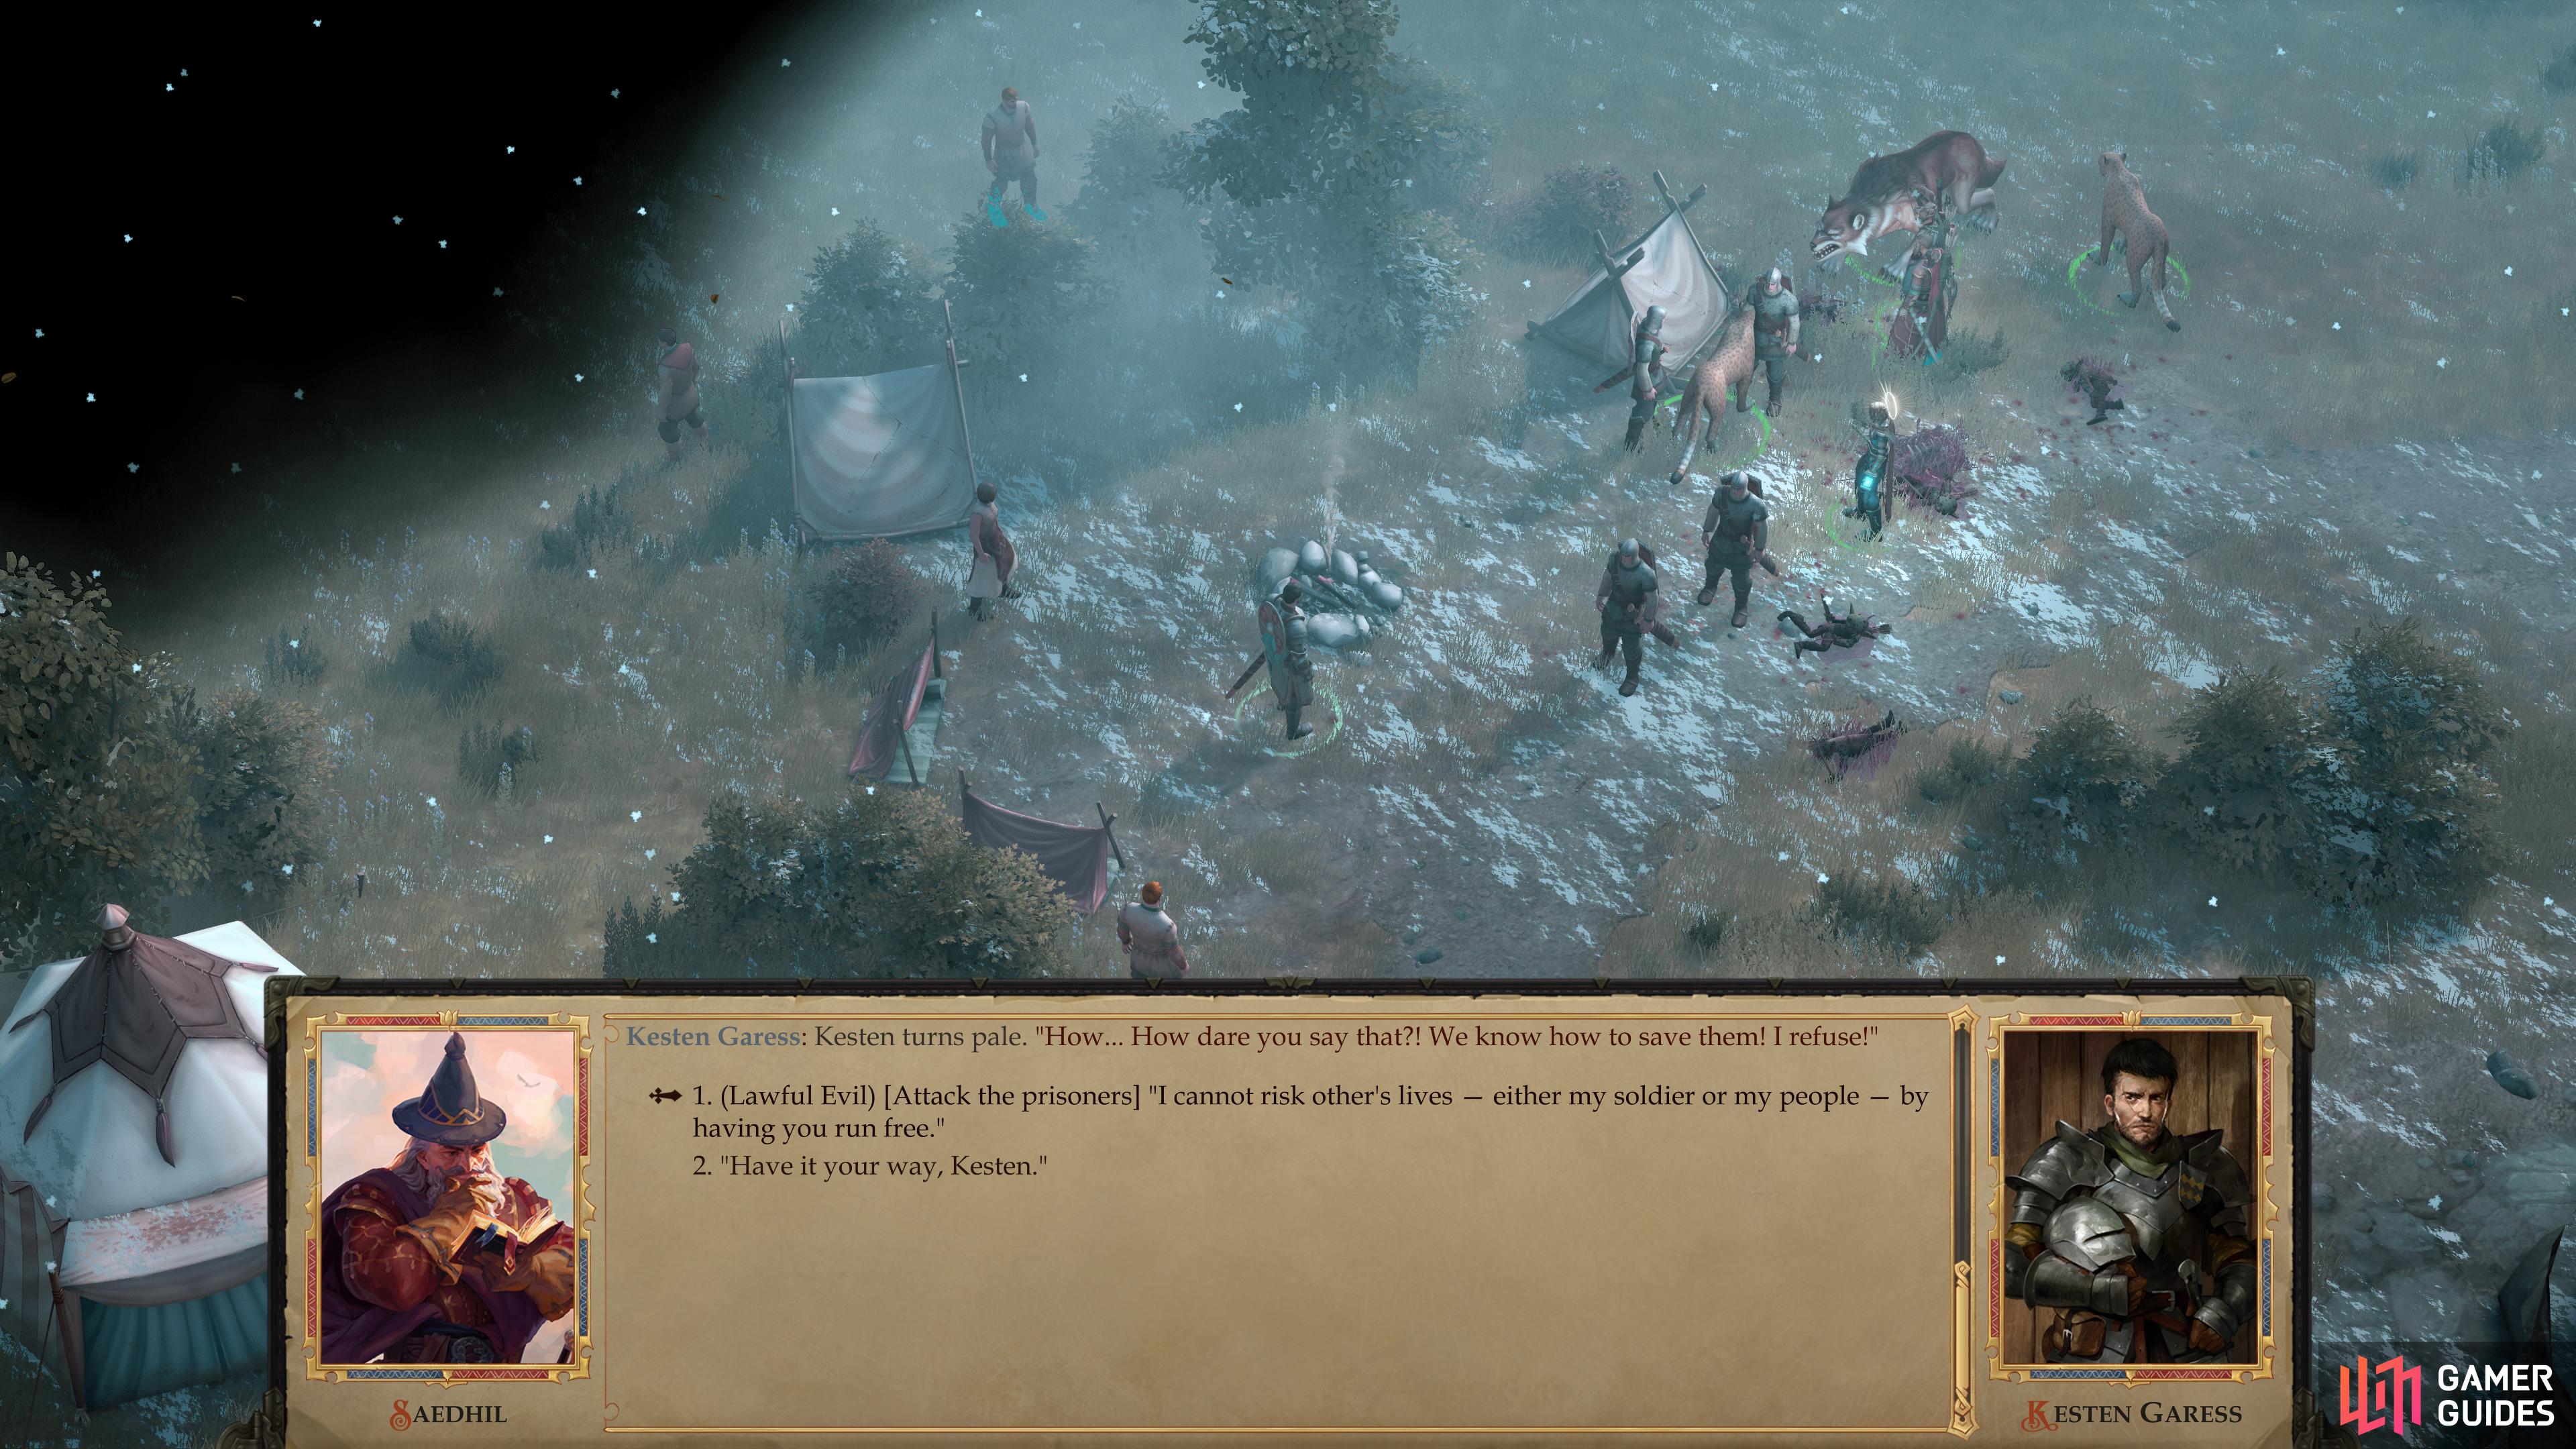
After the fight you can execute the people Kesten rescued out of an abundance of caution.
Defend Kesten’s Camp
You’ll arrive on the western edge of this area, from which head east to find a small camp. You won’t have long to take the sights in, as some Prisoners will come running up to you, asking you to save the camp from a goblin onslaught. Looks like Kesten’s expedition isn’t going so well, and yes, he’s set up a camp here regardless of what you told him back in your capital before the unrest.
Prepare for the area ahead by buffing - Mage Armor, Shield, Shield of Faith, Blur, Displacement, Mirror Image, Bless, Prayer, Stoneskin, Heroism… all the typical buffs, especially any with a significant duration, should be applied. The enemies ahead aren’t incredibly dangerous, but they are numerous and you will be fighting quite a few encounters in this area, so mitigating damage wherever possible should be a chief concern. To that end, also buff with Protection from Energy, Communal and Resist Energy, Communal. Goblins mean alchemists, and alchemists mean fire, and without protection against that element, they’ll wear down your party fairly quickly, regardless of Armor Class or other buffs.
When you’re ready, work your way east, slaughtering goblins as you go: you’ll face off against Goblin Sentries, Goblin Sneaks, Goblin Horsereapers and Goblin Lynx Eyes. Fortunately, they’re all distracted by Kesten and his men, so it should be a simple matter to cut them all down.
Slaughter the goblins, then talk to Kesten who will tell you of the goblin fort in the distance, the speed with which it was created, the prisoners kept within and the foul rites they are subjected to, and most importantly that the goblin attacks have kept them too off-balance to mount a counter-offensive of their own. Looks like it’s up to you to shift the balance of power and end this stalemate. Also, given the goblin shaman’s shenanigans, it seems that he, too, knows about the source of The Bloom, and at the very least he’s spreading the pestilence out of blind loyalty to Lamashtu.
| Reward: For helping Kesten repel the goblins |
|---|
| 135 XP |
If you want to take extra precautions against this blight, respond to Kesten by saying “We discovered the magic seeds are transported by water. If the shaman is infecting prisoners on purpose, then anyone who has consumed the water can give birth to a monster. There’s no time - I have to kill them all.”, which will naturally distress Kesten. If you insist ([Lawful Evil]) this will turn the prisoners at camp hostile, allowing you to exterminate them. You can also end the conversation with one of two moral choices, if you wish: [Lawful Good] or [Neutral Evil], flavoring the nature of your assault on the goblin fort.
If you kill the “Freed Prisoners”, you’ll save yourself a good bit of trouble later, and Kesten gets over it fairly quickly, making the alignment hit the most consequential part of this decision… aside from avoiding a tough fight later.
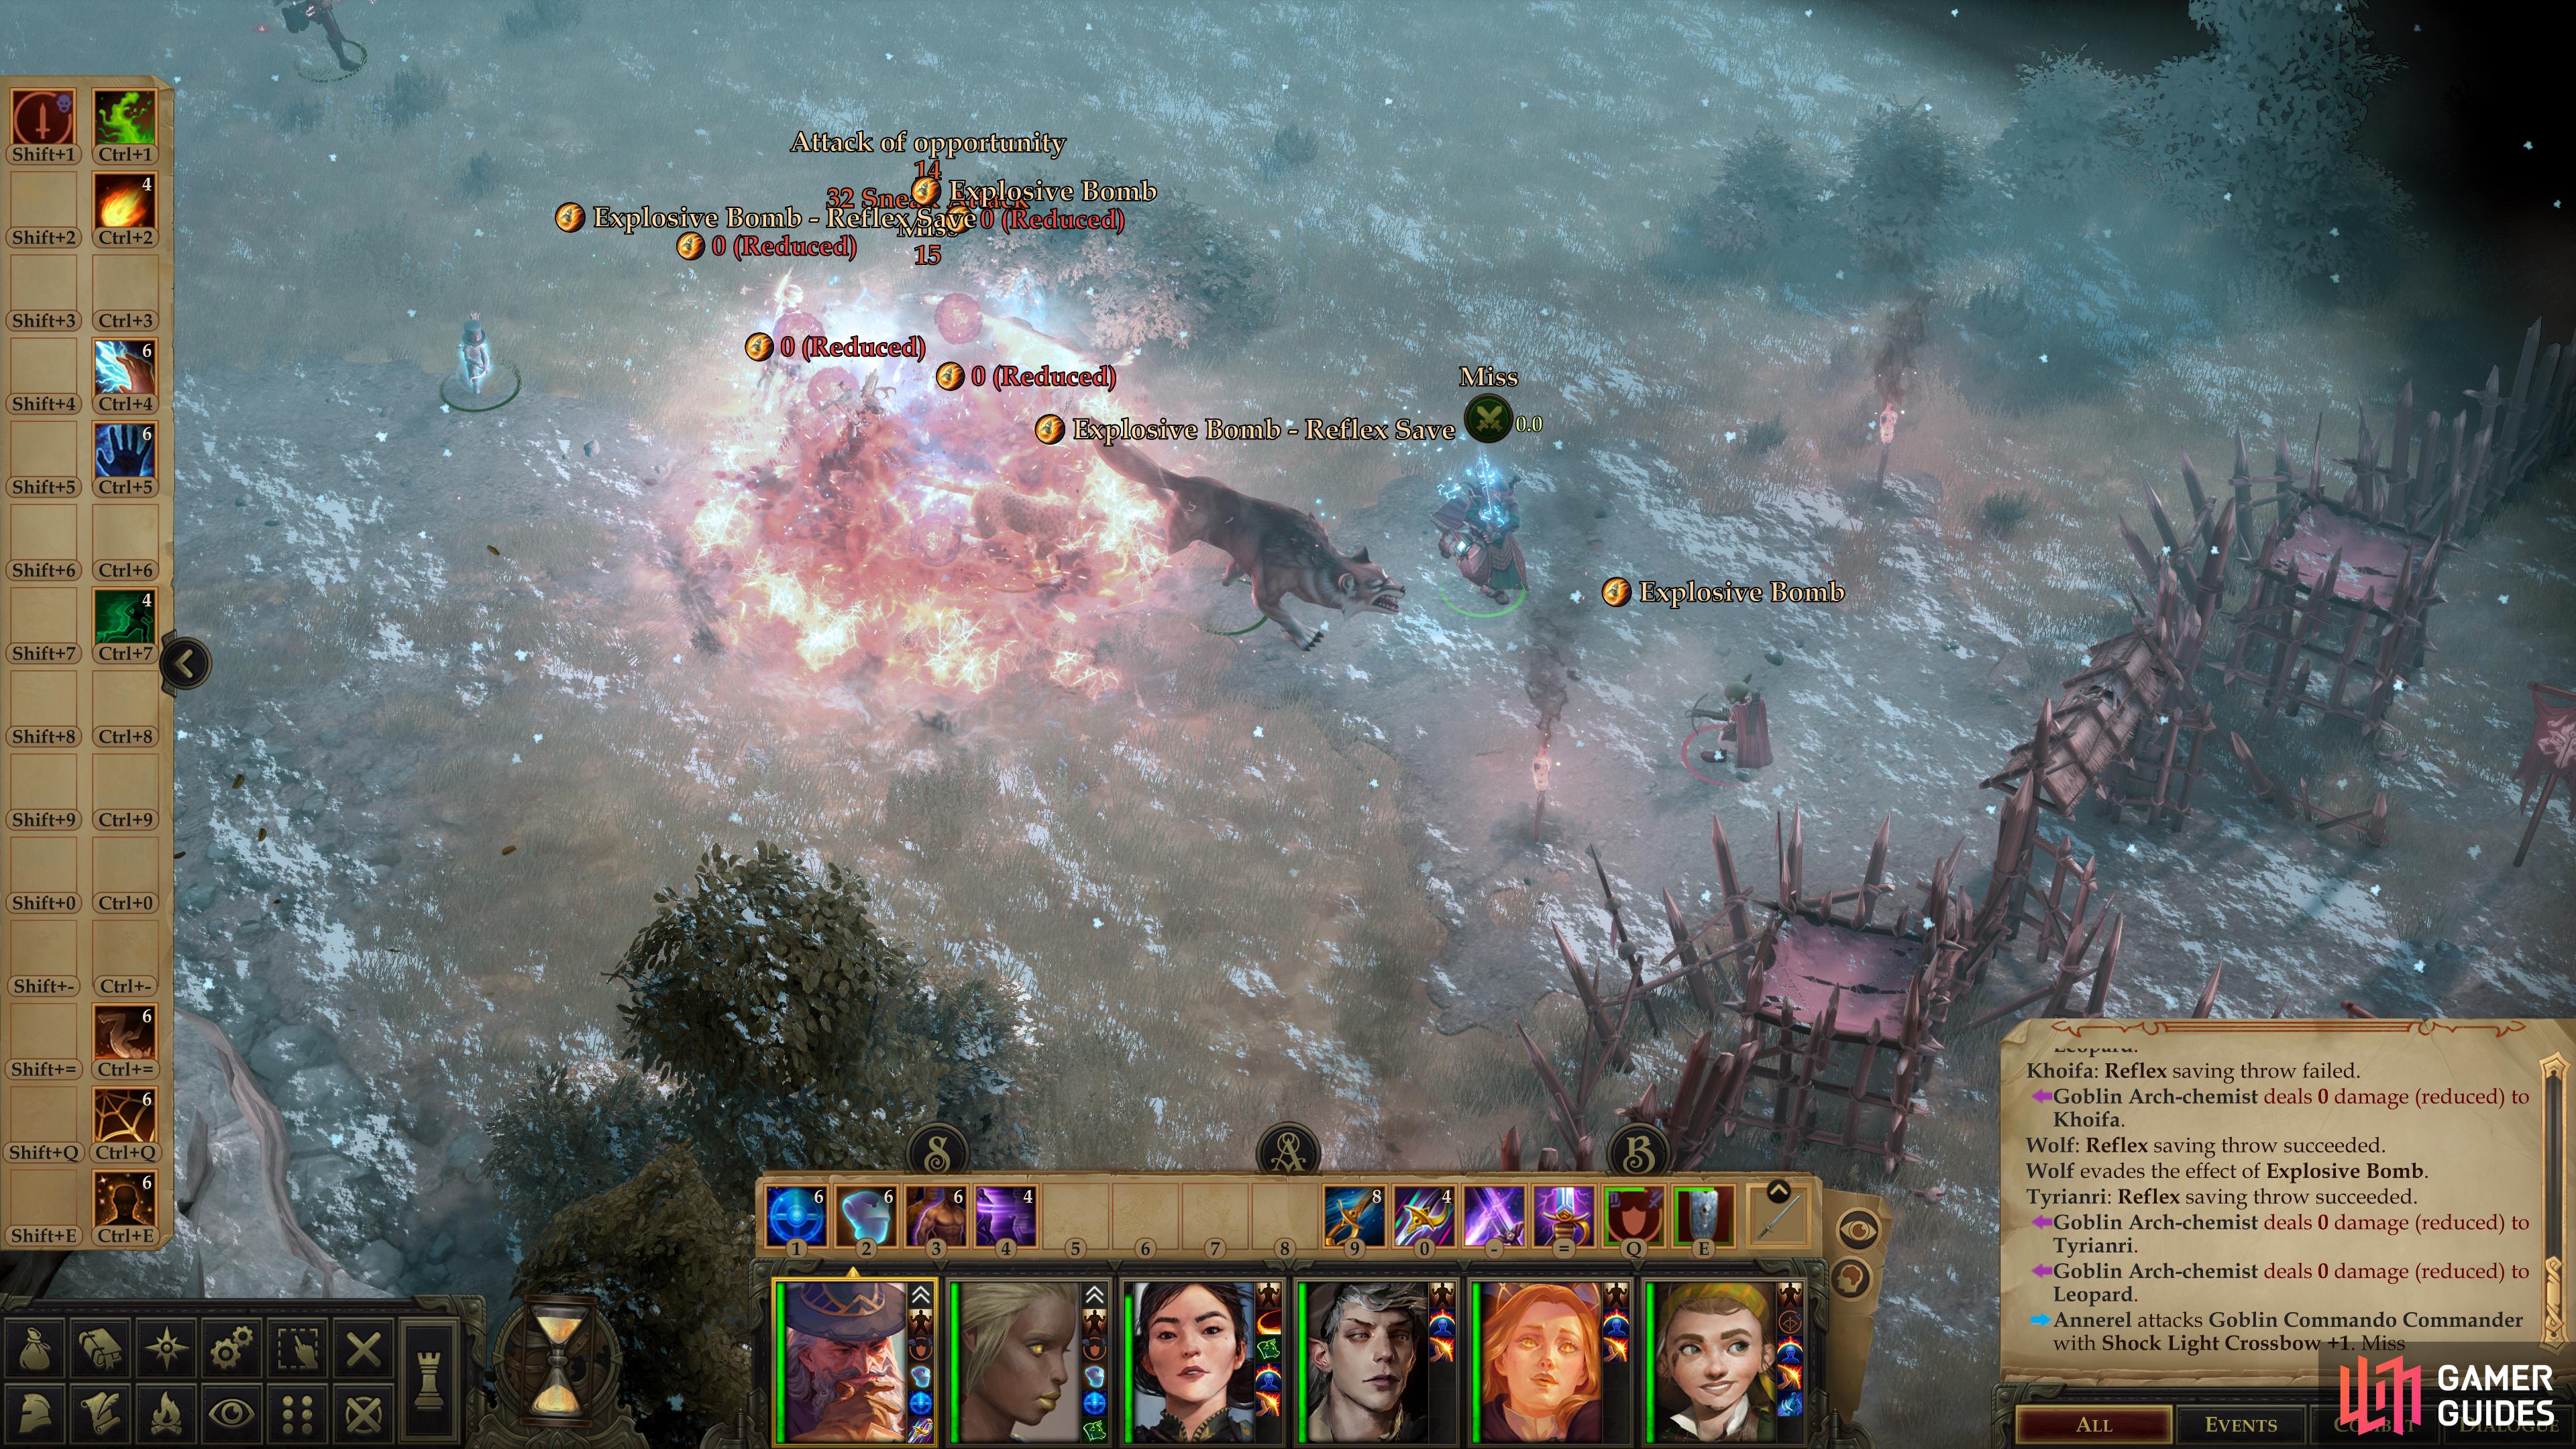
Assault the Goblin Fort
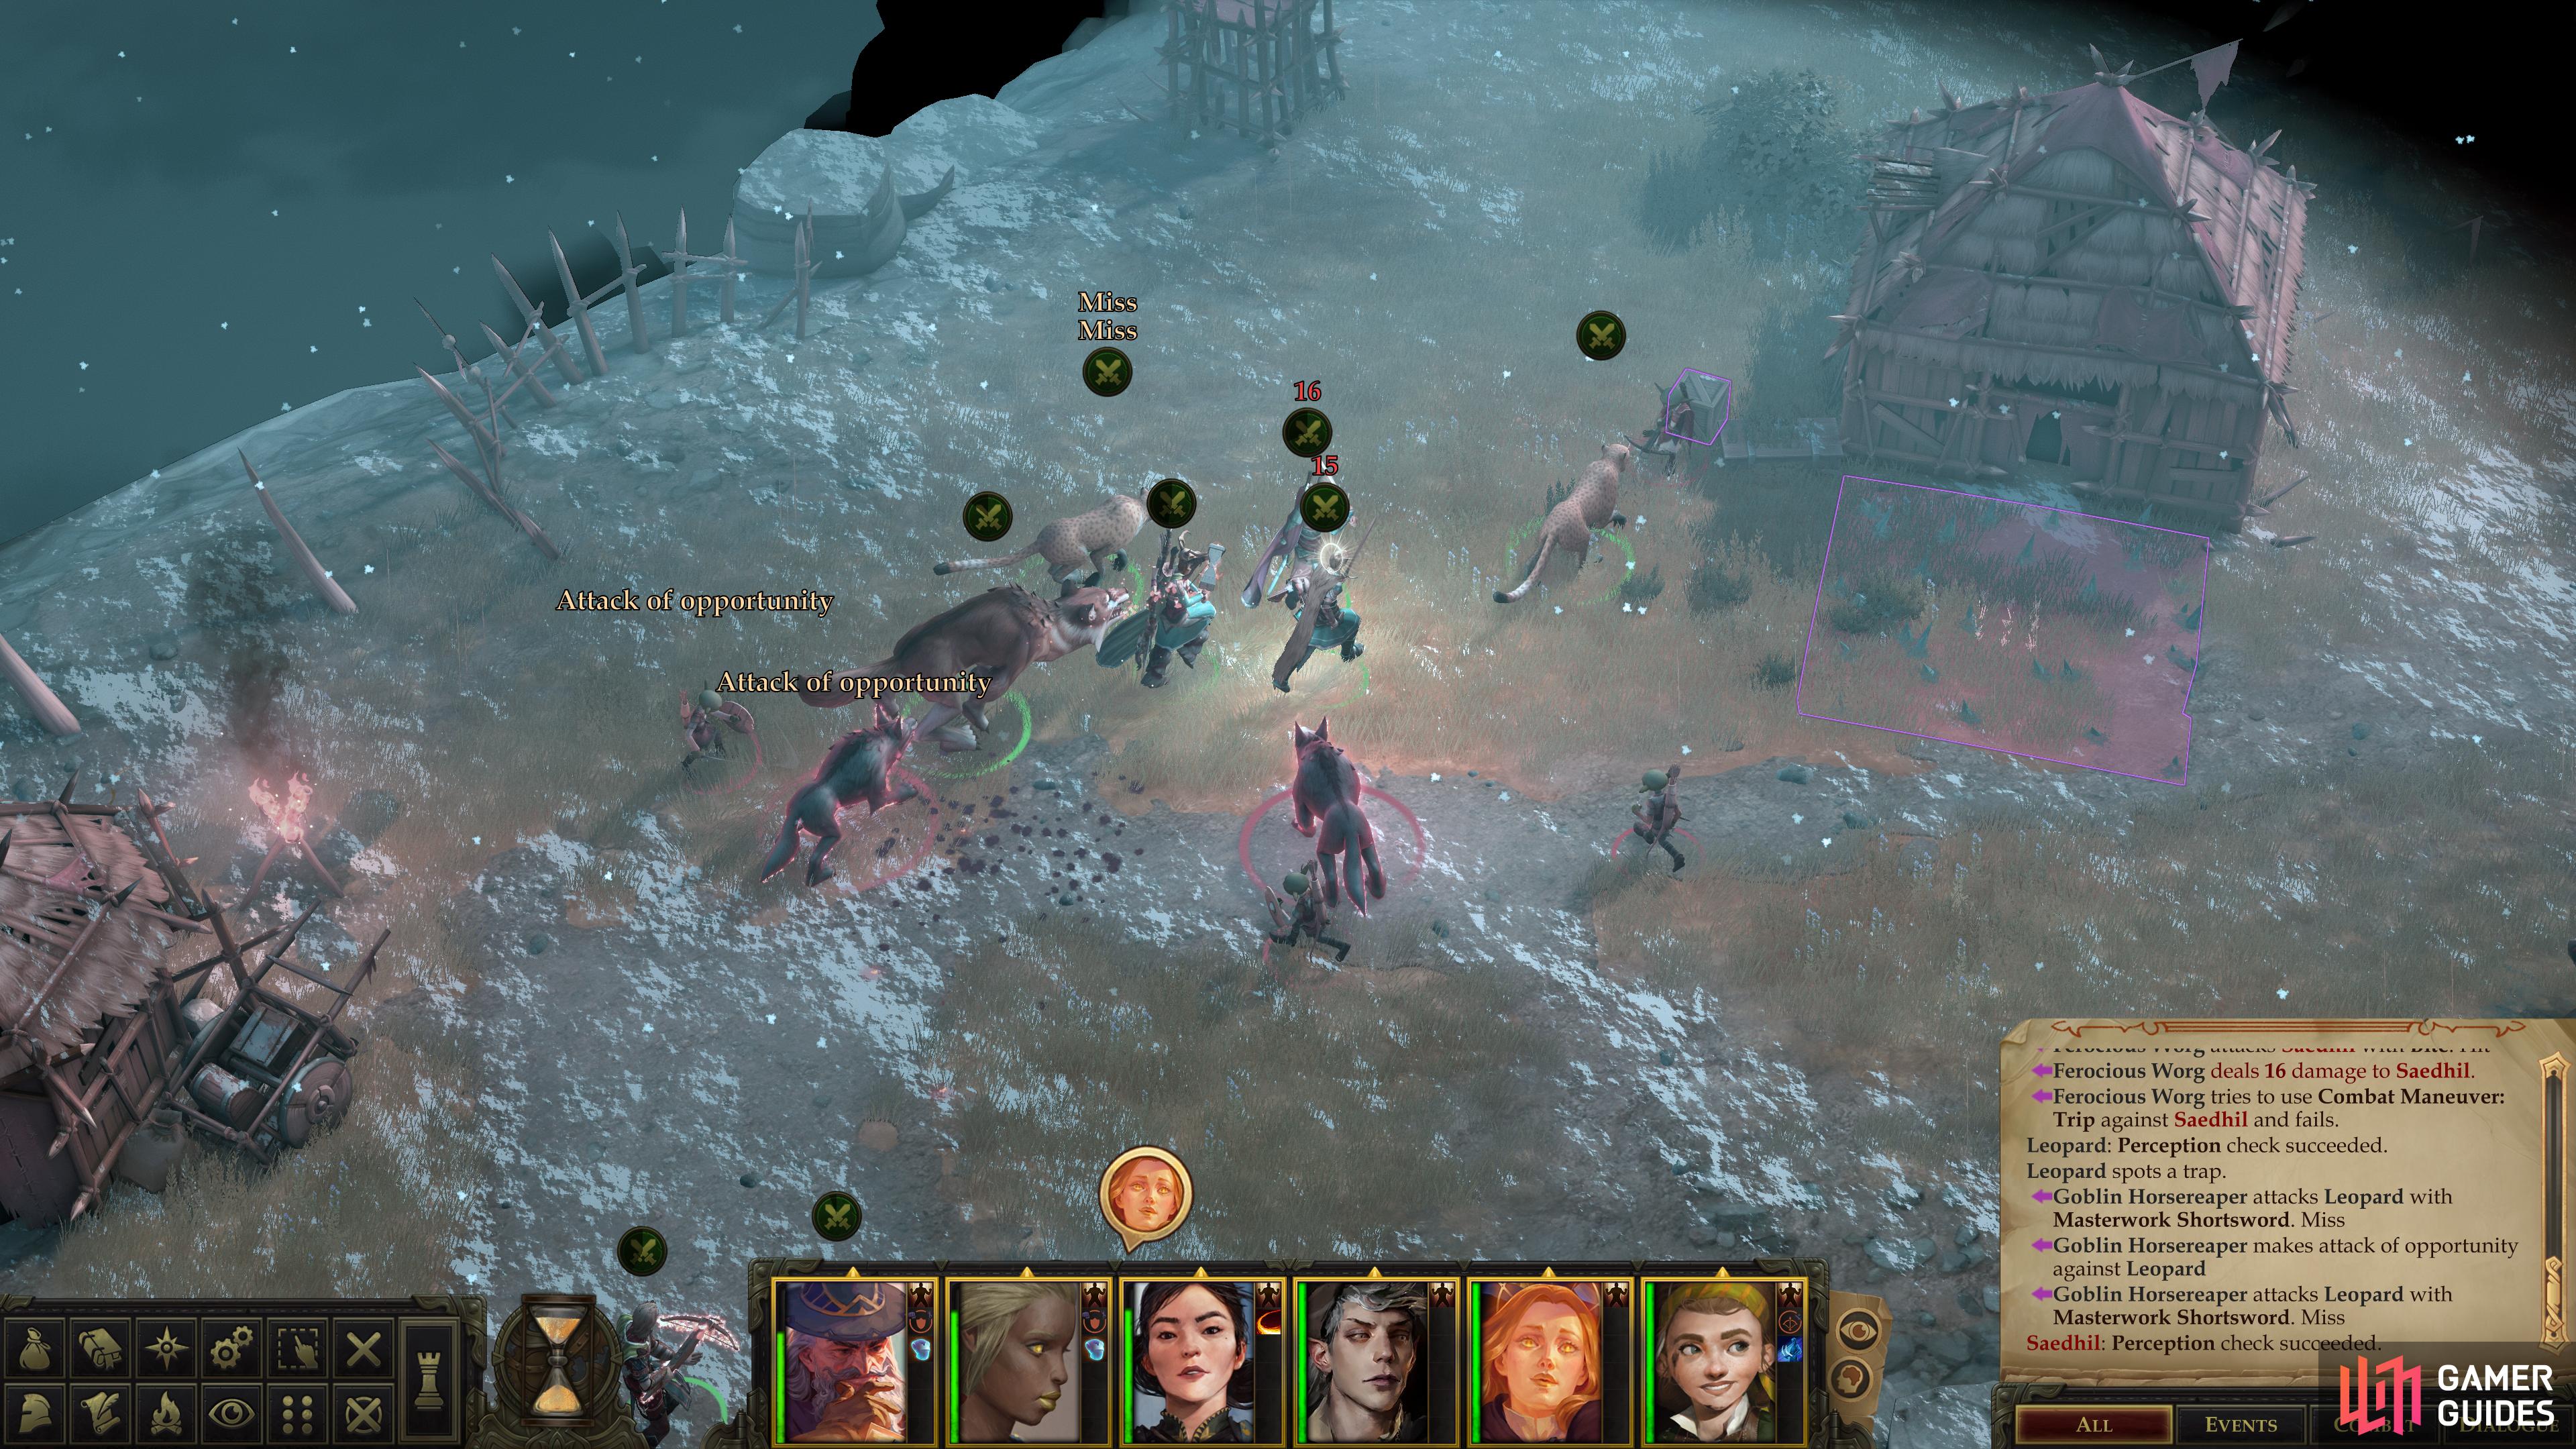
Follow a path east from Kesten’s camp and you’ll find a shoddy palisade standing between you and the goblins who are party to your barony’s misery. Up next is a good bit of combat, so make sure you’re buffed, then lure the two Goblin Commando Commanders by the gate outside and slay them. Once they’re dead, head inside with just a single tank, as a Goblin Arch-Chemist lurks south of the palisade, and will likely get a bomb off on whomever enters the fort first. Join the assault with the rest of your party and put down the Goblin Arch-Chemist, then congregate inside the fort.
Be wary of a trap [Perception 24] in front of a hut just beyond the gate, and when you’re gathered up, cast Haste before going deeper into the fort. A large group of goblins can be found further east, and Haste will help give you an edge over them. In fact, it’s two groups of goblins divided by a trap [Perception 24], but you should endeavor to kill most of the goblins west of the trap before retreating to lure more goblins further east across the trap so you can dispatch them without worrying about the trap. This group of goblins includes two Goblin Arch-Chemists, which is another reason to make use of Haste to cut through the mob of accompanying goblins more quickly.
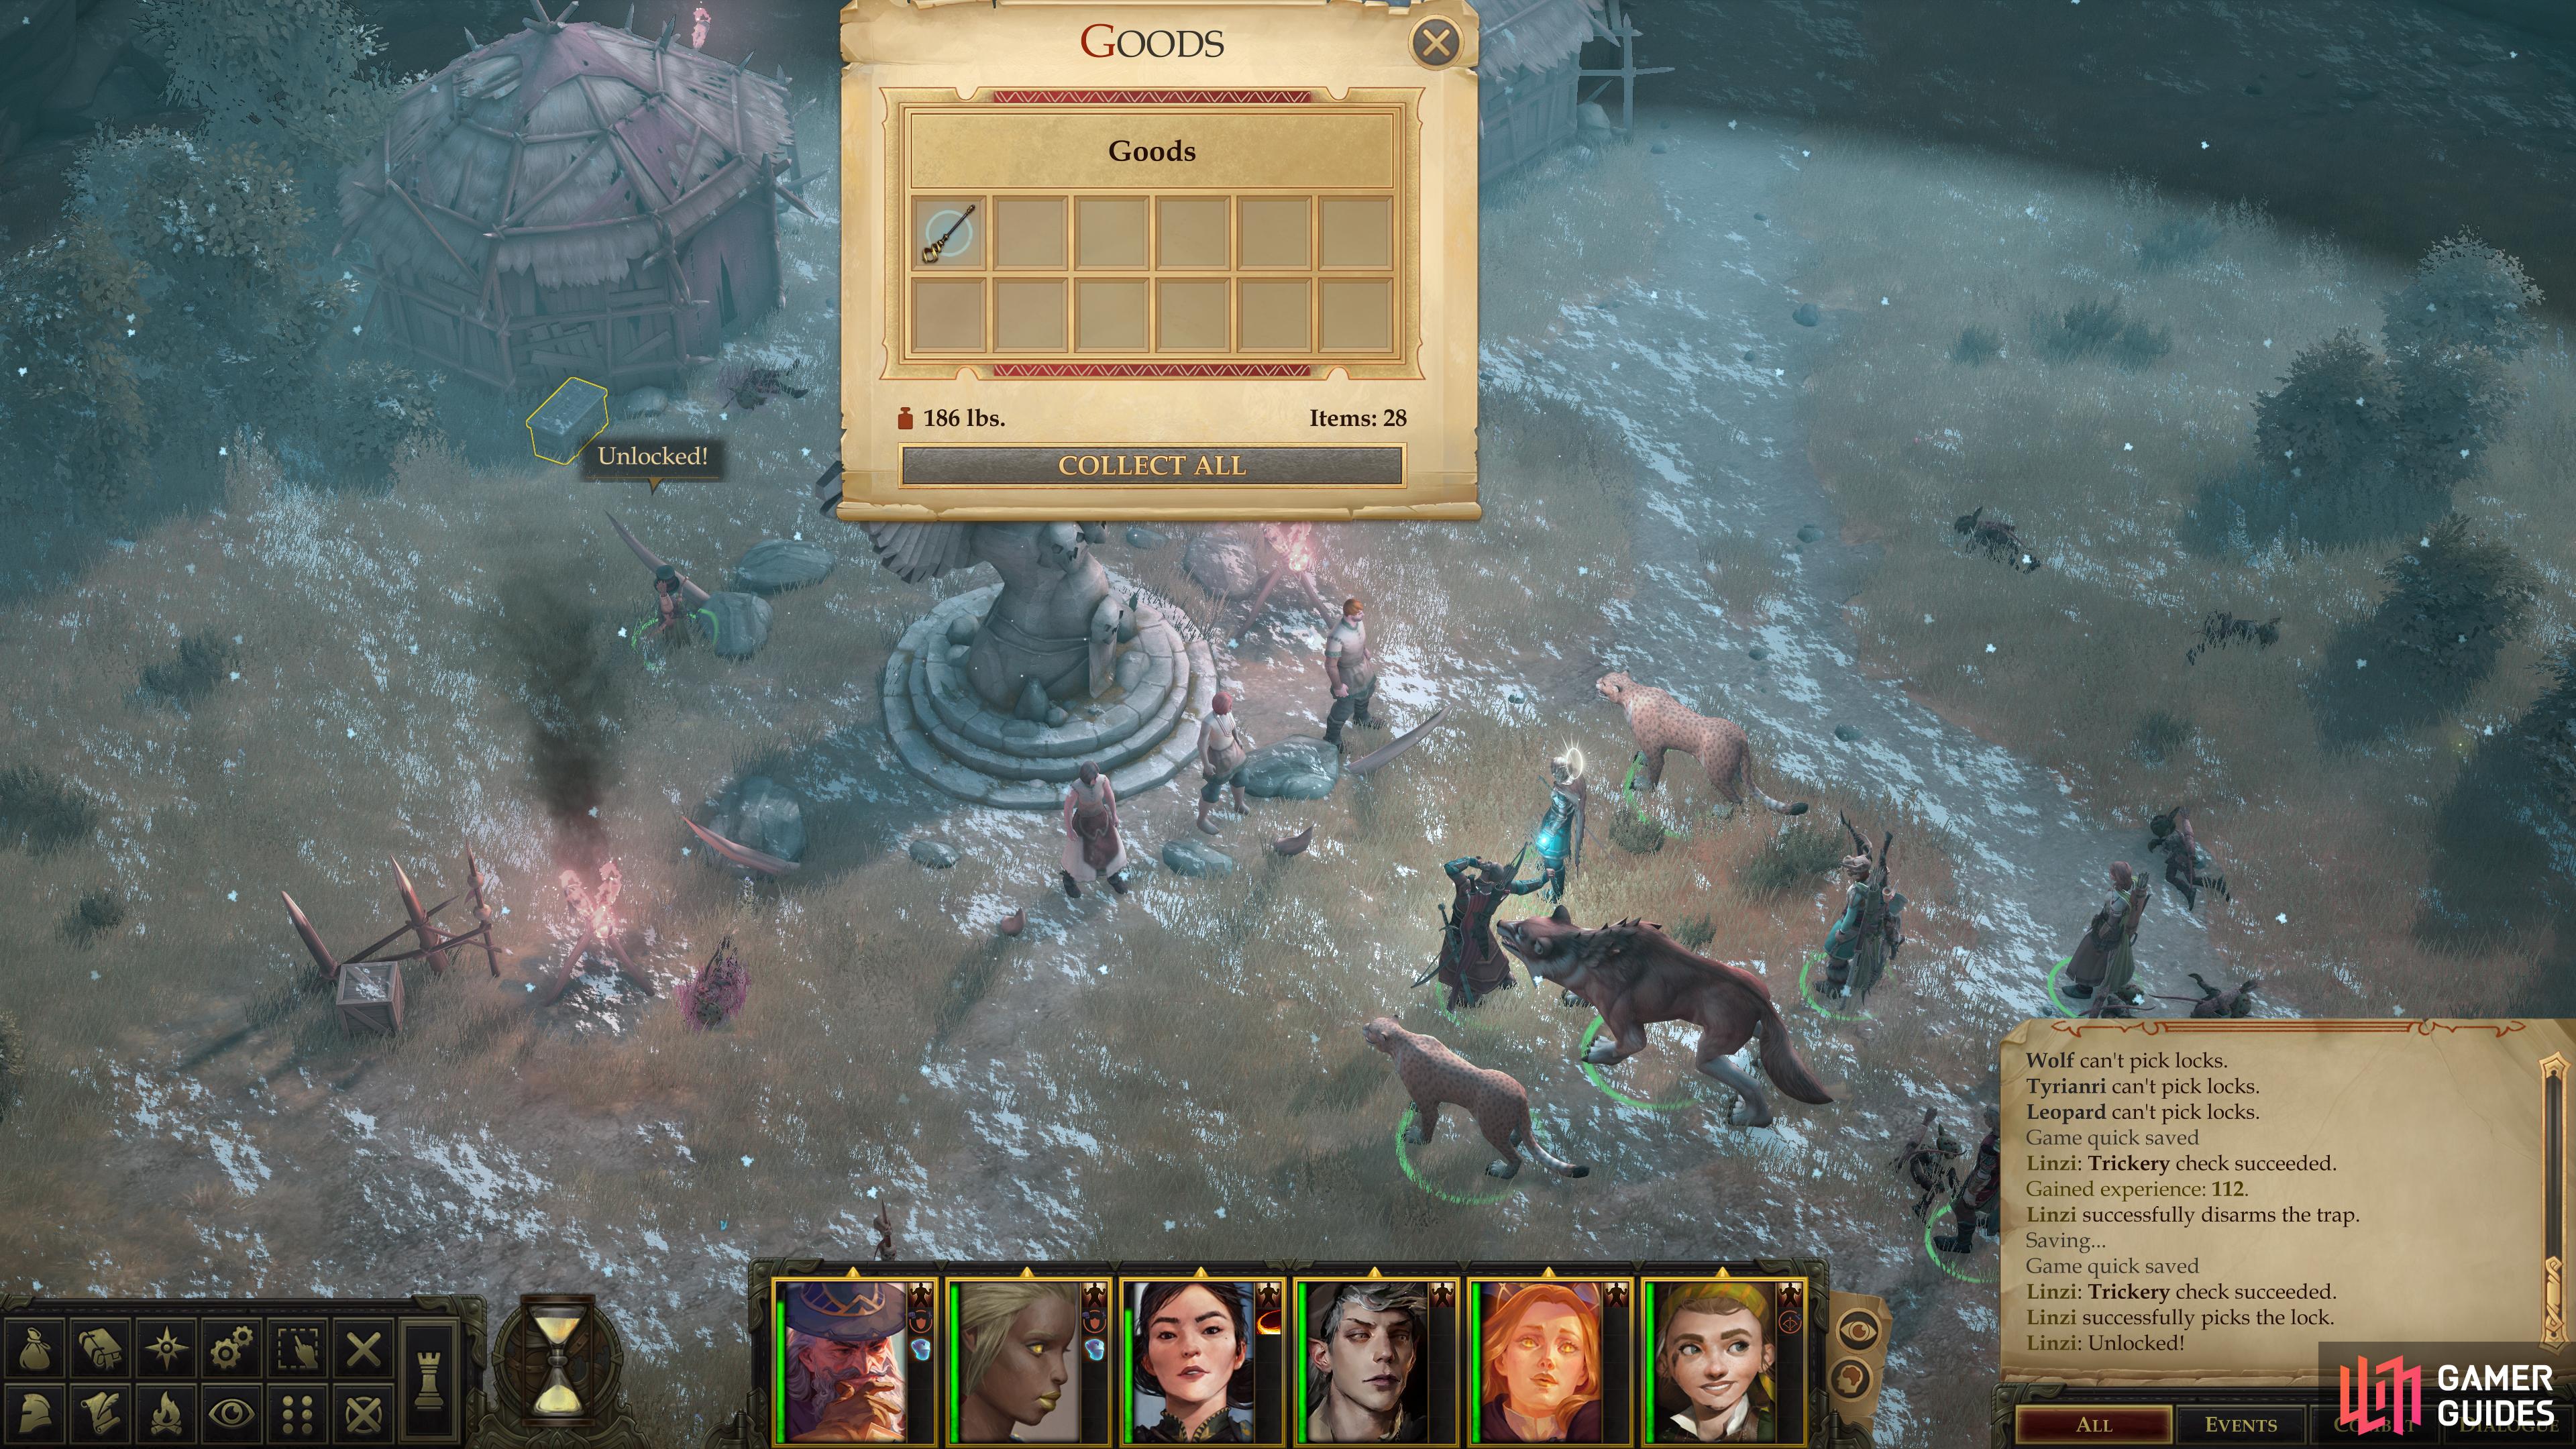
Once the horde of goblins are routed, disarm [Trickery 24] the trap near the hut by the fort’s entrance, then loot two crates alongside the hut to score a Token of the Dryad in one and 141 GP some gems, potions and food in the other. Next disarm the trap along the path to the west and be sure to loot the Goblin Alchemists for Rings of Protection +1, which have to be worth selling, at the very least. When all that’s done, press on past where the trap was to find two prisoners in cages, one to the north and one to the south. Free them both, then loot a crate between a hut and the northern prisoner cage to find a 154 GP, a Robe of Air, some potions and a Melted Shard of a Ring. Note that you can also kill the prisoners, if you wish to avoid any complications with monsters later on.
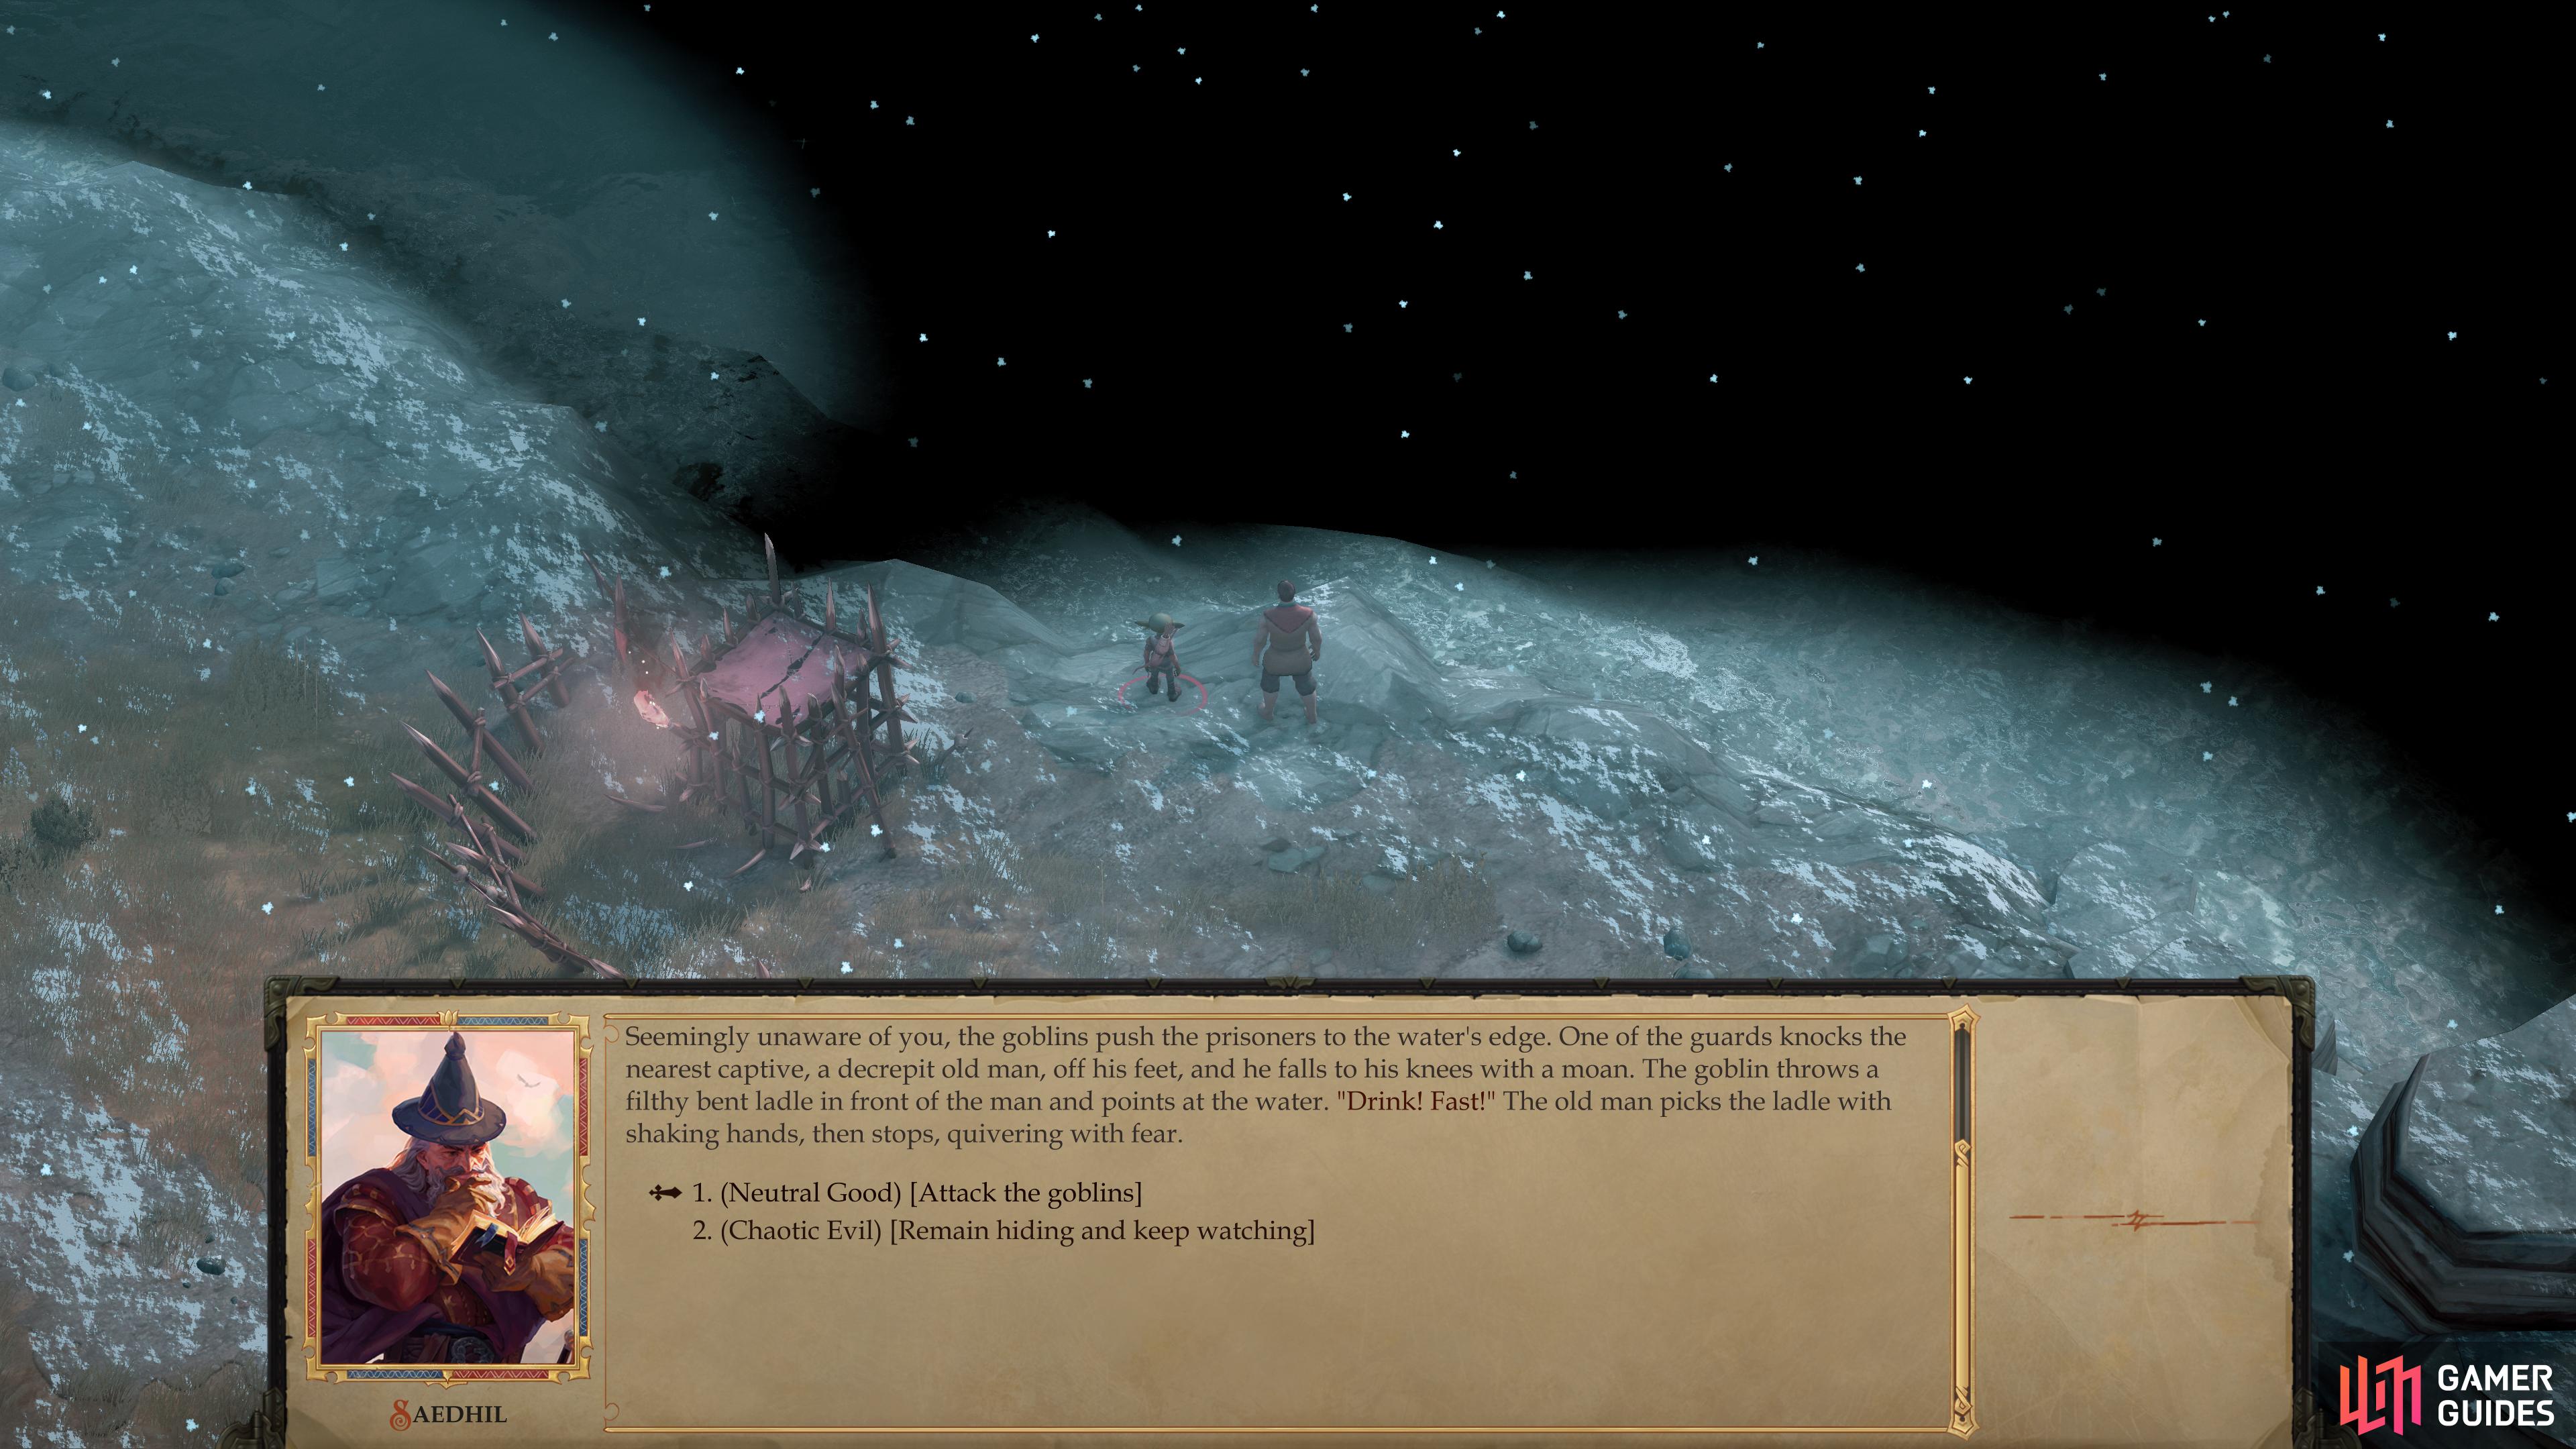
You can stand around gawking at the prisoners, which will have consequences later,
or you can interrupt the goblins and rescue their captives.
Drinkers at the Gudrin River
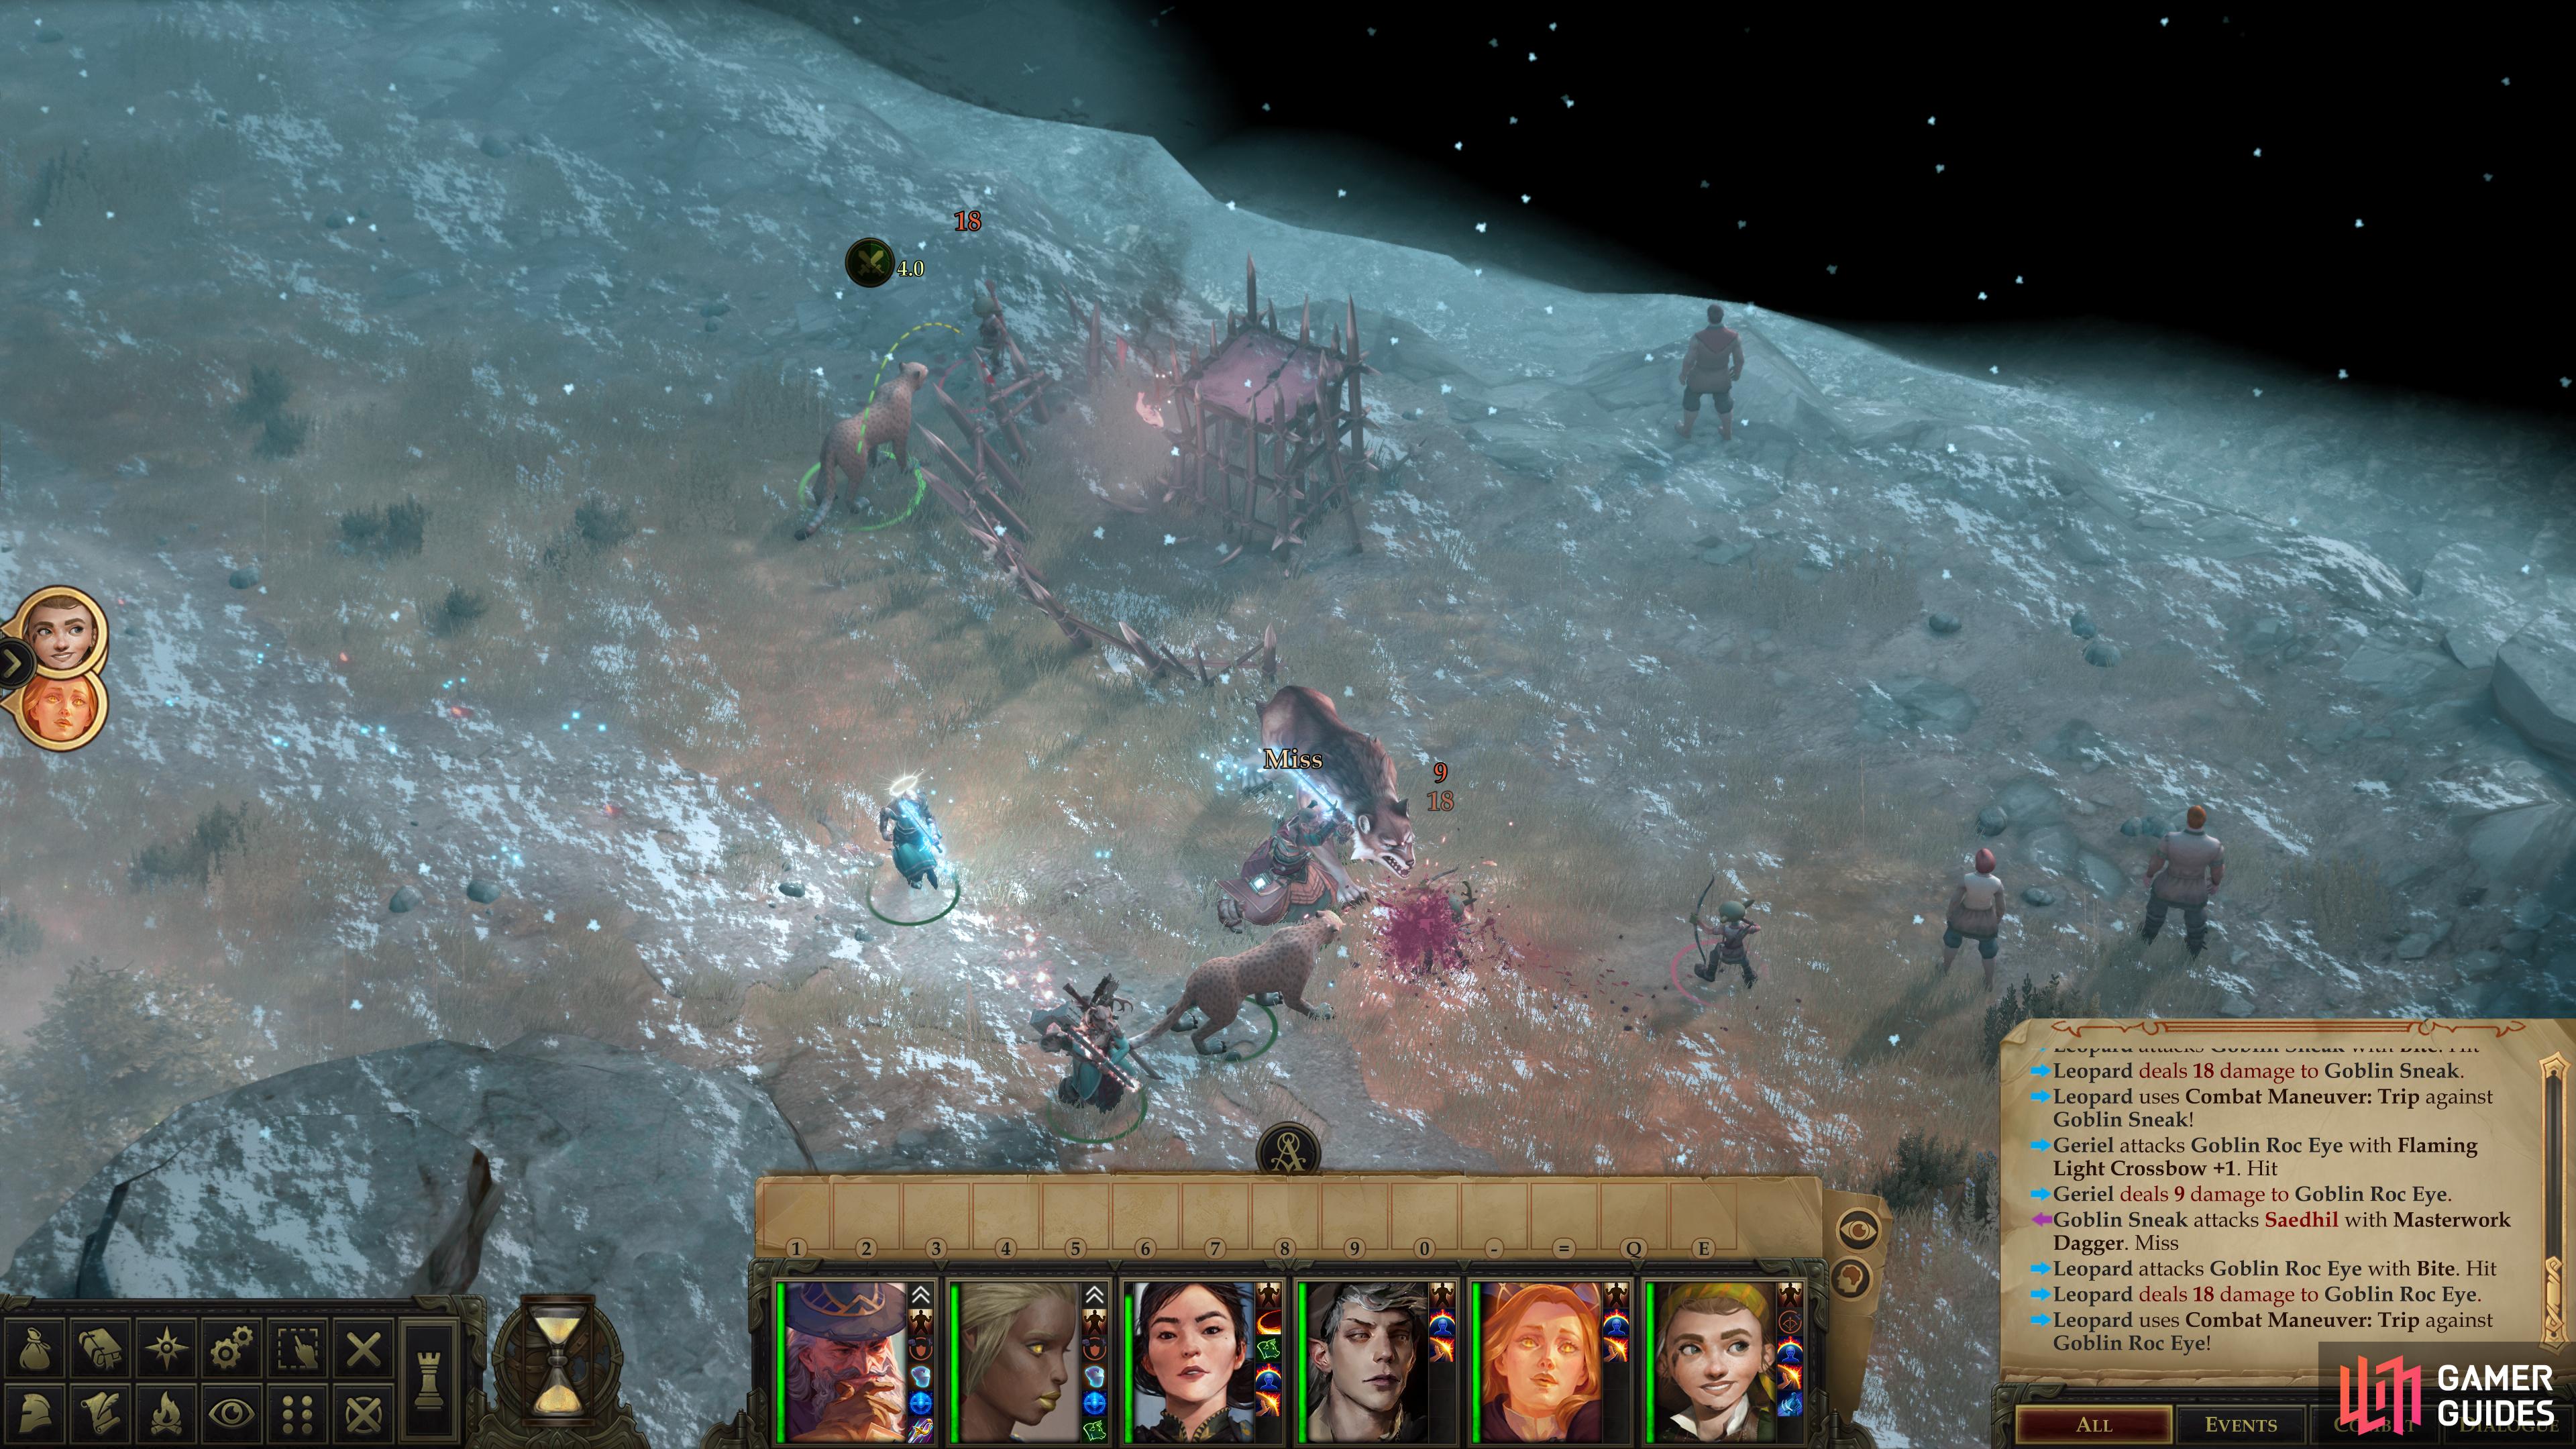
Press on deeper into the goblin fort by heading east, where you’ll be treated to a scene of the goblins serving Lamashtu in their peculiar, depraved way. Seems the goblin shaman isn’t too concerned about ceremony, and is just as happy to force peasants to ingest water from the Gudrin river at spear-point, if need be. When prompted, pick the [Neutral Good] dialogue option to interfere with the forced drinking, or [Chaotic Evil] to watch and see what they do. If you choose to watch twice, the goblins will retreat back into the fort with their prisoners, while if you interrupt them you’ll be able to save the prisoners and kill this batch of goblins, which includes two Goblin Sneaks and two Goblin Roc Eyes.
Goblin Fort: East
From where the goblins forced their prisoners to drink, follow the river southwest until you find another goblin hut, near which is a crate containing the ring Energy Source (characters who can channel positive/negative energy can do so two more times per day) and a Token of the Dryad along with other, less interesting gear. From here, continue south along a trail until you find more goblins willing to oppose you. The goblins here are numerous, but well spaced out, and more will appear as you fight, making it somewhat easy to get over-extended. This is exacerbated somewhat by the presence of the odd Goblin Arch-Chemist, who should take priority over the other goblins when they appear. This fight may be sloppy by necessity, but a few defensive buffs (and perhaps another bout of *Haste) should suffice to help you emerge relatively unscathed.
Smite this group of goblins, then loot a crate near the palisade to the east to find a variety of useful scrolls and a Shard of Knight’s Bracers. Claim this treasure for your own, then continue following the trail to the southwest, eventually looping around to the northwest near a collection of prisoner cages and goblin hovels. As you go, be wary of another trap [Perception 24] [Trickery 24], and a surprisingly light goblin presence near the prisoner cages.
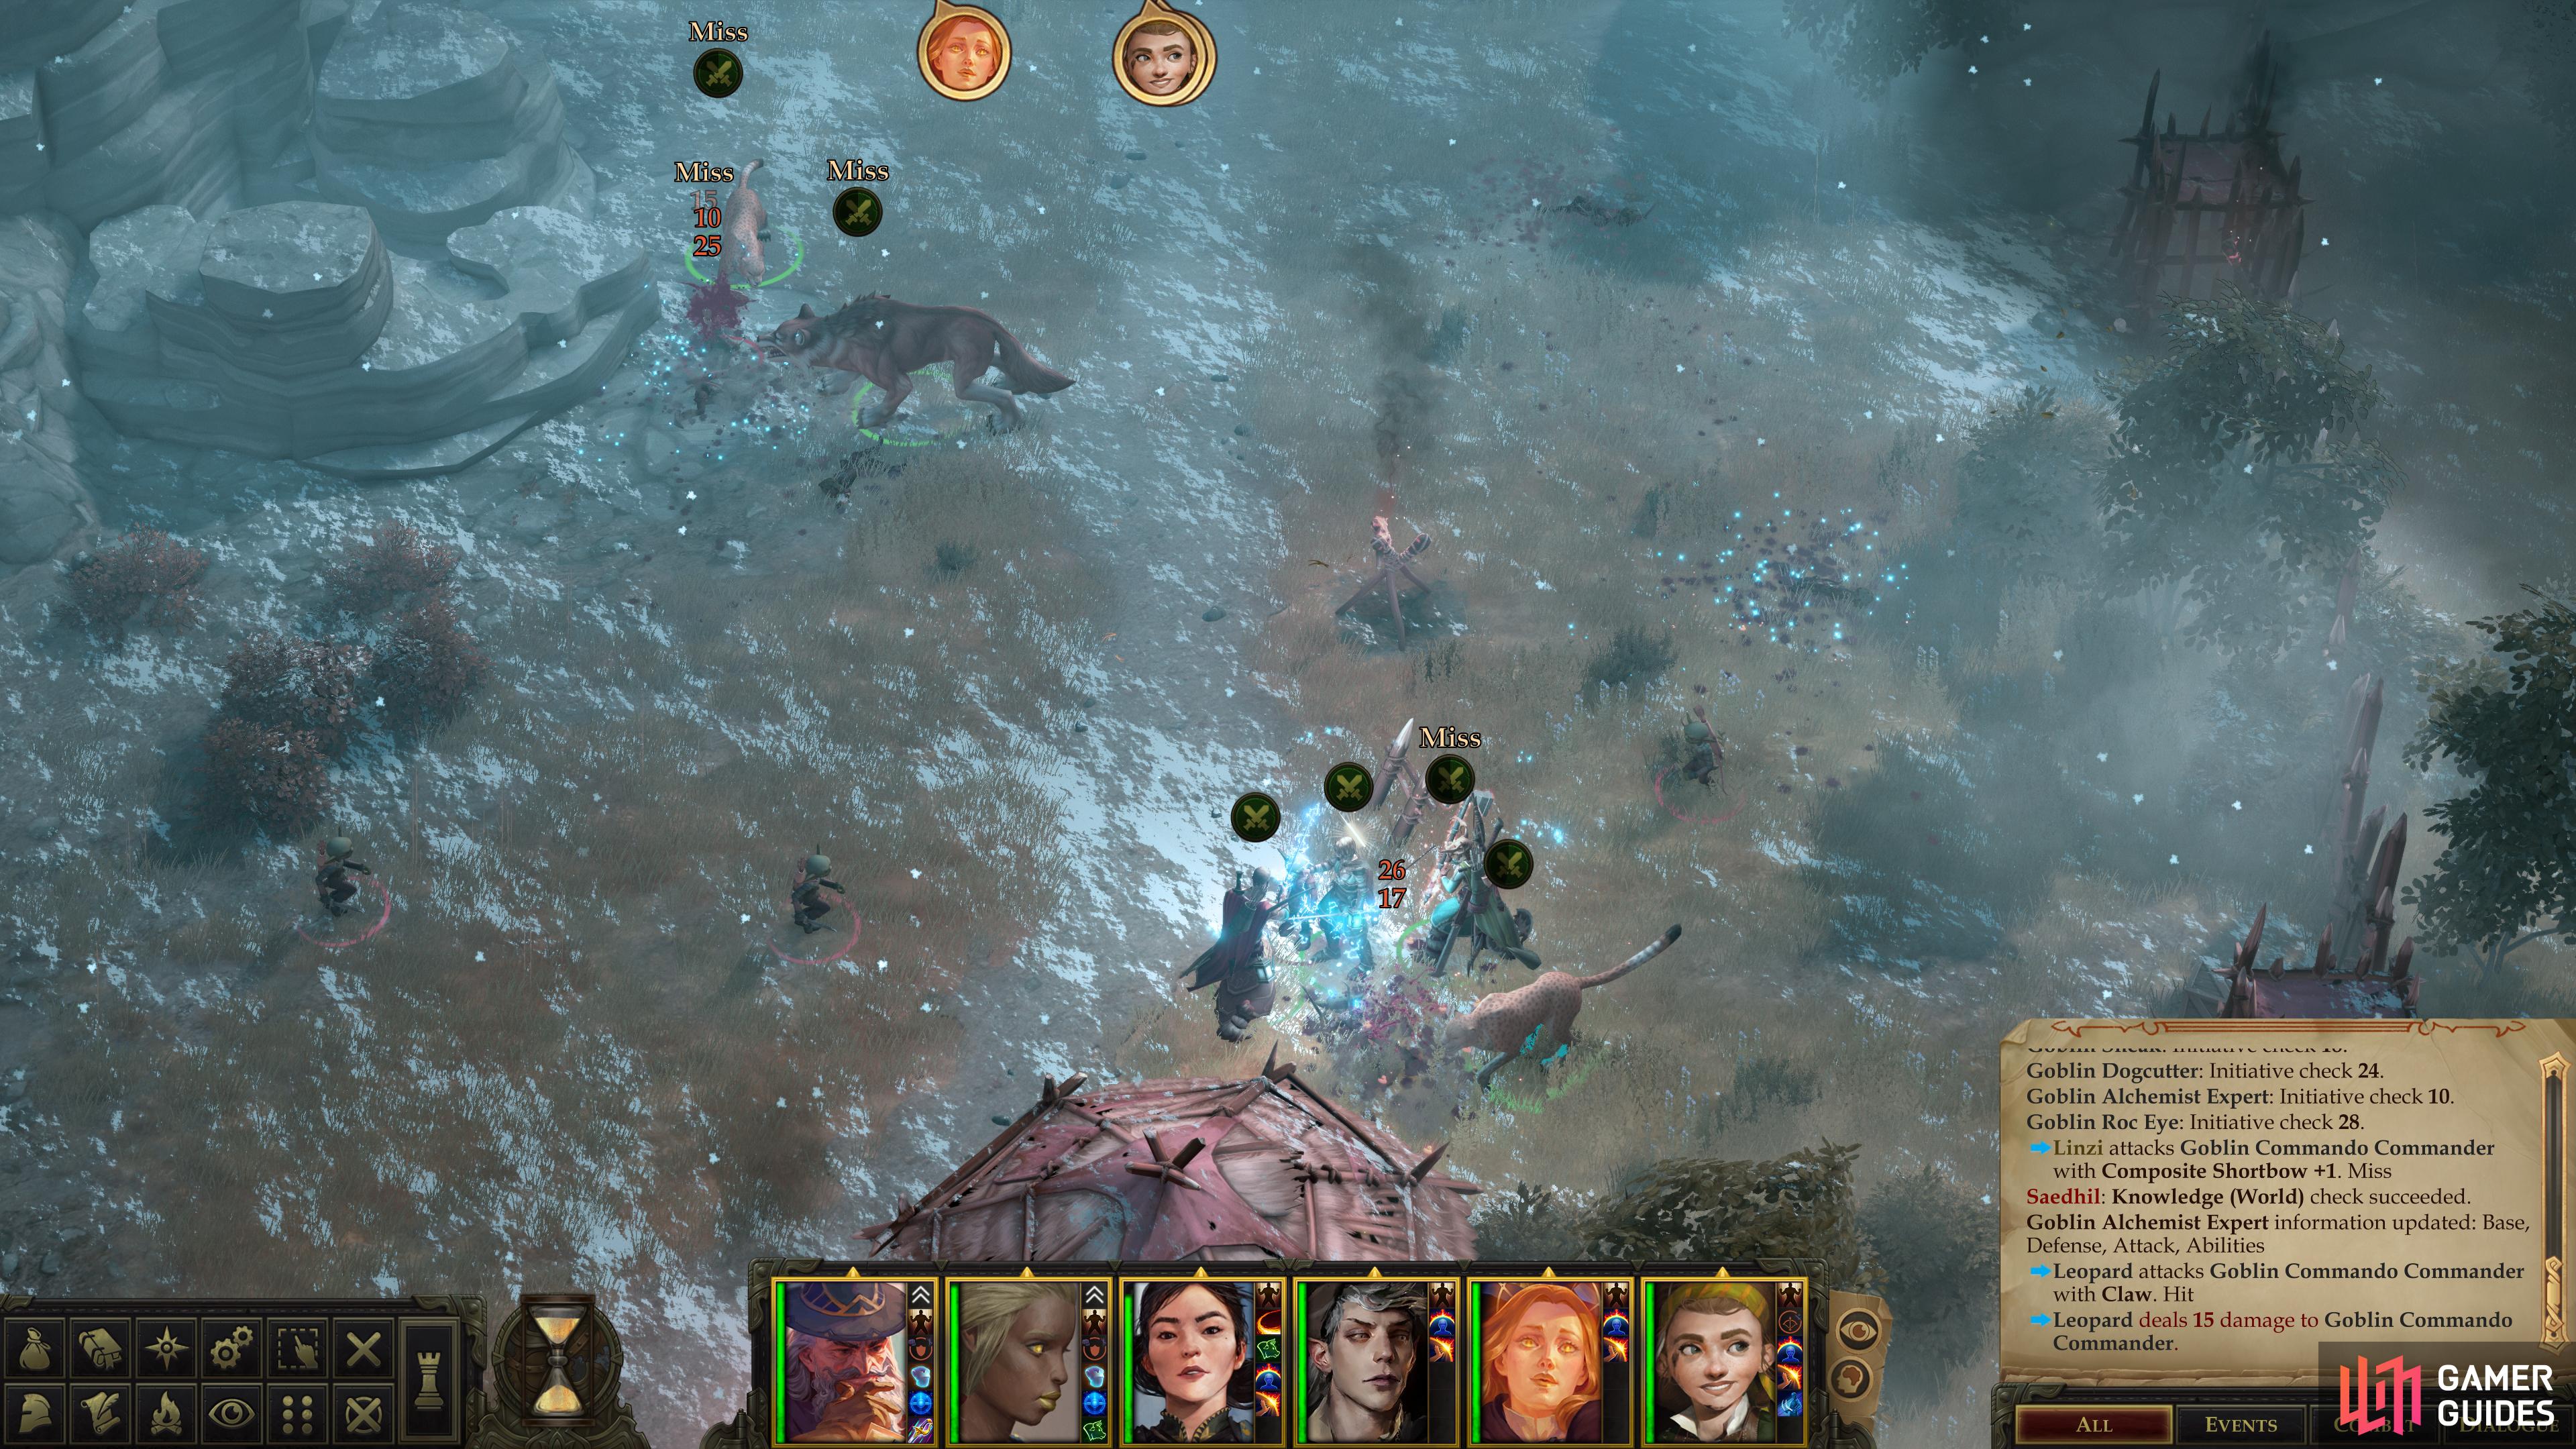
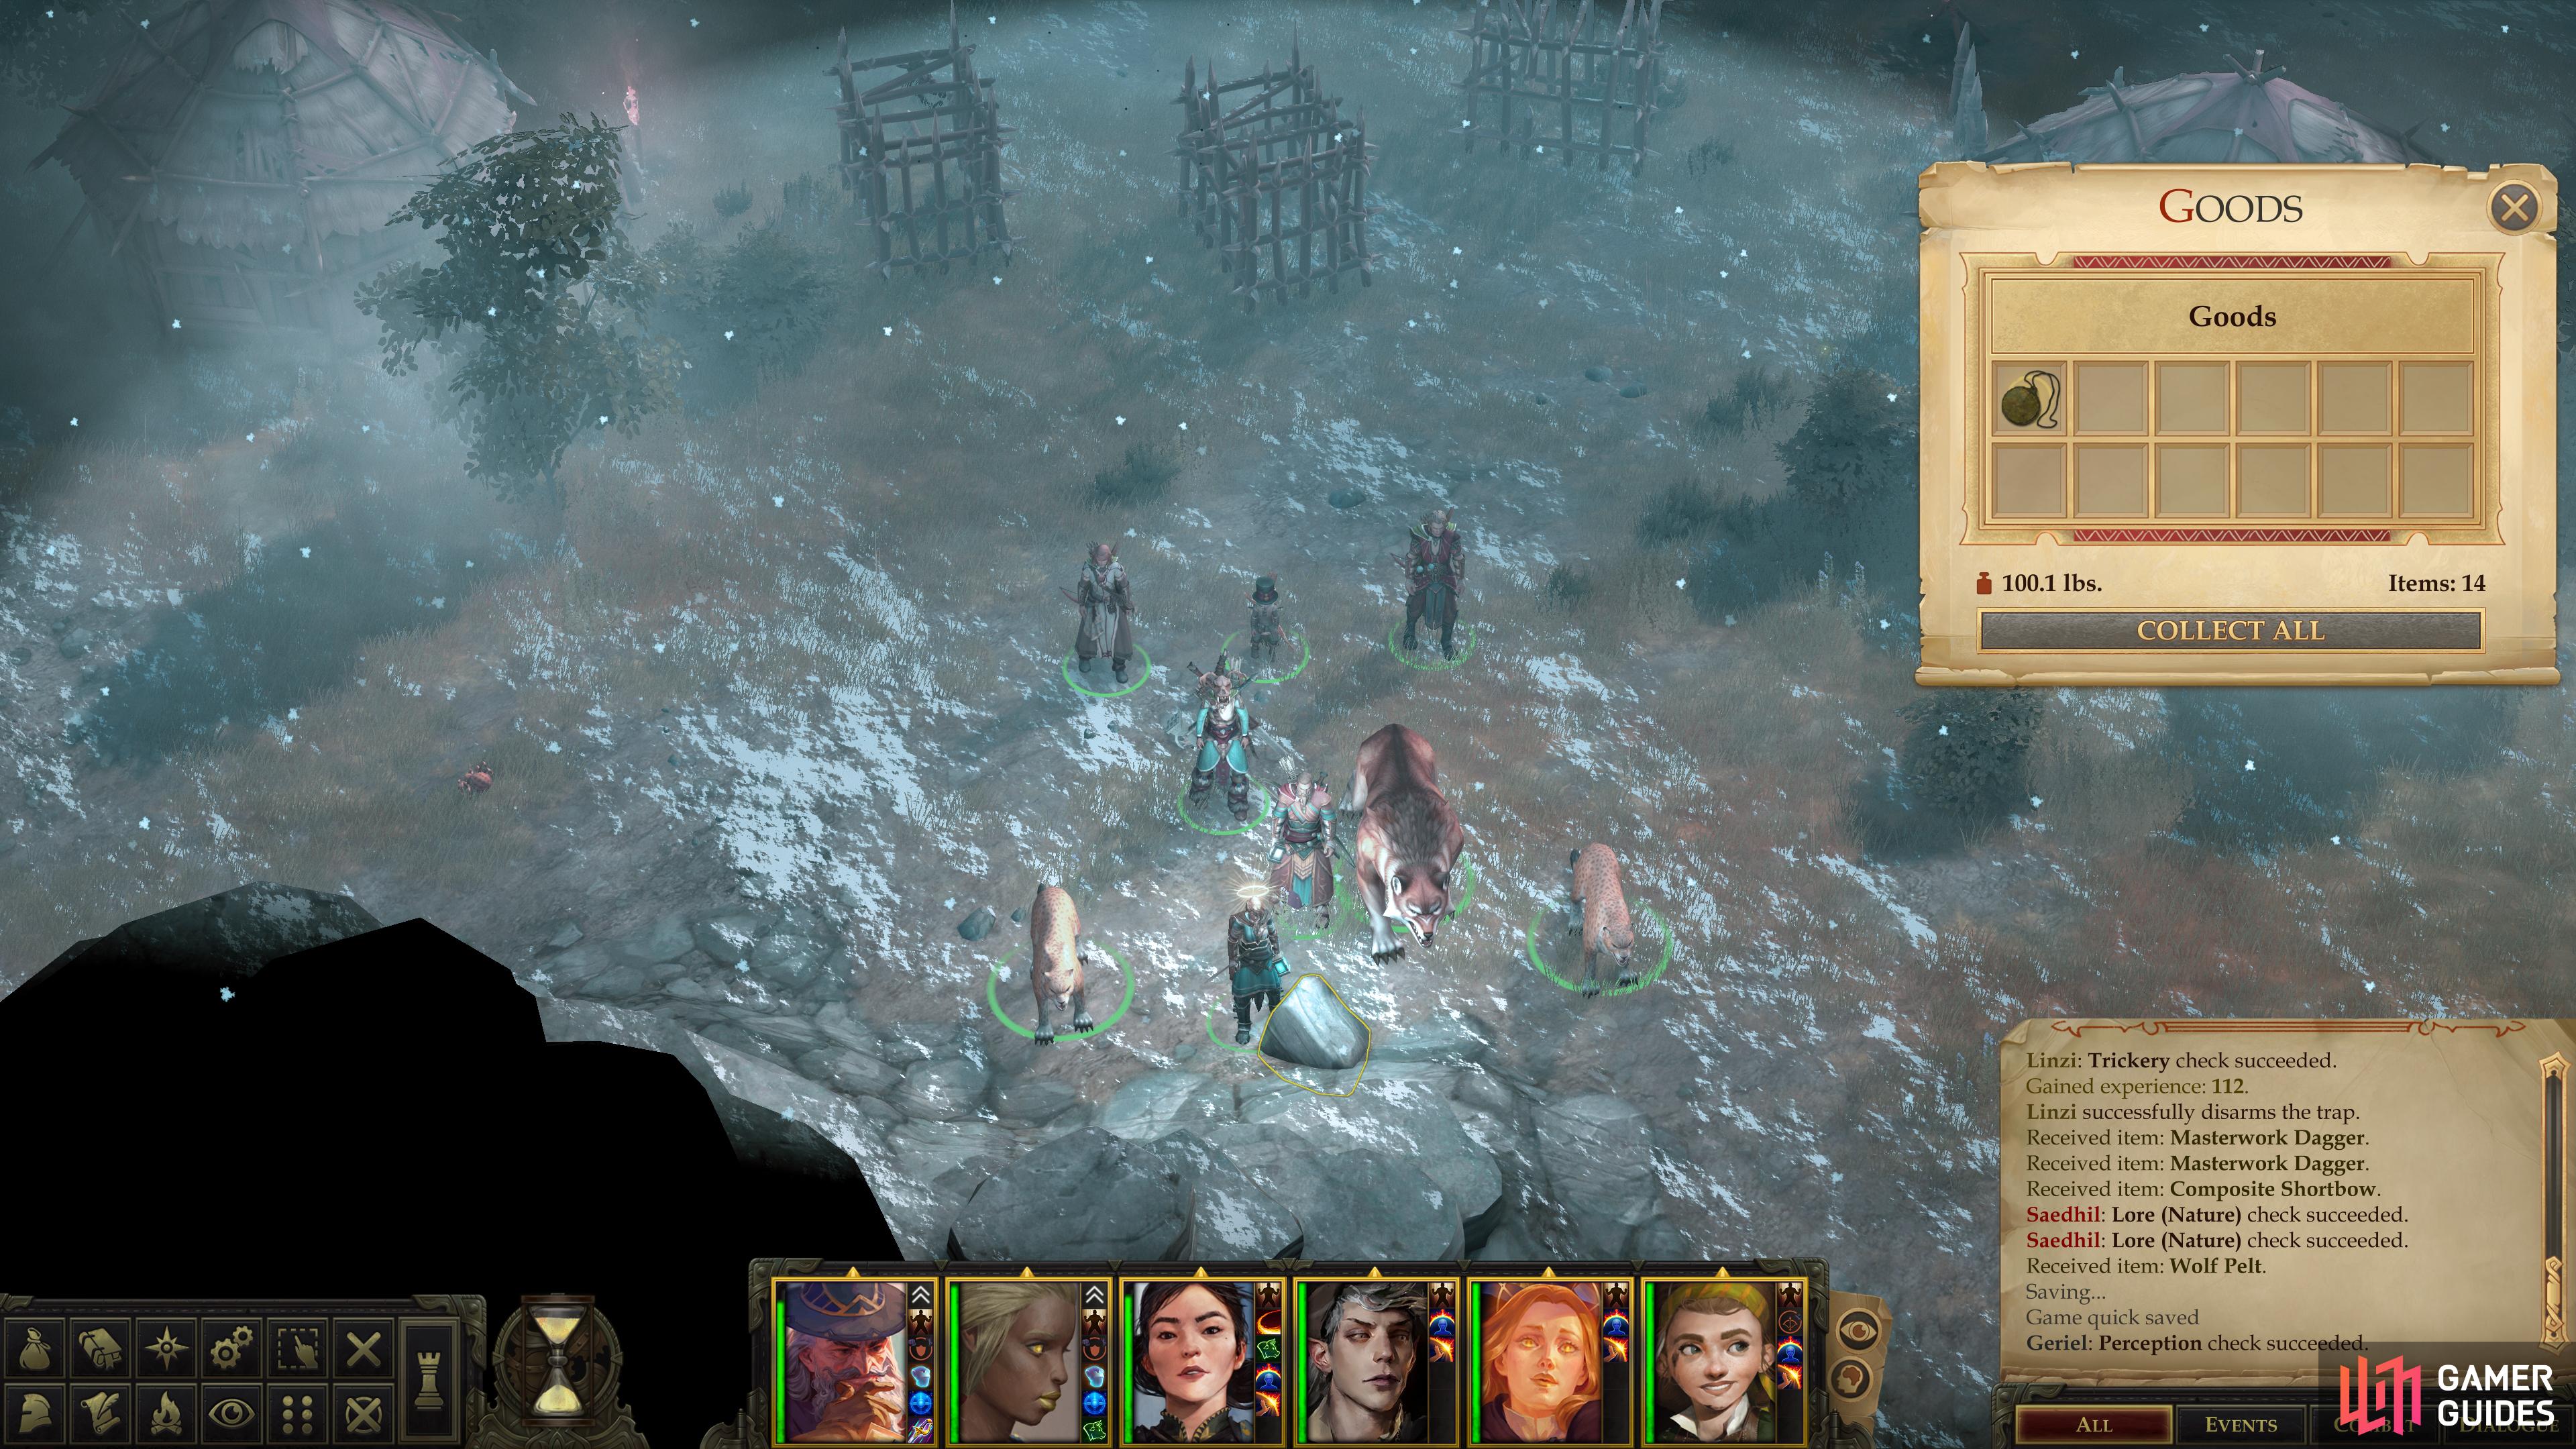
Kill the goblins near the cages, but don’t bother freeing the prisoners when the area is secure; instead continue following the path northeast to find another, larger group of goblins and their tamed (or at least, more hostile to you than the goblins) Dire Wolves, which stand their ground beyond yet another trap [Perception 24] [Trickery 24]. They’re content to stand their ground unless provoked, so lure them south by approaching the trap, or just blast them with an area-of-effect spell to teach them their position isn’t as safe as they think it is. When they’re all dead, disarm the trap and turn your attention to the prisoner cages to the south.

Tigni Behind Bars
Most of the prisoners are random peasants you’ve never met before, but there’s one of particular interest - your old friend, Tigni Jusmert! That’s right, the price-gouging scoundrel of a merchant you encountered on your most recent visit to the Bridge Over the Gudrin River. If you didn’t deal with him earlier, the other prisoners will be all too happy to let you know he’s a cheat, but this merely leads to a [Perception 15] check that exposes him when he tries to lie.
For the matter at hand, you’ll get a [Neutral Good] option to let him out of the cage, a [Neutral Evil] option with a [Diplomacy 20] check that’ll get him to tell you about some treasure he buried back at the Bridge Over the Gudrin River area or a less imaginative [Neutral Evil] option to simply leave him in his cage. The cache you can extort from him happens to be a bundle of sticks concealing 500 GP. You’ll find it south of the road, just before the northern end of the bridge in the Bridge Over the Gudrin River area. If you pick the [Neutral Evil] option that doesn’t involve extortion, you can talk to Tigni again and properly extort him, which now counts as a [Chaotic Neutral] act, presumably for changing your mind arbitrarily? If you extort him via either possible option, you can always then just renege on your offer and leave him in his cage - a [Chaotic Evil] act.
| Reward: For freeing Tigni without extorting him |
|---|
| 180 XP |
With the prisoners dealt with, make your way south of the cages to find two hidden treasures. A crate [Perception 22] behind a goblin hut contains 242 GP, some gems and jewelry, while a rock [Perception 7] to the southeast of this crate holds a Taldan Warrior’s Dog Tag. For some less well-hidden treasure, head north to where the goblins and their Dire Wolves waited behind a trap, then search behind (east of) a hut to the east to find a crate with two potions inside. Finally, search another rock near the cliffs to the west to find another Taldan Warrior’s Dog Tag.
Search along the southern side of the fort to find a “Taldan Warrior’s Dog Tag”,
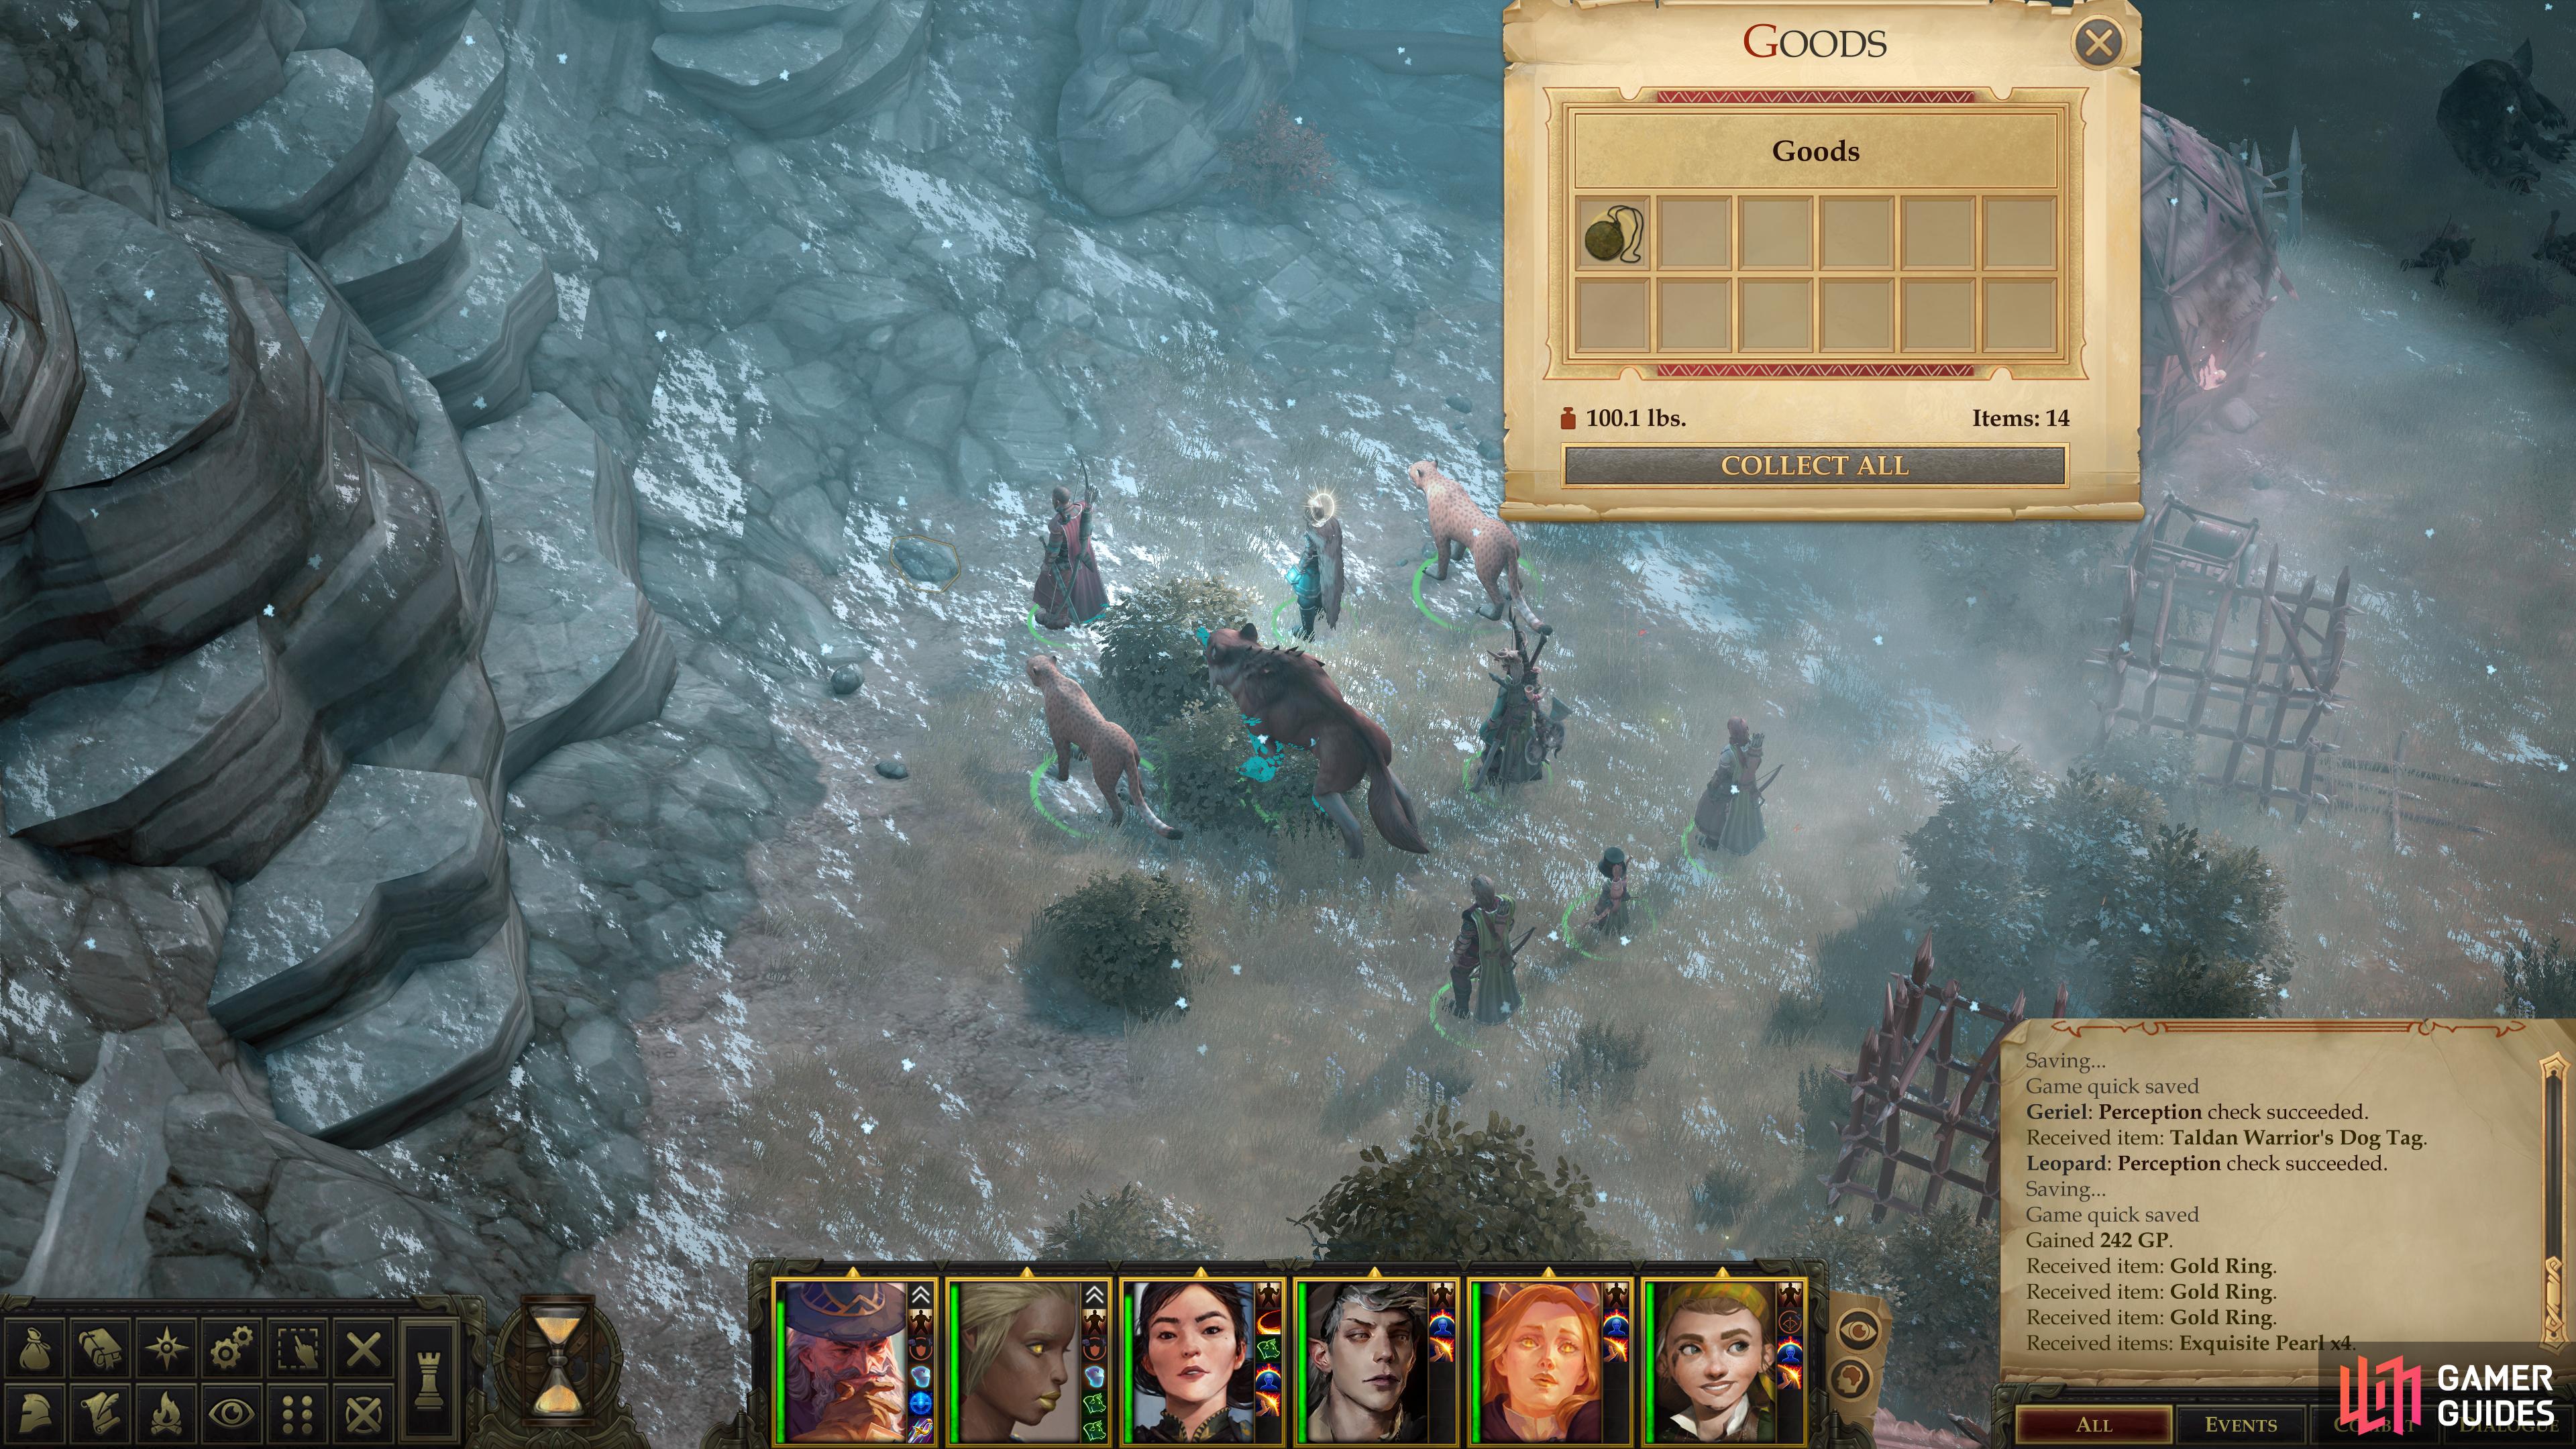
and… another “Taldan Warrior’s Dog Tag”.
Drunken Goblins
The goblins thus far have put up pretty stiff resistance, failing more due to their inherent puniness than to their lack of tenacity or discipline, well, save for the goofs near the river. Continue north from the cages and when the path splits in multiple directions, stick to the easternmost path and head uphill to find some drunken goblins. These more common examples of goblin prowess are too far gone to put up any resistance, so you can safely ignore them and get right to looting.
(1 of 3) Loot the huts near the drunken goblins to find another “Taldan Warrior’s Dog Tag”,
Near the first goblin hut to the east you’ll find a crate containing two potions. To the north of this hut is a rock [Perception 7] hiding a Taldan Warrior’s Dog Tag. Things seem to be under every rock in this area… A sack to the west holds some food, while a crate [Perception 22] in front of this alcohol-reeking building can be unlocked [Trickery 20] and looted for some potions and a scroll.
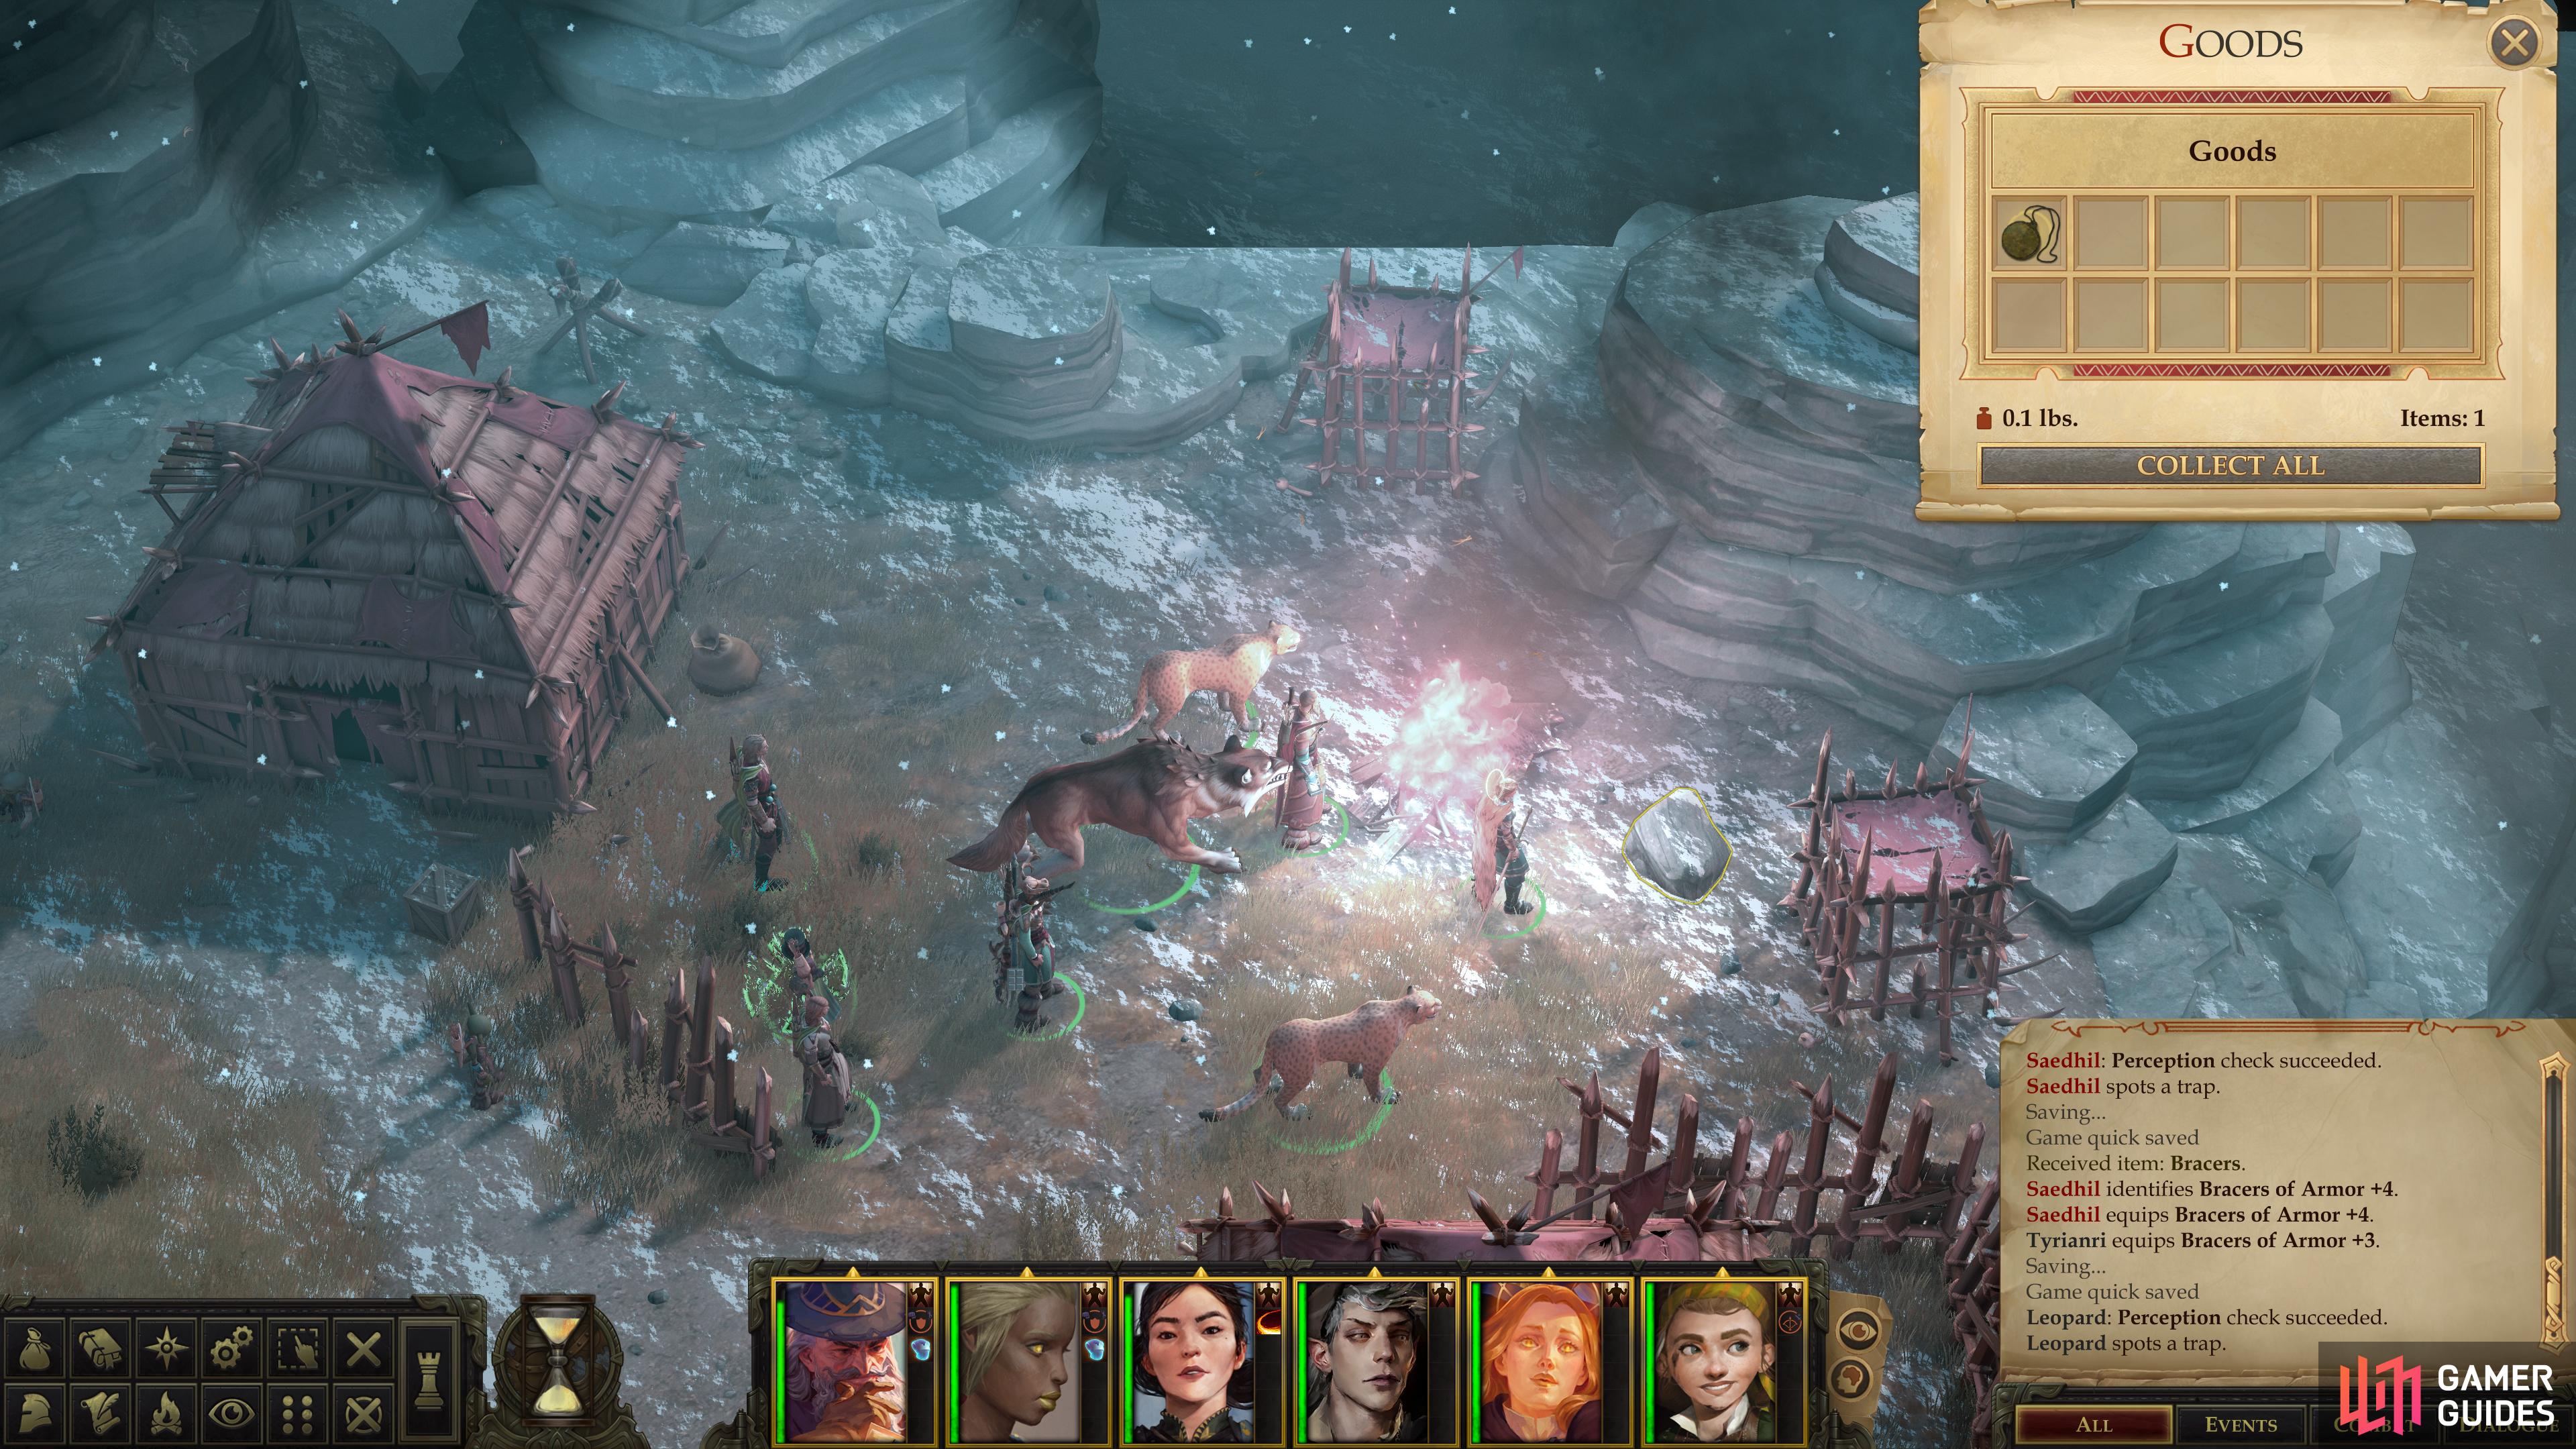
From the house reeking of alcohol, venture southwest until you find another group of drunk goblins near a crate, inside of which are some Bracers of Armor +4. These are as good as a Chainshirt with none of the downsides (weight, Armor Check Penalty, Arcane Spell Failure, etc.), making it very attractive for arcane spell casters and Rogues… especially the odd melee-caster hybrid that just so happens to make some of the best tanks in the game. Next head south to find another rock hiding yet another Token of the Dryad.
Return back north to the alcohol shack and from there follow the path to the west. North of the trail you’ll find two escaped prisoners standing near a slope, and if you talk to them they’ll express bewilderment at how, exactly, they got free. Tell them the truth, then you’ll get two options for how to deal with them. The [Lawful Evil] choice will put them out of their misery, while the [Neutral Good] option will refer them to Kesten’s camp, promising a cure.
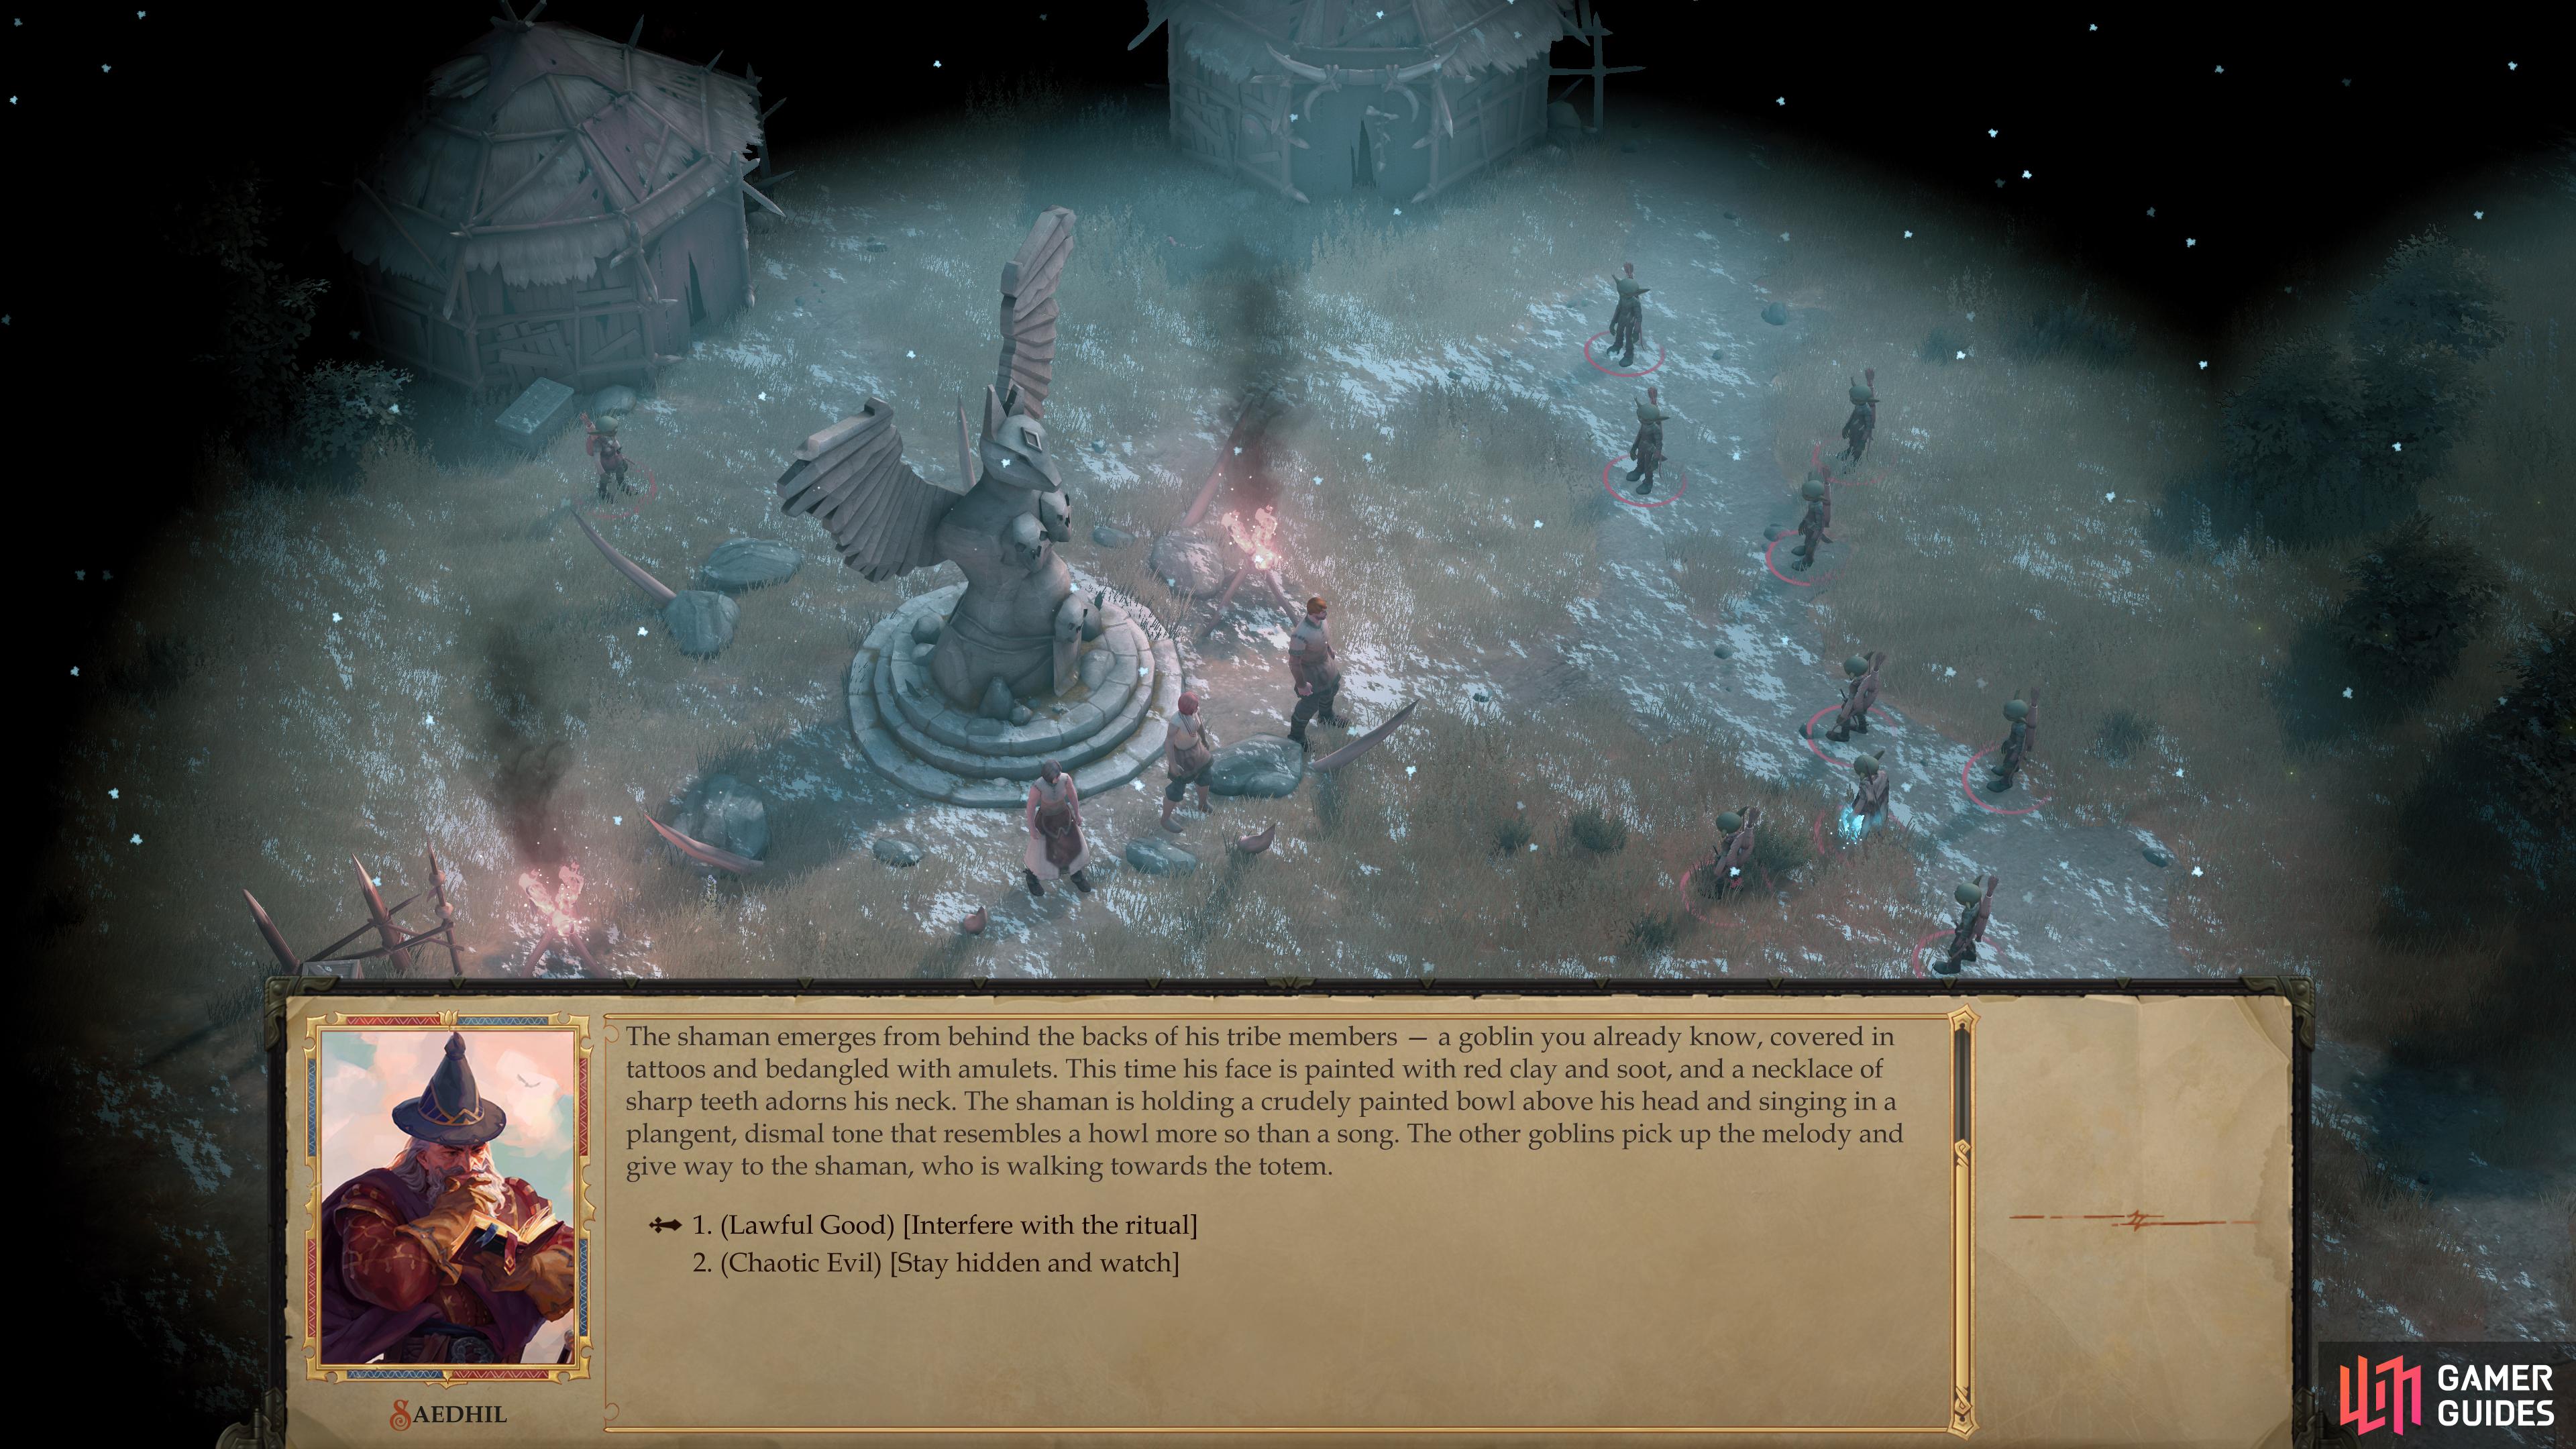
You’ll stumble upon a ritual being performed at a statue of Lamashtu, which you can watch,
or violently interrupt. Do the latter to save the prisoners there.
Ritual of Lamashtu
Time to get back to the business of killing goblins - and business is about to pick up! There are two paths to the west leading up to the top of the hill, where the most important goblins presumably dwell. Both slopes are protected by a trap [Perception 24] [Trickery 24], and if you take the northernmost path you’ll have to fight through a small band of goblins, including a Goblin Arch-Chemist and two Ferocious Worgs. No reason to avoid them, but it’s an easier encounter if you approach from the south, so ignore the northern path and head west up the southern path instead.
Go up the southern path and you’ll find another palisade to the south and a statue of Lamashtu to the north. Before you’re able to make any choices about where to go, you’ll likely get drawn into a scene involving the statue of Lamashtu, where some goblins - led by the Goblin Shaman - are performing their foul ritual at their Lamashtu totem. As with the prisoners at the river, you’ll get a chance to watch as they’re force-fed possibly infested water [Chaotic Evil] or you can interfere and stop the ritual [Lawful Good].
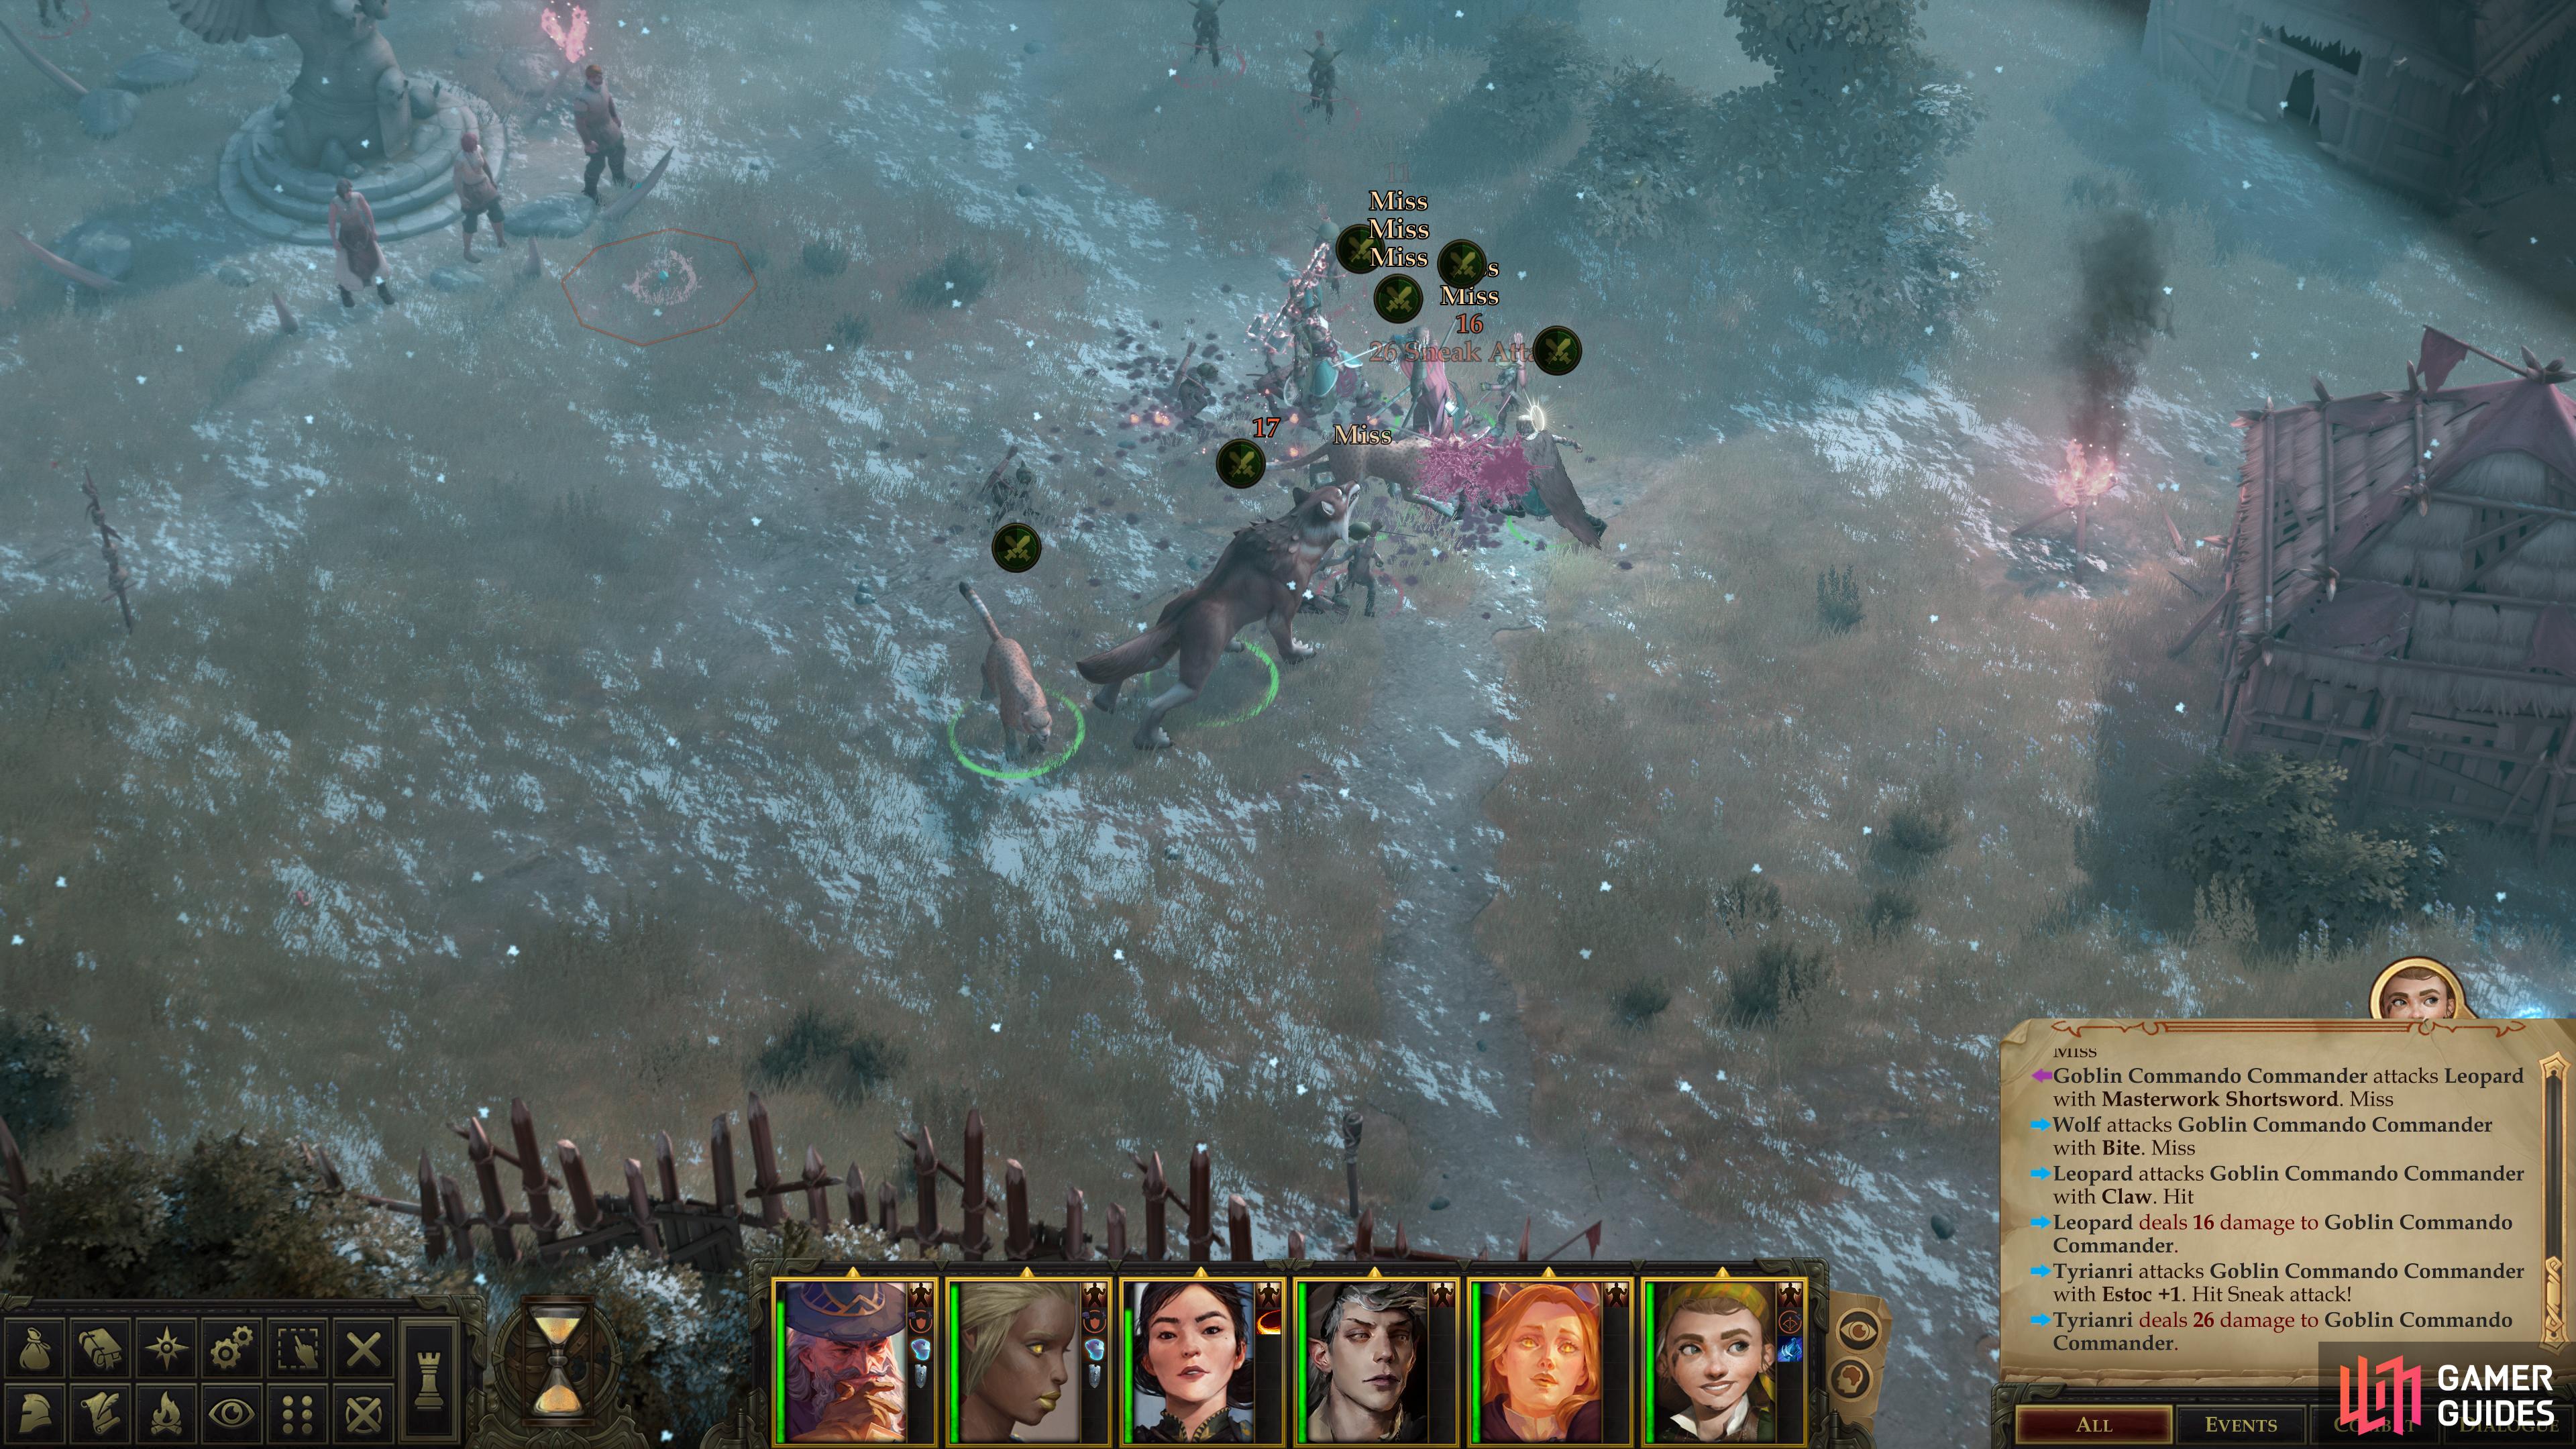
The Shaman will run off to the south when interrupted (or when he spots you, in the case where you just stand by and watch), leaving you to battle his underlings, including Goblin Sly Eyes, Goblin Sentries and Goblin Commando Commanders. Their numbers are great, but their strength is wanting, and you’re in no real danger of being flanked, nor are there any serious obstacles to worry about (save for the traps near the statue of Lamashtu), so it shouldn’t be that dangerous of a fight. Haste and other personal buffs - perhaps still lingering from when you entered the area - should suffice.
(1 of 3) Attack another group of goblins north of the statue of Lamahtu - attacking from the south will allow you to more easily reach a Goblin Arch-Chemist.
Before you get to looting, or bothering with the statue of Lamashtu or the nearby prisoners, head north until you spot a handful of goblins and their pet worgs. The Ferocious Worgs are greater threats than the goblins, but you do have to be wary of a Goblin Arch-Chemist further north. Focus on killing the Goblin Arch-Chemist first to prevent him from pelting you with bombs, then dispatch the rest of the goblins. With that, every hostile outside of the main fortification to the south should be dead.
Loot this latest group of goblins you slew, specifically the Goblin Commander Commando who is part of this group possesses a Melted Shard of a Ring. You can also find Dogslicer +1 (a Shortsword +1 with a fancy name) in a crate near a hut. Another crate nearby contains a selection of gems.
Southwest of here you’ll find another goblin building - a meat storage shed, or garbage disposal shack, given the description. Hard to tell the difference with goblins. A sack out front contains some food, while a crate along the southern side of the building will yield some scrolls and… cheese.
Next make your way south to Lamashtu’s totem and disarm the traps around it [Perception 24] [Trickery 24], more for the experience and safety of having it removed than out of any other real need. Once that’s done, loot a crate [Trickery 25] near the hut to the west to find a Wand of Stinking Cloud. Finally, head east to find another hut just northeast of the entrance to the interior fortifications of the camp, near which is a chest containing a Taldan Warrior’s Dog Tag.
With all the looting done, turn your attention to the previously-neglected prisoners and free them, or kill them [Chaotic Evil]. Only one more thing to do: deal with the Goblin King and the real brains behind this operation - the Goblin Shaman. These encounters will be covered on the following page, Season of Bloom - Goblin Fort - Goblin Shaman.
u can find mother warmth +2 keen fiery kukri its next to the prisoners where the merchant from the bridge is next to the bottom eastern prisoner the perception is high i was told so gl
u can find mother warmth +2 keen fiery kukri its next to the prisoners where the merchant from the bridge is next to the bottom eastern prisoner the perception is high i was told so gl