
This quest will start when Bokken crafts his first item for you as your court alchemist. This requires you to complete the quest The Court Alchemist, build Bokken’s Alchemical Shop in your village in the Outskirts region, and wait for Bokken to finish crafting the first random item he’ll make for you (typically around 3-7 weeks). For more details on artisans recruitment, quests and crafting check out the linked page, and for more details on Bokken specifically, peruse Bokken’s artisan page.
Transmutations and Bodily Poisons
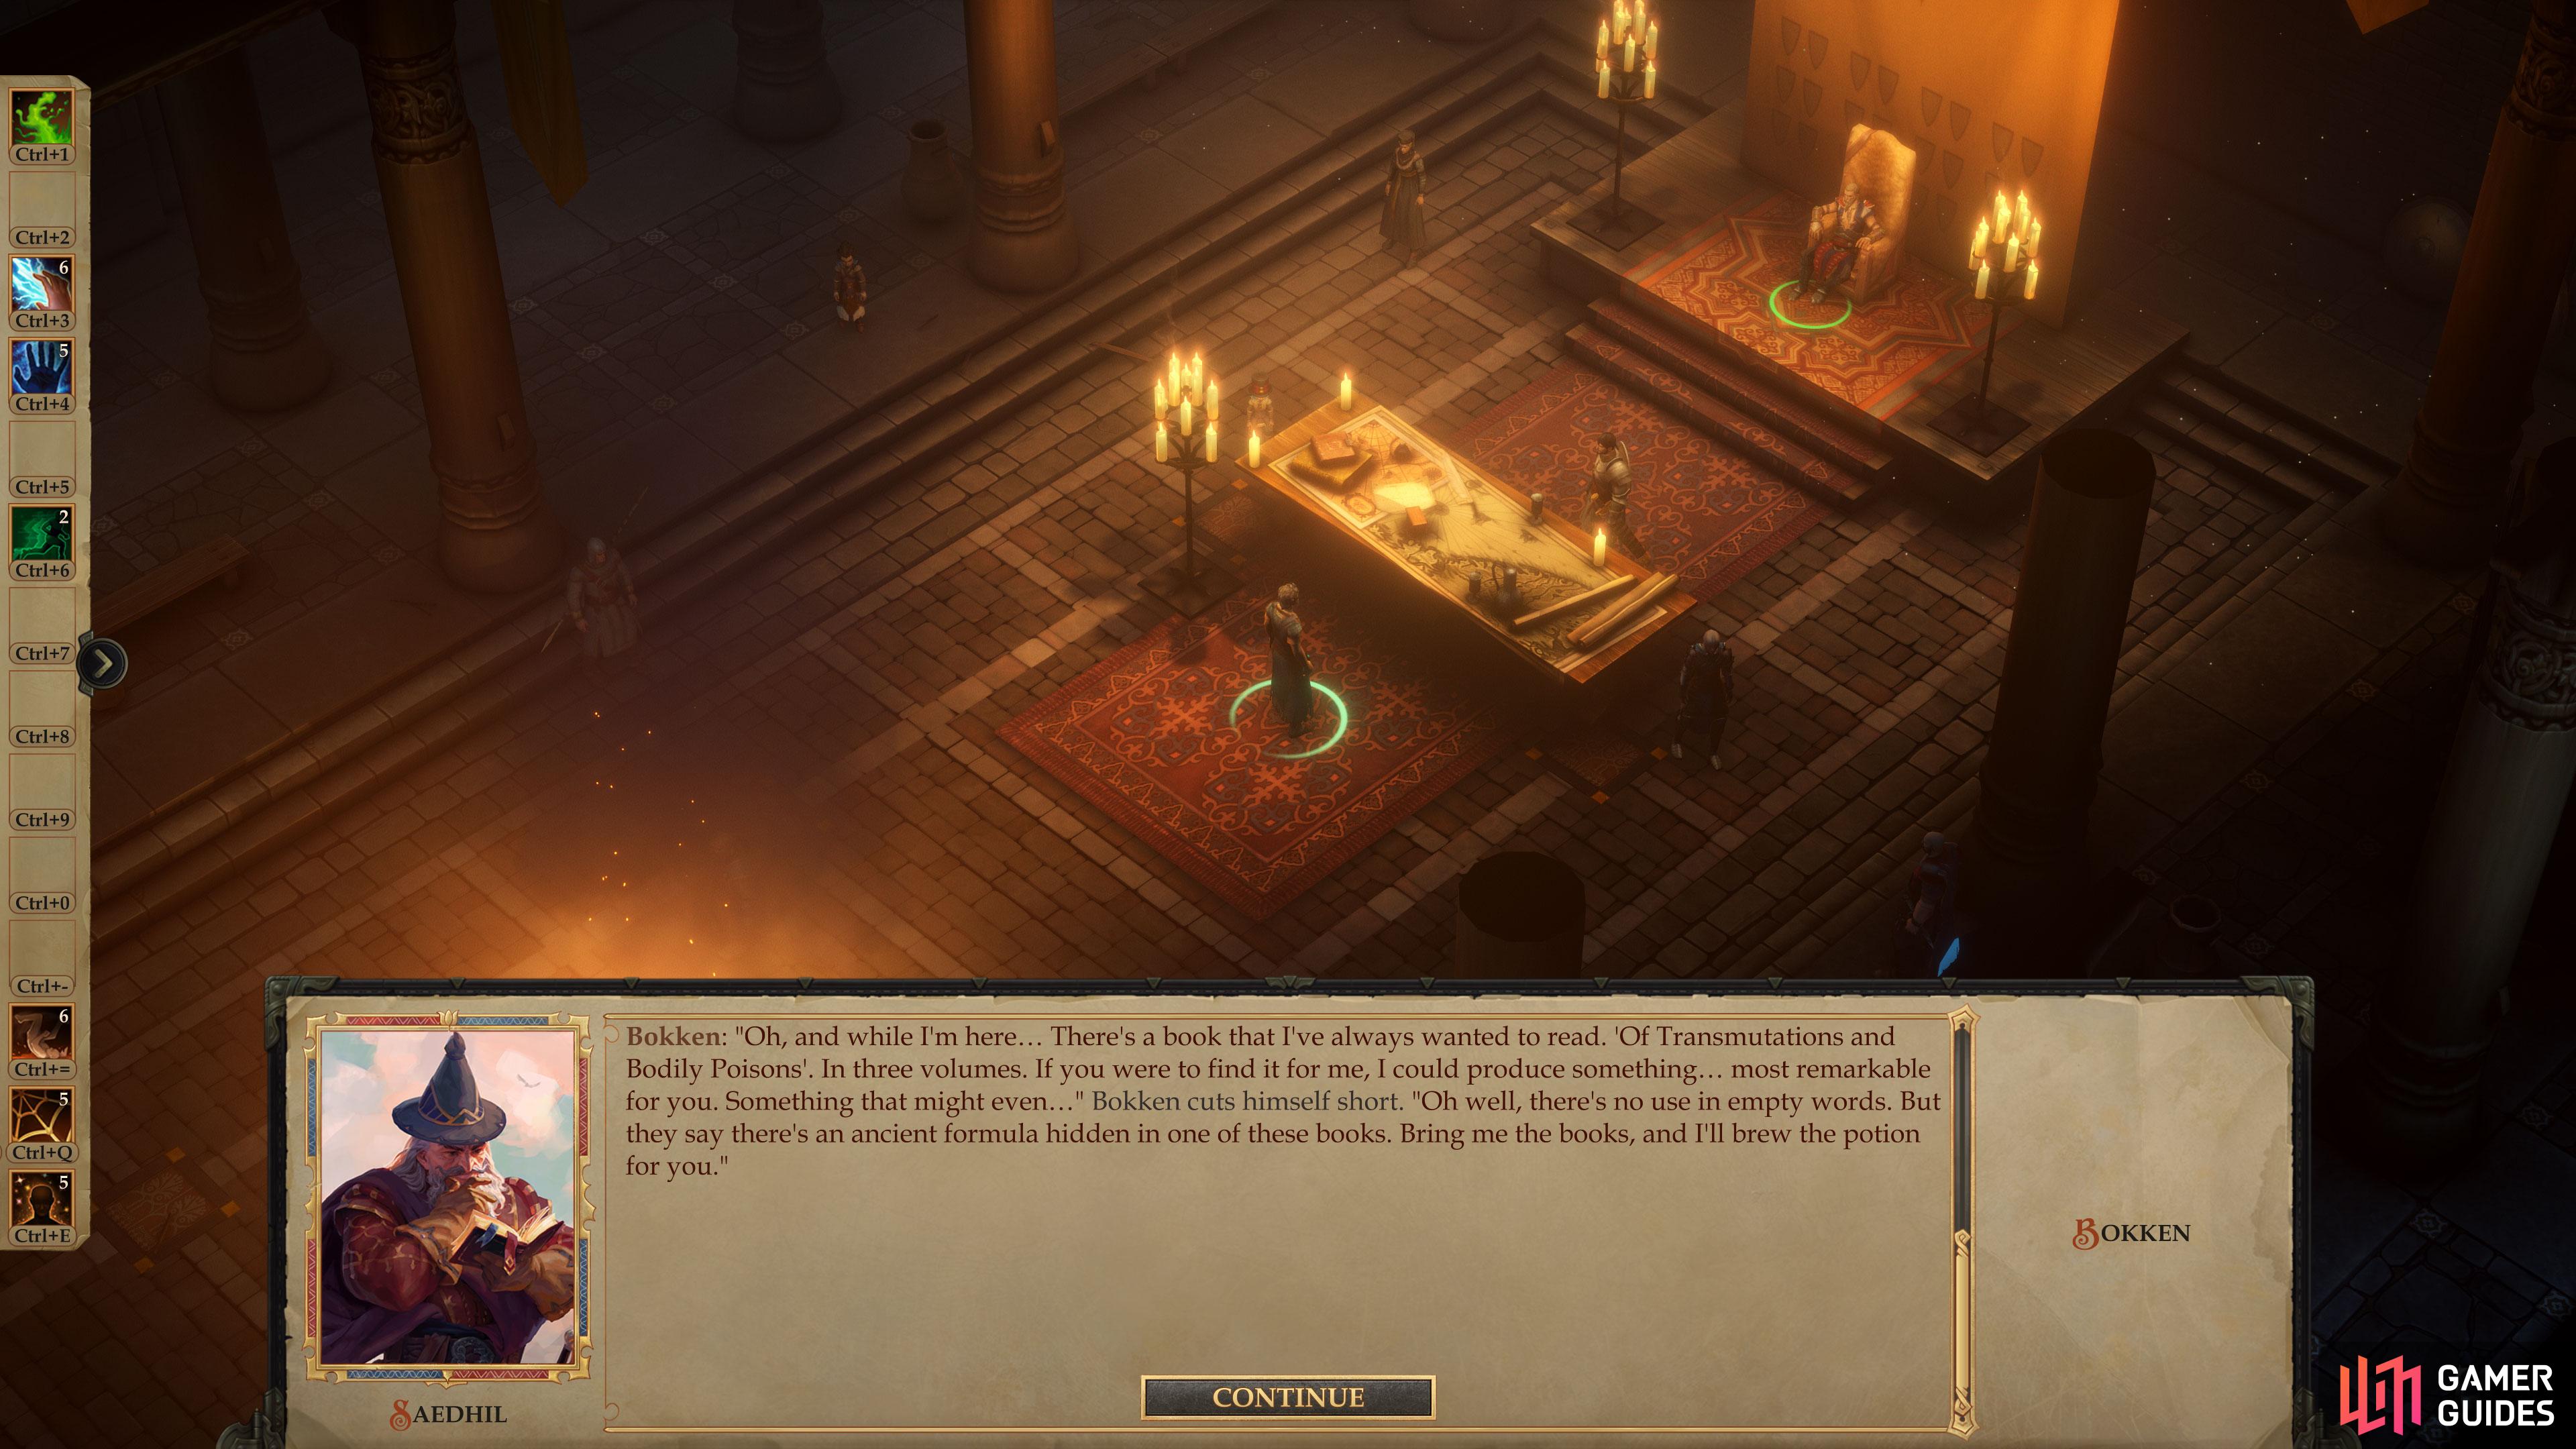
(1 of 7) After crafting an item for you, Bokken will ask you to find him three volumes of “Of Transmutations and Bodily Poisons”.
After you’ve met those conditions, Bokken will bring you the first item he crafts for you when you’re in your throne room, and will mention a three-volume series of books he wants, starting this quest. The three books he wants are Of Transmutations and Bodily Poisons, Part I, Of Transmutations and Bodily Poisons, Part II and Of Transmutations and Bodily Poisons, Part III. There are three copies of each volume you can find throughout the Stolen Lands, which is good news, as some of them are missable. Their locations are as follows:
| Volume I Locations |
|---|
| Abandoned Hut - Put an herb inside the chest in the abandoned hut. |
| Lone House - Buy from Bartholomew Delgado. |
| Swamp Witch’s Hut - Buy from the Old Beldame. |
| Volume II Locations |
|---|
| Oleg’s Trading Post - Buy from Bokken. |
| Stag Lord’s Fort - Put an herb inside the chest in Nugrah’s cell. |
| Bridge Over the Gudrin River - Loot a corpse after defeating the Crag Linnorm. |
| Volume III Locations |
|---|
| Verdant Chambers - Loot a corpse when you return after A Just Reward. |
| Bridge Over the Gudrin River - Purchase from Tigni Jusmert during Season of Bloom questline. |
Once you have one copy of each volume, return to Bokken to update this quest, after which it’ll go dormant for a while… presumably as Bokken reads and puts the knowledge gleaned from those tomes to ill use.
| Reward: For delivering the books. |
|---|
| 180 XP |
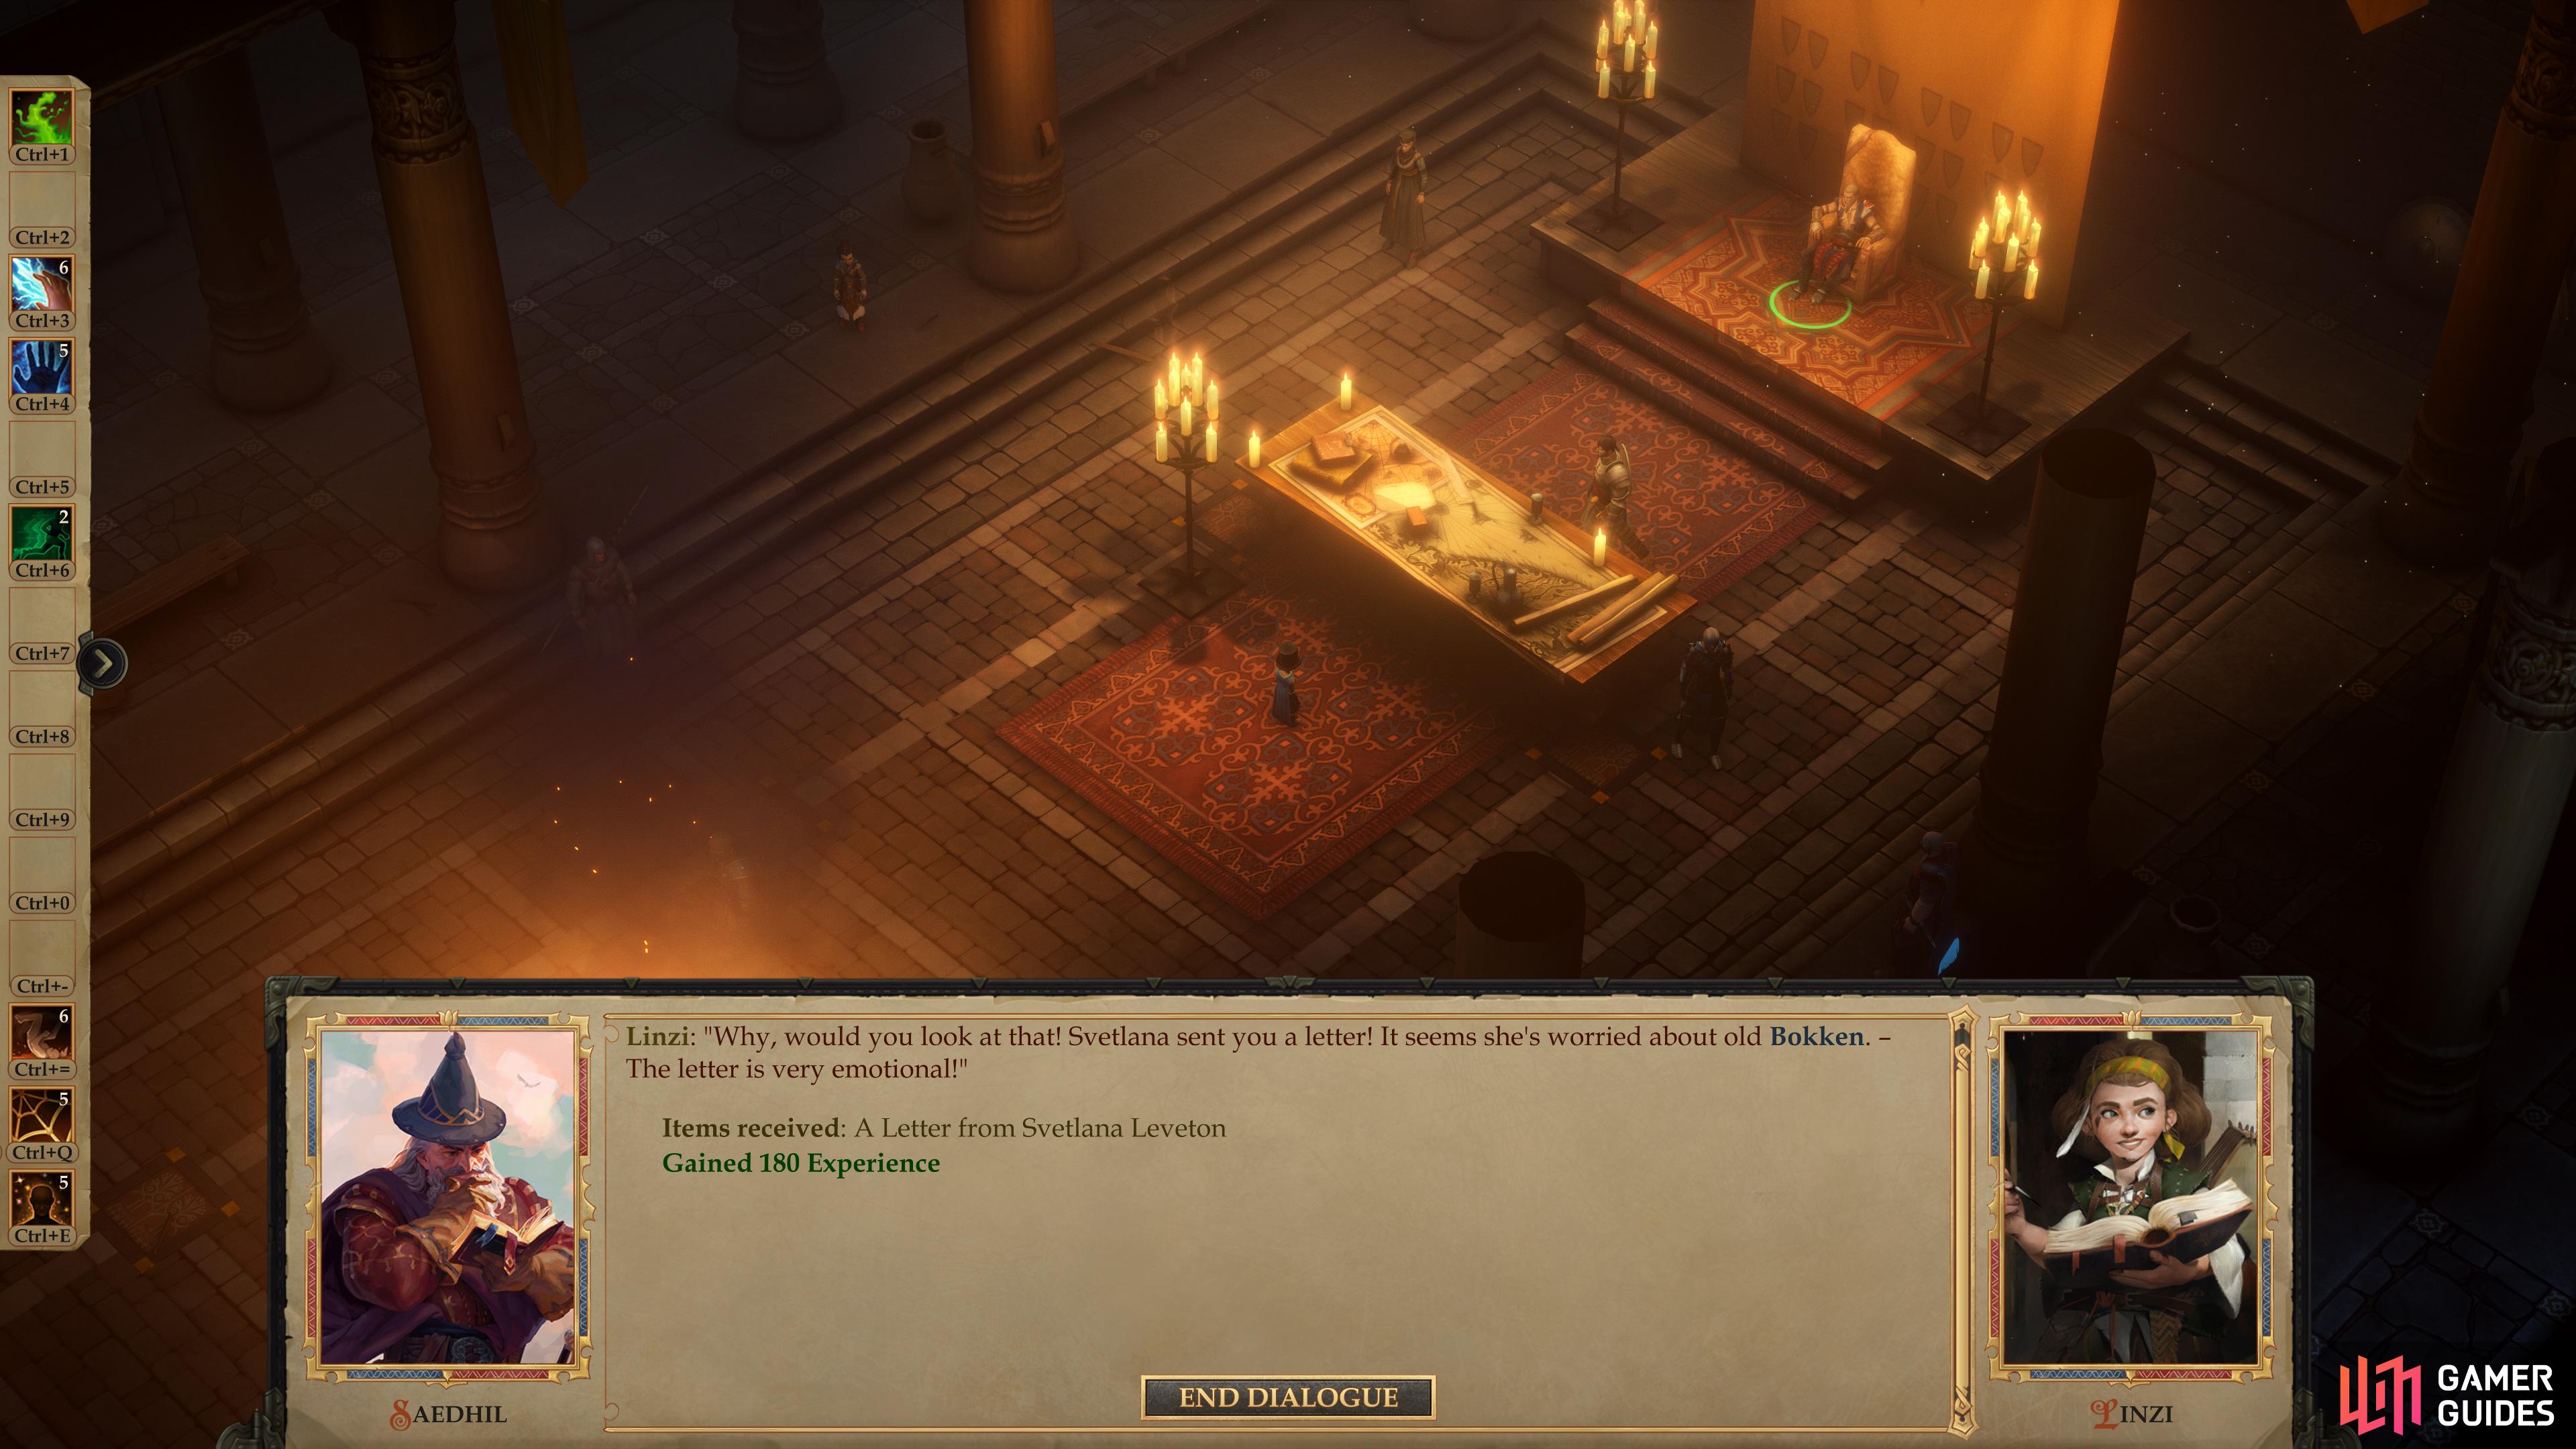
After some time passes you’ll get a letter drawing you back to Oleg’s Trading Post.
Testing Bokken’s Elixir: The Dog
After some time passes, Linzi will bring you A Letter from Svetlana Leveton summoning you back north to Oleg’s Trading Post.
| Reward: For receiving Svetlana’s Letter. |
|---|
| 180 XP |
Head back there when you have the time and talk to Bokken, who has seen better days. Not letting whatever ails him distract from his work, he asks for your help with some “tests”, claiming to have created the “elixir of eternal youth” after studying the volumes you brought him. Don’t decline to help him, as it’ll botch the quest.
| Reward: For agreeing to help Bokken. |
|---|
| 180 XP |
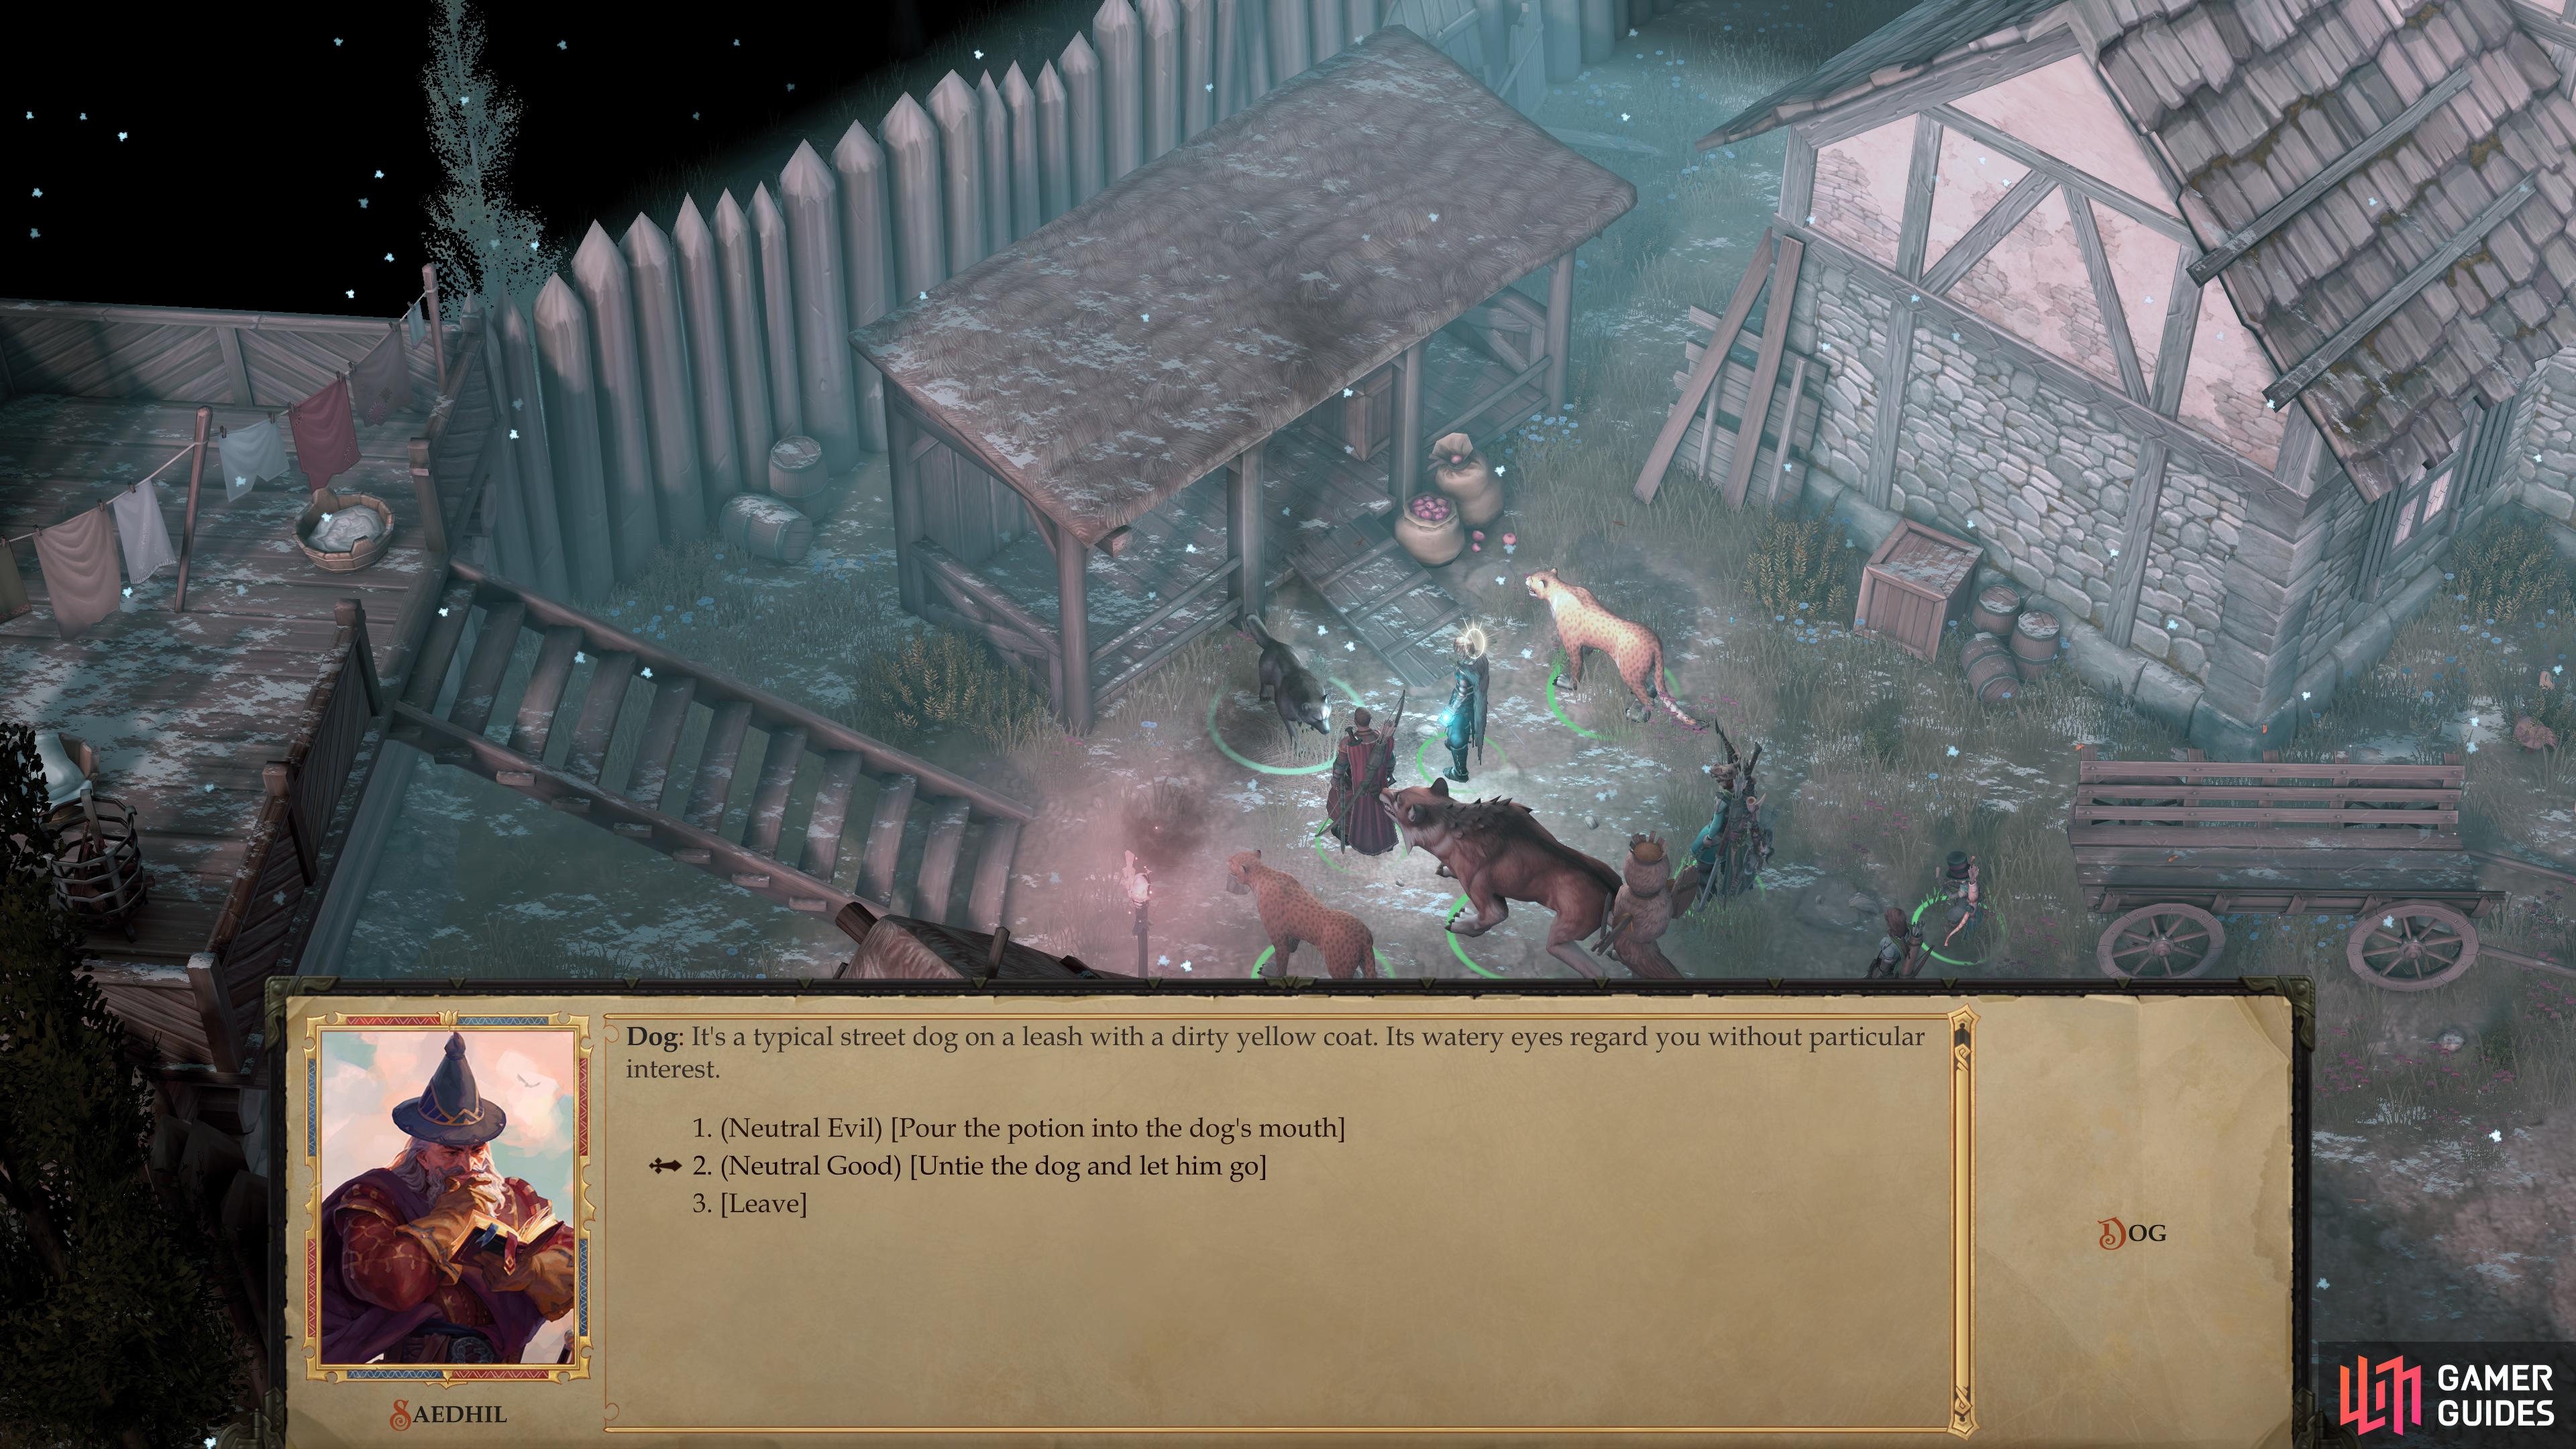
Agree to help Bokken test his concoction and he’ll nominate a nearby dog as a viable candidate. You’ll find the doggo to the west, near the stables along the southwestern end of the tavern. Interact with it and either give it Bokken’s concoction [Neutral Evil] or let it go [Neutral Good]. In the former case, the beast will grow in size, gain various stat boosts, and attack, although it’s still easily put down. Alternatively, if you free the mutt you’ll subsequently have to pass a [Bluff 24] [Chaotic Neutral] check when reporting to Bokken. You’ll get 180 XP for killing the dog and telling Bokken about the effects of his elixir, while you’ll gain 300 XP if you free the dog and successfully lie about administering the vile concoction.
| Reward: For “testing” the first elixir. |
|---|
| 180 XP or 300 XP |
Either way, Bokken will hand you an improved formula and ask you to test it out on some nearby wererats.
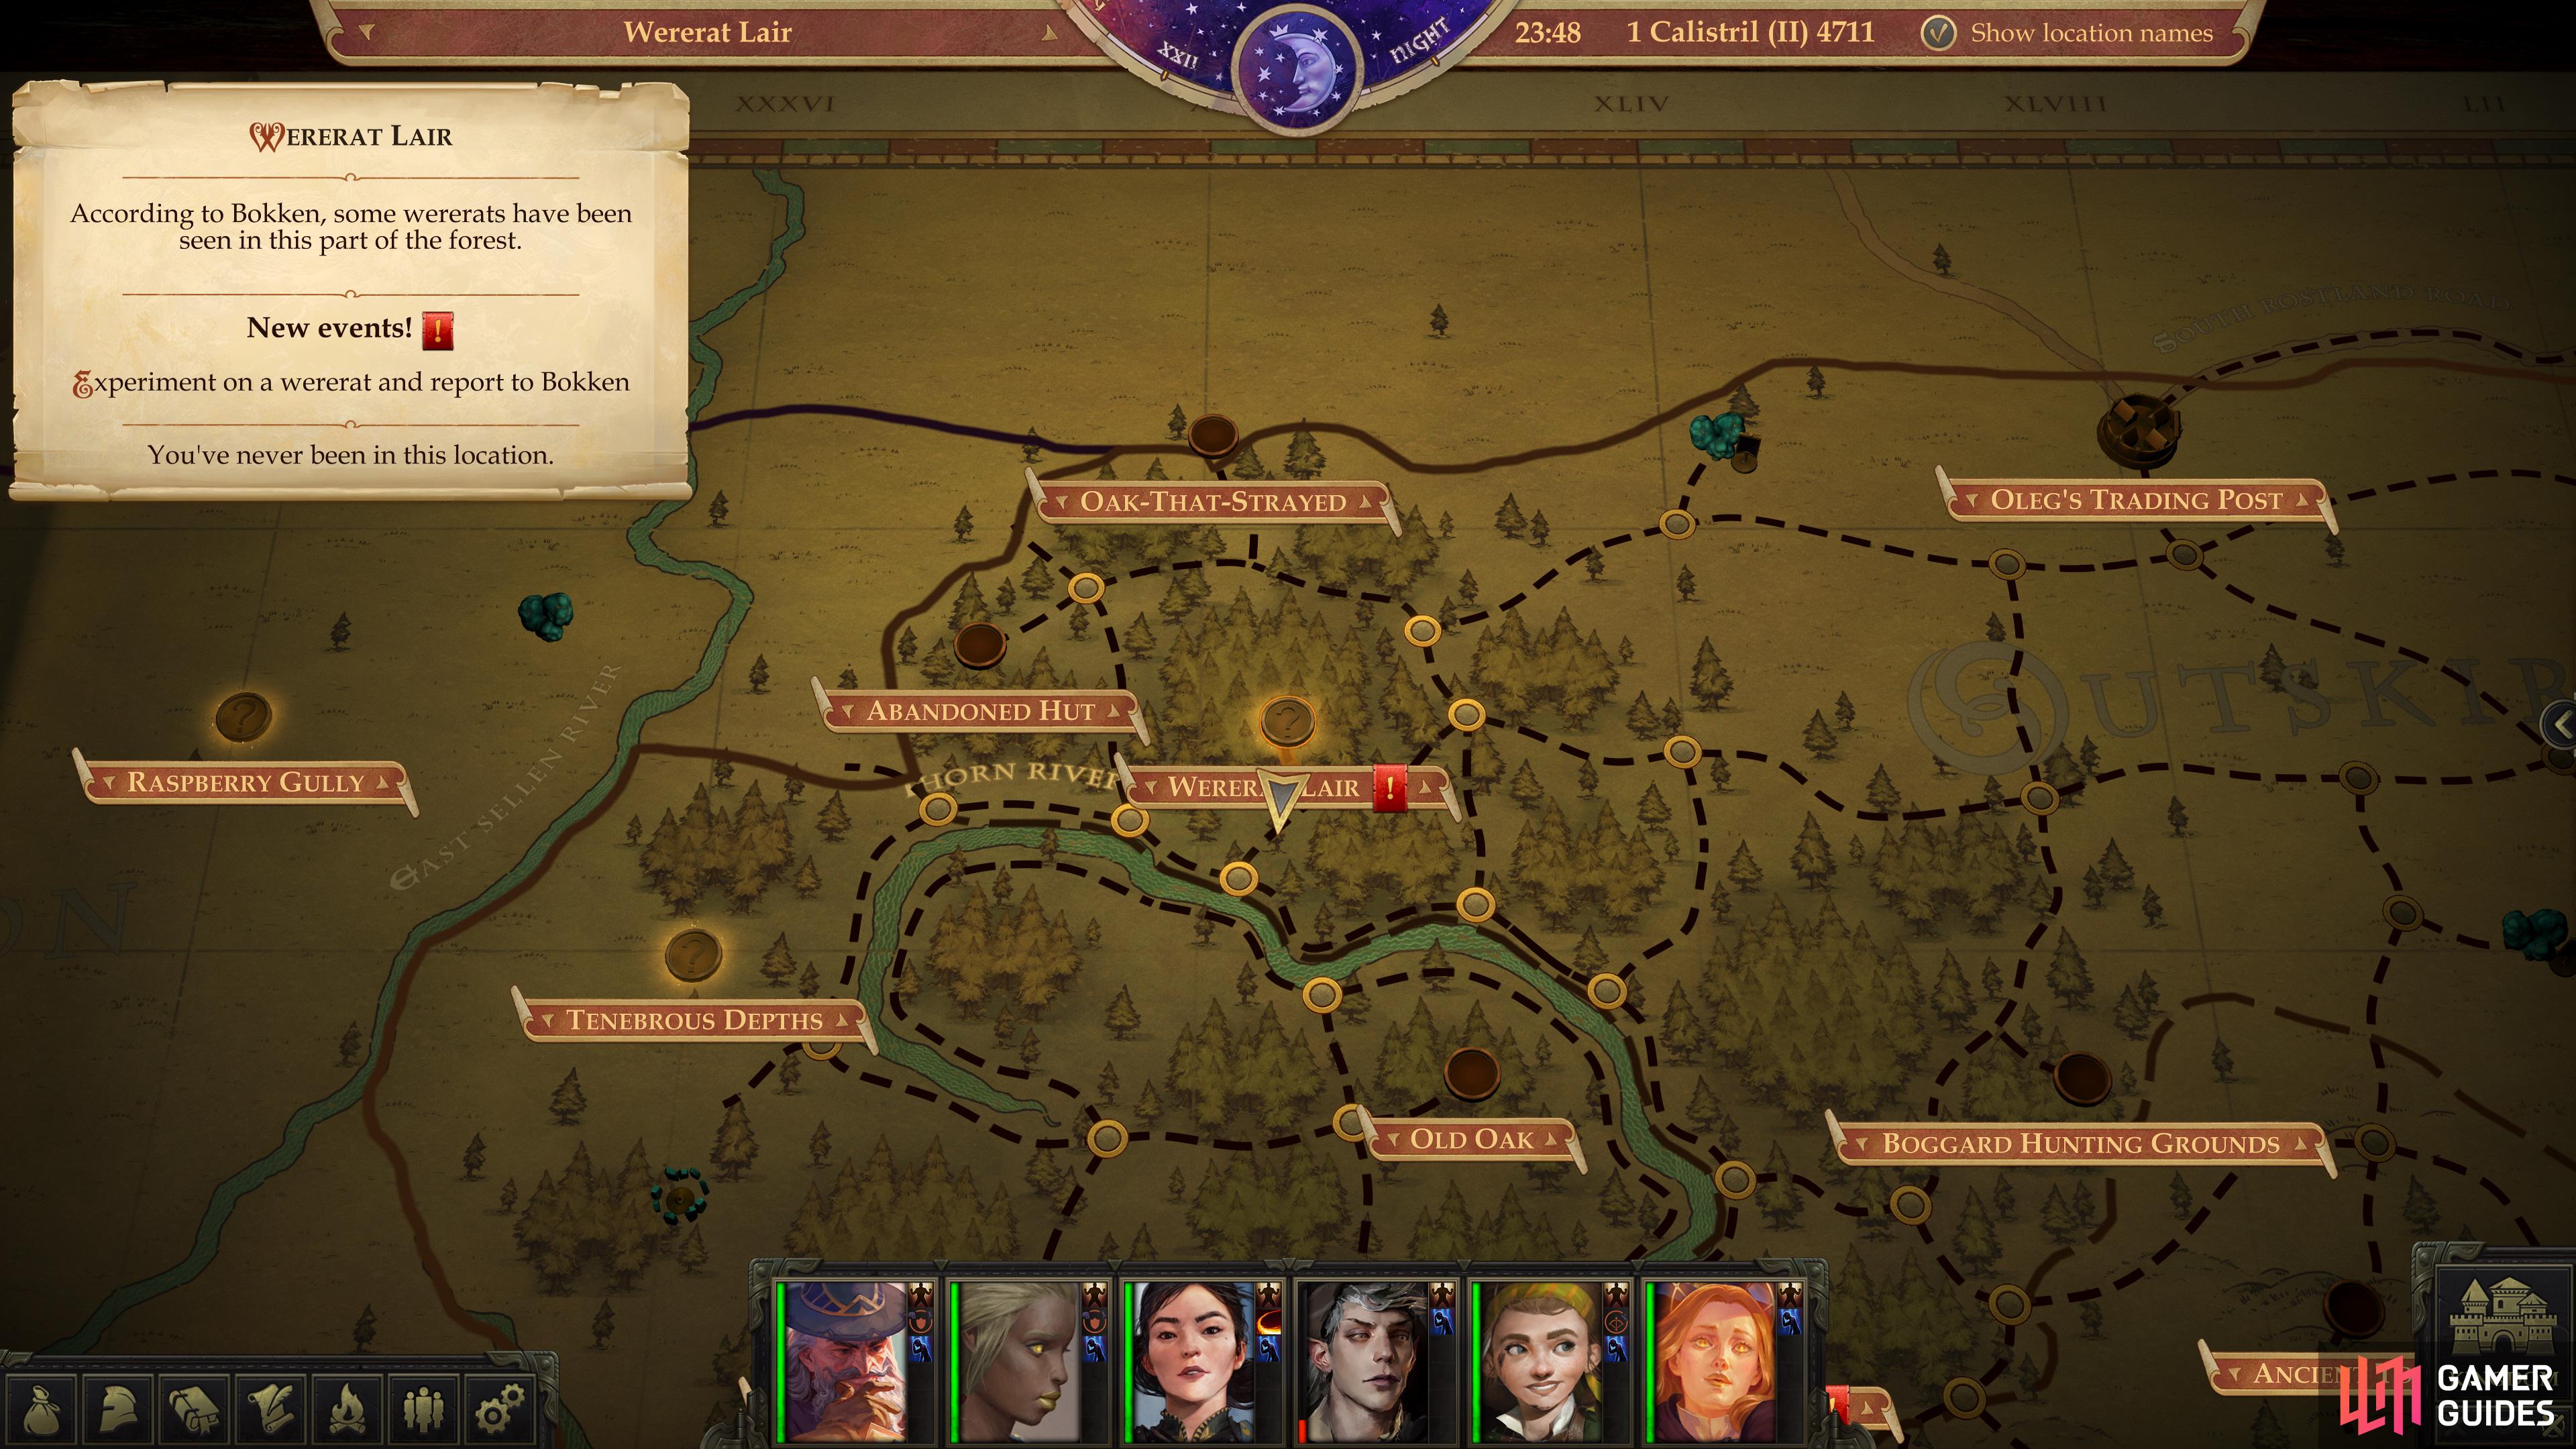
The location of the Wererat Lair on the map.
Wererat Lair
You may have encountered the wererats at Ratnook Hill already, and if not… well, it doesn’t really matter, because these aren’t the wererats Bokken’s after (although while you’re up here, it is a fine opportunity to clear out the area… perhaps on your way back to your capital?) Instead, the wererats Bokken has in mind are in a newly-revealed area to the west, en route to the Abandoned Hut area. To reach this area from Oleg’s Trading Post, follow these directions:
- South
- West
- West
- Southwest
- South
- Southwest
- North
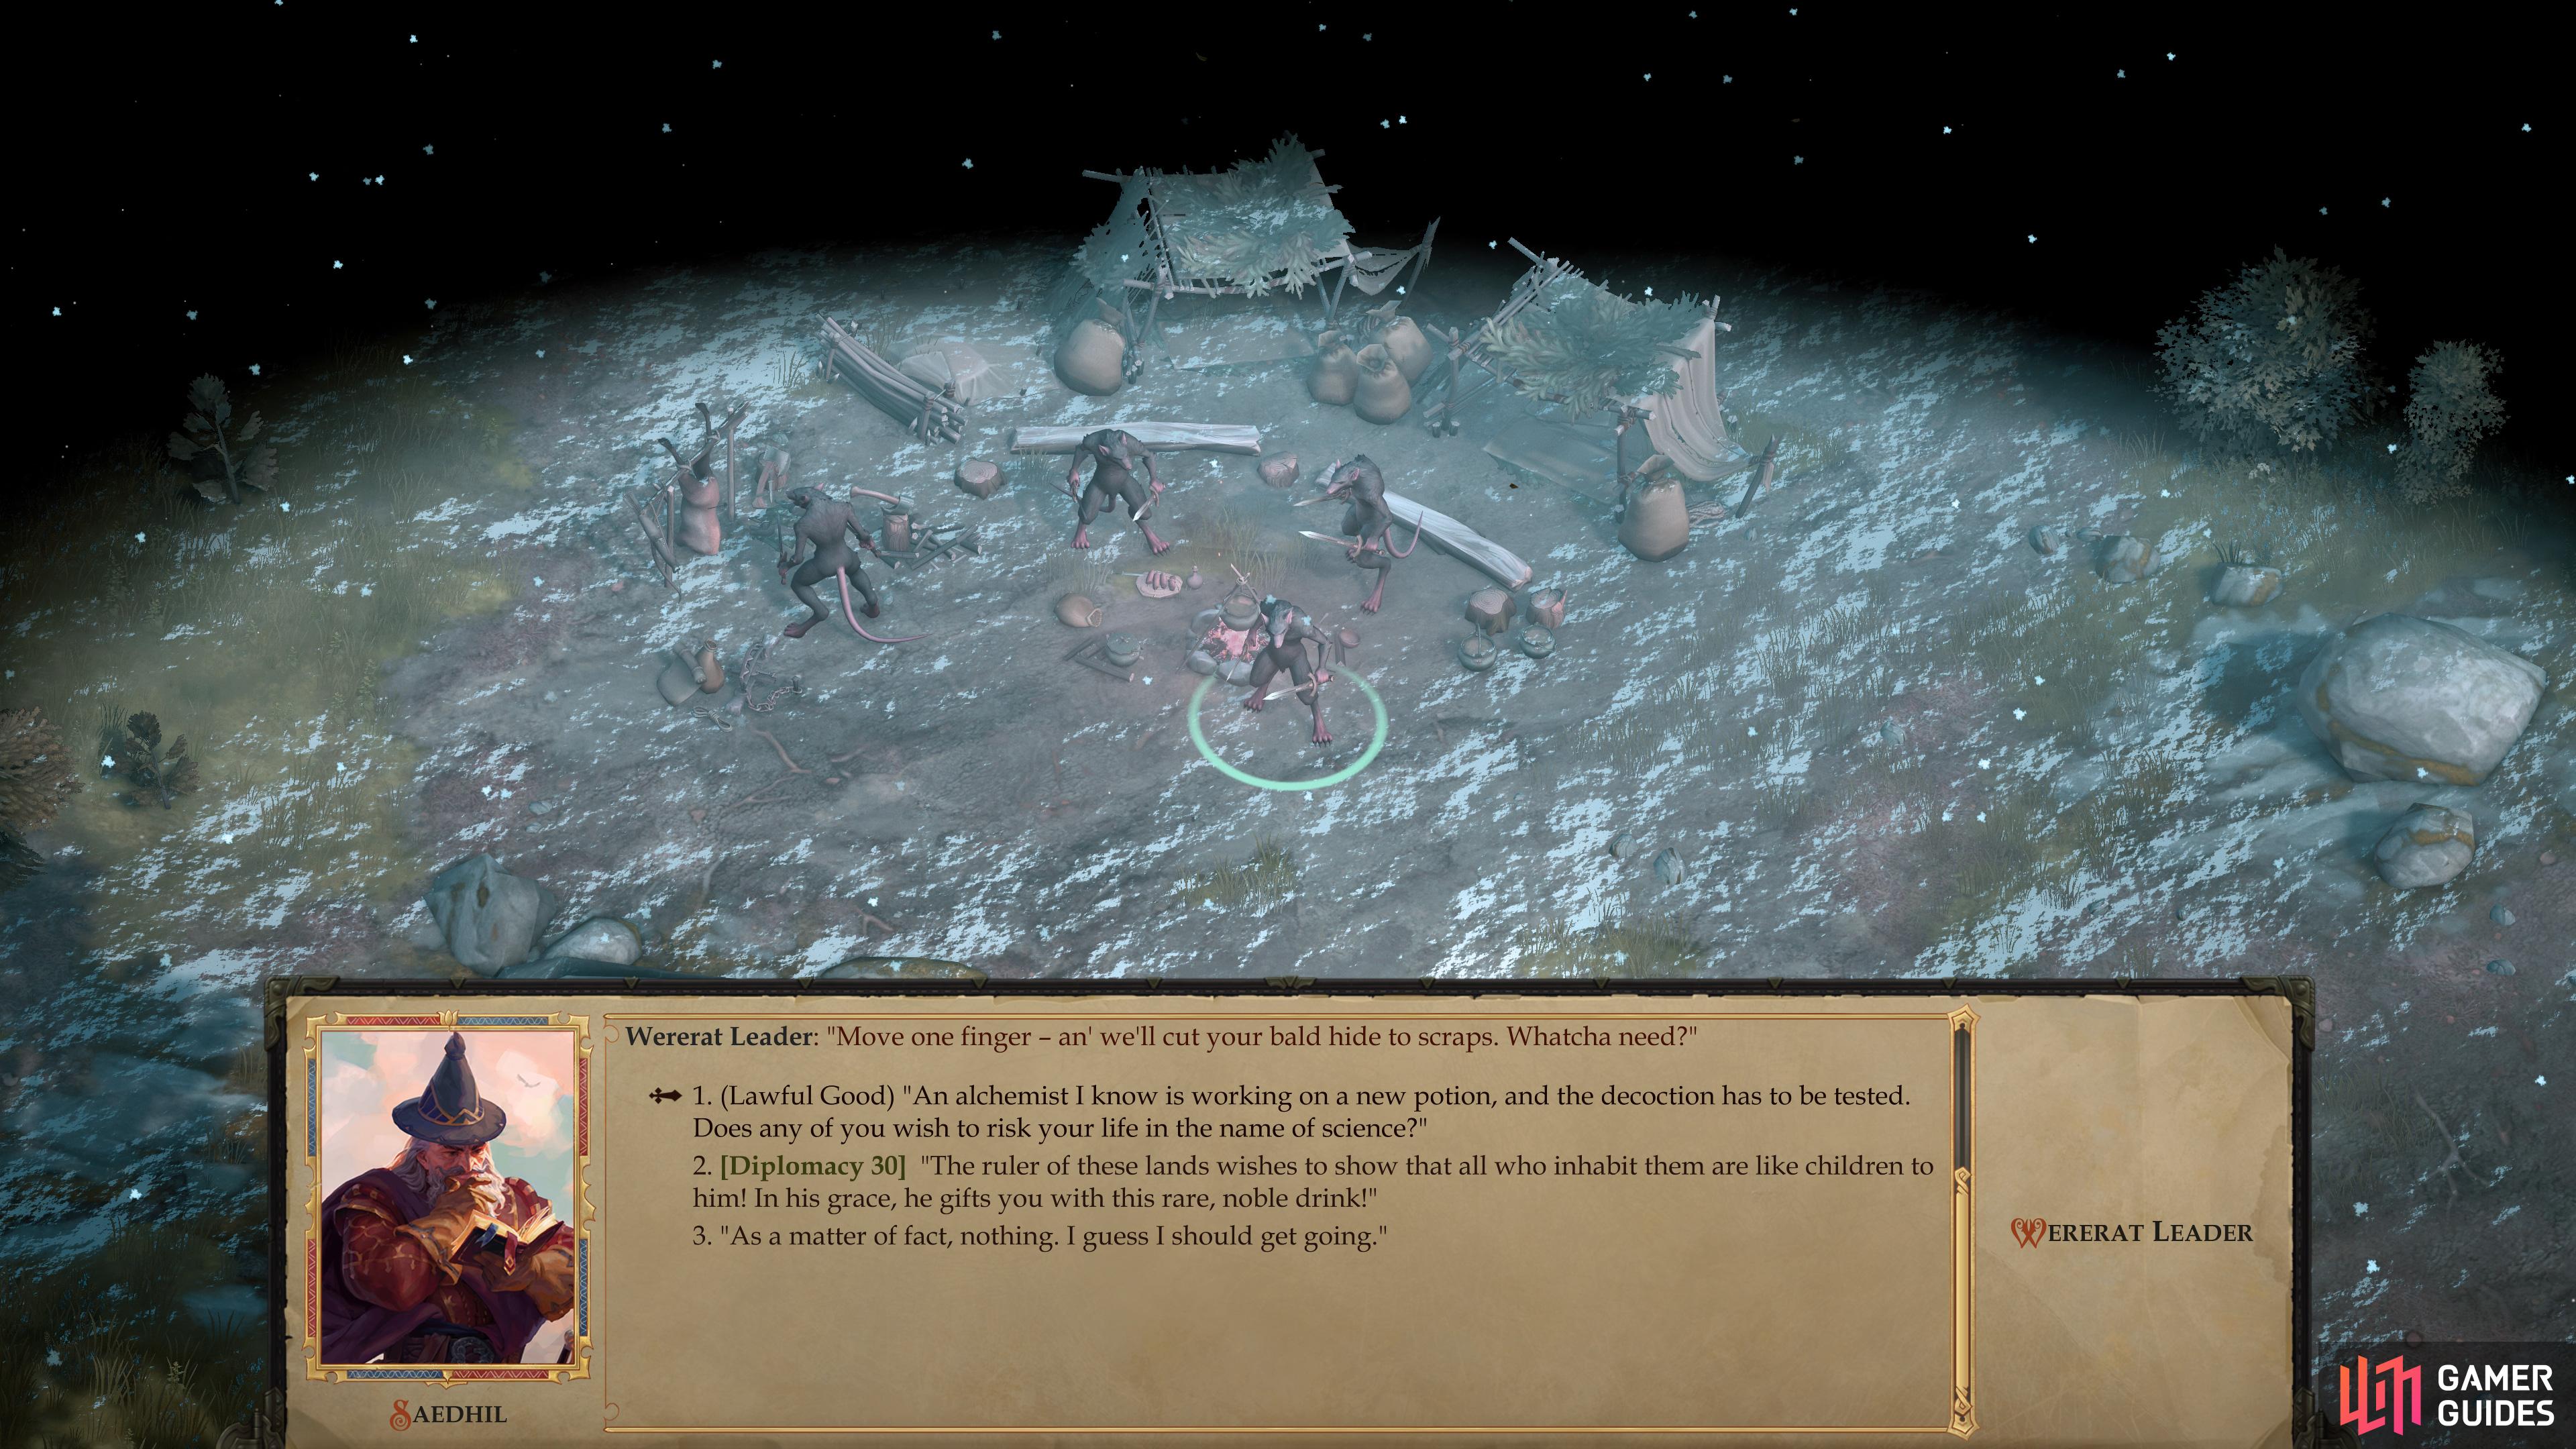
(1 of 3) A fight is inevitable, but you can convince one of the wererats to drink Bokken’s concoction, first.
When you arrive you’ll find a group of wererats just to the north. Buff up if you feel the need, then approach the wererats only to find yourself in a contentious exchange with their leader. You can postpone violence by saying ”Wait! I come in peace!” or ”Easy, easy. We can always fight later. Let’s talk first.”, after which you can attempt a [Diplomacy 30] check to convince one of the lycanthropes to voluntarily drink the elixir. Any other option results in violence, although to be fair, so does the [Diplomacy] route, as the wererats are somewhat miffed when their brave volunteer succumbs to Bokken’s cursed concoction.
Eventually you’ll find yourself in combat with the wererats, including the Wererat Leader (a 10th-level Rogue) and his Wererat subordinates (6th-level Rogues). If you convinced one to drink the potion, you’ll only be fighting three foes instead of four. Their Attack Bonuses and damage output are surprisingly anemic, and they’re not terribly well-protected by Hit Points or Armor Class. They do, however, have Damage Reduction 10/Silver, which will keep them alive for a considerable amount of time. Form a defensive line with your warriors to avoid getting flanks (sneak attacks will amplify their damage significantly) and you should find this encounter trivial.
Defeat the wererats and if you didn’t convince one to drink earlier, you’ll have to administer Bokken’s vile potion to the Wererat Leader, with predictable results. Loot the fallen - the lesser Wererats will each drop two Masterwork Shortswords while the Wererat Leader will leave behind two Kukri’s +1, Studded Leather Armor +1, a Ring of Protection +1 and a Cloak of Resistance +1. If you convinced a wererat to drink voluntarily, you won’t be able to loot the Wererat Leader, as he won’t be dead - he’ll just by lying around, untouchable, waiting for you to administer a potion you no longer have. Oh well.
Loot some sacks nearby for Swiftfoot Boots, which increase your Movement Speed by 10, along with other trinkets, including some potions and a significant haul of cheese. Get it? Because they’re rats, and rats like cheese. Clever.
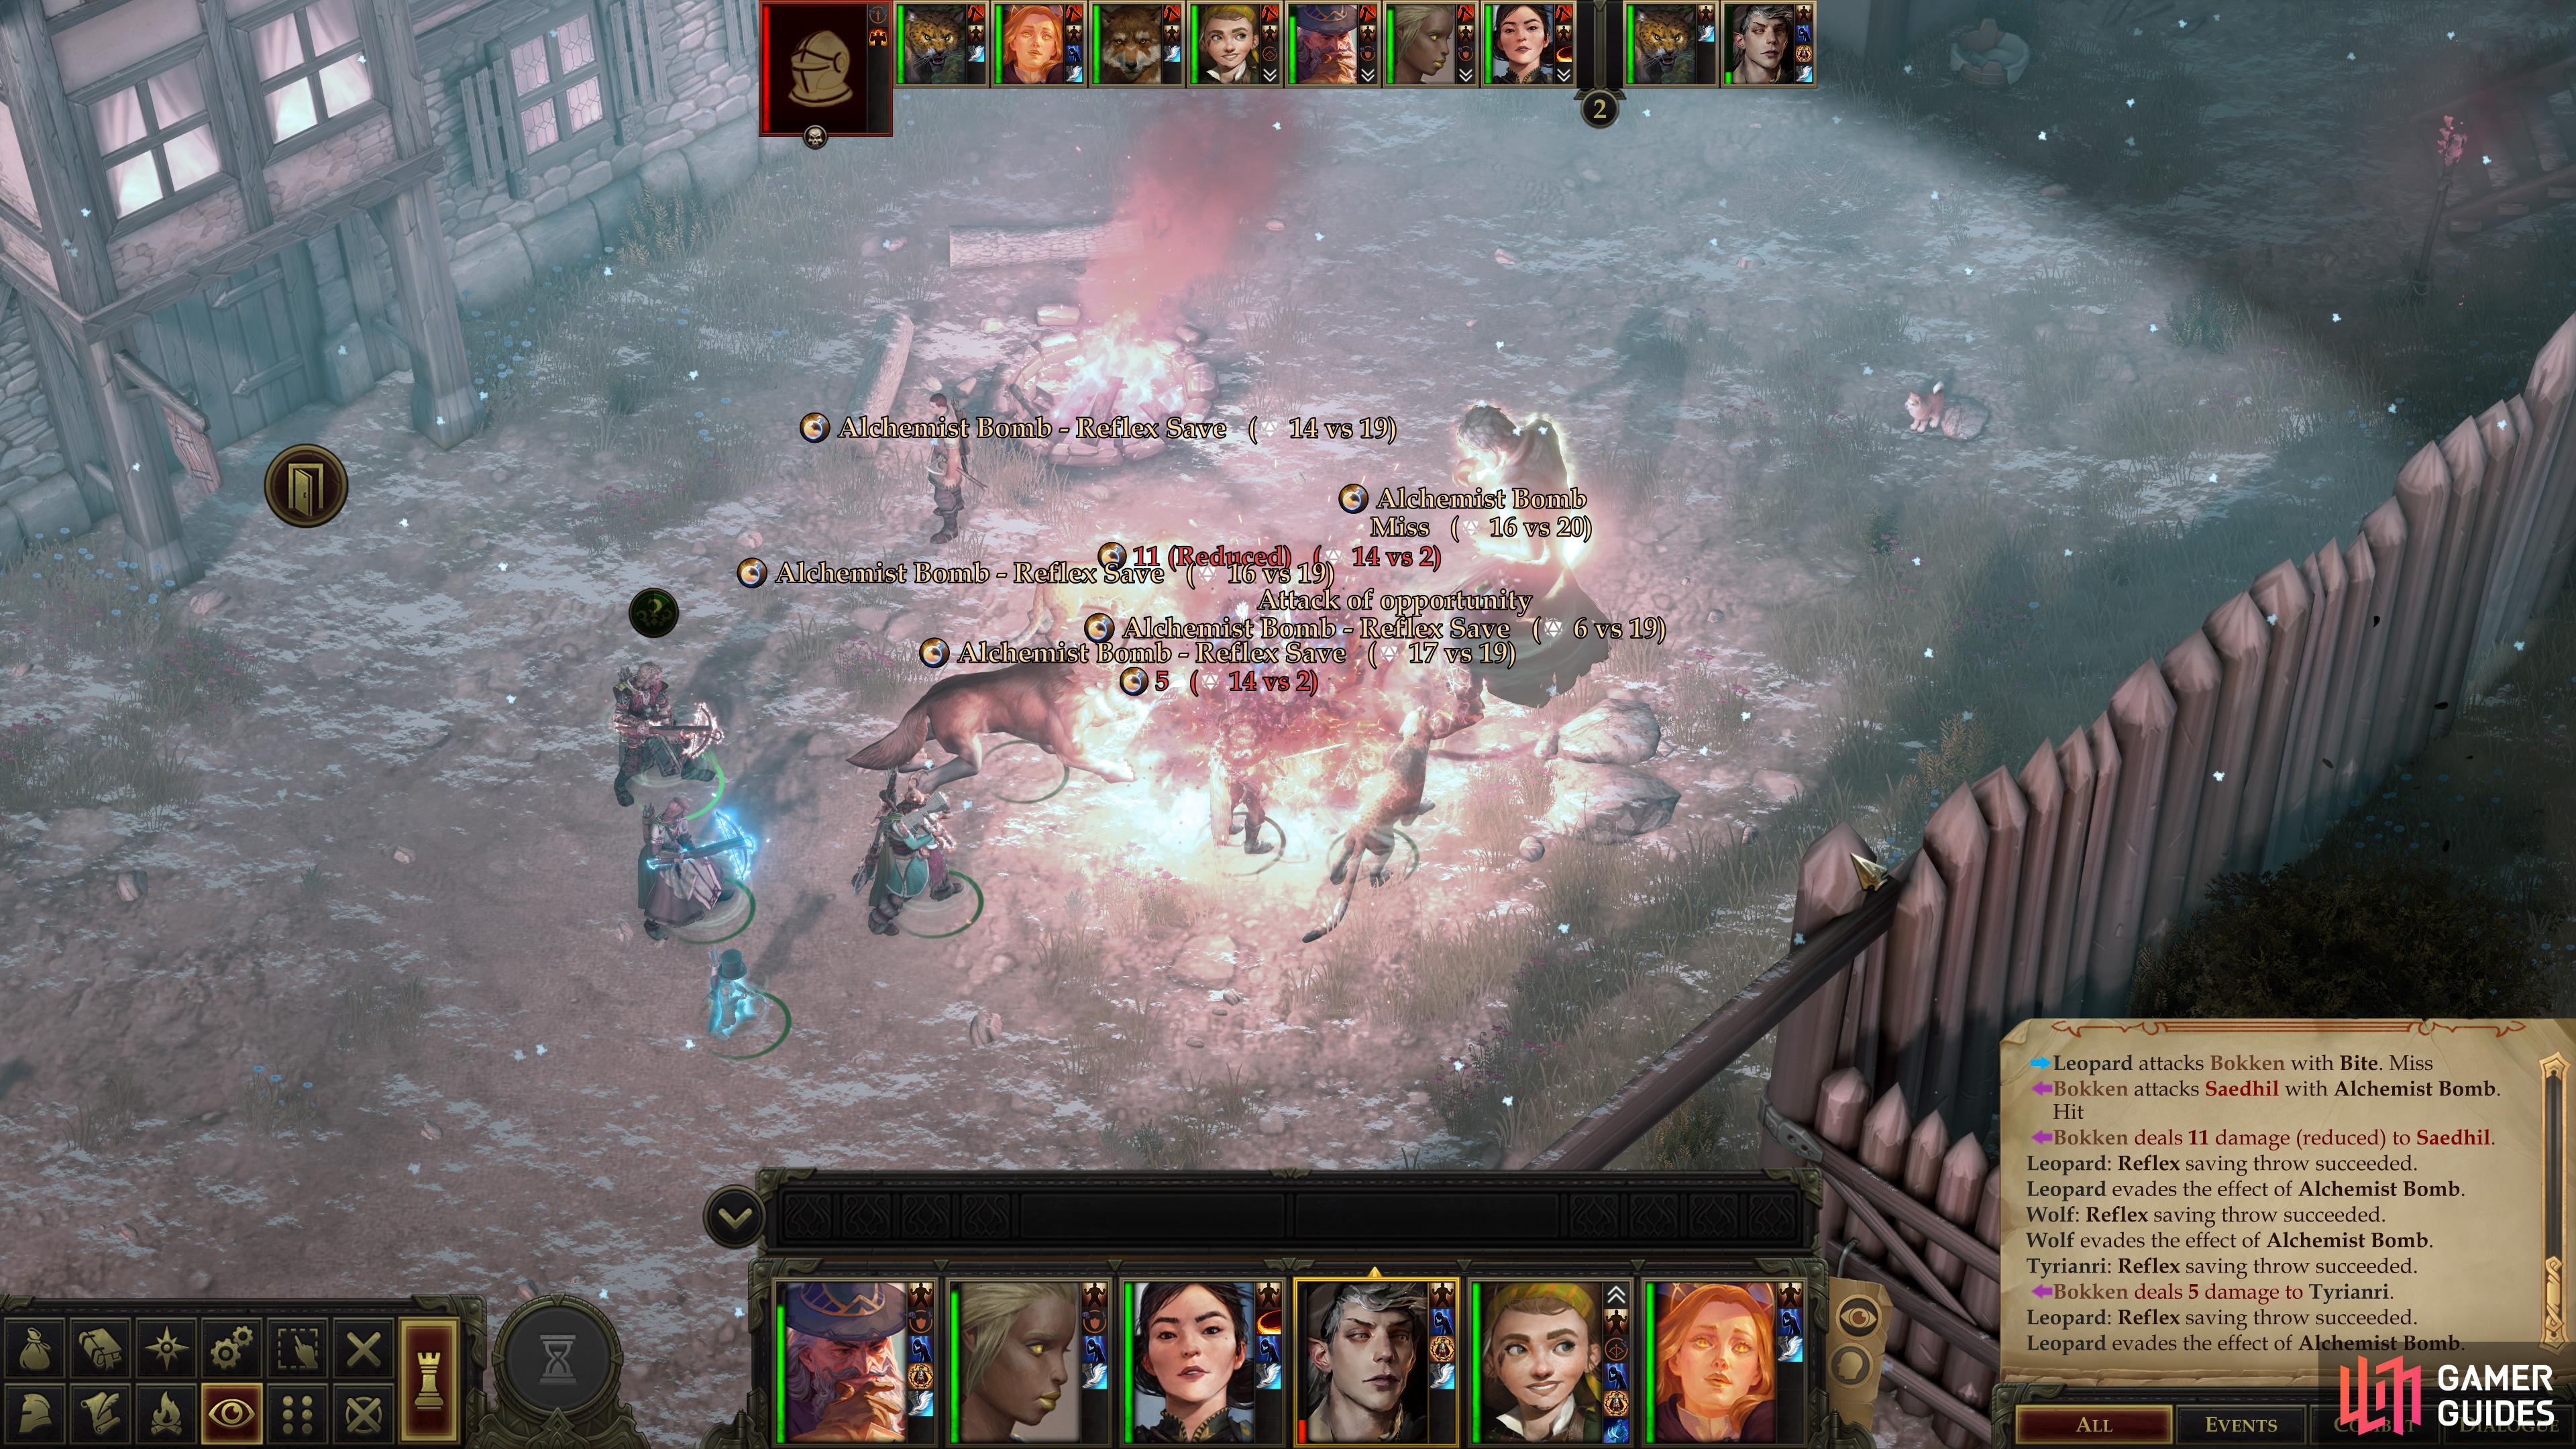
Bokken’s offense is limited to him chucking bombs at you.

Between his absurdly high Armor Class and damage reduction, your best bet is to pelt him with spells.
Bokken’s Final Test
Return to Oleg’s Trading Post and save your game before talking to Bokken, for reasons which will become clear soon enough. Once you’re ready, inform Bokken that even cursed lycanthropes can’t withstand the effects of his potion, and he’ll elect to perform one final test, consuming the elixir himself.
| Reward: For informing Bokken about the wererats. |
|---|
| 180 XP |
This has predictable results, with Bokken suffering a similar outcome to the dog - he’ll grow massive in size and become enraged.
Bokken is probably the single most powerful enemy you’ve encountered up to this point, and if the thought of fighting tedious enemies with ludicrously stacked stats bothers you… well, it’s the norm going forward. As far as Bokken goes, he’s got an absurdly high Armor Class.There’s no realistic means by which you’ll hit him at this point in the game, whatever your build - his Natural Armor Class is enough to allow him to frustrate the most accurate of attackers. If you have a character who can hit him half the time by throwing the kitchen sink at him, you’ve got something special on your hands. Bokken’s saves aren’t too shabby, either, which mitigates the effectiveness of potential debuffs. If all that’s not enough, he’ll shrug off 10 points of physical damage from each attack, because why not?
Bokken’s own offense consists of throwing bombs at you, and he’ll get three such attacks per round. His Attack Bonus is high - roughly on par with the Greater Enraged Owlbears you fought earlier - but it’s possible to have a high enough Armor Class to cause most of his attacks to miss. You’ll still take up to 10 fire damage per bomb via splash damage, but this can be mitigated with Resist Energy, Communal and Protection from Energy, Communal, which renders the entire affair into an ineffectual slap fight, as neither side will be able to do much against the other.
Despite Bokken’s Armor Class and Damage Reduction, he does have one glaring weakness: He’s got no real defense against direct-damage dealing spells. Sure, his saves might bail him out (if a spell allows for a save), but his Armor Class is mostly due to Natural Armor, meaning it won’t do him much good against touch attacks, and he’s got no elemental resistance to speak of. This being the case, pelting him with such spells will reliably chip away at his life bar (far moreso than normal attacks will, at any rate), so throw the kitchen sink at him: Burning Hands, Corrosive Touch, Shocking Grasp, Snowball, Frigid Touch, Scorching Ray… and yes, even the humble Magic Missile.
Pelt Bokken will spells until he falls, after which he’ll snap to and apologize, after which he’ll apologize and set his mind on “ironing out the wrinkles” with his formula. No lessons were learned, but at least this quest is over.
| Reward: For testing Bokkens third elixir. |
|---|
| 600 XP |
No Comments