This page covers the errand The Scary Box in Pathfinder: Kingmaker.
Talk to a Nixie named Lykka near Lake Silverstep Village to learn about “the scary box”,
The Scary Box is an errand you can pick up in Lake Silverstep Village by talking to a nixie named Lykka. Find her near the outskirts of the village and offer to help ([Neutral Good]) to start the errand.
Make your way to the beach northwest of the village, kill some Tatzlwyrms, then enter the cave they were guarding.
(1 of 2) Search the entrance of the cave for some notes,
Search the entrance of the cave for some notes, (left), and yet another Taldan Warrior’s Dog Tag. (right)
Lake Silverstep Cave
From where you enter, make your way north to find that the path ahead quickly splits. First loot the chamber you’re in to find a variety of scrolls, potions and lesser treasures in the two smaller chests, while in the larger chest [Trickery 18] you’ll find 621 GP. Along the eastern edge of the chamber you’ll find a pillar attached to the cavern wall, on the western edge of which you can find a Pile of Notes if you search carefully. Read these notes if you want to learn about the lake’s supernatural menace, and about a monster that attacked the bandits in this cave.
Score this loot, then venture northwest into a watery chamber that apparently opens up to the lake. Such a secluded cave must be a bandit’s dream, and sure enough, two boats are docked nearby. Loot a chest to find some treasure, including a Taldan Warrior’s Dog Tag, then return southeast to the entry chamber.
(1 of 2) Kill the bandits,
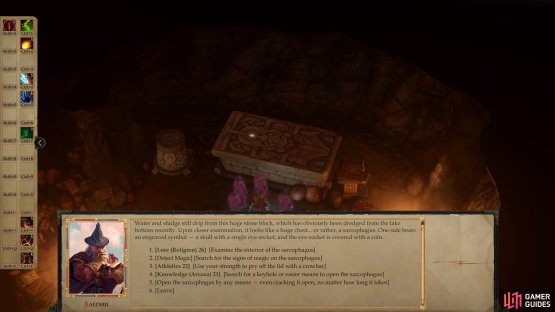
Kill the bandits, (left), then examine the sarcophagus, which you can open with various checks. (right)
Some preparation is in order before you venture into the chamber to the north, as there are quite a few enemies in there. While they’re not overwhelmingly powerful, the difference between going in with the correct spell-buffs and without them is stark. Use longer-lasting buffs (Bless, Blur, Stoneskin, Shield of Faith) and shorter buffs (Haste, Prayer) as they’ll all come in handy. When you’re well-protected, head into the chamber to find some bandits complaining about a beast. You may not be the beast they fear, but they’re still not pleased when they find out they’re being intruded upon by a potential plunder-stealer instead.
The barbarian bandit with the greatsword might seem like the greatest threat - and he’s certainly the one most likely to trouble your warriors in melee - but you should start the fight out by charging the Bandit Necromancer. This black mage will attempt to cast multiple Enervation spells at you, inflicting Negative Energy Levels on a character. This is bad enough on its own, but he’s quite capable of removing all a character’s levels with repeated castings, which will kill a character outright.
He shouldn’t be too hard to cut down, after which focus on the greatsword-bearing bandit barbarian. Other than him, there are a few sneaky bandits that’ll try to make a big first impression with some sneak attacks, but nothing you really must worry about.
Once they’re dead, loot them for their meager possessions, then ignore the rest of this treasure in the room and focus on the large sarcophagus - you’ll want to attend to this task first, before your buffs wear off. Be sure to send the rest of your party south to the narrow passage connecting this chamber to the larger one to the south and only have your tank up front when you interact with the sarcophagus.
When you examine the sarcophagus - a cyclopean sarcophagus, on closer examination - you’ll get a variety of options. Pass a [Lore (Religion) 26] check to get some insight into a cyclopean version of a deathly figure depicted on the sarcophagus. You can also use a [Detect Magic] check to determine that, indeed, there be magic about this sarcophagus. As for getting inside the sarcophagus, you can waste a great deal of time forcing it open (about four hours will pass), you can pass an [Athletics 22] check to remove the lid with a crowbar, or you can pass a [Knowledge (Arcana) 21] check to open the sarcophagus more elegantly. Unfortunately, the sarcophagus is still inhabited, and the occupant isn’t happy about being disturbed.
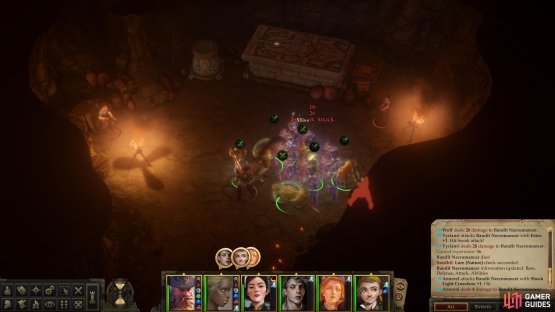
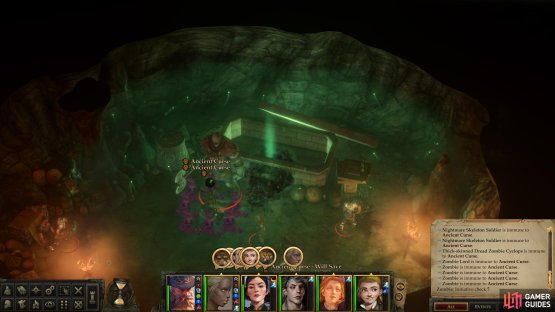
(1 of 2) Be sure to only have your tank near the sarcophagus, as you’ll unleash an Ancient Curse when you open it.
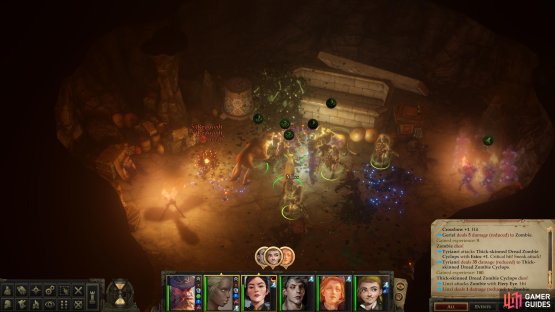
Be sure to only have your tank near the sarcophagus, as you’ll unleash an Ancient Curse when you open it. (left), Put down the Dread Zombie Cyclops and the revived bandits. (right)
Battle - Dread Zombie Cyclops
Having opened the sarcophagus you’ll have earned yourself the ire of a Dread Zombie Cyclops, which has a fair amount of HP, a respectable Armor Class and a high enough Attack bonus to hit your tanks. While a character with an Armor Class of around thirty won’t be getting hit regularly, the Dread Zombie Cyclops’s high damage (around 30~ per hit) will ensure that when it does hit, you’ll feel it.
On its own, this probably wouldn’t be much of a fight, but when the sarcophagus opens two things will happen: first, everybody in the area will be exposed to an “Ancient Curse”, which forces a [Will 18] check or else the afflicted characters will run around in fear. This is why you hid the majority of your party earlier, as two or three characters failing their save could result in a party wipe. As it stands, you’re only risking your tank, and even if they run around in fear, there’s a chance they’ll still draw enough enemy fire to serve a somewhat less than useless role in battle. The second development you need to be wary of is that the opening of the sarcophagus will cause the dead bandits in the room to reanimate as zombies and attack. None of them are terribly powerful in a straight fight, but their primary purpose is probably to distract you from the true threat - the Dread Zombie Cyclops - and to take advantage of fearful characters.
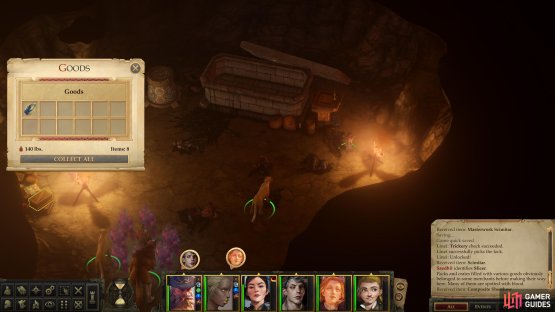
(1 of 2) Pick up the weapon “Slicer”,
Pick up the weapon “Slicer”, (left), then grab the “Cypress Queen’s Quill” artifact. (right)
Whether your tank is affected or not, cast Haste (which almost certainly wore off since the last fight) and charge the Dread Zombie Cyclops with the rest of your party. Five hasted characters should be able to cut it down without too much fuss, after which cleaning up the rest of the zombies will be a relatively trivial task. Loot the massive zombie to grab a Greataxe +1, then turn your attention to the rest of the containers in the room. Now that you don’t need to preserve your buffs, unlock [Trickery 18] a chest to the east to find Slicer, a Scimitar +2 with the “Runic Mageblade” property, which improves the enhancement bonus of touch spells by +2. Finally, search a crate to the southwest to find a Cypress Queen’s Quill, another item an antiquarian (the Storyteller) would be keen on see– err… bring it back to him.
Once you’re done in the cave, return to Lykka and tell her you resolved the “scary box” problem. This will earn you 300 XP, a Gold Ring, two Peridots and 647 gold.








No Comments