

After completing Witch Hunt and Mother of Monsters the quest Season of Bloom will begin - not to be confused with the supequest of the same name. Your first task in Season of Bloom is to return to the capital to confer with your advisors about what you learned during the previous two quests. Before you do this, however, you should Return to the Bridge Over the Gudrin River and take care of some encounters there, as they can help you with numerous skill checks you’ll face shortly.
Conferring with the Council
Make your way back to Tuskdale and enter the throne room, where every mover and shaker in the political system of your barony has gathered to discuss the matter of these monster-spawning seeds. Recap with Jhod, Kesten and Tristian as you will (indulging or ignoring the [Lawful Evil] moral choice along the way), question Kesten’s ties to the militia and how Jhod stumbled across rumors of this curse, and finally summarize. After this, Tristian will take over and will point out the Gudrin’s river’s role as the likely disease vector.
Kesten will become animated at the breakthrough, obviously eager to take action against this disease - the Bloom - and give the peasantry a chance to find the cause of their misfortunes. You can let him run off on his expedition [Chaotic Neutral], order him to wait and follow your lead [Lawful Neutral], or simply delay. Afterwards, ask Tristian “Tristian, how did you find the link between the disease and the river?”, which will get him musing about the ruins you found him at. He’s interrupted by a returning Kesten, who brings the dire news that the peasants are tired of dying for what they perceive as a cursed and absentee baron. Looks like you’re going to have to manage some civil unrest before you can deal with the Bloom.
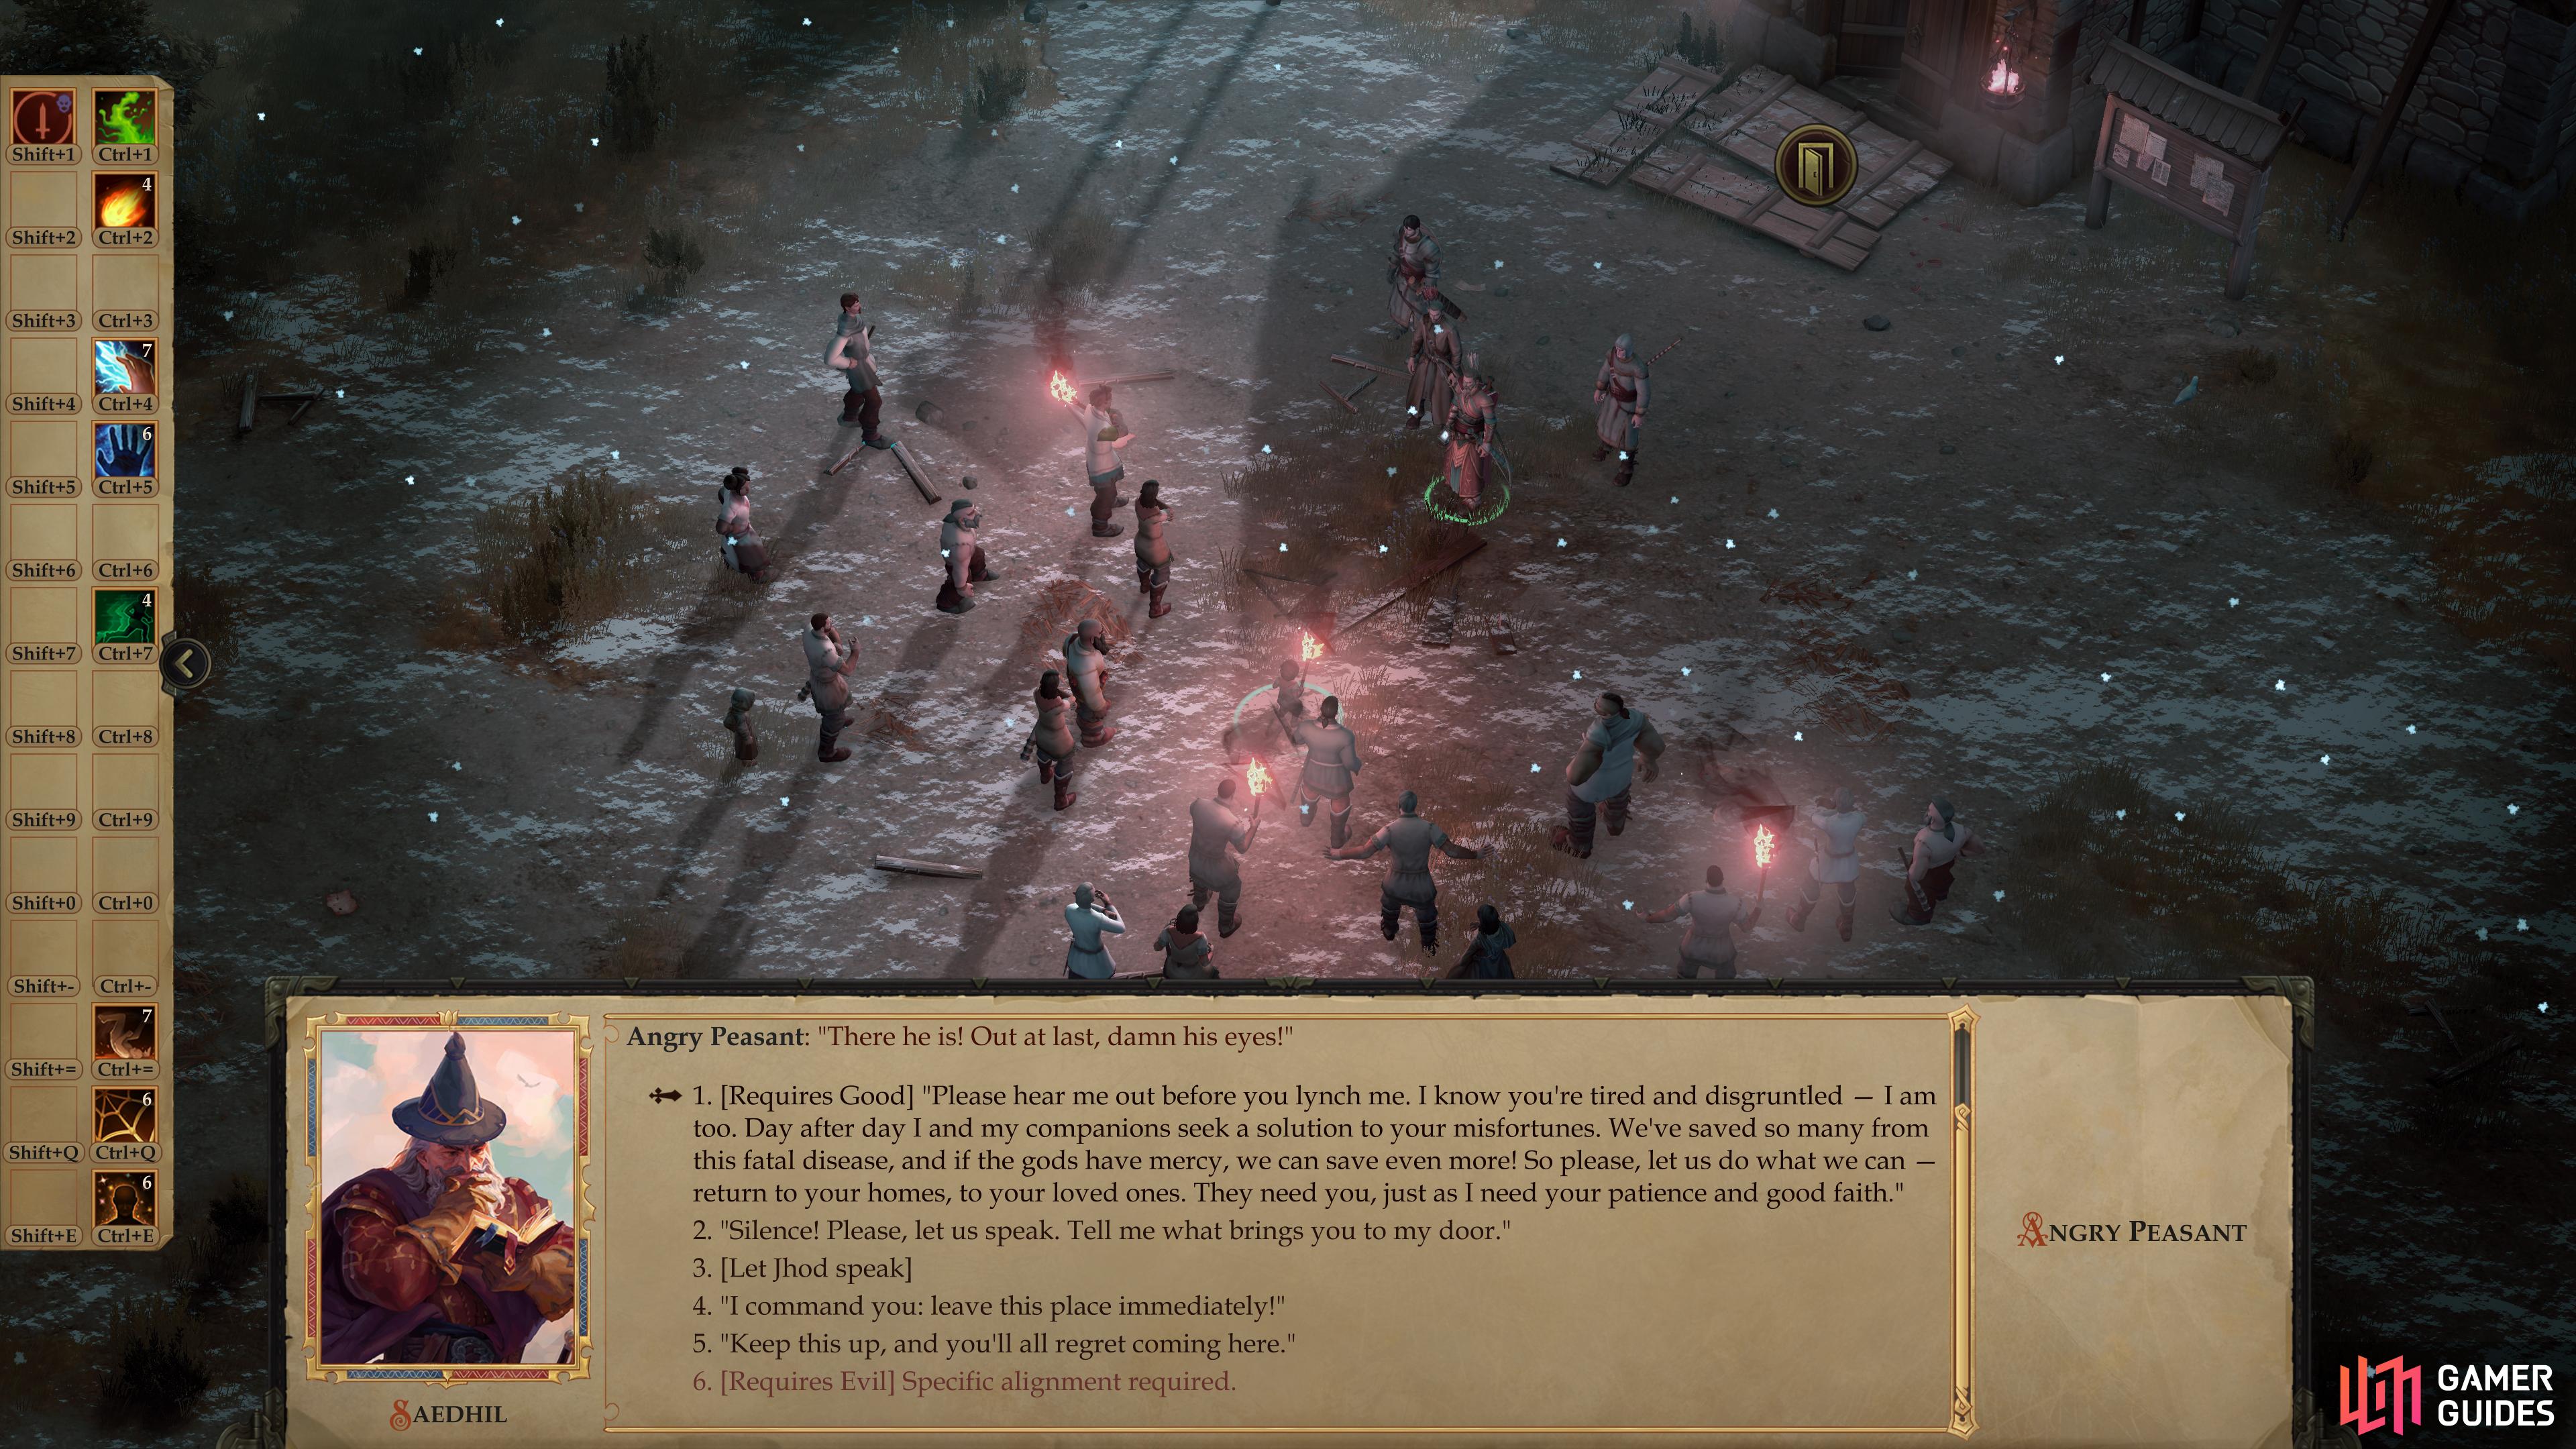
(1 of 3) If your protagonist is good or evil, you can resolve the unrest by pleading your case or via a show of force, respectively.
Unrest in the Streets
You’ll automatically head outside, where you’ll be confronted with an angry mob. This can be a pretty complicated bit of dialogue, but if your protagonist is good you can simply pick the [Good] option to calm everybody down and end this encounter peacefully. Likewise, you can pick the [Evil] option to make a bold display of force and drive the peasants off before they can build their resolve.
Failing either of those two options, you can try to command them to leave, foolishly ask them “what brings you to my door”, or threaten them. Most of these go nowhere, although the latter option does give you the chance to actually pick a fight, if you’re so inclined. Aside from meeting the peasants with clumsy violence (as opposed to the more sophisticated [Evil] display of force mentioned above), you’ll end up having to let Jhod speak for you.
The outcome of Jhod’s words differs depending on how you handled the Doomsayer Scares Townsfolk event earlier. If you did anything other than talk sense into Remus - whether you killed, banished or imprisoned him - he’ll show up here to incite the mob. Otherwise, Jhod will be free to promote the virtues of Erastil, which will calm the crowd down somewhat. Respond to Remus how you will, it makes little difference, leaving you with the dialogue option “People aren’t dying from some curse, it’s from strange magical seeds that carry a fatal disease. We just need to find out where they’re coming from, then…” or the choice to end diplomacy and attack.
Assuming you don’t attack, other previous actions of yours will now come into play. If you kept the disease secret from the peasants at the end of An Amusement for the Nobles, they’ll grow angry, where if you told them about it ahead of time, they’ll trust in you more. The patient Jhod and Tristian operated on, Madla, will also speak up for you, provided she survived the operation. If not, the mob will reference her as a strike against you. Periodically these accusations will be interrupted by some [Intimidate] or [Persuasion] checks (with moral choices attached) that you can use to argue your case.
A great number of the choices you made throughout this chapter will be brought up for or against you; whether you spared Tsanna or not, recruiting Nok-Nok, convincing the refugees to stay in your lands… it’s quite an exhaustive list. Not only that, but it doesn’t necessarily follow morality the way you’d expect. Showing mercy to the wrong person or simply missing an encounter can all end up used against you. There’s a reason “mob justice” isn’t a positive thing. The more excuses the mob finds to condemn you will raise the next [Persuasion] or [Intimidate] skill check, while favorable examples of your deeds will lower it. However much good you’ve done, unless your protagonist has invested in Persuasion, you’re probably going to be in trouble, as the base checks are rather high. There’s a reason we suggest having the protagonist be your Persuasion character, if at all possible - there are many instances where their Persuasion score will be your only option.
Fail enough of these checks and the mob will erupt into violence, otherwise you may just be able to talk them into dispersing. Either way, there’s a bit of XP to be earned by attempting this dialog checks, not to mention the alignment modifiers, if that appeals to you, so if your Persuasion score is good enough, you might just want to give it a go, even if you can otherwise opt out with the [Good] or [Evil] choices.
The following is a full list of the actions that influence the crowd:
| Incites the Crowd |
|---|
| During the “Doomsayer Scares Townsfolk” event card, either imprison, banish or exile Remus. |
| After the hunt during **An Amusement for the Nobles**, refuse to inform the people about the disease. |
| During the quest **The Seed of Sorrow**, if Madla dies. |
| In the random encounter with refugees, you convinced the survivors to return. |
| If you didn’t clear the Fake Stag Lord’s bandits from the Bridge Over the Gudrin River. |
| During the quest **Witch Hunt** you spared Tsanna. |
| You spared the goblins after rescuing Nok-Nok. |
| You recruited Nok-Nok. |
| Calms the Crowd |
|---|
| During the “Doomsayer Scares Townsfolk” event card, talk sense into Remus. |
| After the hunt during **An Amusement for the Nobles**, inform the people about the disease. |
| During the quest **The Seed of Sorrow**, if Madla survives. |
| Told the Old Man from the Bridge Over the Gudrin River to seek out Jhod. |
| In the random encounter with refugees, you let the survivors flee. |
| If you cleared the Fake Stag Lord’s bandits from the Bridge Over the Gudrin River. |
| You returned the pearls to the Fugitive Girl and convinced her to return to Tuskdale during the quest **Elederian Pearls**. |
| During the quest **Witch Hunt** you executed or banished Tsanna. |
| You killed the goblins after rescuing Nok-Nok. |
| Reward: For talking down the mob |
|---|
| 480 XP |
Resolve the situation however you’re able, whether it be through alignment-specific choices, dialogue options bolstered by your past deeds, or simple violence. While this is a complicated setup, the fact that two-thirds of the alignment spectrum have an easy out - and the fact that unless you have a decent Persuasion score (the checks can range from the teens to the thirties, depending on your past actions) the checks might just be out of your league regardless - serves to simplify matters in practice.
When you’re done you’ll be back inside your throne room, where any pending throne room business will resolve (see Season of Bloom - Events Overview for more information). Depending on how long it took you to deal with the Witch Hunt and Mother of Monsters you may well have a good bit of time on your hands; events related to Season of Bloom that may damage your Kingdom Stats won’t become too much for your advisors to handle until there are around 80 days left on the timer for [An Ancient Curse, Part 3], and you’ll get a warning/ultimatum of an impending game over on 88 days left (+88 days AAC3 time). If you haven’t been dawdling and have been dealing with the main quests when they’ve popped up, you should have over 200 days left on [An Ancient Curse, Part 3], which actually gives you a few months you can safely burn, if you wish.
Check out the page Season of Bloom - Events Overview for more information on what can be done during this time. Of course, if you care about indulging the narrative, you should try to resolve Season of Bloom as quickly as possible; any new quests/events can be done just as well after Season of Bloom as before it.
For the next phase of the main questline you’ll need to exit your capital and travel the length of the Gudrin River. Returning to the Bridge Over the Gudrin River area (not entering it, mind you) and heading east along the Gudrin River towards Lake Silverstep will hopefully reveal the Goblin Fort area - your next destination. If you can’t get ithe Goblin Fort to appear, never fear, like with the Goblin Village there’s a way to learn the location without having to rely on your Perception scores. You will have to burn time wandering around in search of a random encounter, however, but with persistence you should stumble across the Goblin Ambush encounter. Check out the linked page for more details.
No Comments