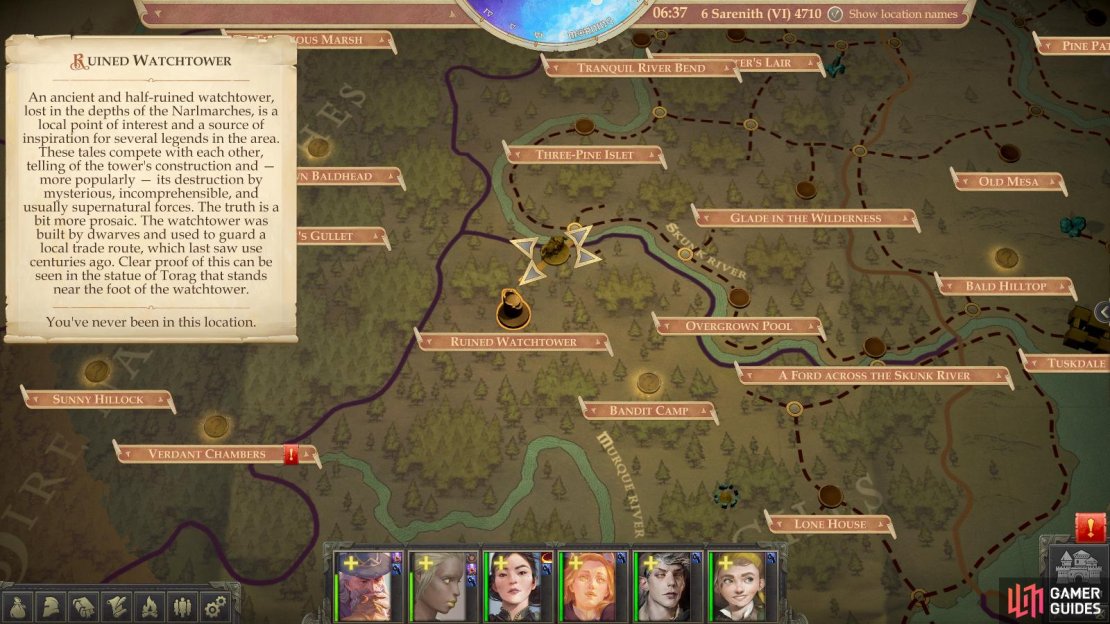
To reach this area from the capital, just follow the Skunk River west and north past the A Ford Across the Skunk River and Overgrown Pool areas to reach an empty node. From here, follow these directions:
- South (across the Skunk River)
- Southwest
(1 of 4) Grab a Torag’s Pendant from some rubble.
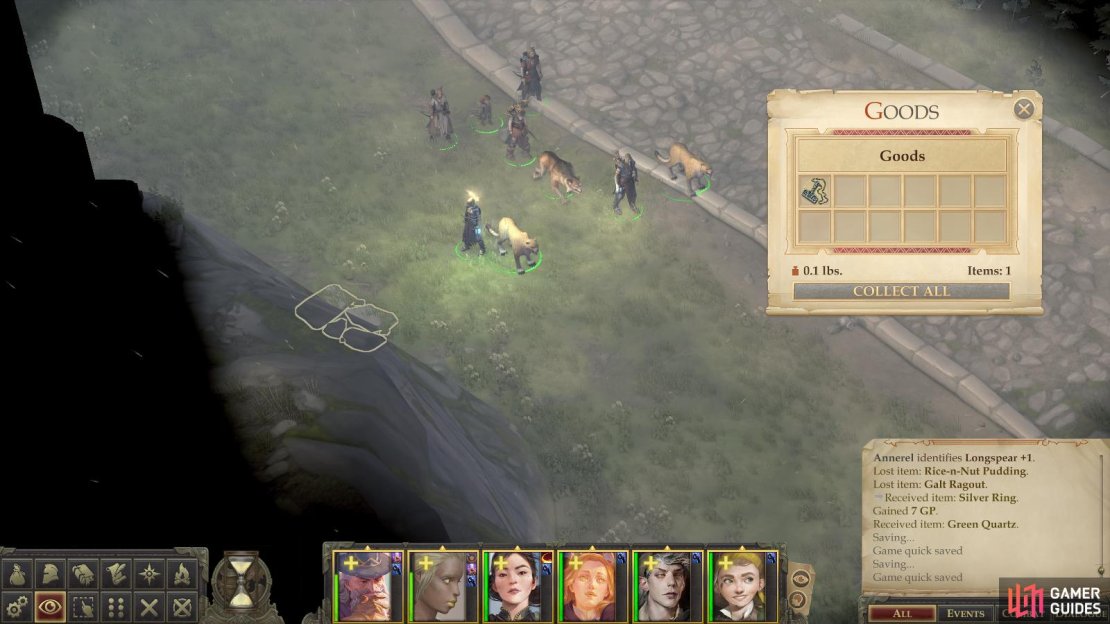
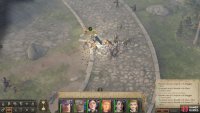
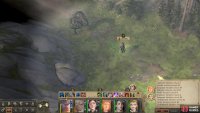
Once you enter the area you’ll find yourself along its northern boundary, with a large, paved road weaving invitingly to the south. Follow the road south, but keep your eye on the cliffs to the west, as you can find Torag’s Pendant in some rubble.
Continue south, but now turn your attention to the east of the road, as there’s a steep hill you can climb. When you find it, ascend, then continue east to reach some rocky cliffs that apparently form a dead-end. Search some rocks along the southern edge of these cliffs, however, to procure a Dwarven Helm Shard.
From the last treasure venture north to reach the northern edge of the map. At this point turn east until you hit the eastern end of the map, then turn south to reach a dead-end, where you’ll find a trunk you can loot should you succeed at a [Perception 22] check. It’s a lucky find, should you manage it, as the trunk can be searched for an Amulet of Natural Armor +1. No fuss, no muss; just a little detour with some worthy loot at the end.
(1 of 4) A trapped chest near the road will punish over-eager adventurers.
Bandit Ambush
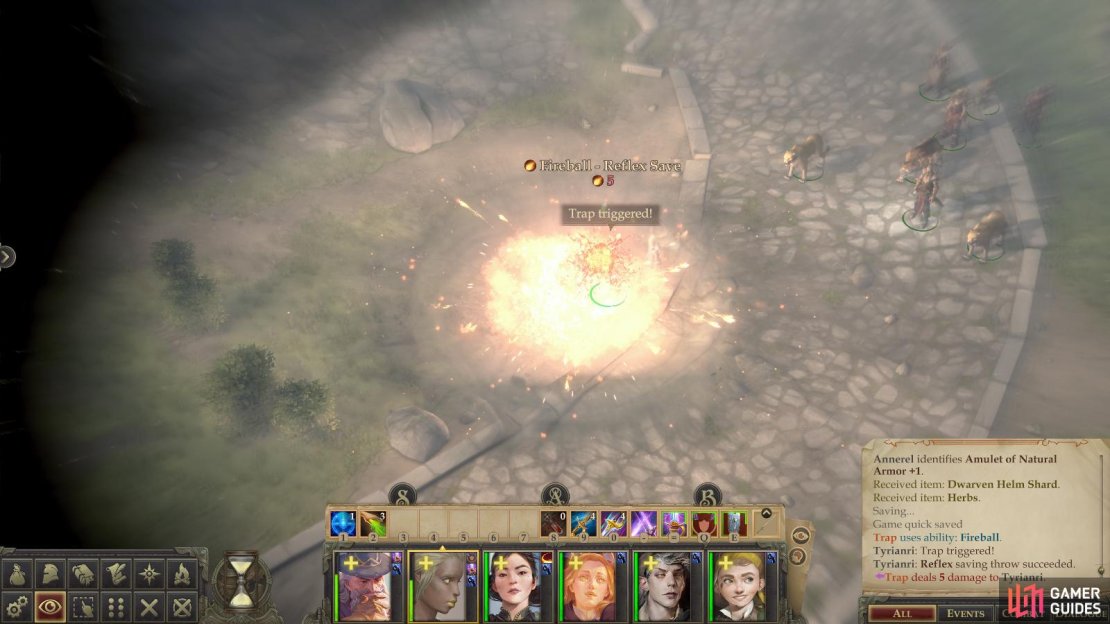
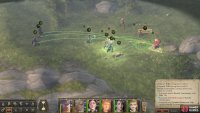
Not all treasure can be obtained without conflict, sadly. Return back west to the road and follow it south until it veers decisively to the southwest. At this turn in the road you’ll find a corpse with a chest near it; an awfully tempting prize. Too tempting, in fact. Approach the chest to find that it’s trapped [Perception 22], and if you fiddle with the chest before disarming this trap [Trickery 22] you’ll be punished with a Fireball. Worse yet, this obvious lure is bait for a bandit trap, and the sneaky bandits will launch their ambush once the chest is looted.
The most dangerous of these bandits are dual dagger-wielding foes that start out hidden south of the road, while some archers lurk in the bushes to the west of the chest. Not only will their first attacks be Sneak Attacks if they manage to attack while hidden, but since you’re caught between two groups of bandits, any flanking attacks will be Sneak Attacks, too. That’s a recipe for pain.
You can spoil their ambush by merely walking to where they hide, as there’s a good chance you’ll discover them if you wander close - although you’ll need to pass an absurd [Perception 38] check to actually spot them without walking into them. Cast a Web spell at the bushes to to the west of the chest, then wander near the melee bandits to the south; circling around them to the south is ideal, as then you won’t begin the battle flanked. With the former group hindered by the Web spell, you should be able to cut down the melee bandits, after which the fight should be well in hand. If you have access to the Glitterdust spell you can blindly target the location south of the road to reveal the hidden bandits, or, more explosively, you can always lob a Fireball at them.
Alternatively you can just provoke them by whatever means you have at your disposal (even if it’s just running into them) then retreat for a bit. That first turn where your characters may be flat-footed is the most dangerous time to fight them, as it deprives you of your Dexterity bonus to Armor Class and guarantees all their hits will be Sneak Attacks.
After you emerge victorious, feel free to disarm and loot the chest that caused this whole mess to score a whopping… 1 GP. Oh, these bandits are going to pay.
(1 of 3) Pick up a second Torag’s Pendant
Treasure in the Web-Covered Watchtower
Venture off the road to the west of the bandit ambush to find some ruins. In between two crumbling stone buildings you’ll find some ancient stairs [Perception 0] you can climb by clicking on the interact icon [Mobility 19]. Note them, but be sure to head southwest along some ruins to find [Perception 19] a Torag’s Amulet hiding under some rubble before you attempt to ascend them.
Spell buff as best you can (you may even be able to add Prayer and Haste to the mix, depending on your levels) and ascend the stairs, where you’ll be confronted by a group of Giant Spiders. These aren’t the same bugs you’ve been squashing for a while now, as these ones have significantly higher Attack rolls, HP and Armor Class than you’re used to. Fortunately, their venom doesn’t seem much stronger. Be sure to protect your casters and archers so the spiders can’t get around (there’s enough of them that you’re likely to be surrounded) and concentrate fire as best you can.
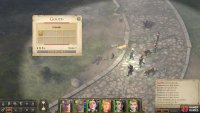
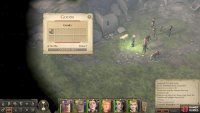
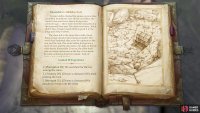
Eradicate the spiders, then head north until you find a short set of ruined stairs. Turn southeast at these stairs and enter a web-covered tower, where you’ll find a chest out of reach above you. Interact with this chest to start an Illustrated Book Episode.
This one is pretty simple, starting with only two realistic options: try to build a ladder, or pass an [Athletics 17] check to climb up there. However you reach the chest you’ll then be presented with three further checks to get inside: a [Perception 25] check, a [Trickery 25] check or a [Strength 21] check. Failing the Athletics check will result in you taking some damage, while building a ladder will take time. Likewise the Strength check later is guaranteed to get the chest open, but failure will cause it to take longer. The ideal route, then, is to pass the Athletics check if you can, then attempt the Perception, Trickery and Strength checks, in that order.
Once you get the chest down and open, you’ll be rewarded with some experience, and more importantly, you’ll be free to loot the chest. Inside you’ll find a Black Cog-Wheel Ring, a Breastplate +2, a Heavy Shield, the magical Greataxe Trollreaper, and a Soot-Blackened Apron. The last item may be of interest to an antiquarian and Trollreaper is just a fantastic weapon well-suited for the task for which it was named. Keep it handy, as it may be worth putting on Amiri on the off-chance you need to battle such beasts.
| Reward |
|---|
| 320 XP |
Search some rubble along the southern end of the tower [Perception 17] to find Torag’s Pendant, then leave the watchtower and return to the short flight of ruined stairs to the north, in front of which you’ll find some rubble. Search the rubble to score another Torag’s Pendant, then continue north to find a statue of Torag. This Torag seems pretty popular around here, eh?
Loot a chest to the east of the statue to score two Potions of Cure Light Wounds (among other goodies) then examine the oddly pristine tower and pass a [Perception 20] check where you’ll discover a hidden panel. Alas, you’ll need three cogs like the one you found earlier to access whatever treasure this tower hides. Fortunately, there’s plenty of places to search in this area yet, so keep it in mind as you continue exploring.
(1 of 4) Provoke the troll by leading with your tank
Troll Treasures
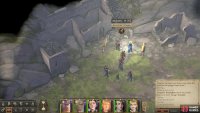
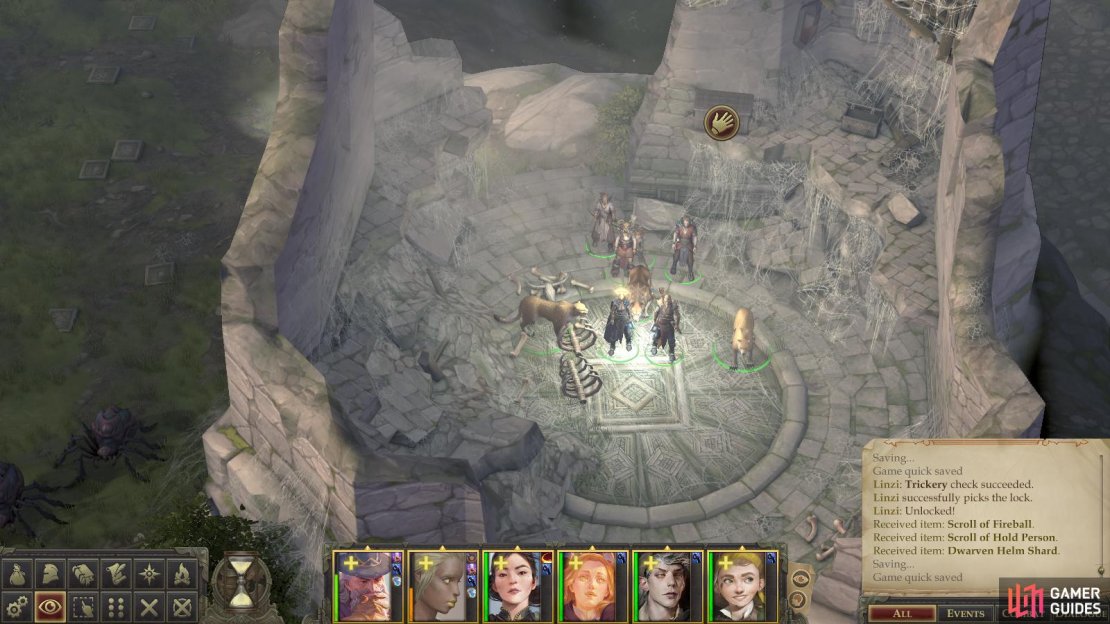
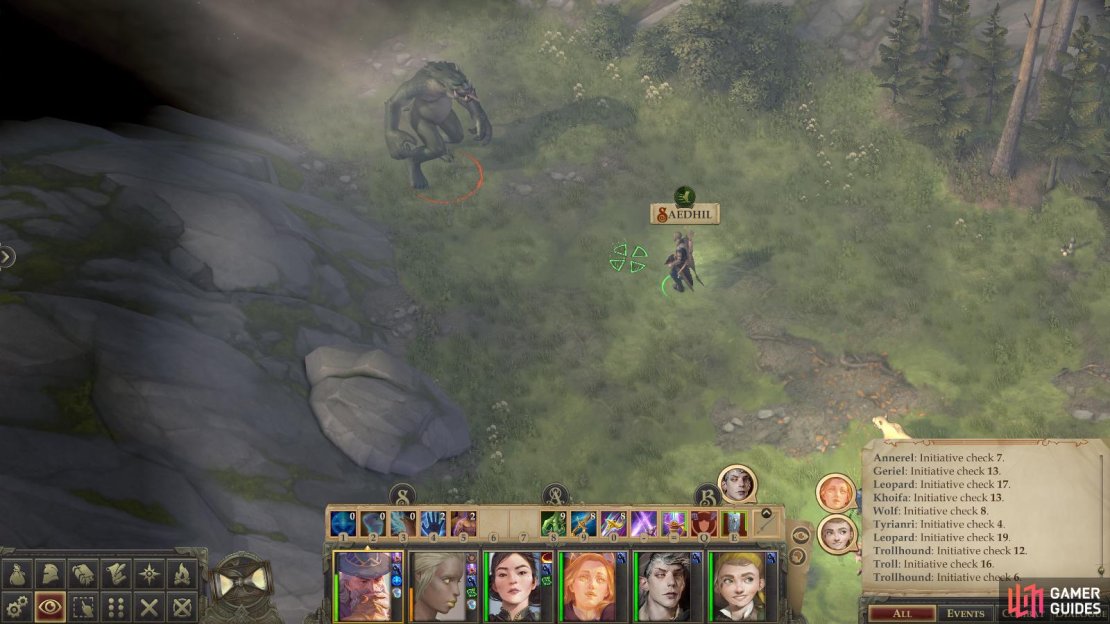
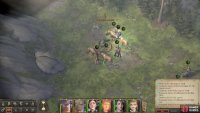
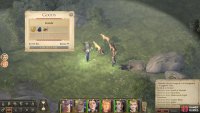
From Torag’s statue head west, then northwest to find a Troll. Behind the Troll, out of sight, are a pair of Trollhounds, which are weaker than Trolls, but share its regenerative powers. Looks like that Trollreaper axe is going to get put to use rather quickly. Spellbuff if you feel it’s necessary, then head forward with your tank in the front. As you put down foes, be sure to hit them with Acid Splash, Burning Hands, or Trollreaper to ensure they don’t get back up. When the Troll and Trollhounds are well and truly dead, continue to the northwest and succeed at a [Perception 16] check to find a locked, hidden chest [Trickery 16], inside of which is a Scroll of Fireball, a Scroll of Hold Person and a Dwarven Helm Shard.
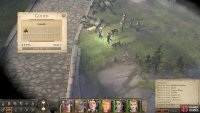
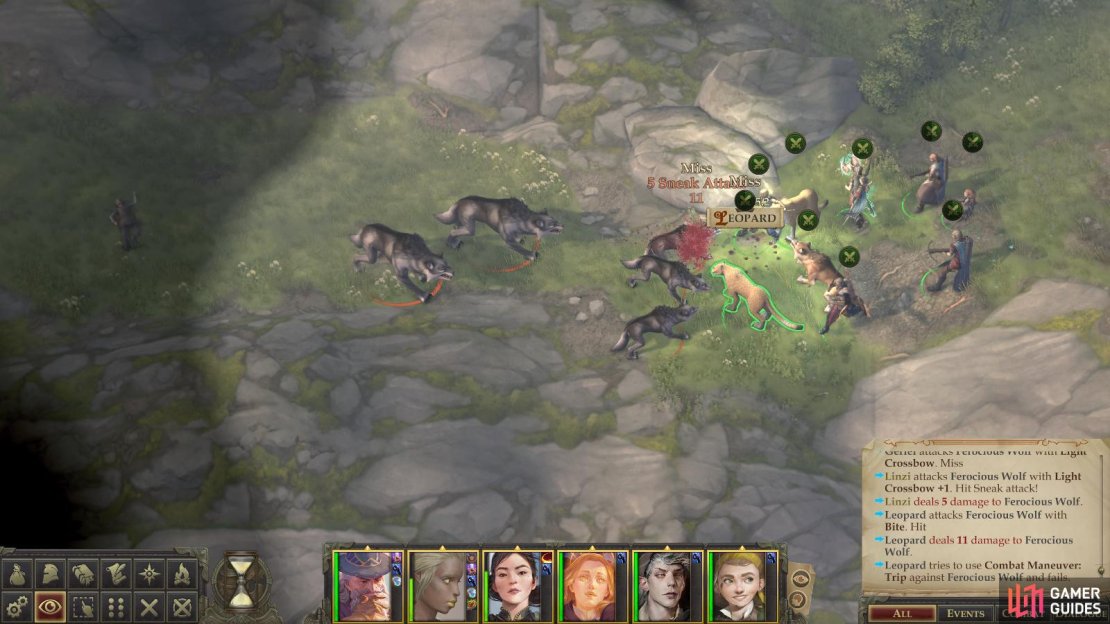
Follow the western cliffs to the south, where you’ll eventually find several Ferocious Wolves fighting a Trollhound. Given the Trollhound’s regeneration, this probably won’t end well for the wolves, and there’s no reason to allow nature to proceed - you could use that experience more than the Trollhound! Kill all the mutts, then turn west to find a branch [Perception 16] under which you’ll find 210 GP.
Peasant-Tree
Continue south from where the wolves fought the Trollhound and pass through a ravine to find yourself just west of the ruins that led to the spider-infested watchtower. Once you clear the ravine, turn west to find three men standing around: Edgar, Calvert, and Alick, who are standing near an ancient pine tree.
Talk to them and they’ll try - and fail - to hide that they’re here hunting treasure. The dialogue choices you make at first don’t matter, though you’ll get a free moral choice (pick either [Neutral Good] or [Lawful Evil]), after which you’ll be exposed to a variety of potential solutions.
If you pass the [Knowledge (World) 22] check you’ll recall that the barbarian chieftains (and presumably their treasure) are buried in cairns, and furthermore the geography is all wrong. Using a [Detect Magic] spell to check for treasure likewise doesn’t return any results, making the presence of any such loot dubious, at best. If you persist you can pick the [Lawful Neutral] option to waste your time helping them or the [Lawful Evil] option to force them to dig for you; you’ll gain an experience reward, presumably for confirming there is, in fact, no treasure here. Pick the [Lawful Good] option to convince them that they were deceived, or pick the [Chaotic Neutral] to expose they were lied to, and mislead them with yet another lie. Finally, pick the [Chaotic Evil] option to simply drive the peasants off and claim their “treasure” as your own. However you resolve this encounter (even if you leave them to their business by picking the dialogue option “Farewell, then. Good luck in your search”) you’ll gain some experience, and the peasants won’t learn anything from the encounter.
| Reward |
|---|
| 90 XP |
(1 of 3) Rush the Bandit Transmuter to keep them from casting Slow.
Bandit Camp and the Troll Bridge
From the ancient pine tree (marked on your map as a “Huge Pine”) head southeast to find a small bandit camp, occupied by three, easily-smote bandits. You do need to be wary of the Bandit Transmuter, who will use Slow on you - a potent debuff that you’ll employ to good use later. Cut them down, then loot their camp to find 72 GP and a Cloak of Resistance +1. From this bandit camp head south and search for a locked [Trickery 16] chest under some trees, inside of which you’ll find a Heavy Crossbow +1, a Potion of Invisibility, 37 GP and a Shard of Knight’s Bracers.
Leave the sacked bandit camp and head north, then east around some nearby trees and stones to reach the road snaking through the area. In fact, you should be just southwest of where the bandits tried to ambush you earlier. Continue south to reach a bridge, but be wary as you travel, as a trio of monsters - three Trolls (including a Branded Troll) and a Kobold Boomsayer - lurk on the eastern end of the road, just before the bridge. Trolls near a bridge, who could have guessed?
(1 of 3) Quickly take down the Boomsayer kobold, lest it be free to spam Thunder Call and debilitating spells.
Trolls are still dangerous foes, but they’re not as intimidating as they once were. Yep, time to reflect on the progress you’ve made and indulge in a feeling of pride; what was once a beast fearsome enough to wipe out your entire party is now more or less a match for several of the monsters, as you’ll soon demonstrate. The Kobold Boomsayer is more troublesome, however - as its name implies, it’s fond of casting spells.
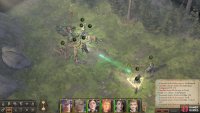
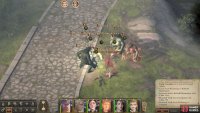
Be sure to buff up with Bless, Blur, Prayer and Shield of Faith, then charge in. Have all your characters target the Kobold Boomsayer, otherwise he’ll merrily disrupt your offensive by casting Thunder Call and perhaps Hideous Laughter. Even if you have to take Attacks of Opportunity, putting down the spellcaster will make everything go much more smoothly. Having Tristian (if you have him with you) start the fight out with a Fireball isn’t a bad idea, either. After the Kobold Boomsayer is down, focus all your might on the Branded Troll, as it’s a bruiser who will regularly hit your tank. As dangerous as it is, however, it’s not much more hardy than its brethren, and a dedicated offensive should bring it down. Have your cleric get near enough to the fight to use their ability to channel energy, if necessary. Note that the Branded Troll cannot be slain with fire, it requires something else - Trollreaper or Acid Splash will both do the job nicely.
A kobold working with trolls, one of which being a fire immune specimen of uncanny strength? That can’t be good, but so long as it’s an isolated incident… oh, well. Now that the trolls have ceased regenerating permanently, loot them and the corpses they were feasting on to score well, mostly a bunch of low-quality baubles. Collectively, however, they might be worth a bit of gold. If that’s not enough treasure for you, pass a [Perception 6] check to spot a Dwarven Helm Shard in some rubble along the eastern end of the bridge.
(1 of 4) A pack of wolves in the southwestern corner of the map shouldn’t give you too much trouble.
Wolves and Worgs
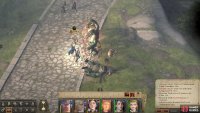
More conflict and treasure awaits near this bridge, which seems to have drawn a variety of predators hungry for human flesh. Make your way to the west of the bridge to find a trench in which a trio of Ferocious Wolves and two Alpha Wolves dwell. Unfortunately for the beasts, the eastern end of the area they occupy serves as a fine bottleneck, and if you’re willing to lure them into it (and keep your warriors in check as they cut down the wolves!) you shouldn’t have to fight more than one at a time. Reduced to a series of 6-on-1 battles, this should be nothing short of a rout.
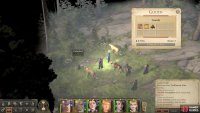
Kill the wolves, then continue west into their lair to find a corpse on which you’ll find a White Cog-Wheel Ring, a Handaxe +1 and a Bandit’s Letter. The cog-wheel, of course, is one of the devices you need to unlock the supposed treasure in Torag’s statue, and the Bandit’s Letter provides some backstory regarding the same treasure. Luckily for you, he became a wolf snack before he managed to hide the cog-wheel he carries.
The next encounter may be the hardest battle you’ve fought thus far, and even if you use the terrain to your advantage and spell-buff, you may need some luck to come out victorious. To the west are more dangerous enemies, a pack of Worgs including four Ferocious Worgs led by an Alpha Worg. The former are manageable enough, having a decent Armor Class, a high Attack bonus and a decent supply of HP, but your warriors should have no trouble chopping them down if you lure them west to another bottleneck.
The Alpha Worg is another matter entirely, however, having a huge store of HP (even two heavy critical hits likely won’t put it down), a slightly higher Armor Class than its lesser Worgs, and an impressive Attack bonus. If your Armor Class isn’t nearing thirty, you should expect to be hit more often than not, and its Combat Maneuver bonus is high enough that you’re likely going to get tripped every time it gets the chance. Since it hits often, trips almost all the time and deals around 15-20 damage per hit, it can chomp through your warriors with startling speed.
Haste and Slow will greatly increase your odds of winning this fight, although you may wish to delay their casting until you’re about to engage the Alpha Worg. Buffing with Bless, Prayer and Blur are also highly recommended, and you really can’t overestimate the value of having a +2 bonus to all your attacks and a 20% chance for an enemy’s attack to miss your tank. Of course, focusing offensive magics at the Alpha Worg will help whittle it down, as well. The double Web strategy may seem appealing, but the Worgs have a high enough Reflex save to break free somewhat regularly, and since you already have a natural bottleneck, you should be facing them one at a time already. In addition, the Alpha Worg’s offensive prowess and relatively high Armor Class and HP will likely allow it to maul your tank well before your archers can whittle it down.
Should you emerge victorious, continue west to find two more corpses you can loot. There’s little of interest on the southern corpse, but on the northern one you’ll find a suit of Studded Leather +2. Perhaps not the epic reward you were expecting after such a fight, but, well…
(1 of 4) Search the campsite for clues to the hunters whereabouts
Stranded by a Watery Dream
Whew. Well, that was an ordeal. Don’t go rest yet - you’ve got a free one coming up shortly. Make your way east of the bridge (past where the trio of Trolls were) and continue east along the southern edge of the area until you find a backpack and a chest [Trickery 21] you can loot near two logs. The beginnings of a camp? In any event, the backpack contains a Potion of Cure Light Wounds and some coins while in the chest you’ll find a Potion of Blur, 76 GP and a Scroll of Cure Serious Wounds.
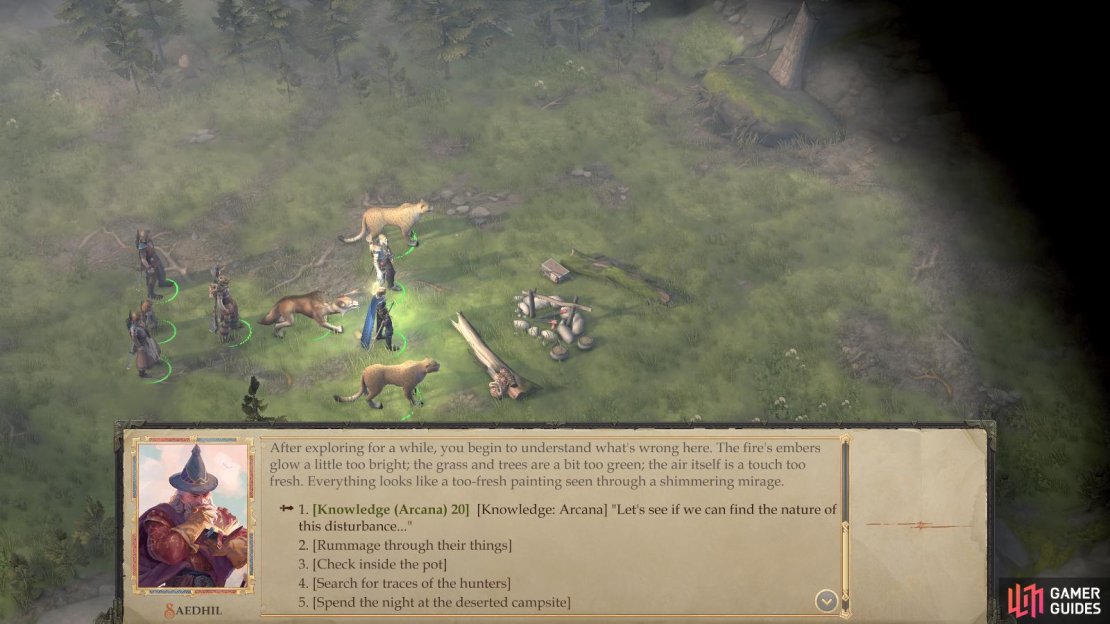
Besure to inspect the campfire while you’re here and pick the option [Look around carefully] then pass a [Knowledge (Arcana) 20] check to gain some XP. Next pick [Search for traces of the hunters] and pass a [Perception 20] check, which will occur automatically. Finally you can pick the option [Spend the night at the deserted campsite] to rest for free. Nice.
Once you’re rested, note - then ignore - a collapsed tree to the northeast (it’s just a shortcut back north, and a dubious one at that, requiring a [Mobility 21] check to use) and continue east to find a trio of Ferocious Wolves, glaring intently at a boulder. After the last few fights, putting down these mutts should be child’s play. Defeat them, then continue east to spot some folks - Rook and Linnel - stranded atop the boulder, apparently driven up there by the wolves.
Talk to them and you’ll find that reality is stranger than fiction, as it wasn’t wolves that drove these hunters up this rock, but magic. Or so they claim. The dead Dwarf up there with them might not lend them too much credibility, but the corpse stuck in the rocks just might.
In any event, you have several options when it comes to dealing with them, after you’re done asking your questions. If you use the Rope you found back in the “A Ford Across the Skunk River” area, they’ll climb right down and reward you for your kindness. You can spare your rope the strain (which for some reason you lose after employing it to this task) by instead passing a [Mobility 17] (Lawful Good) or [Mobility 19] (Chaotic Good) check to catch the hunters when they jump down. The reward is the same either way, but if you fail the check, Linnel will suffer the consequences, and the 100 GP she’d have given you will also be forfeited.
Less benevolent characters can pick the [Neutral Evil] option to demand compensation before helping, and after Rook throws down the Golden Cog-Wheel Ring you can demand some gold, too. This second [Neutral Evil] check will secure you the 100 GP reward from Linnel, should she survive. All in all, it’s just an evil way to obtain the same reward you’d get for just being nice. After the evil options, you still have to use your rope or succeed at a Mobility check to get them down. Failing that, you can always pick the [Chaotic Evil] action, either at the outset, or after the [Neutral Evil] choices. This will cause the hunters to try their luck with gravity, and gravity is just as evil as you are. On the plus side, however, you can loot them for the Gold Cog-Wheel Ring and a Hunter’s Key.
| Reward |
|---|
| 208 XP |
| 100 GP* |
| Golden Cog-Wheel Ring |
*Only if Linnel survives (use Rope or pass the [Mobility] check).
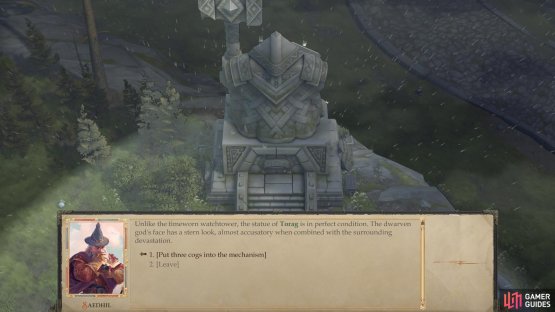
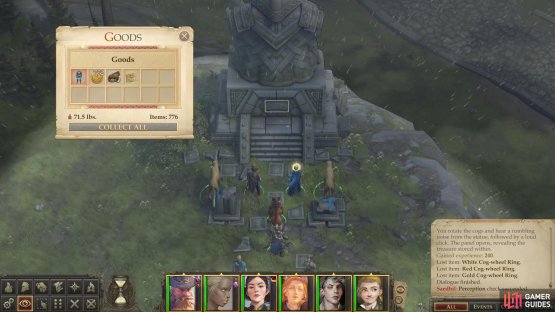
(1 of 2) Install all three cogs in the Torag statue
Install all three cogs in the Torag statue (left), and you’ll gain a reward well worth the effort. (right)
Taking Torag’s Treasure
Now that you have all three Cog-Wheels, return to the statue of Torag and go to place the cogs in the statue. Unfortunately, another complication arises, as you’ve no clue in which order to place them, and only some obscure runes to guide you. Pass a [Knowledge (Arcane) 20] check, or waste several hours fiddling around with the cogs. It’s time well spent, either way, as once installed correctly you’ll get an experience reward, but even better, you can loot the statue for a suit of Full Plate Mail +1, 772 GP, a Belt of Physical Perfection +2, and the Recipe: Onion Soup.
| Reward |
|---|
| 320 XP |
The Full Plate Mail +2 is a great upgrade, and certainly at least Valerie can benefit from it, provided you don’t have a protagonist who is inclined to wear heavy armor. The Belt of Physical Perfection, however, may be the better item, as it gives a +2 enhancement bonus to the wearer’s Strength, Dexterity, and Constitution, which greatly benefits almost any character, but particularly those inclined to physical violence. Just keep in mind that it won’t stack with any other gear providing a similar bonus, but it’s a small downside, especially since you’re probably nowhere near saturated with such items yet.
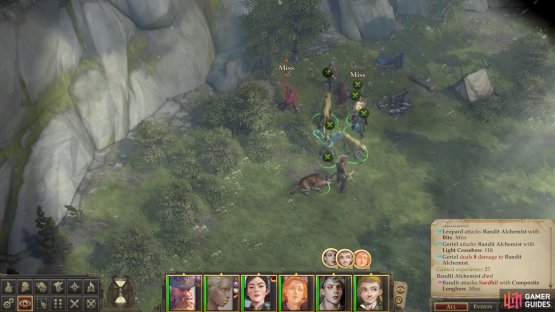
(1 of 2) Chop down a Bandit Alchemist
Chop down a Bandit Alchemist (left), then search the bandit camp for some treasure. (right)
Finishing Up the Ruined Watchtower
This area has already been pretty damn amazing in terms of loot and experience and you’re not done yet! Return to the bend in the road where the bandits attempted to ambush you, and from there head off into the woods to the east, where you’ll find several Ferocious Wolves. For once, it’s just a pack of wolves: no alphas, no Worgs, no magically stranded hunters. Kill them, then head south from where they were and pass a [Perception 16] check to spot a log you can loot for some gems.
From where you encountered this last pack of wolves, head north along the eastern edge of the area to find another bandit camp, again with only three bandits around it. One is a Bandit Alchemist, and from experience you know they can be awfully annoying. This one, fortunately, wastes a turn casting Cat’s Grace, so if you can cut down the bandit between you and the alchemist, you should be able to gank the alchemist before he causes any trouble. Wipe out the bandits, then loot their camp, too, for a Two-Bladed Sword +1, among other treasures. Should you succeed at a [Perception 16] check you can also find a chest hidden along the cliffs to the north. Unlock it [Trickery 18] and claim the gems and 212 GP within.
If you’re here during the Verdant Chambers expedition, then good news! - this is as far from your capital as you’ll venture this expedition. From here the Verdant Chambers are only a short distance to the southwest - still a dangerous journey alone, but at least you know the way. However, there’s one more area to explore on your way back to the capital, the Bandit Camp.










No Comments